Easy & Spooky Halloween Dirt Cupcakes: Your Ultimate Guide to a Creepy-Crawly Treat!
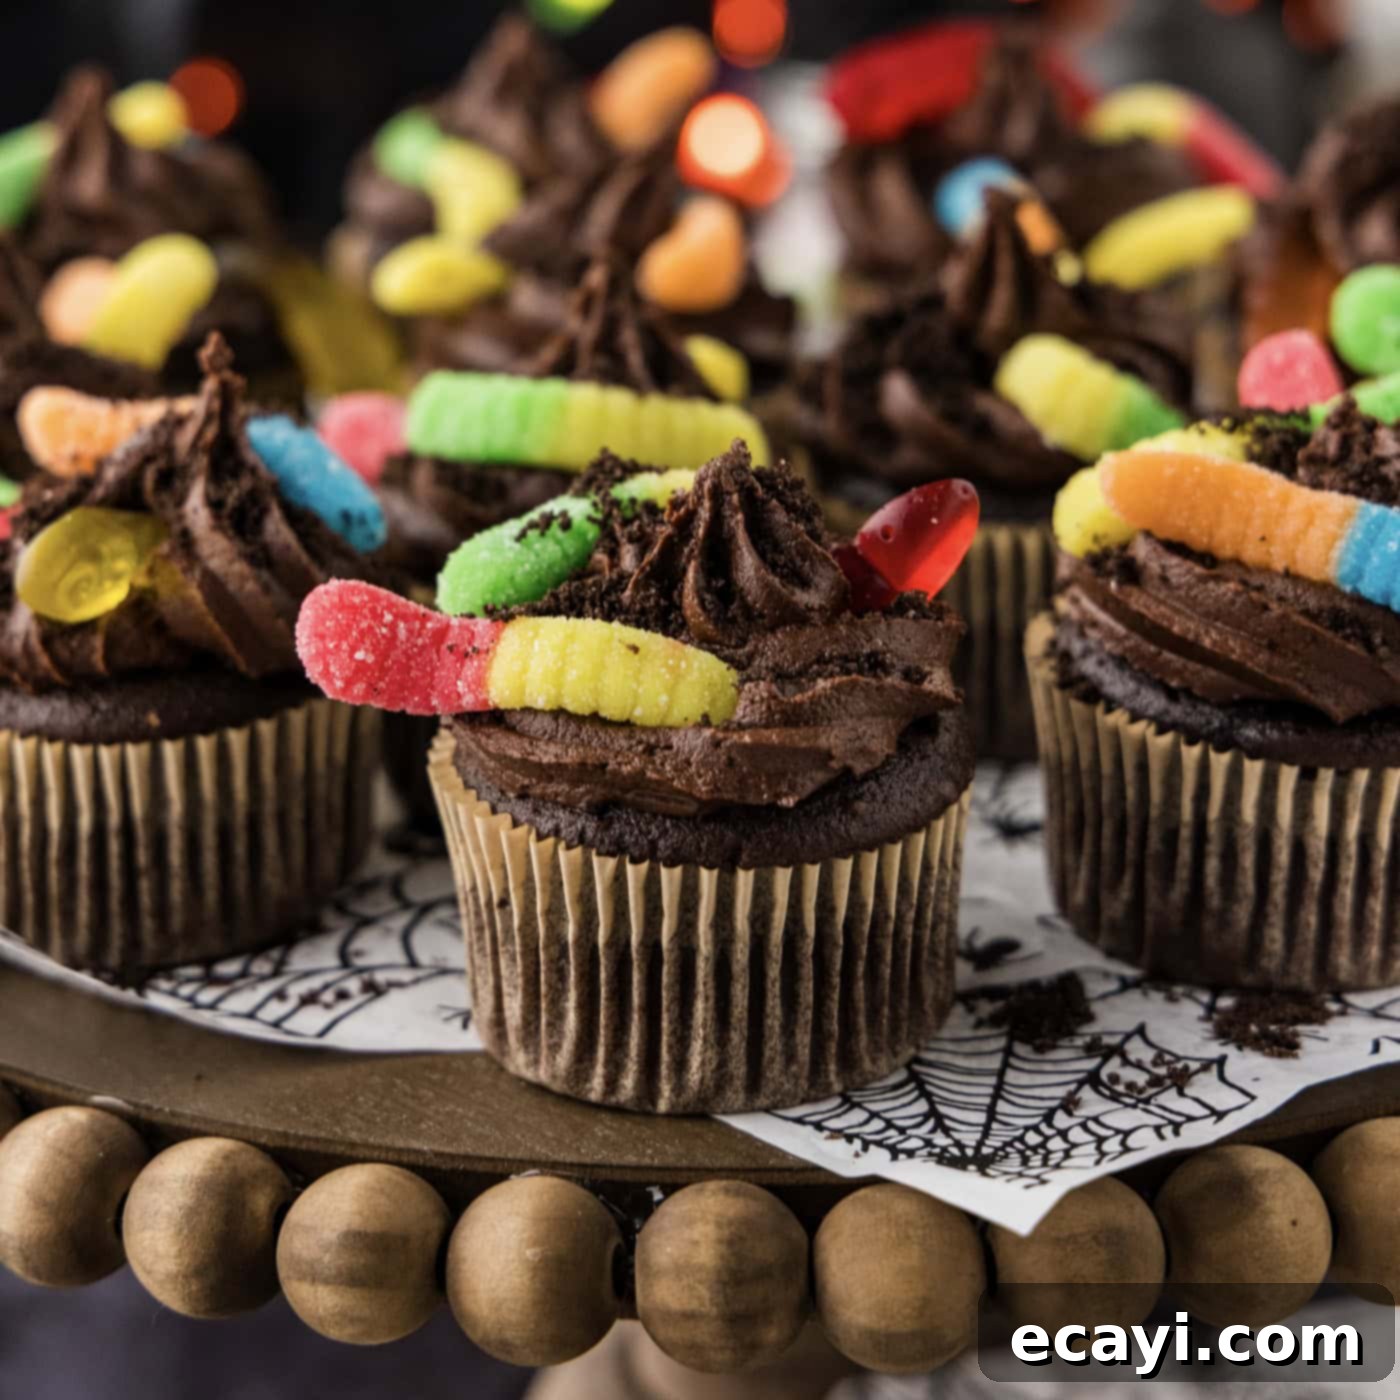
Get ready to unleash some ghoulish delight with these incredibly fun and festive Halloween Dirt Cupcakes! Perfect for any spooky celebration, these treats combine moist chocolate cupcakes with a surprise pudding filling, rich chocolate fudge frosting, crushed “dirt” cookie crumbles, and playful gummy worms. They’re not just a dessert; they’re an experience, designed to bring a smile (or a delightful shiver!) to all your Halloween party guests. Whether you’re a seasoned baker or just looking for a quick and easy holiday project, this recipe ensures a deliciously eerie result that’s as charming as it is simple to make.
Why These Spooky Dirt Cupcakes Are a Must-Make
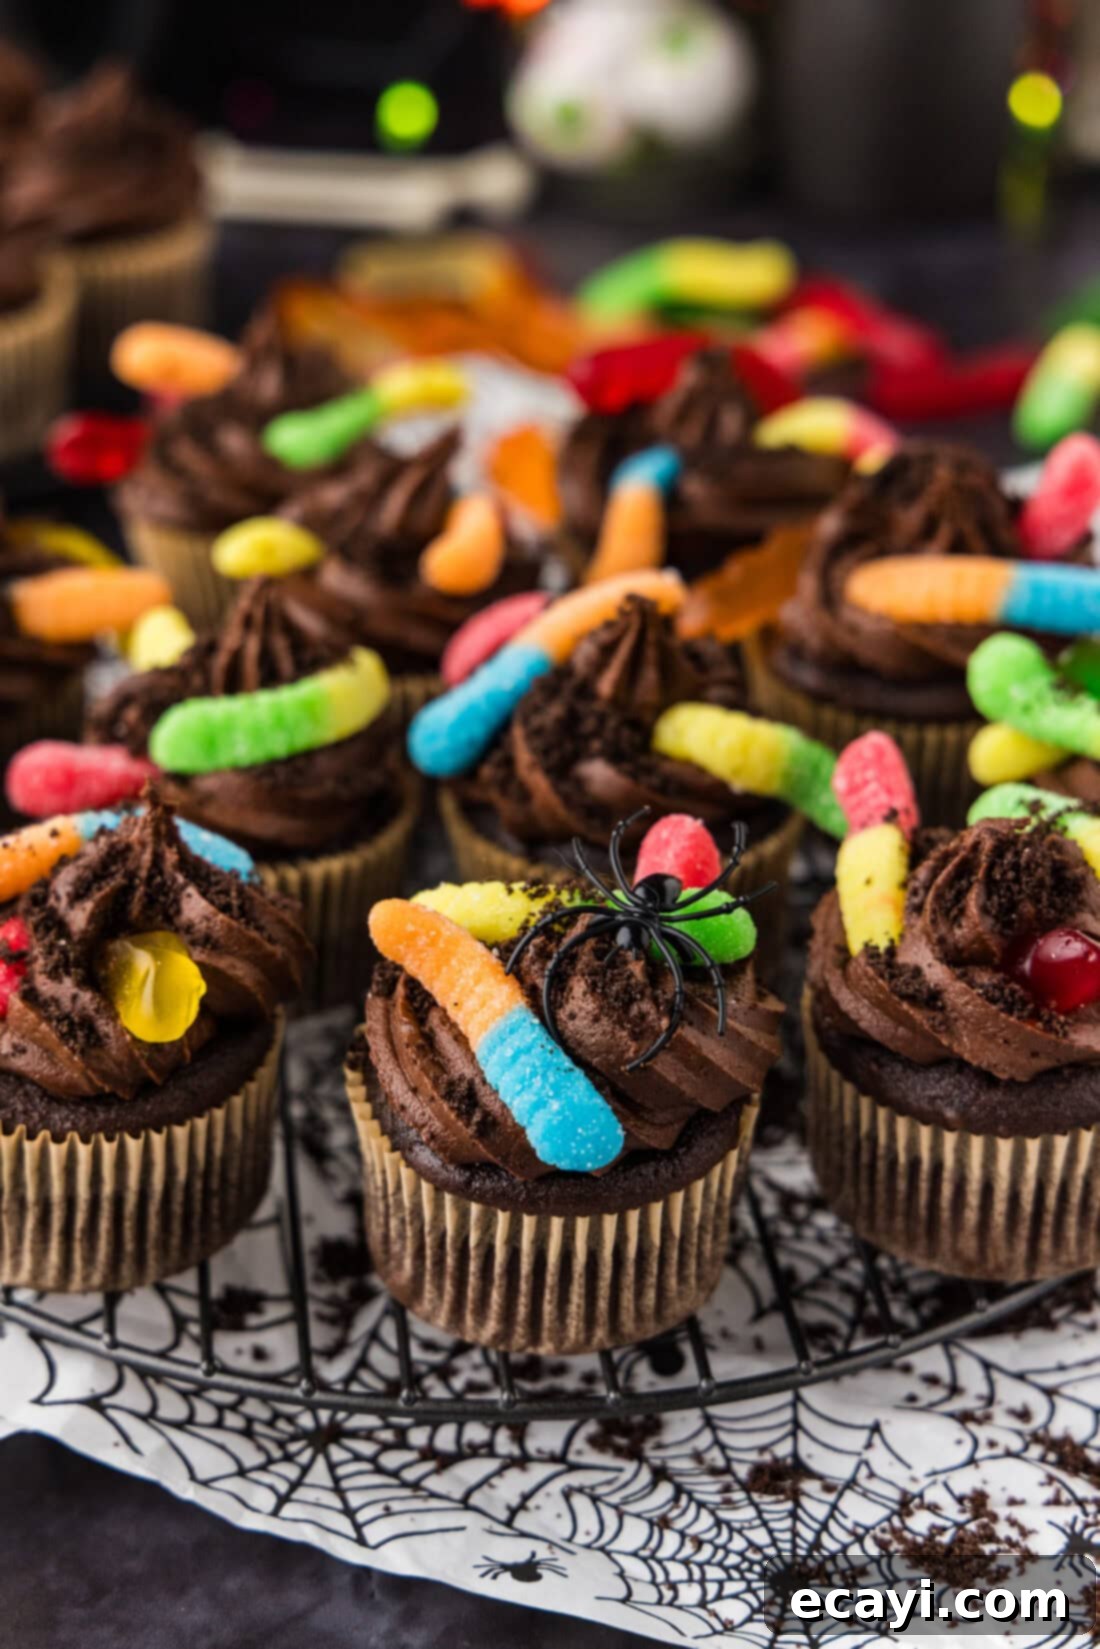
Let’s “creep it real” – these Halloween Dirt Cupcakes might look elaborate and wonderfully spooky, but they are surprisingly simple to whip up! If you’re familiar with the classic dirt cups, imagine all that fun and flavor encapsulated in an individual cupcake form. This recipe is a fantastic choice for several reasons:
- Effortless Preparation: We utilize a convenient chocolate cake mix as the base, dramatically cutting down on prep time. This shortcut makes it accessible for bakers of all skill levels, leaving more time for decorating fun!
- Surprise Pudding Center: What makes these “poke” cupcakes truly special is the hidden chocolate pudding filling. It adds an extra layer of moisture and intense chocolate flavor, creating a delightful surprise with every bite.
- Irresistible Chocolate Flavor: From the moist cake to the rich chocolate fudge frosting and crunchy Oreo “dirt,” these cupcakes are a chocolate lover’s dream, perfectly balanced with the sweet chewiness of gummy worms.
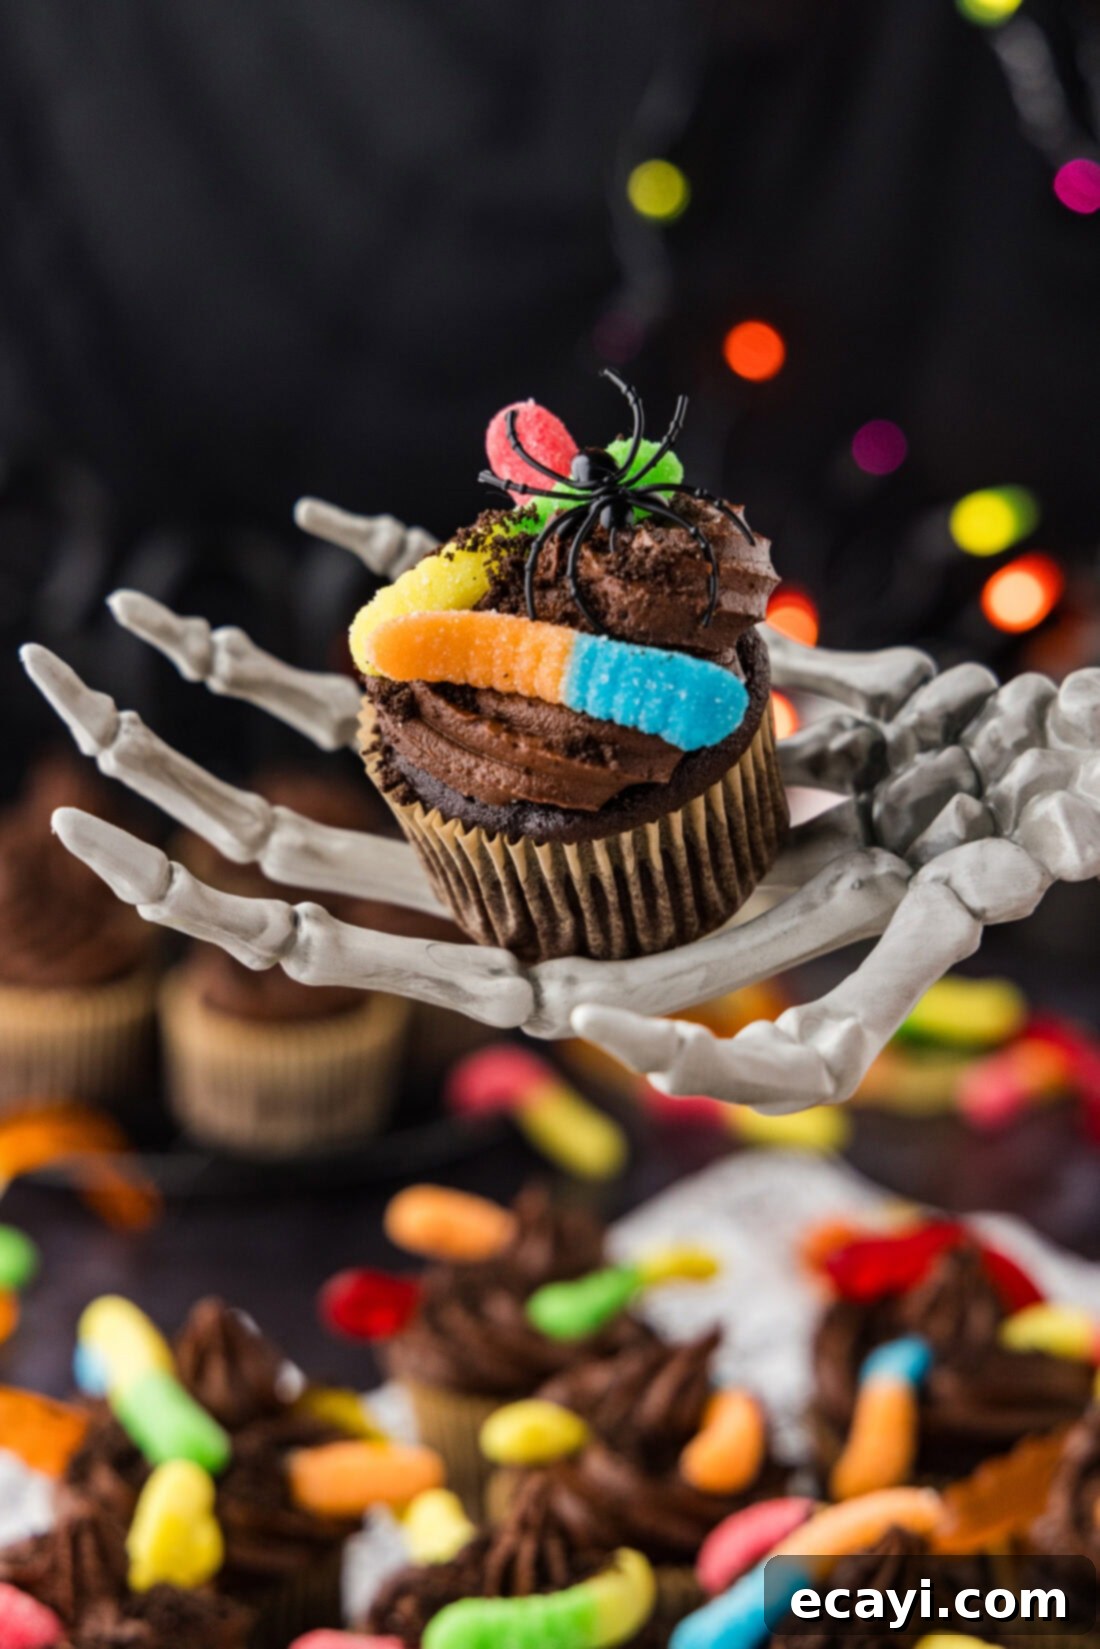
- Visually Stunning & Thematic: These cupcakes are inherently thematic, transforming a simple dessert into a miniature edible graveyard or a patch of worm-filled earth. They’re guaranteed to be a conversation starter and a centerpiece at your Halloween party dessert spread.
- Kid-Friendly Fun: The decorating process is highly engaging for children, allowing them to personalize their “dirt mounds” with gummy worms and other creepy-crawly candies. It’s a fantastic activity that doubles as a delicious treat.
- Customizable: While chocolate is the traditional route, this recipe offers endless possibilities for customization with different cake flavors, frosting types, and an array of spooky toppings.
In essence, it’s a chocolate cupcake base that’s optionally poked with chocolate pudding, generously topped with dreamy chocolate fudge frosting, and then transformed into a “dirt” masterpiece with crushed Oreo cookies and wriggling gummy worms. Easy peasy, delicious, and perfectly spooky!
Gather Your Spooky Ingredients
To embark on this delightful Halloween baking adventure, you’ll need a handful of accessible ingredients. The full, detailed list with measurements and instructions can be found in the printable recipe card at the very end of this post. But first, here’s a glimpse of the stars of our show:
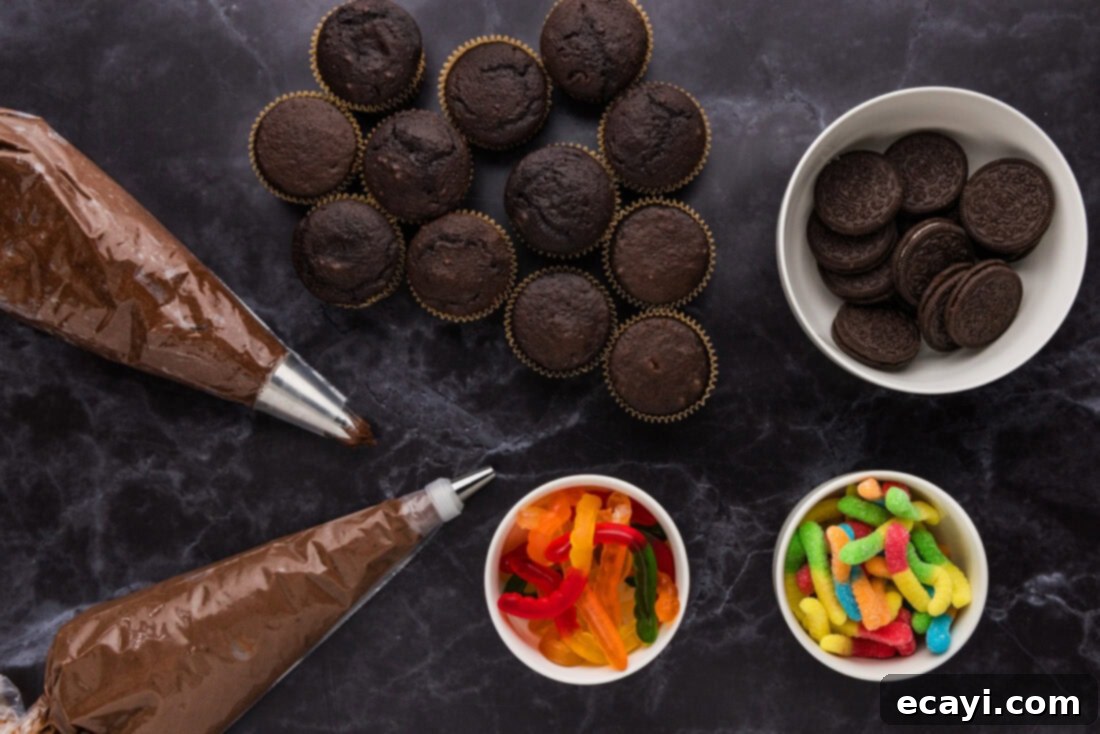
Ingredient Spotlight & Smart Swaps
Let’s dive deeper into the components that make these Halloween Dirt Cupcakes so special, along with some handy tips and substitution ideas to fit your preferences or pantry!
CUPCAKES: The Foundation of Fun
For ultimate convenience, we highly recommend starting with a good quality chocolate cake mix. It truly does the trick, saving you time without sacrificing flavor or texture. Simply prepare it according to the package directions. However, if you prefer a homemade touch, feel free to use your favorite chocolate cupcake recipe. You can also experiment with different cake mix flavors like vanilla or yellow for a lighter base, though chocolate provides the most authentic “dirt” appearance. Ensure your cupcakes are completely cooled before moving on to the next steps, as warm cupcakes will melt the pudding and frosting.
PUDDING: The Secret Moist-Maker (Optional, but Recommended!)
We transform these into delightful “poke cupcakes” by infusing them with instant chocolate pudding. This step is entirely optional, but it adds an incredible boost of moisture and an extra layer of rich chocolate flavor that subtly enhances the overall experience. While you won’t explicitly *see* the pudding when you break open the cupcake, you’ll definitely taste the added depth and lusciousness. You won’t need much pudding for the cupcakes, leaving you with plenty leftover for quick, satisfying snacks or to create classic Halloween Dirt Cups!
Substitution Idea: If chocolate isn’t your preference, vanilla or even butterscotch pudding could offer an interesting twist, though they might change the “dirt” aesthetic slightly.
FROSTING: The Dreamy “Topsoil”
My homemade chocolate fudge frosting is truly superb for these dirt cupcakes. It boasts a perfectly pipeable consistency that holds its shape beautifully, even with the addition of cookie crumbs and gummy worms. Another fantastic homemade option is chocolate buttercream. For those seeking a quicker route, canned frosting works too! However, if using store-bought frosting, you’ll likely want to thicken it by gradually adding powdered sugar until it reaches a firmer, pipeable consistency. This ensures your “dirt” and decorations sit proudly on top.
Pro Tip: The frosting acts as the adhesive for your “dirt” and decorations, so a good, sturdy consistency is key!
OREO COOKIES: The Quintessential “Dirt”
Nothing mimics the look of rich, dark earth quite like crushed Oreo cookies. Their classic chocolate flavor also complements the cupcakes perfectly. You’ll want to crush them into fine crumbs to achieve that realistic dirt texture.
Substitution Idea: If Oreos aren’t available, other dark chocolate sandwich cookies or even chocolate graham crackers could work in a pinch. Just ensure they are finely processed.
GUMMY WORMS: The Creepy-Crawly Factor
Gummy worms are the iconic touch that brings these dirt cupcakes to life. Whether you opt for sour or regular varieties, their vibrant colors and playful shapes are essential for that “bursting through the surface” effect. Cutting them in half makes them easier to arrange and creates the illusion of more worms!
Substitution Idea: Explore other creepy-crawly gummy candies like spiders, centipedes, or even candy insects for variety.
Crafting Your Halloween Dirt Cupcakes: Step-by-Step
These step-by-step photos and instructions are here to help you visualize how to make this recipe. For the printable version, complete with precise measurements and comprehensive instructions, please Jump to Recipe at the bottom of this post.
Before you begin, ensure your chocolate cupcakes are completely cooled. This is crucial for successful frosting and pudding application!
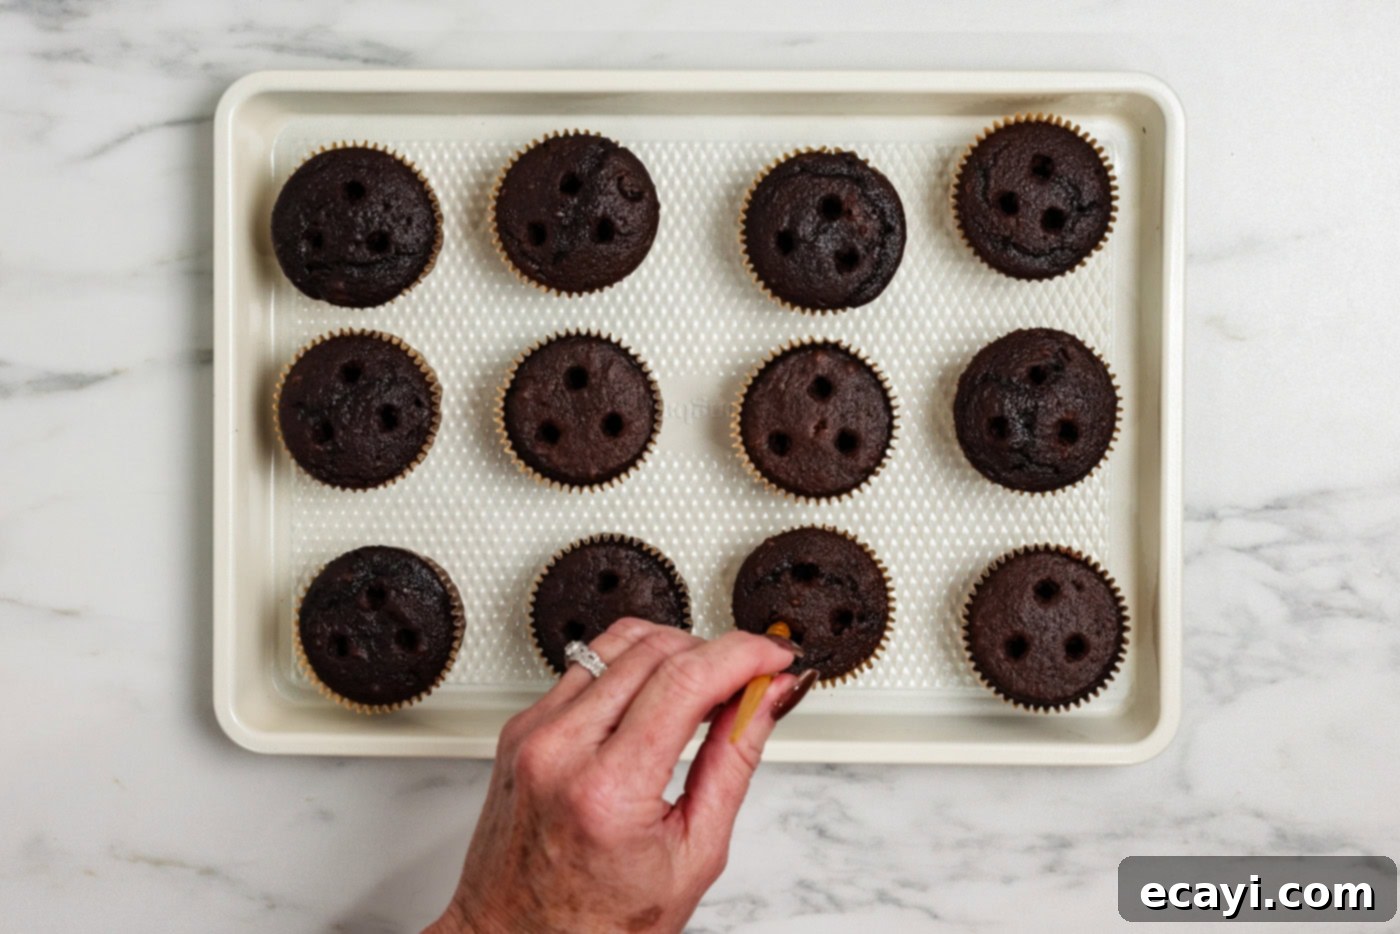
- Prepare for “Poke” Fun: If you’ve chosen to include the optional pudding filling (which we highly recommend for extra moisture and flavor!), take a chopstick, a thick skewer, or a similar sized object. Carefully poke three holes into the top of each baked and cooled cupcake. Aim for holes that go about two-thirds of the way down into the cupcake, but avoid poking through the bottom. This creates perfect little pockets for the pudding.

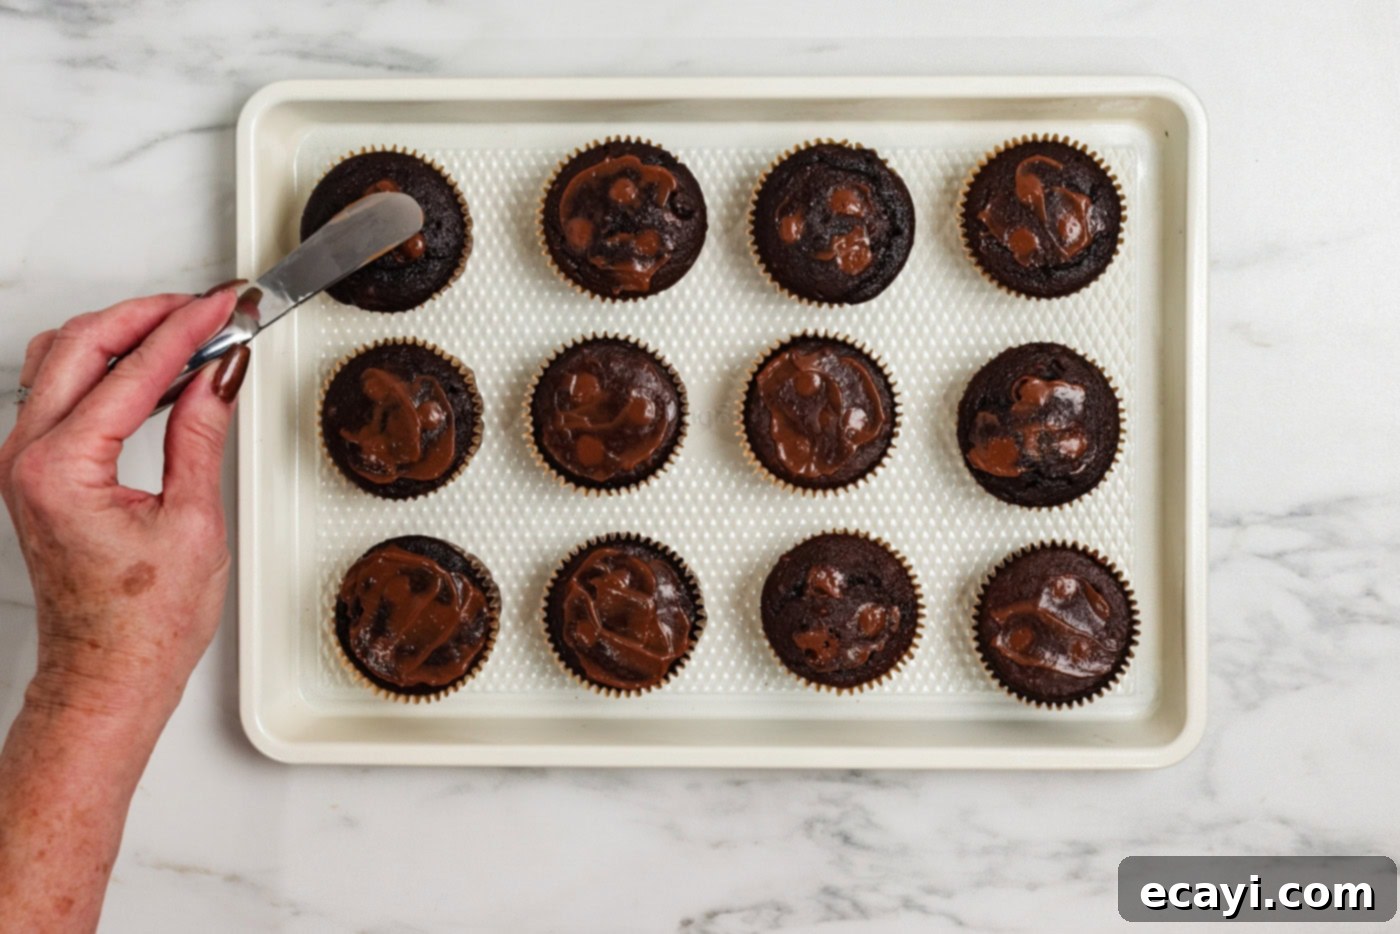
- Fill with Pudding Perfection: Transfer your prepared instant chocolate pudding into a piping bag. If you don’t have a piping bag, a sturdy plastic zipper-top bag with a corner snipped off will work just fine! Gently squeeze the pudding into each of the poked holes until they are filled to the brim. Use a small spatula or the back of a spoon to level off any excess pudding, ensuring a smooth surface for your frosting.

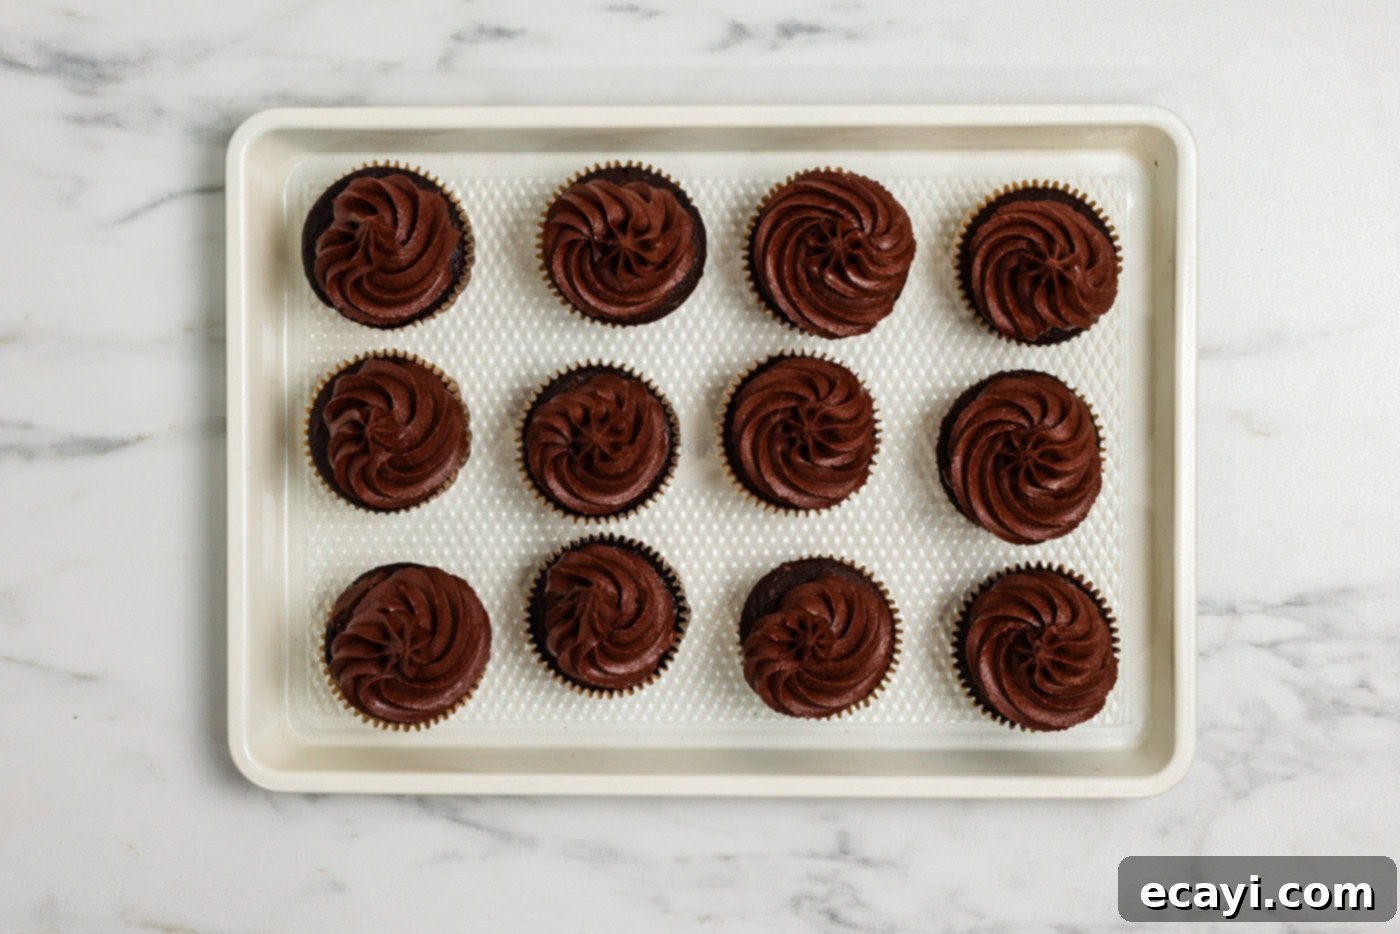
- Frost with Fudgy Richness: Now it’s time for the delicious chocolate frosting! Using a piping bag fitted with a large star tip (like a 1M or 2D) will create a beautiful, swirled effect that looks like freshly tilled earth. Alternatively, for a simpler, rustic look, you can just spread the frosting evenly over the top of each cupcake with an offset spatula or knife. Ensure a generous layer to create a good base for your “dirt” and decorations.

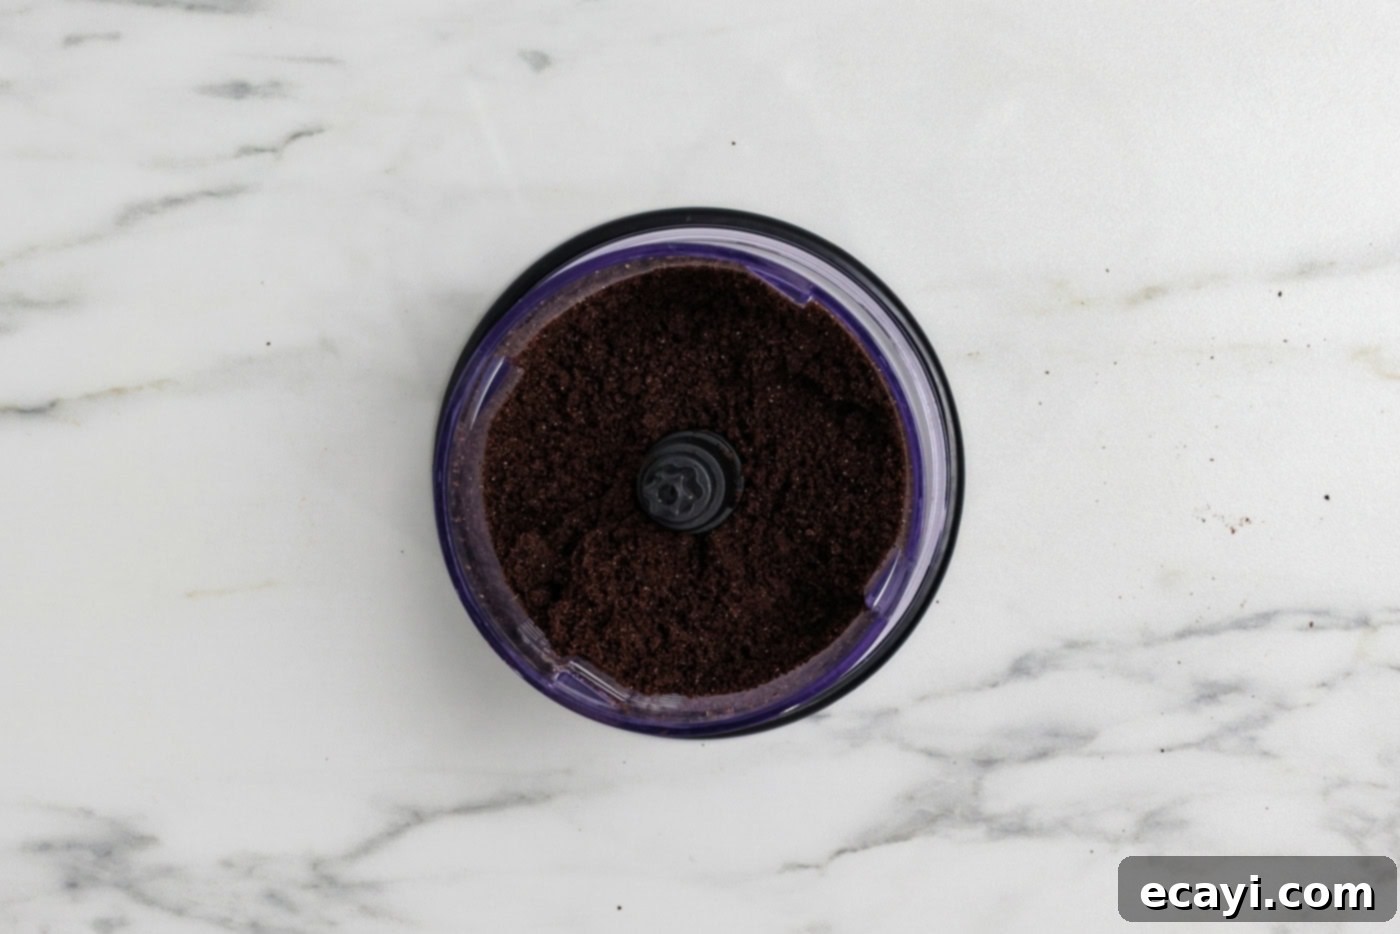
- Create Your “Dirt”: Place the Oreo cookies (cream filling and all!) into a mini chopper or a food processor. Pulse until fine crumbs form, resembling dark, rich soil. Be careful not to over-process them into a paste; you want a crumbly texture. If you don’t have a food processor, place the cookies in a heavy-duty zipper bag and crush them with a rolling pin.

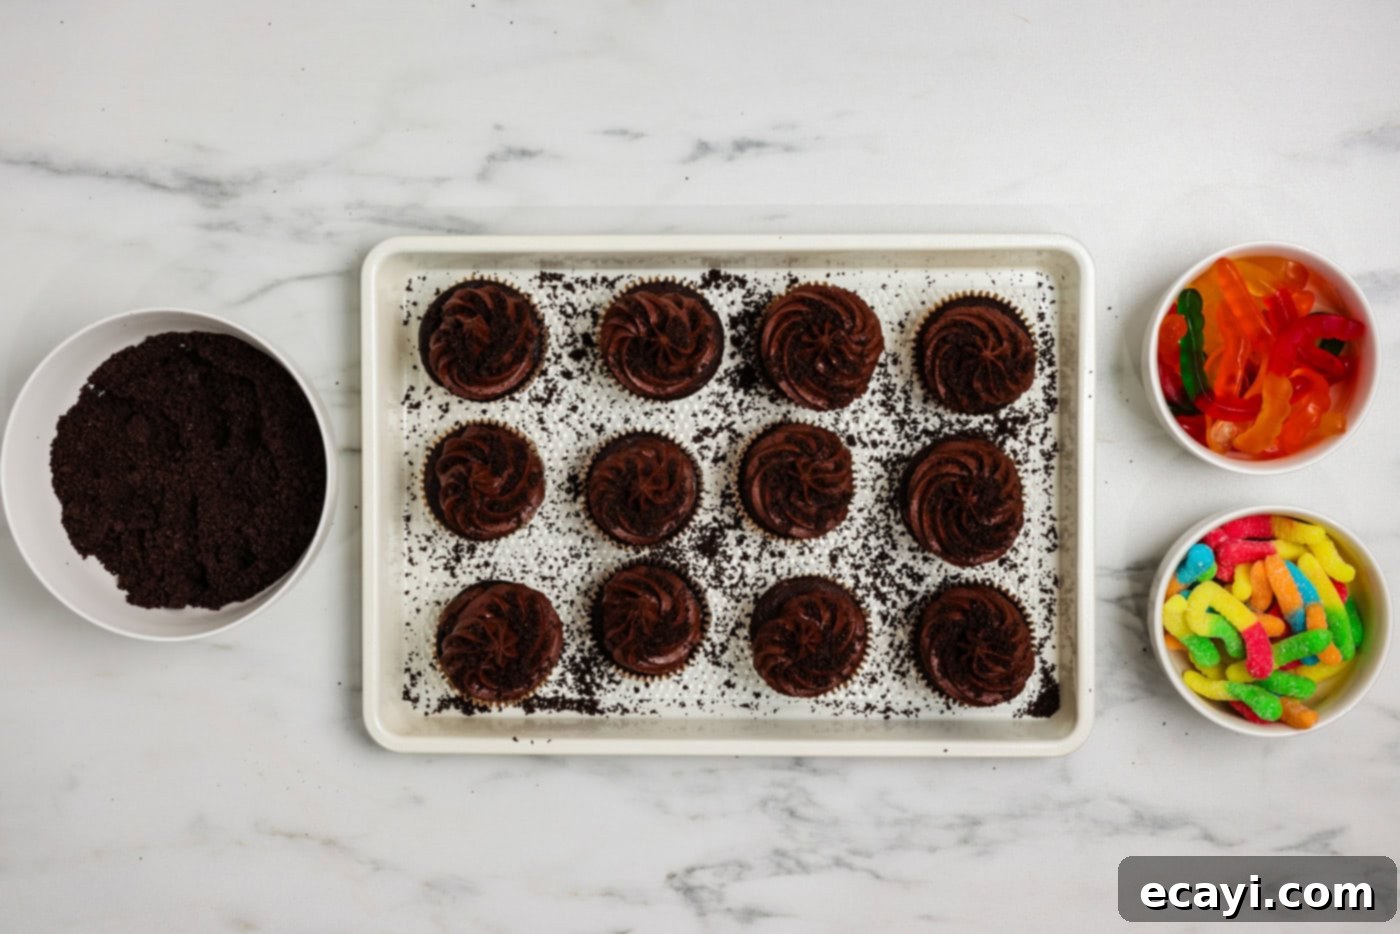
- Sprinkle the Spooky “Soil”: Generously sprinkle the crushed Oreo crumbs over the top of each frosted cupcake. You can either gently press them into the frosting to ensure they adhere well or simply sprinkle them for a lighter coverage. Cover the entire frosted surface to truly achieve that “dirt mound” look.

- Add Creepy-Crawly Life: The final touch! Take your gummy worms and arrange them artfully on top of the “dirt” frosting. For a more dynamic look, gently insert parts of the worms into the frosting as if they are emerging from the earth. We’ve found that cutting the worms in half often works best, allowing for more creative placement and the illusion of more worms wriggling about!
Frequently Asked Questions & Expert Tips for Success
Here are some common questions and expert advice to ensure your Halloween Dirt Cupcakes turn out perfectly!
Absolutely! These cupcakes are excellent for making in advance, which is perfect for busy Halloween party planning. You can prepare, frost, and decorate them a day in advance. Due to the dairy content in the frosting (and optional pudding), I highly recommend storing them in an airtight container or a dedicated cupcake carrier in the refrigerator. When you’re ready to serve, allow them to rest at room temperature for about 30 minutes to an hour to soften the frosting and gummy worms slightly before enjoying. This ensures the best texture and flavor.
For optimal freshness and safety, store your Halloween Dirt Cupcakes in an airtight container within the refrigerator. They will remain delicious for 4-5 days. Be sure to keep them away from strong-smelling foods, as frosting can sometimes absorb odors.
No piping bag? No problem! For piping the pudding, simply snip a small corner off a sturdy plastic zipper-top bag (like a Ziploc bag) and use that. For frosting, you can use the same method with a larger snip, or simply use an offset spatula or knife to spread the frosting onto the cupcakes for a rustic look.
Absolutely! While a cake mix offers a convenient shortcut, you are more than welcome to use your favorite homemade chocolate, vanilla, or even red velvet cupcake recipe. Just ensure they are fully cooled before adding the pudding and frosting.
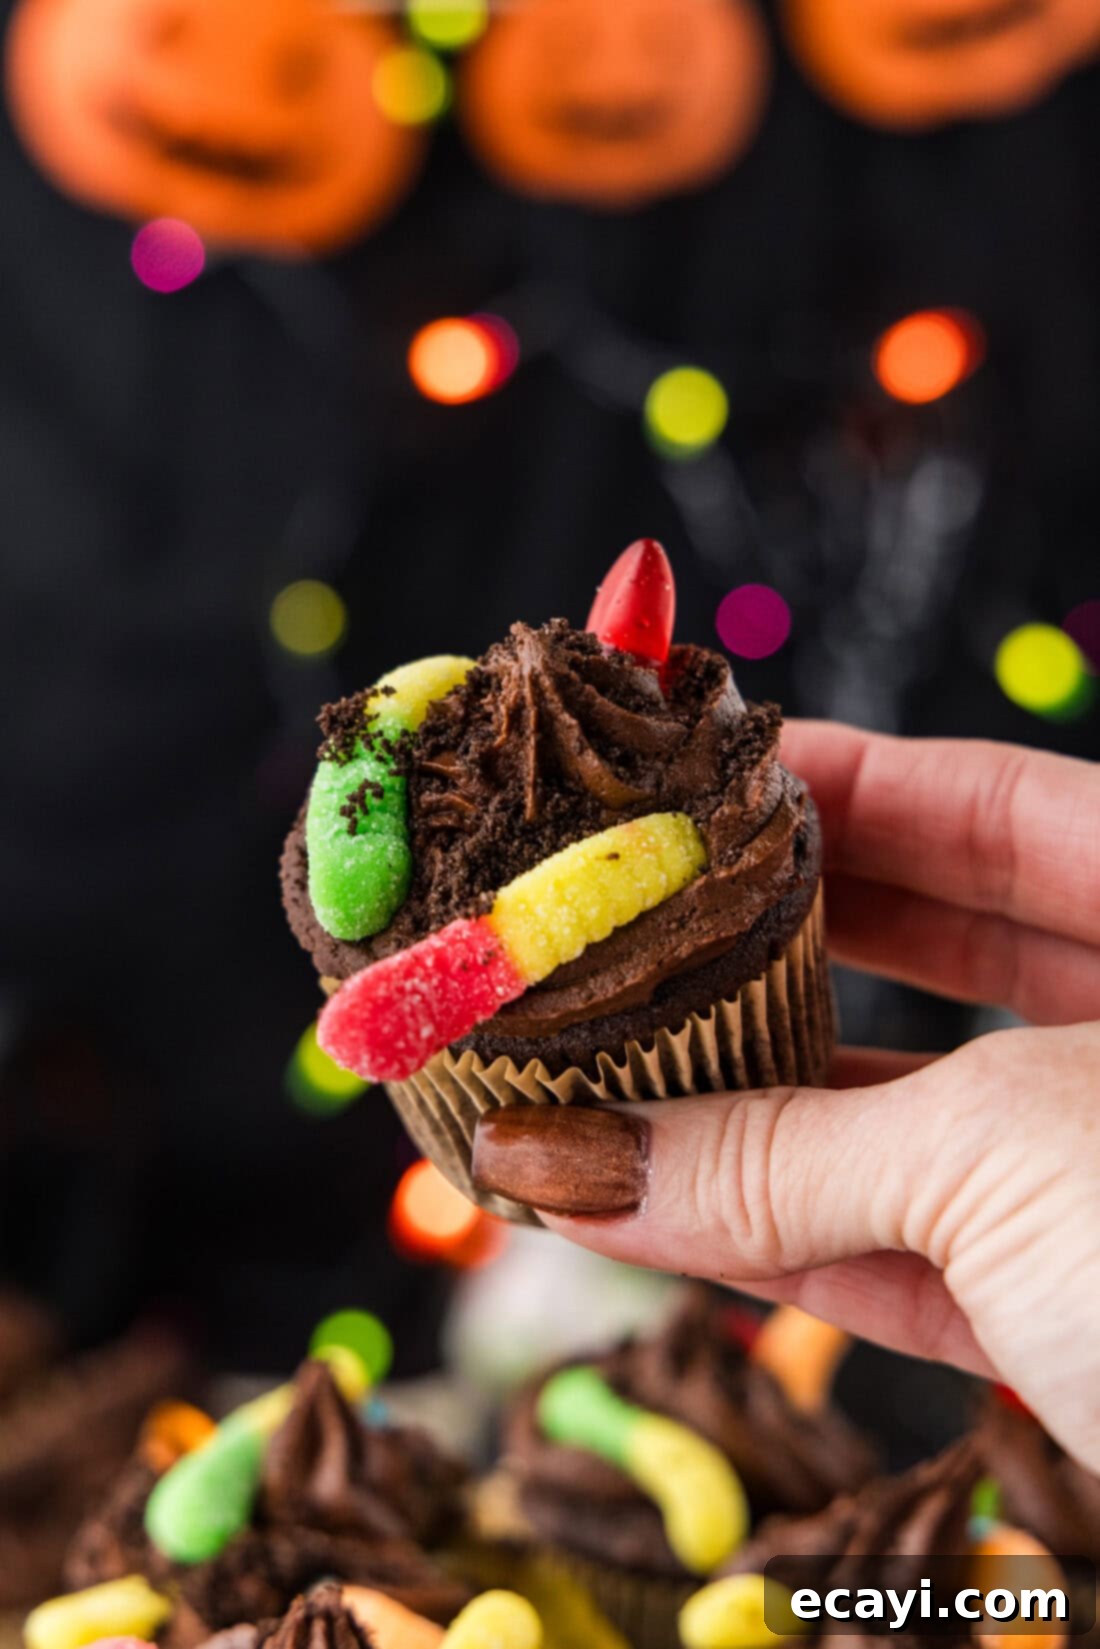
Creative Variations for Your Spooky Cupcakes
Part of the fun of Halloween baking is getting creative! These dirt cupcakes are a fantastic canvas for your imagination. During the Halloween season, many stores, especially big box retailers like Walmart and Target, stock a wide array of festive and creepy-crawly candies. Don’t be afraid to explore their selections!
- Alternative “Dirt” Textures: Instead of crushed Oreos, try chocolate sprinkles for a fine, dark soil effect, or even chocolate cookie crumbs mixed with a few green sugar sprinkles for a mossy, overgrown look.
- Beyond Gummy Worms: Expand your creepy-crawly collection! Look for gummy “body parts,” candy skulls, eyeballs, or even chocolate spiders. Small plastic spider rings can also be placed on top for an extra spooky touch (just remember to remove them before eating!).
- Graveyard Cupcakes: For a truly haunting display, transform your dirt cupcakes into miniature graveyards. Use Nutter Butter or Milano cookies as tombstones. With black gel icing, write “R.I.P.” or spooky messages on them. Gently press the tombstone cookies into the frosting on top of the “dirt.” These look especially adorable with a small candy pumpkin or a few candy corn pieces placed at the base.
- Marshmallow Monsters: Elevate your design with marshmallow characters. You can often find pre-made marshmallow ghosts in stores during Halloween. Alternatively, get crafty and make your own marshmallow Frankensteins or ghosts using marshmallows, candy melts, and edible markers.
- Eerie Spiderwebs: Create realistic-looking spiderwebs by slightly melting a few large marshmallows in the microwave for a few seconds. Allow them to cool slightly, then use your fingers to stretch and pull the sticky marshmallow over your candy toppings. This creates a beautifully eerie, translucent web effect.
- Witch’s Brew Theme: For a more potion-like feel, consider using green food coloring in your frosting or pudding, and then top with edible glitter and a few “bubble” candies for a bubbling cauldron effect.
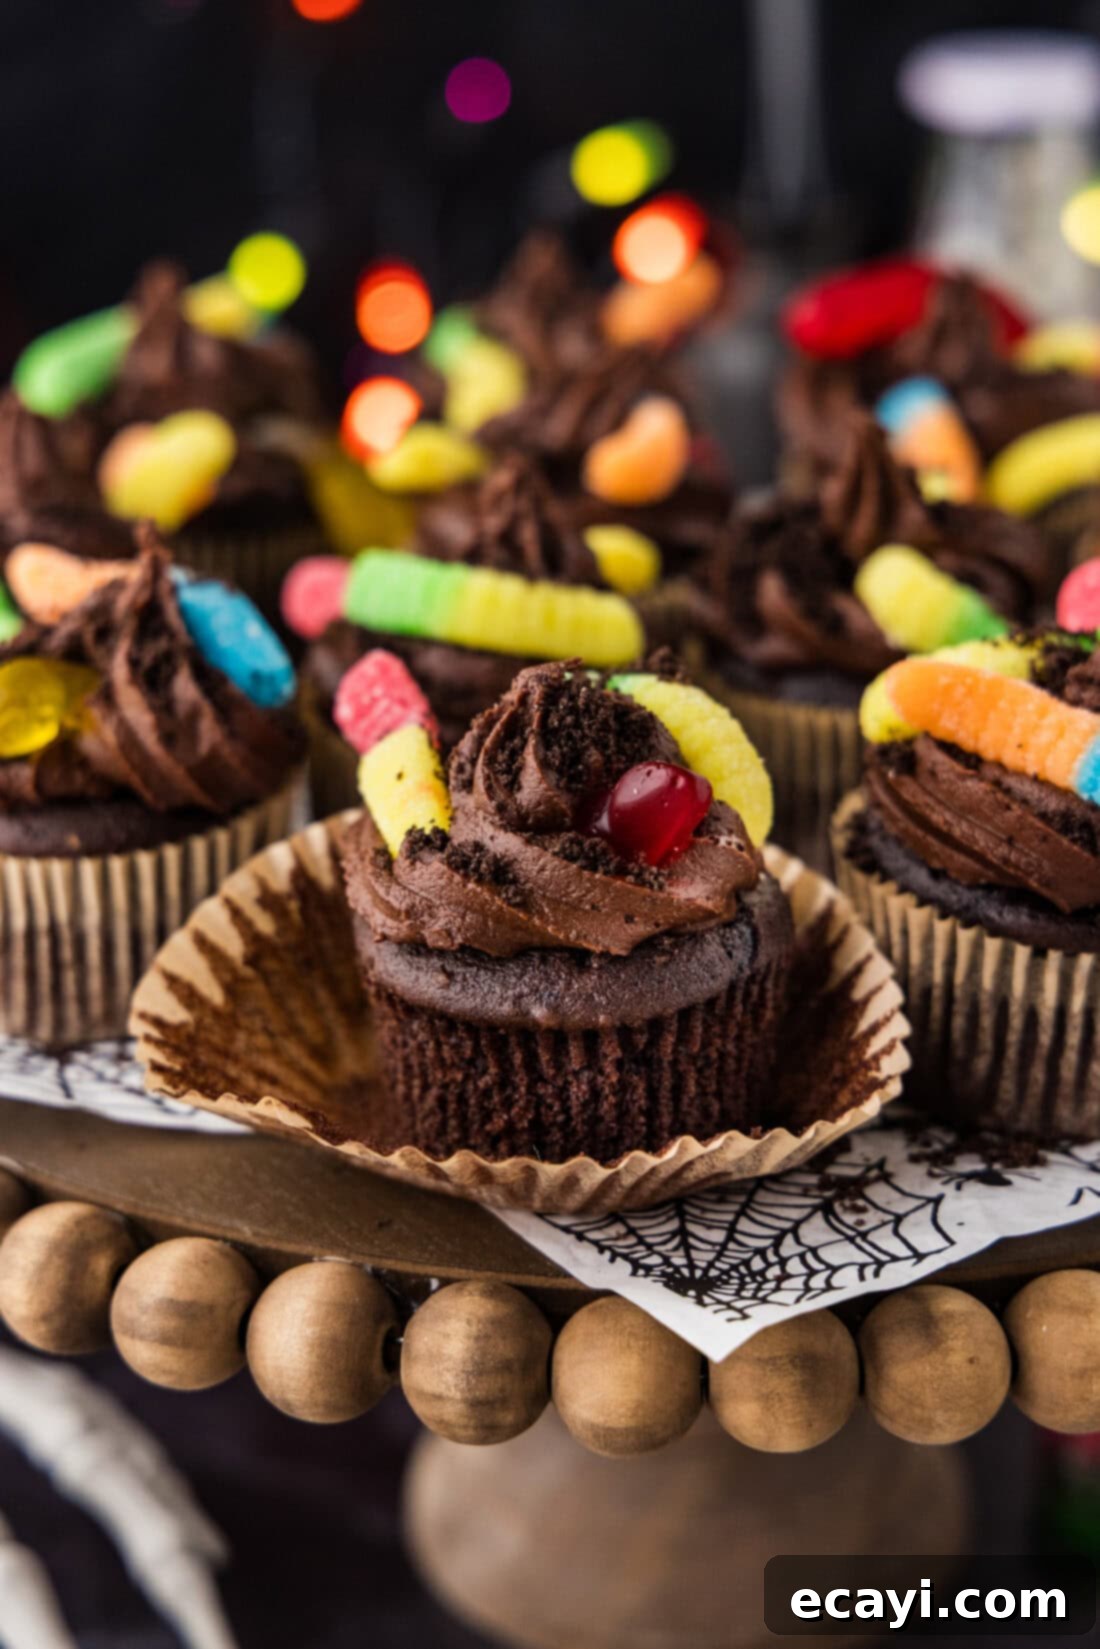
Serving Your Spooky-Sweet Creations
To truly appreciate the delightful textures and flavors of these Halloween Dirt Cupcakes, serve them just above room temperature. If they’ve been refrigerated, allow them to sit out for at least 30 minutes to an hour before serving. This is particularly important because cold temperatures can cause gummy worms to harden, making them less enjoyable. Room temperature cupcakes will have soft frosting, tender cake, and perfectly chewy gummy decorations.
Arrange them creatively on a multi-tiered cupcake stand, a Halloween-themed platter, or individual spooky plates. Pair them with a spooky punch or hot cider for the ultimate Halloween party experience. I guarantee these adorable and delicious treats will be a highlight at every Halloween gathering, garnering compliments and happy faces. The best part? Everyone will be amazed at their appearance, yet you’ll know just how easy they were to make!
Discover More Ghoulishly Good Halloween Recipes
Looking to complete your Halloween feast with more delightful and spooky treats? Check out some of our other favorite recipes:
- Ghost Brownies: Fudgy brownies topped with adorable marshmallow ghosts.
- Mummy Cookies: Simple yet effective mummified cookies, perfect for little hands to help decorate.
- Halloween Candy Apples: A classic fall treat with a spooky Halloween twist.
- Halloween Oreo Truffles: Easy, no-bake, and dangerously delicious bites.
I love to bake and cook and share my kitchen experience with all of you! Remembering to come back each day can be tough, that’s why I offer a convenient newsletter every time a new recipe posts. Simply subscribe and start receiving your free daily recipes!

Halloween Dirt Cupcakes
IMPORTANT – Find detailed tips, FAQs, and variations in the blog post above!
Print It
Pin It
Rate It
Save ItSaved!
Ingredients
- 21 cupcakes chocolate or vanilla (from cake mix or homemade, ensure cooled)
- 1 recipe Chocolate Fudge Frosting (or canned, thickened with powdered sugar)
- 10 Oreo cookies (crushed into fine crumbs)
- 6 ounces gummy worms sour or regular, cut in half for easier decoration
Optional
- instant chocolate pudding prepared according to package directions
Things You’ll Need
-
Chopstick or large skewer, if making poke cupcakes
-
Piping bag and tip optional, a large star tip for frosting creates a nice effect
-
Food processor or mini food chopper for crushing Oreos
Before You Begin
- Ensure your cupcakes are completely cooled before starting decoration.
- For more detailed tips on ingredients and variations, please refer to the main article above!
- If you don’t have piping bags, a sturdy plastic zipper-top bag with a corner snipped off makes a great substitute.
Instructions
-
If making poke cupcakes, use a chopstick or skewer to create three holes in the top of each cooled cupcake.
-
Pipe or spoon prepared instant chocolate pudding into the holes, leveling off the top.
-
Frost the cupcakes with chocolate fudge frosting. You can use a star tip for swirls or simply spread it on.
-
Process Oreo cookies in a food processor or mini chopper until fine crumbs form, resembling dirt.
-
Generously sprinkle the crushed Oreo crumbs over the frosted cupcakes.
-
Decorate with gummy worms, placing them on top and inserting them into the frosting to appear as if they’re emerging from the “dirt.” Cutting worms in half works well for placement.
Expert Tips & FAQs
- For comprehensive expert tips and frequently asked questions, including make-ahead and storage instructions, please refer to the detailed section in the blog post above!
- The nutritional values listed here are estimates and will vary based on the specific ingredients (e.g., cake mix brand, homemade vs. store-bought frosting). Values below do not include the optional pudding.
Nutrition
The recipes on this blog are tested with a conventional gas oven and gas stovetop. It’s important to note that some ovens, especially as they age, can cook and bake inconsistently. Using an inexpensive oven thermometer can assure you that your oven is truly heating to the proper temperature. If you use a toaster oven or countertop oven, please keep in mind that they may not distribute heat the same as a conventional full sized oven and you may need to adjust your cooking/baking times. In the case of recipes made with a pressure cooker, air fryer, slow cooker, or other appliance, a link to the appliances we use is listed within each respective recipe. For baking recipes where measurements are given by weight, please note that results may not be the same if cups are used instead, and we can’t guarantee success with that method.
