Irresistibly Easy No Bake Cheesecake Bars: Your Ultimate Guide to Creamy, Crowd-Pleasing Dessert
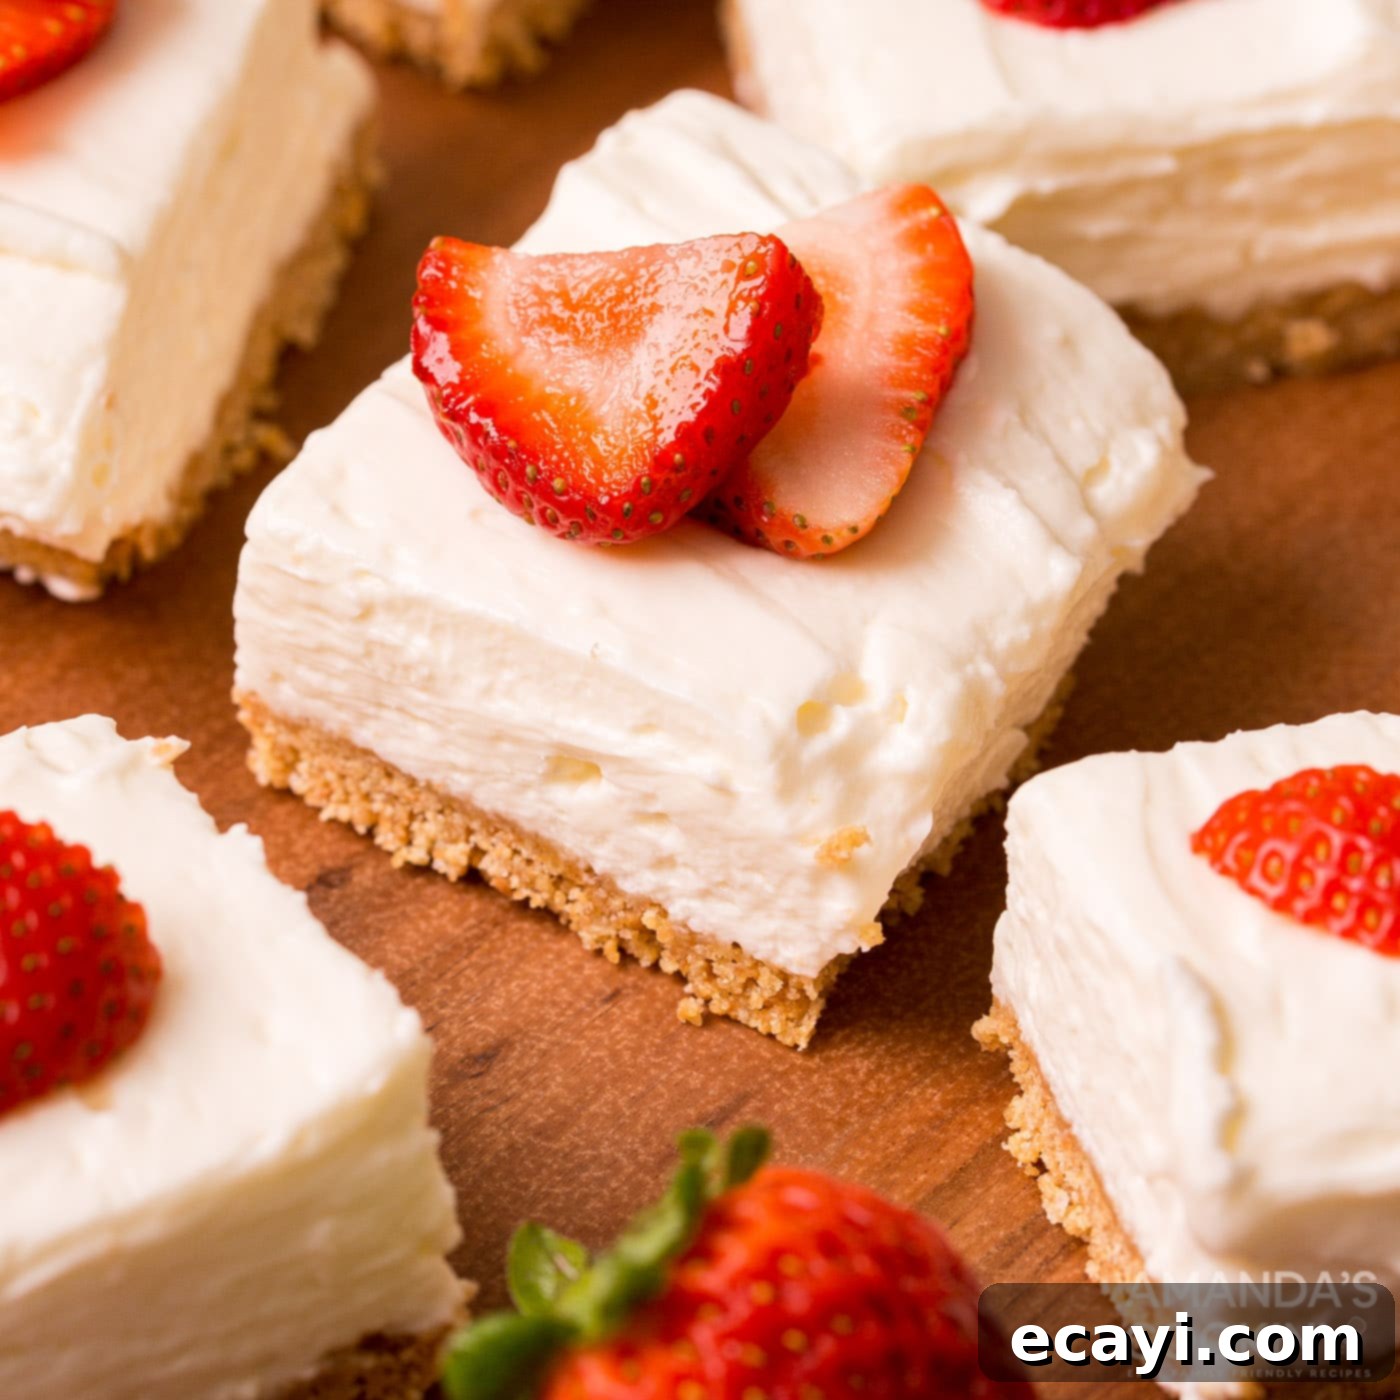
Imagine sinking your teeth into a luscious, creamy cheesecake atop a perfectly crisp, buttery graham cracker crust. These no bake cheesecake bars deliver all that decadent flavor and smooth texture you crave, without ever needing to turn on your oven. They are effortlessly elegant, incredibly simple to make, and undeniably the best dessert for any gathering, big or small. Forget the stress of cracking crusts or water baths; these bars are designed for delicious success every time!
Why These No Bake Cheesecake Bars Will Become Your Go-To Dessert
Who can resist the allure of a rich, velvety cheesecake? It’s a classic dessert that almost everyone adores, but traditional cheesecakes can be intimidating to bake. That’s where these no bake cheesecake bars shine. They offer all the beloved smooth, rich flavor of a baked cheesecake with none of the hassle, making them a true game-changer in your dessert repertoire. This recipe is an absolute winner for several key reasons:
- Effortless Preparation: As the name suggests, there’s no baking involved! This means you save significant time and energy, especially during hot summer months when turning on the oven is the last thing you want to do. The process is straightforward, relying on simple mixing and chilling.
- Perfect for Any Occasion: Whether it’s a casual potluck, a celebratory backyard barbecue, a holiday feast, or just a treat for your family, these bars fit right in. Their individual portions make them ideal for large gatherings, eliminating the need to slice and serve a whole cheesecake. Guests can easily grab a bar, making serving a breeze.
- Crowd-Pleasing Flavor and Texture: These bars boast a perfectly balanced sweet and tangy cream cheese filling that’s incredibly smooth and airy, thanks to the addition of whipped heavy cream. The contrast with the crunchy, buttery graham cracker crust creates a truly satisfying bite that appeals to all ages.
- Highly Customizable: While delicious on their own, these bars are a blank canvas for your creative topping ideas. You can dress them up with fresh fruit for an even prettier and more vibrant presentation, or experiment with various sauces and garnishes. For a delicious fruit-infused version, check out our no bake strawberry cheesecake bars!
- Make-Ahead Convenience: Requiring several hours of chill time, these bars are perfect for preparing in advance, freeing up your time on the day of your event. This makes them a stress-free option for entertaining.
With their ease, versatility, and undeniable deliciousness, these no bake cheesecake bars are guaranteed to be a hit and quickly earn a permanent spot in your favorite dessert recipes.
Key Ingredients for Your No Bake Cheesecake Bars
Crafting these simple yet stunning no bake cheesecake bars requires a handful of common pantry staples. Focusing on quality ingredients will ensure the best flavor and texture for your dessert. Below, we’ll cover the essential components. For exact measurements, step-by-step instructions, and a printable version of this recipe, be sure to scroll to the end of this post to find our full recipe card.
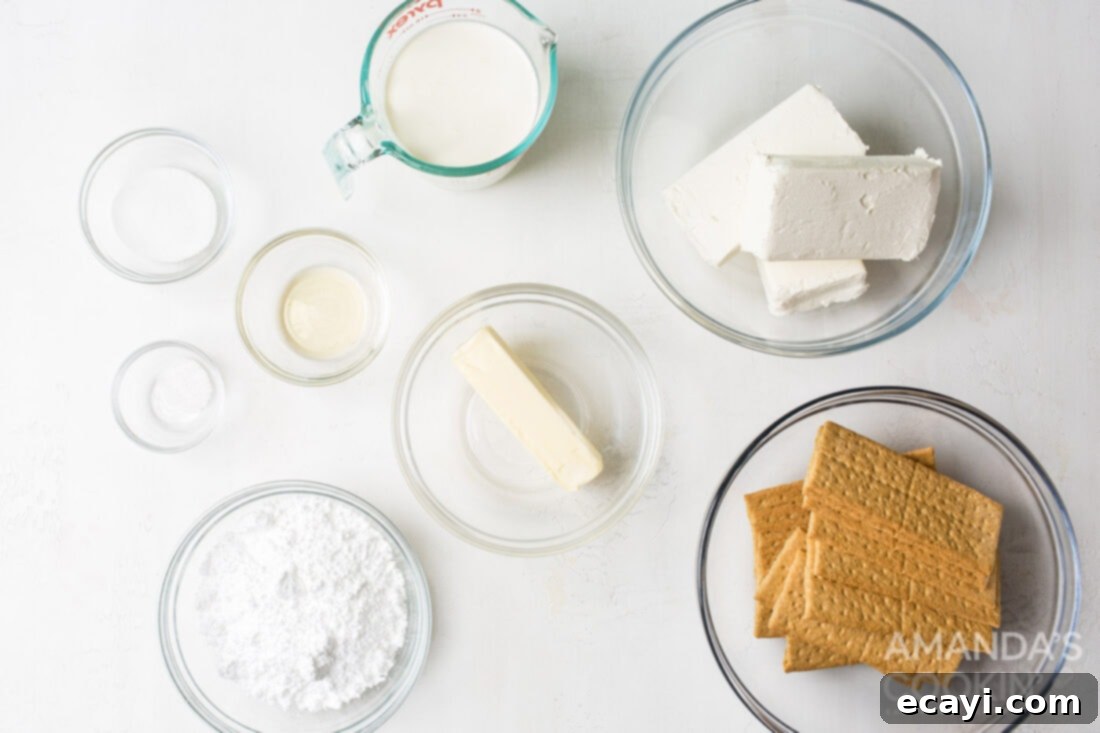
Ingredient Spotlight: Tips for Perfect Cheesecake Bars
Understanding each ingredient’s role and knowing how to properly prepare it, or what substitutes work best, is key to achieving a flawless no bake cheesecake. Here’s a deeper dive into the components that make these bars so delightful:
For the Creamy Cheesecake Filling:
CREAM CHEESE – You will need 24 ounces (three standard 8-ounce blocks) of full-fat cream cheese. The success of your cheesecake bars hinges significantly on the cream cheese being properly softened. To achieve that perfectly smooth, lump-free batter, it’s crucial to cube your cream cheese and let it rest on a plate at room temperature for at least 30-60 minutes before you begin mixing. This allows the cream cheese to incorporate smoothly with other ingredients, preventing lumps and ensuring a velvety texture. Always opt for full-fat cream cheese for the best results; reduced-fat or whipped varieties often contain more water or stabilizers that can alter the texture and setting of a no-bake cheesecake, making it less firm and creamy.
HEAVY WHIPPING CREAM – This ingredient is a secret weapon for taking the creaminess and lightness of these bars up a notch. When whipped to stiff peaks, it incorporates air into the filling, resulting in a delightfully airy and melt-in-your-mouth texture that contrasts beautifully with the dense cream cheese. Ensure your heavy whipping cream is very cold before whipping; this helps it whip up faster and hold its shape better.
POWDERED SUGAR (Confectioners’ Sugar) – Unlike granulated sugar, powdered sugar dissolves easily into the cream cheese mixture without leaving a grainy texture, which is essential for a smooth, no-bake dessert. It provides the perfect level of sweetness, complementing the tang of the cream cheese.
VANILLA EXTRACT – A touch of high-quality vanilla extract enhances all the flavors in the cheesecake filling, adding a warm, aromatic depth. For a different flavor profile, consider adding a hint of lemon zest, almond extract, or even a touch of cocoa powder for a chocolate twist.
For the Buttery Graham Cracker Crust:
GRAHAM CRACKERS – The foundation of these no bake cheesecake bars is a classic, buttery graham cracker crust. Finely pulsed graham cracker crumbs provide a sturdy yet delicate base that perfectly complements the creamy filling. The fine crumb ensures a uniform texture when pressed into the pan.
SALT, SUGAR, AND MELTED BUTTER – These ingredients transform simple graham cracker crumbs into a rich, flavorful, and perfectly bound crust. The salt balances the sweetness, the sugar adds a touch more sweetness and helps with binding, and the melted unsalted butter acts as the glue, creating that irresistible buttery texture. Always use unsalted butter to control the overall saltiness of your dessert. Ensure the butter is fully melted and thoroughly mixed into the crumbs for the best consistency.
Ingredient Substitution Suggestions for the Crust:
If you’re looking to change up the crust, there are fantastic alternatives to graham crackers:
- Chocolate or Golden Oreos: For a decadent twist, use chocolate or golden Oreos. Simply pulse the whole cookies (cream filling and all) in a food processor until fine crumbs form. Because Oreos are already sweet and contain fat from their filling, you can omit the added butter, sugar, and salt from the original recipe. Just press the pulsed crumbs directly into your dish.
- Nilla Wafers: These vanilla-flavored cookies make a delightful and slightly softer crust. Use them as you would graham crackers, with butter, sugar, and a pinch of salt.
- Shortbread Cookies: For a more buttery and crumbly crust, shortbread cookies are an excellent choice. Pulse them and combine with melted butter.
- Ginger Snaps: If you enjoy a hint of spice, finely crushed ginger snaps can create a unique and flavorful crust, especially appealing during the fall and winter months.
Always ensure your chosen cookie crumbs are finely processed to create a compact and stable crust for your no-bake cheesecake bars.
Step-by-Step: Crafting Your Delicious No Bake Cheesecake Bars
These step-by-step photos and detailed instructions are here to help you visualize exactly how to make this delightful recipe. For a convenient printable version of this recipe, complete with precise measurements and comprehensive instructions, you can Jump to Recipe at the bottom of this post.
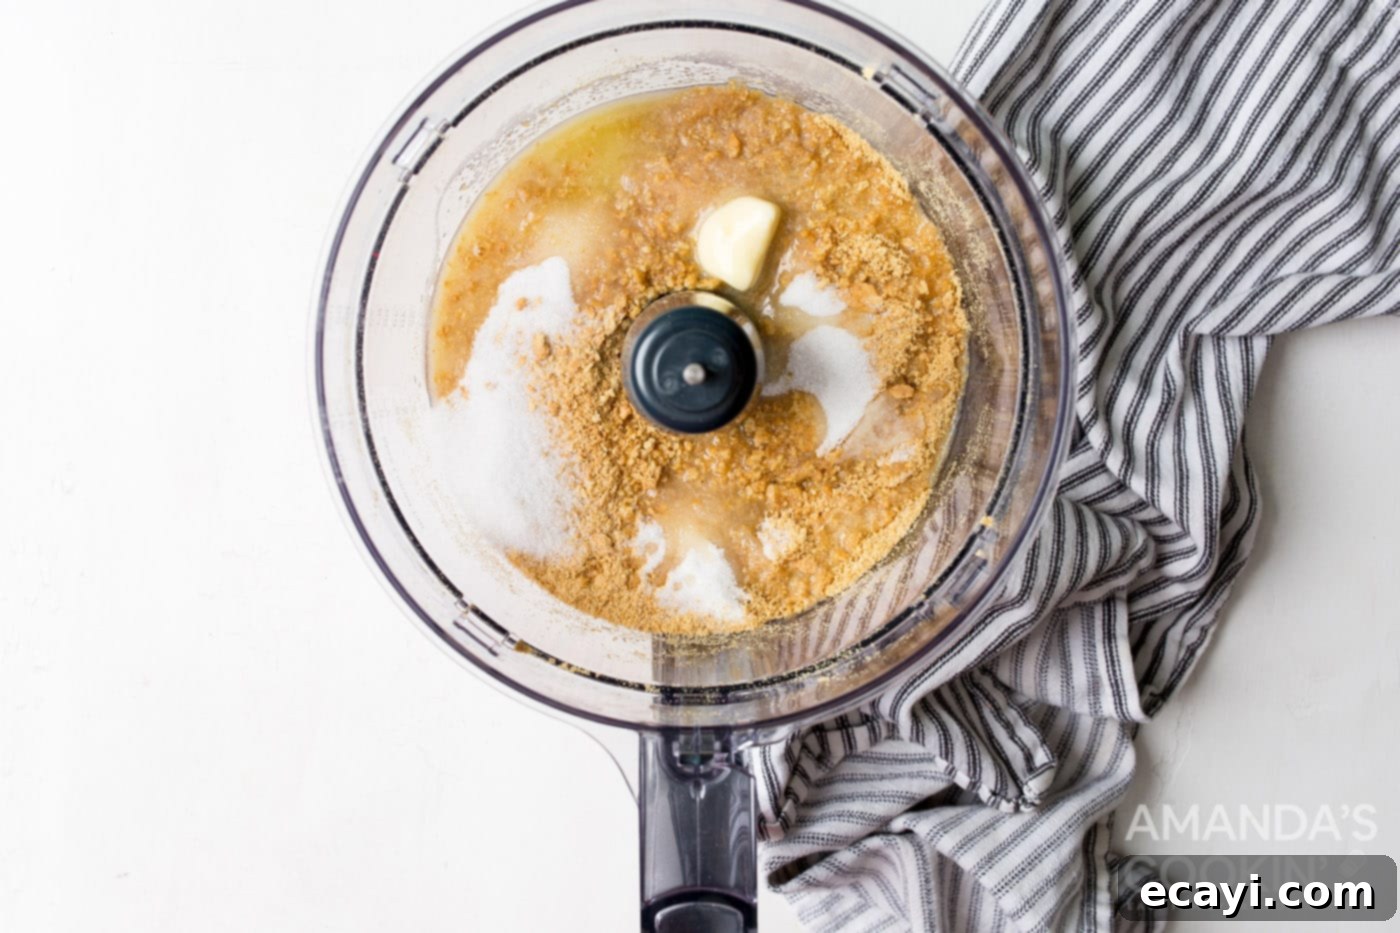
- Prepare the Crust: To a food processor, add the graham crackers. Pulse them until they form a fine, even crumb. Next, add the granulated sugar, a pinch of salt, and the melted unsalted butter to the food processor. Pulse again until all ingredients are thoroughly combined and the mixture resembles wet sand. Firmly press this mixture into the bottom of a parchment-lined 13×9 casserole dish. Lining with parchment paper ensures easy removal and clean slices later. Place the prepared crust into the refrigerator or freezer to chill and set while you prepare the filling. This crucial step helps the crust firm up and prevents it from crumbling when you add the filling.

- Beat the Cream Cheese: In a large mixing bowl, using a hand mixer (or a stand mixer with a paddle attachment), beat the softened cream cheese on medium speed for about 3-5 minutes. Continue mixing until it becomes noticeably light, fluffy, and completely smooth. Make sure to scrape down the sides of the bowl occasionally to ensure no lumps remain. This step is vital for a silky-smooth cheesecake texture.
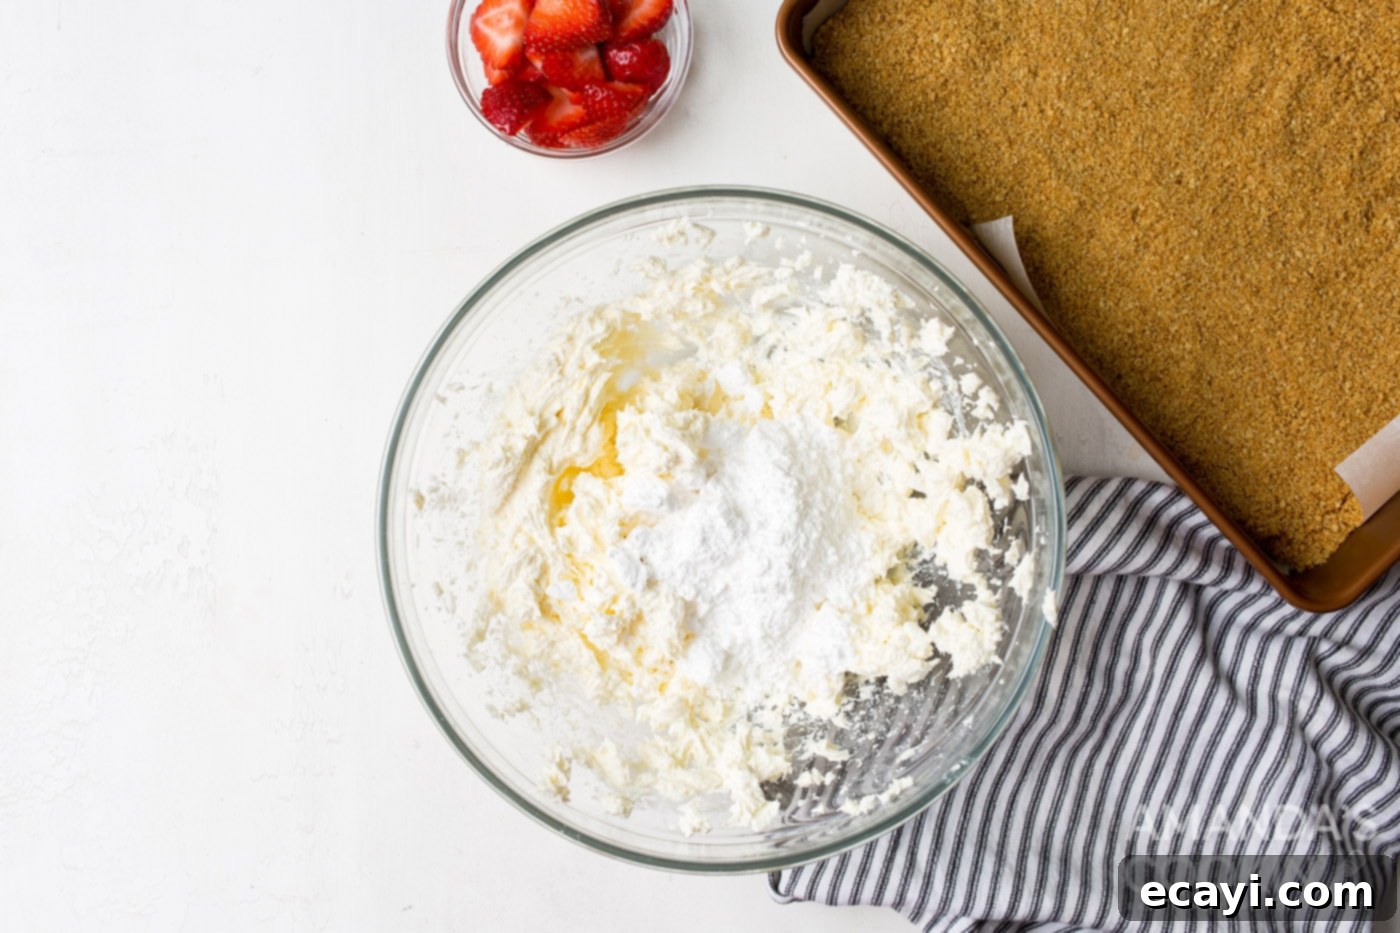
- Sweeten and Flavor the Filling: Add the confectioners’ sugar and vanilla extract to the beaten cream cheese. Continue to beat the mixture on medium speed until these ingredients are fully incorporated and the filling is smooth and well combined. Again, scrape down the sides as needed to ensure even mixing.

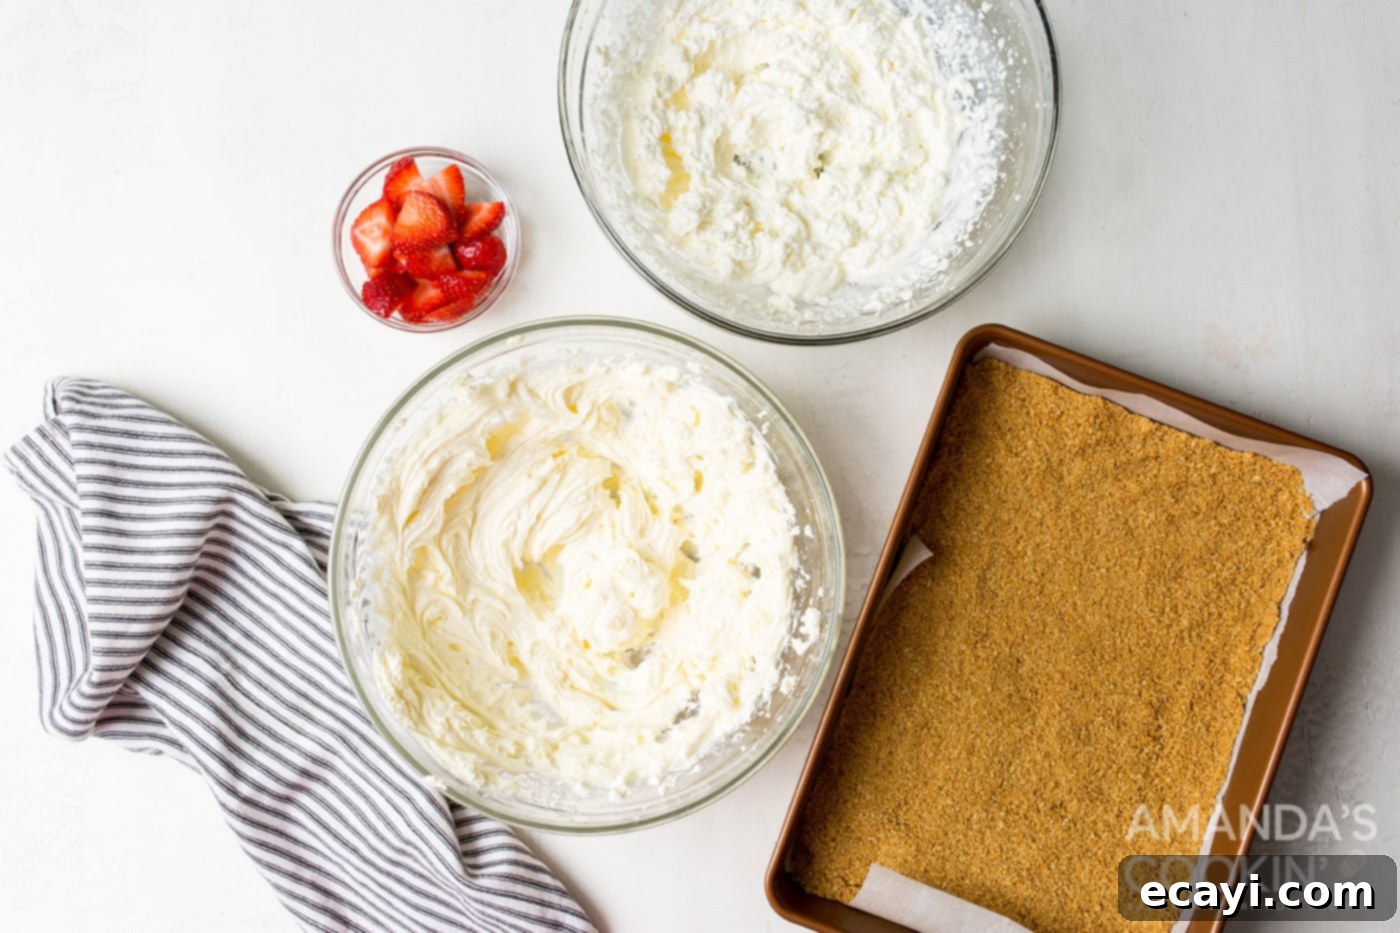
- Whip the Heavy Cream: In a separate, clean large bowl, beat the very cold heavy whipping cream using your hand mixer on high speed. Continue beating until stiff peaks form. Stiff peaks mean that when you lift the beaters, the cream stands up firmly without collapsing. Be careful not to overbeat, as it can turn into butter.

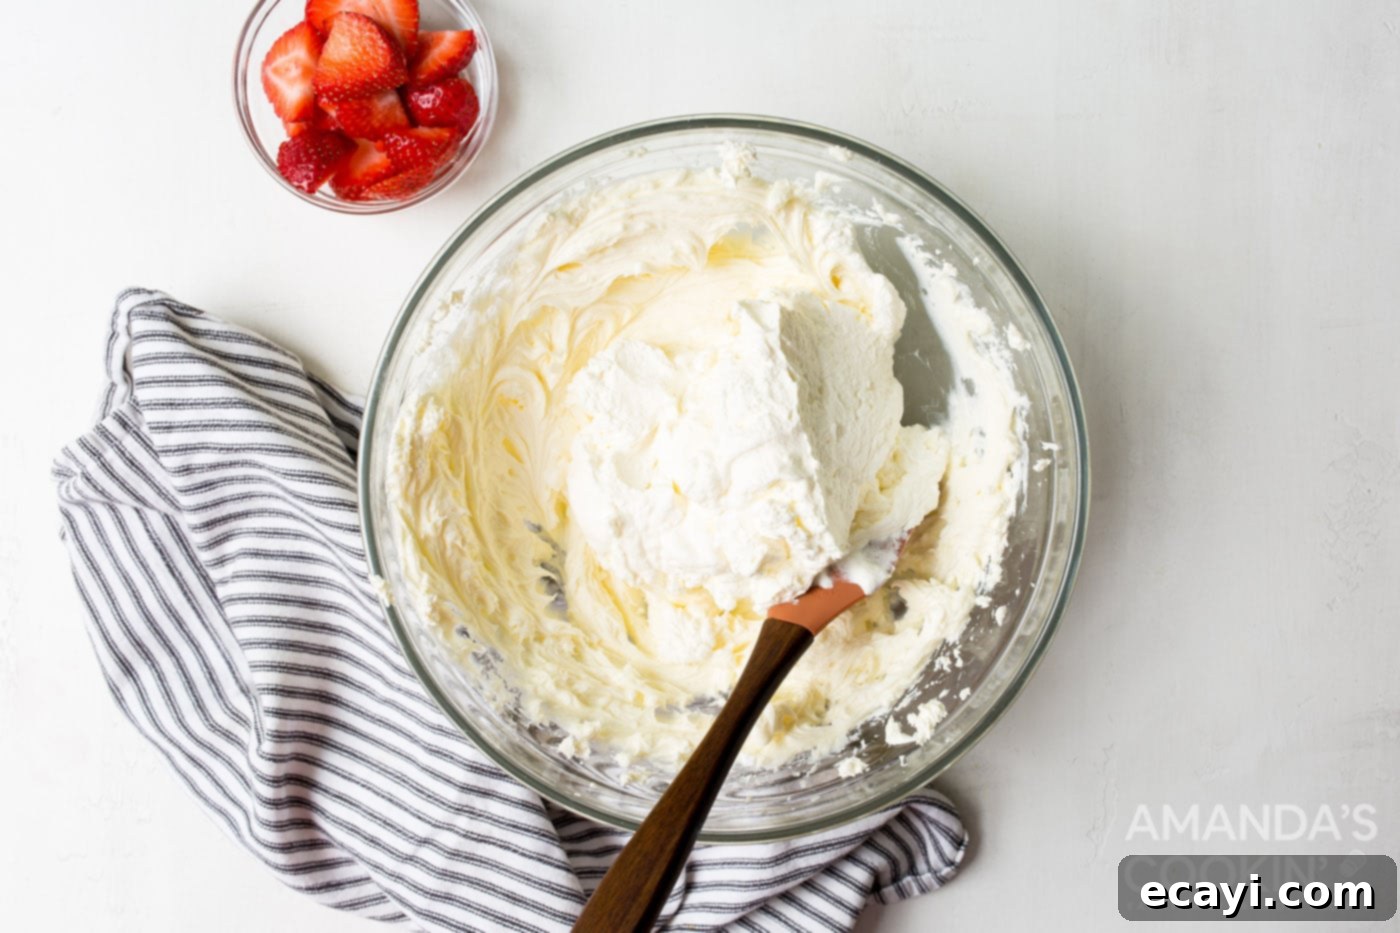
- Combine the Mixtures: Gently use a rubber spatula to fold the whipped cream into the cream cheese mixture. Use a light hand and fold just until no streaks of white cream remain. Overmixing here can deflate the whipped cream, resulting in a denser filling. Carefully pour this combined, fluffy cheesecake mixture over the chilled graham cracker crust in the casserole dish. Use the spatula to gently smooth the top evenly.

- Chill to Perfection: Place the dish back into the refrigerator. It’s essential to allow the cheesecake bars to chill for a minimum of 6 hours, or ideally, overnight. This extended chilling time allows the filling to firm up completely, ensuring clean, beautiful slices.
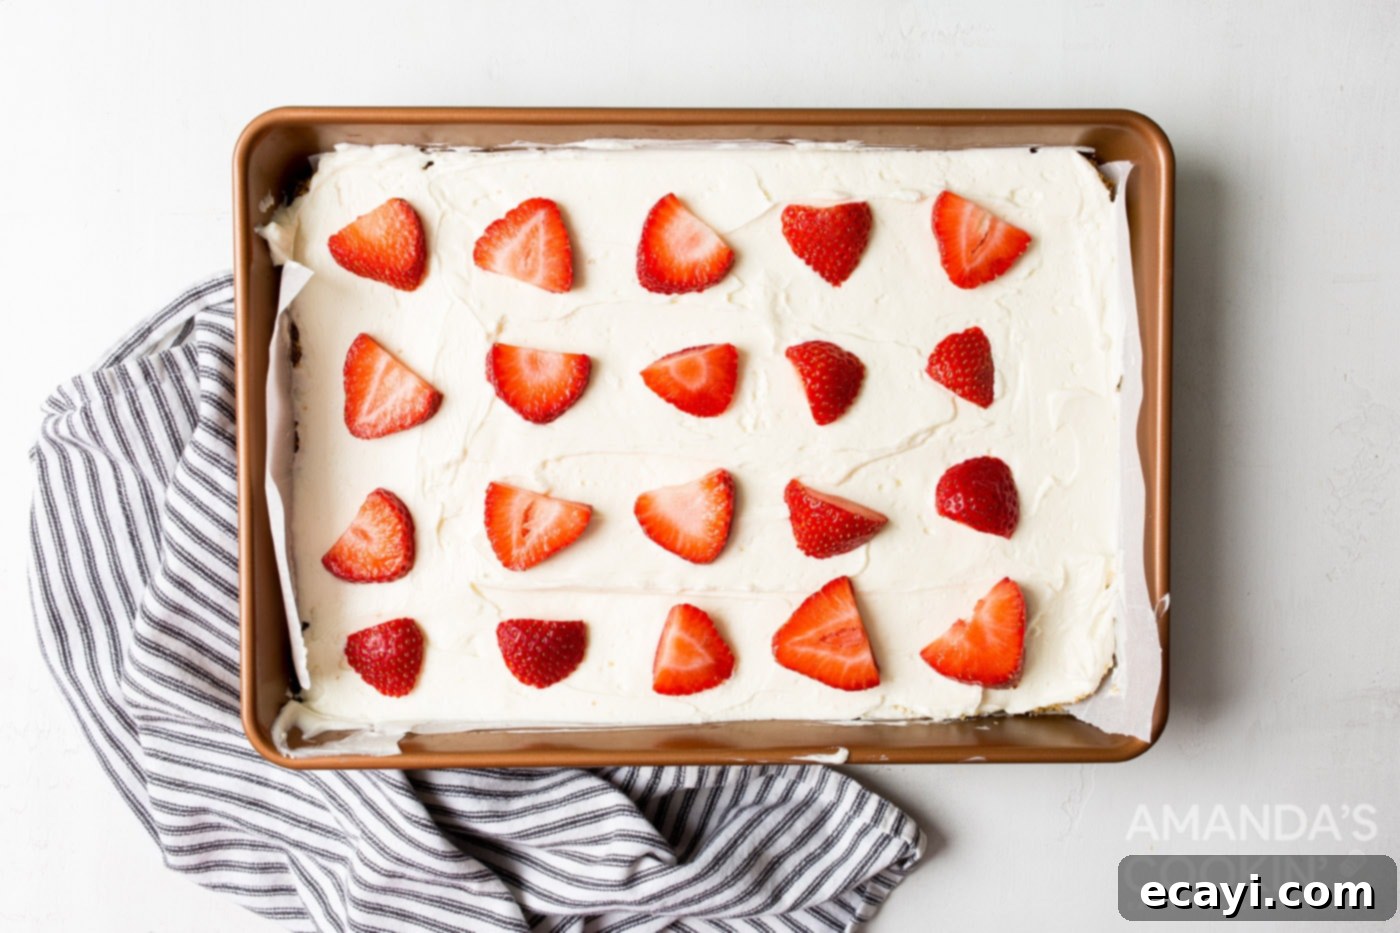
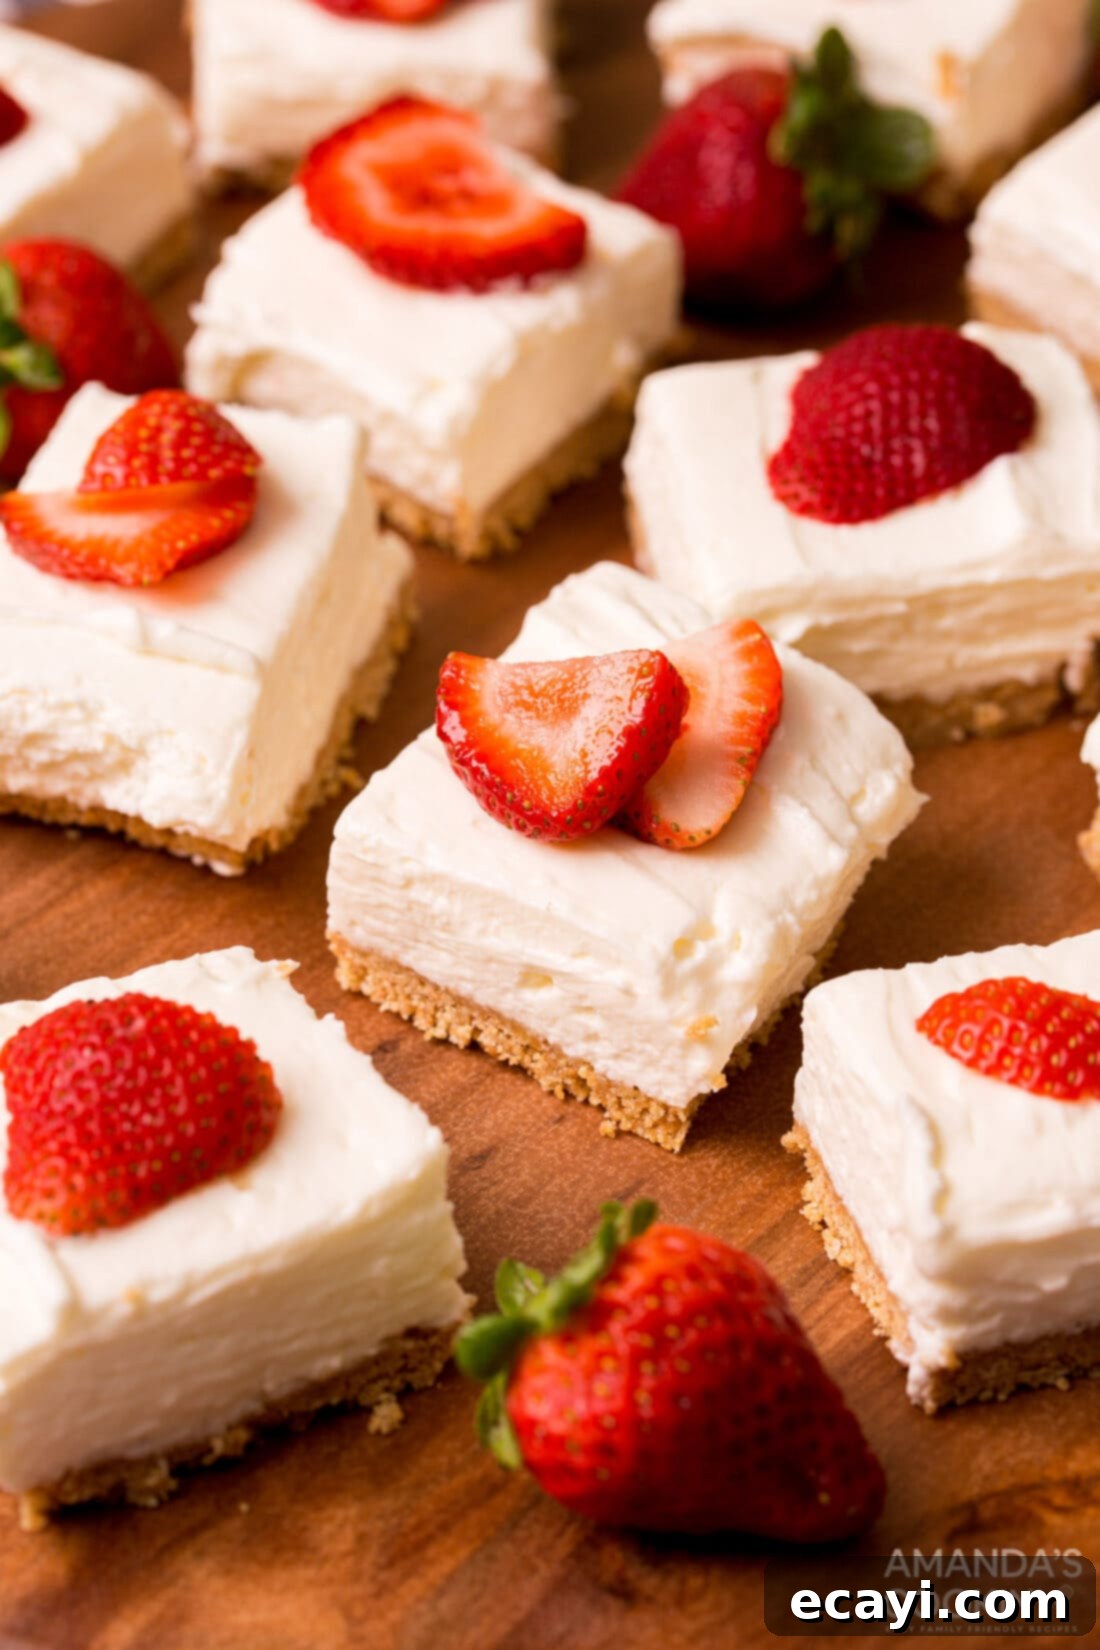
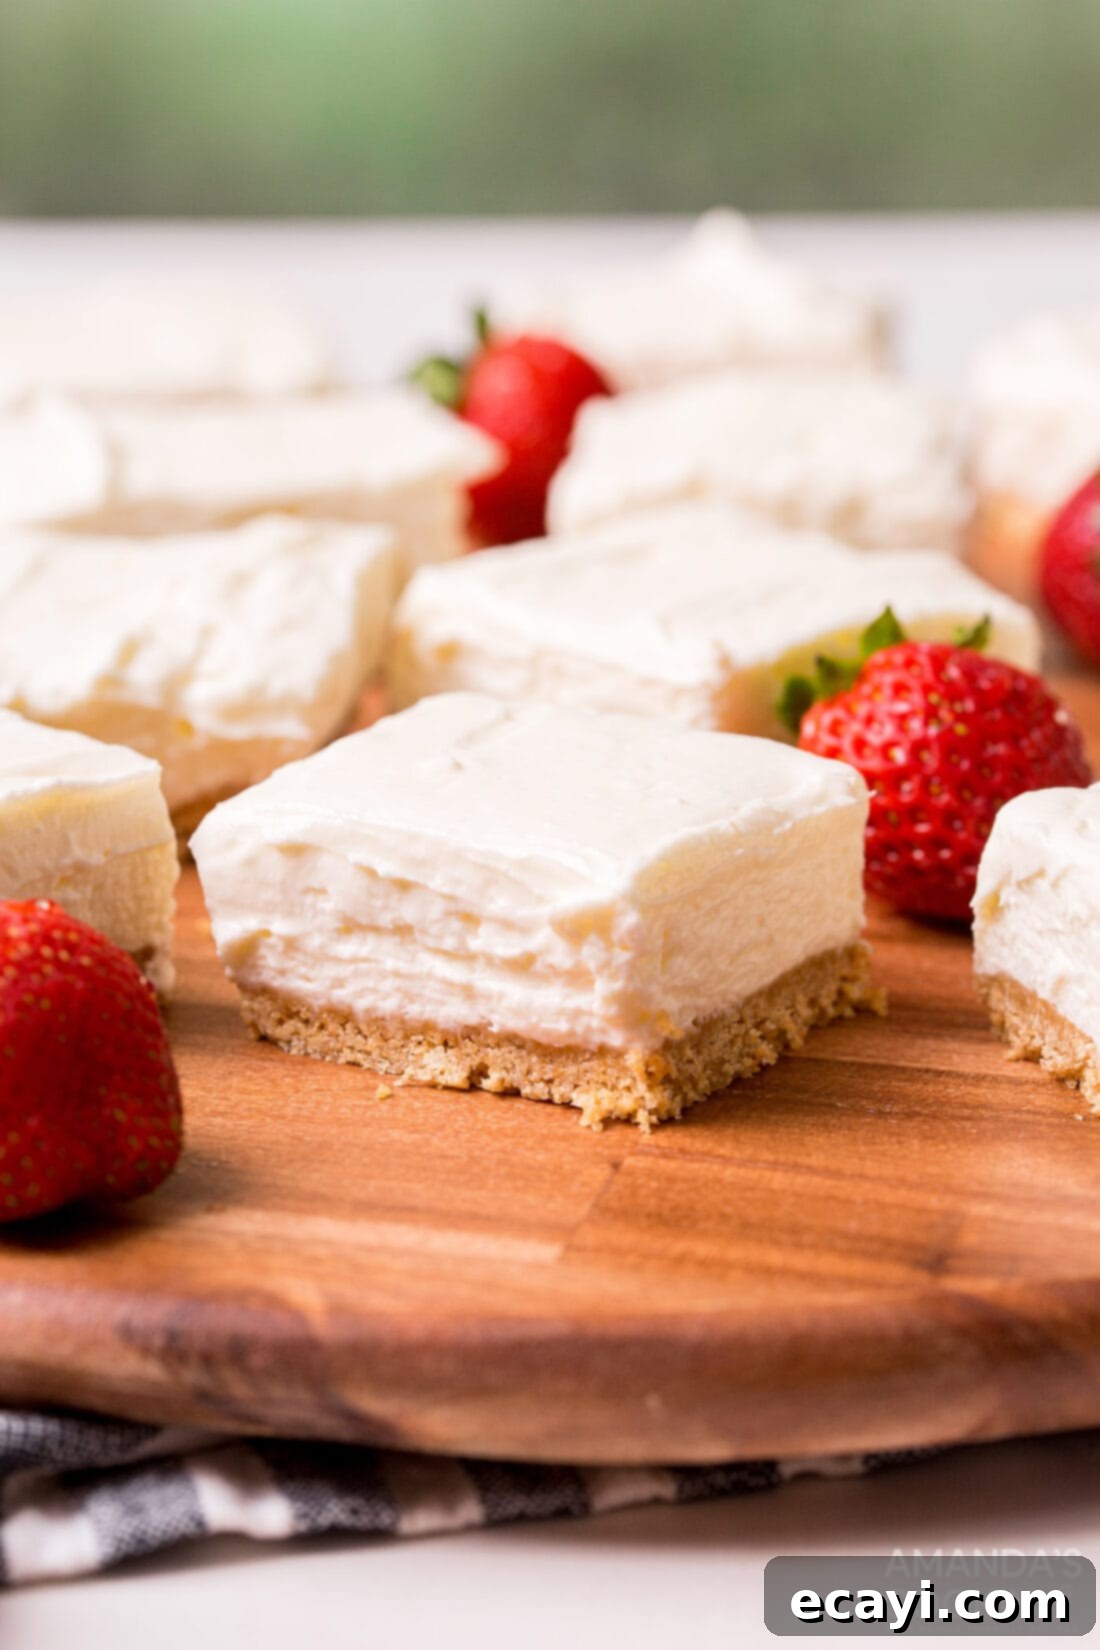
- Slice and Serve: Once thoroughly chilled, remove the cheesecake from the dish by lifting it out using the parchment paper edges. Place it on a cutting board. Using a sharp knife, carefully cut the cheesecake into 20 (5×4) even pieces. For cleaner cuts, wipe the knife clean with a warm, damp cloth between each slice. Top with fresh sliced strawberries or your desired garnish just before serving.

Frequently Asked Questions & Expert Tips for No Bake Cheesecake Bars
Yes, absolutely! These no bake cheesecake bars freeze beautifully. To do so, first ensure they are fully chilled and firm. Then, place the bars in a single layer on a baking sheet and freeze for about an hour until solid. Once firm, transfer them to an airtight freezer-safe container, separating layers with parchment paper to prevent sticking. They can be stored in the freezer for up to 2 months. You can enjoy them directly from the freezer for a frozen cheesecake treat, or thaw them overnight in the refrigerator before serving for a softer texture.
Yes, making these bars in advance is highly recommended and one of their best features! They require a minimum of 6 hours of chill time to set properly, so preparing them the day before an event is perfect. You can realistically make them up to 2 days in advance. Simply prepare the cheesecake bars as directed, then store them in an airtight container in the refrigerator until you’re ready to serve. This makes them an excellent stress-free option for entertaining.
To maintain their freshness and creamy texture, store your no bake cheesecake bars in an airtight container in the refrigerator. When properly stored, they will remain delicious for 6-7 days. Beyond that, consider freezing them as detailed above.
A runny filling is often due to a few common culprits. Firstly, ensure your cream cheese was fully softened before mixing; cold cream cheese doesn’t incorporate smoothly and can leave lumps, affecting consistency. Secondly, make sure your heavy whipping cream was whipped to stiff peaks. If it’s under-whipped, it won’t provide enough structure. Lastly, adequate chilling time is crucial. The filling needs at least 6 hours (preferably overnight) in the refrigerator to properly set and firm up. Using full-fat cream cheese is also essential, as reduced-fat options contain more water.
For perfectly neat and clean slices, always ensure your cheesecake bars are thoroughly chilled, ideally overnight. Before cutting, run a sharp knife under hot water, wipe it dry, and then make your first slice. Repeat this process – warming and wiping the knife – before each subsequent cut. This prevents the filling from sticking to the knife and creates beautifully defined edges for each bar.
Absolutely! This base recipe is wonderfully versatile. You can easily infuse different flavors into your cheesecake filling. Consider adding citrus zest (lemon, lime, or orange) for a bright, refreshing taste. A tablespoon or two of cocoa powder can create a subtle chocolate cheesecake. You can also experiment with different extracts like almond, peppermint (for holidays), or coconut. Just ensure any additions don’t significantly alter the liquid content.
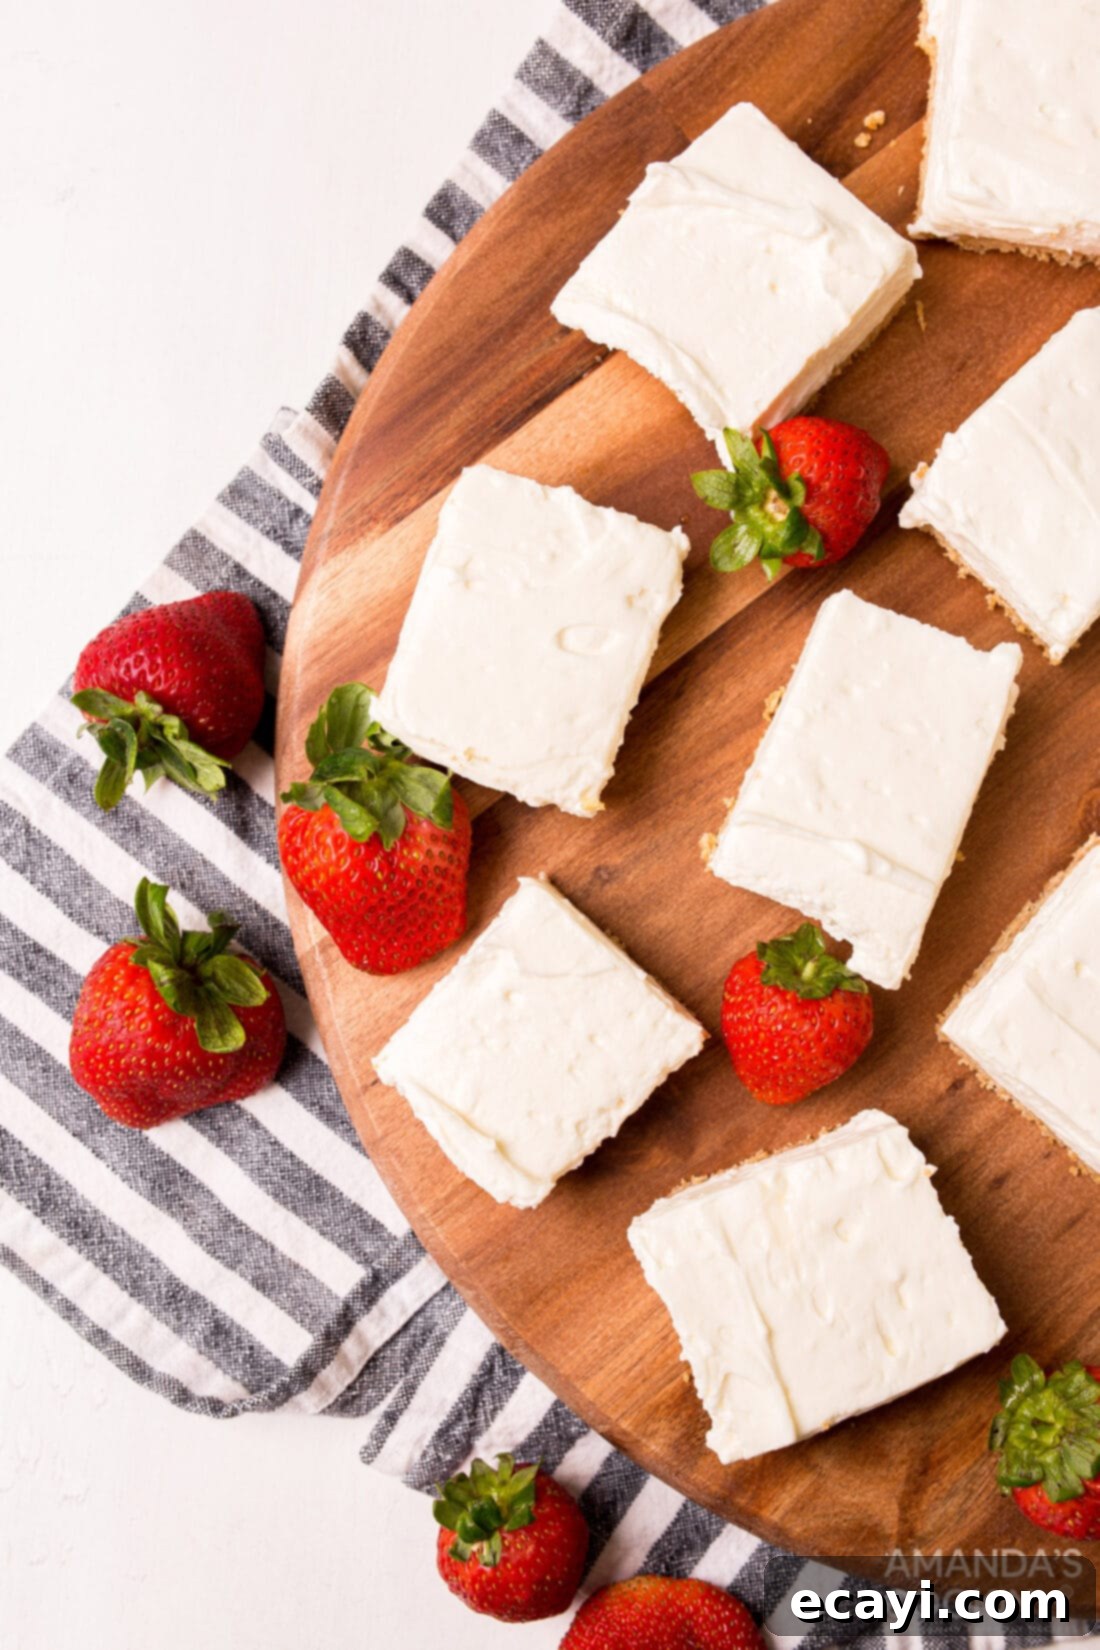
Elevate Your No Bake Cheesecake Bars with Creative Toppings
While these creamy no bake cheesecake bars are absolutely delicious on their own, adding a garnish or topping can elevate their appearance and flavor profile, making for an even more impressive presentation. Here are some fantastic serving suggestions to inspire you:
- Fresh Fruit Medley: The vibrant colors and natural sweetness of fresh fruit are a perfect match for the rich cheesecake. Top your bars with a generous array of sliced strawberries, juicy blueberries, tart raspberries, or plump blackberries. A mix of seasonal berries creates a stunning visual appeal and adds a burst of fresh flavor.
- Decadent Sauces: Drizzle your bars with warm chocolate ganache, a rich caramel sauce, or a tangy berry coulis. These sauces add another layer of flavor and a touch of elegance. You can even create a swirl pattern for an artistic touch.
- Whipped Cream and Nuts: A dollop of freshly whipped cream provides an extra cloud of lightness. For added texture and nutty flavor, sprinkle finely chopped toasted nuts such as pecans, walnuts, or almonds on top. Toasted coconut flakes also make a tropical and crunchy addition.
- Extra Crumbs: For those who love the crust, sprinkle a few extra graham cracker crumbs (or crushed Oreos if you used those for the crust) over the top of the cheesecake bars just before serving.
- Citrus Zest: A delicate sprinkle of fresh lemon, lime, or orange zest can add a bright, aromatic finish that beautifully cuts through the richness of the cheesecake.
- Serve Frozen: For a unique treat, keep these bars in the freezer and enjoy them chilled solid, almost like a cheesecake ice cream bar! This is especially refreshing on a hot day.
Remember to keep your no bake cheesecake bars well-chilled until just before serving to maintain their firm structure and best texture. Garnish right before presentation for the freshest look.
Explore More Easy No Bake Recipes
If you’ve fallen in love with the convenience and deliciousness of no bake desserts, you’re in for a treat! We have a collection of other fantastic recipes that require no oven time, perfect for quick fixes or beating the heat. Expand your repertoire with these delightful no bake creations:
- Individual Tiramisu
- No Bake Chocolate Cheesecake
- No Bake Peanut Butter Bars
- No Bake Pumpkin Cheesecake
- No Bake Strawberry Cheesecake Bars
- Chocolate No Bake Cookies
- Cheesecake Stuffed Strawberries
I love to bake and cook and share my kitchen experience with all of you! Remembering to come back each day can be tough, that’s why I offer a convenient newsletter every time a new recipe posts. Simply subscribe and start receiving your free daily recipes!
No Bake Cheesecake Bars
IMPORTANT – There are often Frequently Asked Questions within the blog post that you may find helpful. Simply scroll back up to read them!
Print It
Pin It
Rate It
Save ItSaved!
Ingredients
- 16 graham crackers 16 full sheets of graham crackers, pulsed
- 2 Tbsp granulated sugar
- ½ tsp salt
- 8 Tbsp unsalted butter melted
- 24 oz cream cheese softened at room temperature
- 1 ½ cups confectioners sugar
- 1 tsp vanilla extract
- 1 ½ cup heavy whipping cream
Things You’ll Need
-
13×9 baking dish
-
Hand mixer
-
Food processor
Before You Begin
- These no bake cheesecake bars are best when fully chilled. For optimal results, plan to make them at least 6 hours in advance, or ideally the day before you plan to serve them.
- Store in an air-tight container in the refrigerator for up to 7 days. They can also be frozen for up to 2 months; thaw overnight in the refrigerator before serving.
- You can alternatively use golden or chocolate Oreos for the crust. If you plan to do so, remove the butter, sugar, and salt that goes with the graham cracker crust. Pulse Oreos in a food processor (cream filling and all) until fine crumbs form, then press directly into the pan.
- Ensure your cream cheese is softened to room temperature for a lump-free, smooth filling.
Instructions
-
To a food processor add the graham crackers and pulse until a fine crumb. Add the salt, sugar, and melted butter to the food processor. Pulse until well combined. Press firmly into a 9×13, parchment lined casserole dish. Place into the fridge or freezer while assembling the filling.
-
In a large bowl, beat the softened cream cheese with a hand mixer about 3-5 minutes, until light and fluffy. Scrape down the sides of the bowl as needed.
-
Add the confectioners sugar and vanilla extract. Beat again until combined and smooth.
-
In a separate large bowl, beat the very cold heavy whipping cream until stiff peaks form. Be careful not to overbeat.
-
Use a rubber spatula to gently fold the whipped cream into the cream cheese mixture until just combined. Pour the combined mixture onto the graham cracker crust and smooth evenly with the spatula.
-
Refrigerate for at least 6 hours to overnight, allowing the cheesecake to set completely.
-
Remove from the dish by lifting the parchment paper, and cut with a sharp, warm knife into 20 (5×4) pieces. Top with sliced strawberries or your desired garnishes if desired, and serve chilled.
Nutrition
The recipes on this blog are tested with a conventional gas oven and gas stovetop. It’s important to note that some ovens, especially as they age, can cook and bake inconsistently. Using an inexpensive oven thermometer can assure you that your oven is truly heating to the proper temperature. If you use a toaster oven or countertop oven, please keep in mind that they may not distribute heat the same as a conventional full sized oven and you may need to adjust your cooking/baking times. In the case of recipes made with a pressure cooker, air fryer, slow cooker, or other appliance, a link to the appliances we use is listed within each respective recipe. For baking recipes where measurements are given by weight, please note that results may not be the same if cups are used instead, and we can’t guarantee success with that method.
