Crispy, Cheesy & Irresistible: The Ultimate Easy Chicken Quesadilla Recipe for Weeknights
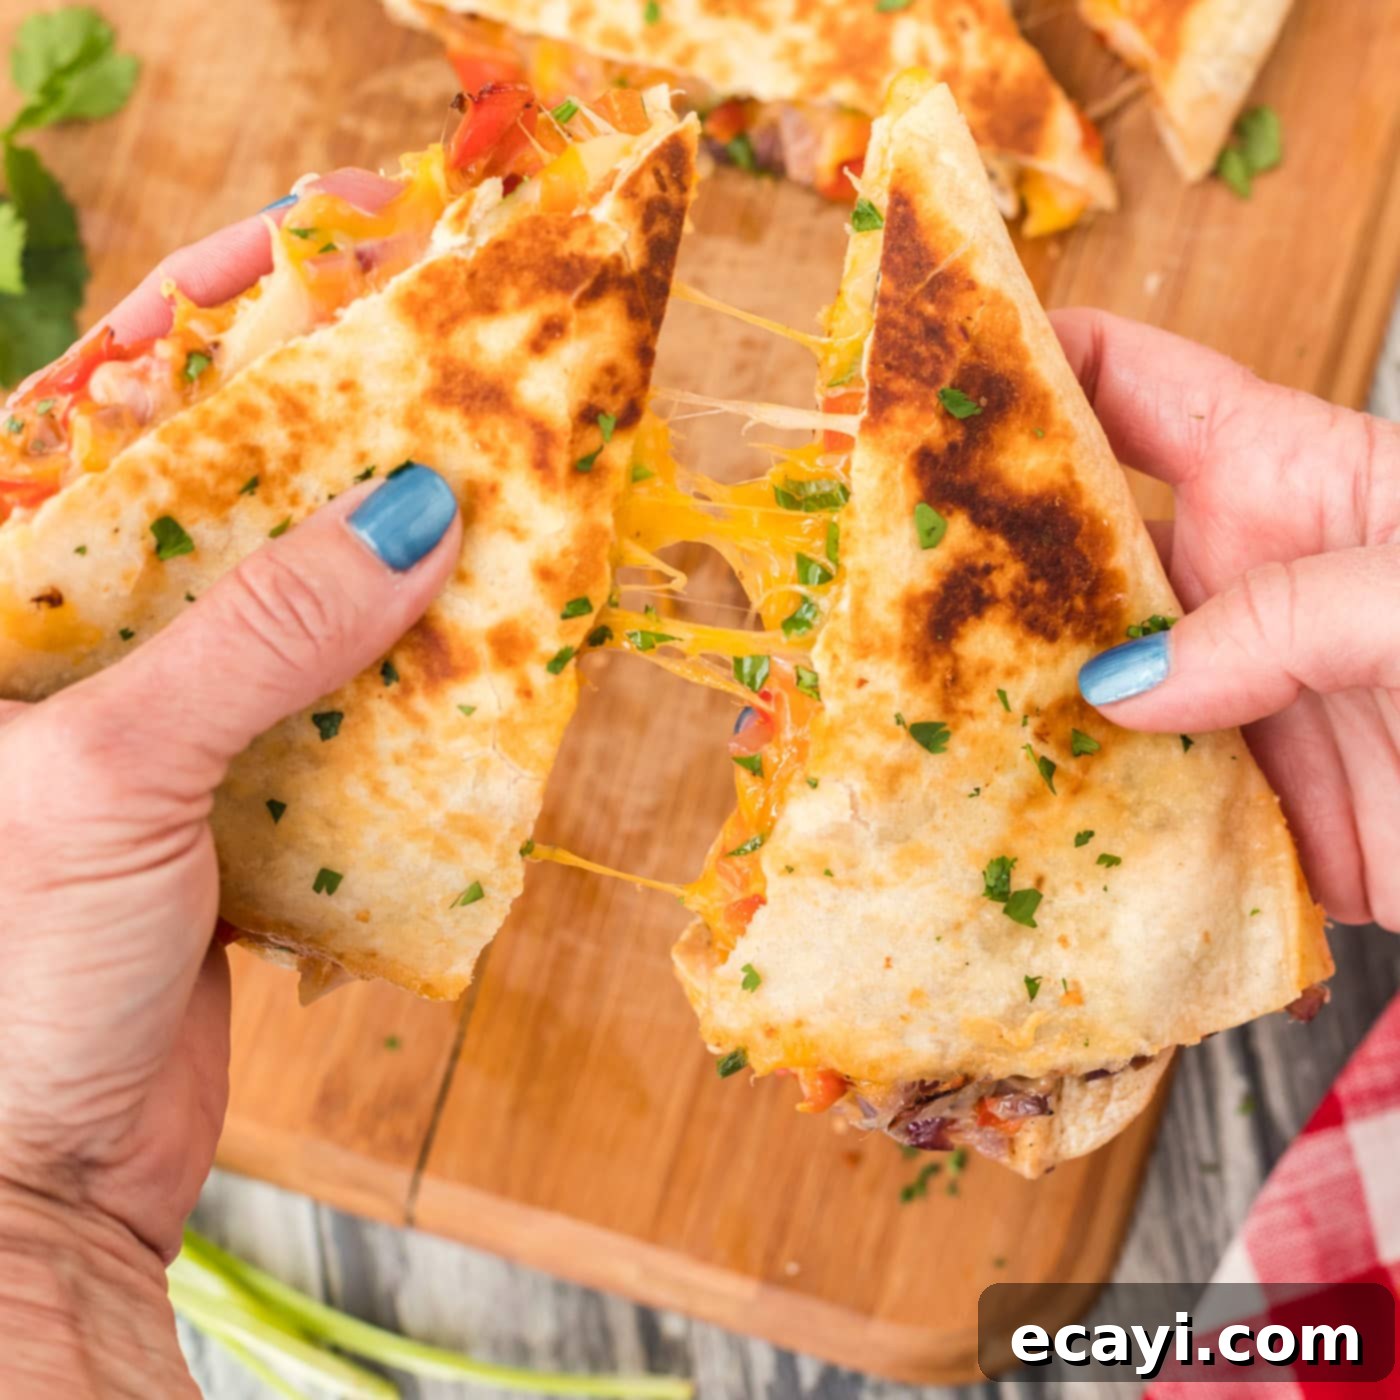
Craving a quick, satisfying, and incredibly flavorful meal that the whole family will adore? Look no further than these easy cheesy chicken quesadillas! Far from your average simple cheese-and-tortilla combo, this recipe elevates the classic quesadilla into a vibrant culinary experience. Each oversized tortilla is generously stuffed with a delectable blend of melty cheddar and mozzarella cheeses, tender seasoned chicken, and crisp, colorful bell peppers alongside savory onions. Cooked to golden-brown perfection on the outside with a gloriously gooey interior, these quesadillas are ideal for a bustling weeknight dinner, a casual lunch, or a crowd-pleasing appetizer for any gathering. Prepare to be amazed by how such a simple dish can deliver such an explosion of flavor and texture!
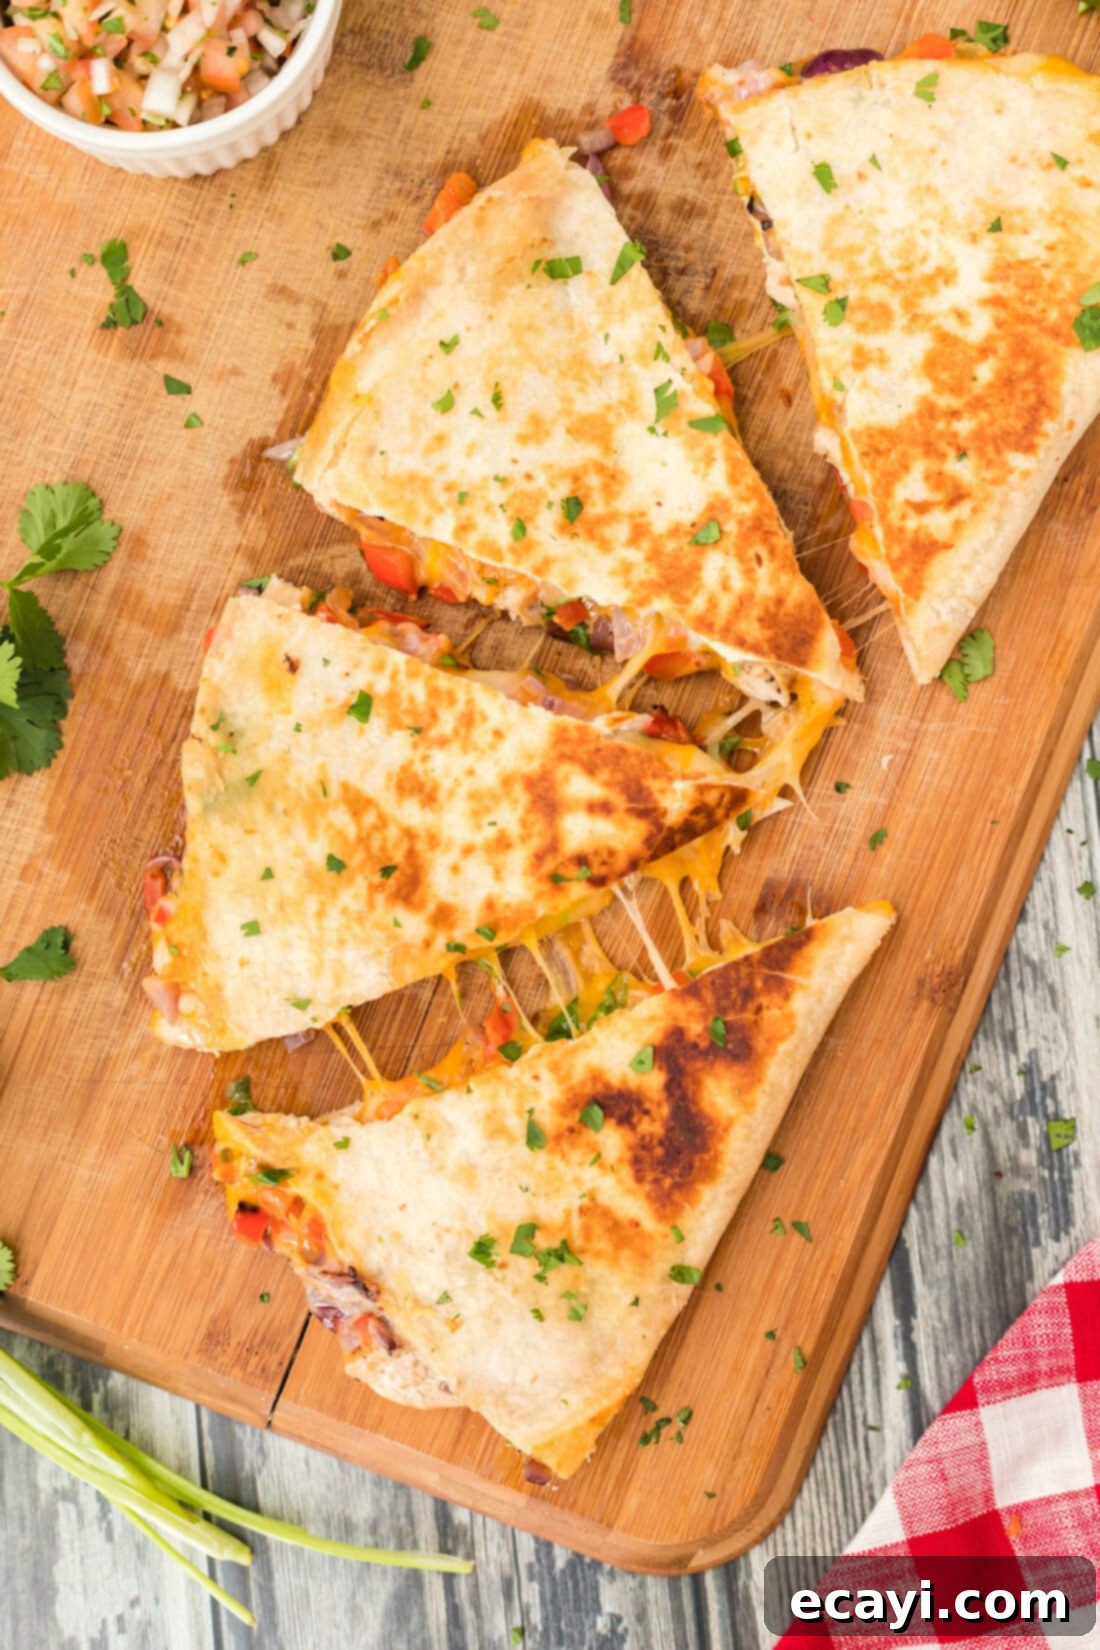
Why This Recipe Works: More Than Just a Basic Quesadilla
Forget everything you thought you knew about plain, uninspired quesadillas. This chicken quesadilla recipe stands out for several compelling reasons, transforming a simple concept into a truly memorable dish. First, we don’t settle for just one type of cheese; our secret lies in combining both sharp cheddar and wonderfully stretchy mozzarella. This dynamic duo ensures a rich, creamy, and irresistibly melty cheese pull with every bite. The robust flavor of cheddar perfectly complements the mild, gooey texture of mozzarella, creating an ideal base for our savory fillings.
Beyond the cheese, these quesadillas are generously packed with tender, perfectly seasoned chicken, vibrant bell peppers, and sweet red onion. This thoughtful combination of ingredients provides a balanced flavor profile and delightful textural contrast. The crispness of the vegetables adds a fresh counterpoint to the soft chicken and melted cheese, while the savory chicken makes it a hearty and filling meal. Everything is encased in an extra-large flour tortilla, which crisps up beautifully on the outside to a golden hue, providing a satisfying crunch that gives way to the warm, gooey, and flavorful interior.
Quesadillas are a beloved staple in our home because of their incredible ease and speed of preparation. They are a true weeknight savior, requiring minimal effort but delivering maximum satisfaction. Adding a bit of chicken transforms them from a snack into a complete and satisfying meal that even the pickiest eaters can’t resist. While today we’re mastering the skillet method for that perfect crispy crust, we can also guide you on how to achieve equally delicious results if you prefer a grilled chicken quesadilla. This recipe truly works because it takes a simple idea and executes it with attention to detail, resulting in a superior, restaurant-quality quesadilla right in your own kitchen.
Essential Ingredients for Your Perfect Chicken Quesadilla
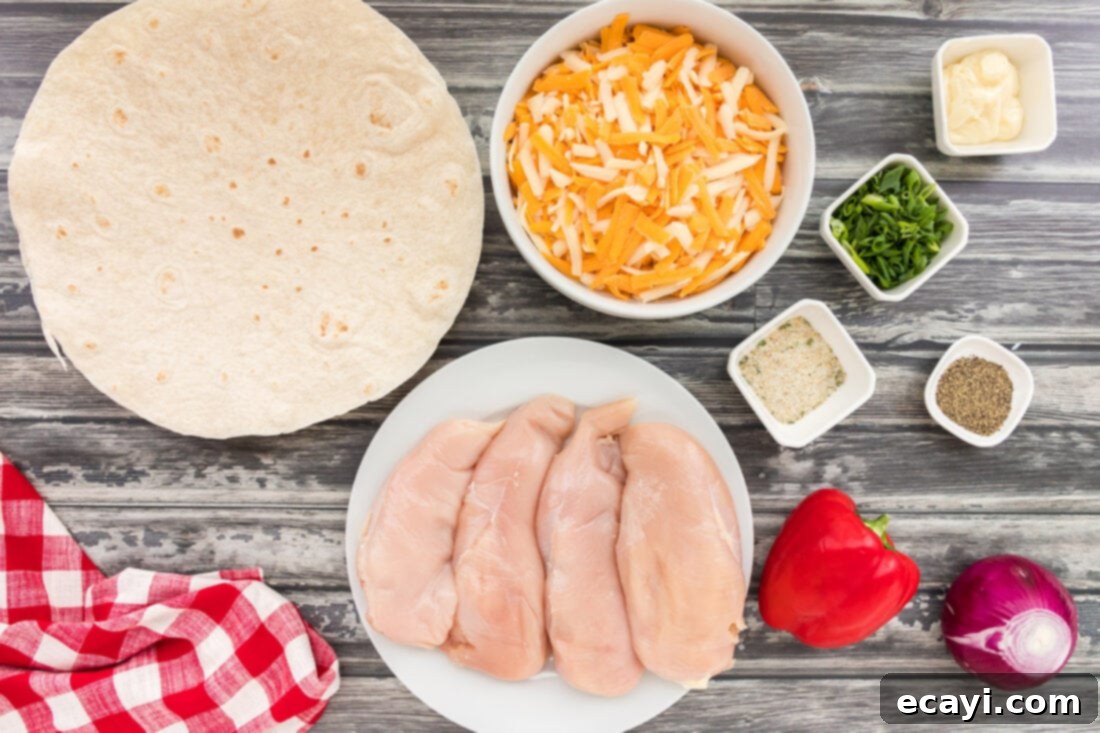
Crafting the perfect chicken quesadilla starts with selecting high-quality ingredients. Each component plays a crucial role in building the layered flavors and textures that make this dish so appealing. While the full list of measurements, ingredients, and detailed instructions can be found in the printable version at the very end of this post, here’s a quick overview of what you’ll need to gather:
- **Extra Large Flour Tortillas (12-inch):** These provide ample space for all the delicious fillings and a substantial base that crisps beautifully.
- **Boneless, Skinless Chicken Breasts:** The star protein of our dish, providing lean and tender bites.
- **Garlic Salt & Black Pepper:** Simple yet effective seasonings to bring out the best in the chicken.
- **Red Bell Pepper & Red Onion:** These vibrant vegetables add sweetness, a slight tang, and crucial crunch.
- **Green Onions:** For a fresh, mild onion flavor and a pop of color.
- **Butter or Margarine:** Essential for achieving that coveted golden, crispy tortilla exterior.
- **Shredded Cheddar Cheese & Shredded Mozzarella Cheese:** The core of our melty, cheesy goodness.
Having all your ingredients ready and prepped before you begin cooking (a culinary technique known as “mise en place”) will make the assembly process incredibly smooth and enjoyable. Get ready to transform these simple ingredients into a sensational meal!
Ingredient Insight and Smart Substitution Ideas
Understanding your ingredients and knowing when and how to make substitutions can elevate your cooking and adapt recipes to your preferences or what you have on hand. Here’s a deeper dive into the key components of our chicken quesadilla:
CHEESE – While our recipe calls for a classic blend of mozzarella and cheddar cheese, don’t hesitate to experiment with different varieties to customize the flavor. A blend featuring Monterey Jack, sharp cheddar, and creamy mozzarella is always a fantastic choice for an authentic Tex-Mex profile, offering both excellent melt and depth of flavor. For those who enjoy a little heat, consider incorporating a seasoned cheese like jalapeño pepper cheese; it introduces a delightful kick without requiring extra spice additions. **A crucial tip for the ultimate melty quesadilla:** always opt for a block of cheese that you shred yourself at home. Pre-shredded store-bought cheeses often contain anti-caking agents (like cellulose or potato starch) that prevent them from melting smoothly and can sometimes result in a grainy or pasty texture. Freshly shredded cheese, on the other hand, melts beautifully and evenly. Furthermore, ensure your cheese is at room temperature before adding it to the tortilla; cold cheese takes longer to melt, increasing the risk of overcooking the tortilla before the filling is perfectly gooey.
VEGGIES – The combination of red bell pepper, red onion, and green onion provides a burst of color, a delightful crunch, and a layered aromatic foundation for this quesadilla. Feel free to incorporate other bell pepper colors, such as green or orange, either in addition to or in place of the red bell pepper. For those who love to get creative with vegetables, consider adding finely diced zucchini, corn kernels (fresh or frozen), or even sautéed mushrooms. Always make sure to dice or slice your vegetables thinly so they cook through quickly and integrate well into the quesadilla without creating bulky pockets. You can grill, sauté, or even roast your vegetables beforehand to intensify their flavors and soften their texture, making them even more delectable within the quesadilla.
CHICKEN – This recipe uses boneless, skinless chicken breasts, offering a lean and versatile protein. However, the beauty of quesadillas lies in their flexibility! If you’re short on time or prefer not to cook chicken from scratch, a pre-cooked rotisserie chicken from your local grocery store is an absolute lifesaver. Simply shred, slice, or cube it to your desired consistency. Other fantastic options include leftover grilled chicken, shredded slow-cooker chicken, or even canned chicken (drained well) for an ultra-fast meal. To enhance the chicken’s flavor, consider tossing it with a pinch of chili powder, cumin, or your favorite taco seasoning before adding it to the quesadilla. This adds another layer of Tex-Mex deliciousness that complements the cheese and veggies beautifully.
Step-by-Step: Crafting Your Perfect Chicken Quesadilla
These step-by-step photos and detailed instructions are provided to help you visualize each stage of making this delicious recipe. For a convenient printable version, complete with all measurements and instructions, simply Jump to Recipe at the bottom of this post.
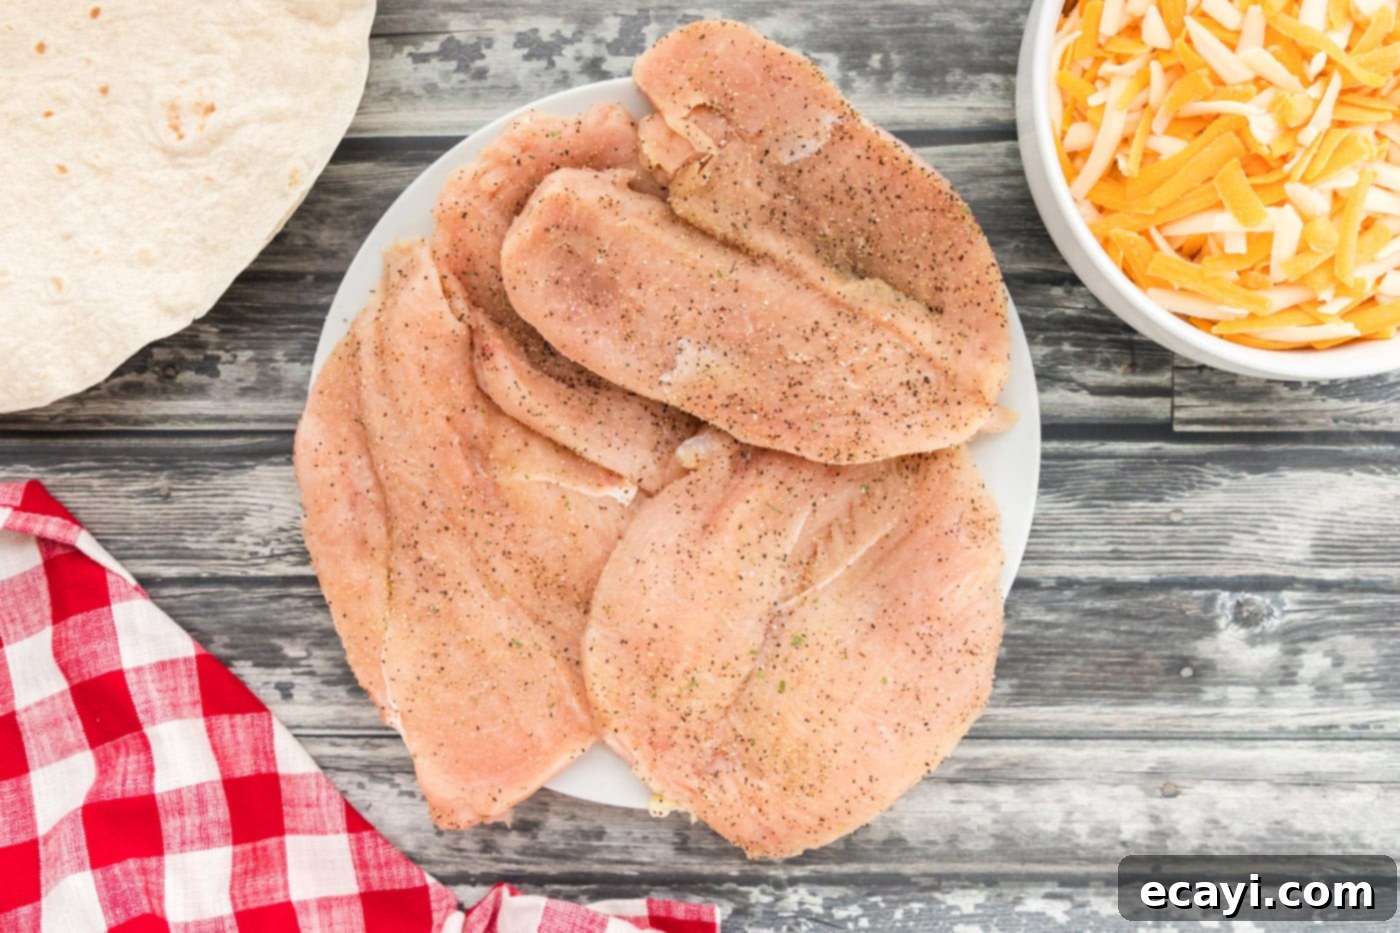
- **Prepare the Chicken:** Begin by thoroughly rinsing your boneless, skinless chicken breasts under cool water and patting them completely dry with paper towels. This ensures even seasoning and better browning. To create thinner, more manageable pieces that cook quickly and fit perfectly in your quesadilla, butterfly each breast by slicing it horizontally through the middle, almost but not quite all the way through, then open it up like a book. Next, cut these butterflied pieces in half to create thinner cutlets. This step is key for ensuring the chicken cooks evenly and isn’t too thick for the quesadilla.

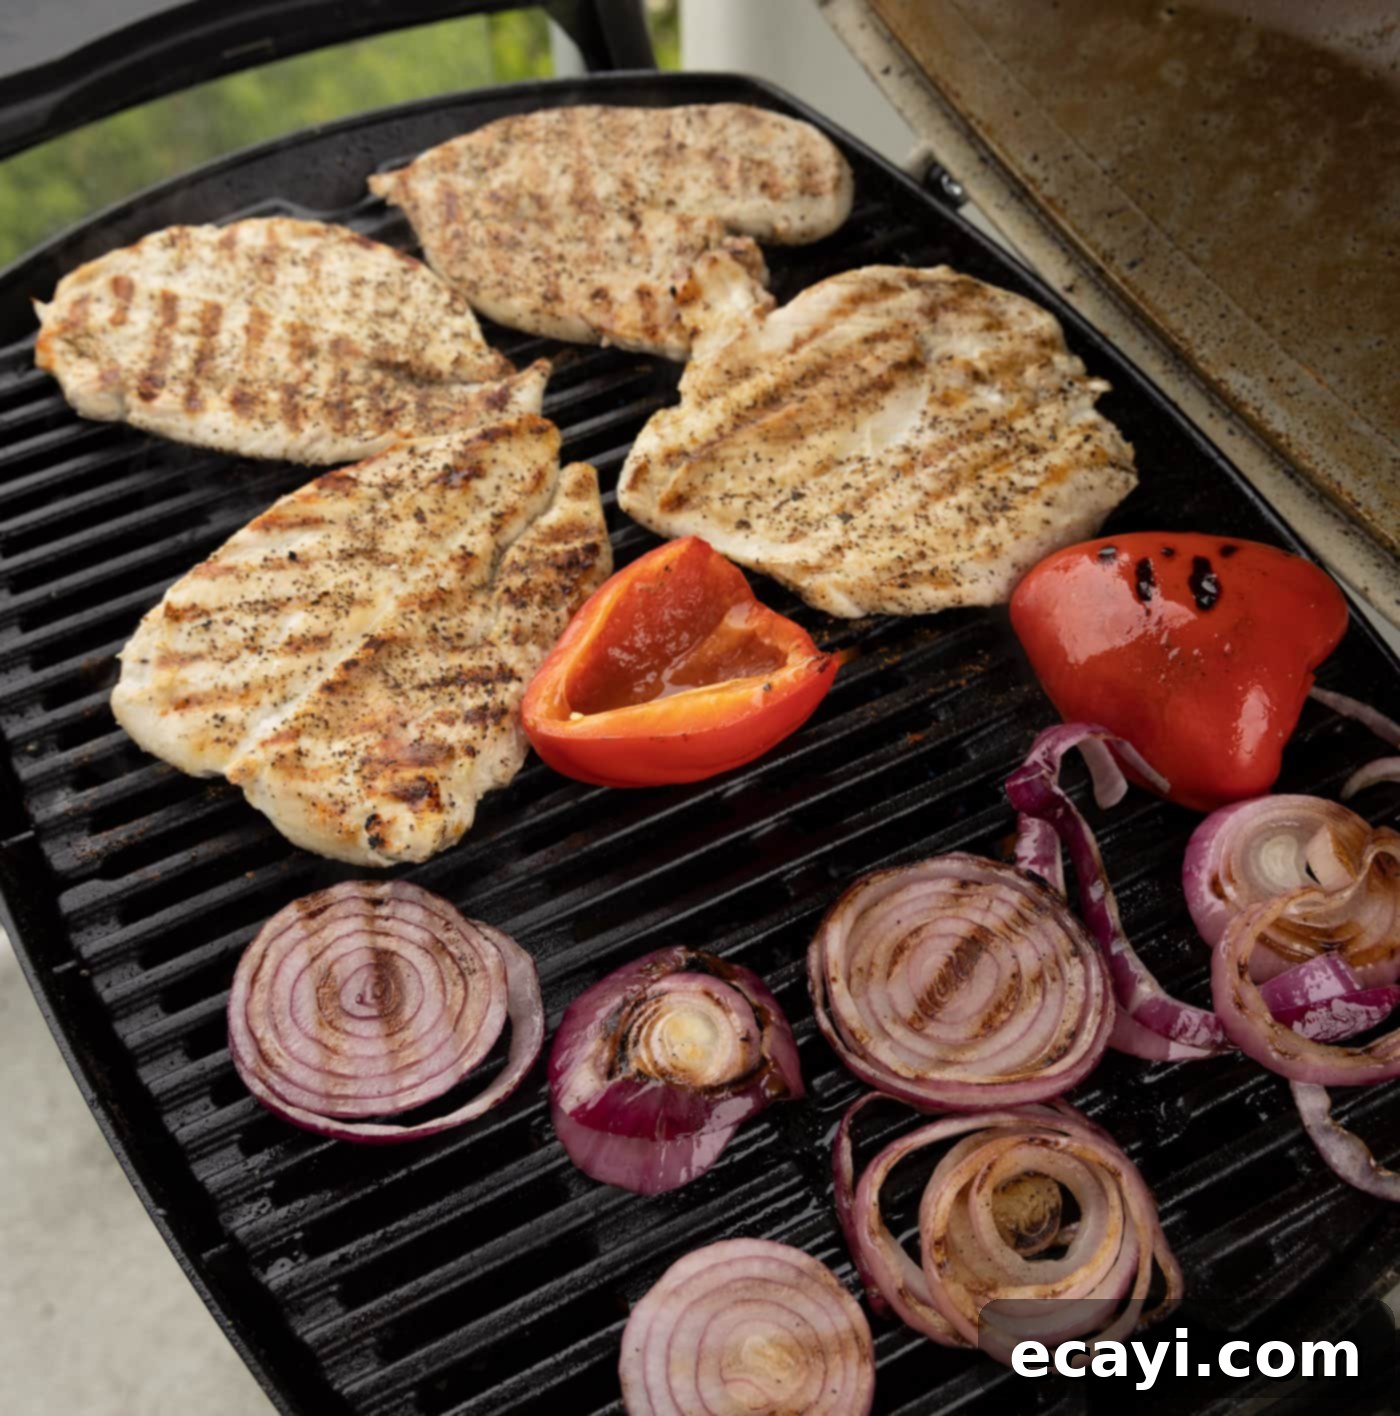
- **Season and Cook the Chicken:** Season the prepared chicken cutlets generously on both sides with garlic salt and freshly ground black pepper. Now, cook your chicken using your preferred method. We opted for the grill to impart a smoky flavor, which adds another dimension to the quesadilla. However, you can absolutely cook them directly in the same skillet you plan to use for your quesadillas. Pan-frying in a little olive oil or butter until golden brown and cooked through is a fantastic and convenient alternative. Ensure the internal temperature reaches 165°F (74°C).

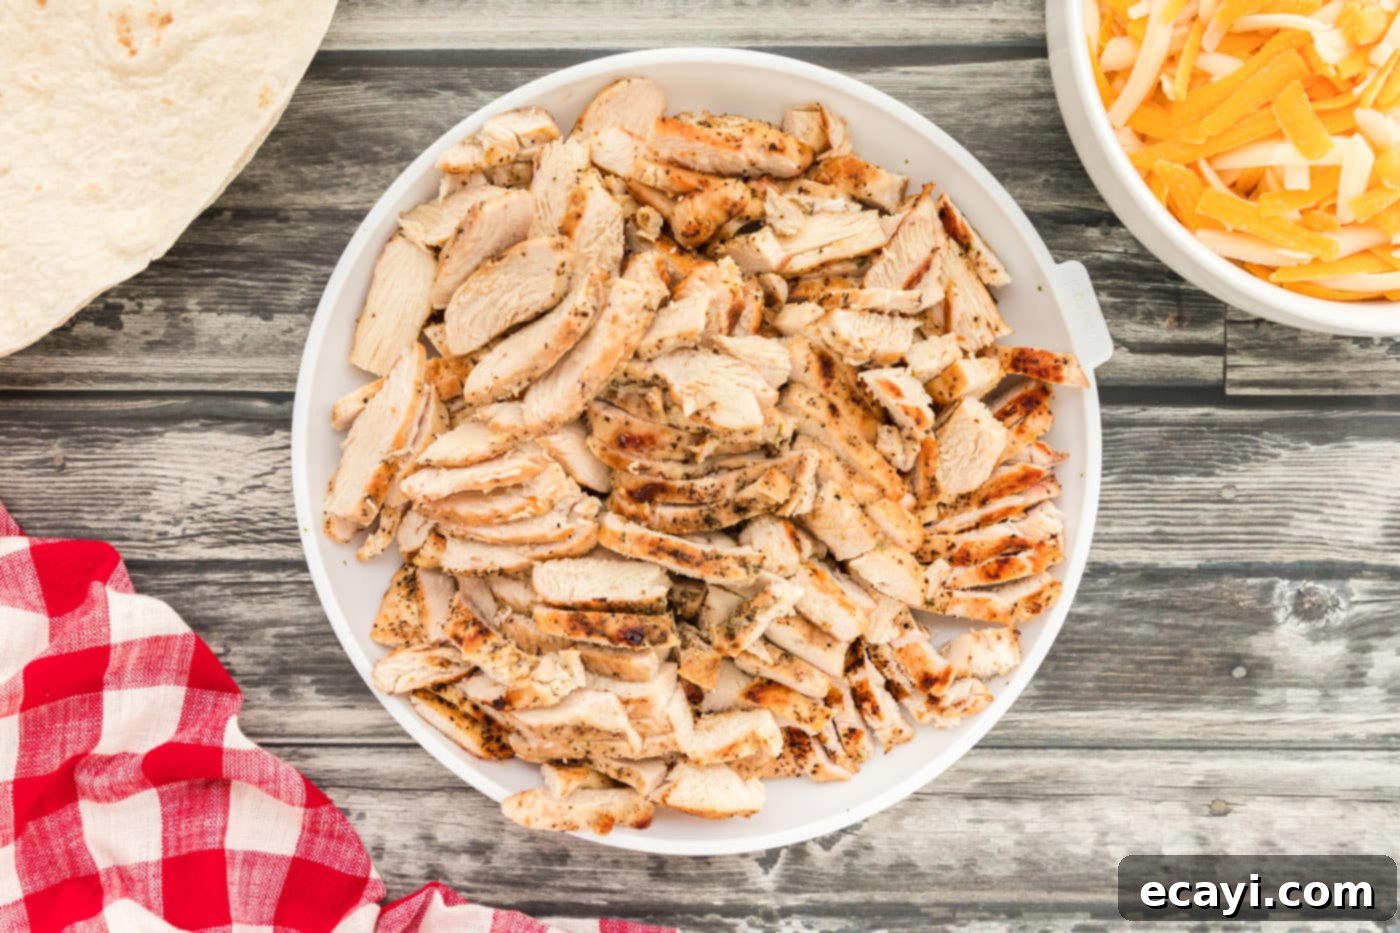
- **Slice the Chicken:** Once the chicken is fully cooked, allow it to rest for a few minutes before slicing it into thin, approximately 2-inch long strips. This size is ideal for distributing evenly within the quesadilla and ensures every bite gets a taste of tender chicken. Set the sliced chicken aside.

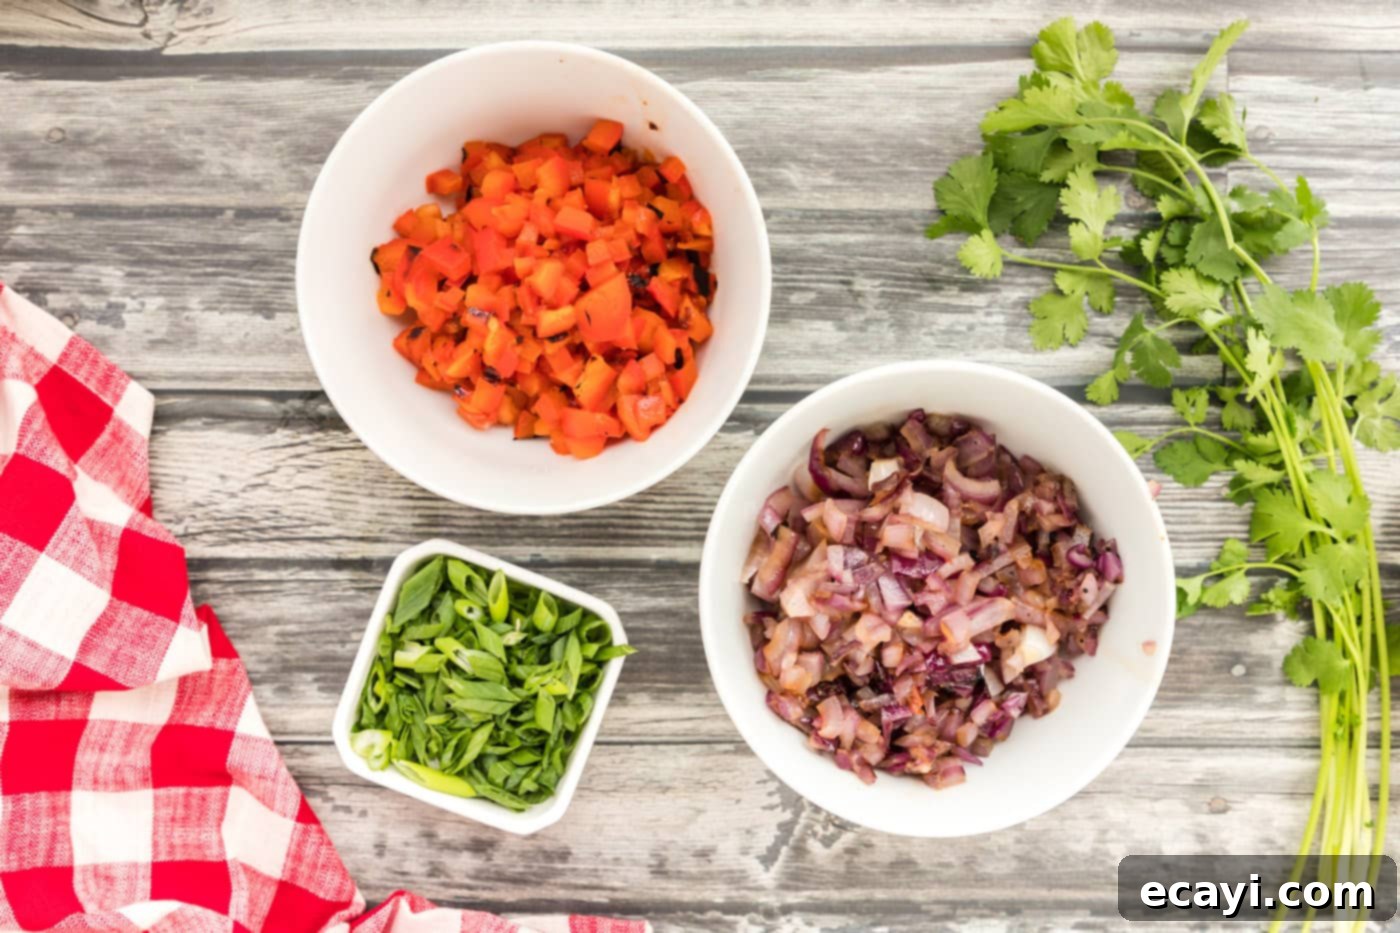
- **Prepare the Vegetables:** Cook the bell pepper and onion until they are tender-crisp. Similar to the chicken, we grilled ours for added flavor. This involved cutting the red bell pepper in half, removing the pith and seeds, and slicing the red onion into thick rings. Once cooked and slightly softened, finely chop these vegetables into small, uniform pieces. This ensures they spread evenly and don’t create awkward chunks in your quesadilla. Also, have your sliced green onions ready.

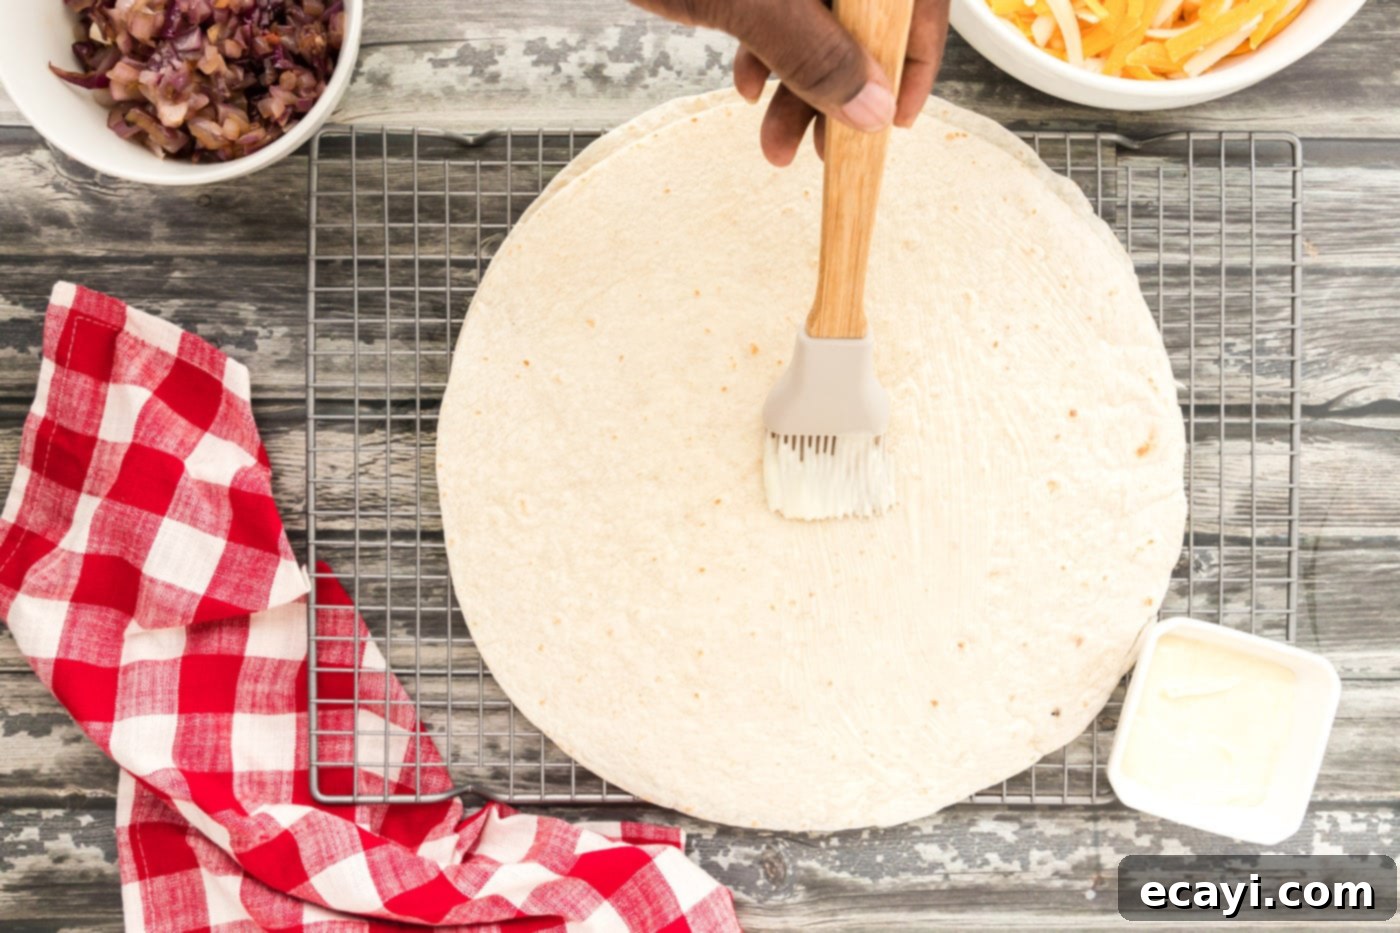
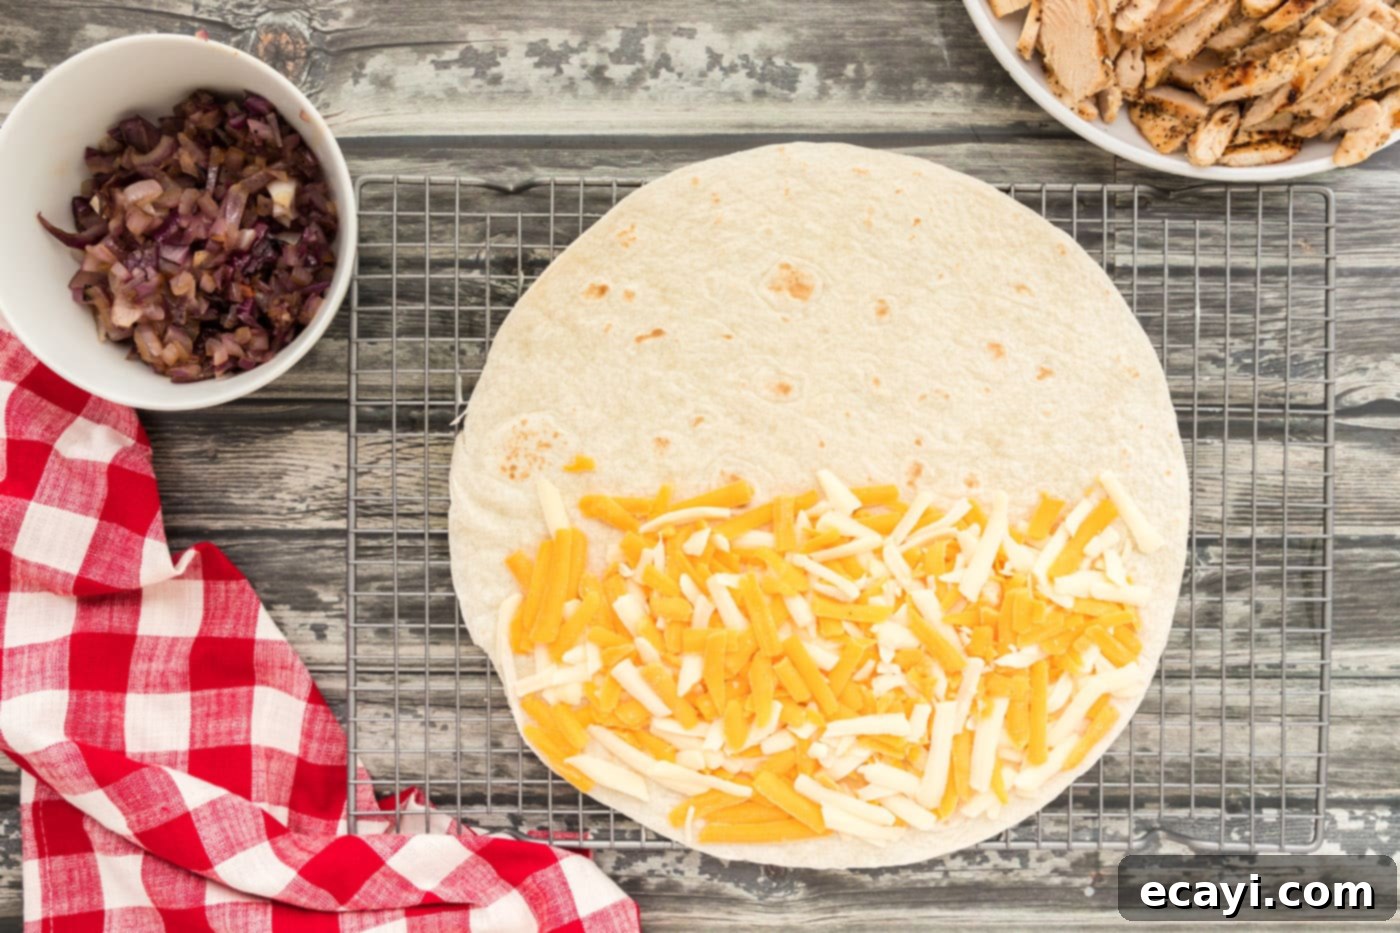
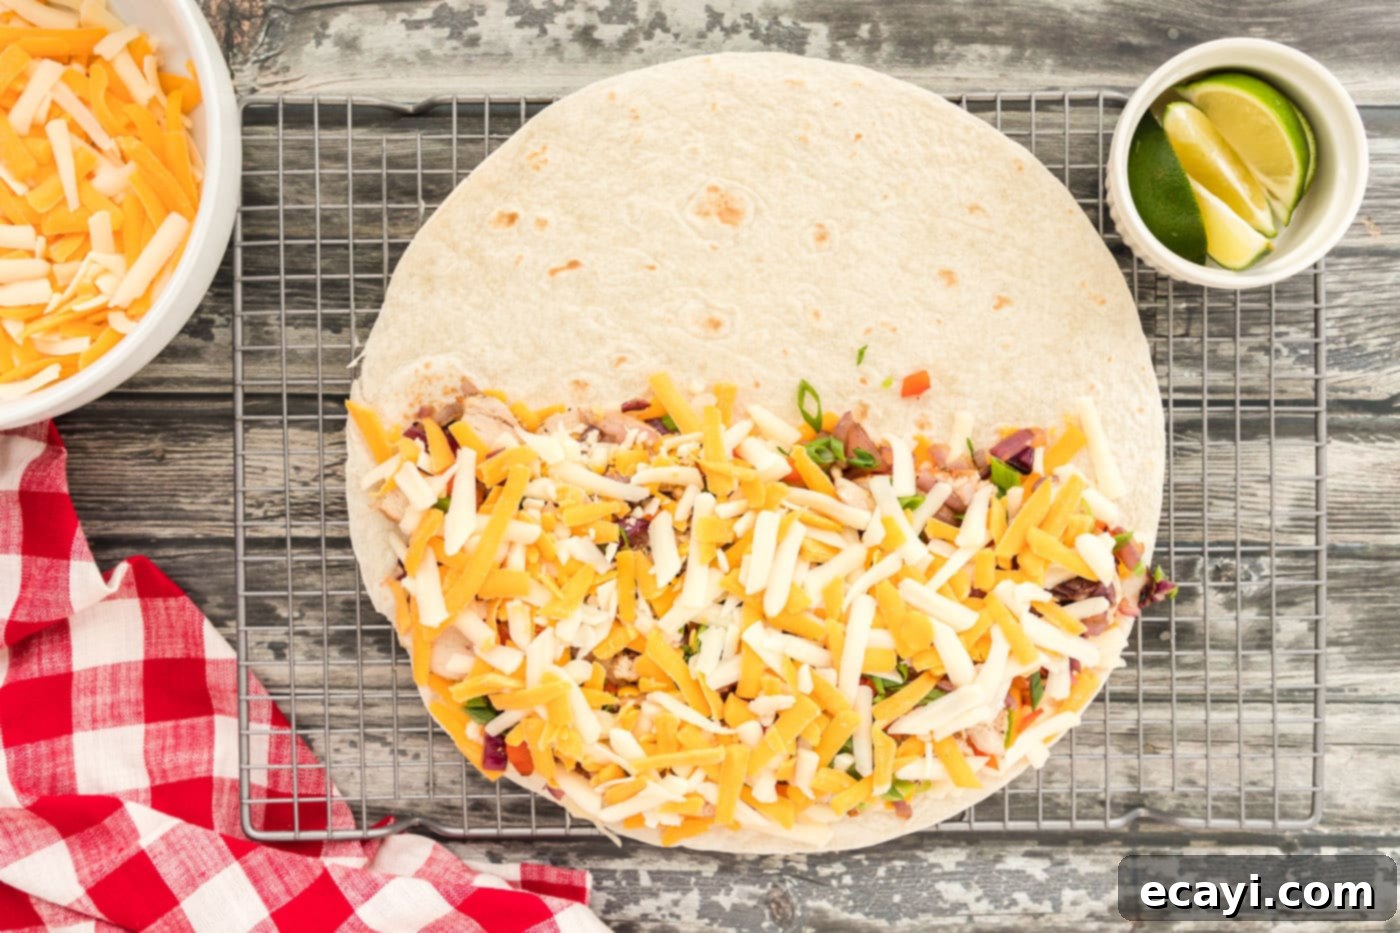
- **Assemble the Tortilla Base:** Lightly brush one side of a large flour tortilla with softened butter. The butter is crucial for achieving that beautiful golden-brown, crispy exterior. Place the tortilla, butter-side down, on a clean work surface or a wire rack. Take a generous handful of your mixed cheddar and mozzarella cheese and evenly spread it over one half of the tortilla. Ensure there’s enough cheese to form a solid, meltable layer that will hold the fillings together.


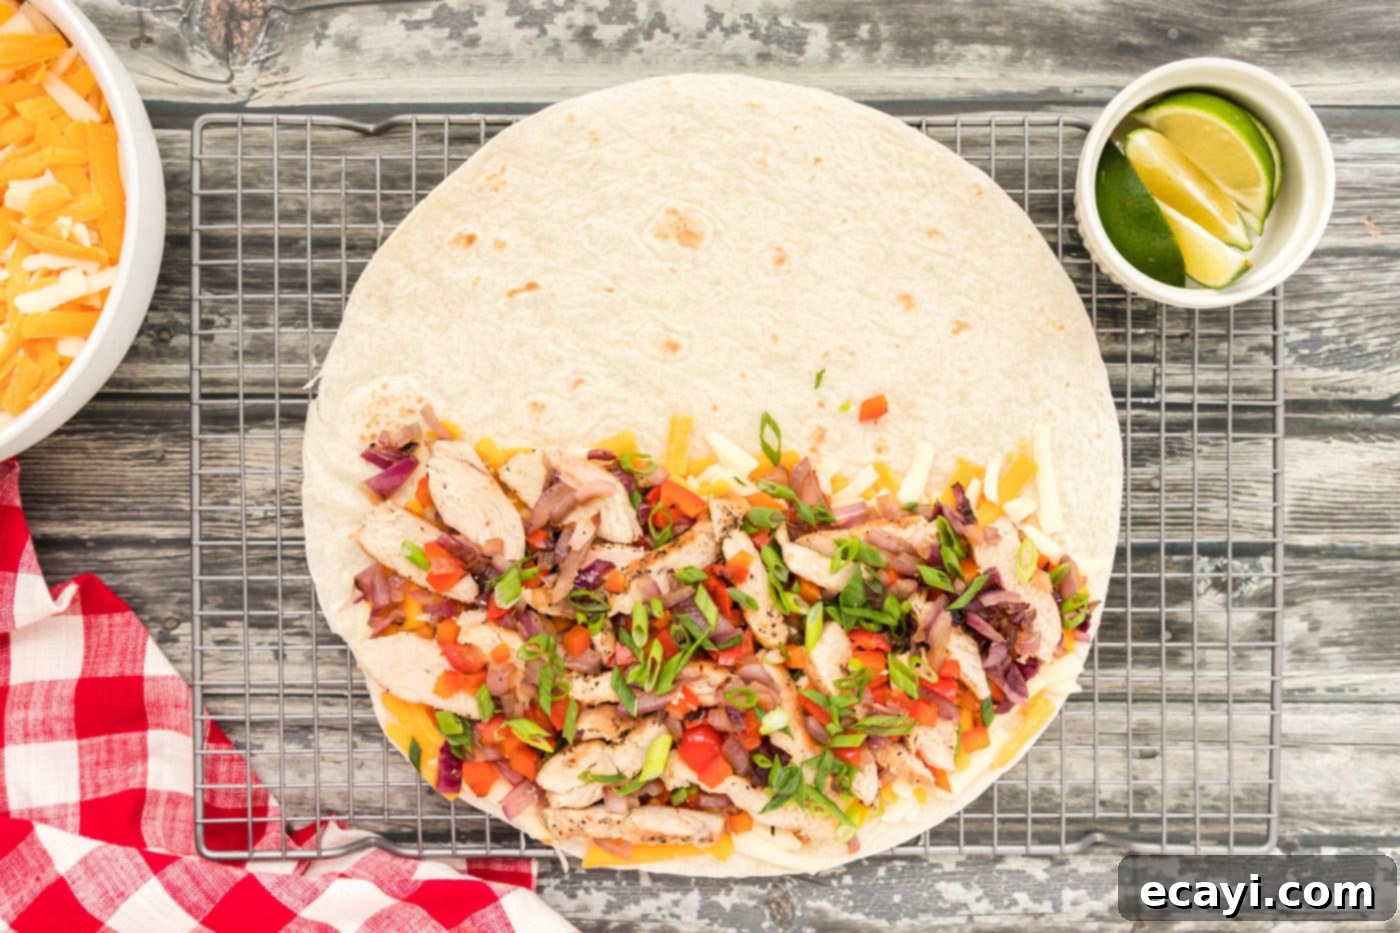
- **Add the Fillings:** Over the layer of cheese, evenly distribute some of your sliced chicken, chopped bell pepper, red onion, and green onion. Don’t overfill, as you need space to fold the tortilla, but be generous enough to ensure every bite is packed with flavor.

- **Top with More Cheese:** To secure all the delicious fillings and create an extra-cheesy experience, sprinkle another layer of mixed cheese over the chicken and vegetables. This top layer will melt and bind everything together beautifully.

- **Fold the Quesadilla:** Carefully fold the empty half of the tortilla over the filled half, gently pressing down to encase all the delicious ingredients. This creates a neat, semi-circular package ready for cooking.
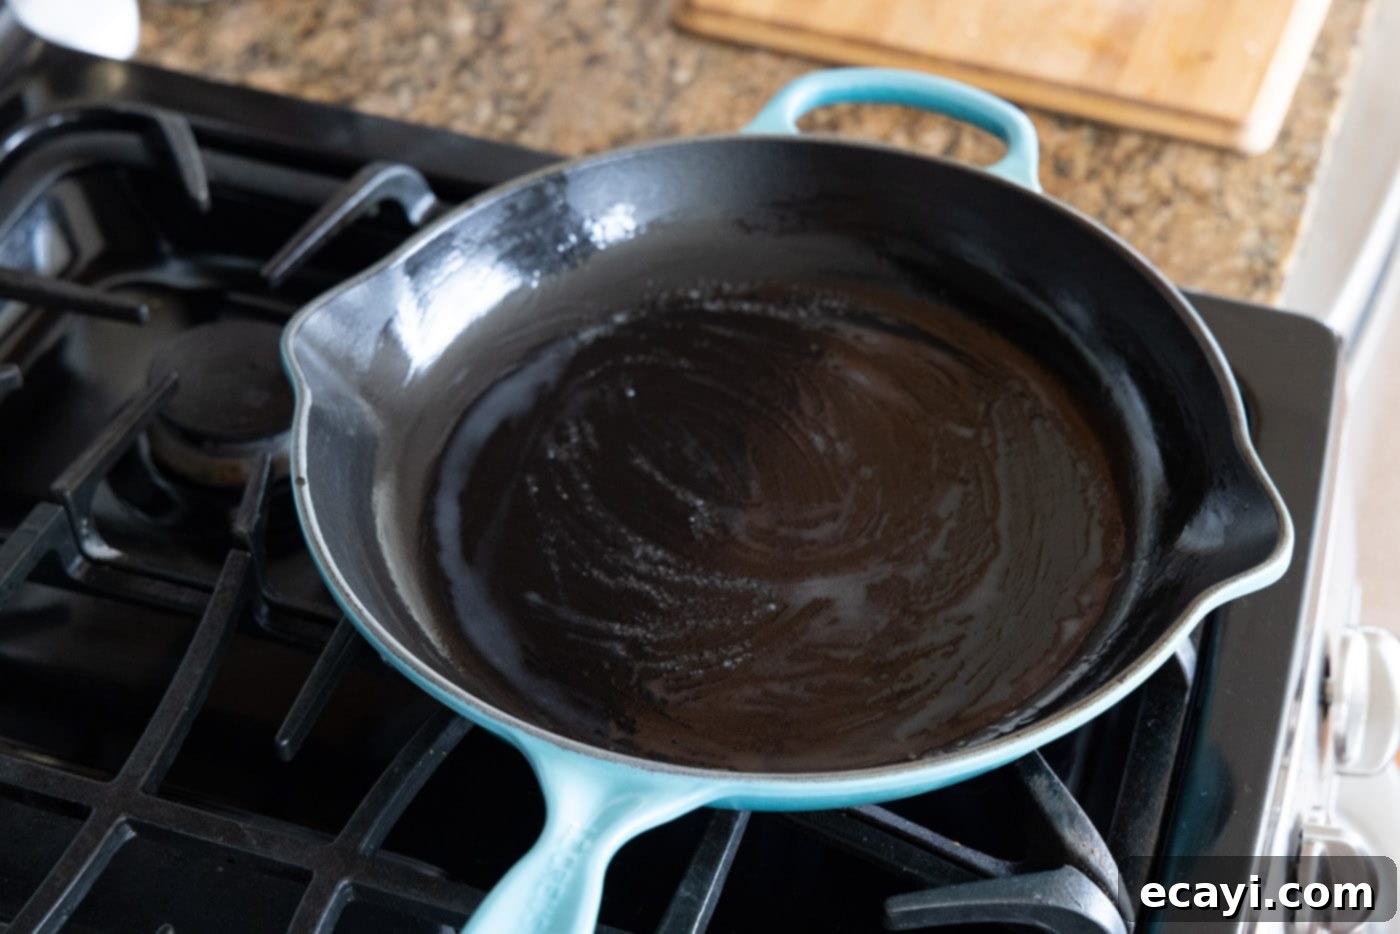
- **Heat the Skillet:** Take a large, heavy-bottomed skillet (cast iron works wonderfully here for even heat distribution) and butter it generously, ensuring the entire bottom and a bit of the sides are coated. Place the skillet over medium heat. It’s crucial to use medium heat to allow the cheese to melt thoroughly without burning the tortilla. Let the skillet heat up until the butter is melted and slightly sizzling.

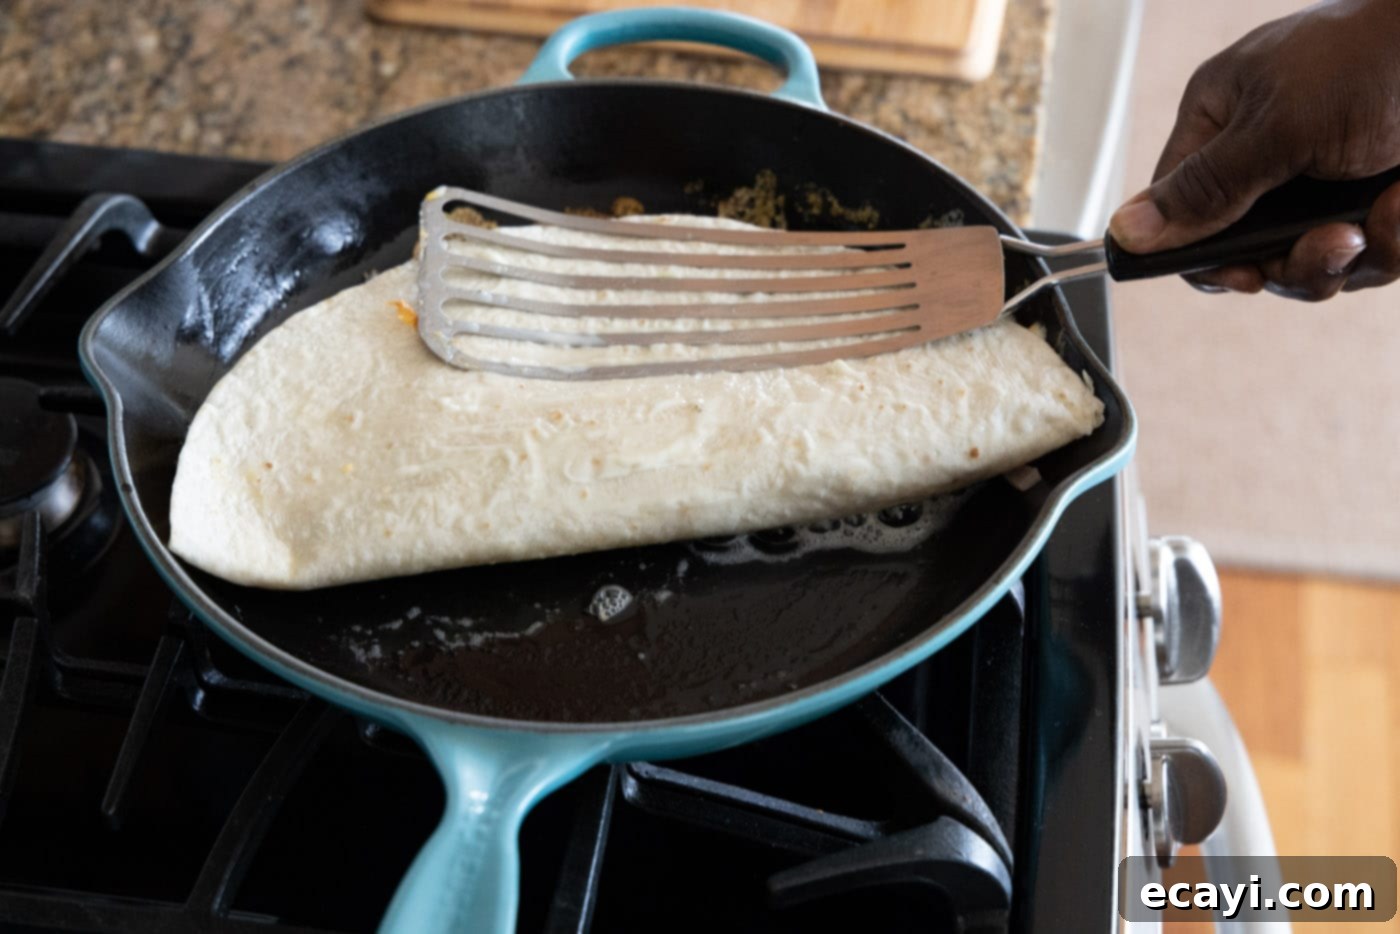
- **Cook the First Side:** Once the skillet is hot and ready, carefully place the folded tortilla into the skillet. Cook for 3-5 minutes, or until the bottom side is beautifully golden brown and crispy, and you can see the cheese beginning to melt and bubble around the edges. You might need to gently press down on the quesadilla with a spatula to ensure full contact with the hot surface and even browning.

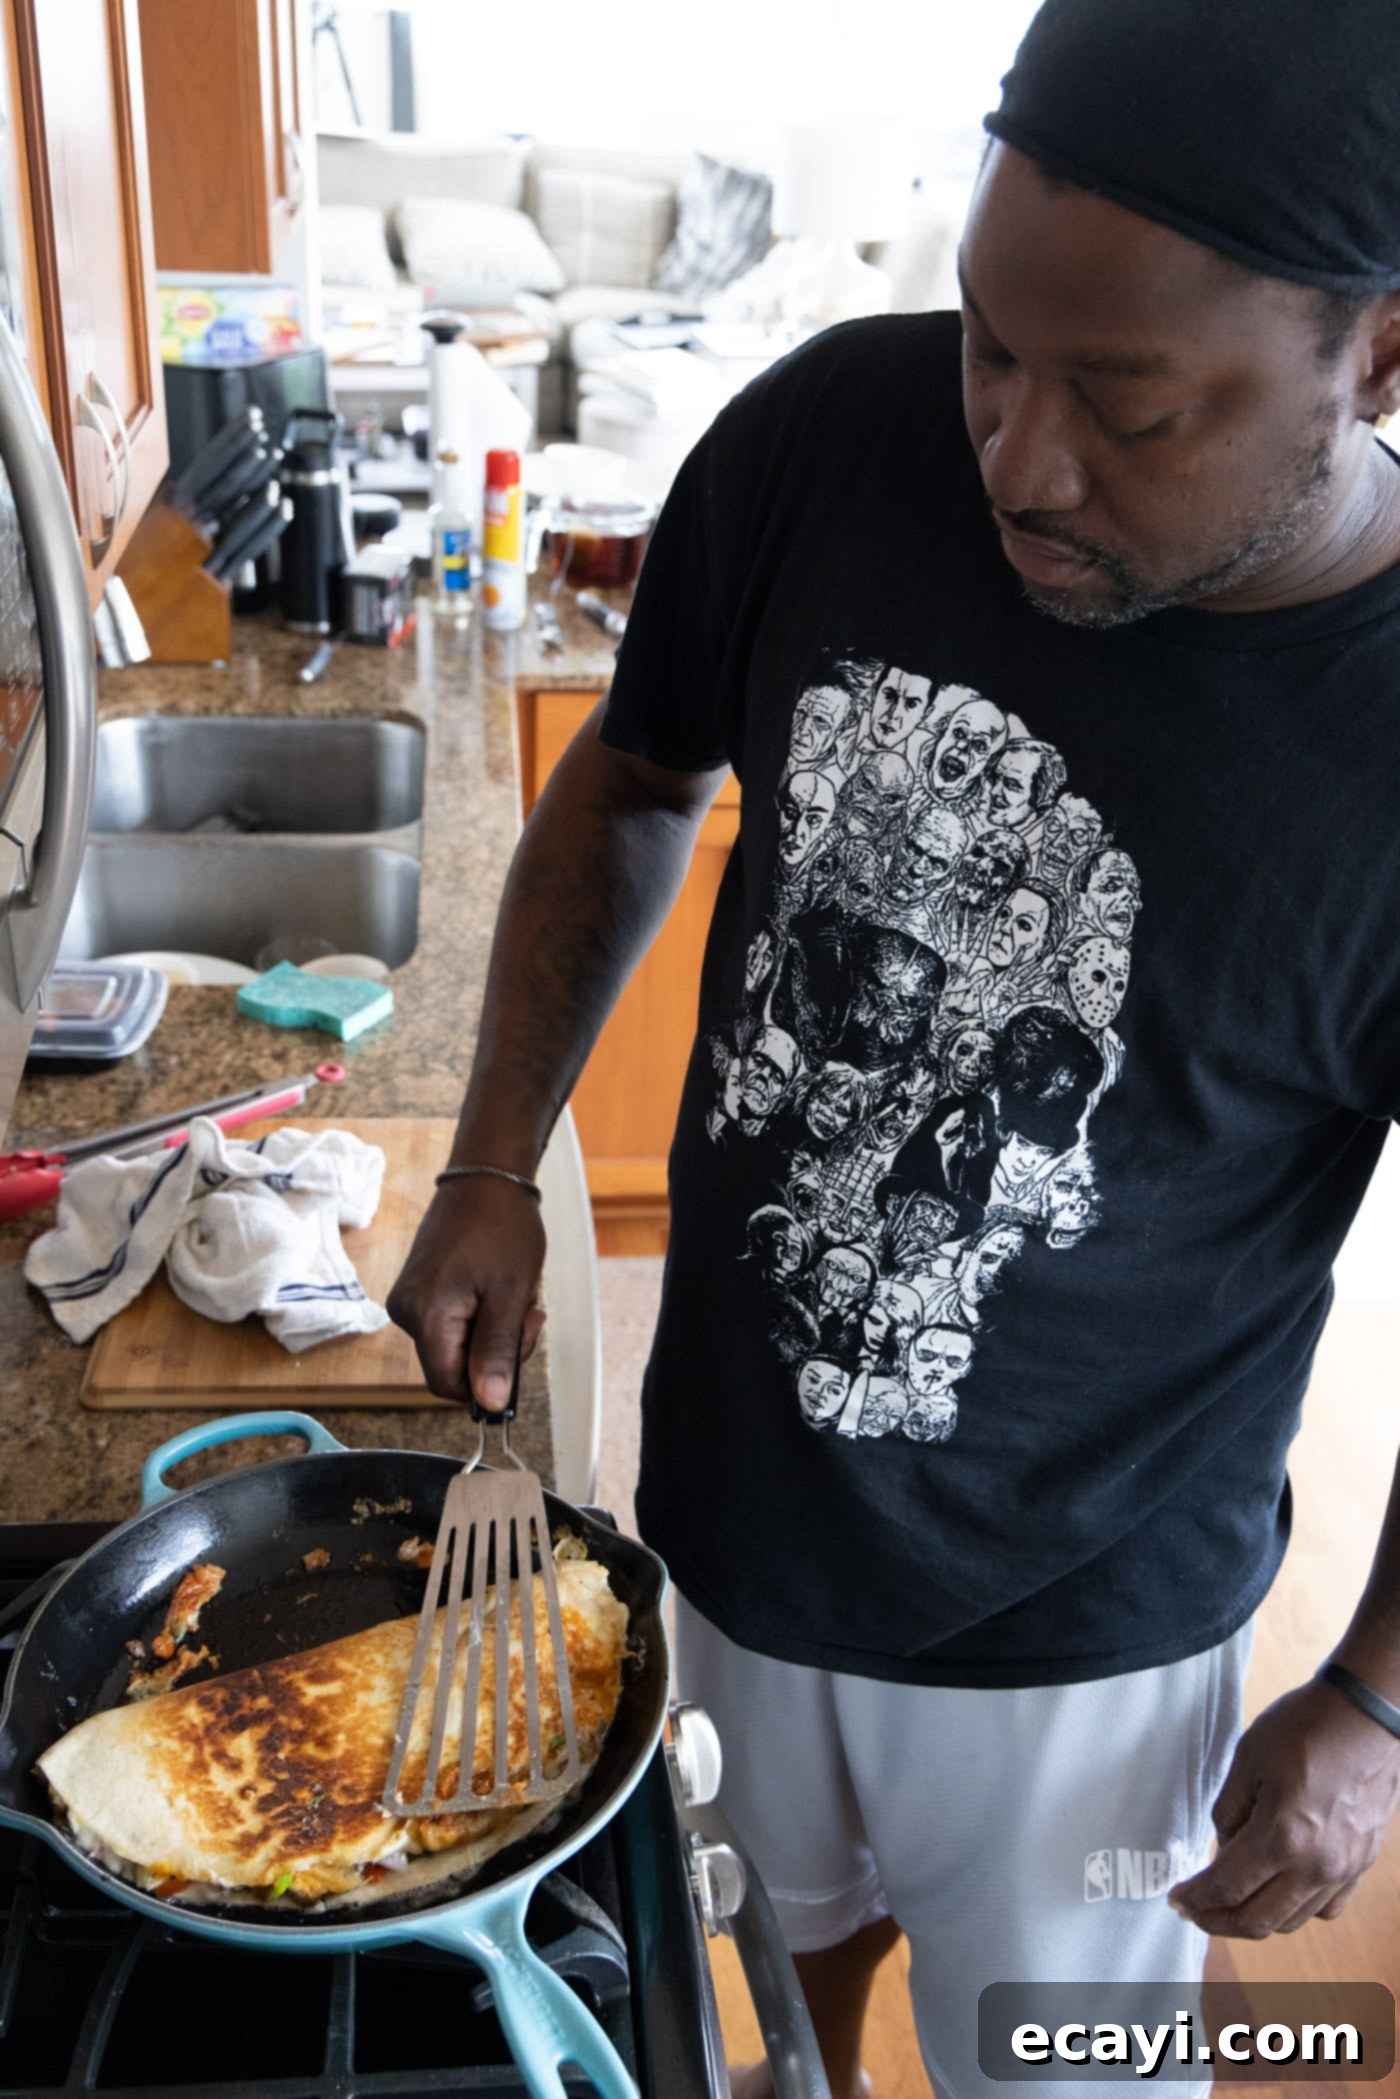
- **Cook the Second Side:** Using a large spatula (a fish turner works great for this!), carefully flip the quesadilla over. Cook for an additional 2-4 minutes on the second side, or until it is also nicely browned and the cheese inside is completely melted and gooey. Don’t be afraid to flip it more than once if needed to achieve perfect browning on both sides. The key is patience and medium heat to prevent burning.

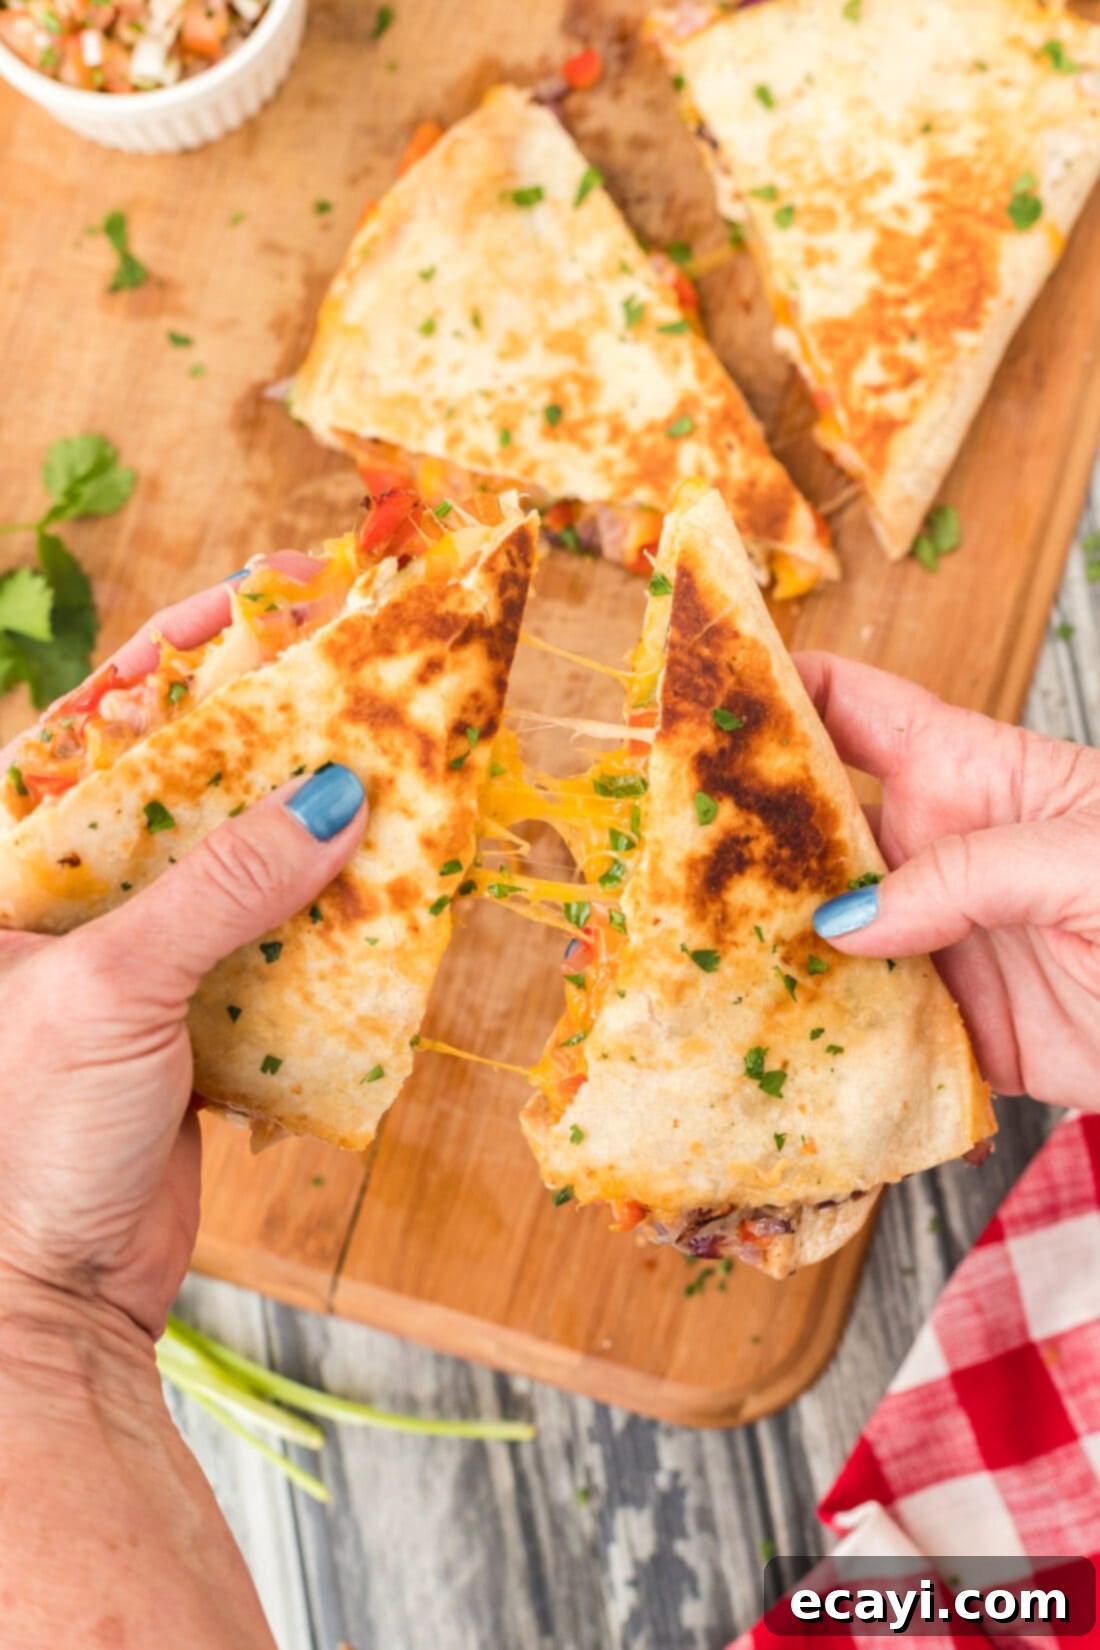
- **Serve:** Once cooked to perfection, remove the quesadilla from the skillet and transfer it to a cutting board. Allow it to rest for a minute or two before slicing it into 4 equal triangles. This brief rest helps the cheese set slightly, preventing the filling from spilling out when cut. Serve immediately and enjoy your delicious homemade chicken quesadilla!
Frequently Asked Questions & Expert Tips for Quesadilla Perfection
Even seasoned home cooks can benefit from a few extra tips and tricks, especially when striving for quesadilla perfection. Here are answers to some common questions and expert advice to ensure your chicken quesadillas are always a success:
Absolutely! Traditionally, many authentic quesadillas are indeed made with corn tortillas, so if you prefer their distinct flavor and texture, feel free to use them. However, it’s important to note a few differences. Flour tortillas are generally larger and more pliable, making them sturdier and less prone to tearing or breaking when loaded with fillings. Corn tortillas, while delicious, can be a bit more delicate and may require a lighter hand during flipping. If using corn tortillas, you might find it easier to make smaller, individual quesadillas or slightly warm them beforehand to increase their flexibility. You could also try making open-faced quesadillas (tostada style) if handling large filled corn tortillas proves challenging. Both options offer a unique and delicious experience.
The beauty of quesadillas lies in their versatility, allowing for endless customization! To add a delightful kick, try incorporating a dash or two of smoked paprika or cayenne pepper into your chicken seasoning, or mix in finely diced fresh jalapeño (seeds removed for less heat, left in for more). For additional texture and flavor, black beans (rinsed and drained), sweet corn kernels, or sautéed mushrooms are excellent choices. Consider adding spinach or finely chopped kale for a boost of greens. You can also vary the protein by adding cooked chorizo, steak strips, or even shrimp. Don’t forget flavor enhancers like a sprinkle of cilantro, a squeeze of lime juice, or a hint of a smoky chipotle paste. The possibilities are truly endless, so feel free to get creative and tailor your quesadilla to your personal taste!
Leftover chicken quesadillas can be stored in an airtight container in the refrigerator for up to 2-3 days. For best reheating results, avoid the microwave, which can make them soggy. Instead, reheat them in a dry skillet over medium heat for a few minutes per side until heated through and crispy again. Alternatively, you can reheat them in a toaster oven or conventional oven at 350°F (175°C) for 5-10 minutes, or until warmed through and crispy. This method helps maintain that desirable crunchy exterior.
Several factors contribute to a wonderfully crispy tortilla. First, butter is your best friend – don’t skimp when brushing the tortilla. Second, use a heavy-bottomed skillet (like cast iron) and heat it over medium heat. Low heat won’t get it crispy, and high heat will burn it before the cheese melts. Third, don’t overcrowd the pan; cook one quesadilla at a time to maintain consistent heat. Finally, a gentle press with a spatula while cooking ensures good contact with the hot surface, promoting even browning and crispness.
Elevate Your Meal: Delicious Serving Suggestions
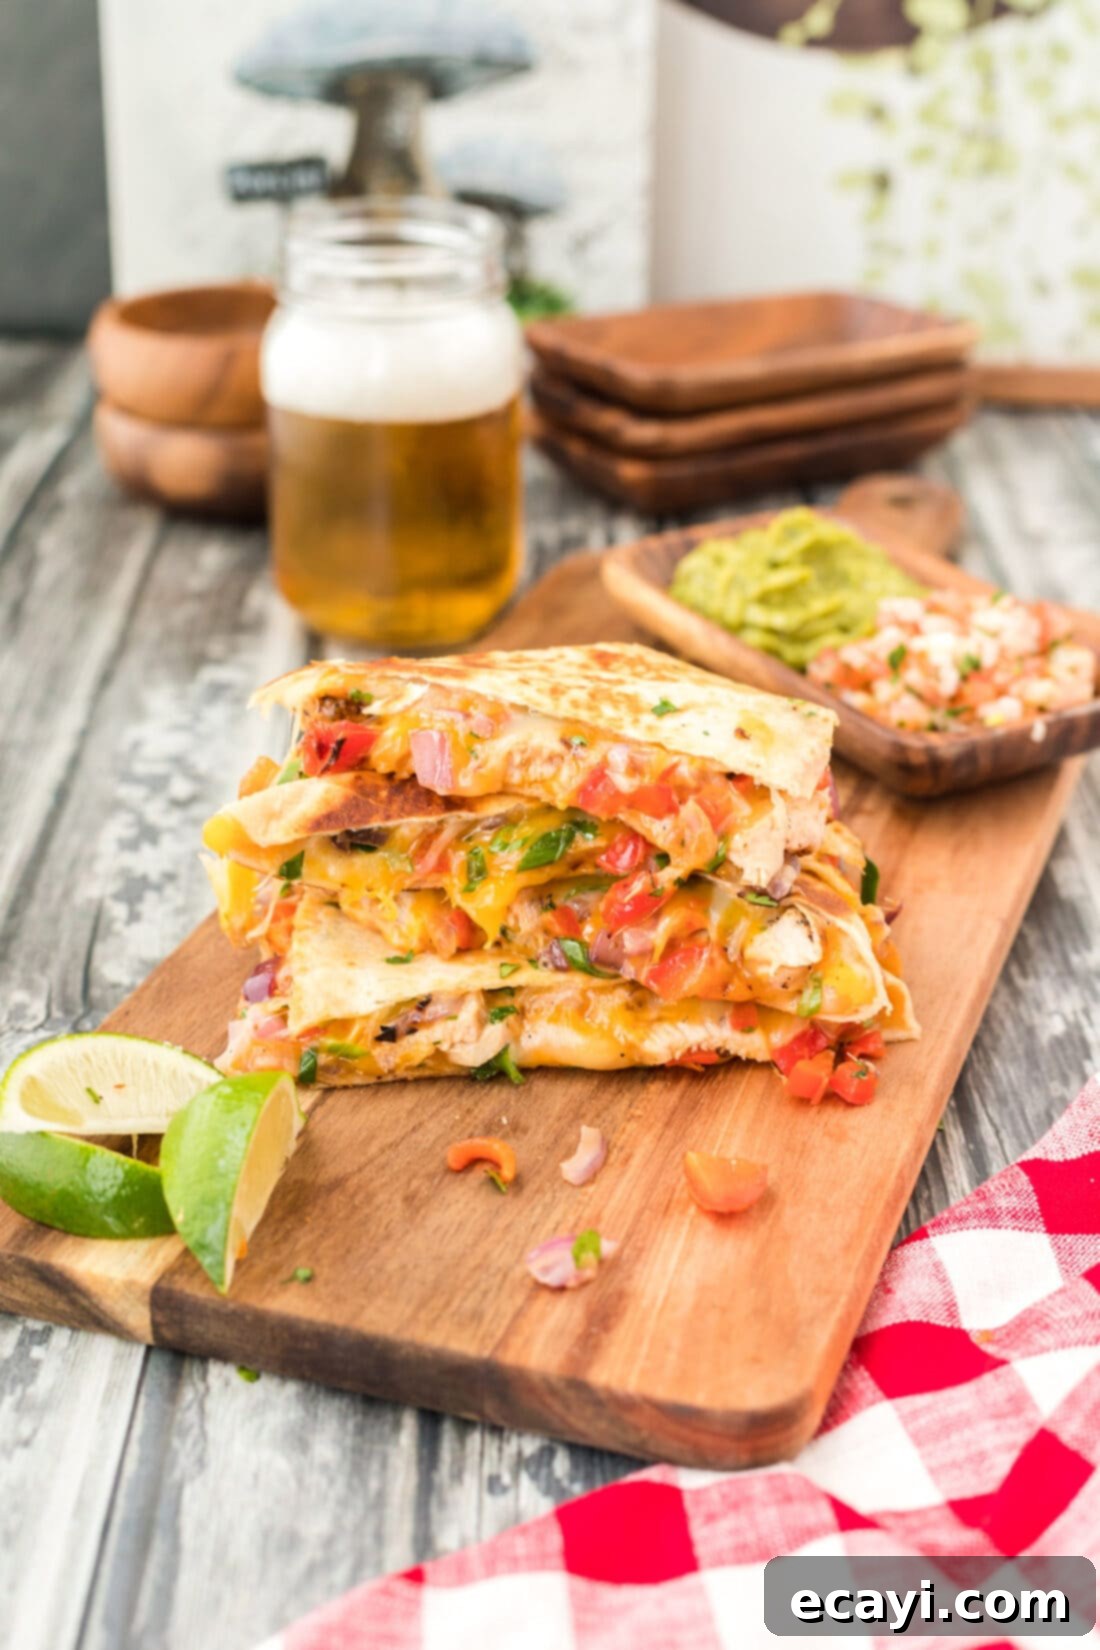
These crispy, cheesy chicken quesadillas are incredibly versatile and can be enjoyed in a multitude of ways. They make a fantastic, hearty appetizer for game nights, football parties, or any casual gathering where delicious finger food is appreciated. For a complete meal, they are perfect for both lunch and dinner, offering a satisfying and flavorful option that comes together quickly.
To truly enhance the experience, consider topping your quesadillas with a variety of classic Tex-Mex accompaniments, or serve them on the side for guests to customize their own. Popular choices include cool and creamy sour cream, rich and fresh guacamole, tangy salsa verde, vibrant salsa fresca (pico de gallo), or a sweet and savory corn salsa. A simple squeeze of fresh lime juice can also brighten all the flavors. For a more substantial spread, pair them with a side of black beans, Mexican rice, or a fresh green salad with a zesty vinaigrette. Don’t forget the hot sauce for those who like an extra kick! These delightful quesadillas are not just food; they’re an invitation to a flavorful fiesta!
Discover More Delicious Tex-Mex Inspired Recipes
If you loved these chicken quesadillas, you’ll surely enjoy exploring more recipes that bring the vibrant flavors of Tex-Mex cuisine right to your kitchen. These dishes complement each other beautifully and offer more fantastic meal ideas:
- Quesados
- Carne Asada
- Mexican Corn
- Mexican Style Summer Rolls
- Mexican Chicken Casserole
I absolutely love to bake and cook, and my greatest joy comes from sharing my kitchen experiences and culinary creations with all of you! Remembering to come back each day to check for new recipes can be tough amidst our busy lives, which is why I offer a convenient newsletter delivered directly to your inbox every time a new recipe posts. Simply subscribe here and start receiving your free daily recipes, making it easier than ever to discover your next favorite meal!
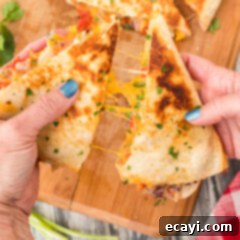
Chicken Quesadillas
IMPORTANT – There are often Frequently Asked Questions within the blog post that you may find helpful. Simply scroll back up to read them!
Print It
Pin It
Rate It
Save ItSaved!
Ingredients
- 4 extra large flour tortillas 12 inch tortillas
- 3 pounds boneless skinless chicken breasts
- 1 Tablespoon garlic salt
- 2 teaspoons black pepper
- 1 medium red bell pepper chopped
- 1 small red onion chopped
- ½ cup green onions sliced
- 1 Tablespoon butter or margarine. well softened
- 1 cup shredded cheddar cheese
- 1 cup shredded mozzarella cheese
Things You’ll Need
-
Large heavy bottomed skillet
-
Fish turner or regular large spatula for flipping
-
Pastry brush
Before You Begin
- For easier cooking, a flat top grill or griddle can be more convenient than a standard skillet, especially if making multiple quesadillas.
- Always use medium heat when cooking your quesadillas. This crucial step prevents the tortilla from burning before the cheese has adequate time to melt completely, ensuring a perfectly cooked, gooey center.
- Ensure your shredded cheese is at room temperature. This significantly aids in quicker and more uniform melting once it hits the warm tortilla.
- We strongly recommend grating your own cheese from a block rather than using pre-shredded varieties. Store-bought shredded cheese often contains anti-caking agents that hinder smooth melting and can sometimes lead to a slightly grainy texture. Freshly shredded cheese melts beautifully and provides the best gooey results.
Instructions
-
Rinse chicken breasts and pat dry with paper towels. Butterfly the breasts and cut in half to make thinner cutlets.
-
Season chicken with garlic salt and black pepper. Cook chicken however you like. We cooked ours on the grill.
-
Slice chicken into thin 2-inch long strips. Set aside.
-
Cook bell pepper and onion. We grilled ours by cutting the bell pepper in half and removing the pith and seeds and slicing the onion into thick rings. Once cooked, chop the vegetables.
-
Brush one side of tortilla with butter. Place tortilla, butter side down, on a wire rack. Add a handful of cheese to one side of the tortilla, enough to cover.
-
Add some chicken, bell pepper, red onion, and green onion over the cheese.
-
Cover chicken and vegetables with more cheese.
-
Fold tortilla over to encase the fillings.
-
Butter a large heavy bottomed skillet, enough the coat the bottom and sides, and heat over medium.
-
When skillet is hot, add folded tortilla to the skillet and cook for 3-5 minutes. You want the cheese to begin melting and the tortilla to brown.
-
Flip the quesadilla over and cook an additional 2-4 minutes until nicely browned and cheese is melted. If you need to flip more than once, that’s okay too!
-
Remove to a cutting and slice into 4 triangles.
Nutrition
The recipes on this blog are tested with a conventional gas oven and gas stovetop. It’s important to note that some ovens, especially as they age, can cook and bake inconsistently. Using an inexpensive oven thermometer can assure you that your oven is truly heating to the proper temperature. If you use a toaster oven or countertop oven, please keep in mind that they may not distribute heat the same as a conventional full sized oven and you may need to adjust your cooking/baking times. In the case of recipes made with a pressure cooker, air fryer, slow cooker, or other appliance, a link to the appliances we use is listed within each respective recipe. For baking recipes where measurements are given by weight, please note that results may not be the same if cups are used instead, and we can’t guarantee success with that method.
