Spooktacularly Simple 4-Ingredient Mummy Pops: Your Go-To Halloween Treat
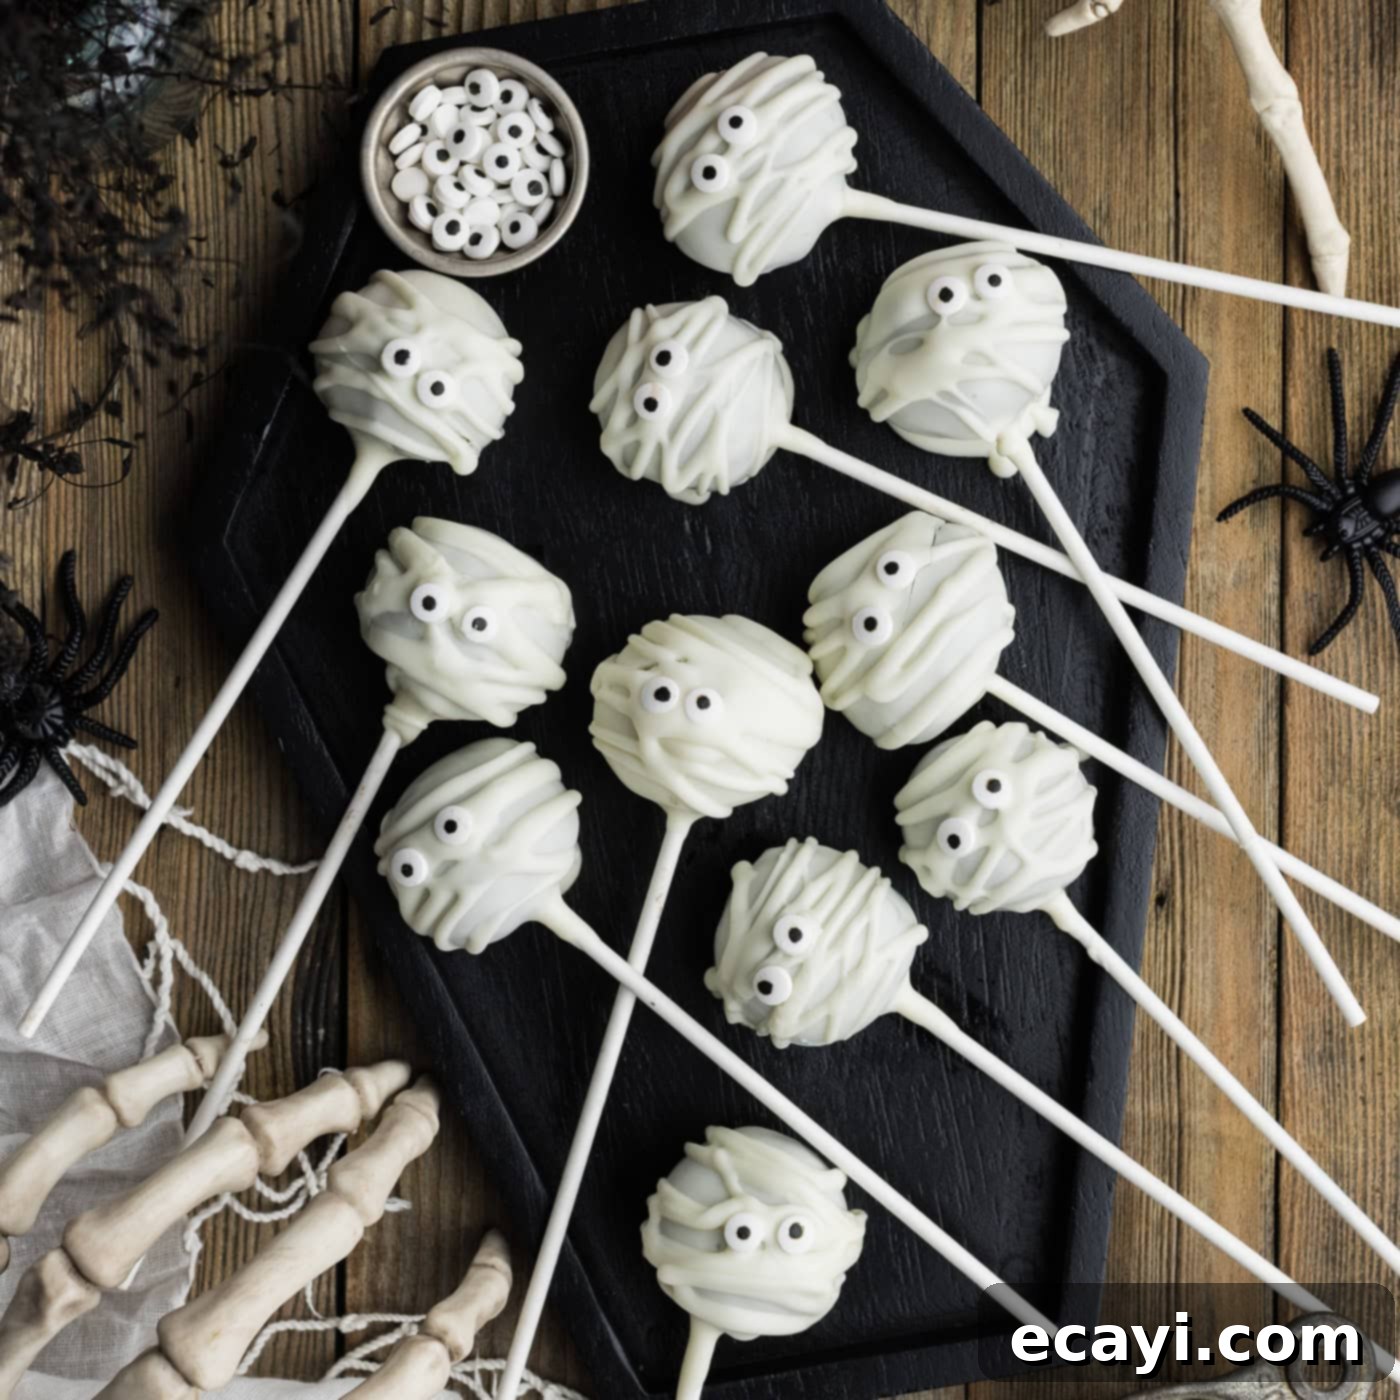
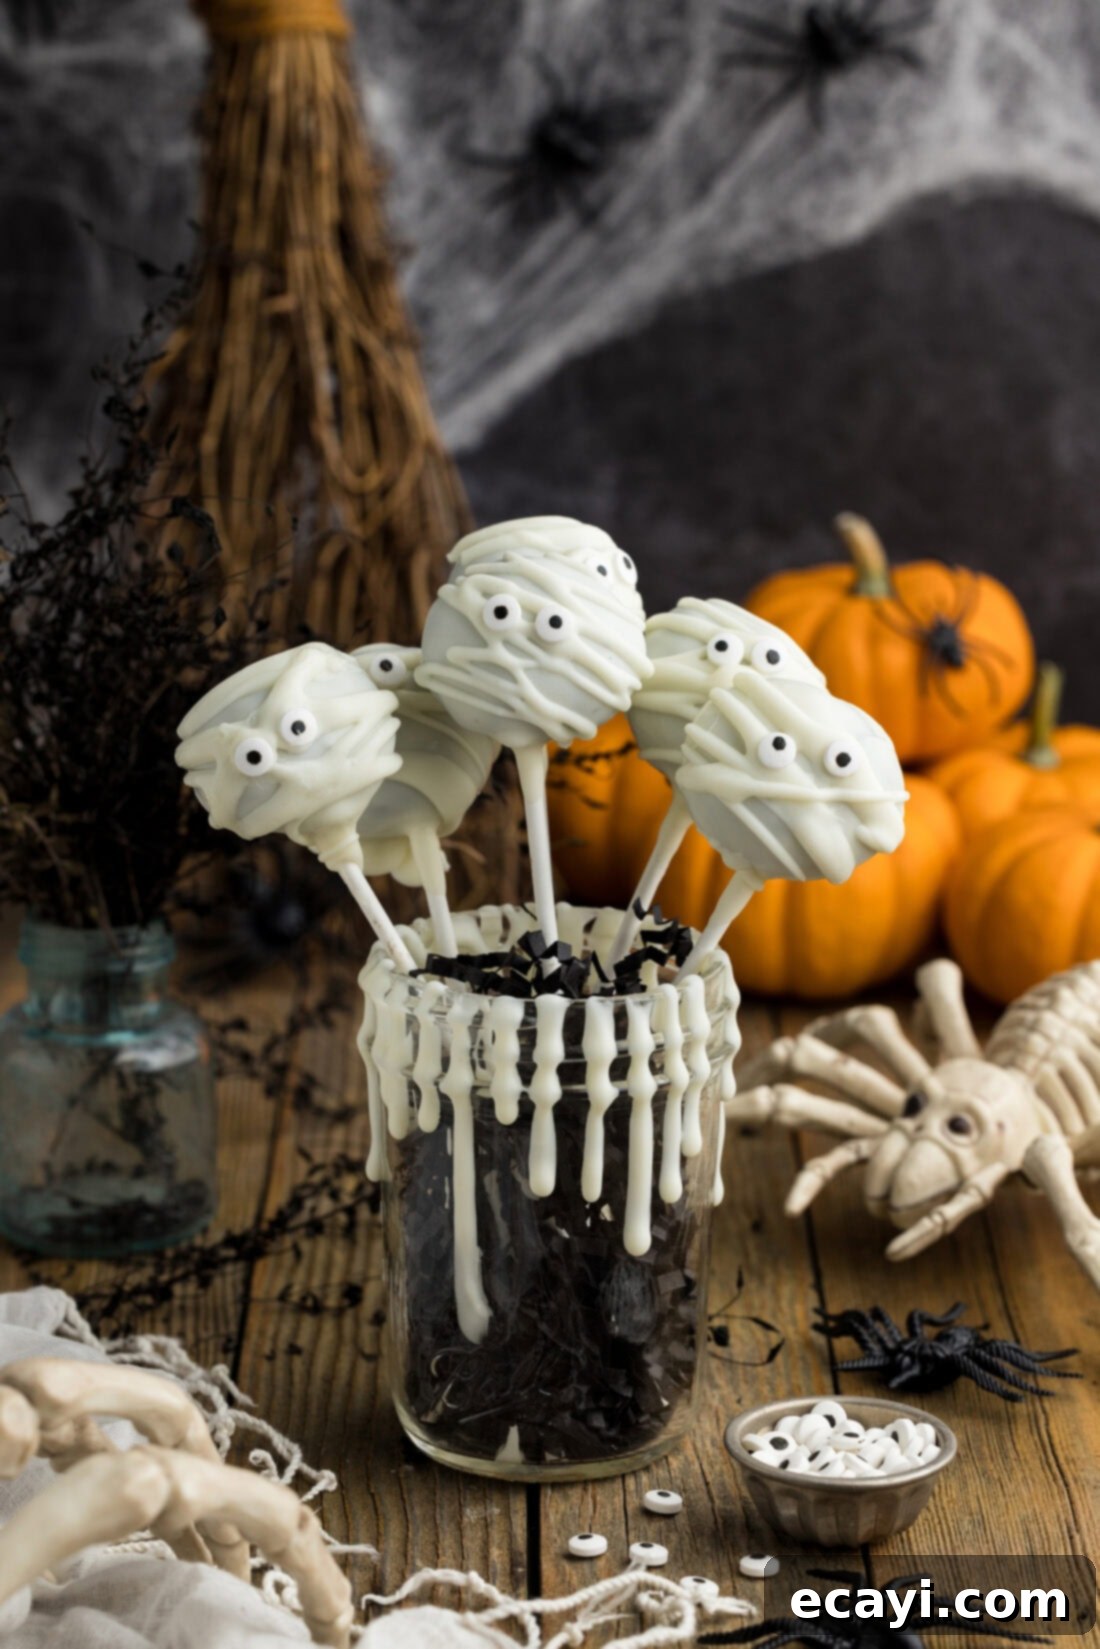
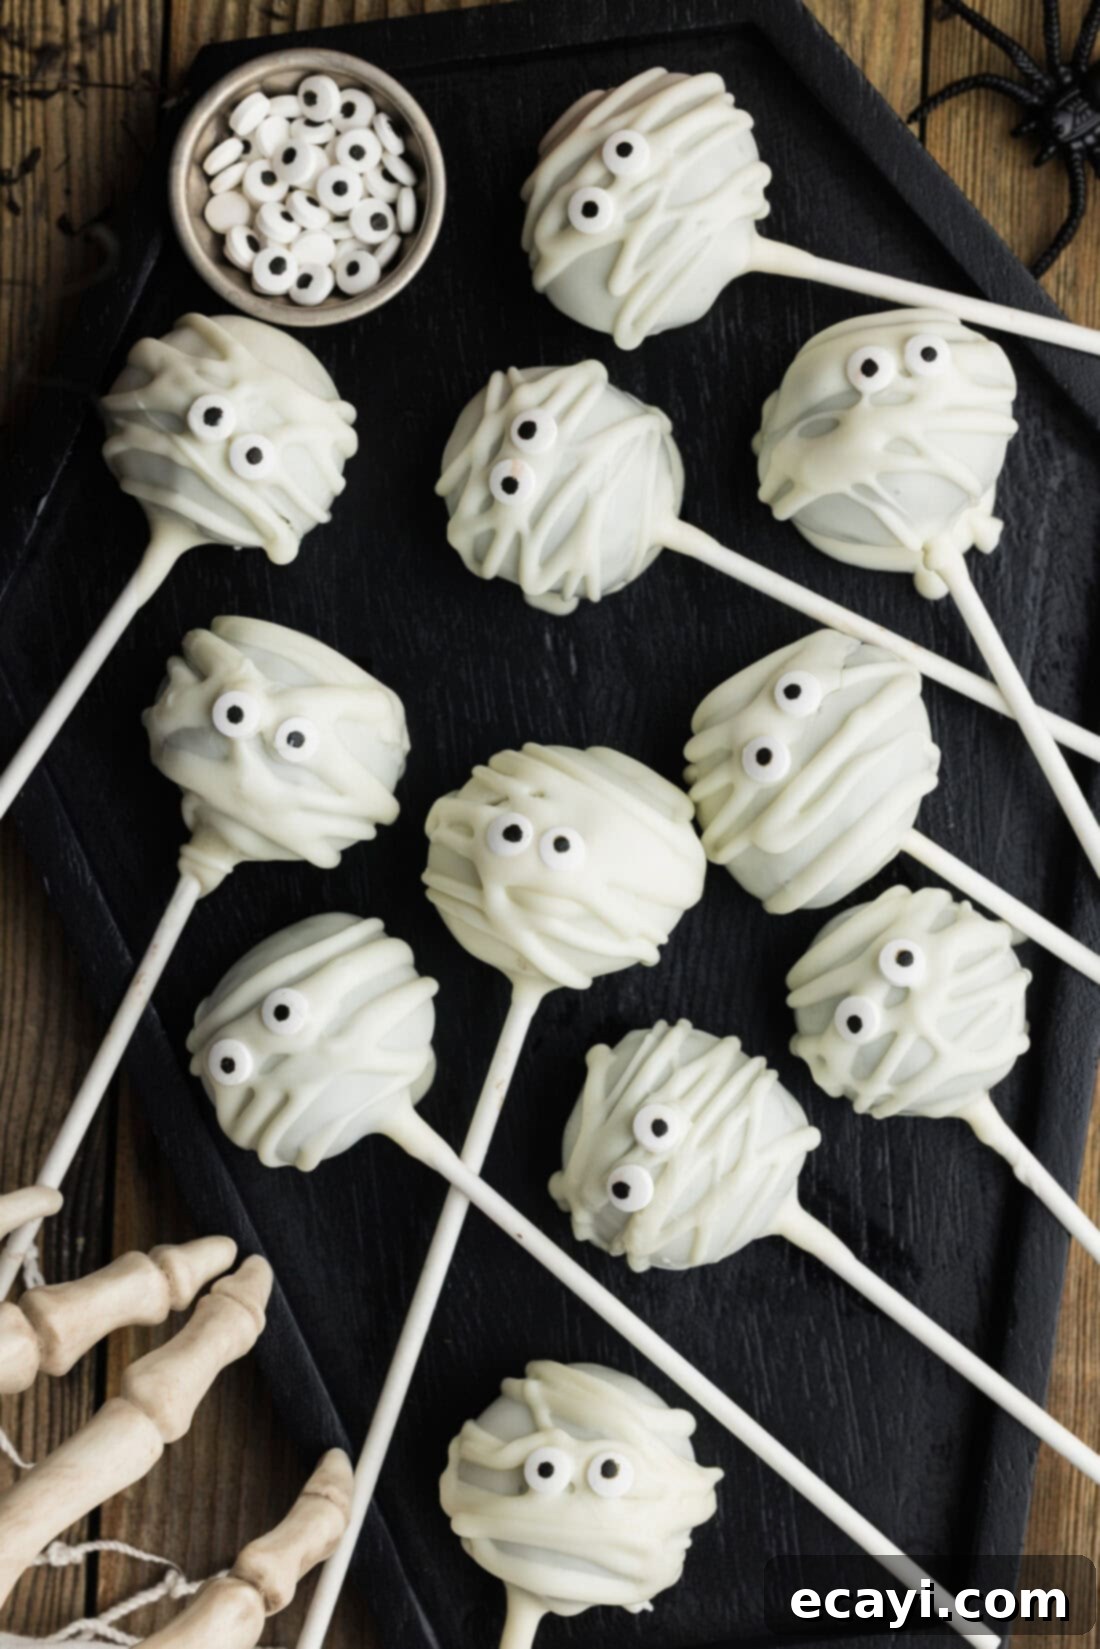
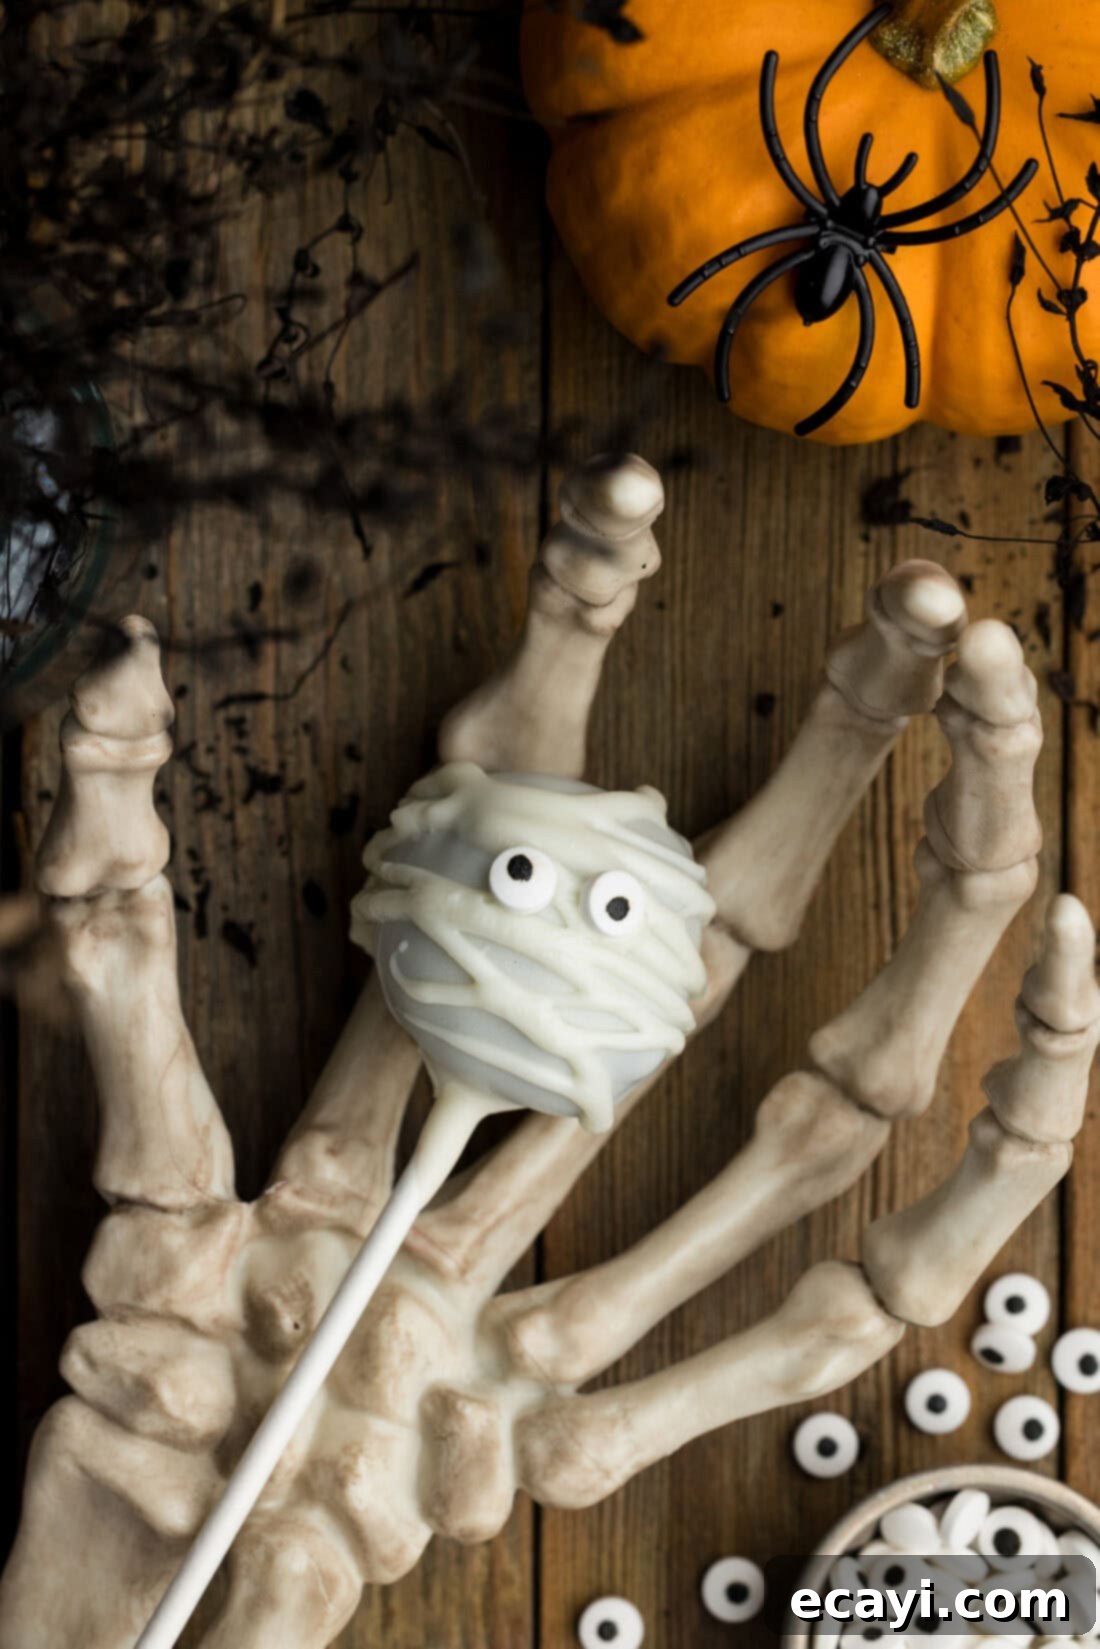
Get ready for a ghoulishly good time with these incredible Mummy Pops! Starting with a rich and decadent Oreo truffle base, these delightful treats are generously blanketed in creamy white chocolate, artfully drizzled with “bandages,” and brought to life with adorable mini candy eyeballs. This four-ingredient recipe is not only incredibly easy to make but also promises a spooky sweet addition to any Halloween celebration, from school parties to family gatherings. Whether you’re a seasoned baker or a beginner, these charming mummy-themed delights are sure to be a hit, captivating both young and old with their irresistible taste and charming appearance.
Why This Recipe Is a Halloween Must-Have
There’s a reason these white chocolate-coated Oreo truffles, playfully decorated as mummies, are an absolute sensation, especially when presented on a stick! The beauty of these Mummy Pops lies in their simplicity and speed. Unlike many elaborate Halloween desserts, this recipe requires minimal ingredients and no baking, making it incredibly accessible for everyone. The use of high-quality white chocolate melting wafers is a game-changer here; they melt smoothly and harden quickly, drastically cutting down on prep time. This means less waiting and more enjoying your spooky creations!
These treats are a fantastic upgrade from traditional Halloween Oreo truffles. While classic truffles are delicious, serving them on a stick transforms them into a portable, mess-free, and even more fun dessert – perfect for bustling parties or little hands. The stick also provides a convenient handle for dipping, simplifying the coating process. The combination of the rich, chocolatey Oreo truffle interior with the sweet, smooth white chocolate exterior is simply divine, and the whimsical candy eyeballs add that perfect touch of Halloween charm that makes them utterly irresistible. They’re not just cute; they’re genuinely delicious and incredibly satisfying.
Essential Ingredients for Your Mummy Pops
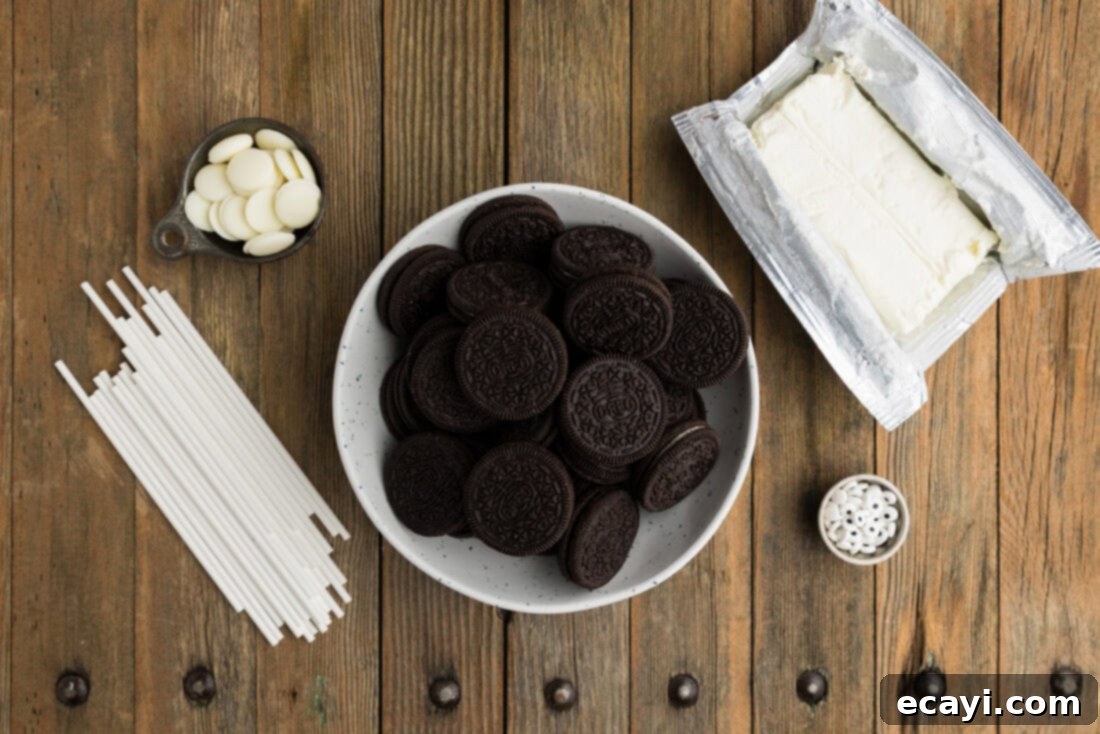
This recipe prides itself on its simplicity, requiring just four main ingredients to create a truly impressive Halloween treat. You’ll find all the precise measurements, detailed ingredients, and step-by-step instructions in the comprehensive, printable recipe card located at the very end of this post. Gather these key components, and you’ll be well on your way to crafting these adorable, spooky delights!
Ingredient Insight and Smart Substitution Tips
Let’s dive a little deeper into the ingredients that make these Mummy Pops so special, and explore some smart substitutions to ensure your success.
OREOS – For this recipe, you will need 36 regular (not double stuffed) Oreo sandwich cookies. It’s crucial to include the cream filling, as it contributes essential moisture and binding power to the truffle base, resulting in that perfectly rich, dense texture. While classic Oreos are fantastic, don’t hesitate to experiment with other flavors if you’re feeling adventurous! Golden Oreos offer a delightful vanilla twist, or you could try seasonal flavors for a unique touch. Just ensure they are standard stuffed, not double, to maintain the correct consistency.
CREAM CHEESE – The quality and temperature of your cream cheese are vital for a smooth, homogenous truffle mixture. Always ensure your cream cheese is thoroughly softened at room temperature before you begin. If it’s too cold and firm, it won’t blend evenly with the crushed Oreos, leaving you with small, undesirable pockets of unmixed cream cheese in your truffles. To achieve the perfect softened state, remove it from the refrigerator, slice it into cubes, and allow it to rest on your countertop for approximately 30-45 minutes. This small step makes a significant difference in the final texture of your Oreo truffle mixture.
WHITE CHOCOLATE COATING – For the best results when dipping, I highly recommend using white melting wafers (also known as candy melts or confectionery coating). These wafers are specifically engineered for dipping and coating, melting into a beautifully smooth, fluid consistency and hardening quickly without needing tempering. This speed and ease of use are crucial for perfectly coated mummy pops. While white chocolate chips can be used in a pinch, they are often more challenging to work with, tend to seize or scorch when melted, and may not harden as quickly or smoothly. You can usually find melting wafers in the baking aisle of most grocery stores or craft supply stores. Reputable brands like Ghirardelli and Wilton are excellent choices, known for their consistent quality and delicious flavor.
MINI CANDY EYEBALLS – These are the fun, finishing touch that truly brings your mummy pops to life! You’ll need enough for two eyes per pop. These are widely available in baking sections or craft stores during Halloween season. They are small, edible, and add an immediate dose of character to your spooky treats.
LOLLIPOP STICKS – While optional, lollipop sticks transform these treats into easy-to-handle pops, perfect for parties. Standard paper or plastic lollipop sticks work perfectly. They provide the ideal vessel for dipping and for guests to enjoy without messy fingers.
Crafting Your Delightful Mummy Pops: A Step-by-Step Guide
These step-by-step photos and detailed instructions are here to help you visualize each stage of making this fun recipe. For the complete, printable version of this recipe, including exact measurements and a streamlined instruction list, simply jump to the recipe card at the bottom of the page.
Preparing the Oreo Truffle Base and Sticks
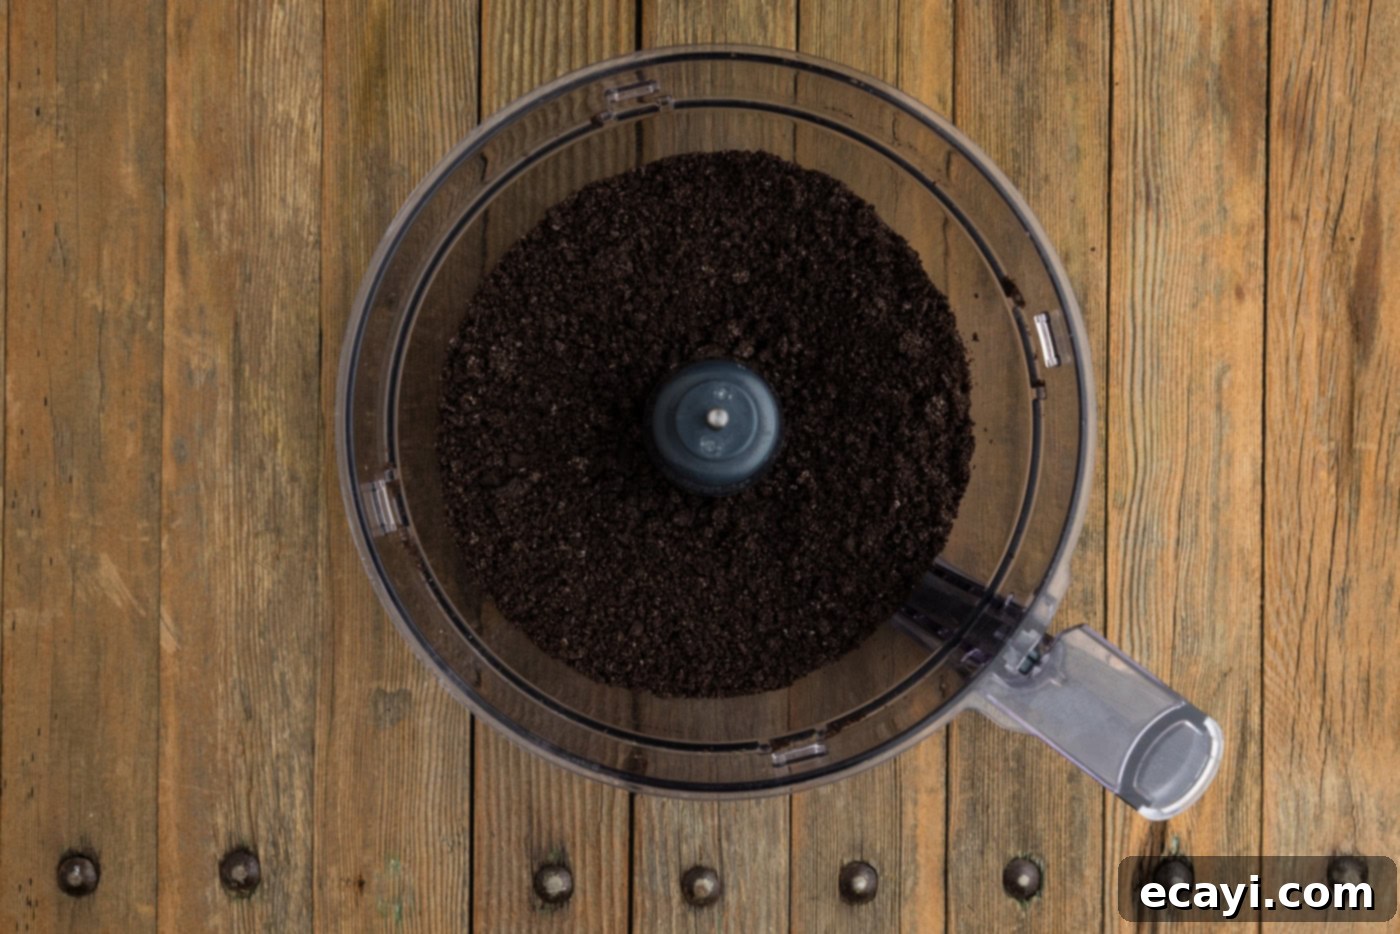
- Crush the Oreos: Begin by placing all 36 regular Oreo cookies (with their cream filling) into the bowl of a food processor. Process them until they are completely pulverized into very fine, even crumbs. There should be no large chunks remaining. This fine texture is essential for a smooth truffle.

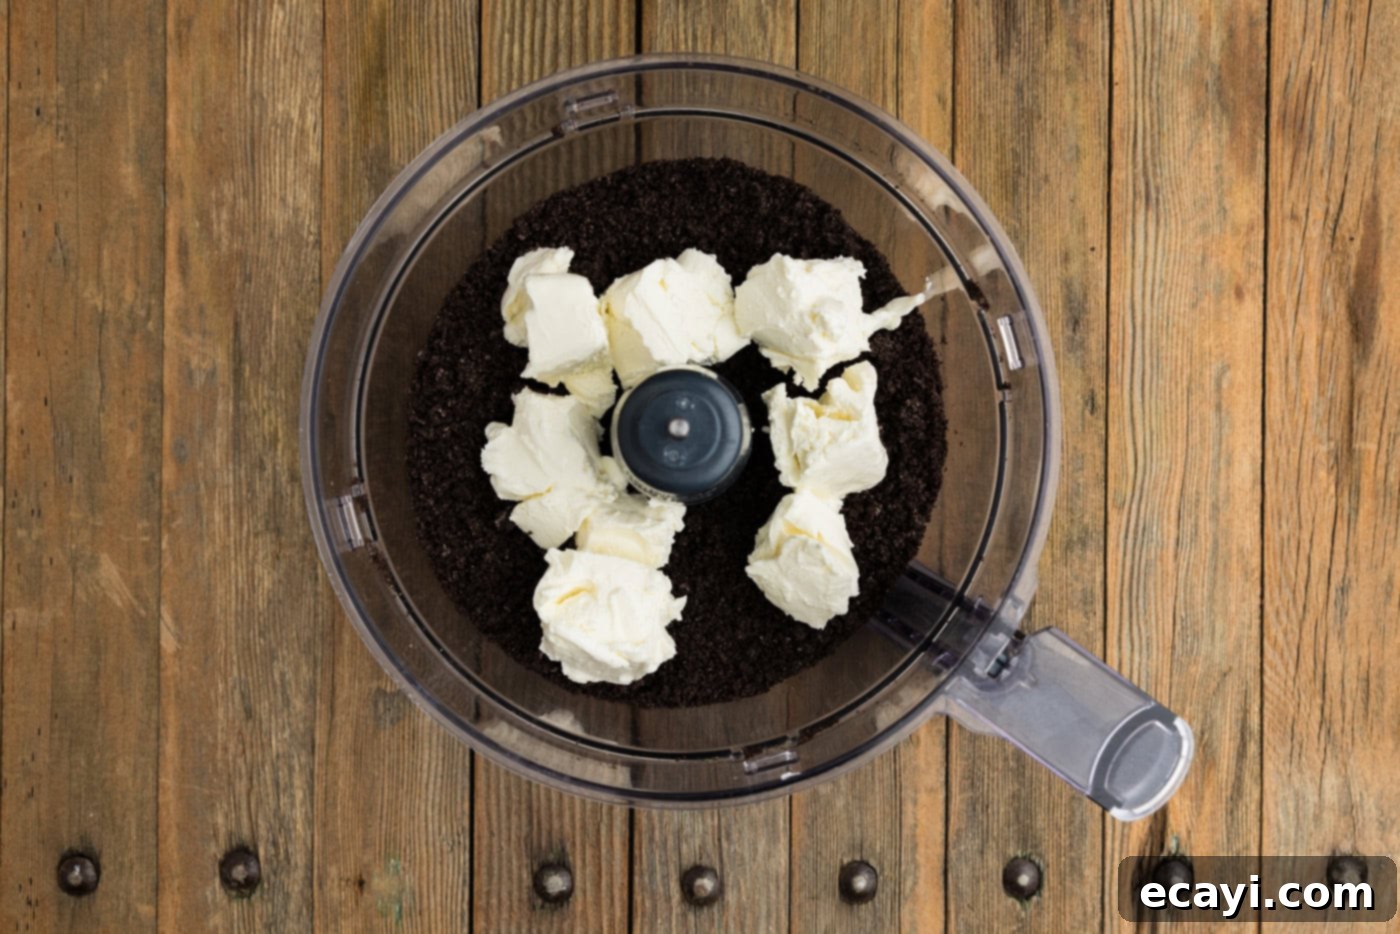
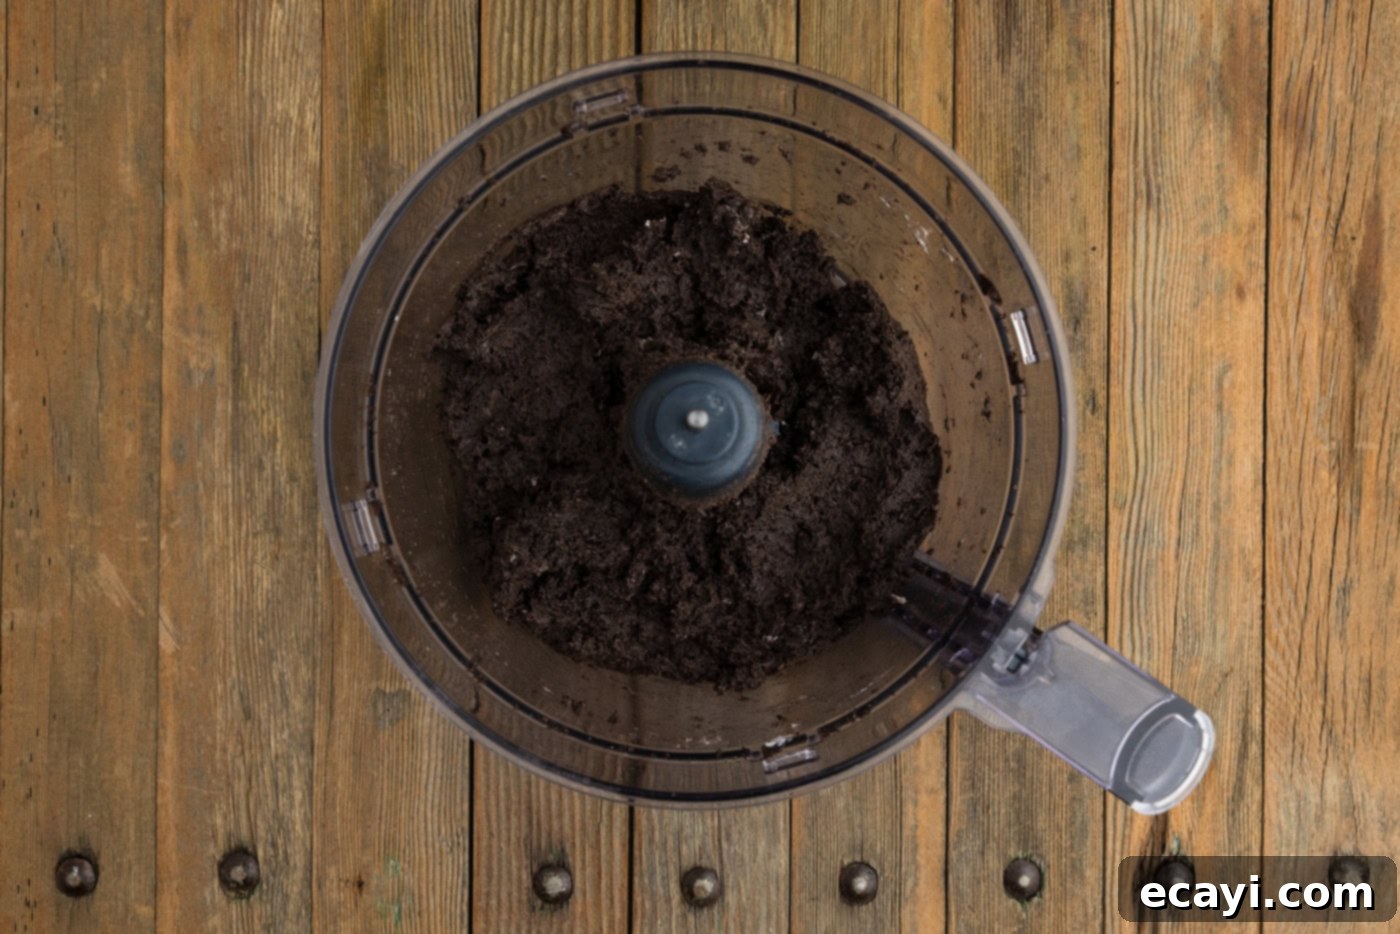
- Combine with Cream Cheese: Add the softened cream cheese to the food processor with the Oreo crumbs. Continue to process until the mixture is thoroughly combined, forming a thick, cohesive “dough.” It should pull away from the sides of the bowl and clump together. You may need to pause the processor, scrape down the sides with a spatula, and stir the mixture manually to ensure an even, smooth consistency.


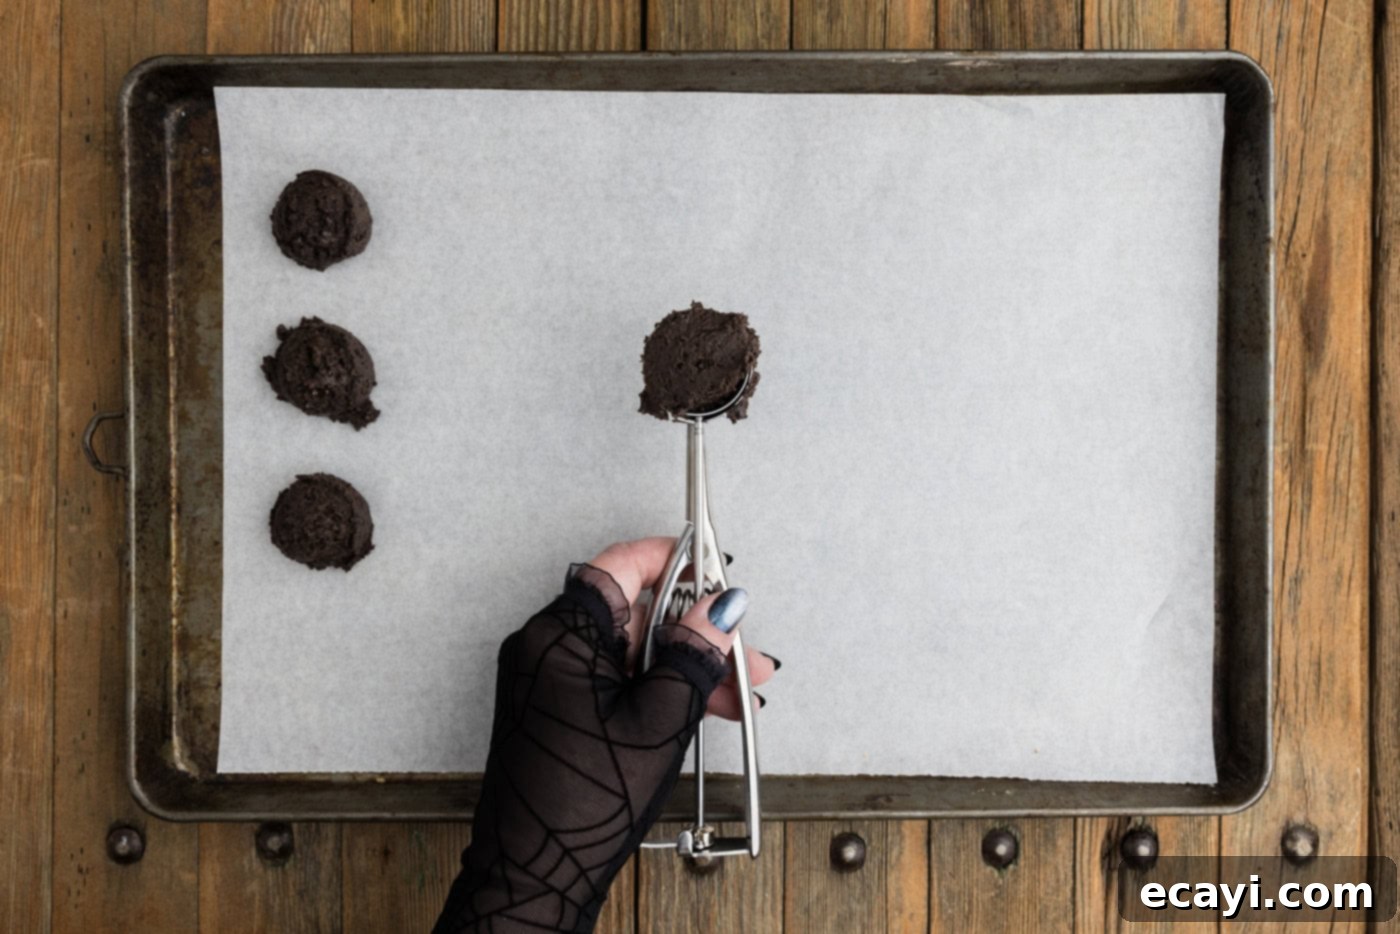
- Form the Truffle Balls: Using a 1-tablespoon-sized cookie scoop, portion out uniform balls of the Oreo mixture. Place each ball onto a baking sheet that has been lined with parchment paper. Aim for consistency in size for even dipping and a professional look.

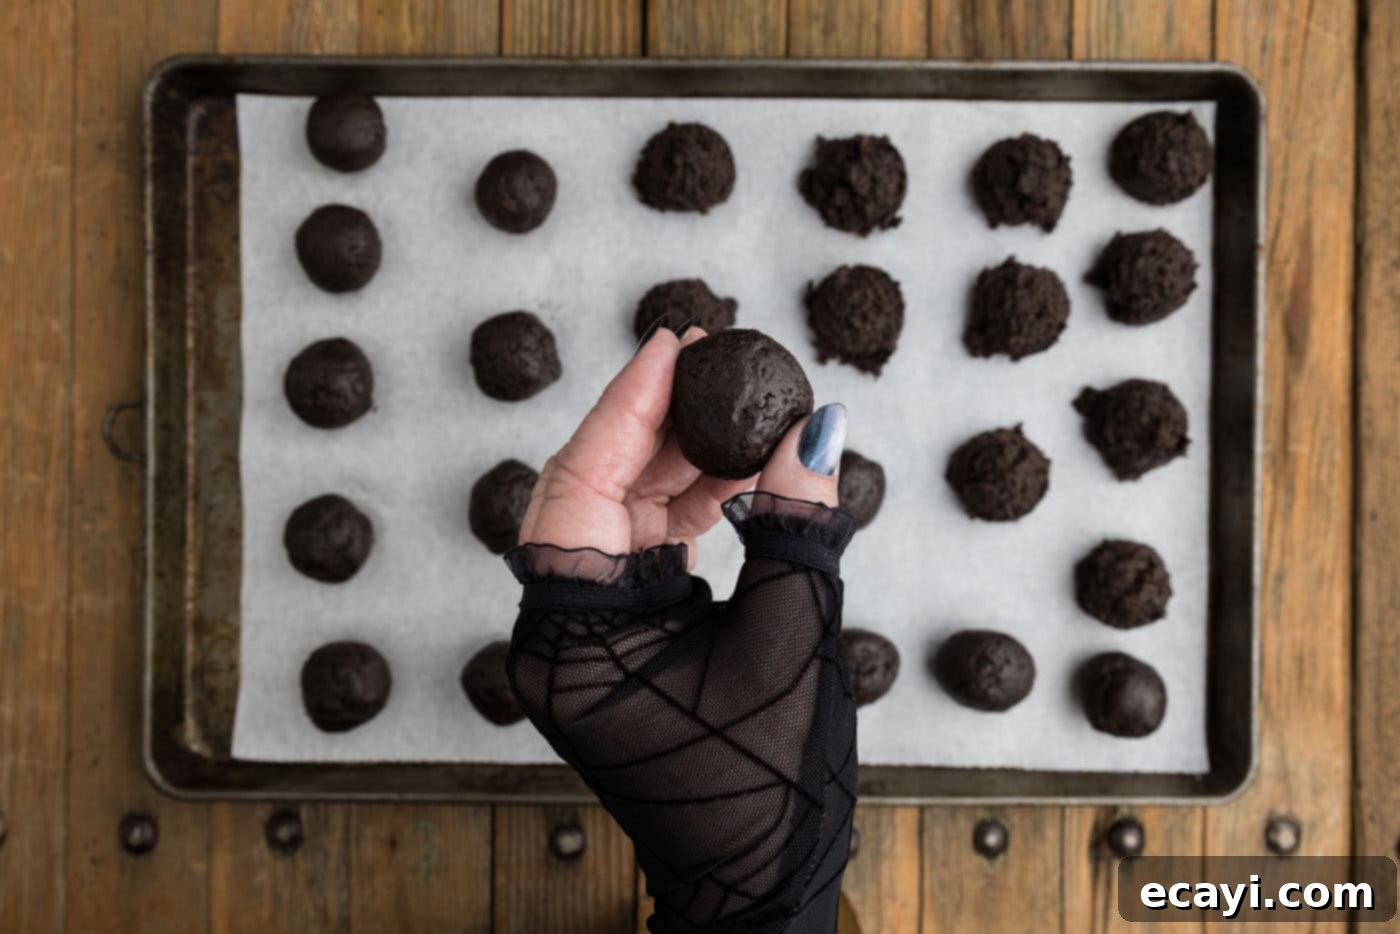
- Chill and Roll: Transfer the baking sheet with the truffle balls to the freezer and chill for 10 minutes. This helps the dough firm up slightly, making it easier to handle. After chilling, remove them and quickly roll each ball between the palms of your hands to create a perfectly smooth, round shape. Return the rolled balls to the freezer for another 10 minutes to ensure they are firm enough for the next step.

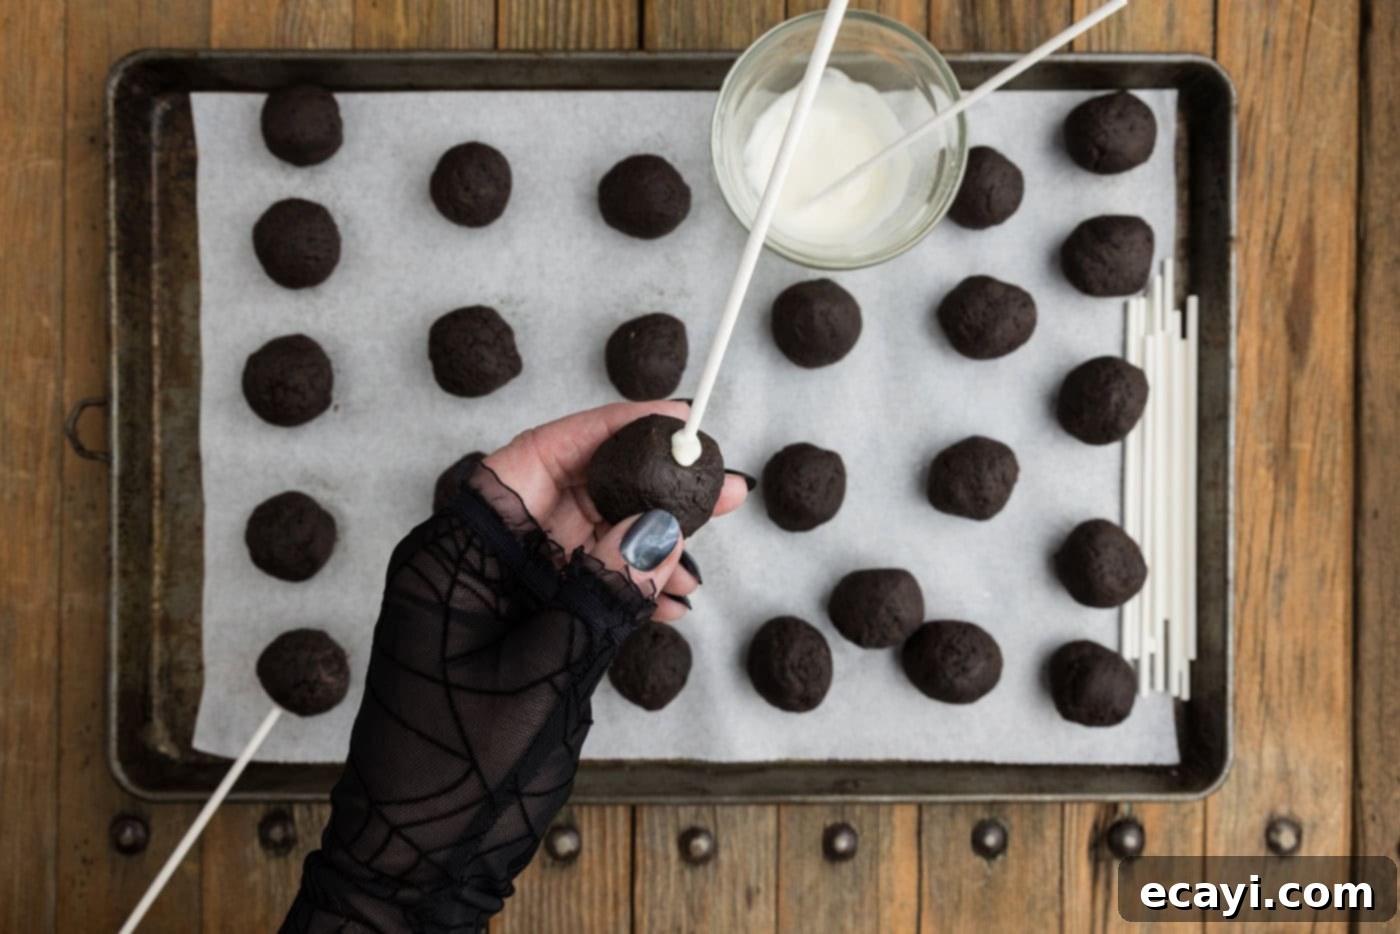
- Insert Lollipop Sticks: Melt 2 ounces of the white melting wafers in a small, microwave-safe bowl according to package directions. Dip one end of each lollipop stick into the melted chocolate, then carefully insert the chocolate-dipped end halfway into the center of each Oreo truffle ball. The melted chocolate acts as a “glue” to secure the stick firmly. Return the entire baking sheet to the freezer for approximately 10 minutes one last time, allowing the chocolate to set completely and anchor the sticks.

Decorating Your Spooky Mummy Pops
- Melt the Main Coating: Place 14 ounces of the remaining white melting wafers into a deep, microwave-safe bowl. Heat in 30-second increments, stirring thoroughly after each interval, until the wafers are completely melted and wonderfully smooth. Be careful not to overheat the chocolate, as this can cause it to seize. A fluid, consistent texture is key for easy dipping.
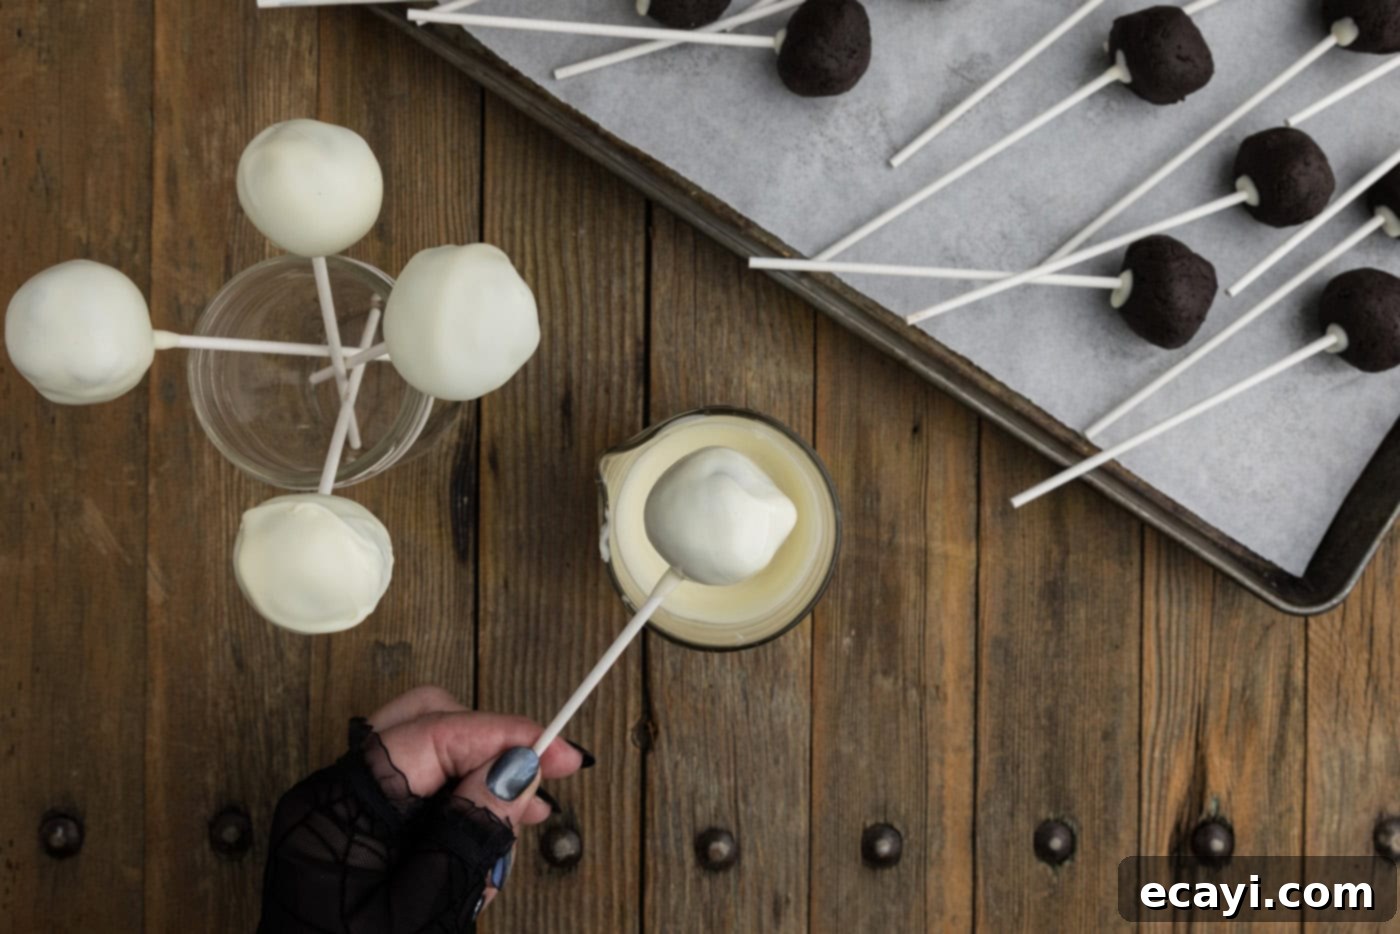
- Dip the Truffle Pops: Working quickly with one firm truffle ball on a stick at a time, dip it into the melted white chocolate coating. Gently turn and swirl the pop to ensure it’s completely covered. Lightly tap the stick against the edge of the bowl to remove any excess coating, allowing it to drip back into the bowl. Place the freshly coated pop upright onto a baking sheet lined with clean parchment paper. Continue this process until all your mummy truffles are beautifully coated.
PRO TIP – If you want to avoid a flat spot on the back of your pops, consider using specific truffle or cake pop stands that hold the sticks upright while the chocolate sets. This gives them a perfectly round finish.

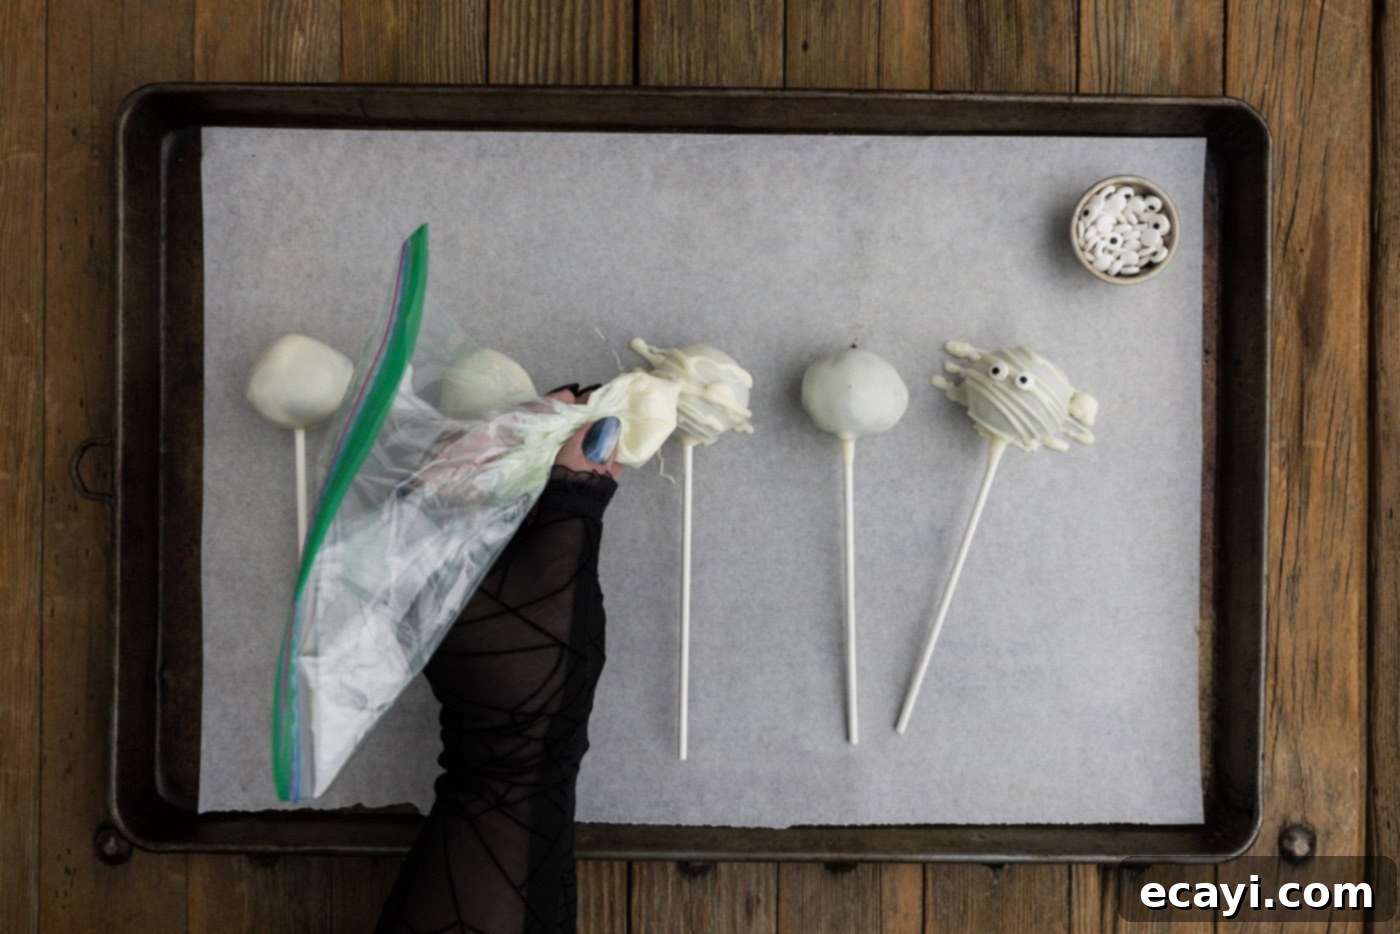
- Create the Mummy Bandages and Eyes: Melt the final 4 ounces of white melting wafers using the same microwave method until smooth. Transfer this melted candy into a small zip-top bag (or a piping bag with a very small snip in the corner). Working swiftly with one mummy pop at a time, drizzle the melted white candy across the coated truffle in crisscrossing lines to mimic mummy bandages. Immediately after drizzling, place two mini candy eyeballs onto the wet “bandages” before the chocolate sets. The wet chocolate will act as the adhesive.

- Finalize Your Mummies: Continue this delightful decorating process for all remaining mummy truffles. Allow them to set completely at room temperature or in the refrigerator before serving.
Frequently Asked Questions & Expert Tips for Perfect Mummy Pops
Absolutely! These Mummy Pops are an excellent make-ahead treat, which is perfect for busy Halloween preparations. You can prepare them fully, including all the delightful decorations, a day or two in advance. Store them in an airtight container in the refrigerator to keep them fresh and firm. If you want to get even further ahead, you can freeze the “naked” Oreo truffles (without the chocolate coating and sticks) for up to 3 months. When you’re ready to decorate, simply thaw them slightly at room temperature for about 10-15 minutes before dipping.
To maintain their freshness and prevent the chocolate from melting, store your finished Mummy Pops in an airtight container. Keep this container in the refrigerator, where they will stay delicious for up to 2 weeks. For longer storage, see the freezer tip above.
Cracking in chocolate coating is a common issue and typically occurs when there’s a significant temperature difference between your cold Oreo truffles and the warm, melted chocolate. If your truffles are too cold, especially if they’ve been in the freezer for an extended period, the sudden change in temperature when dipped into warm chocolate can cause the coating to contract rapidly and crack. To prevent this, if your truffles are very cold, let them sit at room temperature for approximately 10-15 minutes before dipping. This allows them to warm up just enough to reduce the temperature shock. Don’t worry too much about a few minor cracks, as the mummy bandage drizzle will cover most imperfections!
Not at all! The lollipop sticks are purely for convenience and presentation, transforming them into “pops.” We initially made these delightful treats as part of our Halloween Oreo Truffles recipe, which features them as stand-alone truffles without sticks. If you prefer to serve them as small, individual treats on a platter, simply omit the sticks from the recipe. They will be just as delicious and equally charming!
Creative Serving Ideas for Your Mummy Pops
These adorable Mummy Pops are incredibly versatile and perfect for a variety of Halloween festivities. For Halloween parties, arrange them upright in a decorative cup or a themed cake pop stand to create an eye-catching centerpiece on your dessert table. They’re fantastic for a fun family night of decorating with the kids, allowing everyone to add their personal touch to the mummy bandages and eyes. If you’re looking for unique Halloween favors or treats to hand out, consider wrapping individual mummy pops in clear cellophane baggies and tying them with a festive ribbon. This not only makes them look professionally presented but also keeps them fresh. They also look wonderfully eerie simply laid out on a black or orange platter, perhaps with some spooky confetti or candy corn scattered around. However you choose to serve them, these mummy pops are guaranteed to bring smiles and screams (of delight!) to your Halloween celebration.
More Spooky & Sweet Halloween Recipes
If you loved making these Mummy Pops, you’ll surely enjoy exploring more of our fun and festive Halloween recipes. Get inspired for your next spooky celebration with these delicious ideas:
- Monster Brownies – Chewy brownies topped with colorful frosting and candy eyes!
- Mummy Hand Pies – Flaky pastry filled with sweet fruit, shaped into adorable mummies.
- Halloween Dirt Cupcakes – Delectable chocolate cupcakes, crushed Oreos, and gummy worms for a graveyard effect.
- Jalapeno Popper Mummies – A savory Halloween appetizer that’s equally spooky and delicious!
I love to bake and cook and share my kitchen experience with all of you! Remembering to come back each day can be tough, that’s why I offer a convenient newsletter every time a new recipe posts. Simply subscribe and start receiving your free daily recipes!
Mummy Pops
IMPORTANT – There are often Frequently Asked Questions within the blog post that you may find helpful. Simply scroll back up to read them!
Print It
Pin It
Rate It
Save ItSaved!
Ingredients
- 36 Oreo sandwich cookies regular stuffed, filling included
- 8 ounces cream cheese softened at room temperature
- 20 ounces white melting wafers divided (2 oz for sticks, 14 oz for coating, 4 oz for bandages)
- 52 small candy eyeballs
- 26 lollipop sticks
Tools You’ll Need
-
Food processor
-
1 Tablespoon cookie scoop
-
Baking sheet
-
Parchment paper
Before You Begin: Key Tips for Success
- Cream Cheese is Key: Always ensure your cream cheese is at proper room temperature (softened) before mixing. This guarantees a smooth, clump-free truffle base that’s easy to work with and ensures uniform texture in every bite.
- Work Quickly with Chocolate: Candy melting wafers set quite rapidly. To ensure your candy eyeballs adhere perfectly, apply them immediately after drizzling the “bandages.” If you find your chocolate has hardened too much before you add the eyes, simply dab a tiny bit of freshly melted candy coating on the back of each eyeball to use as edible “glue.”
- Professional Finish: For perfectly round Mummy Pops without a flat back, consider investing in a dedicated truffle or cake pop stand. These stands hold the dipped pops upright while the chocolate coating sets, resulting in a beautiful, even finish.
- Avoid Cracking: The main culprit for cracked chocolate coating is a severe temperature contrast. If your Oreo truffles are too cold (e.g., directly from the deep freezer), the warm melted chocolate can cause thermal shock, leading to cracks. To prevent this, allow frozen truffles to sit at room temperature for 10-15 minutes before dipping. A few minor cracks are generally not an issue, as they will mostly be hidden by the decorative white chocolate “bandages.”
- Experiment with Flavors: While classic Oreos are fantastic, feel free to try other Oreo flavors like Golden Oreos or mint for a delightful variation on these Halloween treats.
Instructions
To Make The Oreo Truffles
-
Place the Oreos in the bowl of a food processor and pulverize until they form very fine, consistent crumbs.36 Oreo sandwich cookies
-
Add the softened cream cheese into the food processor. Process until the mixture is fully combined and clumps into a thick, uniform “dough.” Scrape the sides of the bowl as needed to ensure everything is incorporated.8 ounces cream cheese
-
Use a 1-tablespoon-sized scoop to form uniform balls of the mixture. Place each ball onto a parchment paper-lined baking sheet.
-
Chill the balls in the freezer for 10 minutes to firm them up. After chilling, remove and roll each ball between your palms to create a perfectly smooth, round shape. Return to the freezer for another 10 minutes.
-
Melt 2 ounces of the white melting wafers in a small bowl. Dip the end of a lollipop stick into the melted chocolate, then insert it halfway into the center of each truffle ball. This secures the stick. Return the pops to the freezer for about 10 minutes to allow the chocolate to set.
Decorating Your Mummy Pops
-
Place 14 ounces of the remaining white melting wafers in a deep, microwave-safe bowl. Heat in 30-second intervals, stirring well after each, until the wafers are completely melted and smooth.
-
Working one pop at a time, dip each firm ball (holding the stick) into the melted white chocolate, rotating gently to coat completely. Tap off any excess coating and place the coated pop on a fresh parchment-lined baking sheet. Repeat until all truffles are coated.
-
Melt the final 4 ounces of white melting wafers in the same manner. Transfer the melted candy to a small zip-top bag and snip off one tiny corner. Drizzle the melted white candy across one truffle at a time to create a “mummy bandage” effect. Immediately place two small candy eyeballs onto the wet drizzle before it sets.52 small candy eyeballs
-
Continue this decorating process until all the Mummy Pops are complete. Allow them to set fully before serving or storing.
Expert Tips & FAQs
- Store your Mummy Pops in an airtight container in the refrigerator for up to 2 weeks to keep them fresh and delicious.
- Make Ahead: You can prepare the mummy pops completely, including all decorations, a day or two in advance. Store them in an airtight container in the refrigerator. For longer storage, freeze the plain Oreo truffle balls (without chocolate coating) for up to 3 months.
- Ensure your cream cheese is at room temperature for a perfectly smooth truffle mixture without clumps.
- When drizzling the “bandages” and adding eyes, work quickly as the melting wafers set fast. If the coating sets too quickly, use a tiny dab of fresh melted chocolate as “glue” for the eyes.
- To prevent chocolate cracking, avoid dipping very cold truffles directly into warm chocolate. Let them sit at room temperature for 10-15 minutes first to temper the temperature difference.
Nutrition Information
The recipes on this blog are tested with a conventional gas oven and gas stovetop. It’s important to note that some ovens, especially as they age, can cook and bake inconsistently. Using an inexpensive oven thermometer can assure you that your oven is truly heating to the proper temperature. If you use a toaster oven or countertop oven, please keep in mind that they may not distribute heat the same as a conventional full sized oven and you may need to adjust your cooking/baking times. In the case of recipes made with a pressure cooker, air fryer, slow cooker, or other appliance, a link to the appliances we use is listed within each respective recipe. For baking recipes where measurements are given by weight, please note that results may not be the same if cups are used instead, and we can’t guarantee success with that method.
