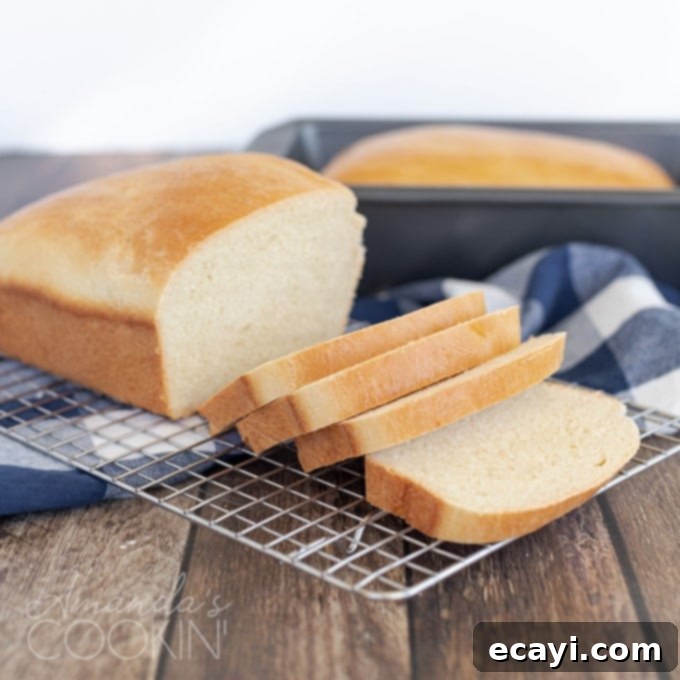
The Best Homemade Amish White Bread: Soft, Fluffy, and Irresistibly Easy Recipe
There’s nothing quite as comforting and satisfying as the aroma of freshly baked bread wafting through your home. And when it comes to classic, wholesome goodness, Homemade Amish White Bread stands head and shoulders above the rest. This isn’t just any ordinary loaf; it’s a testament to simple ingredients coming together to create something truly magical. With its incredibly soft texture and subtly sweet flavor, this bread is an absolute keeper, perfect for everything from hearty sandwiches to delightful breakfast treats. From the moment it emerges golden brown from the oven, you’ll know you’ve found a recipe to cherish.
Why Bake Homemade Amish White Bread?
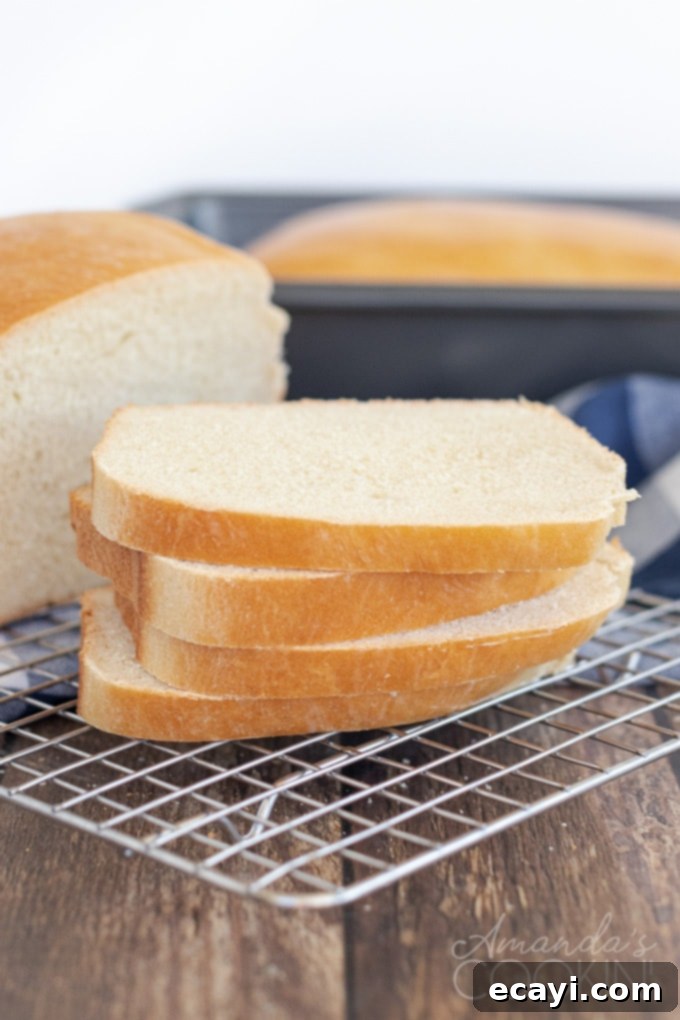
In a world filled with processed foods, taking the time to bake your own bread is a rewarding experience. This Amish White Bread recipe is particularly special because it yields two generous loaves, ensuring you have enough for multiple meals and occasions. Imagine slicing into a warm, fluffy piece of bread straight from the oven, its delicate crust giving way to a tender interior. This bread is incredibly versatile, making it ideal for a variety of uses throughout the week. On day one, it’s the ultimate foundation for incredible sandwiches, holding up beautifully to all your favorite fillings. But the goodness doesn’t stop there!
The Simplicity and Joy of Bread Baking
Baking bread at home is a timeless tradition that connects us to generations past. The process, while requiring a bit of patience, is surprisingly straightforward and immensely satisfying. This particular Amish White Bread recipe is designed to be accessible for home bakers of all skill levels, offering clear instructions and reliable results. It uses common pantry staples and transforms them into two loaves of soft, delectable bread that far surpass anything you can buy in a store. The taste, the texture, the incredible aroma—it’s an experience that truly nourishes the soul.
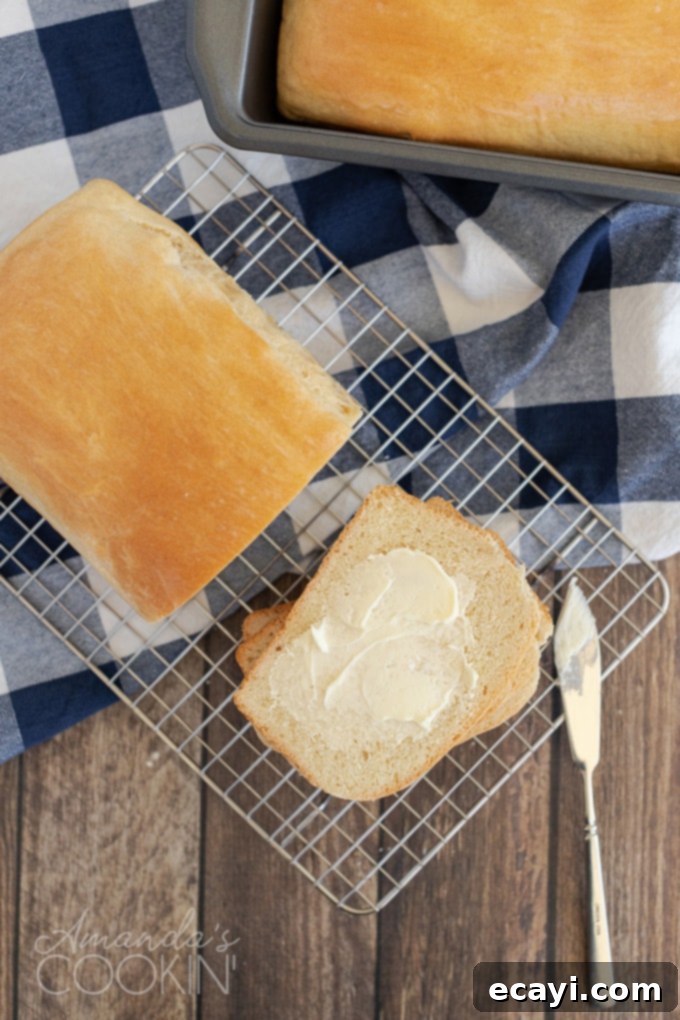
I often time my bread baking with heartier meals like a comforting crockpot roast beef or a rich beef stew. There’s something undeniably wonderful about tearing off a warm piece of homemade bread to sop up the delicious juices of a slow-cooked meal. Then, the second loaf can be reserved for the days that follow, ready to be transformed into breakfast toast, grilled cheese, or even a decadent bread pudding. This recipe truly offers endless possibilities!
Master the Recipe: Your Guide to Fluffy Amish White Bread
Creating this delicious Amish White Bread starts with gathering your ingredients and understanding a few key principles of yeast baking. Don’t be intimidated; the process is quite forgiving, and the results are incredibly rewarding.
Essential Ingredients for Perfect Loaves
Here’s what you’ll need to make two beautiful loaves of this homemade delight:
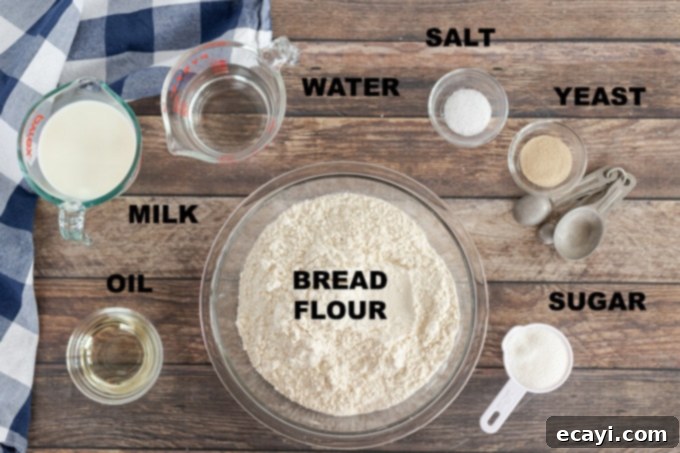
- 1 cup warm water (110 degrees F): The perfect temperature for activating your yeast. Too hot, and it kills the yeast; too cold, and the yeast won’t activate.
- 1 cup warm milk (110 degrees F): Milk adds richness, tenderness, and a lovely soft crumb to the bread. Ensure it’s also at the ideal temperature.
- 1 1/2 teaspoon salt: Essential for flavor balance and controlling yeast activity. Don’t skip it!
- 1/3 cup sugar: Provides food for the yeast, helps with browning, and contributes to the bread’s characteristic mild sweetness.
- 1/4 cup vegetable oil: Adds moisture, helps keep the bread soft, and contributes to a fine crumb.
- 1 1/2 tablespoons active dry yeast (2 envelopes): The magical ingredient that makes your bread rise. Ensure it’s active and fresh for best results.
- 6 cups bread flour: Bread flour has a higher protein content than all-purpose flour, which helps develop stronger gluten. This is key for a chewy, airy texture and good structure in your loaves.
Recommended Kitchen Tools
Having the right tools can make your bread baking experience even smoother:
- Stand mixer with dough hook: While you can knead by hand, a stand mixer significantly cuts down on labor and ensures consistent kneading for optimal gluten development.
- Liquid measure: For accurate measurement of water and milk.
- Mixing bowls: You’ll need a large one for proofing the yeast and then for the first rise of the dough.
- Measuring cups and spoons: Essential for precise ingredient measurements, which is crucial in baking.
- Bread knife: A serrated bread knife is indispensable for cleanly slicing your cooled loaves without squishing them.
Step-by-Step: How to Make Homemade Amish White Bread
Follow these detailed steps to achieve perfect, soft, and fluffy Amish White Bread every time:
Activating the Yeast: The Foundation of Fluffy Bread
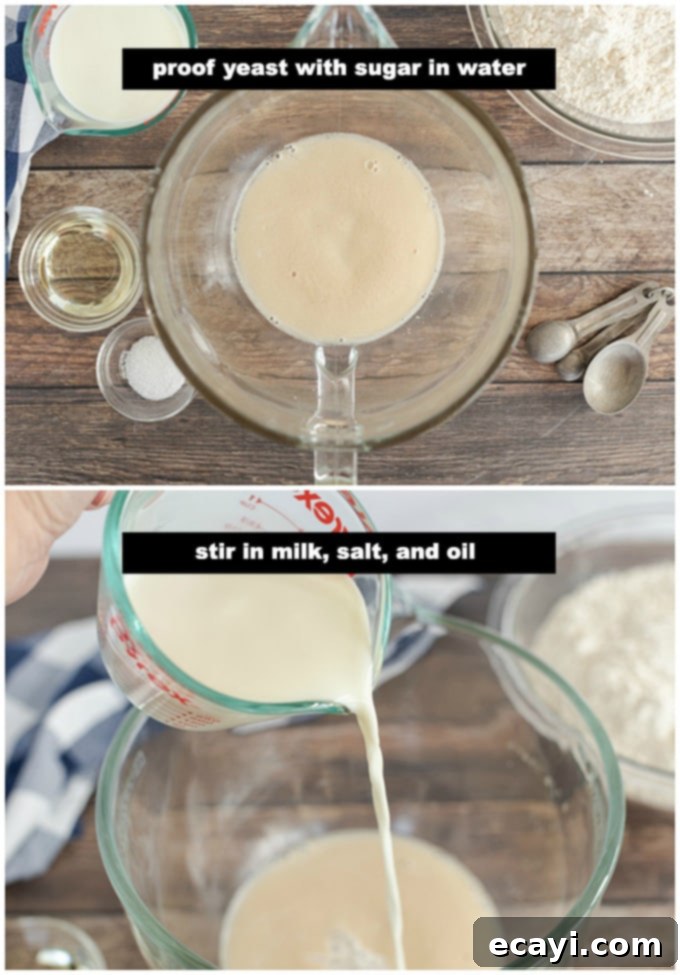
- In a large mixing bowl, combine the warm water and sugar, stirring until the sugar completely dissolves. This provides food for the yeast. Then, gently stir in the active dry yeast. It’s important for the water temperature to be around 110 degrees F (43 degrees C) – warm to the touch but not hot. Allow the mixture to sit undisturbed for about 5-10 minutes. During this time, the yeast should “proof,” meaning it will become foamy and creamy on the surface, indicating it’s alive and active. If it doesn’t foam, your yeast might be old or the water temperature was incorrect.
- Once your yeast is nicely proofed, stir in the warm milk, salt, and vegetable oil. Ensure all ingredients are well combined before moving to the next step.
Mixing and Kneading: Building the Dough’s Structure
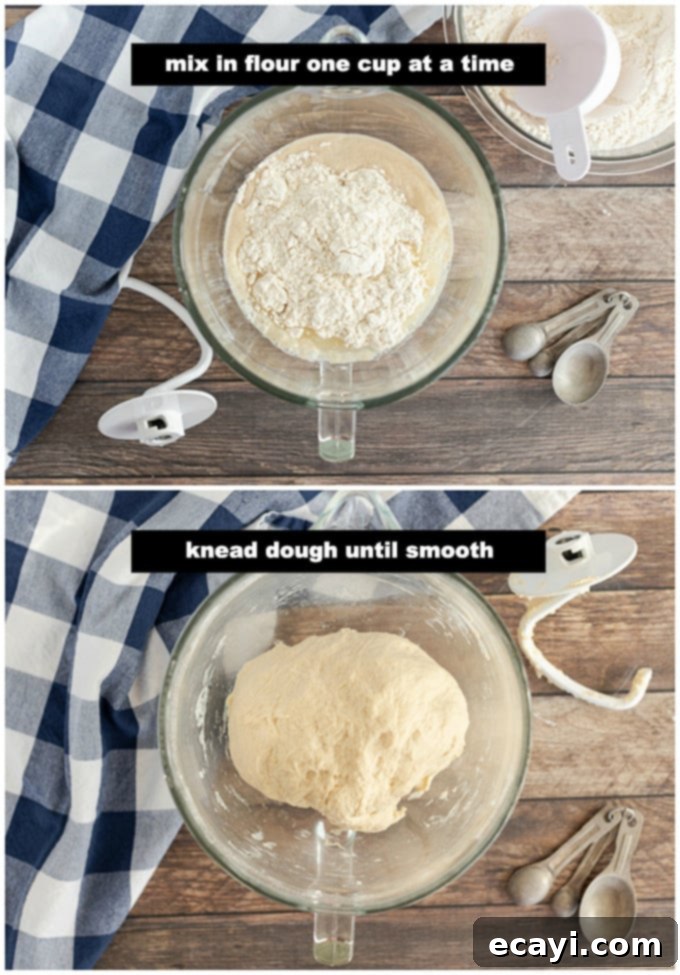
- Gradually add the bread flour, one cup at a time, to the wet ingredients. If you’re using a stand mixer with a dough hook, start mixing on low speed until the flour is incorporated. If mixing by hand with a wooden spoon, stir until a shaggy dough forms. Once all the flour is added, continue to knead the dough. With a stand mixer, knead for about 7-10 minutes on medium-low speed until the dough is smooth, elastic, and pulls away from the sides of the bowl. If kneading by hand, this will take about 10-15 minutes, developing the gluten until the dough feels pliable and bounces back when lightly pressed.
First Rise: Patience is Key
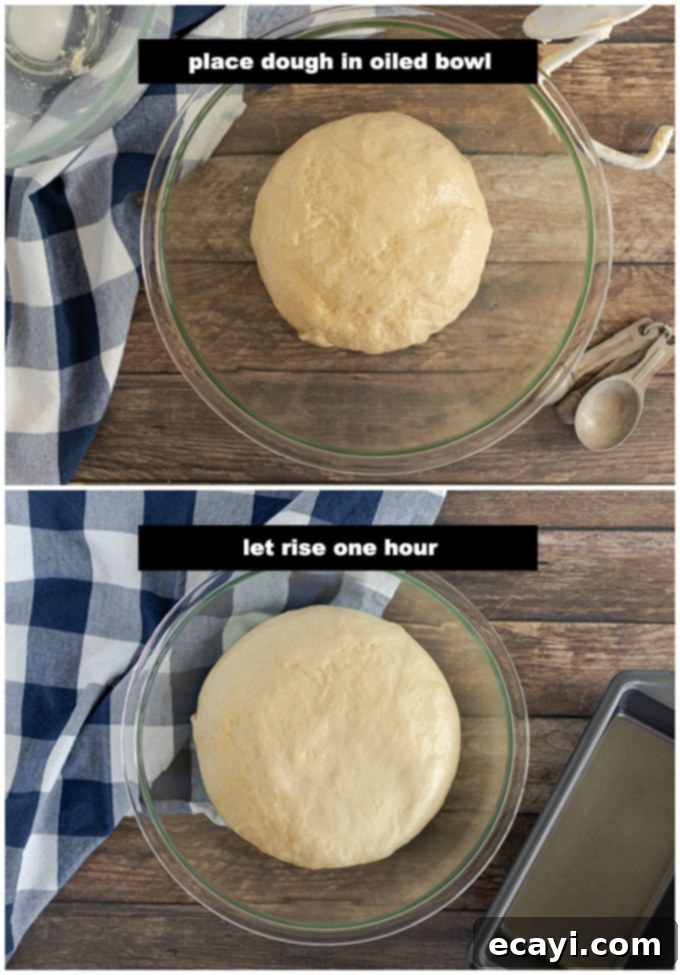
- Lightly oil a clean large bowl. Transfer the kneaded dough to this bowl, turning it over once to ensure the top surface is also coated with a thin layer of oil. This prevents the dough from drying out during its rise. Cover the bowl with a clean kitchen towel or plastic wrap. Place the covered bowl in a warm, draft-free area of your kitchen. A slightly warm oven (turned off, but warmed for a minute then off), or even just a warm spot on the counter, works well. Let the dough rise for approximately 1 hour, or until it has doubled in size. This first rise develops much of the bread’s flavor and texture.
Shaping and Second Rise: Preparing for the Oven
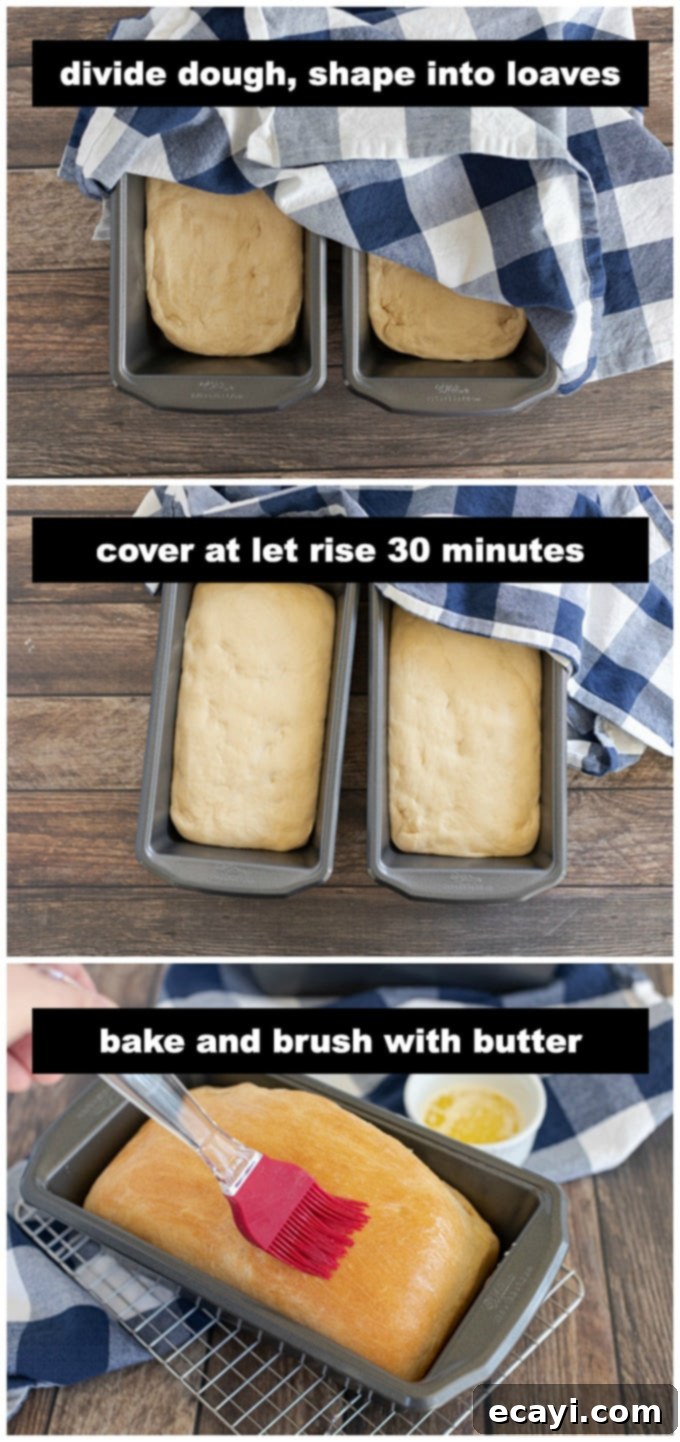
- Once the dough has doubled, gently “punch it down” to release the air. This helps to redistribute the yeast and creates a finer crumb. Lightly knead the dough a few times on a floured surface, just enough to work out excess air. Then, divide the dough evenly in half.
- Shape each half into a loaf. A common method is to flatten the dough into a rectangle, then roll it up tightly from one of the longer sides, pinching the seam closed at the bottom. Tuck in the ends. Place each shaped loaf seam-side down into two greased 9×5-inch loaf pans. Cover the pans again with a clean towel and allow them to rise for another 30 minutes, or until the dough has risen about 1 inch above the tops of the pans. This second rise, often called the “proof,” ensures a light and airy loaf.
Baking to Golden Perfection
- Preheat your oven to 350 degrees F (175 degrees C). Bake the loaves for 30 minutes, or until they are golden brown on top and sound hollow when tapped on the bottom. Immediately after removing them from the oven, turn the loaves out of their pans and place them on wire cooling racks. While still warm, you can brush the tops of the loaves with a little melted butter. This not only adds a lovely sheen and flavor but also keeps the crust wonderfully soft and tender.
The moment you pull these beautiful loaves from the oven, your kitchen will be filled with an incredible aroma—a sure sign of homemade goodness. There’s truly nothing quite like fresh-baked bread. The aroma is comforting, nostalgic, and a perfect way to round out any day!
Expert Tips for Baking Success
To ensure your Amish White Bread turns out perfectly every time, keep these helpful tips in mind:
- Cool Completely for Sandwiches: While warm bread is delightful, for perfect sandwich slices that don’t tear, let your loaves cool completely on a wire rack before attempting to slice them with a bread knife. This allows the internal structure to set.
- Versatile Use Over Days: This bread is truly at its peak for sandwiches on the first day. For days 2 or 3, it’s fantastic for making crispy toast, melty grilled cheese, rich bread pudding, crunchy homemade croutons, or fluffy French toast.
- Choose a Draft-Free Rising Spot: Yeast doughs are sensitive to temperature changes. Always let your dough rise, covered, in a warm, draft-free area where it can remain undisturbed. A cold draft can shock the yeast and hinder the rising process.
- Check Yeast Activity: Always proof your yeast first. If it doesn’t foam, it’s inactive, and your bread won’t rise. Start again with fresh yeast.
- Oven Temperature Matters: Invest in an oven thermometer to ensure your oven is truly heating to the proper temperature. Inconsistent oven temperatures are a common cause of baking issues.
- Storage: Store cooled bread in an airtight container or bread bag at room temperature for up to 3-4 days. For longer storage, slice the bread and freeze it in an airtight bag for up to 2-3 months.
Beyond Sandwiches: Delicious Ways to Enjoy Your Amish White Bread
This incredibly versatile bread is just begging to be used in creative and delicious ways. Here are some of our favorites:
- Toasted Cheddar and Ham Sandwich: Elevate your classic ham and cheese with the superior flavor and texture of homemade bread.
- Avocado Toast: The perfect base for creamy avocado, a sprinkle of salt, and a dash of red pepper flakes for a healthy and satisfying breakfast or snack.
- Homemade Freezer French Toast Sticks: Slice your bread into sticks, dip, cook, and freeze for quick and easy breakfasts throughout the week.
- French Toast Casserole: A wonderful option for brunch, allowing the bread to soak up a rich custard for an indulgent dish.
- Dipped in Our Easy Tomato Soup: A warm, comforting bowl of soup is perfectly complemented by a thick slice of this soft bread.
- Garlic Bread: Slice, spread with garlic butter, and toast for an amazing side with pasta dishes.
- Bread Crumbs: If you have any leftover pieces, they make fantastic fresh bread crumbs for toppings or binders.
If you love this recipe, you might also enjoy making mini Amish white loaves for individual servings or gifting. And for those who enjoy a heartier texture, my homemade multigrain bread is another fantastic option to explore!
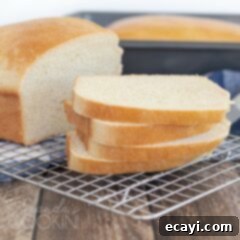
Amish White Bread
IMPORTANT – There are often Frequently Asked Questions within the blog post that you may find helpful. Simply scroll back up to read them!
Print It
Rate It
Save ItSaved!
Ingredients
- 1 cup warm water 110 degrees
- 1 cup warm milk 110 degrees
- 1 ½ teaspoon salt
- ⅓ cup sugar
- ¼ cup vegetable oil
- 1 ½ tablespoons active dry yeast 2 envelopes
- 6 cups bread flour
Things You’ll Need
-
Stand mixer with dough hook
-
Liquid measure
-
Mixing bowls
-
Measuring cups and spoons
-
Bread knife
Before You Begin
- For sandwich bread, let the loaves cool completely before slicing with a bread knife.
- This bread is best for sandwiches on the first day. Use for toast, grilled cheese, bread pudding, homemade croutons, or French toast on day 2 or 3.
- Be sure that your dough is allowed to rest, covered, in a draft free area where it can sit undisturbed.
Instructions
-
In a large bowl, dissolve the sugar in warm water, then stir in yeast. Allow to proof until yeast resembles a creamy foam.
-
Stir in the warm milk, salt and oil into the yeast mixture.
-
Using the dough hook on a mixer or with a wooden spoon by hand, mix in flour, one cup at a time. Knead until smooth.
-
Place dough in well oiled bowl; turn to coat top. Cover with a clean towel and let rise about 1 hour.
-
Punch dough down, knead a few times. Divide dough in half.
-
Shape into loaves and place into 2 greased 9×5-inch loaf pans. Cover and allow to rise 30 minutes or until dough has risen about 1″ above pans.
-
Bake at 350 degrees F for 30 minutes. Remove from pans immediately and place on cooling racks. Brush the top of the loaves with a little melted butter right after you take them out of the pans so that the crust stays nice and soft.
Nutrition
The recipes on this blog are tested with a conventional gas oven and gas stovetop. It’s important to note that some ovens, especially as they age, can cook and bake inconsistently. Using an inexpensive oven thermometer can assure you that your oven is truly heating to the proper temperature. If you use a toaster oven or countertop oven, please keep in mind that they may not distribute heat the same as a conventional full sized oven and you may need to adjust your cooking/baking times. In the case of recipes made with a pressure cooker, air fryer, slow cooker, or other appliance, a link to the appliances we use is listed within each respective recipe. For baking recipes where measurements are given by weight, please note that results may not be the same if cups are used instead, and we can’t guarantee success with that method.
This post was originally published on June 13, 2009
