Irresistible Homemade Apple Cider Doughnuts: Your Ultimate Fall Treat Guide
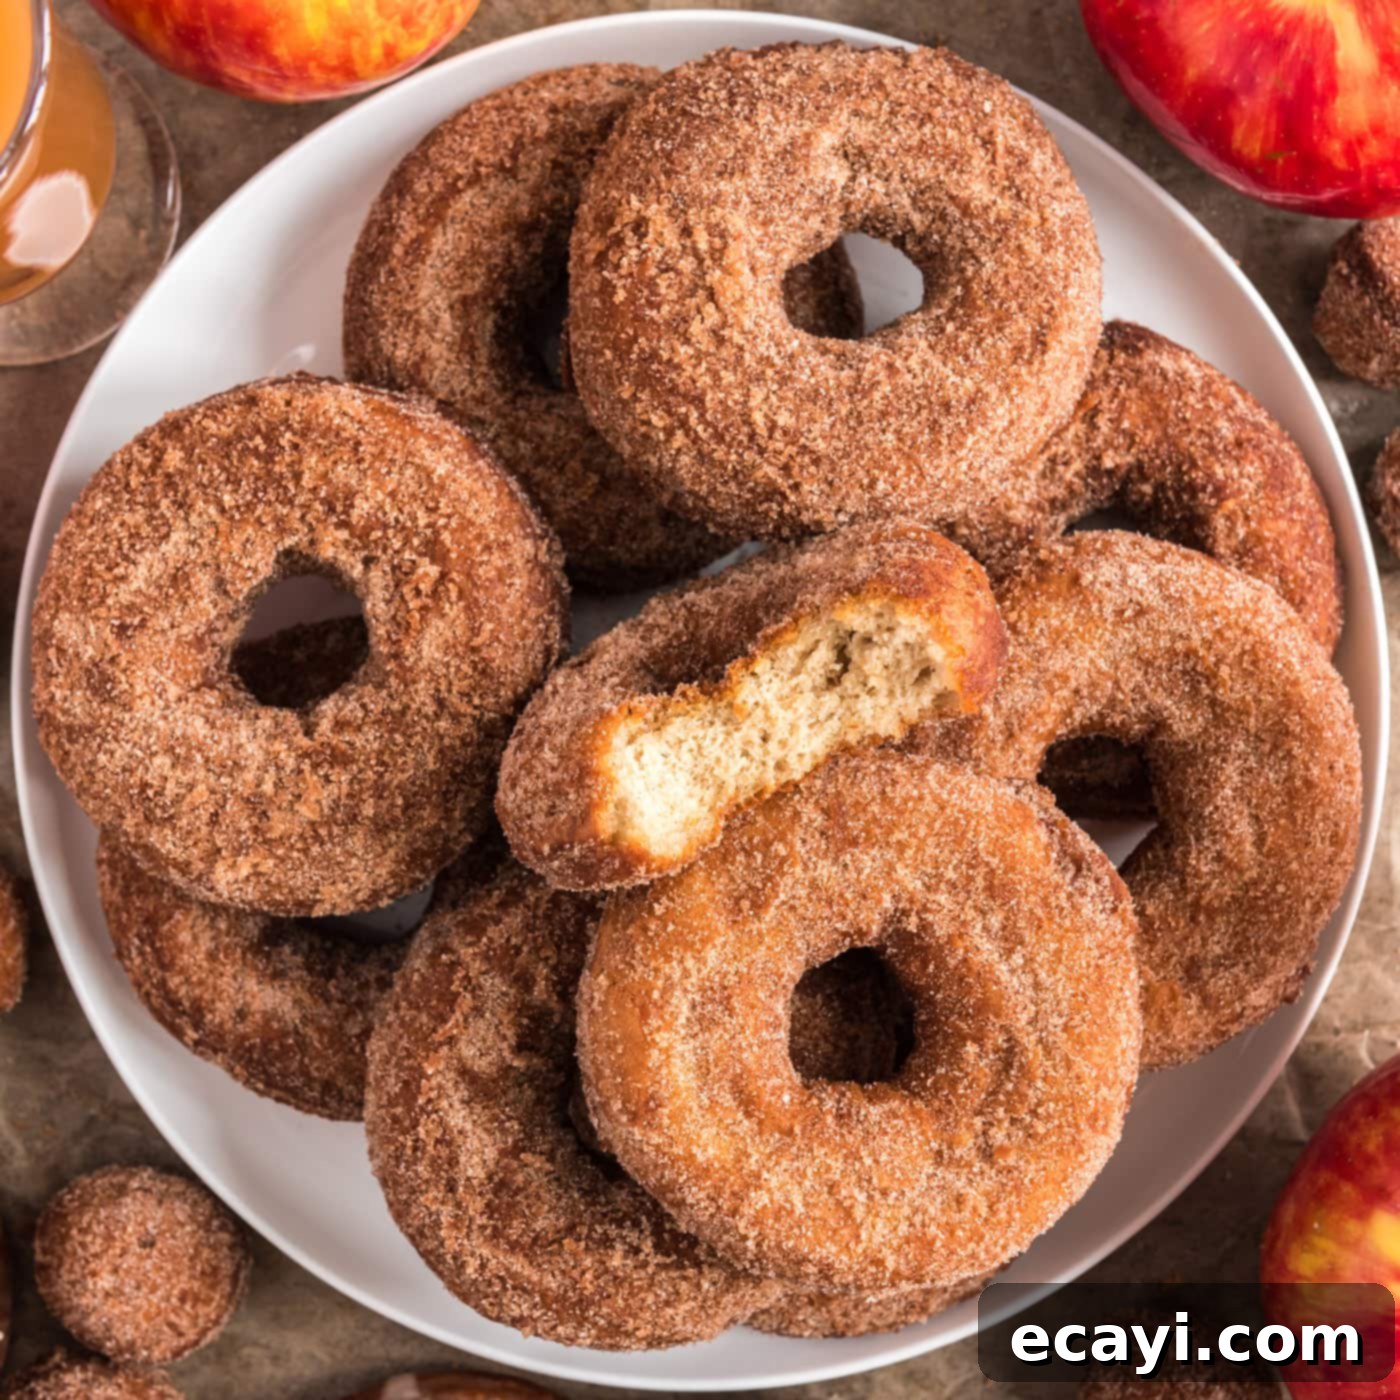
There’s nothing quite like the arrival of autumn, bringing with it crisp air, changing leaves, and the comforting aroma of fall spices. Among the season’s most beloved treats are warm, tender apple cider doughnuts. This comprehensive guide will show you how to master the art of making these delightful homemade apple cider doughnuts, fried to a perfect golden hue, boasting a wonderfully cakey, pillowy-soft interior. Whether you prefer them generously coated in sparkling cinnamon sugar or elegantly draped in a sweet, tangy glaze, this recipe promises an unforgettable experience. Prepare to indulge in a taste of pure autumnal bliss that will transport you straight to your favorite apple orchard.
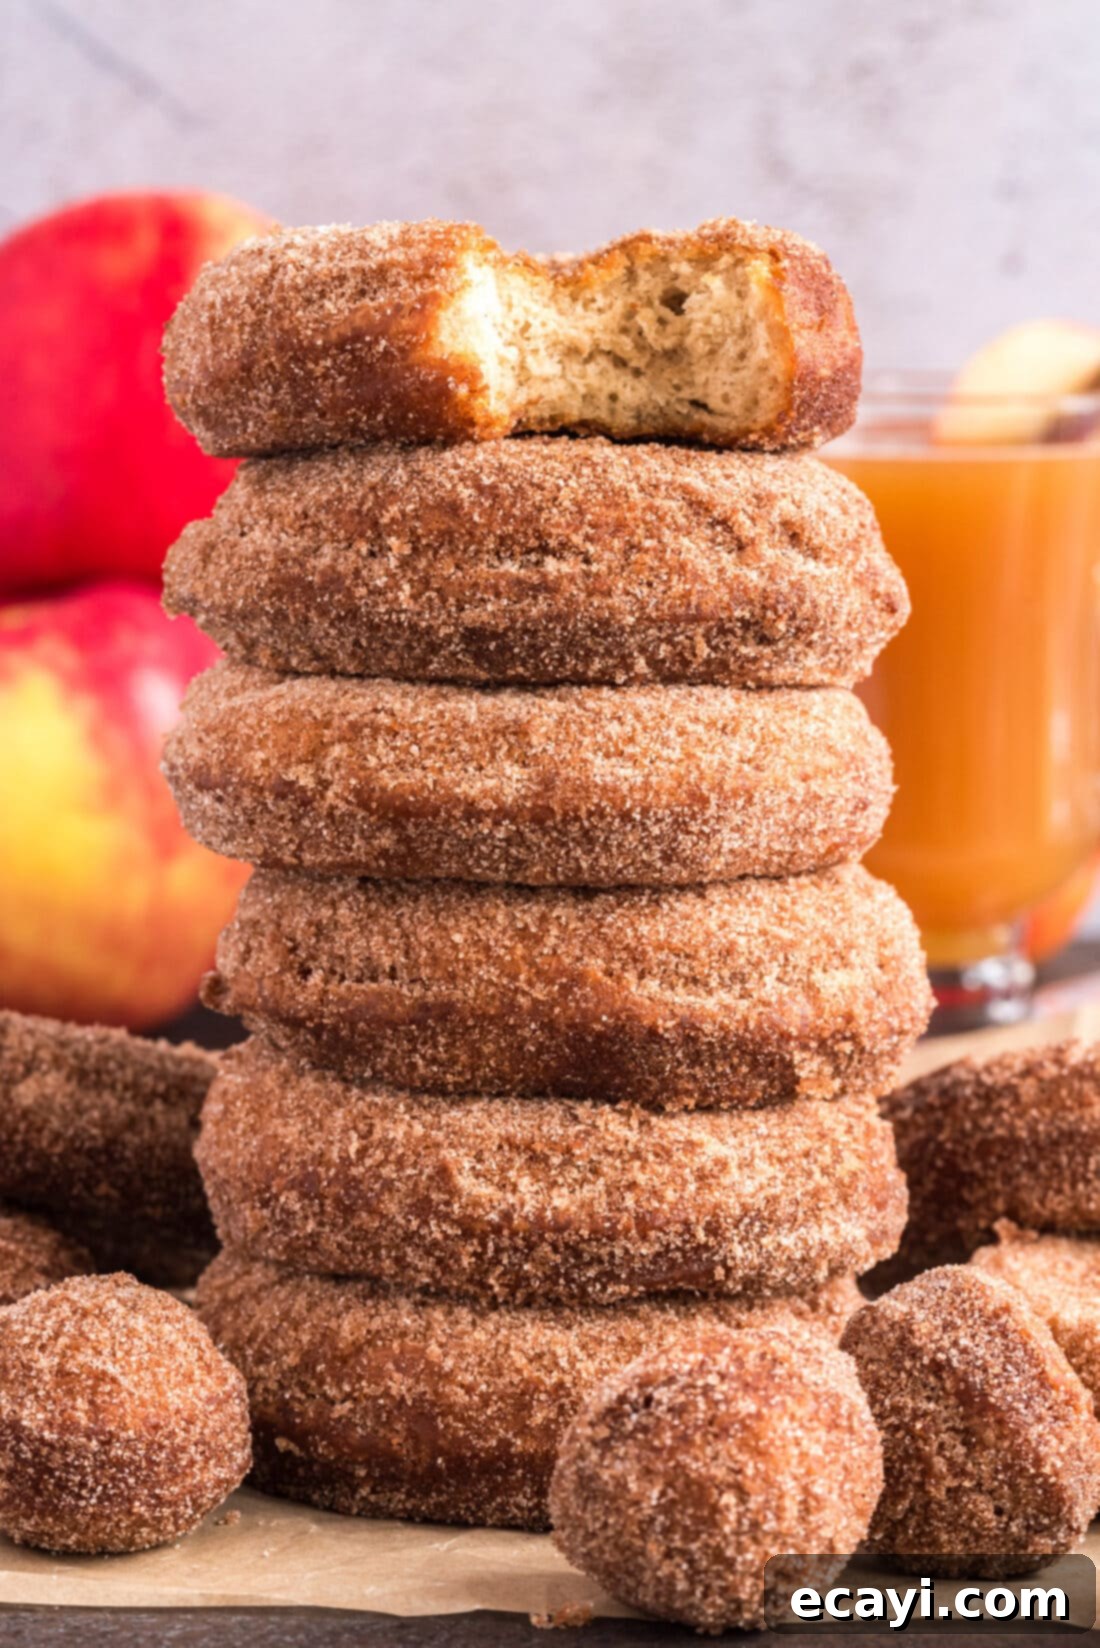
Why This Apple Cider Doughnut Recipe Stands Out
This isn’t just another doughnut recipe; it’s a celebration of fall flavors and textures, designed to yield results that rival your favorite local bakery. We’re diving deep into crafting these utterly delicious apple cider doughnuts, offering versatility with both classic doughnut shapes and charming donut holes. Plus, we’ll guide you through two fantastic topping options: a luscious, sweet glaze and a comforting cinnamon sugar coating. What truly makes this recipe exceptional is its focus on intensifying the natural apple cider flavor, ensuring every bite is bursting with the essence of autumn.
One of the true joys of the fall season is undoubtedly the abundance of apple and pumpkin-flavored treats. For many, including my family, a yearly tradition involves a visit to a local apple farm, where the warm, freshly made apple cider doughnuts are a must-have. Along with these golden delights, we’d often grab an apple cider milkshake and a gallon or two of fresh cider to bring home and recreate that magical experience. This recipe captures that very essence. By carefully reducing the apple cider, we concentrate its flavor, creating a robust apple base that perfectly complements the cozy notes of nutmeg and cinnamon. Combined with the other essential ingredients, the result is a mouthful of cakey-soft, perfectly spiced doughnuts that are so addictive, anyone who tries them will be instantly hooked. The secret lies in this concentrated cider, which infuses the entire doughnut with an unparalleled depth of apple goodness, making them incredibly moist and flavorful from the inside out.
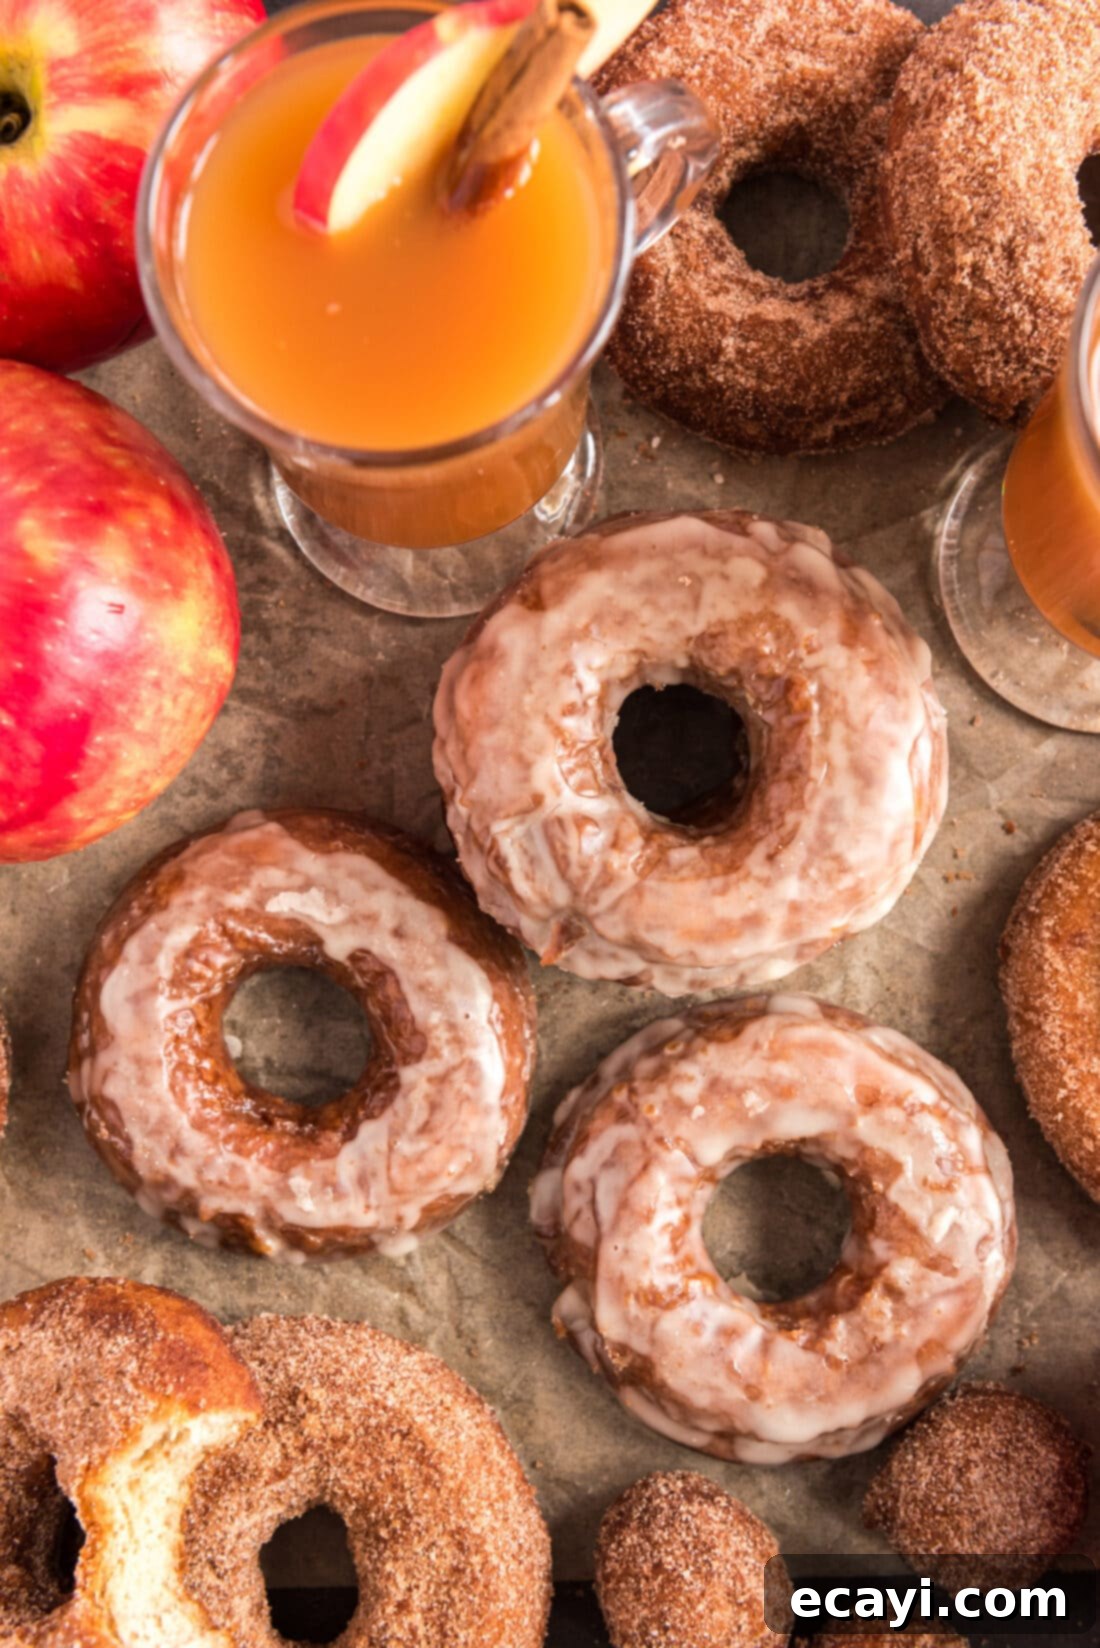
Essential Ingredients for Your Homemade Apple Cider Doughnuts
Creating these delectable apple cider doughnuts begins with gathering a few simple, high-quality ingredients. While the full list with precise measurements can be found in the printable recipe card at the very end of this post, understanding the role of each component is key to achieving doughnut perfection. These are not complex ingredients, but their careful combination is what makes this autumn treat truly special.
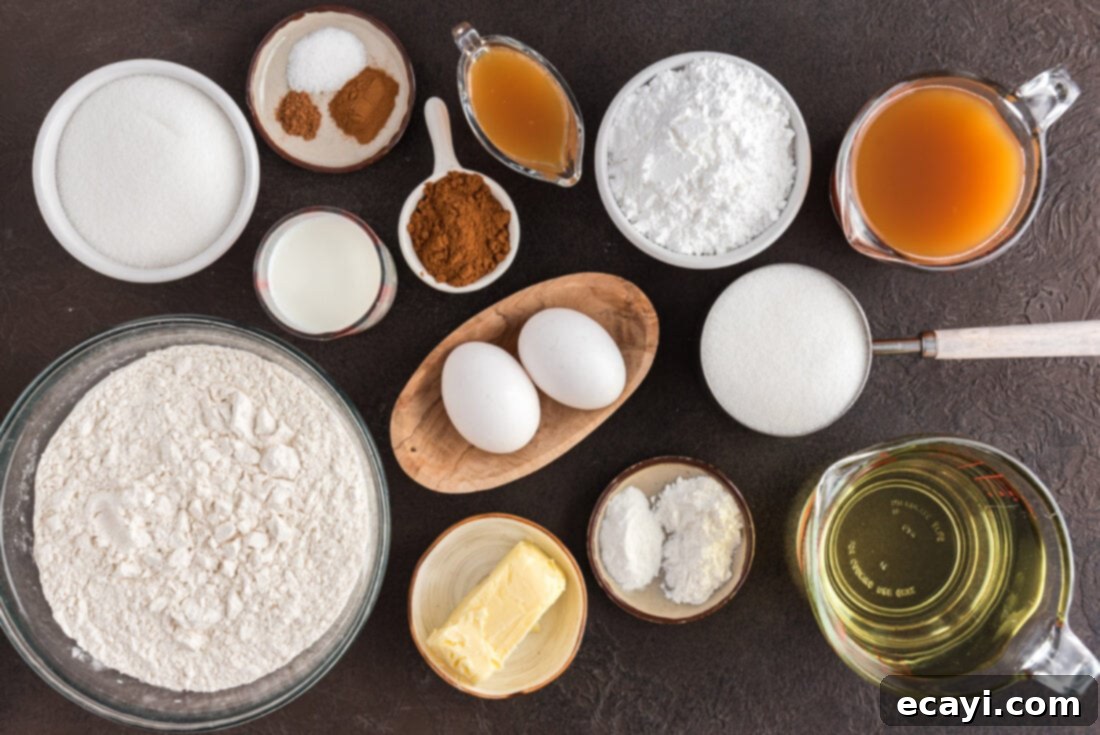
Ingredient Breakdown and Smart Substitutions
Let’s take a closer look at the key players in this apple cider doughnut recipe and some tips for success:
- Apple Cider: The Flavor Star – The most crucial step in imparting that signature apple flavor is reducing the apple cider in a saucepan. This gentle simmering concentrates the liquid, intensifying the apple notes significantly. While store-bought cider forms the base, this reduction process elevates it, transforming a good cider into an extraordinary flavor powerhouse that defines these doughnuts. Remember, use real apple cider, not apple juice. Apple juice is often filtered, sweeter, and lacks the tartness and depth of flavor found in cider, which is typically unfiltered and more robust.
- All-Purpose Flour: The Structure – Flour provides the essential structure for our cakey doughnuts. Measuring accurately is vital here; too much flour can lead to dry, dense doughnuts, while too little might make them too soft or difficult to handle. Using a kitchen scale for precise measurement (especially for baking) is always recommended.
- Baking Powder & Baking Soda: The Leavening Agents – These two ingredients work in tandem to give our doughnuts their lovely pillowy-soft, cakey texture. Baking powder provides the initial lift, while baking soda reacts with the acidic buttermilk and apple cider to create additional gas, ensuring a tender crumb and a beautiful rise during frying.
- Spices: Cinnamon and Nutmeg – These warm spices are the perfect complement to apple cider. Ground cinnamon offers a comforting, sweet, and woody note, while a touch of ground nutmeg adds a subtle, earthy, and slightly peppery depth. Together, they create that irresistible fall aroma and taste profile that makes apple cider doughnuts so iconic.
- Salt: Flavor Enhancer – Just a small amount of salt is essential to balance the sweetness and bring out the full range of flavors from the apple cider and spices. Don’t skip it!
- Unsalted Butter: Richness and Tenderness – Butter contributes to the richness and tenderness of the doughnut dough. Ensure it’s at room temperature for optimal creaming with the sugar, which incorporates air and creates a light texture. If using salted butter, reduce the added salt slightly.
- Granulated Sugar: Sweetness and Texture – Sugar not only sweetens the doughnuts but also aids in tenderizing the dough and promoting that beautiful golden-brown crust during frying.
- Large Eggs: Binding and Structure – Eggs act as a binder, helping to hold the dough together, and also add moisture and richness. They contribute to the cakey texture we’re aiming for. Make sure they are at room temperature for better emulsion with other ingredients.
- Buttermilk: Tang and Moisture – Buttermilk is a secret weapon in many baking recipes. Its acidity reacts with the baking soda to create a tender crumb, and it adds a subtle tangy flavor that beautifully enhances the apple cider. If you don’t have buttermilk, you can easily make your own by adding 1 tablespoon of white vinegar or lemon juice to a measuring cup and filling the rest with milk until it reaches ½ cup. Let it sit for 5-10 minutes until it slightly curdles.
- Frying Oil/Shortening: For that Golden Crisp – You’ll need enough vegetable oil or shortening to create a depth of about 3 inches in your pan. Neutral oils like vegetable oil, canola oil, or peanut oil are ideal as they have high smoke points and won’t impart unwanted flavors. Shortening also works wonderfully, providing a classic doughnut texture.
Crafting Your Perfect Apple Cider Doughnuts: A Step-by-Step Guide
These step-by-step photos and instructions are designed to help you visualize each stage of the recipe, ensuring your success. For a convenient printable version of this entire recipe, complete with precise measurements and condensed instructions, you can Jump to Recipe at the bottom of this post.
- Reduce the Apple Cider: The Flavor Foundation. In a small saucepan, gently bring the apple cider to a simmer over medium or medium-low heat. Allow it to reduce slowly until it measures approximately 1/4 cup. This process typically takes between 20 to 30 minutes. Reducing the cider is a critical step; it concentrates the apple flavor, making it robust and truly noticeable in the finished doughnuts. Once reduced, remove it from the heat and set it aside to cool completely before incorporating it into the dough. This cooling prevents it from cooking the eggs or altering the butter’s texture.
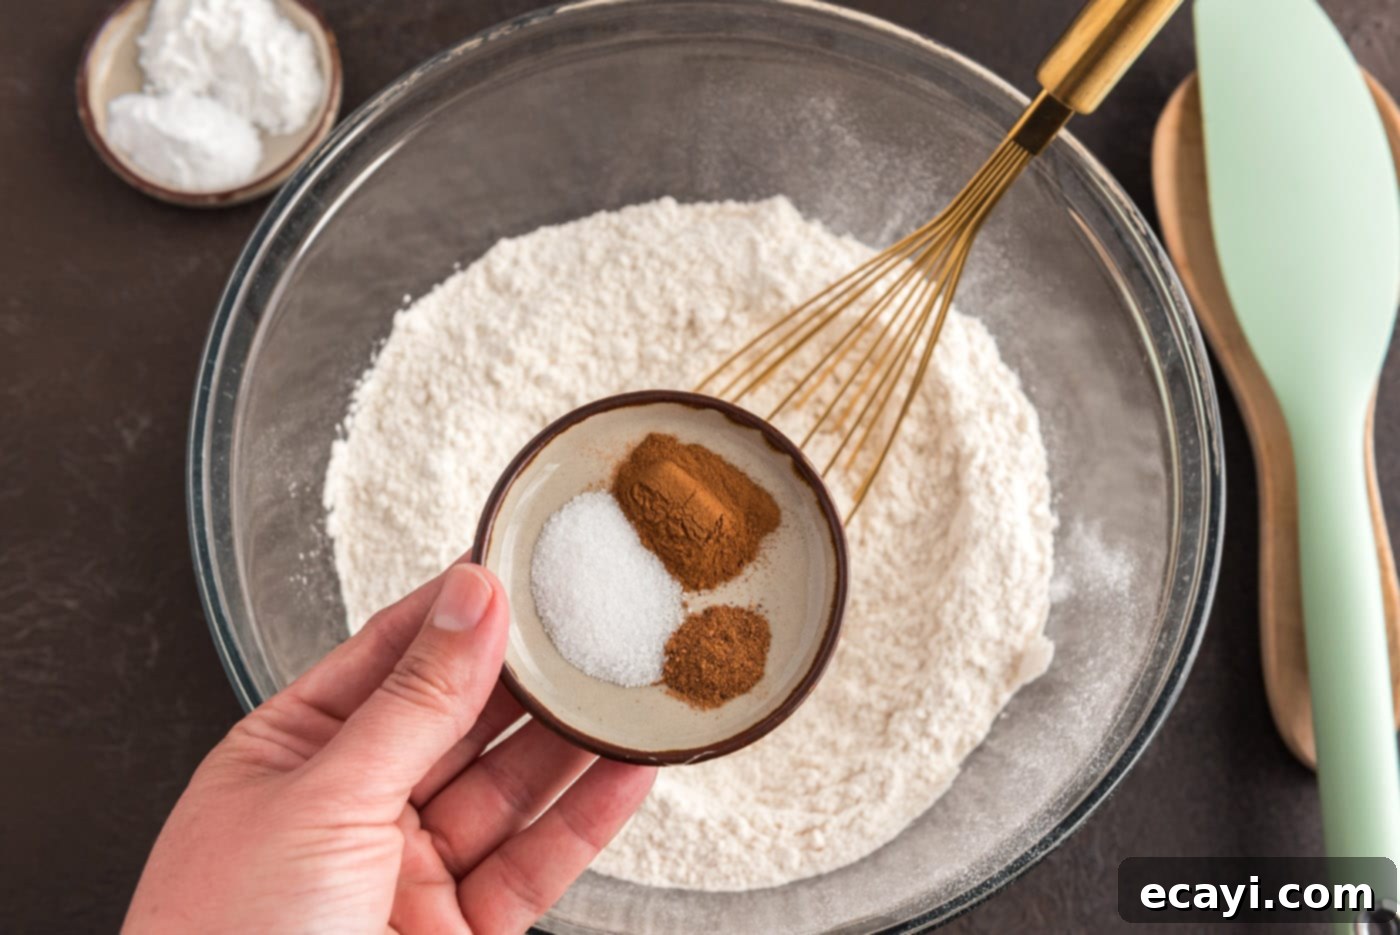
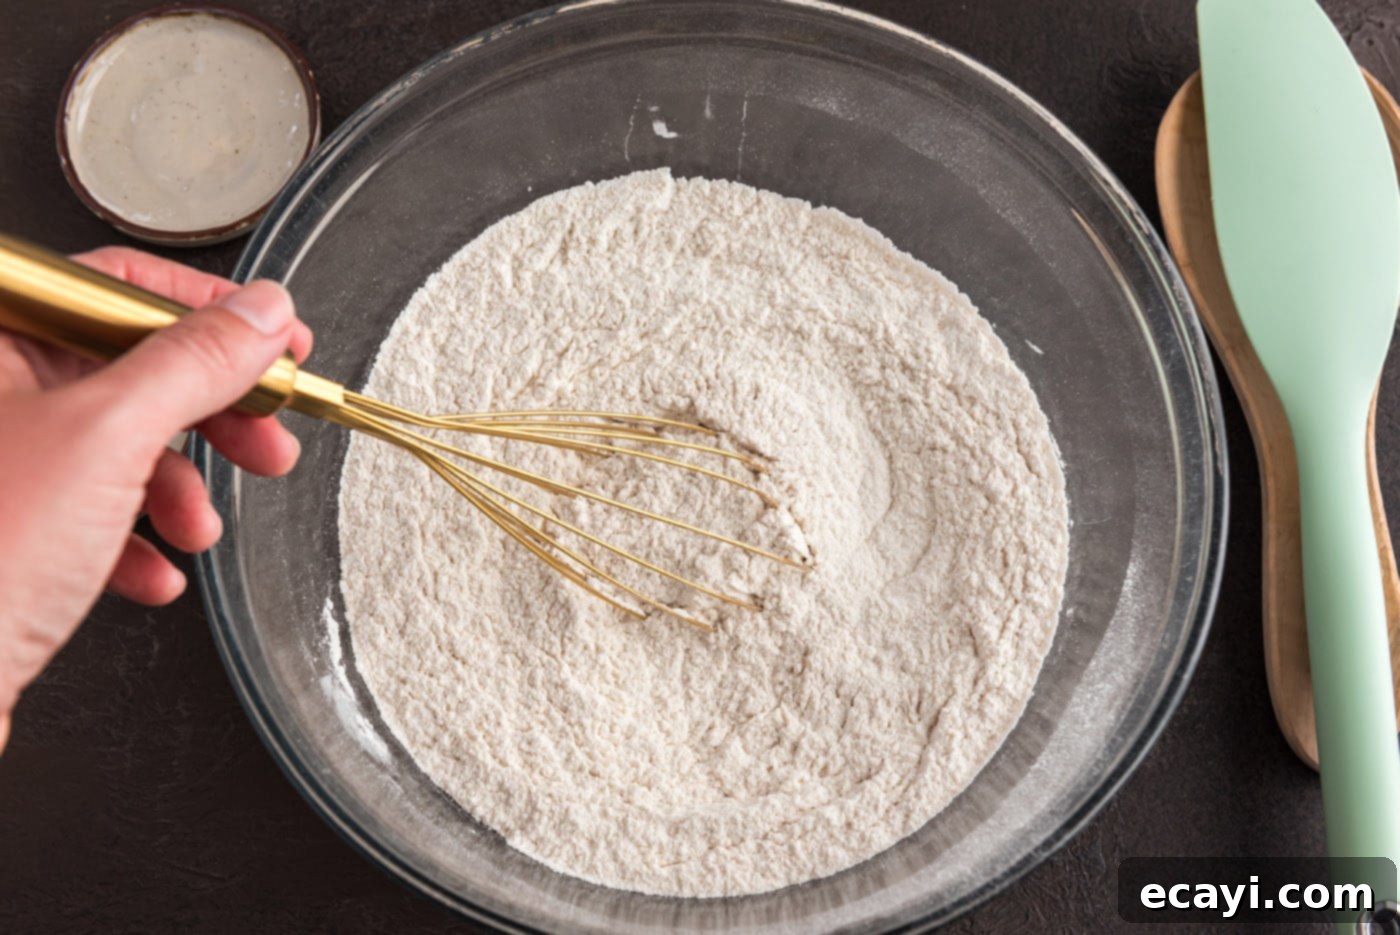
- Prepare the Dry Ingredients. While the cider cools, take a large mixing bowl and combine your dry ingredients: the all-purpose flour, baking powder, baking soda, ground cinnamon, salt, and ground nutmeg. Whisk them together thoroughly until they are well combined and there are no lumps. Setting this aside ensures it’s ready to be added to the wet ingredients at the right moment.


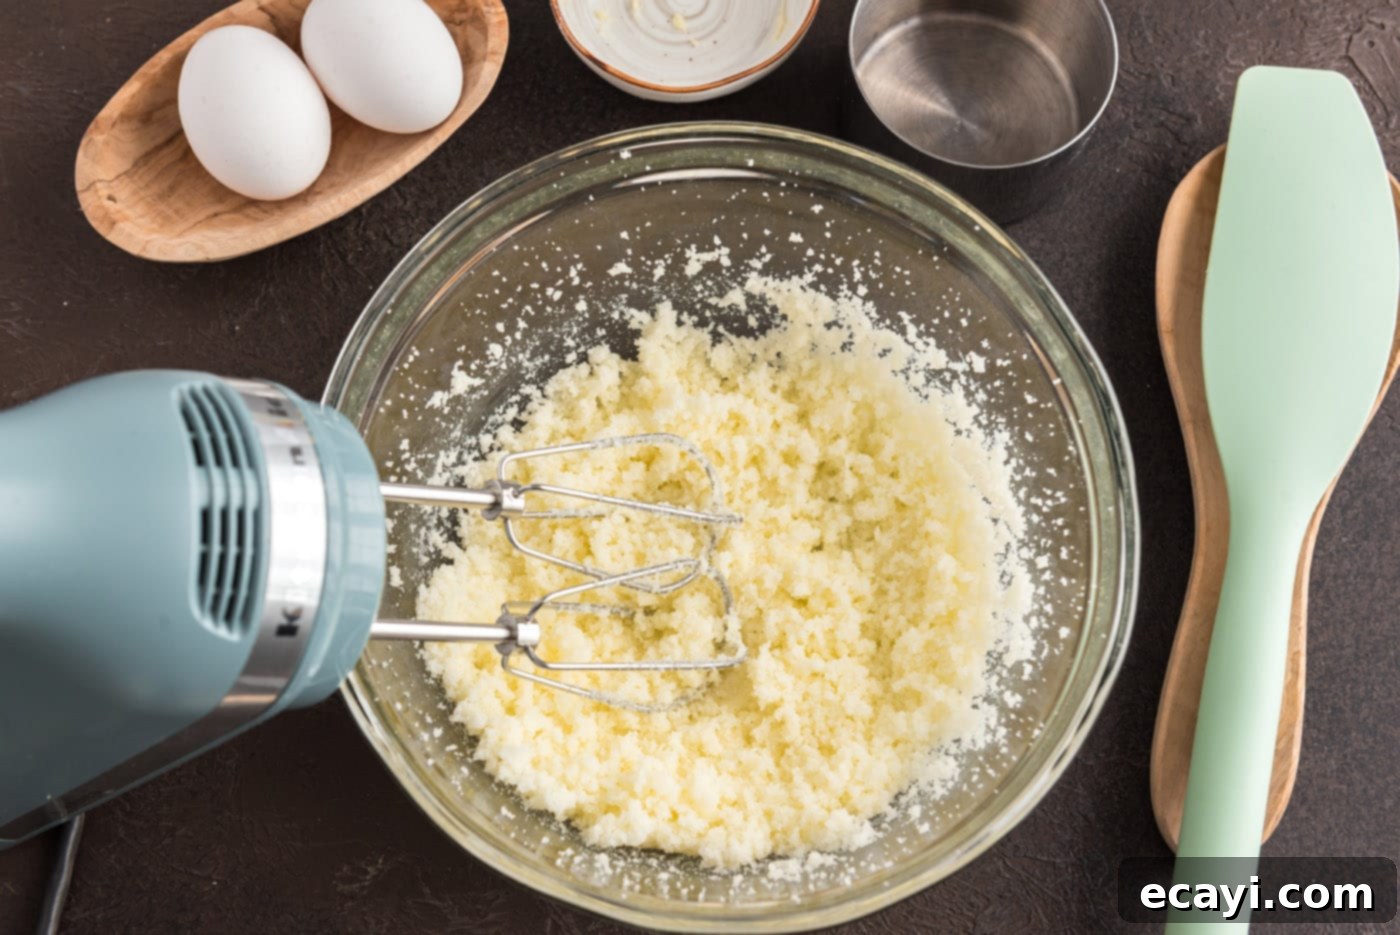
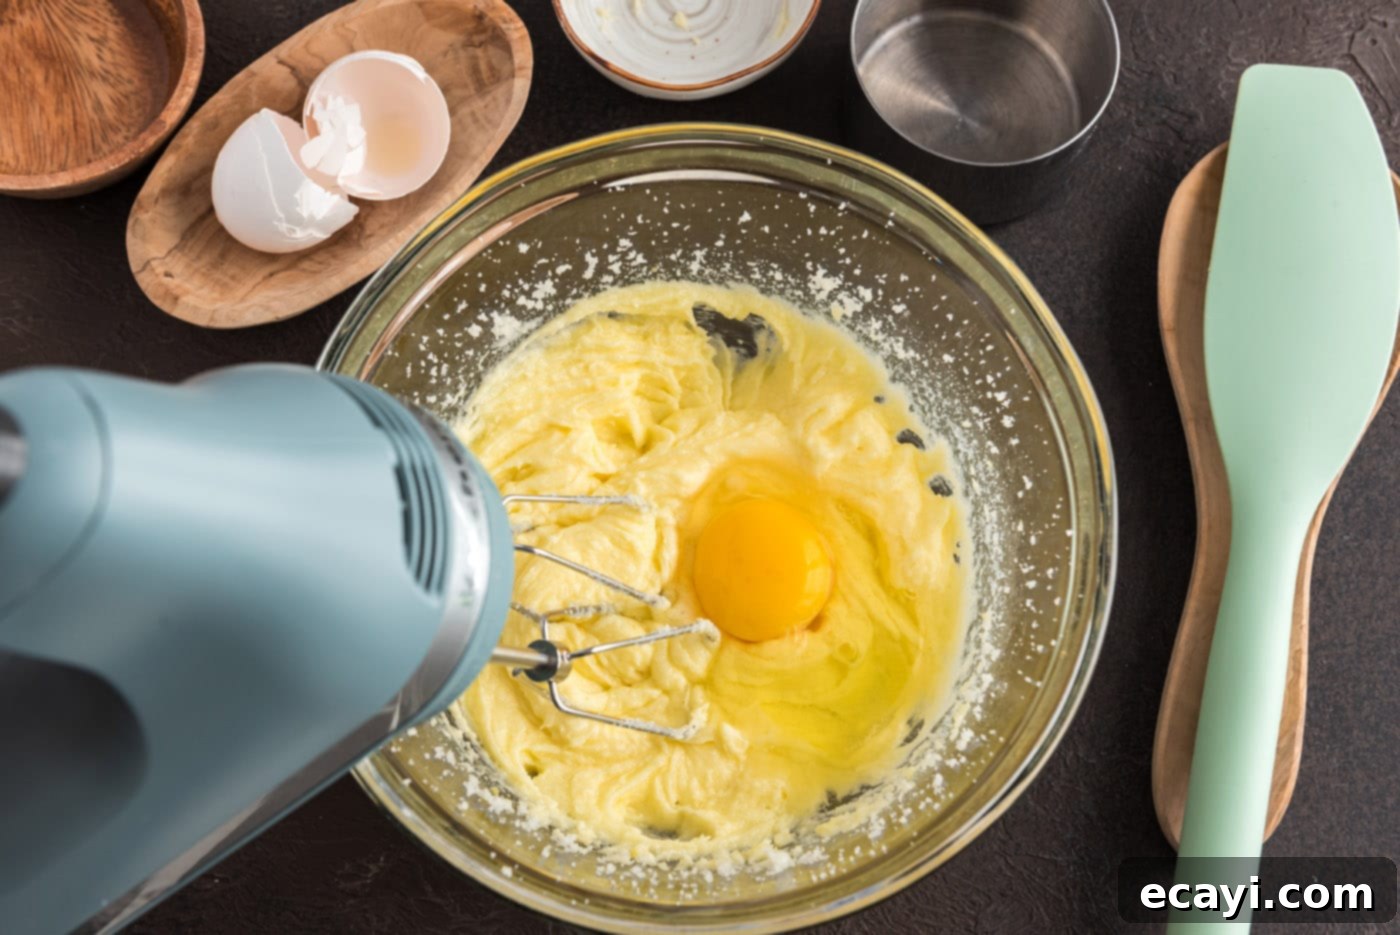
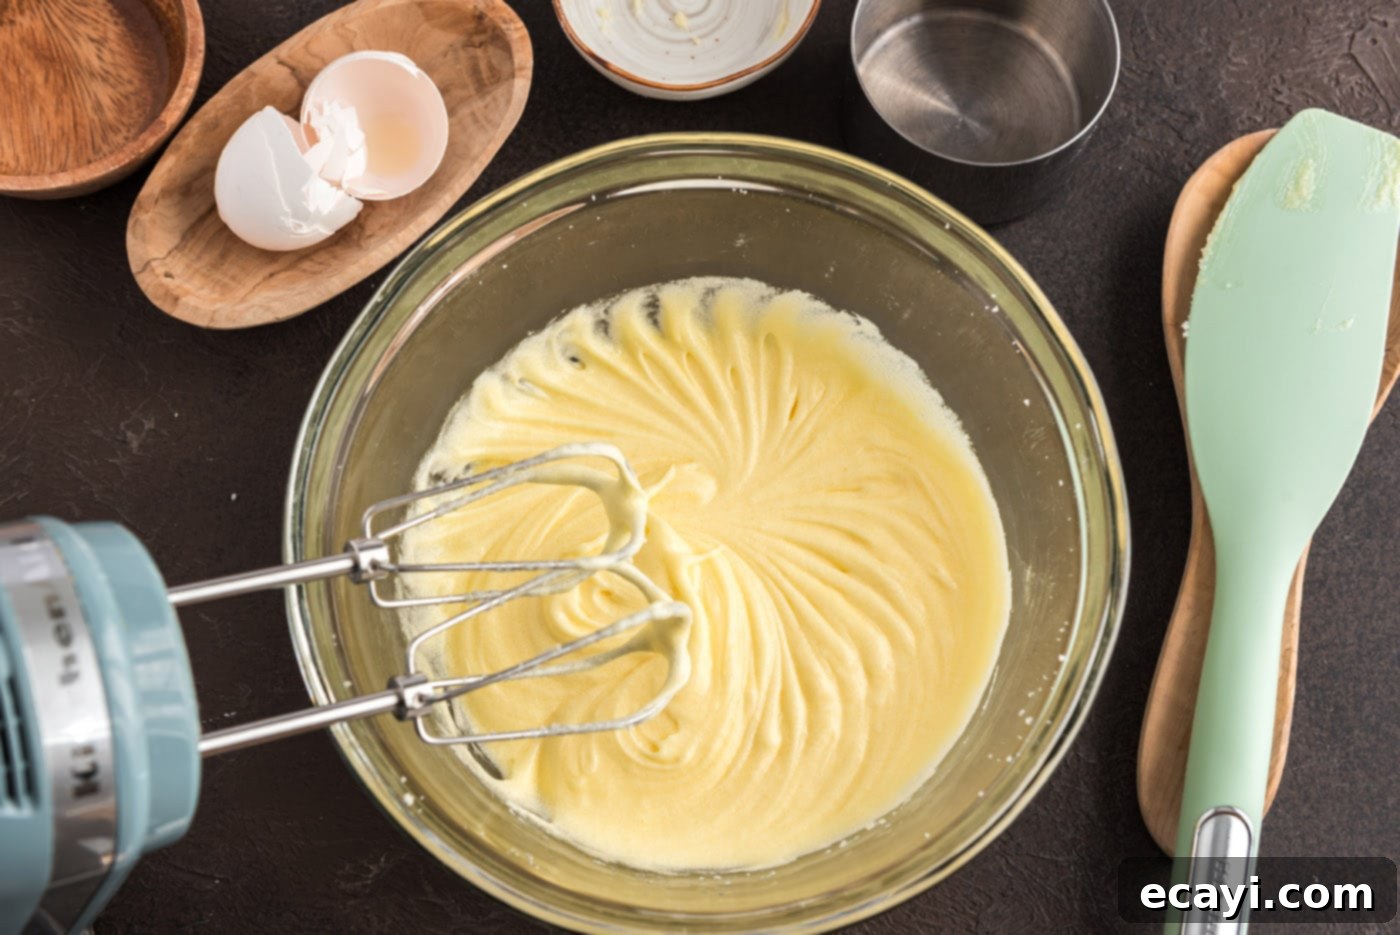
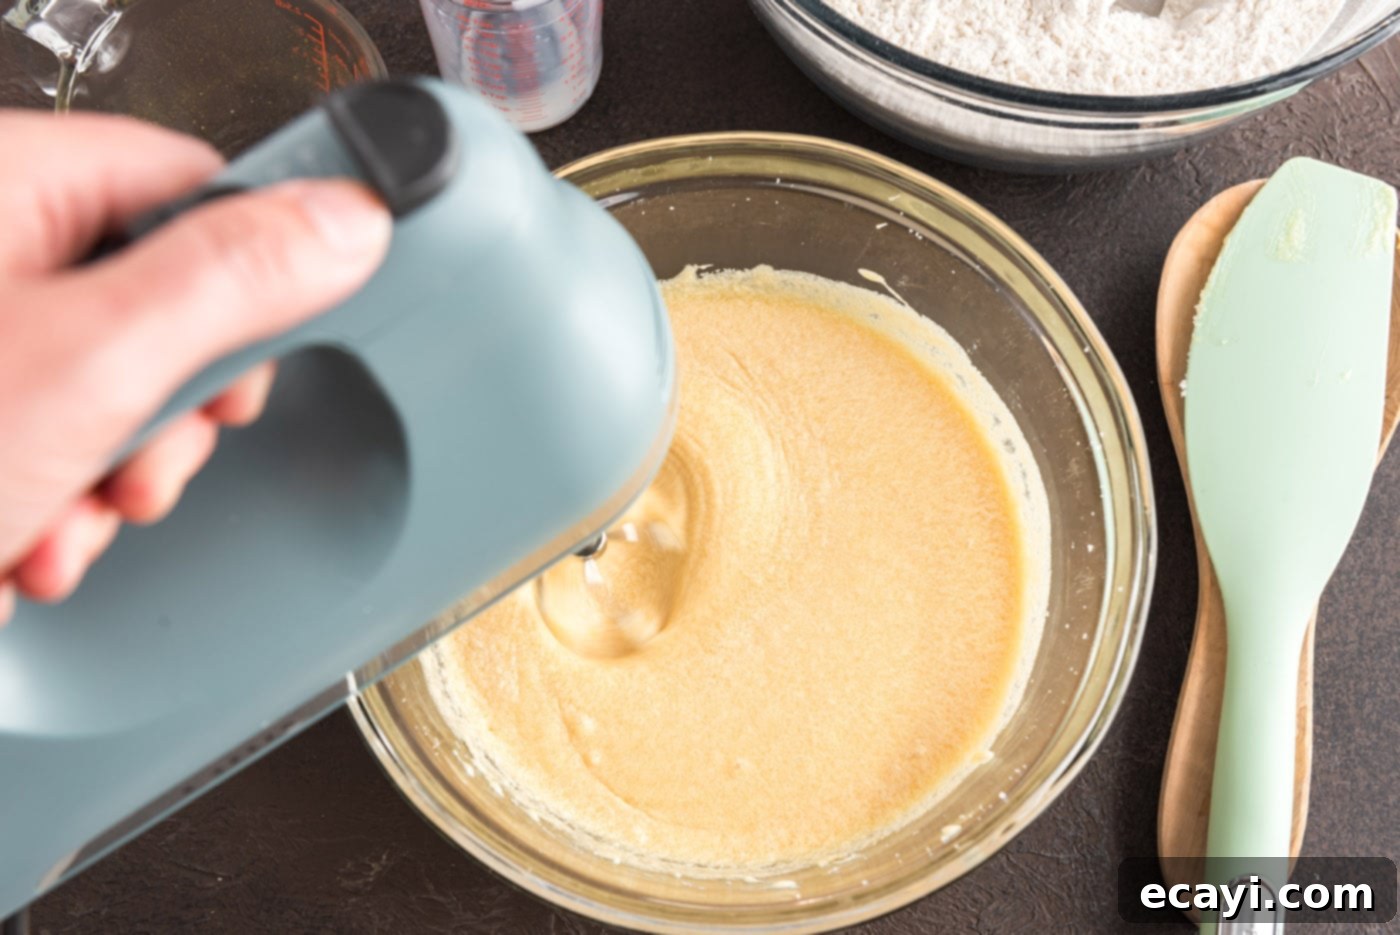
- Cream Butter and Sugar. In another large bowl, preferably the bowl of a stand mixer fitted with the paddle attachment (or using an electric hand mixer on medium speed), beat the softened room-temperature butter and granulated sugar together. Continue beating until the mixture becomes light, fluffy, and pale in color, typically taking 2-3 minutes. This step incorporates air, which is crucial for a tender doughnut. Next, add the large eggs one at a time, beating well after each addition until each egg is fully incorporated into the butter-sugar mixture. Periodically, use a rubber spatula to scrape down the sides of the bowl to ensure all ingredients are evenly mixed.


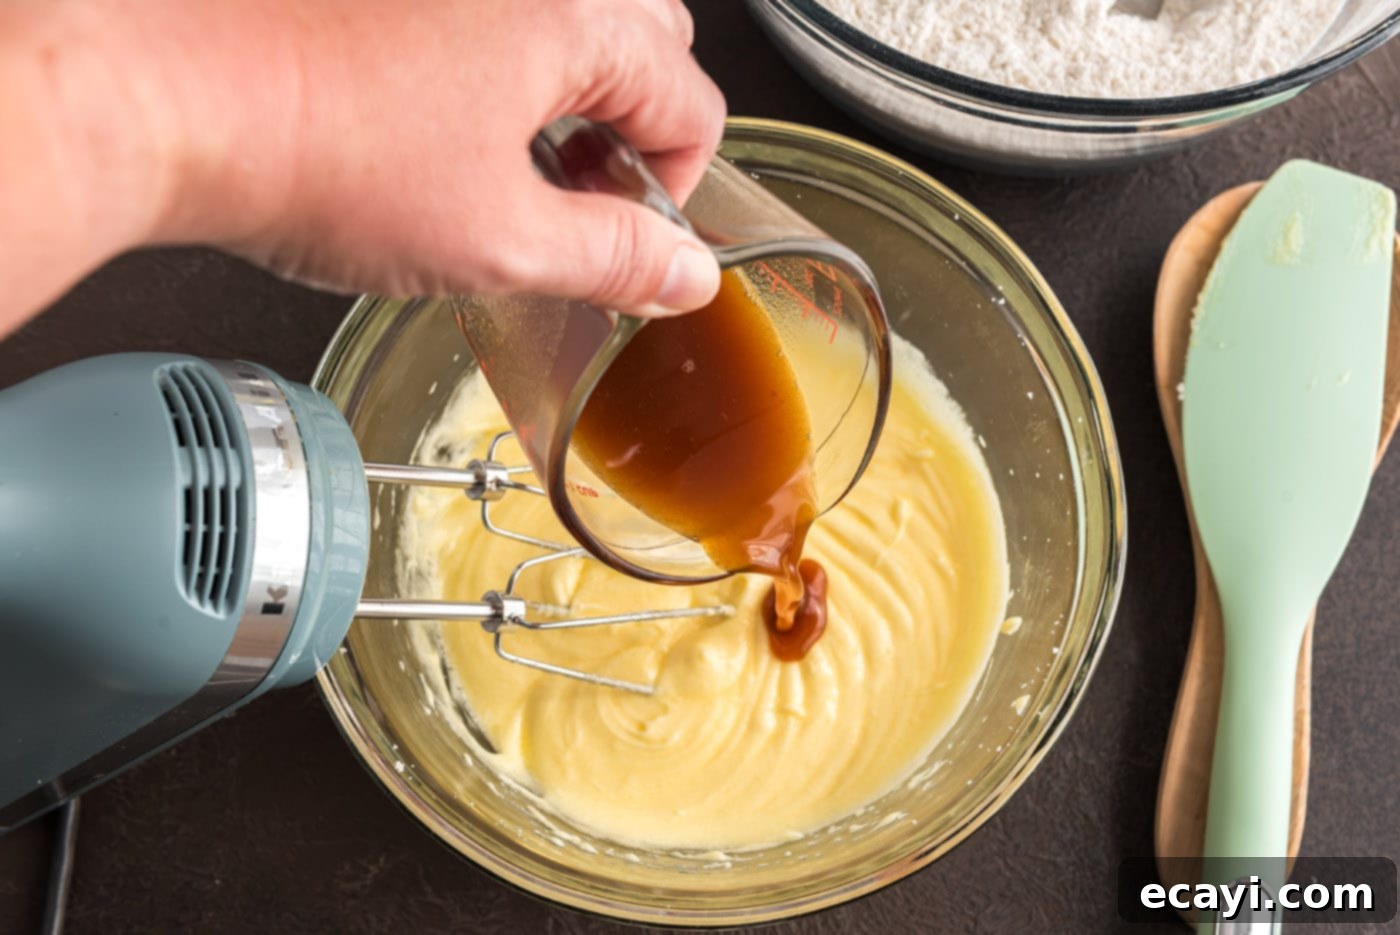
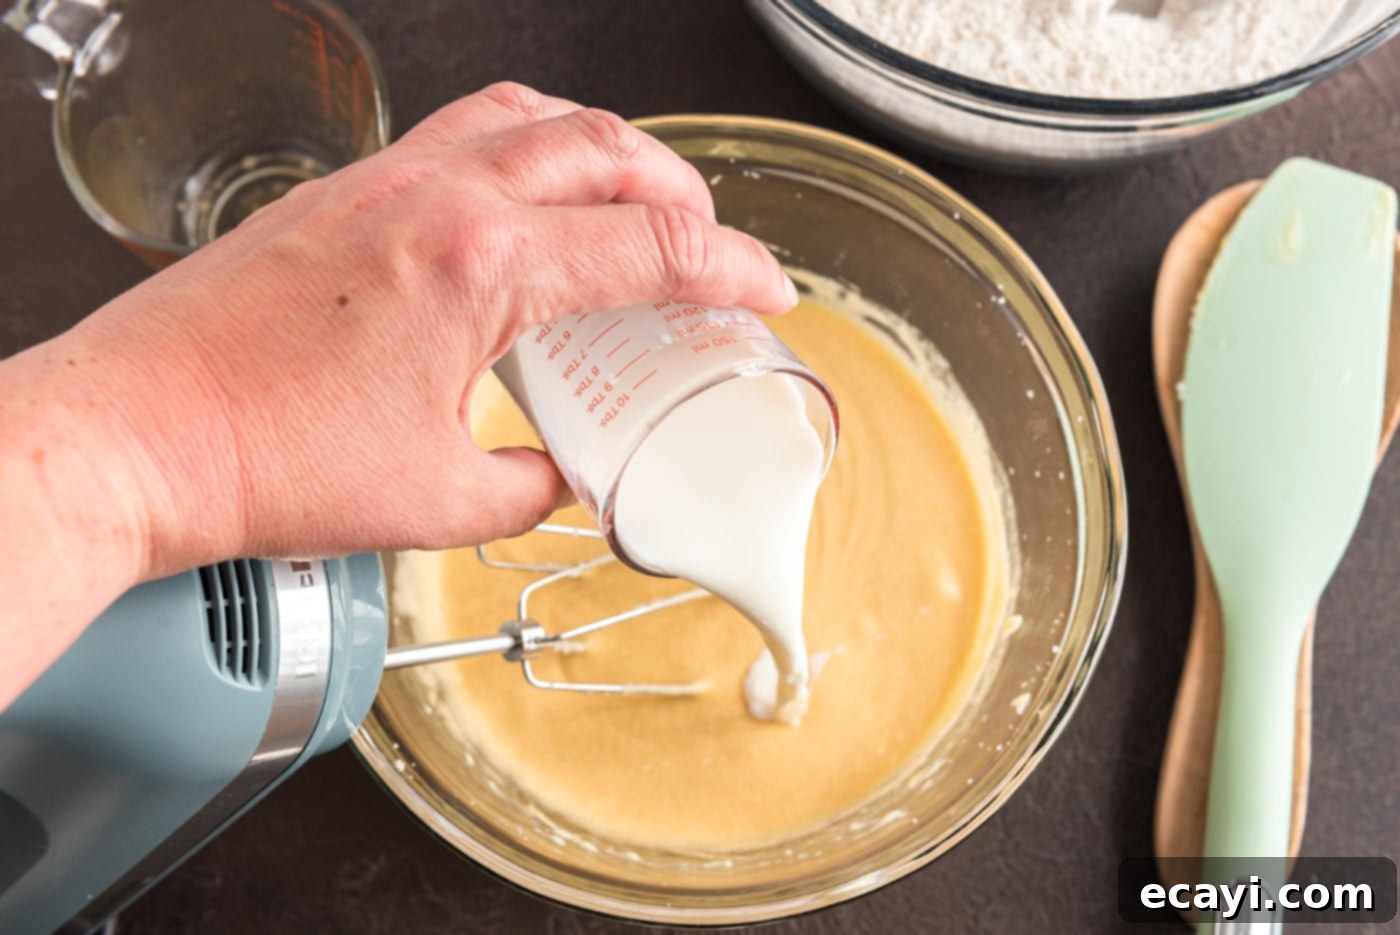
- Incorporate Liquids. Reduce the mixer speed to low. Gradually pour in the cooled, reduced apple cider and the buttermilk, mixing just until they are combined. Be careful not to overmix at this stage. The mixture might look slightly curdled, which is normal due to the acidity of the buttermilk reacting with the fat.


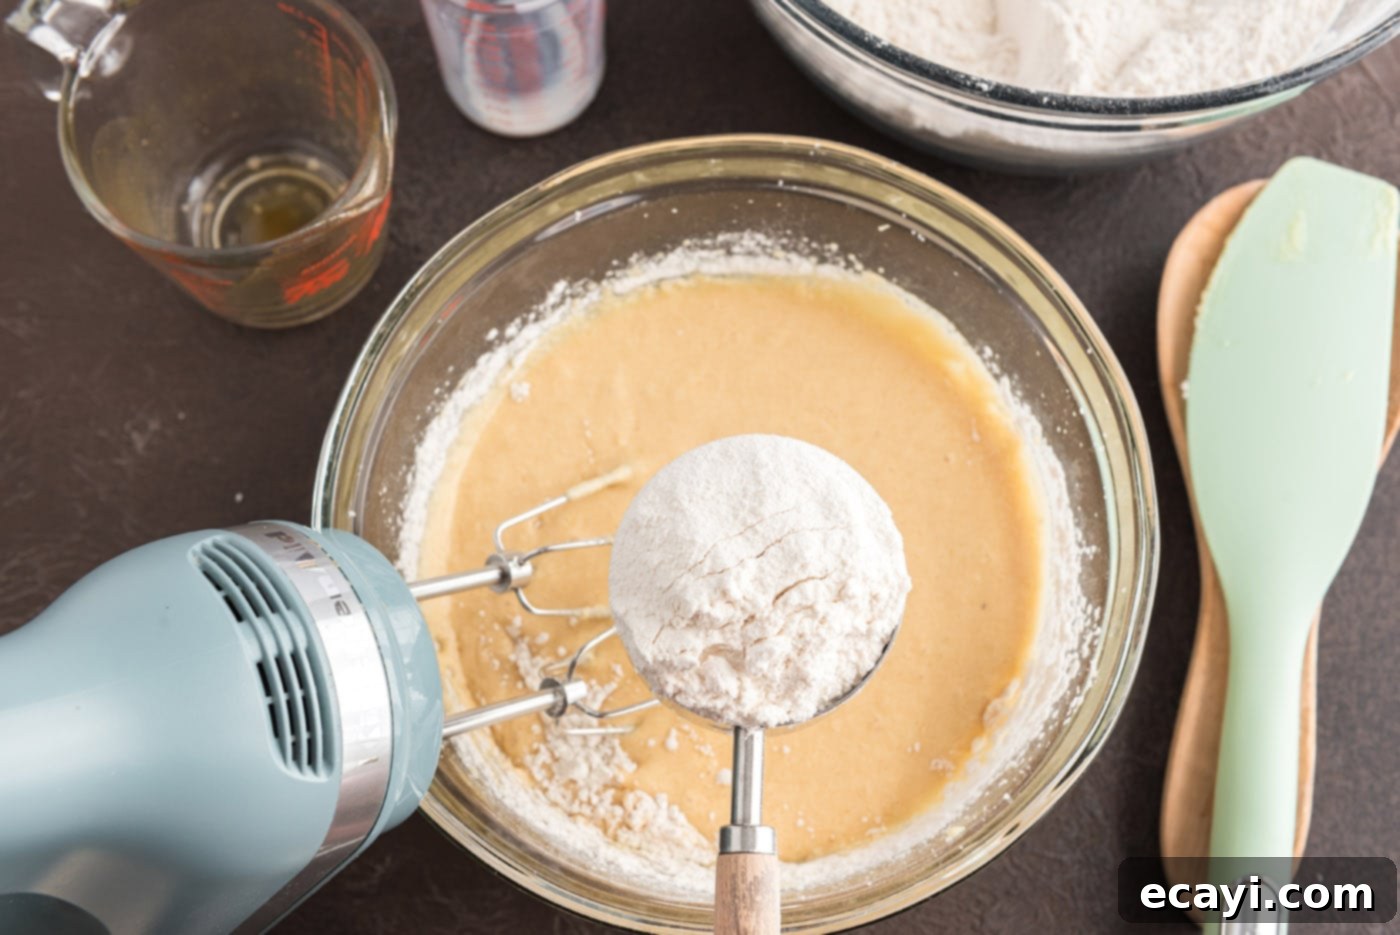
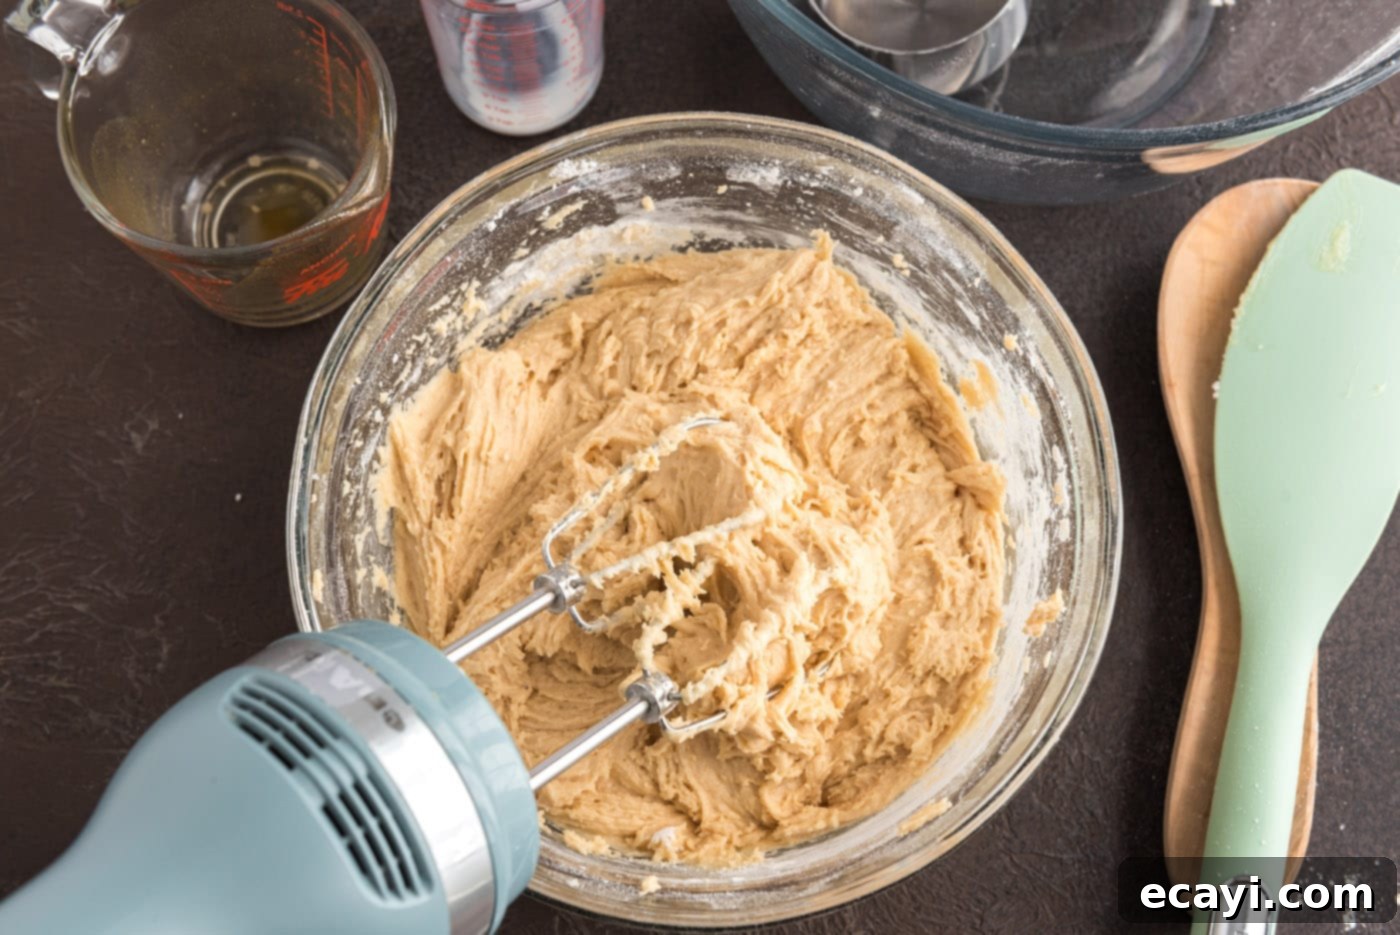
- Add Dry Ingredients to Wet. With the mixer still on low speed, gradually add the reserved flour mixture to the wet ingredients. Mix just until the dough comes together and no streaks of dry flour remain. It’s crucial not to overmix the dough, as this can develop the gluten too much, resulting in tough doughnuts. A few seconds after the flour is incorporated is usually enough.


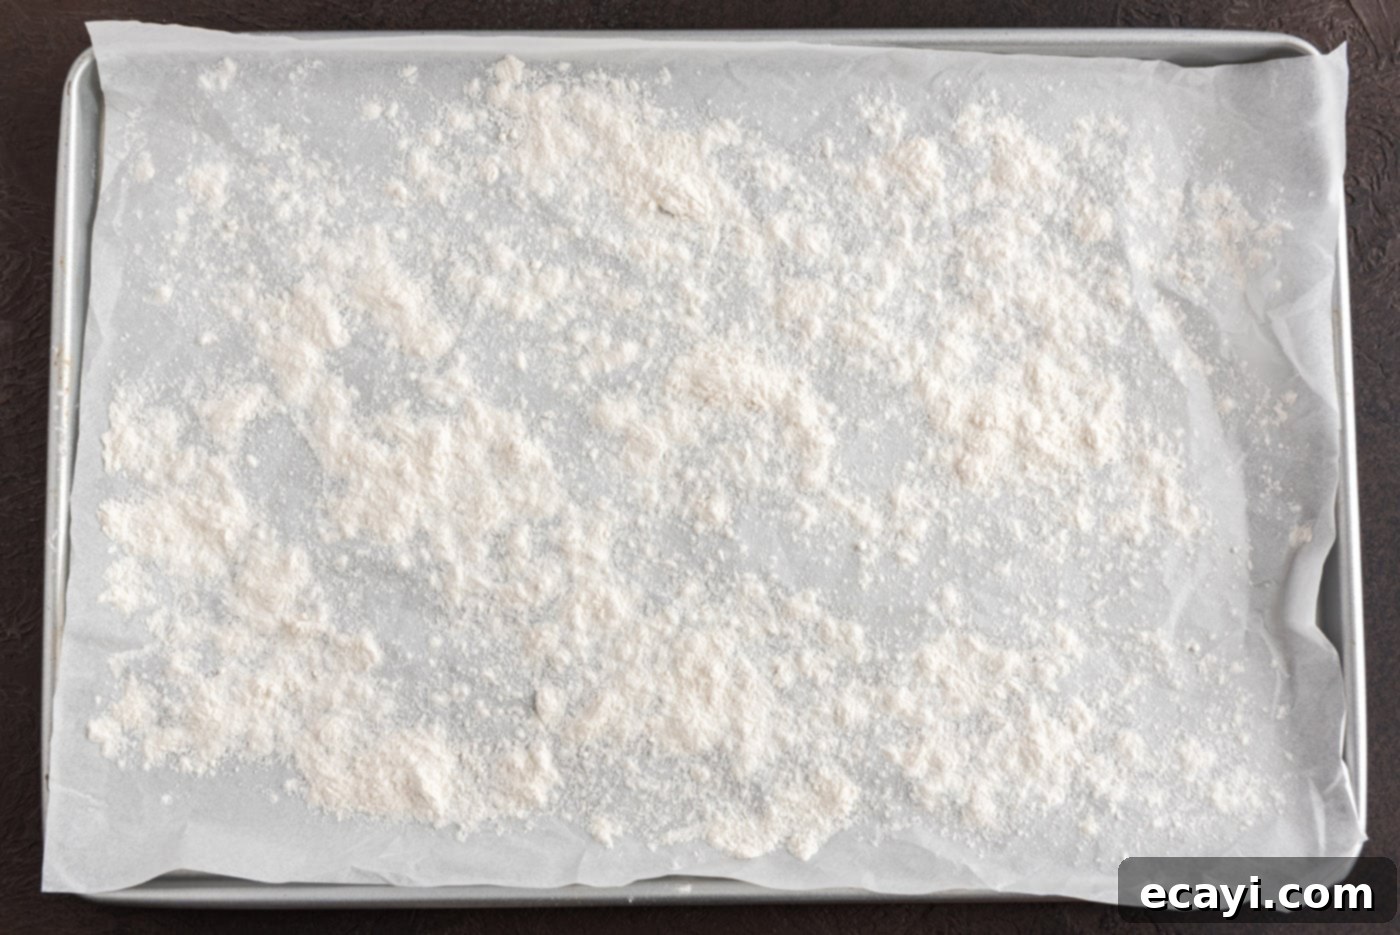
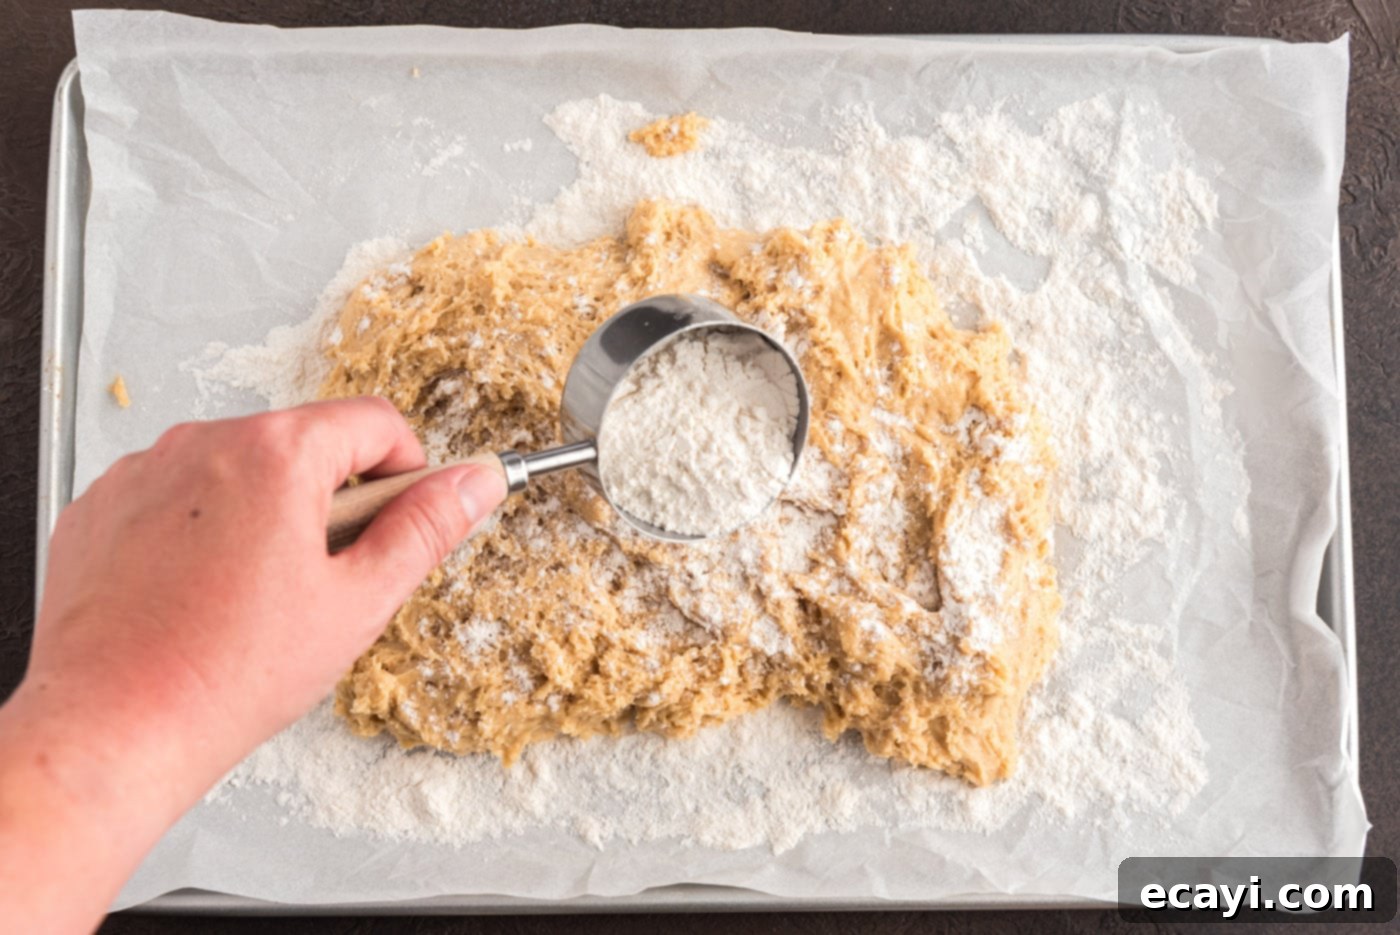
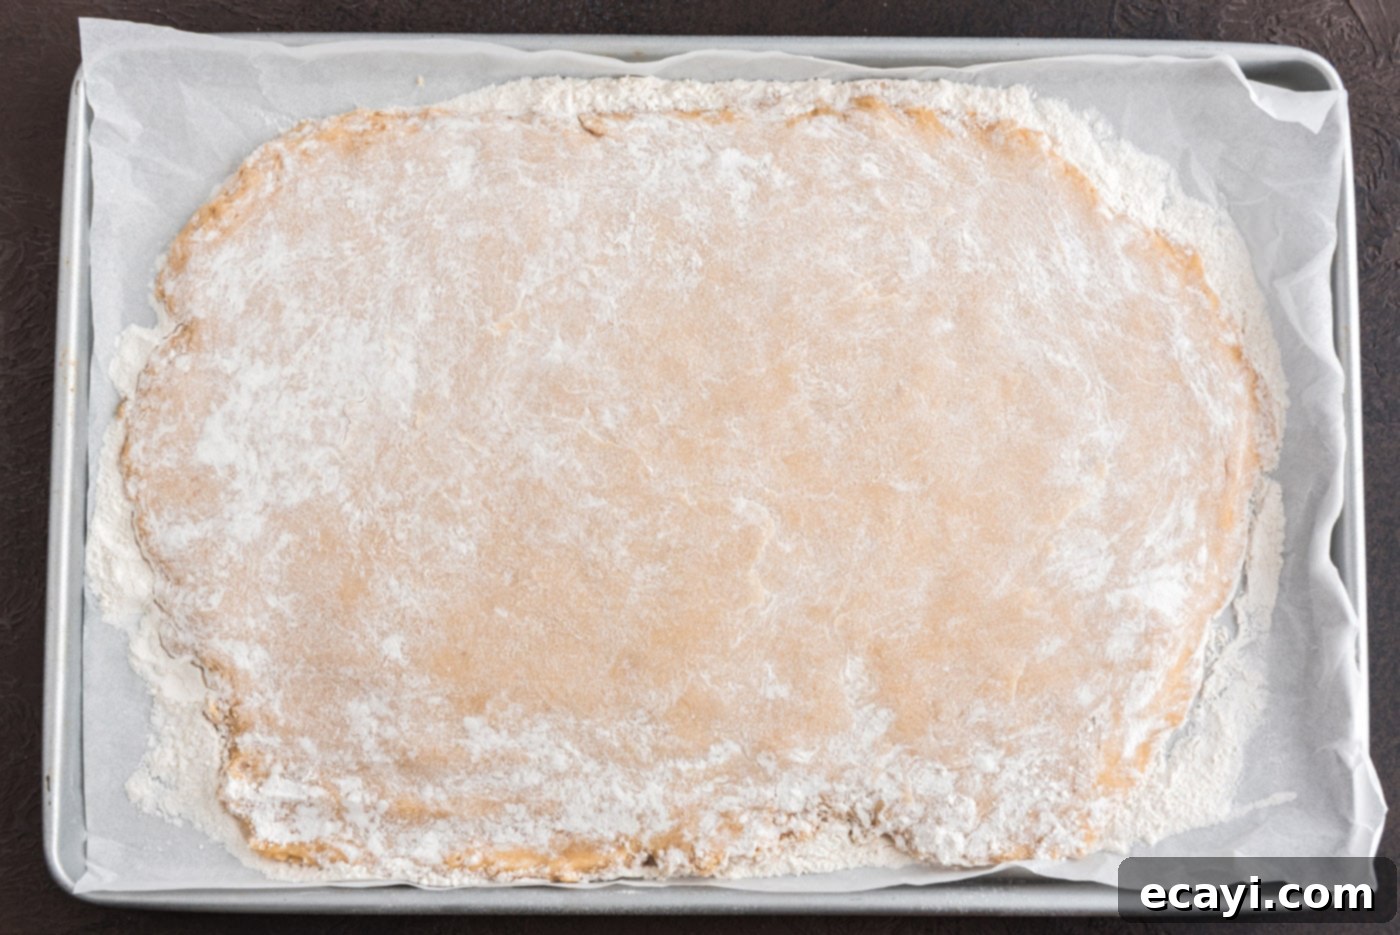
- Prepare Dough for Chilling. Line two large baking sheets with parchment paper or wax paper. Generously sprinkle one of the lined sheets with additional flour. Turn the doughnut dough out onto this floured surface. Sprinkle the top of the dough with more flour to prevent sticking. Using your hands, gently flatten the dough until it is about 1/2 inch thick. If the dough feels too wet or sticky, don’t hesitate to use more flour on your hands and the rolling surface. Transfer this flattened dough to the freezer for about 20 minutes, or until it is slightly hardened. This chilling step is essential as it makes the dough much easier to handle and cut, and helps the doughnuts hold their shape during frying.


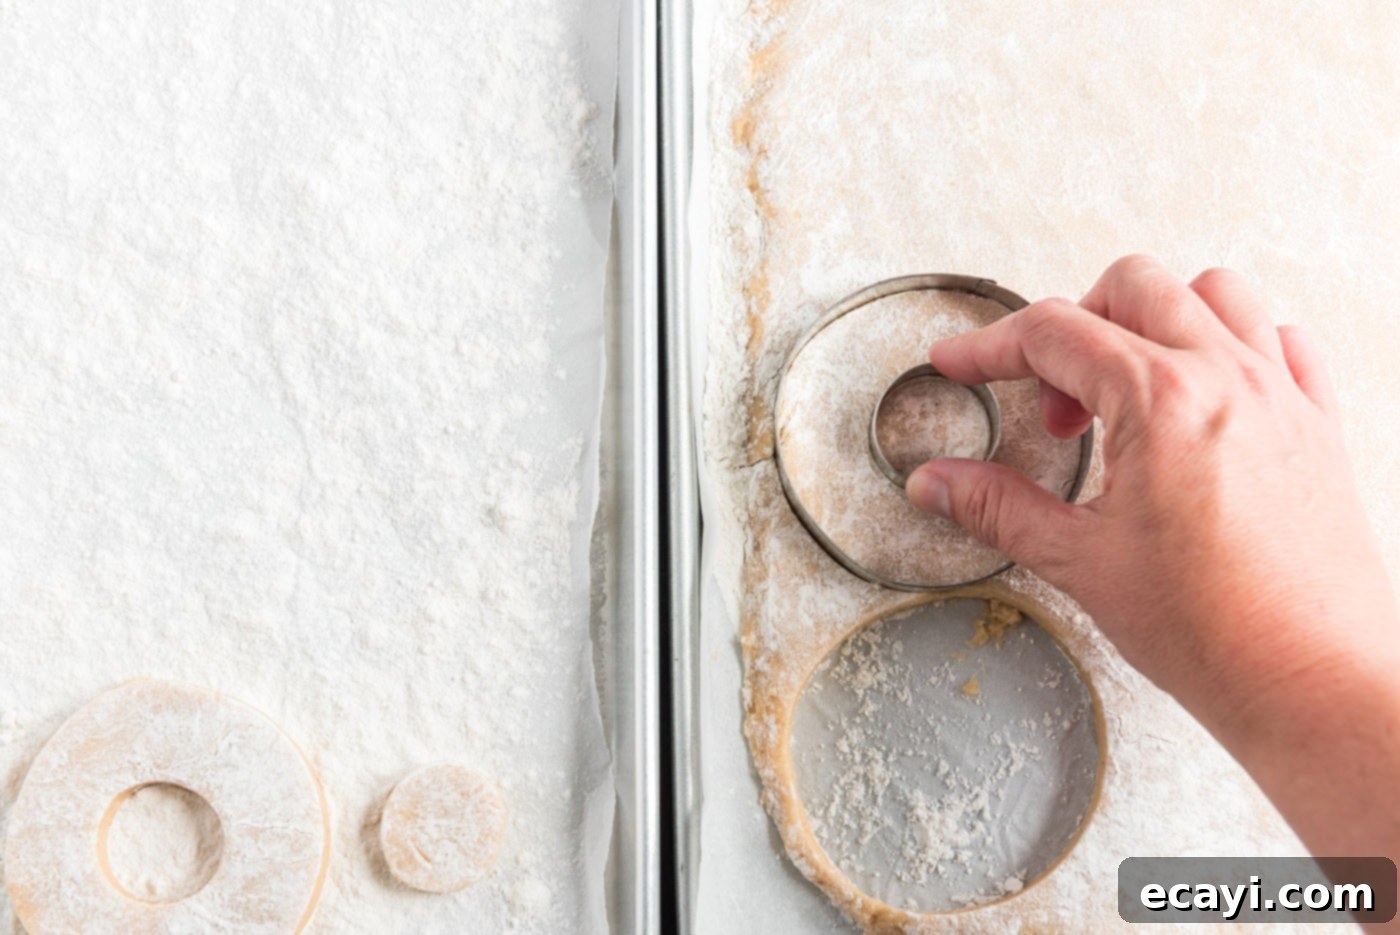
- Cut Out Doughnut Shapes. Remove the chilled dough from the freezer. Using a 3-inch or 3 1/2-inch doughnut cutter, or a 3 1/2-inch round cutter for the outer shape and a 1-inch round cutter for the center hole, carefully cut out your doughnut shapes. Be efficient with your cuts to maximize the number of doughnuts.

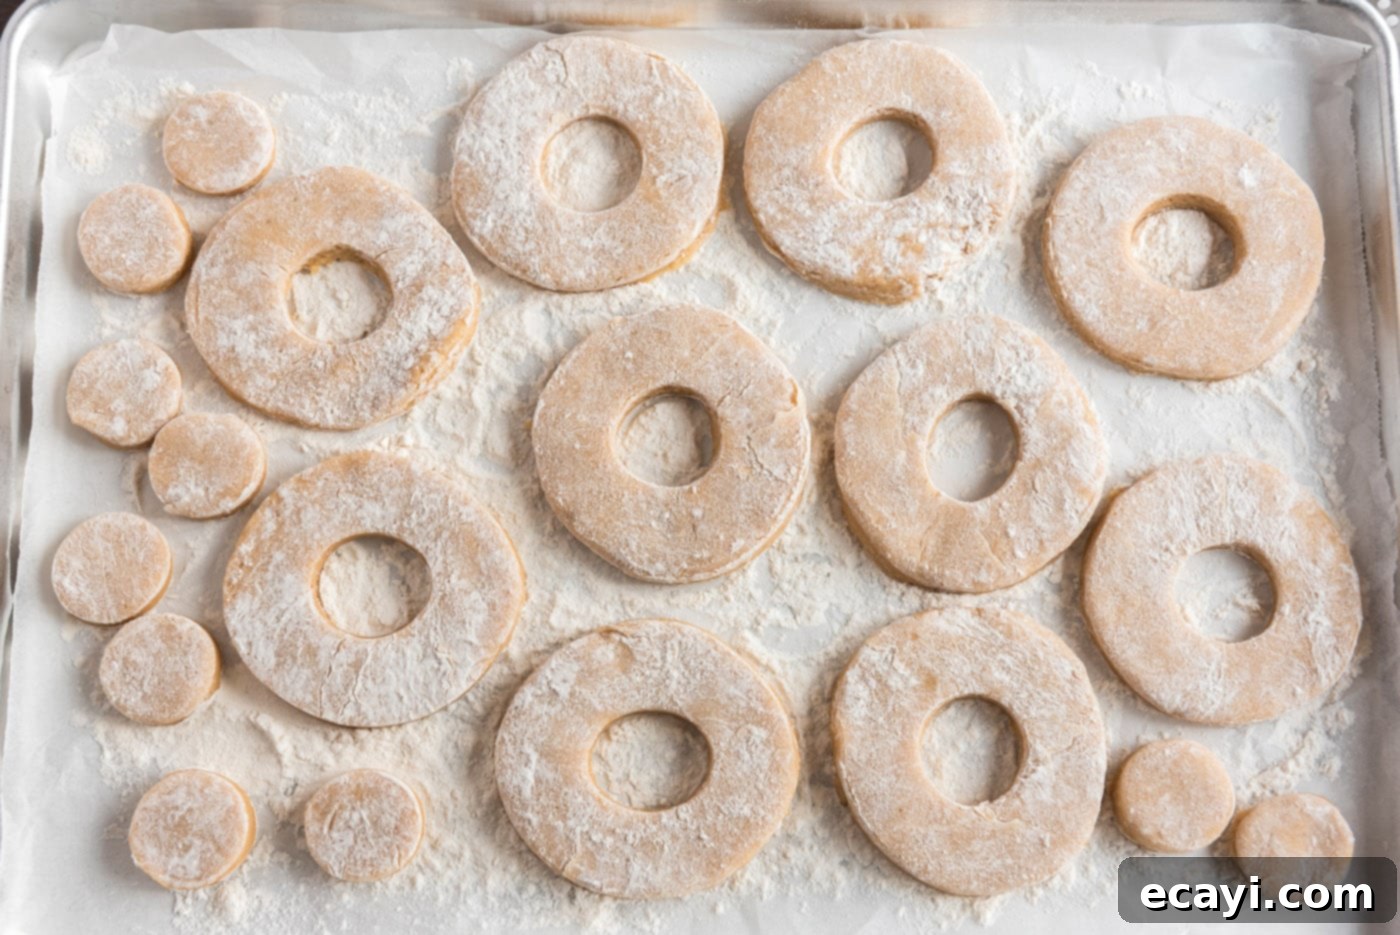
- Second Chill and Re-rolling. Place the freshly cut doughnuts and the smaller doughnut holes onto the second prepared sheet pan. Return them to the refrigerator for another 20 to 30 minutes. This second chill helps them maintain their shape even better during frying and prevents them from absorbing too much oil.
PRO TIP: Don’t waste the dough scraps! Gently gather them, lightly knead them together, flatten them again (use a little more flour if needed), refrigerate briefly, and cut out additional doughnuts or donut holes. This maximizes your yield and minimizes waste.

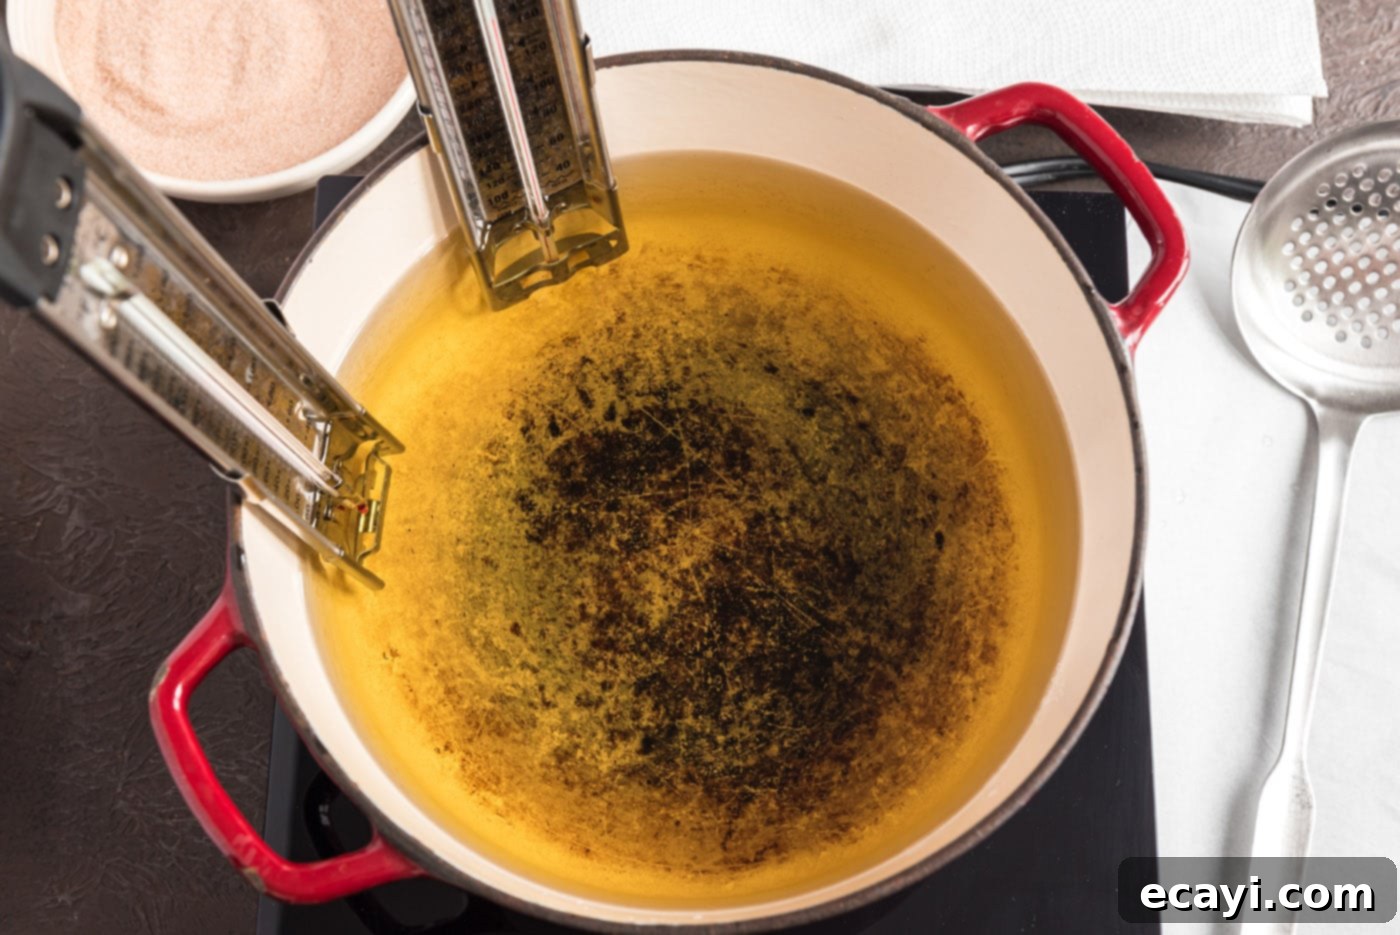
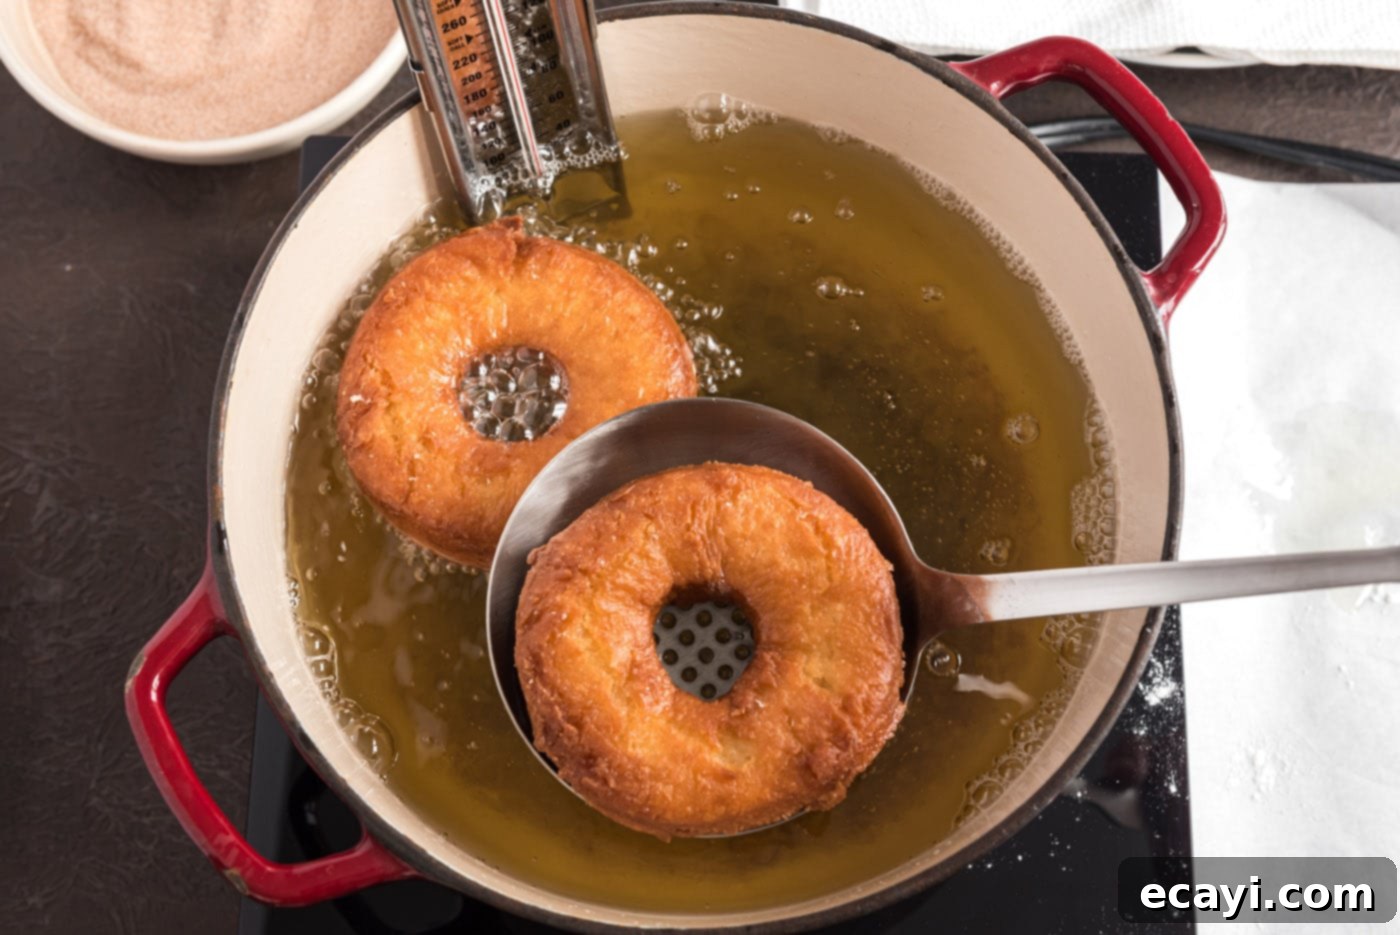
- Prepare for Frying. In a large, deep-sided pan or Dutch oven, add enough vegetable oil or shortening to reach a depth of approximately 3 inches. Attach a reliable candy thermometer to the side of the pan. Heat the oil over medium heat until it consistently reaches 350°F (175°C). Maintaining the correct oil temperature is paramount for perfect doughnuts; too cool, and they’ll be greasy; too hot, and they’ll burn outside before cooking inside. While the oil heats, line a large plate or baking sheet with several thicknesses of paper towels to drain the fried doughnuts.

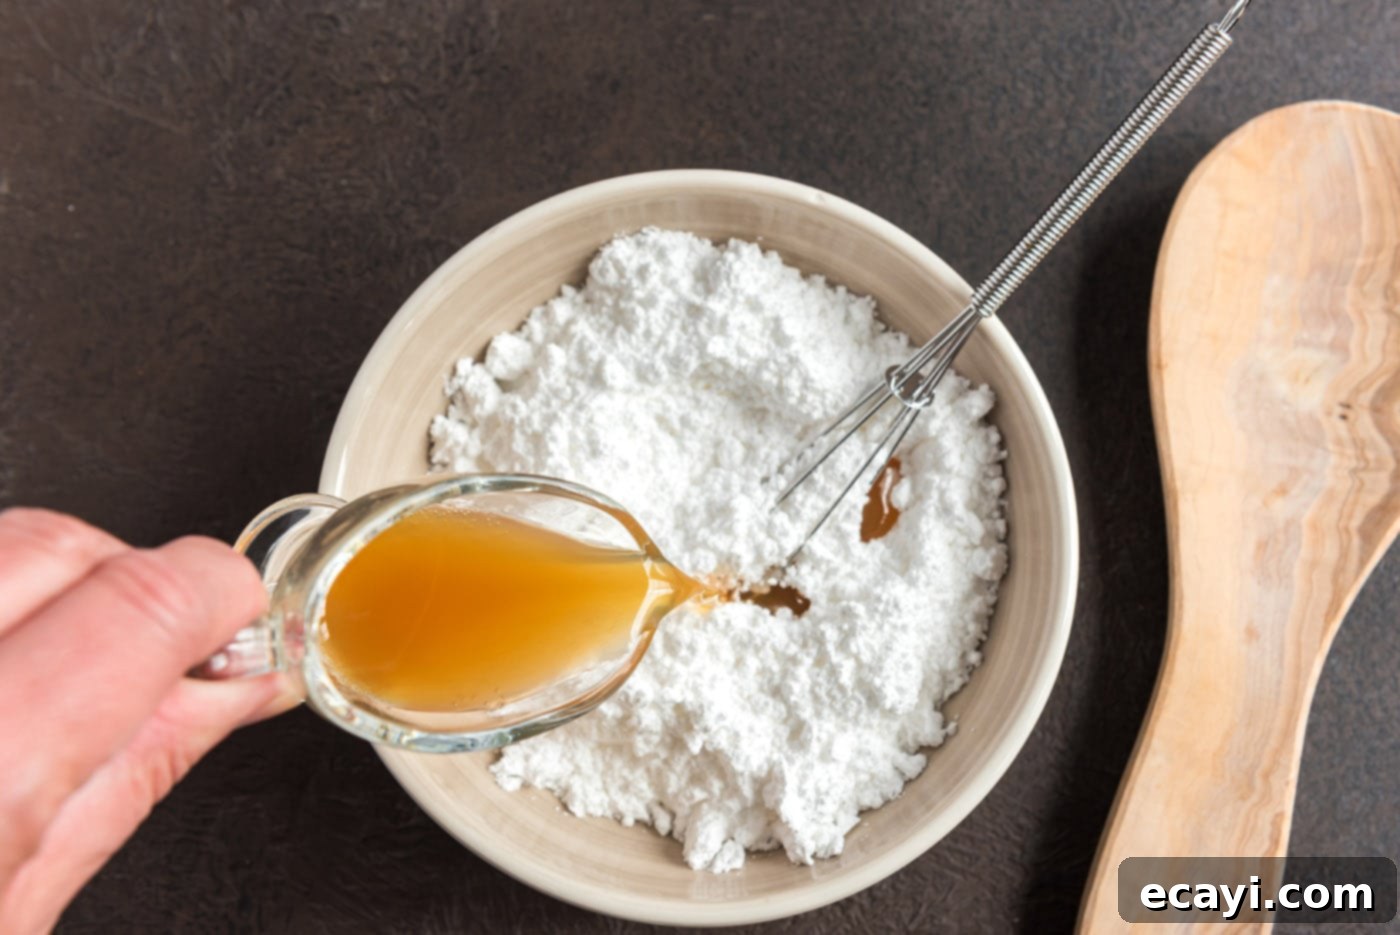
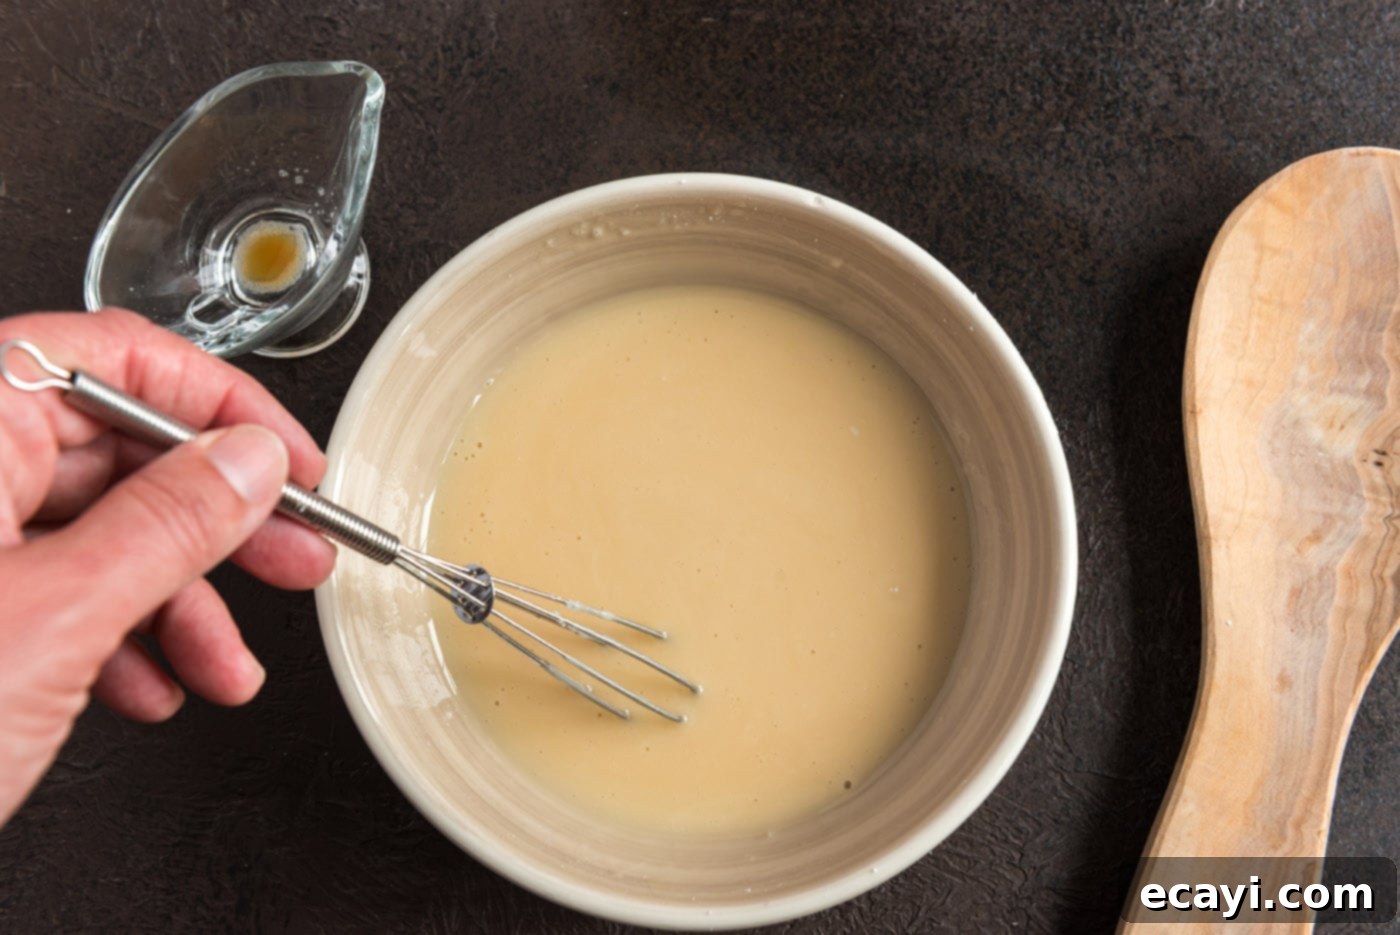
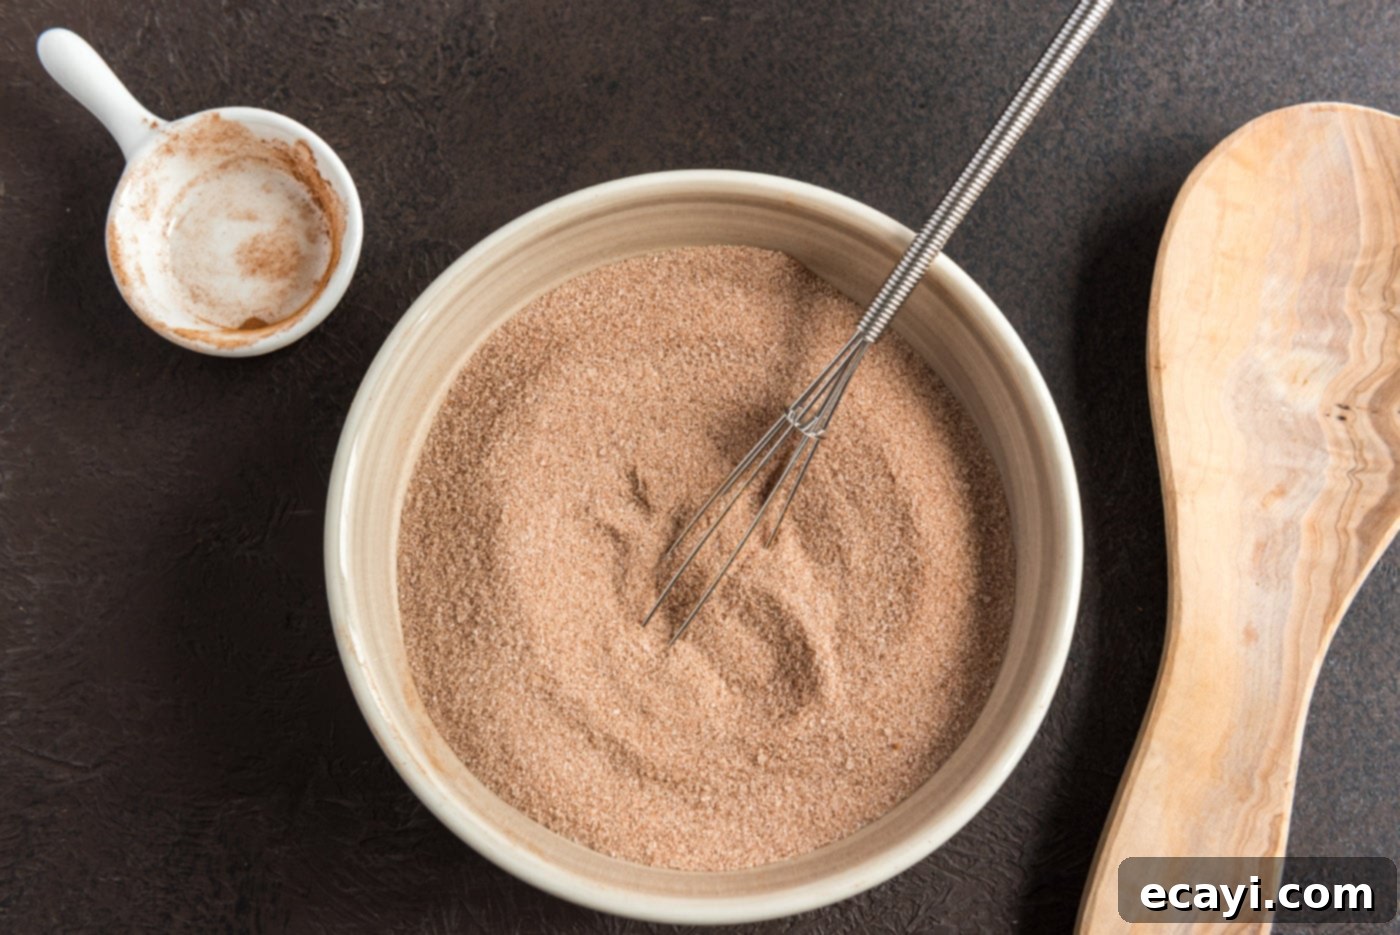
- Prepare Toppings. While your doughnuts are chilling and the oil is heating, it’s the perfect time to prepare your chosen toppings. For the classic glaze, whisk together the confectioners’ sugar (powdered sugar) and apple cider until you achieve a smooth, pourable consistency. For the cinnamon sugar coating, simply mix the granulated sugar and ground cinnamon in a shallow dish. Have both ready so you can coat the doughnuts immediately after they come out of the fryer.


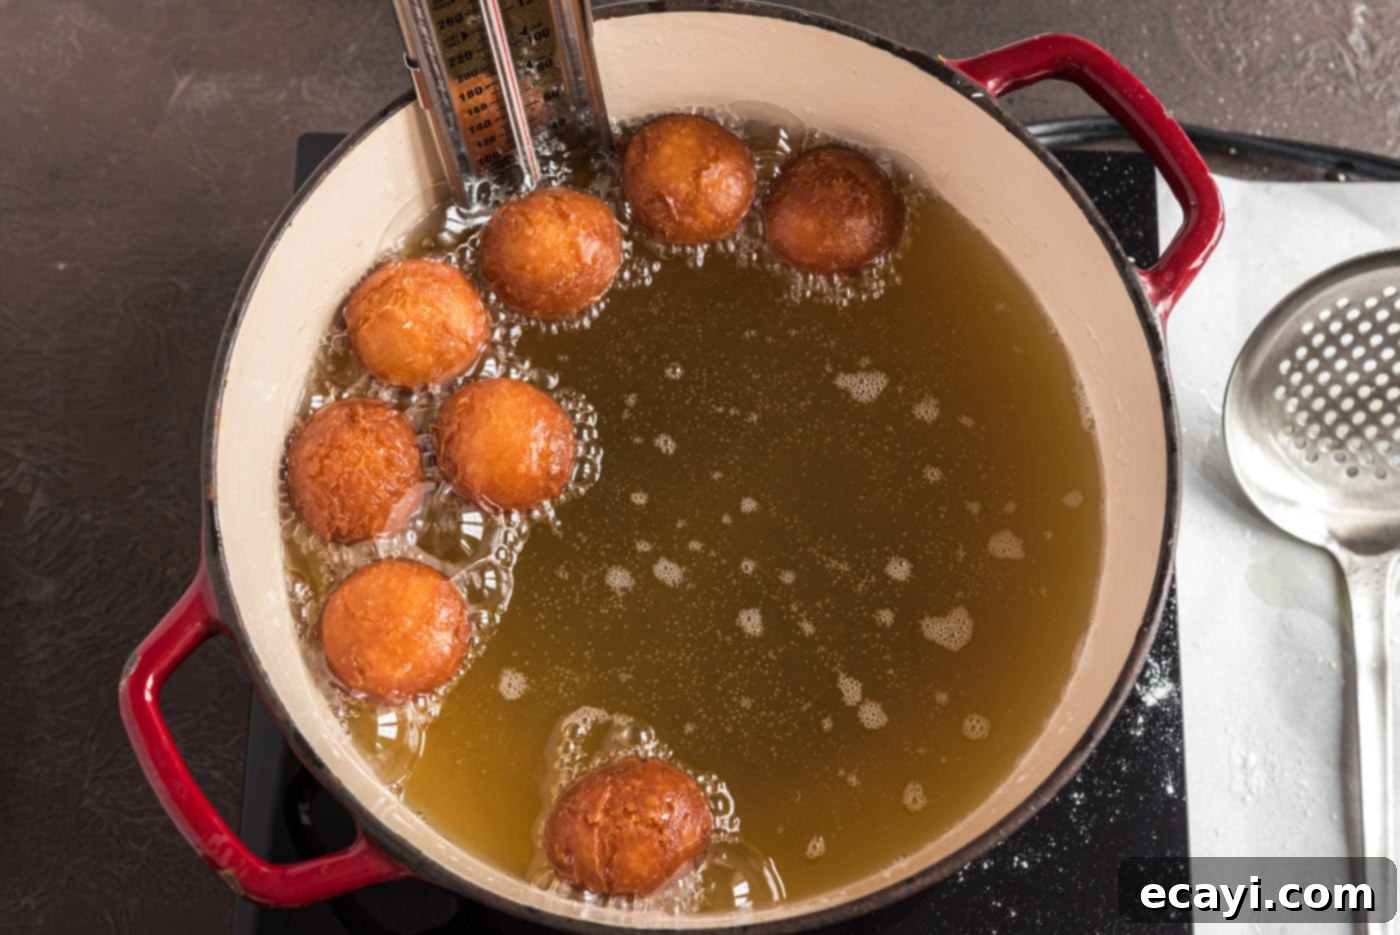
- Fry the Doughnuts to Golden Perfection. Carefully, and in small batches, add a few chilled doughnuts to the hot oil. Avoid overcrowding the pan, as this will drop the oil temperature and lead to greasy doughnuts. Fry each side until it is beautifully golden brown. This typically takes about 60 seconds per side for regular doughnuts, and perhaps a bit less for donut holes (30-60 seconds per side). Use a slotted spoon or spider tool to gently flip them and remove them. After frying, immediately transfer the doughnuts to the paper towel-lined plate to drain excess oil for about a minute. They should be warm for topping.


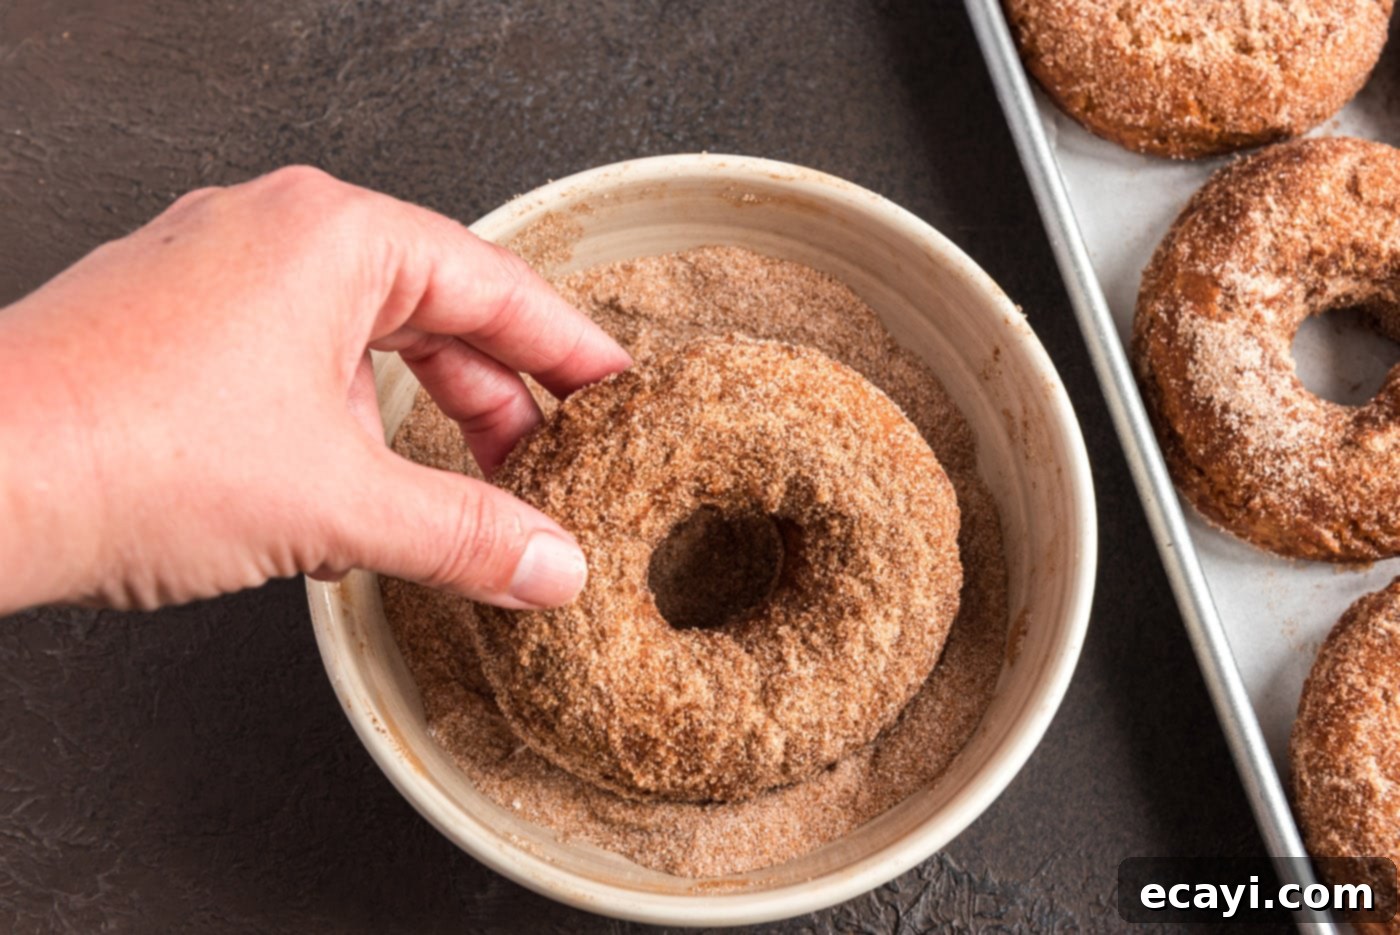
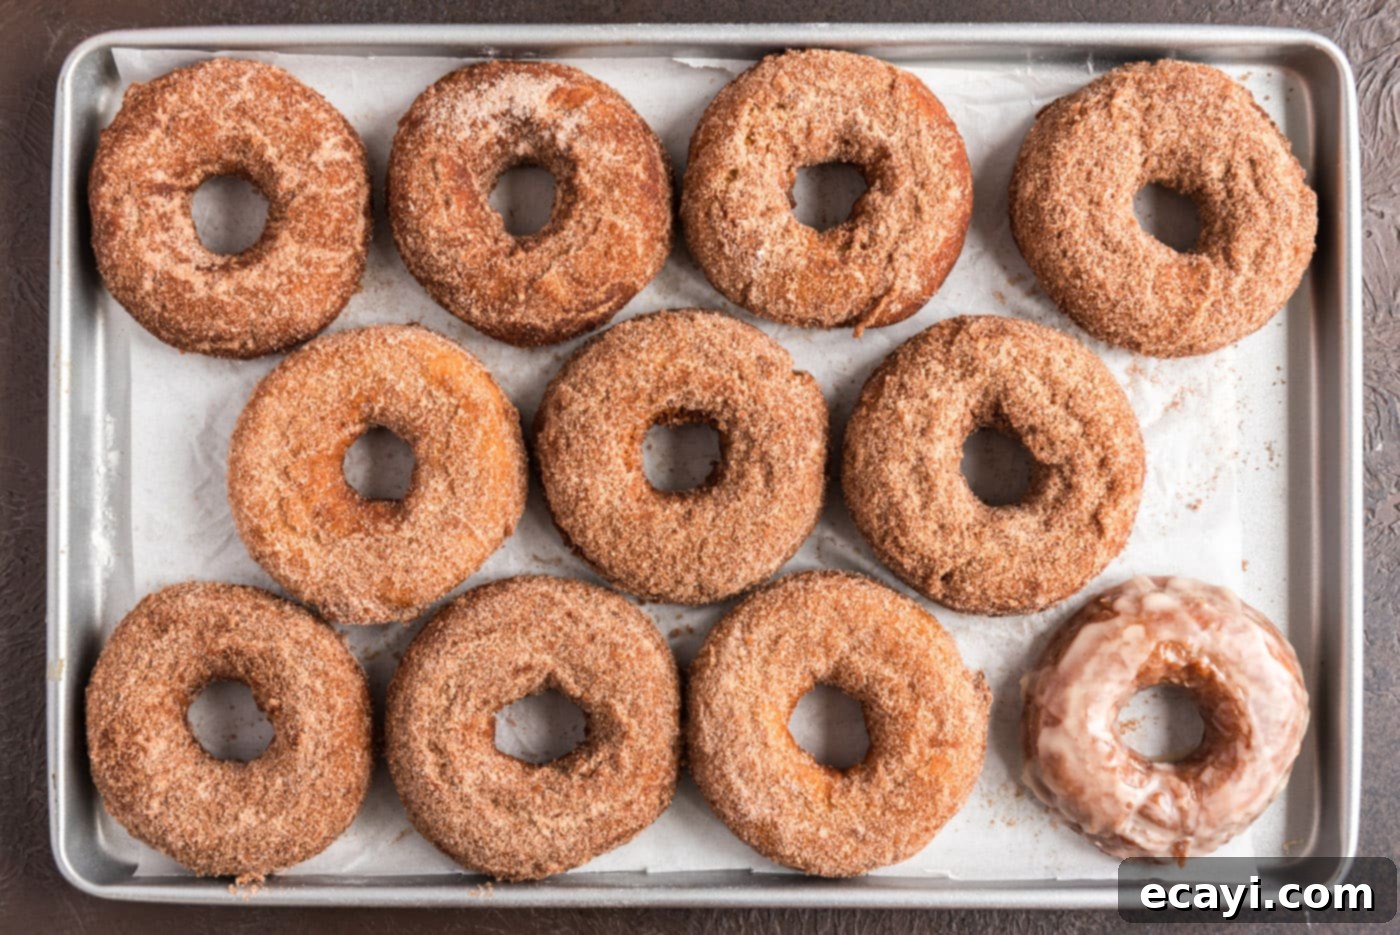
- Top and Serve Immediately. While still warm, dip the top of each fried doughnut into your chosen topping – either the sweet apple cider glaze or the aromatic cinnamon sugar mixture. For an even coating, you might roll the entire doughnut in the cinnamon sugar. Serve these irresistible homemade apple cider doughnuts immediately to enjoy them at their absolute best: warm, soft, and bursting with fall flavor!


Frequently Asked Questions & Expert Tips for Apple Cider Doughnuts
Absolutely! Shortening is an excellent choice for frying doughnuts and often contributes to a wonderfully crisp exterior and tender interior. Many traditional doughnut recipes call for shortening. The first time I made these apple cider doughnuts, I used shortening and melted it directly in my cast iron Dutch oven. It required an entire 3-pound tub of shortening to achieve the necessary depth. After frying, I simply allowed the shortening to cool completely in the pan, scooped it back into its original tub, and then discarded it safely. Using shortening can sometimes result in a slightly less greasy doughnut than some oils, as it doesn’t penetrate the dough as readily.
For the ultimate fluffy and soft texture, these homemade apple cider doughnuts are undeniably best enjoyed the very same day they are made. However, you can certainly store any leftovers. Place them in an air-tight container or a large zip-top bag at room temperature for up to 2 days. If you need to store them for longer, they will keep well in the refrigerator for up to 4 days. Before serving refrigerated doughnuts, allow them to come to room temperature or warm them slightly in a microwave for a few seconds to revive their soft texture and aroma.
While this recipe is specifically designed for fried doughnuts to achieve that classic soft and cakey texture with a slightly crisp exterior, you can adapt it for baking. If you choose to bake, use a greased doughnut pan and bake at 350°F (175°C) for 10-15 minutes, or until lightly golden and a toothpick inserted comes out clean. Be aware that the texture will be closer to a cake doughnut and less airy than fried versions, but they will still be delicious and full of apple cider flavor.
The best oils for frying doughnuts are those with a high smoke point and a neutral flavor profile. Excellent choices include vegetable oil, canola oil, peanut oil, or corn oil. These oils can withstand the high temperatures required for frying without burning, and they won’t impart any unwanted taste to your delicious apple cider doughnuts. Shortening, as discussed, is also a traditional and effective option.
Preventing greasy doughnuts primarily comes down to maintaining the correct oil temperature. If the oil is too cool (below 350°F), the doughnuts will absorb too much oil, resulting in a soggy texture. If the oil is too hot (above 375°F), the outsides will brown too quickly, leaving the inside raw. Always use a candy thermometer to monitor the oil temperature accurately. Also, avoid overcrowding the pan, as this significantly drops the oil temperature. Fry in small batches and allow the oil to return to temperature between batches. Draining them immediately on paper towels after frying also helps absorb excess oil.
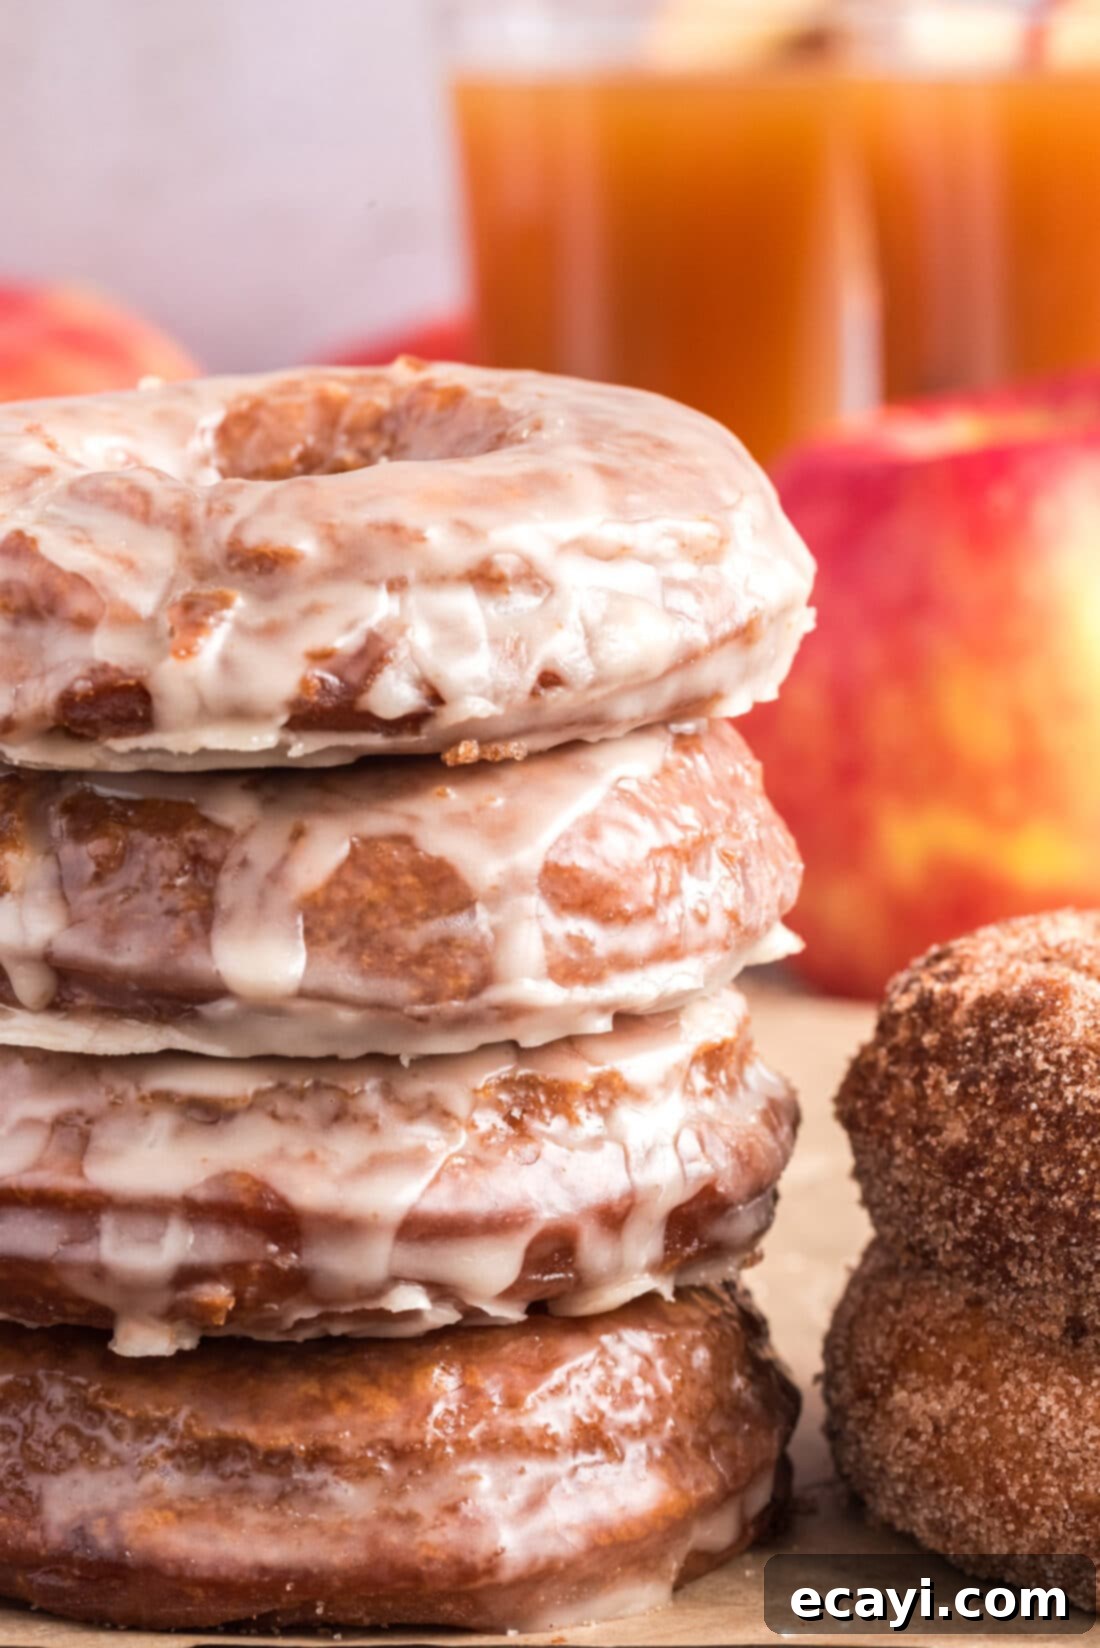
Serving Suggestions for Your Autumnal Doughnuts
These warm, fragrant apple cider doughnuts are delightful served either warm straight from the fryer or at room temperature. The choice of topping — whether a sweet, glistening glaze or a comforting roll in cinnamon sugar — adds another layer of customization. For those who love variety, we often prepare a batch with half glazed and half cinnamon sugar-coated, ensuring there’s something for everyone to enjoy. They pair wonderfully with a hot cup of coffee, a comforting mug of tea, or a glass of milk. For an extra special fall experience, consider serving them alongside a steaming mug of hot apple cider or, for adults, a cozy spiked caramel apple cider. They also make a fantastic addition to a brunch spread or a cozy afternoon treat.
More Delightful Fall & Apple-Inspired Recipes
If you’re still craving more apple goodness or other autumnal treats, explore these fantastic recipes:
- Warm Apple Crumble
- Delectable Apple Pie Cookies
- Cozy Pumpkin Spice Donuts
- Indulgent Caramel Apple Cheesecake Bars
- Moist Apple Cider Pound Cake
I absolutely love to bake and cook, and sharing my kitchen experiences with all of you brings me so much joy! Remembering to come back each day for new culinary inspiration can be tough, which is why I offer a convenient newsletter every time a new recipe posts. Simply subscribe today and start receiving your free daily recipes directly in your inbox!

Apple Cider Doughnuts
IMPORTANT – There are often Frequently Asked Questions within the blog post that you may find helpful. Simply scroll back up to read them!
Print It
Pin It
Rate It
Save ItSaved!
Ingredients
- 1 cup apple cider
- 3 ½ cups flour plus additional for the work surface
- 2 teaspoons baking powder
- 1 teaspoon baking soda
- ½ teaspoon ground cinnamon
- ½ teaspoon salt
- ⅛ teaspoon ground nutmeg
- 4 tablespoons 1/2 stick or 2 ounces butter, at room temperature
- 1 cup granulated sugar
- 2 large eggs
- ½ cup buttermilk
- Vegetable oil or shortening for frying
Glaze Topping
- 1 cup powdered sugar
- 2 Tablespoons apple cider
Cinnamon Sugar Topping
- 1 cup granulated sugar
- 1 ½ Tablespoons cinnamon
Things You’ll Need
-
Saucepan
-
Electric mixer
-
3.5 inch dough cutter
-
Baking sheets
-
Large deep sided skillet
-
Candy thermometer
Before You Begin
- One of the most important steps for making apple cider donuts is to reduce the apple cider in a saucepan. This helps concentrate the liquid which will amplify the flavor. Store-bought cider won’t pack the same flavorful punch you look for in a donut that’s centered around this main ingredient, but it will certainly do the trick once you reduce it! This recipe calls for apple cider, not apple juice – be sure you grab the correct kind.
- Though these doughnuts are best enjoyed the day of for the fluffiest, softest texture – you can still store them in either an air-tight container or large ziptop bag kept at room temperature for up to 2 days or in the refrigerator for up to 4 days.
Instructions
Reduce the Cider
-
In a saucepan over medium or medium-low heat, gently reduce the apple cider to about 1/4 cup, 20 to 30 minutes. Set aside to cool.
Making the Dough
-
In a bowl, combine the flour, baking powder and soda, cinnamon, salt and nutmeg. Set aside.
-
Using an electric mixer on medium speed (with the paddle attachment, if using a standing mixer) beat the butter and granulated sugar until the mixture is smooth. Add the eggs, one at a time, and continue to beat until the eggs are completely incorporated. Use a spatula to scrape down the sides of the bowl occasionally.
-
Reduce the speed to low and gradually add the reduced apple cider and the buttermilk, mixing just until combined. Add the flour mixture and continue to mix just until the dough comes together.
-
Line two baking sheets with parchment or wax paper and sprinkle them generously with flour. Turn the dough onto one of the sheets and sprinkle the top with flour. Flatten the dough with your hands until it is about 1/2 inch thick. Use more flour if the dough is still wet. Transfer the dough to the freezer until it is slightly hardened, about 20 minutes.
-
Pull the dough out of the freezer. Using a 3-inch or 3 1/2-inch doughnut cutter — or a 3 1/2-inch round cutter for the outer shape and a 1-inch round cutter for the hole from a set like this, as I did — cut out doughnut shapes. Place the cut doughnuts and doughnut holes onto the second sheet pan. Refrigerate the doughnuts for 20 to 30 minutes. (You may re-roll the scraps of dough, refrigerate them briefly and cut additional doughnuts from the dough.)
-
Add enough oil or shortening to a deep-sided pan to measure a depth of about 3 inches. Attach a candy thermometer to the side of the pan and heat over medium heat until the oil reaches 350°F*. Have ready a plate lined with several thicknesses of paper towels.
Making the Toppings
-
While the cut doughnut shapes are in the refrigerator, make the glaze by whisking together the confectioners’ sugar and the cider until the mixture is smooth; make the cinnamon sugar by mixing the two together. Set aside.
Frying the Doughnuts
-
Carefully add a few doughnuts to the oil, being careful not to crowd the pan, and fry until golden brown, about 60 seconds. Turn the doughnuts over and fry until the other side is golden, 30 to 60 seconds. Drain on paper towels for a minute after the doughnuts are fried.
-
Dip the top of the warm doughnuts into the glaze or cinnamon sugar mixture (if using) and serve immediately.
Nutrition
The recipes on this blog are tested with a conventional gas oven and gas stovetop. It’s important to note that some ovens, especially as they age, can cook and bake inconsistently. Using an inexpensive oven thermometer can assure you that your oven is truly heating to the proper temperature. If you use a toaster oven or countertop oven, please keep in mind that they may not distribute heat the same as a conventional full sized oven and you may need to adjust your cooking/baking times. In the case of recipes made with a pressure cooker, air fryer, slow cooker, or other appliance, a link to the appliances we use is listed within each respective recipe. For baking recipes where measurements are given by weight, please note that results may not be the same if cups are used instead, and we can’t guarantee success with that method.
This post originally appeared here on Dec 12, 2010 and has since been updated with new photos and expert tips.
