Sparkling Stained Glass Cookies: Your Guide to Dazzling Holiday Treats and Edible Ornaments
Step into a world of vibrant color and nostalgic charm with our exquisite **Stained Glass Cookies**! These stunning treats are more than just a dessert; they’re a delightful edible craft that brings joy and beauty to any occasion, especially during the festive holiday season. Imagine the sparkling, translucent “windows” catching the light, transforming a simple cookie into a work of art. Whether you recall baking these dazzling delights with a beloved family member or are discovering them for the first time, this recipe is designed to help you create lasting memories and truly beautiful results.
Perfect for adorning your Christmas tree as unique **edible ornaments**, adding a touch of magic to your holiday cookie platters, or sharing as heartfelt homemade gifts, these cookies are surprisingly easy to make. The secret lies in a classic sugar cookie base combined with crushed hard candies like **Jolly Ranchers** that melt into brilliant, colorful centers. Get ready to impress your friends and family with these enchanting **holiday cookies** that taste as good as they look!
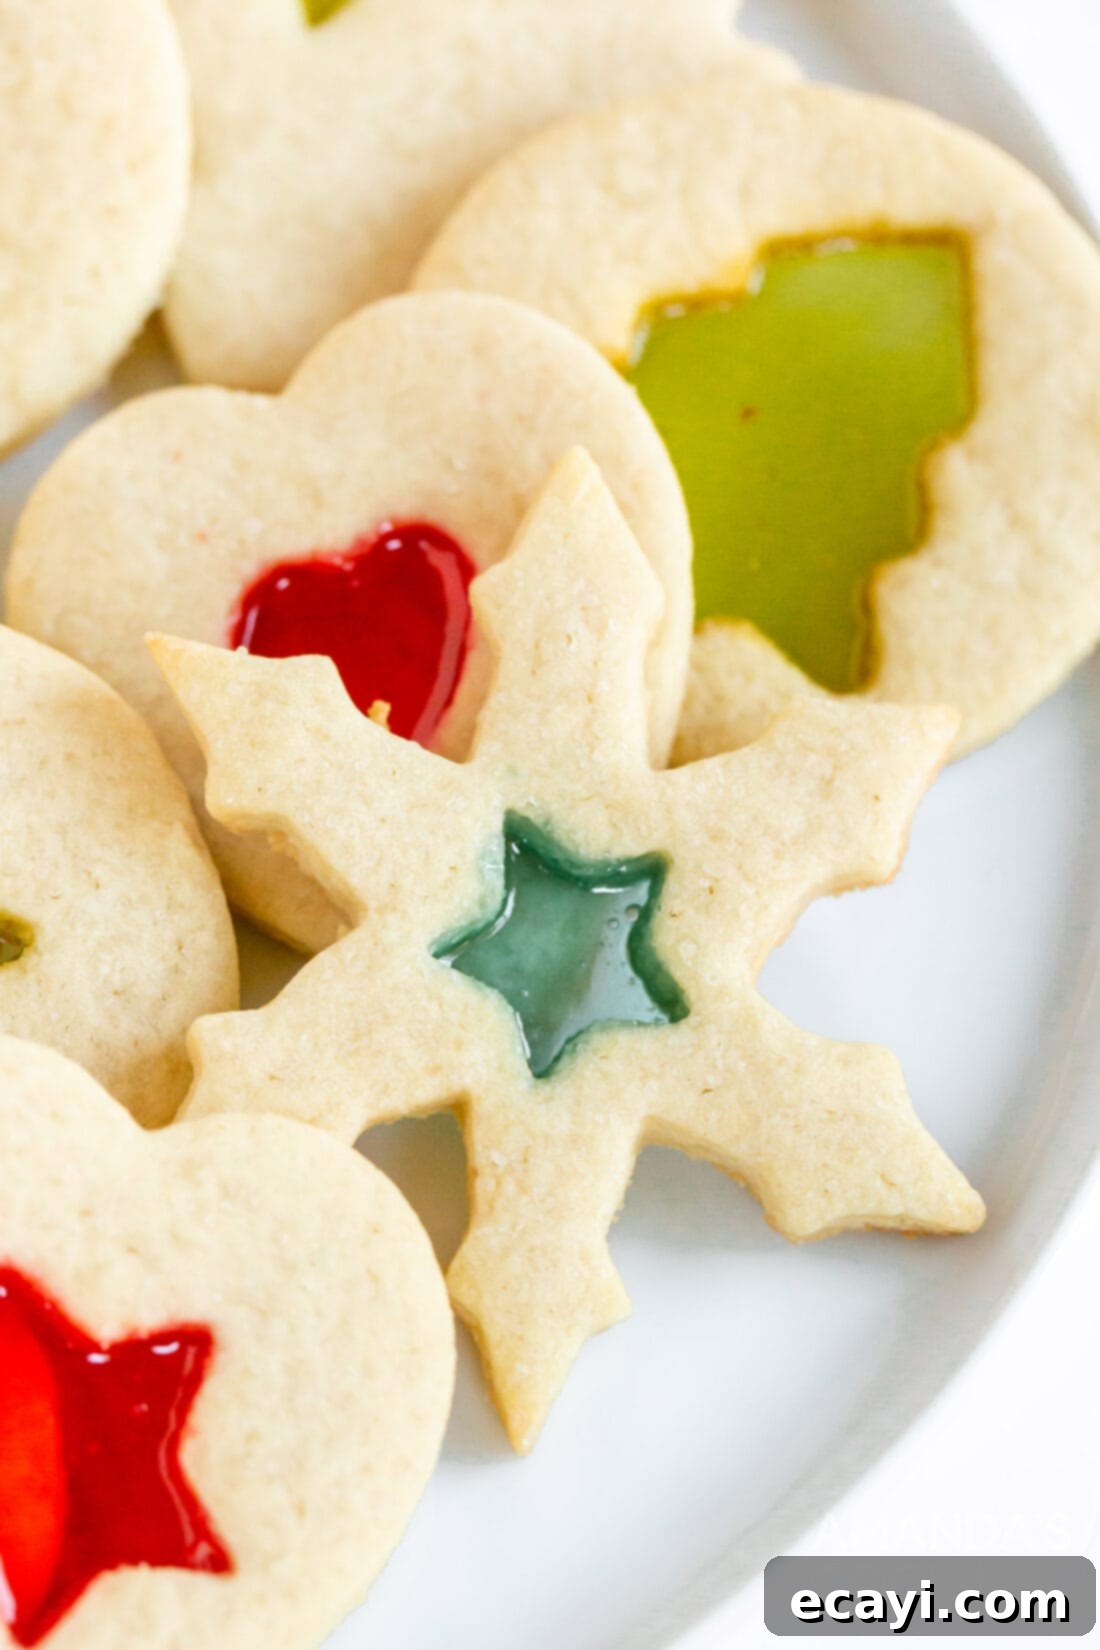
Why You’ll Love This Stained Glass Cookie Recipe
Baking is more than just following a set of instructions; it’s an opportunity to create cherished moments and lasting traditions. This **stained glass cookie recipe** is a perfect example, inviting you to connect with loved ones over the simple, heartwarming act of baking. The vibrant colors and delicate appearance of these cookies make them truly special, ideal for celebrating holidays, sharing with friends, or simply enjoying a sweet moment at home.
What makes this particular recipe so fantastic? First, it’s remarkably straightforward. You don’t need to be a pastry chef to achieve stunning results. Our clear, step-by-step instructions guide you through each stage, ensuring a successful and enjoyable baking experience. Second, the visual impact of these **dazzling holiday treats** is unparalleled. The melted hard candy centers shimmer like jewels, making them perfect for **holiday cookie trays**, **cookie exchanges**, and delightful **homemade gifts**. They’re not just delicious; they’re conversation starters, bringing an extra layer of festivity to any gathering. Plus, imagine the joy of hanging your own **edible ornaments** on the Christmas tree!
From the crunchy edges of the sugar cookie to the sweet, jewel-like candy centers, every bite is a delightful experience. This recipe works because it combines classic flavors with a unique, eye-catching design, making it a favorite for bakers of all skill levels. It’s truly a recipe designed for creating beautiful, delicious, and memorable **Christmas cookies**.
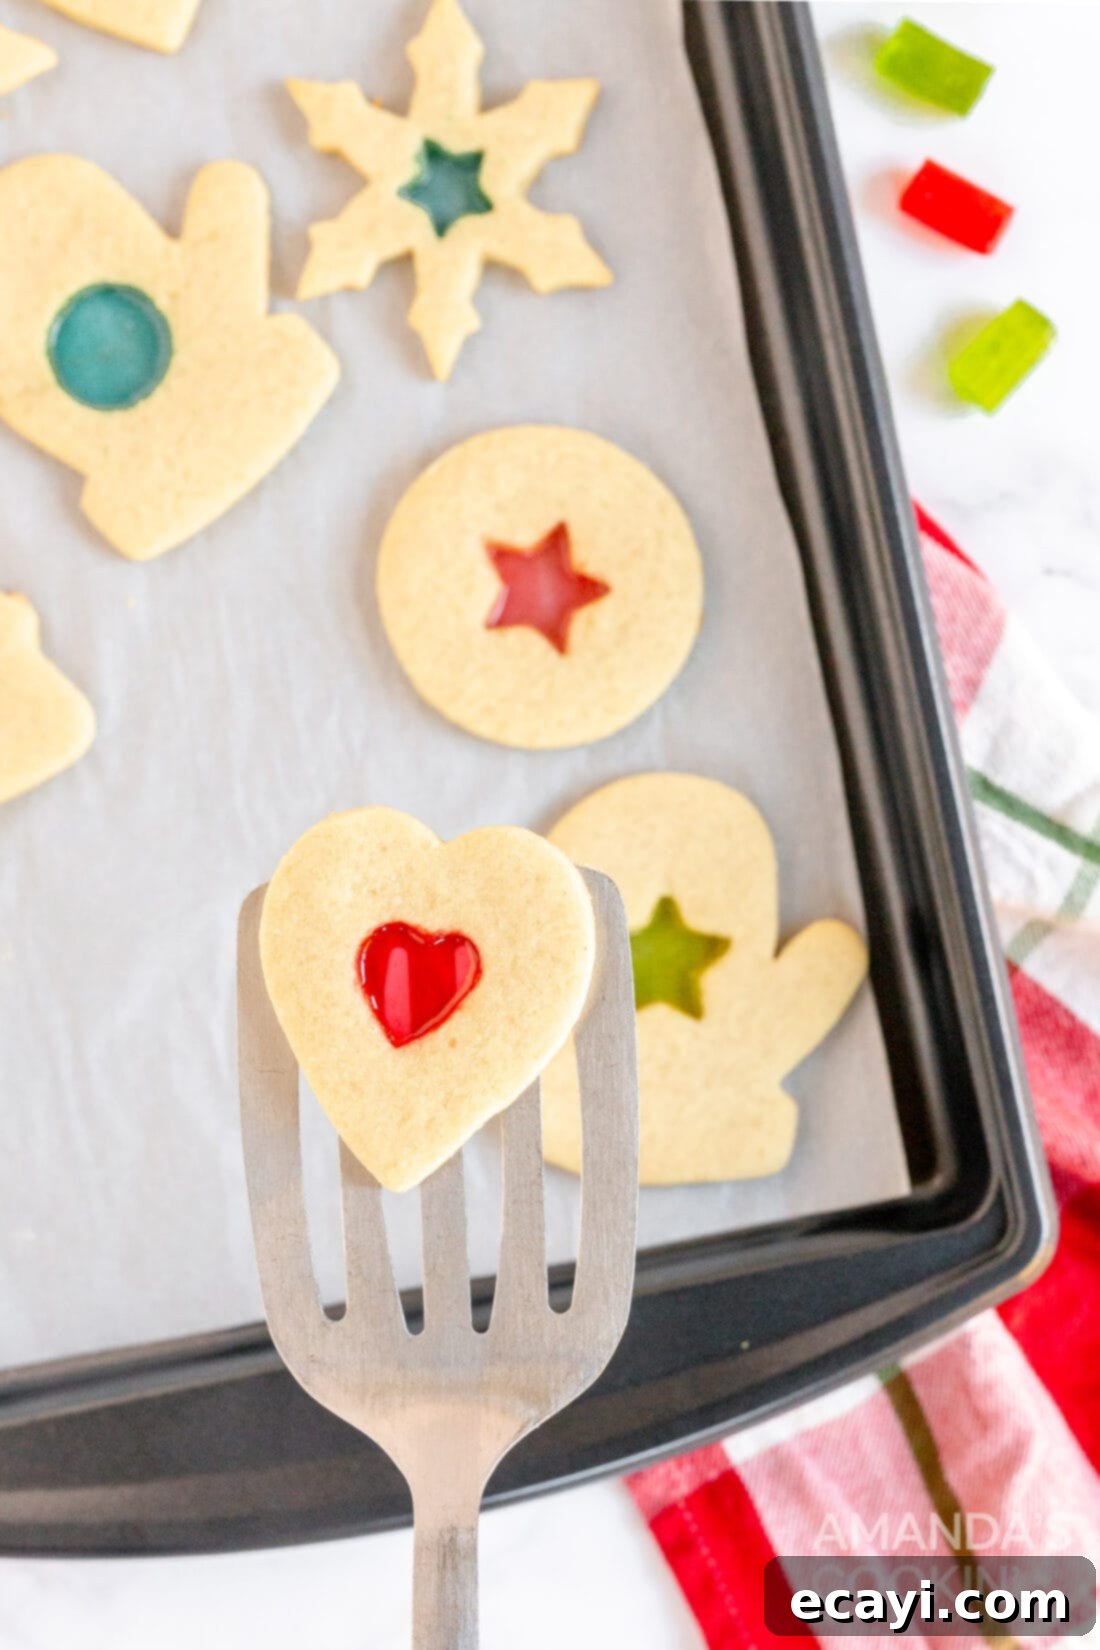
Essential Ingredients for Your Stained Glass Cookies
Creating these magical **stained glass cookies** requires a handful of common baking ingredients, along with one special item that gives them their signature sparkle: hard candies! You’ll be pleased to know that most of these items are likely already in your pantry, making this an accessible recipe for your next baking adventure. The base of these cookies is a classic, tender sugar cookie dough, which provides the perfect canvas for the vibrant candy “windows.”
Here’s a look at the simple ingredients you’ll need:
- **Crushed Jolly Ranchers Hard Candies:** These are the star of the show! Their vibrant colors and consistent melting properties make them ideal for the “stained glass” effect. Feel free to experiment with other hard candies, but Jolly Ranchers are highly recommended for their brilliant hues and smooth melt.
- **All-Purpose Flour:** The structural backbone of our delicious cookies. Always measure flour accurately for the best texture.
- **Salt:** A pinch of salt enhances all the flavors, balancing the sweetness and bringing out the rich taste of the butter.
- **Unsalted Butter (softened):** Softened butter creams beautifully with sugar, creating a light and airy dough. Using unsalted butter allows you to control the salt content precisely.
- **Granulated Sugar:** Provides sweetness and contributes to the cookie’s tender crumb and slightly crisp edges.
- **Large Eggs:** Eggs act as a binder, adding moisture and richness to the dough, and helping everything hold together.
- **Vanilla Extract:** Essential for that warm, comforting aroma and classic cookie flavor. Choose a good quality vanilla for the best taste.
Remember, precise measurements are key in baking. You’ll find the exact quantities and a printable version of this entire **easy cookie recipe** at the very bottom of this post, so you can easily reference it while you bake. Gather your ingredients, and let’s get ready to transform them into stunning edible art!
2020: 12 DAYS OF CHRISTMAS COOKIES
12 Christmas cookies you will love, PLUS bonus baking tips and TWO extra recipes you will not find on this blog! See ALL my cookbooks here!
Get the Christmas cookies cookbook! ONLY $9.97!!
Crafting Your Stained Glass Cookies: A Step-by-Step Guide
This detailed section provides step-by-step photos and clear instructions to help you visualize and execute this **holiday cookie recipe** with ease. For a convenient printable version, complete with all measurements and instructions, simply Jump to Recipe at the end of this post.
- **Prepare Your Baking Surfaces:** Begin by lining your baking sheets with silicone baking mats or parchment paper. This crucial step prevents the melted candy from sticking and ensures your **stained glass cookies** release easily after baking.
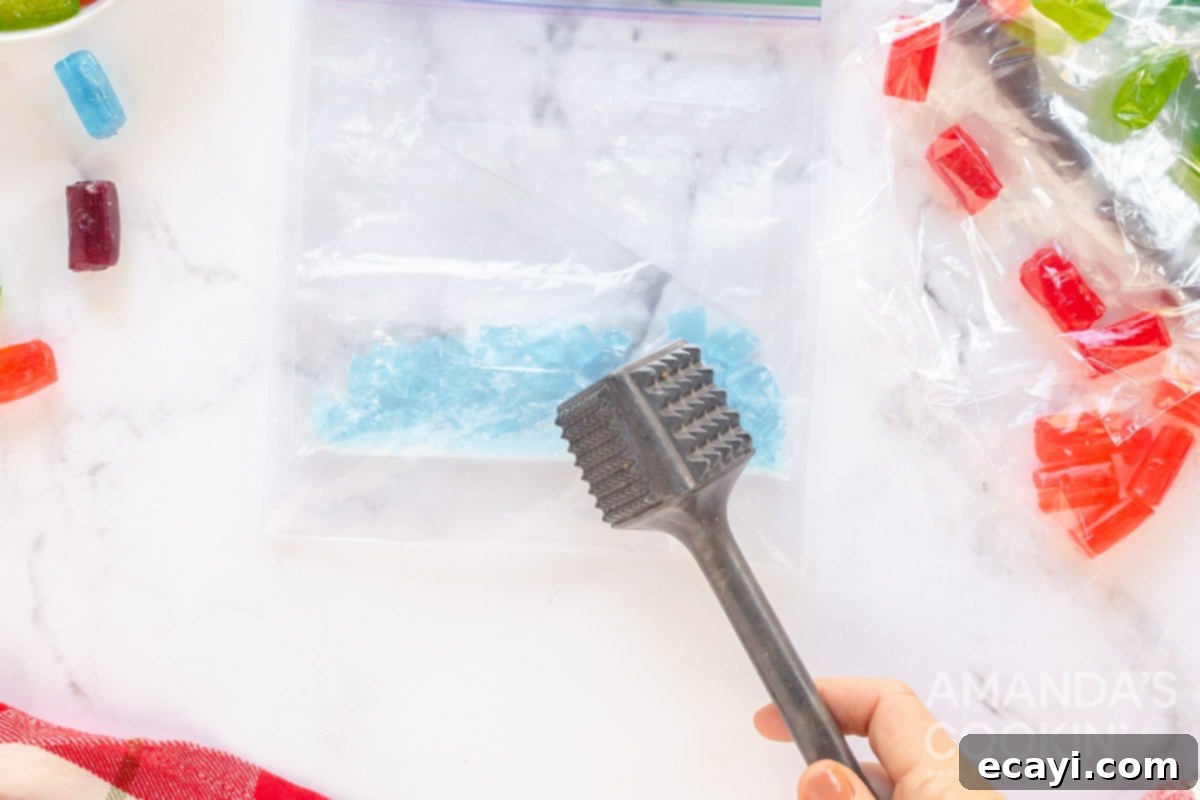
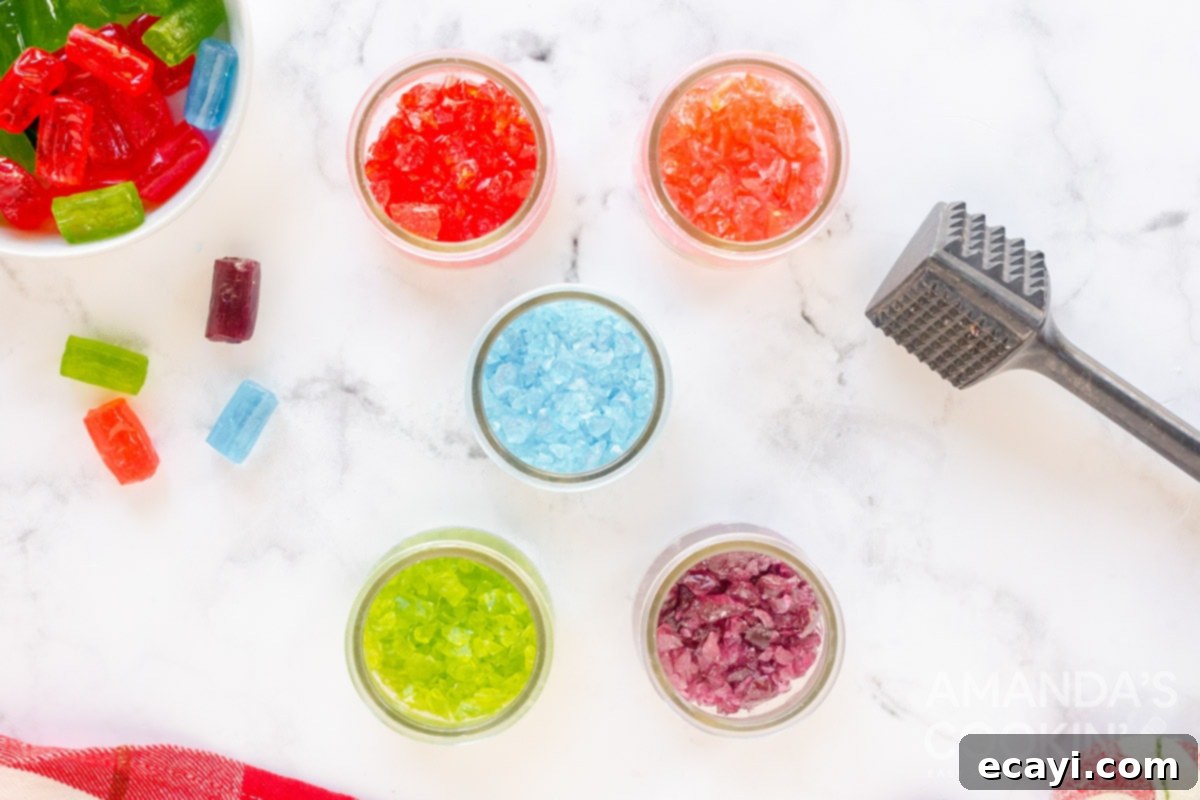
- **Crush Your Candies:** Sort your **Jolly Ranchers hard candies** by color into separate sandwich bags. Using a rolling pin or a meat mallet, gently but firmly crush the candies into small, irregular pieces. Aim for a mix of fine powder and small shards for the best melting effect. This process is fun and can even be a great activity for older kids to help with, fostering those cherished **family baking memories**. Set the crushed candies aside in separate bowls for easy access.


- **Combine Dry Ingredients:** In a medium-sized bowl, whisk together the all-purpose flour and salt. This ensures the salt is evenly distributed throughout the dough. Set this bowl aside for now.
- **Cream Wet Ingredients:** In a separate, larger mixing bowl, cream together the softened unsalted butter and granulated sugar until the mixture is light, fluffy, and homogenous. This step incorporates air, contributing to the tender texture of your **sugar cookie base**.
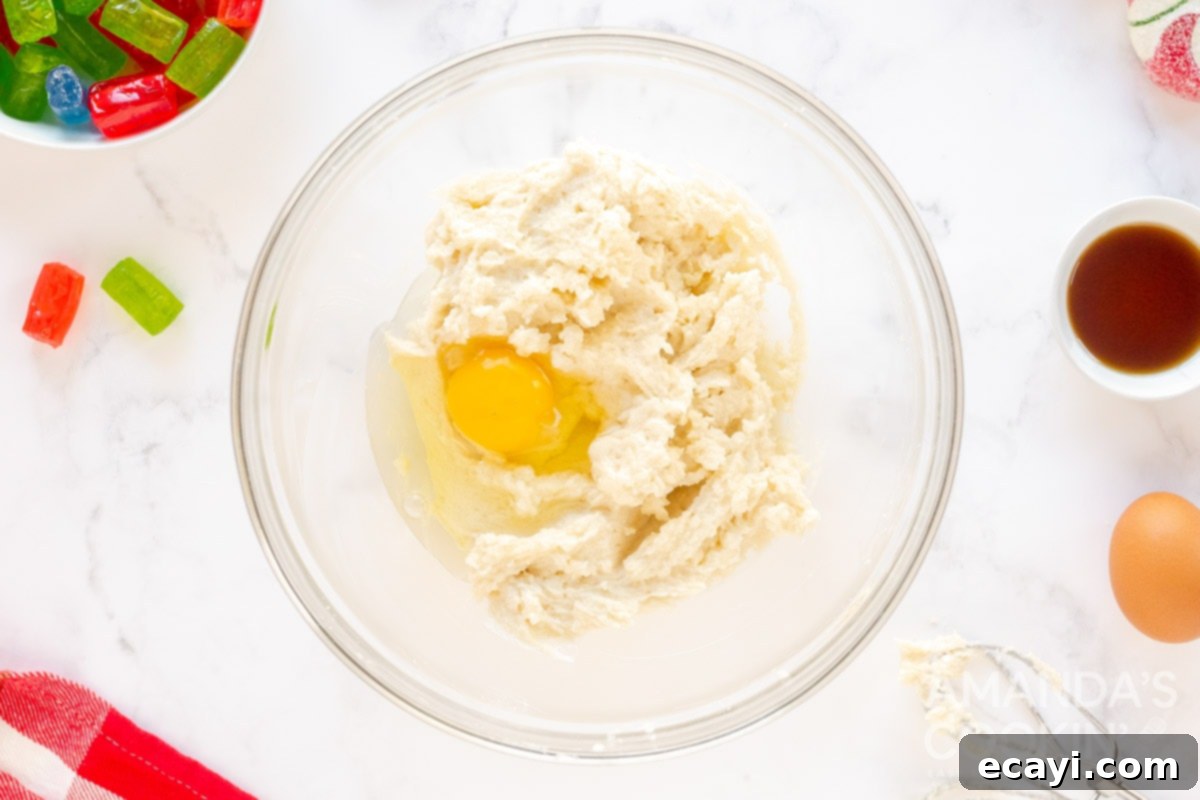
- **Incorporate Eggs and Vanilla:** Add the large eggs to the butter and sugar mixture, one at a time, mixing well after each addition until fully combined. Finish by stirring in the vanilla extract, lending its signature aroma and flavor.

- **Form the Dough:** Gradually add the dry flour mixture to the wet ingredients, mixing on low speed until a cohesive dough forms and no traces of dry flour remain. Be careful not to overmix, as this can lead to tough cookies.
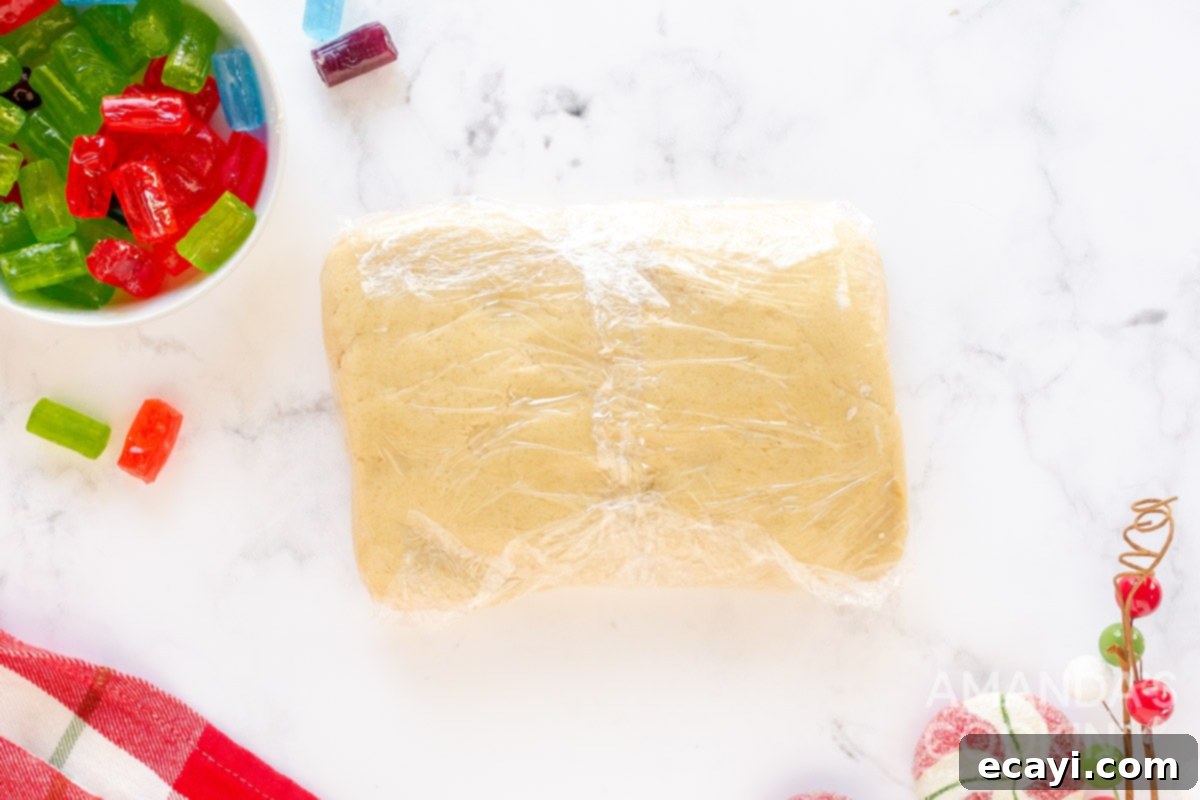
- **Chill the Dough:** Wrap the cookie dough tightly in plastic wrap and refrigerate it for at least one hour. Chilling is essential as it firms up the butter, making the dough much easier to roll out and preventing the cookies from spreading too much during baking. This step is key for achieving perfectly shaped **Christmas cookies**.

- **Roll and Cut Large Shapes:** Lightly sprinkle flour on your clean counter or a large cutting board. Roll the chilled dough onto the floured surface to an even thickness of about 1/4-inch. Using your chosen large cookie cutters, cut out as many shapes as possible, placing them carefully onto your prepared baking sheets.
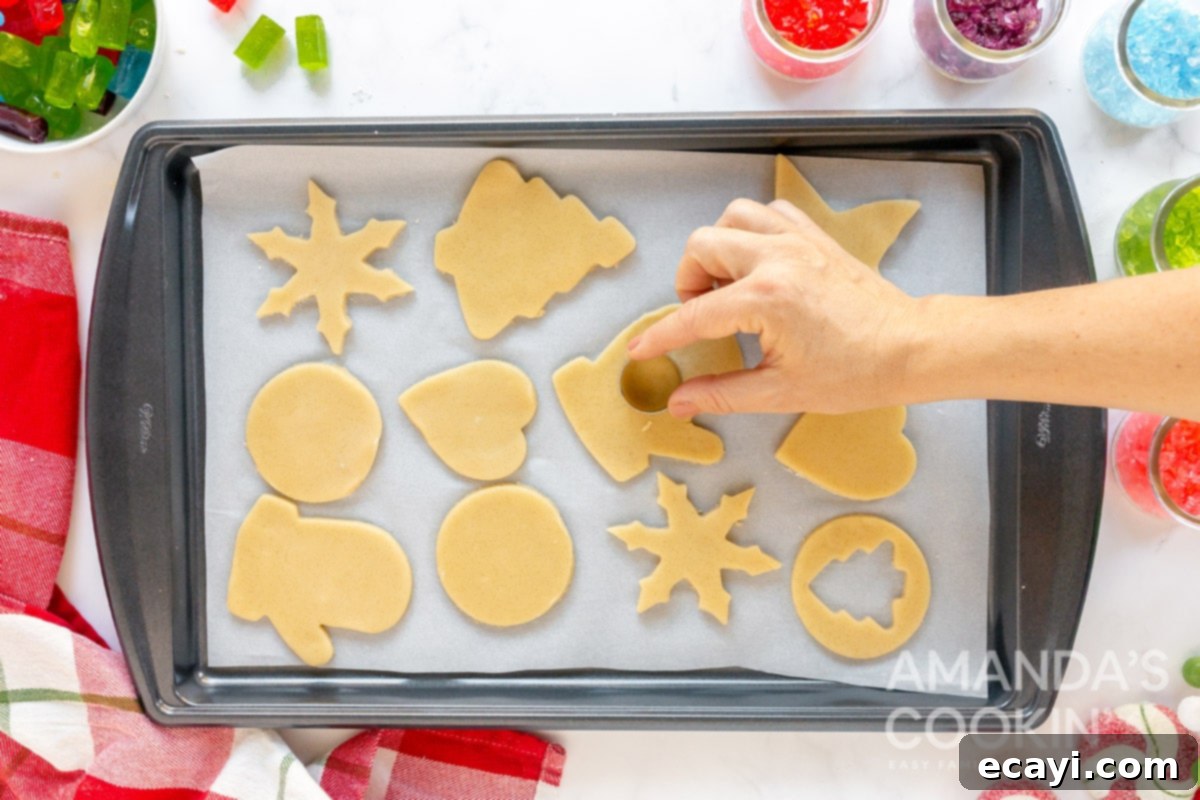
- **Create the “Windows”:** For each large cookie shape, use a smaller cookie cutter to cut out a piece from the center. Carefully remove these smaller dough pieces (you can re-roll and use the scraps to make more cookies!). This inner cutout is where your beautiful “stained glass” will form.

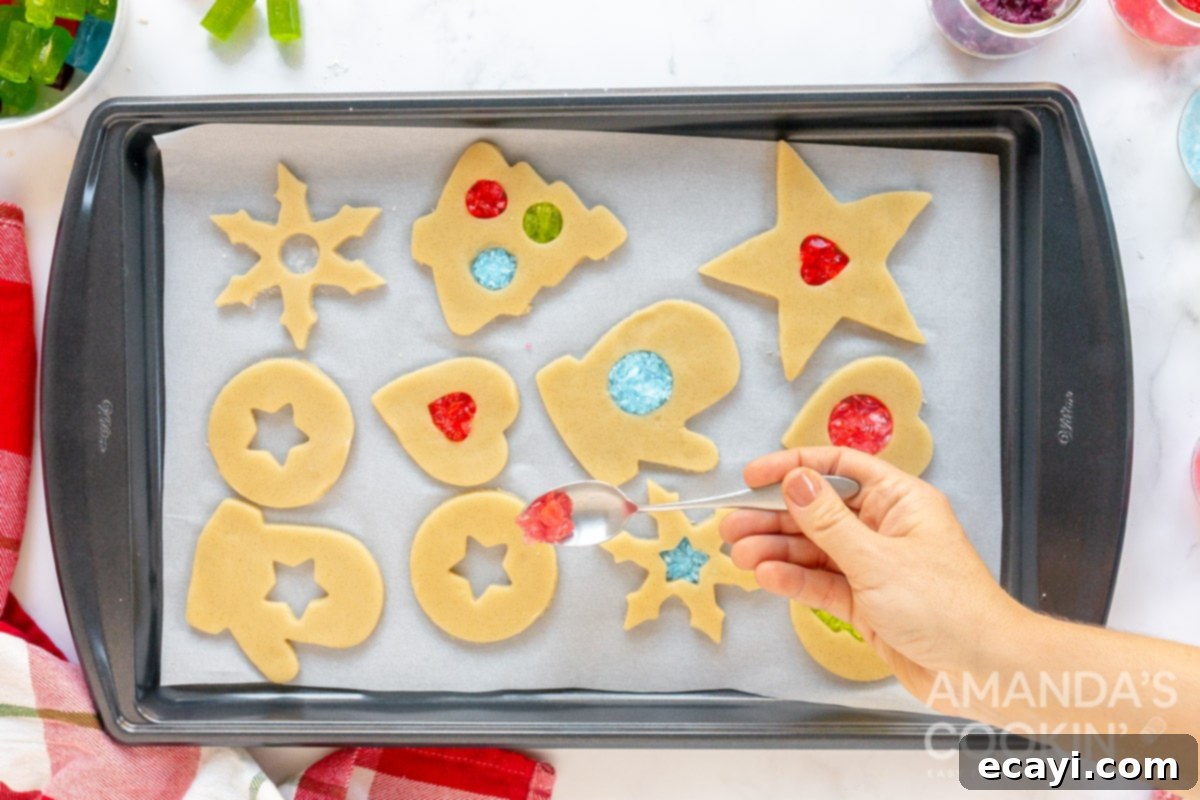
- **Fill with Crushed Candy:** Generously fill the cut-out centers of your cookies with the crushed candies. Fill them just below flush with the top of the cookie dough – don’t overfill, but ensure good coverage. Once filled, refrigerate the entire baking sheet of cookies for another 20 minutes to firm them up before baking. This helps maintain their shape and prevents the candy from melting too quickly.

- **Preheat Oven:** While the cookies are chilling, preheat your oven to 350 degrees F (175 degrees C). Proper oven temperature is vital for even baking and melting of the candy.
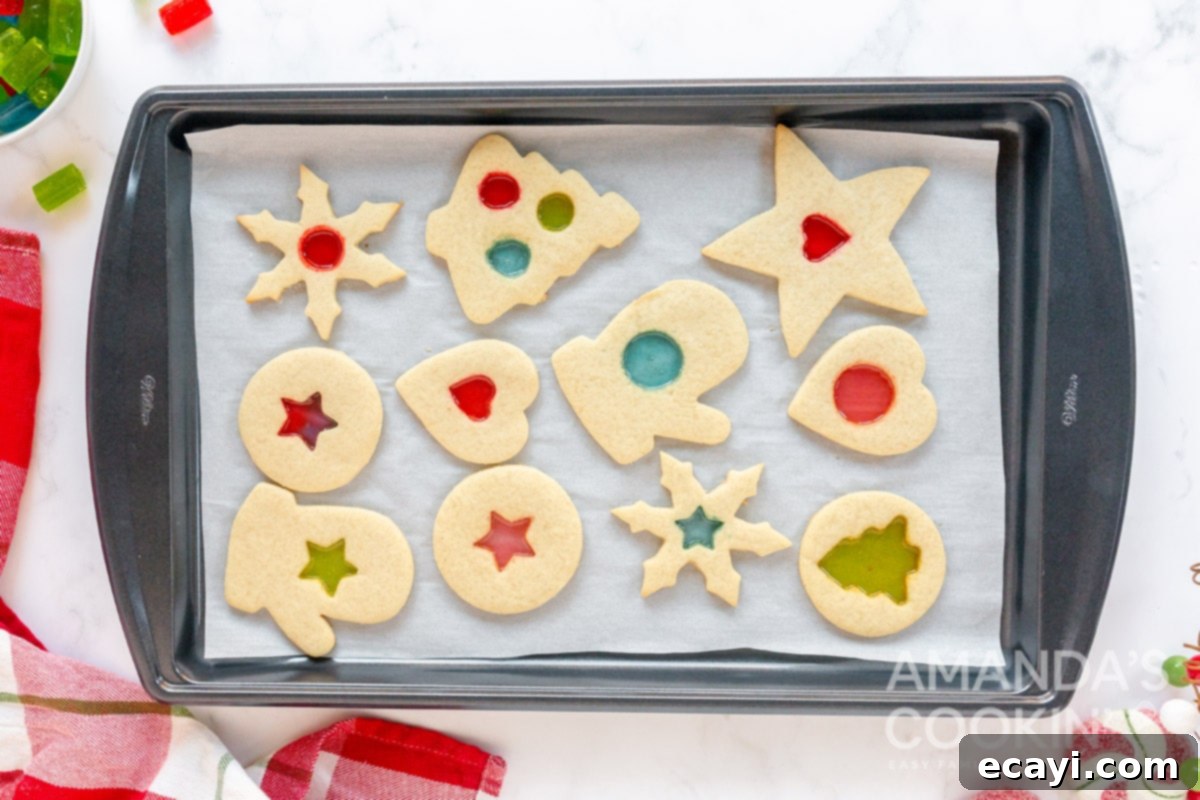
- **Bake to Perfection:** Bake the cookies in the preheated oven for approximately 10-13 minutes, or until the edges are very lightly golden brown and the crushed candies have fully melted into smooth, glassy centers. Keep a close eye on them, as baking times can vary slightly by oven.

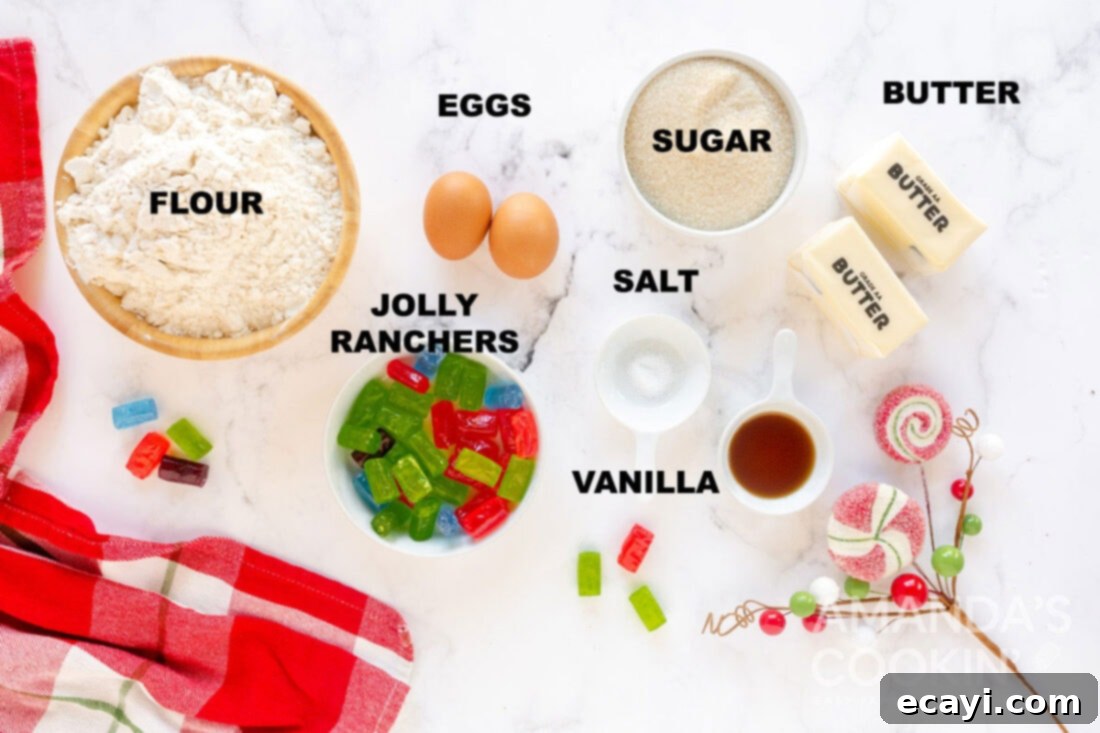
- **Cool and Harden:** Once baked, remove the baking sheet from the oven and allow the **stained glass cookies** to cool completely on the sheet. It is absolutely essential for the candy centers to cool and harden fully before attempting to move the cookies, otherwise, the delicate candy might crack or stick. This can take anywhere from 30 minutes to an hour, or even longer in a cooler room. Once cool, carefully transfer your beautiful **edible ornaments** to a wire rack.
Creative Cookie Shape Ideas for Your Stained Glass Creations
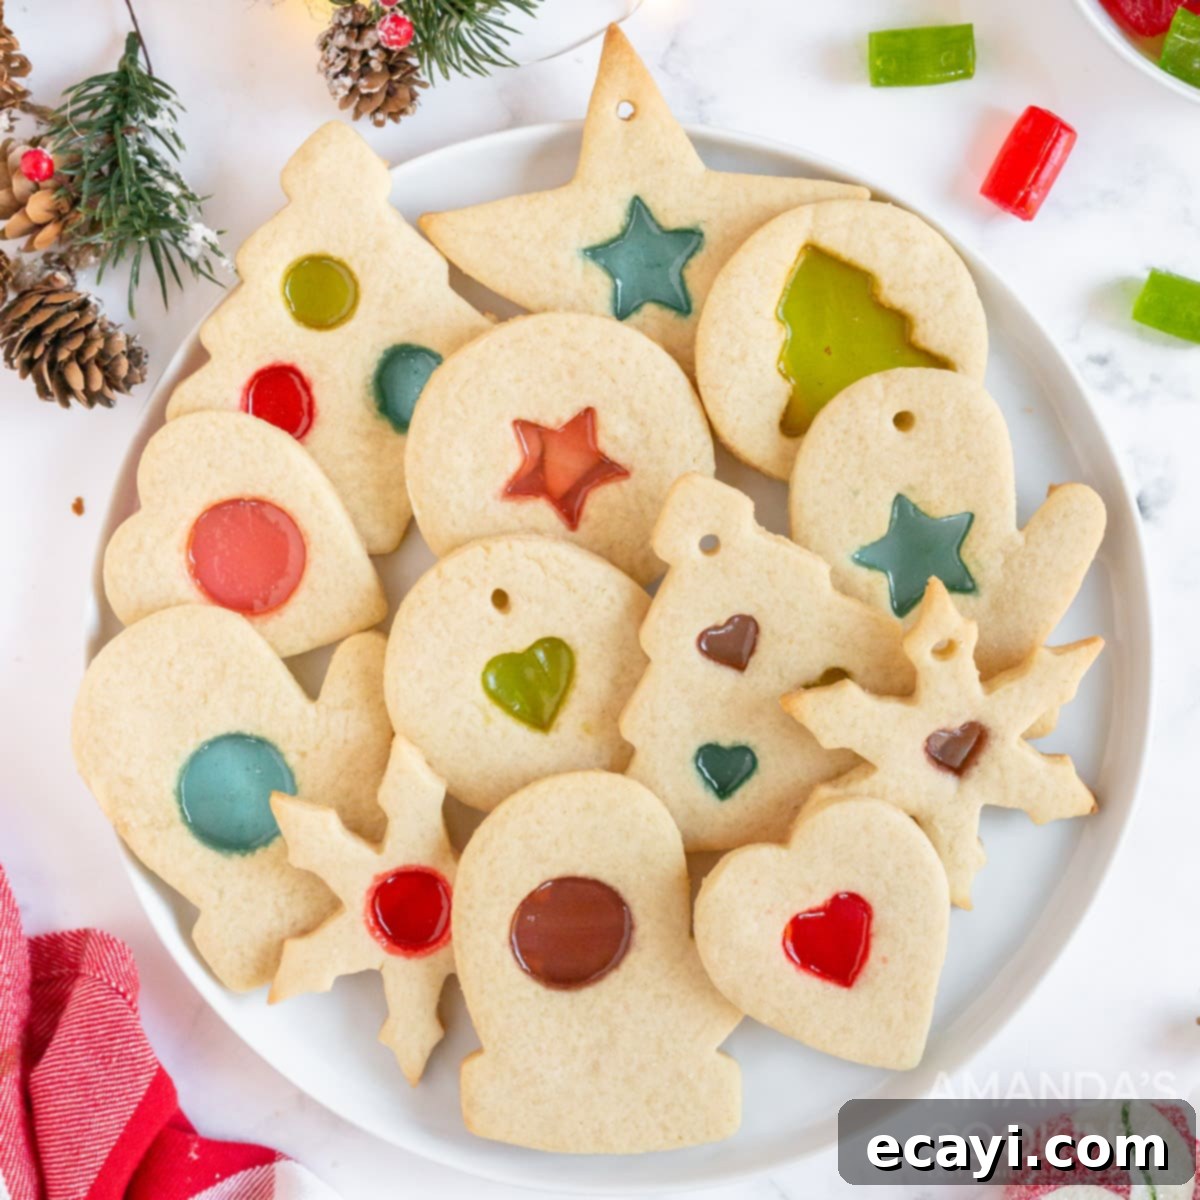
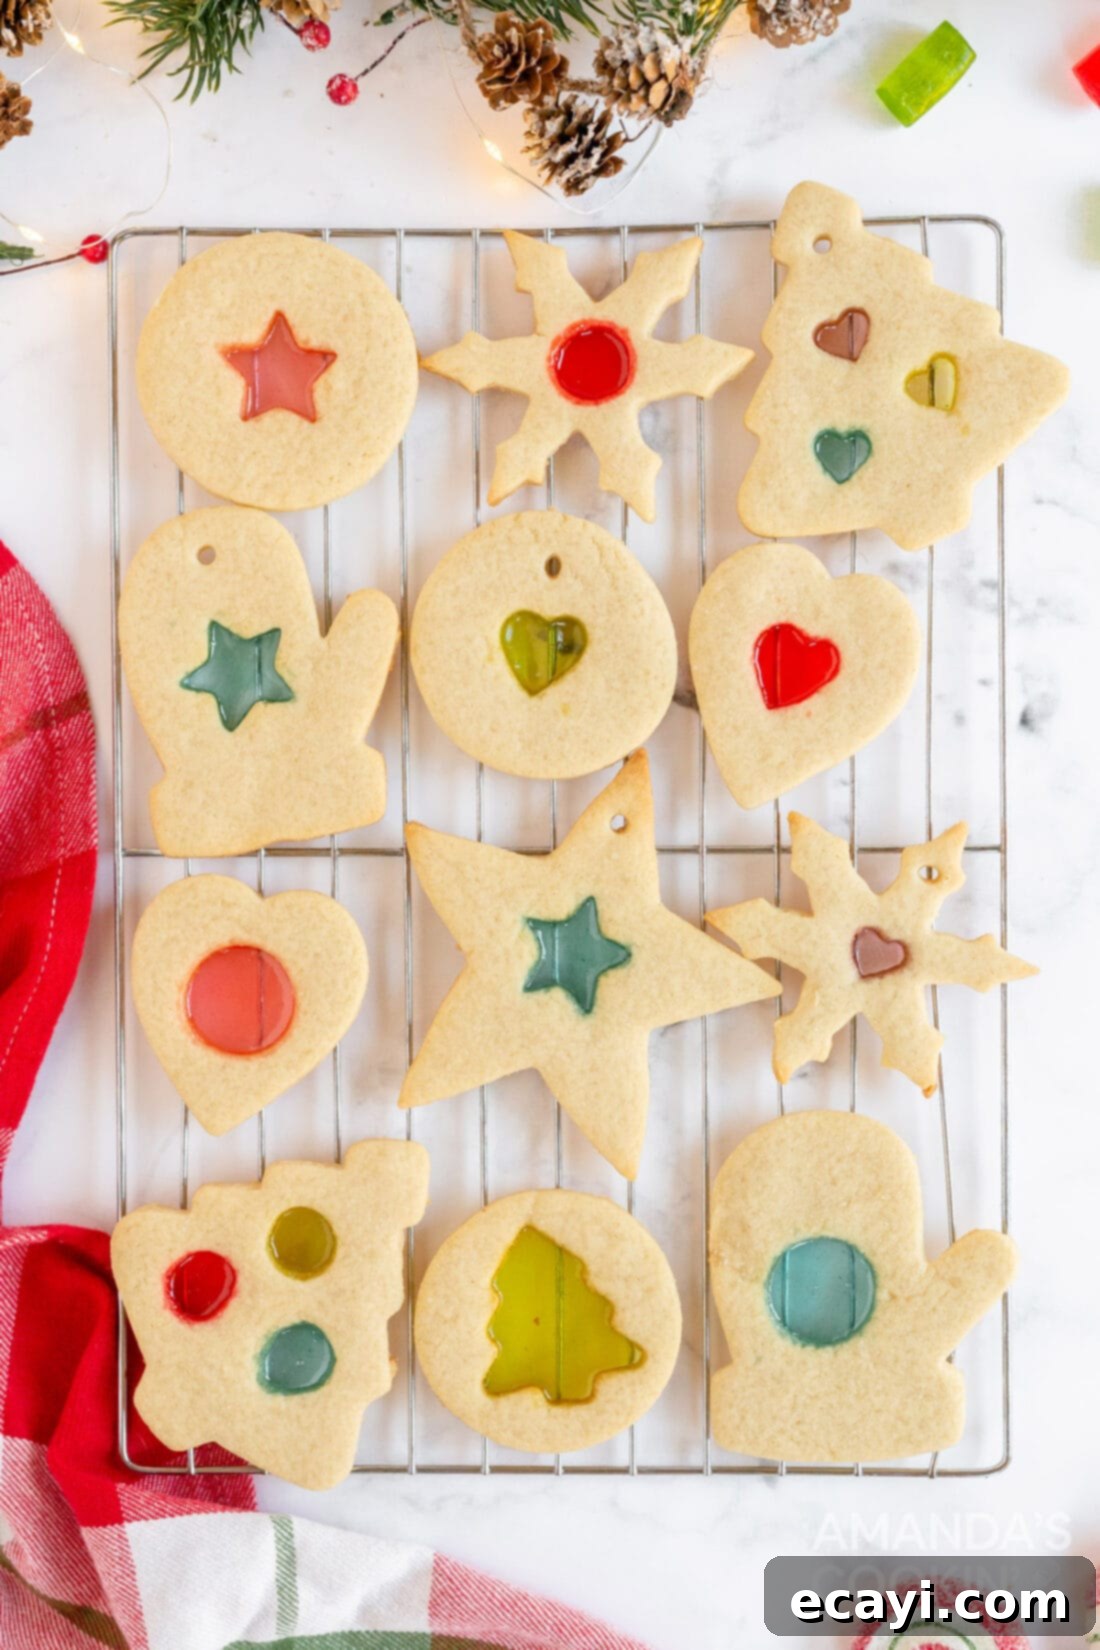
Part of the fun of making **stained glass cookies** is the endless creativity they allow. While traditional shapes are always charming, don’t hesitate to experiment with different combinations of cookie cutters to create unique and personalized **edible ornaments** and **holiday treats**. The key is to use a larger cookie cutter for the outer shape and a smaller one for the inner “window” where the candy will melt.
Think about the theme of your celebration – Christmas, winter, or just a general festive occasion. Here are some inspiring **cookie shape ideas** to get you started:
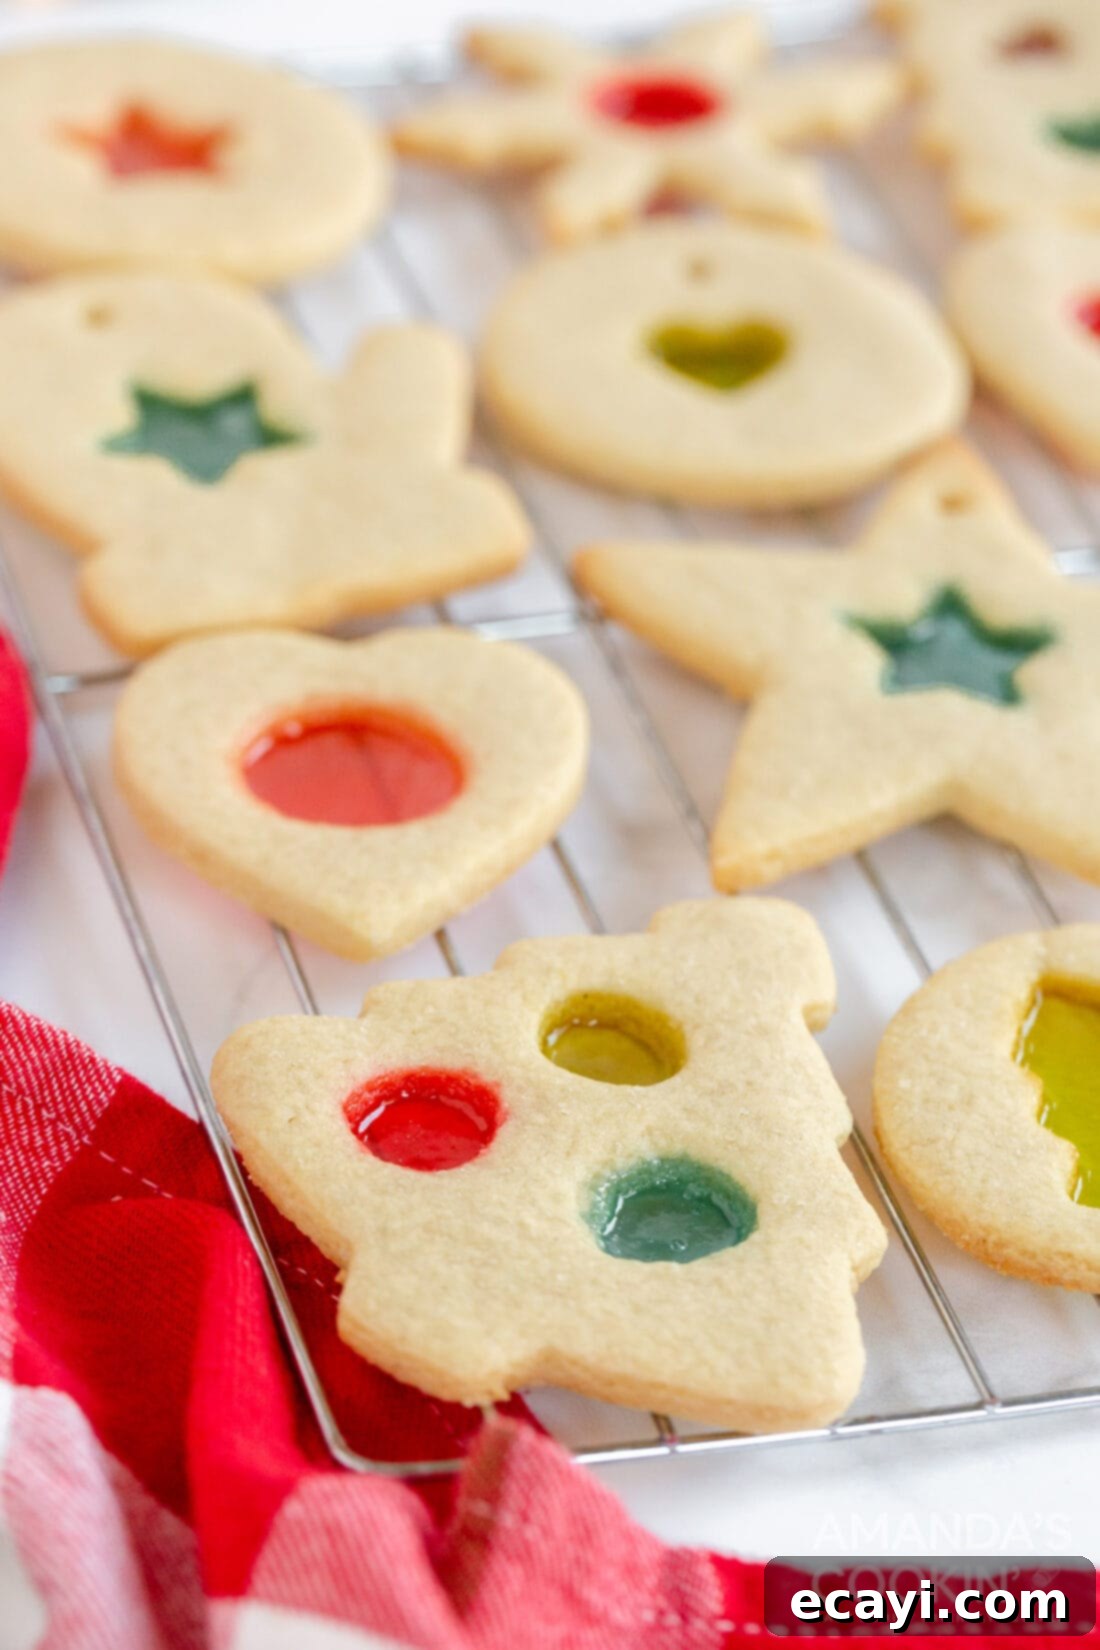
Classic and Festive Combinations:
- **Star within a Star:** A timeless choice, perfect for a shimmering celestial effect.
- **Large Circle, Small Christmas Tree:** A whimsical pairing that perfectly captures the holiday spirit.
- **Large Star, Small Heart:** Blends festive cheer with a touch of warmth and affection.
- **Large Mitten, Small Snowflake:** Ideal for a winter wonderland theme, celebrating the chilly season.
- **Large Heart, Small Circle:** A simple yet elegant design that works for any occasion, not just holidays.
- **Large Circle, Small Snowflake:** Another beautiful winter-themed option, showcasing delicate detail.
More Unique and Playful Ideas:
- **Gingerbread Man with a Tiny Heart:** Give your gingerbread cookies a colorful belly!
- **Christmas Tree with a Star:** A classic silhouette with a bright, shining candy star center.
- **Bell with a Smaller Circle:** Perfect for ringing in the holiday cheer.
- **Gift Box with a Square/Circle:** Create little edible presents with colorful windows.
- **Animal Shapes with Small Circles/Stars:** Imagine a reindeer with a glowing red nose or a bear with a sparkling belly!
Don’t be afraid to mix and match candy colors too! Use red and green candies for a traditional Christmas look, or blue and silver for a frosty winter theme. The possibilities are truly endless, allowing you to create a personalized batch of these **easy cookie recipe** delights every time you bake.
Frequently Asked Questions About Stained Glass Cookies
Here are some common questions and helpful answers to ensure your **stained glass cookie** baking experience is smooth and successful, allowing you to create perfect **edible ornaments** and **holiday treats** every time.
To maintain their freshness and crisp texture, store your **stained glass cookies** in an airtight container at room temperature for up to 3 days. For extended storage, they can be kept in the refrigerator for up to a week. For longer preservation, these beautiful **Christmas cookies** freeze wonderfully for up to 3 months. When freezing, layer them with parchment paper to prevent sticking and condensation damage to the candy centers.
For the best results, we highly recommend using **Jolly Ranchers hard candies**. They are known for their vibrant, clear colors and melt consistently without becoming cloudy or grainy. Other hard candies might work, but some can crystallize or become opaque, diminishing the “stained glass” effect. Avoid chewy candies or chocolates, as they won’t melt into a clear, solid pane.
There are a few reasons this might happen. Ensure your candies are crushed into small, relatively uniform pieces. If pieces are too large, they won’t melt evenly. Also, make sure your oven is preheated to the correct temperature (350°F / 175°C). An oven thermometer can help verify this. Finally, avoid opening the oven door too frequently during baking, as this can cause temperature fluctuations that interfere with the melting process. If the candy isn’t fully melted after the recommended time, you can bake for an additional 1-2 minutes, but watch closely to prevent the cookie dough from over-browning.
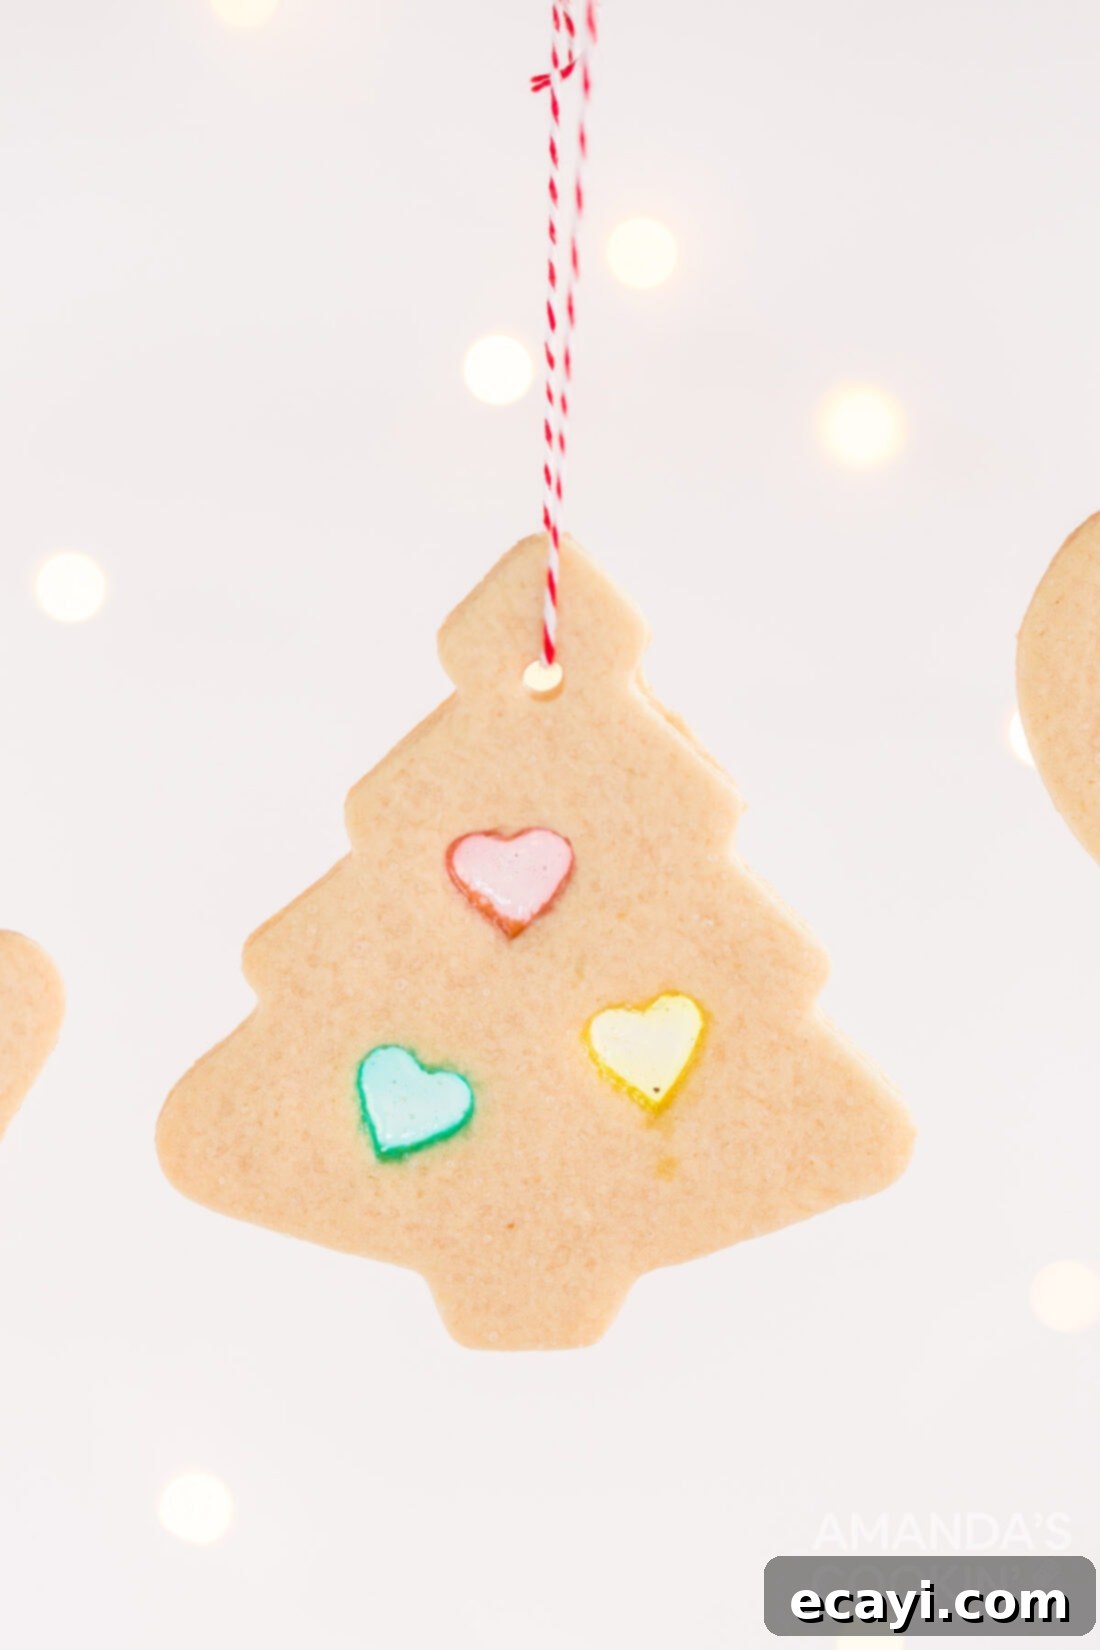
To transform your **stained glass cookies** into charming **edible ornaments**, simply use a skewer or a toothpick to poke a small hole near the top of each cookie *immediately after they come out of the oven*, while the cookie dough is still soft. Be gentle to avoid cracking the candy. Once the cookies are completely cooled and hardened, you can thread a festive ribbon or kitchen twine through the hole. These make for a truly unique and beautiful decoration that can be enjoyed throughout the holiday season (and eaten when you’re ready!).
While this recipe uses a reliable **sugar cookie base** that holds its shape well, you can experiment with other sturdy cutout cookie doughs. Look for recipes specifically designed for “cutout cookies” or “roll-and-cut cookies,” as these typically have less spread than drop cookies. Avoid recipes that are very soft or oily, as they might not hold the candy well or could spread excessively, distorting your beautiful **stained glass designs**.
Embrace the holiday spirit by making these delightful **stained glass cookies**! They are more than just a treat; they’re a wonderful way to create **happy childhood memories** and establish a heartwarming **holiday tradition** in your home, year after year.
More Delightful Cookie Recipes to Explore
If you’ve enjoyed baking these beautiful stained glass cookies, you’ll love exploring these other fantastic cookie recipes. Each one is perfect for different occasions and will surely satisfy your sweet tooth or inspire your next baking project!
- Hot Cocoa Cookies
- Neiman Marcus Cookies
- Eggnog Cookies
- Red Velvet Crinkle Cookies
- Italian Anisette Cookies
- Pecan Tassies
- Lofthouse Cookies
- Paintbrush Cookies
- Christmas Kiss Cookies
- Danish Butter Cookies
I love to bake and cook and share my kitchen experience with all of you! Remembering to come back each day can be tough, that’s why I offer a convenient newsletter every time a new recipe posts. Simply subscribe and start receiving your free daily recipes!
Stained Glass Cookies
IMPORTANT – There are often Frequently Asked Questions within the blog post that you may find helpful. Simply scroll back up to read them!
Print It
Pin It
Rate It
Save It
Saved!
Prevent your screen from going dark
Course:
Desserts
Cuisine:
American
36
cookies
28
minutes
119
Amanda Davis
Ingredients
-
½
cup
crushed Jolly Ranchers hard candies
about 20 pieces -
3
cups
all-purpose flour
plus more for dusting work surface -
¼
teaspoon
salt -
1
cup
unsalted butter
softened -
1
cup
granulated sugar -
2
large
eggs -
1 ½
teaspoon
vanilla extract
Things You’ll Need
-
Insulated baking sheets -
Silicone baking mat -
Meat mallet -
Hand mixer
Before You Begin
For example, a star inside a star.
Other ideas include:
- Large circle, small Christmas tree
- Large star, small heart
- Large mitten, small snowflake
- Large heart, small circle
- Large circle, small snowflake
Instructions
-
Line baking sheets with parchment silicone baking mats.
-
Sort Jolly Ranchers by color then place in separate sandwich bags. Use a rolling pin or meat mallet to crush the candy into small pieces. Set aside.
-
In a medium bowl, combine flour and salt, set aside.
-
In a separate medium bowl cream together butter and sugar until homogenous.
-
Add eggs to butter mixture one at a time, mixing until well combined. Mix in vanilla.
-
Slowly add flour mixture until dough forms and no traces of flour remain.
-
Wrap cookie dough in plastic wrap and and refrigerate for one hour.
-
Sprinkle flour on counter or large cutting board. Roll dough onto the floured surface to about 1/4-inch thick. Cut out as many large shapes as you can using cookie cutters.
-
Place cut shapes onto prepared baking sheet. Cut a smaller piece out of the center of each cookie and remove. You can roll out the scraps and use them for more cookies.
-
Add crushed candies to the cut-outs to just below flush with the top of the cookie. Refrigerate sheet of cookies for 20 minutes to firm up.
-
Preheat oven to 350 degrees F.
-
Bake until cookies are very lightly brown and crushed candies have melted, about 10-13 minutes.
-
Allows cookies to cool on baking sheet until candy centers have cooled and hardened.
Nutrition
Serving:
1
cookie
|
Calories:
119
cal
|
Carbohydrates:
16
g
|
Protein:
1
g
|
Fat:
5
g
|
Saturated Fat:
3
g
|
Cholesterol:
24
mg
|
Sodium:
21
mg
|
Potassium:
16
mg
|
Fiber:
1
g
|
Sugar:
7
g
|
Vitamin A:
173
IU
|
Calcium:
5
mg
|
Iron:
1
mg
Tried this Recipe? Pin it for Later!
Follow on Pinterest @AmandasCookin or tag #AmandasCookin!
The recipes on this blog are tested with a conventional gas oven and gas stovetop. It’s important to note that some ovens, especially as they age, can cook and bake inconsistently. Using an inexpensive oven thermometer can assure you that your oven is truly heating to the proper temperature. If you use a toaster oven or countertop oven, please keep in mind that they may not distribute heat the same as a conventional full sized oven and you may need to adjust your cooking/baking times. In the case of recipes made with a pressure cooker, air fryer, slow cooker, or other appliance, a link to the appliances we use is listed within each respective recipe. For baking recipes where measurements are given by weight, please note that results may not be the same if cups are used instead, and we can’t guarantee success with that method.
2020: 12 DAYS OF CHRISTMAS COOKIES
12 Christmas cookies you will love, PLUS bonus baking tips and TWO extra recipes you will not find on this blog! See ALL my cookbooks here!
Get the Christmas cookies cookbook! ONLY $9.97!!
