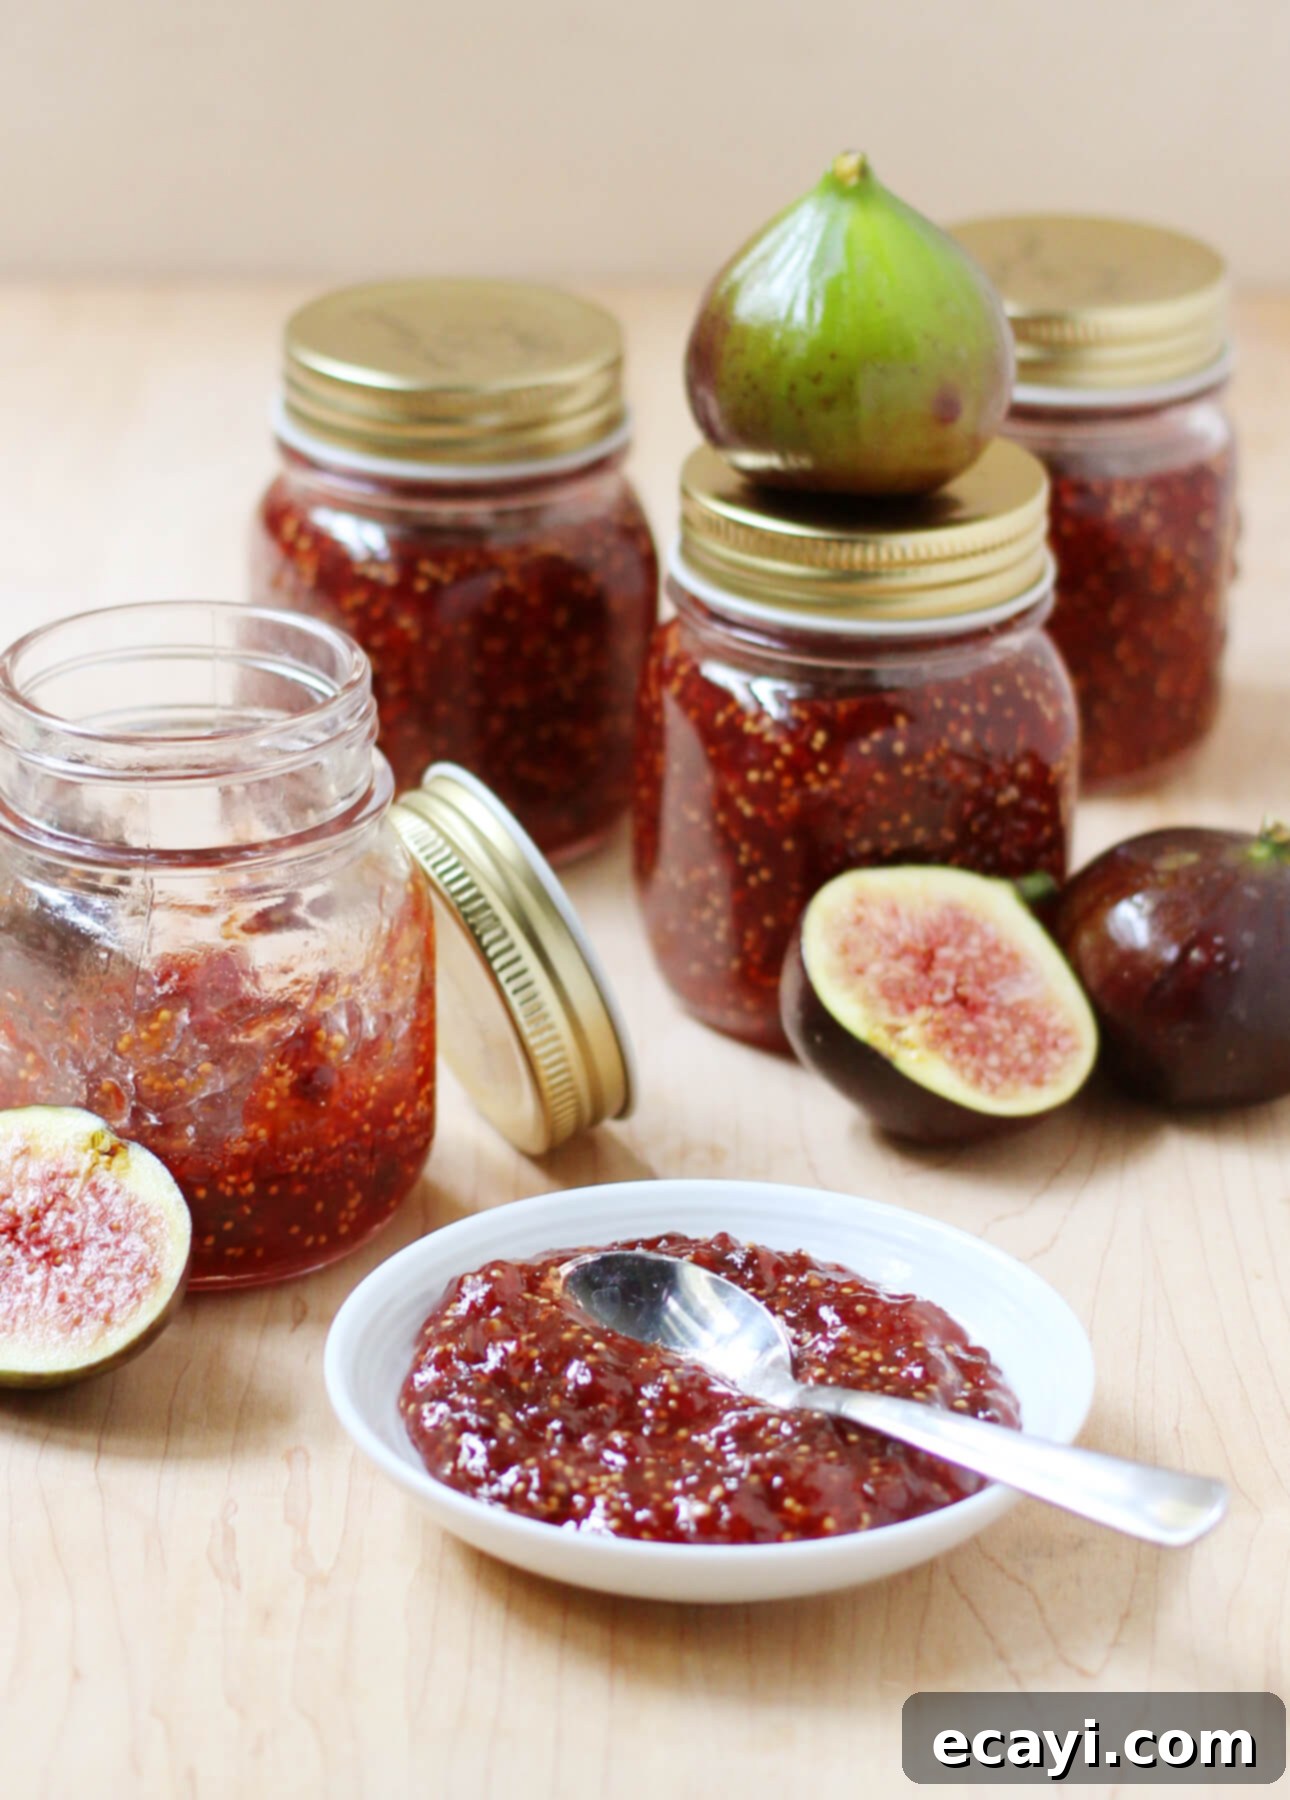
Homemade Balsamic Fig Jam: Sweet, Savory, and Simply Irresistible
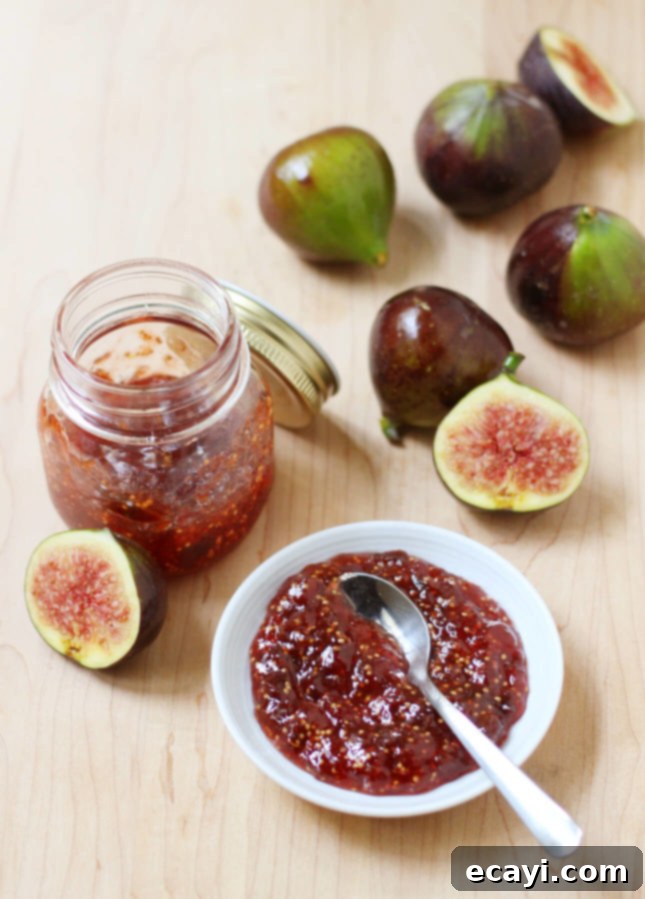
Elevate your culinary creations with this luxurious Balsamic Fig Jam. It effortlessly transforms ordinary breakfast spreads, enhances the allure of your baked goods, and crafts unforgettable savory bites. Beyond its incredible flavor, it also makes for a thoughtful and unique gift that will surely impress.
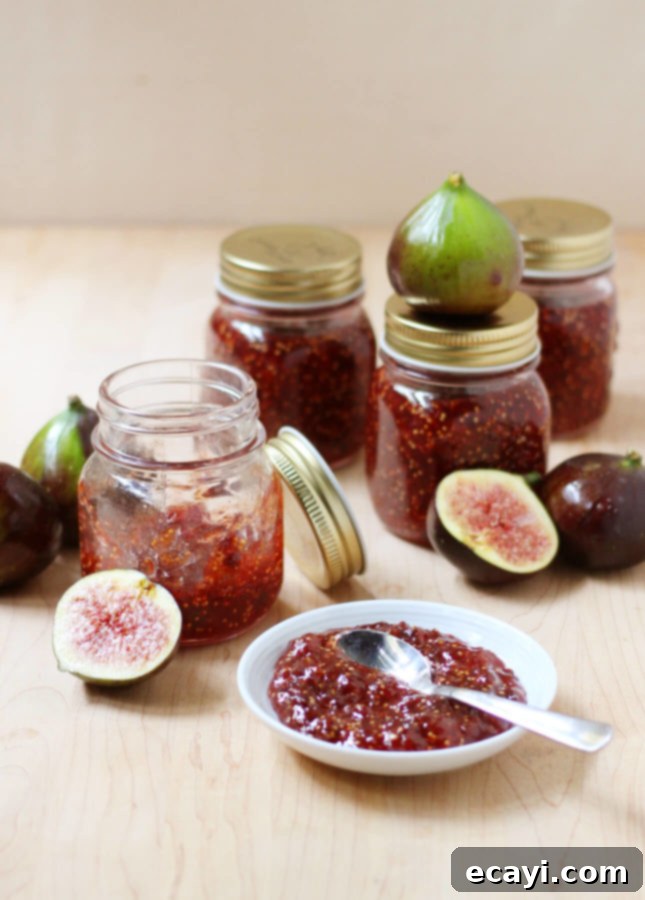
The Magic of Figs: From Orchard to Jam Jar
Fresh figs: a delightful dilemma. Their unique texture, honeyed sweetness, and mellow, earthy taste are truly captivating. Yet, finding that perfectly ripe, unblemished fresh fig can often feel like a quest. Much like many other delicate fruits, the subtle flavors of even slightly imperfect figs can be dramatically enhanced by a simple process: maceration in sugar. This short maceration period works wonders, awakening their dormant sweetness and preparing them for their next culinary adventure.
When I manage to get my hands on beautiful, ripe figs, I love using them in light salads, spooning them over creamy yogurt, or adding them to a hearty breakfast oatmeal. However, if I’m fortunate enough to discover a bountiful supply of figs at an irresistible price, my mind immediately turns to creating a truly special treat that no one can resist: Balsamic Fig Jam. This recipe isn’t just about preserving fruit; it’s about crafting a complex, flavorful condiment that boasts both sweet and savory versatility, making it a staple in any gourmet pantry.
This exquisite jam harnesses the natural sweetness of figs and perfectly balances it with the tangy, rich notes of balsamic vinegar. The result is a sophisticated spread that transcends the typical fruit jam, offering an unexpected depth of flavor that is truly remarkable. It’s a delightful way to capture the essence of peak fig season, allowing you to enjoy their unique taste long after the harvest has passed.
Crafting Perfection: The Three-Step Process for Balsamic Fig Jam
Creating this magnificent Balsamic Fig Jam is a rewarding experience, broken down into three simple yet crucial steps, each designed to build layers of flavor and achieve that ideal jammy consistency:
- Fruit Maceration: Awakening the fig’s natural juices.
- First Boil and Overnight Rest: Softening and deepening the fruit’s essence.
- Second Boil and Preservation: Achieving the perfect jam texture and ensuring long-term enjoyment.
Step 1: Fruit Maceration – Unlocking the Fig’s Potential
The initial step, fruit maceration, is fundamental to the success of this jam. By gently tossing the diced figs with a portion of sugar and allowing them to rest, the figs begin to “loosen up” and naturally release their succulent juices. This process is especially beneficial if your figs aren’t perfectly ripe or show minor imperfections. Maceration helps to draw out and concentrate their subtle, honeyed flavors, ensuring a vibrant and rich taste in the final product. It also initiates the osmotic process, preparing the fruit to absorb the sugar, which is essential for both flavor development and preservation.
Step 2: The First Boil and Overnight Rest – Developing Depth and Texture
Following maceration, the figs undergo a first boil, which begins to soften their skins and flesh. This initial heat treatment, combined with an extended overnight rest, is key to transforming the fruit. During this resting period, the figs continue to absorb the sugar syrup, becoming tender and translucent. This crucial step is what allows the fig pieces to develop a beautiful, glassy appearance and a wonderfully “jammy” texture in the final stage. It’s a testament to patience, as the flavors meld and deepen, setting the stage for the ultimate jam experience.
Step 3: The Second Boil and Preservation – Achieving Jam Perfection
The final step, the second boil, is where all the magic culminates. The concoction is brought back to a boil, and with the addition of fresh lemon juice and premium balsamic vinegar, it slowly transforms into a proper, dreamy jam. Lemon juice not only adds a bright counterpoint to the sweetness but also provides pectin, which helps the jam set. The balsamic vinegar intensifies the fig flavor, adding a sophisticated, slightly tangy depth that elevates this jam far beyond the ordinary. You’ll boil it until it reaches that perfect consistency, ready to be carefully jarred and preserved using standard canning methods. For those new to canning, specific instructions for sterilizing jars and lids are provided in the recipe notes to ensure safety and longevity.
I find great satisfaction in dividing this luscious jam among smaller jars. Not only are these miniature portions ideal for thoughtful gifting, but their compact size also encourages quick consumption once opened. This means you’re less likely to be left with a half-empty jar languishing in the back of your refrigerator, ensuring every spoonful is enjoyed at its freshest.
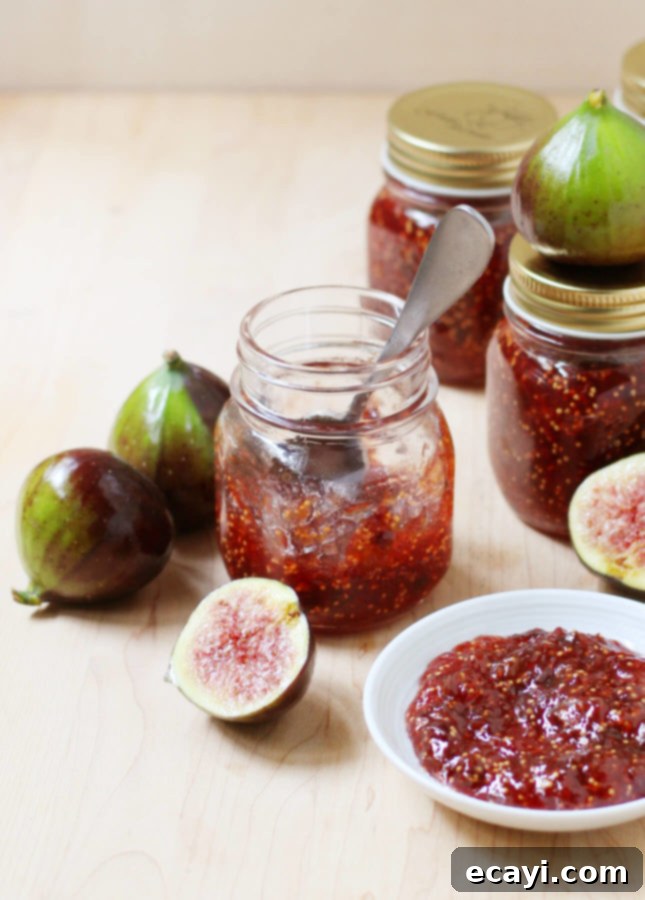
Beyond Breakfast: The Endless Versatility of Balsamic Fig Jam
This Balsamic Fig Jam is truly a culinary chameleon. Its rich, complex flavor profile makes it incredibly versatile, suitable for both sweet and savory applications that will delight your palate.
Sweet Indulgences
Of course, the classic pairing with flaky croissants, fresh artisanal bread, or toasted brioche for a luxurious breakfast or brunch is always a winner. But don’t stop there! Consider these creative sweet applications:
- Baking Brilliance: Spread a thin, flavorful layer over the bottom of a pie crust before adding your filling – it’s an excellent flavor enhancer for a frangipane tart, adding a gourmet twist.
- Pastry Perfection: Dollop it generously over financiers, muffins, or scones, offering a more sophisticated alternative to fresh fruit.
- Dessert Dream: Spoon it warm or chilled over creamy vanilla bean gelato, classic ice cream, or panna cotta for an instant gourmet dessert.
- Cake Layers: Use it as a delectable filling between cake layers, especially with almond or spice cakes, to add moisture and a burst of exquisite fig flavor.
Savory Sensations
However, it would be a missed opportunity to limit this jam to only sweet options. The star ingredient, balsamic vinegar, isn’t just for sweetness; it intensifies the natural taste of the figs, making this Balsamic Fig Jam an exceptional partner for savory dishes. Think of it as a sophisticated chutney or a rich onion confit. Here are some inspiring savory uses:
- Cheese Board Essential: Spoon it alongside a selection of fine cheeses, particularly hard cheeses like Pecorino Romano or aged Gouda, or creamy goat cheese and pungent blue cheese. It provides a sweet and tangy counterpoint that elevates the entire cheese experience.
- Charcuterie Companion: Serve it as an elegant accompaniment to cured meats, cold cuts, or patés, adding a touch of gourmet flair to your charcuterie board.
- Gourmet Crostini: Use it as a base for crostini topped with goat cheese or blue cheese, garnished with fresh herbs.
- Pizza Topping: A surprisingly delicious addition to savory pizzas, especially those with prosciutto, arugula, or caramelized onions.
- Roasted Meats Condiment: Offer it as a unique condiment for roasted pork, tender chicken, or succulent turkey. Its rich, tangy-sweet profile cuts through the richness of the meat beautifully.
- Sandwich Upgrade: A thin layer in a grilled cheese sandwich with sharp cheddar or a turkey club can introduce an unexpected layer of flavor.
Embrace Fig Season: Make and Gift this Delight!
Keep a keen eye out for fresh figs as fall approaches. During their peak season, many grocery stores will sell them by the case, offering an excellent opportunity to stock up. Buying a larger quantity means you can dedicate a generous portion to crafting this magnificent jam, while still having some left over to enjoy fresh. If you’re fortunate enough to reside near fig orchards, or even cultivate a fig tree in your own backyard, seize the chance to double or even triple this recipe. Imagining the joy of gifting this delightful Balsamic Fig Jam throughout the holiday season, or simply having a well-stocked pantry of gourmet goodness, is truly inspiring!
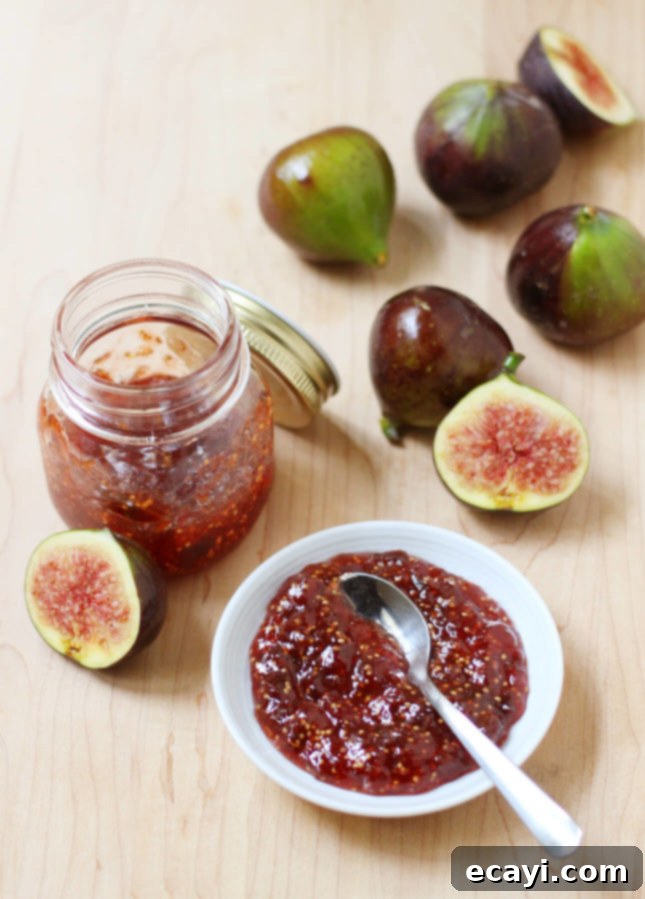
Pin Recipe
Balsamic Fig Jam
Ingredients
- 1 1/4 lb (600 grams) ripe figs, cut into small dice (approximately 1/4-inch pieces)
- 2 cups (500 ml) cane sugar, or regular granulated sugar, divided
- 2 tbsp (30 ml) freshly squeezed, strained lemon juice (from about 1/2 lemon)
- 1 tbsp (15 ml) top-quality balsamic vinegar
Instructions
-
In a large measuring cup or a heatproof bowl, combine the diced figs with half of the sugar (1 cup/250 ml). Toss gently to ensure the figs are evenly coated. Cover the bowl tightly with plastic wrap and refrigerate for at least 1 hour. This maceration step allows the figs to release their juices, enhancing their flavor and preparing them for cooking.
-
Transfer the fig and sugar mixture into a small stainless steel saucepan. Ensure the mixture fills the saucepan about halfway up its sides. Place the saucepan over medium heat and bring the mixture to a gentle boil, stirring occasionally with a silicone spatula to prevent sticking. Once boiling, remove the saucepan from the heat and carefully transfer the mixture back to the measuring cup or heatproof bowl. Cover it again with plastic wrap, allow it to cool completely to room temperature, and then refrigerate overnight. This resting period is crucial for softening the fig skins and developing a deeper flavor.
-
If you intend to preserve the jam for longer than two weeks, it is essential to sterilize your jam jars and lids properly. (Refer to the detailed instructions in the “Notes” section below for guidance on sterilization.) For jam that will be consumed within two weeks, simply ensure your jars and lids are meticulously clean. Wash them thoroughly in hot, soapy water and allow them to air dry completely, or run them through a “sterilization” cycle in your dishwasher.
-
The next day, transfer the fig and sugar mixture back into the saucepan. Keep a skimmer or a slotted spoon readily accessible near the stove, along with a small plate placed in the refrigerator (for testing doneness). Set the saucepan over medium heat and bring the fruit mixture back to a boil, stirring occasionally with your silicone spatula. Stir in the remaining sugar, the freshly squeezed lemon juice, and the high-quality balsamic vinegar. Continue to boil, stirring frequently, until the mixture thickens to a jam-like consistency but isn’t overly concentrated. This typically takes about 10 minutes. Throughout this boiling process, use the skimmer to remove any foam that rises to the surface, dipping the spoon into a bowl of water to clean off the foam between skims.
-
To accurately test for doneness, retrieve the chilled plate from the refrigerator. Place a small spoonful of hot jam onto it. Wait approximately 20 seconds, then gently tilt the plate. A properly set fig jam should run very slowly, indicating it has reached the desired consistency. If it appears too runny, continue to boil for a few more minutes, re-testing until it’s just right. Remember, the jam will thicken further as it cools, so avoid overcooking; you want the finished product to remain wonderfully spreadable.
-
Once the jam is ready, carefully fill the clean, hot jars with the hot jam, leaving approximately 1/4 inch (a little over 0.5 cm) of headspace at the top. This space is crucial for proper sealing. Using a clean paper towel dampened with hot water, meticulously wipe the sealing surface (rim) of each jar to remove any traces of jelly, jam, or sugar crystals, as these can interfere with a proper seal. Securely place clean lids onto the jars and tighten the screw bands until finger-tight.
-
For long-term storage and preservation, proceed to process the filled jars according to the water bath canning instructions provided below in the “Notes” section. If you plan to consume the jam within two weeks and are not preserving it, simply allow the filled jars to cool completely to room temperature before refrigerating. Unsterilized fig jam and opened jars will maintain their freshness and quality in the refrigerator for up to 2 weeks.
-
Recipe Credit: Adapted from an inspiring recipe by Martha Rose Shulman, originally published in The New York Times.
Notes
To Sterilize Empty Jars: Begin by thoroughly washing your jars and lids in hot, soapy water and rinsing them completely. Next, carefully transfer the clean jars to a boiling water bath canner. Ensure the water covers the jars by at least 1 inch (2 cm). Bring the water to a rolling boil and process the empty jars for 10 minutes. Keep the jars and lids immersed in the hot water until you are ready to fill them, removing and draining them one at a time to maintain their warmth and sterility. (Do not discard this hot water; you will use it for processing the filled jars.) Carefully fill the hot, sterilized jars with the hot jam, maintaining a 1/4 inch (a little over 0.5 cm) headspace at the top. Immediately after filling, wipe the sealing surface (rim) of each jar with a clean paper towel dampened with hot water. This removes any stray jam or sugar crystals that could interfere with a proper seal. Place clean, hot lids on the jars and tighten the screw bands until they are finger-tight (firm but not overtightened).
Using a jar lifter, carefully return the filled jars to the hot water bath canner, making sure they do not touch each other and that the water once again covers the jars by at least 1 inch (2 cm). Bring the water back to a simmer. Once simmering, set a timer for 10 minutes. Please note that processing times can vary based on your altitude. For accurate guidance, refer to this comprehensive guide from the National Center for Home Food Preservation to determine the correct processing time for your specific location.
After the processing time is complete, use your jar lifter to carefully remove the jars from the hot water. Place them upright directly onto a clean towel or a wire cake cooling rack, ensuring there is at least one inch of space between each jar. This allows for even cooling. It is crucial to avoid placing hot jars on a cold surface or in a cold draft, as this can cause thermal shock and potentially crack the jars. Allow the jars to cool undisturbed for 12 to 24 hours. During this cooling period, a vacuum seal will form, and the jam will fully set. You’ll often hear a satisfying “ping!” as the lids seal. Once completely cooled, check the seals: the center of each lid should be concave and not flex when pressed. Store your properly sealed jam in a cool, dark place, away from direct sunlight, until you’re ready to enjoy its exquisite flavor.
This vital preservation information has been adapted from the expert resources provided by the National Center for Home Food Preservation. For additional in-depth information and comprehensive preserving advice, please consult their official website.
Did you make this?
Tell me how you liked it! Leave a comment below or share a picture and tag it with @foodnouveau on Instagram. I’d love to see your creations!
This site is a participant in the Amazon Associates Program, an affiliate advertising program designed to provide a means for the site to earn fees by linking to Amazon and affiliated sites.
If you click on an affiliate link within this article, I may earn advertising or referral fees if you make a purchase through such links. Rest assured, this comes at no extra cost to you. Your support helps me to continue creating new, high-quality content for the blog – so thank you sincerely! You can learn more about advertising and our policies on this site by reading my comprehensive Disclosure Policy.
