Authentic & Easy Homemade Shrimp Pad Thai Recipe: Your Go-To Weeknight Takeout!
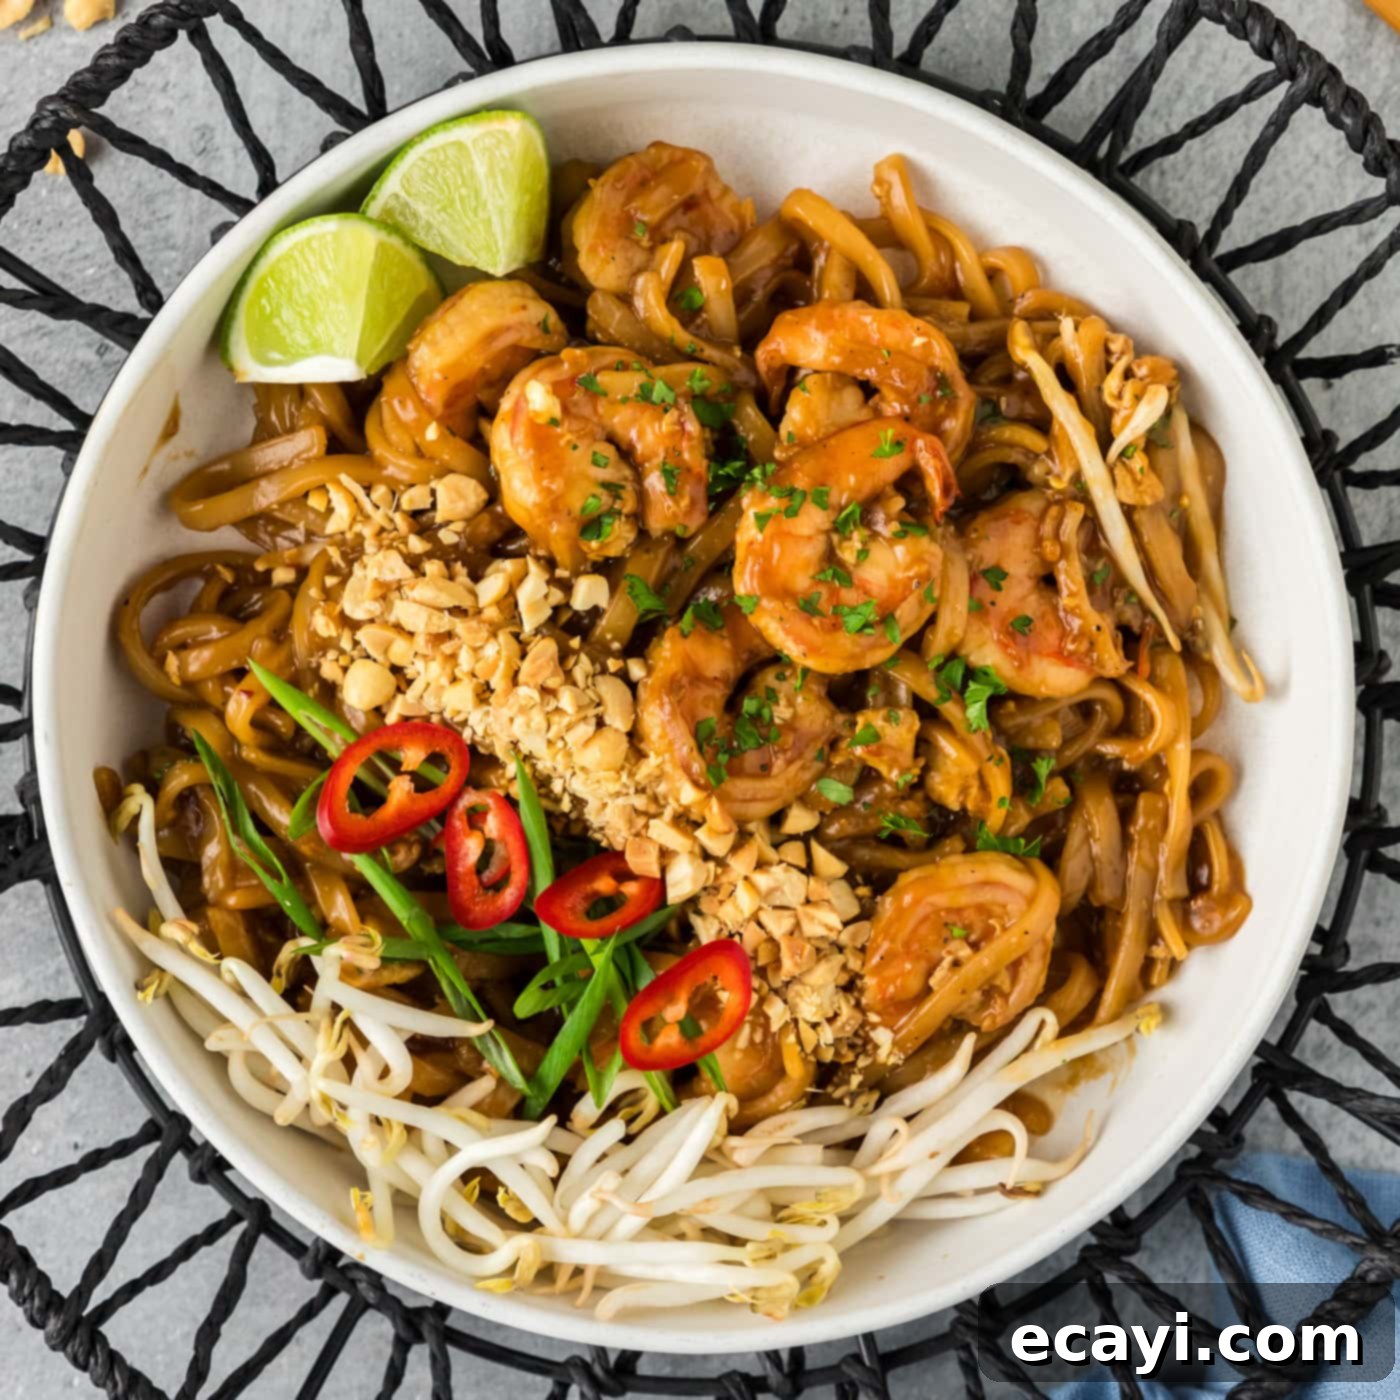
Shrimp Pad Thai is a globally beloved Thai classic, a harmonious blend of tender rice noodles, succulent shrimp, and a perfectly balanced sweet, sour, salty, and umami-rich sauce. This iconic stir-fry dish is renowned for its vibrant flavors and satisfying textures. Imagine recreating that authentic restaurant experience in your own kitchen, but with the added benefits of freshness, customization, and the sheer joy of a homemade meal. Our recipe makes it incredibly easy to whip up this delicious takeout favorite right at home, proving that some things truly taste better when made from scratch.
Why This Easy Shrimp Pad Thai Recipe is a Must-Try
This particular Shrimp Pad Thai recipe stands out for several compelling reasons, making it an ideal choice for both seasoned home cooks and culinary beginners alike. It begins with a dynamic flavor explosion, primarily thanks to our carefully crafted, Thai-inspired sauce. Unlike many store-bought alternatives, this homemade sauce strikes the perfect balance of sweet, tangy, and savory notes, delivering an authentic umami kick that truly elevates the dish. When combined with plump, juicy shrimp and perfectly cooked flat rice noodles, you’re not just making dinner – you’re bringing the exquisite flavors of your favorite Thai restaurant directly to your dining table.
One of the biggest advantages of this recipe is its incredible speed and efficiency. Shrimp is a quick-cooking protein, meaning you won’t spend hours hovering over the stove. With minimal labor and a streamlined cooking process, this delightful dish can be prepped, cooked, and served in a flash, making it an absolute lifesaver for busy weeknights. No more long waits or expensive delivery fees; restaurant-quality Pad Thai is now achievable whenever the craving strikes. We particularly love to enhance this meal by serving it alongside crispy homemade vegetable spring rolls for a complete and satisfying Asian-inspired feast!
Beyond its speed and deliciousness, this recipe offers the undeniable benefit of fresh ingredients. By preparing Pad Thai at home, you have complete control over the quality and sourcing of your components, ensuring a healthier and more flavorful outcome. You can adjust the spice level to your preference, add extra vegetables, or even swap out the protein. This flexibility makes it a truly versatile and family-friendly meal that caters to various tastes and dietary needs. Say goodbye to soggy takeout and hello to vibrant, fresh, and irresistibly tasty homemade Shrimp Pad Thai.
Essential Ingredients for Your Homemade Shrimp Pad Thai
To embark on your culinary journey to a delicious homemade Shrimp Pad Thai, having all your ingredients prepped and ready (a technique known as “mise en place”) is crucial for the fast-paced nature of stir-frying. Below, we’ve outlined the key components you’ll need. For specific measurements, a detailed list, and step-by-step instructions, please refer to the printable recipe card located at the very end of this post.
The beauty of Pad Thai lies in the harmony of its flavors, and each ingredient plays a vital role in achieving that signature taste. From the fresh, succulent shrimp to the distinctive flat rice noodles and the complex, savory sauce, every element contributes to the overall culinary experience. Gathering these items before you start cooking will ensure a smooth and enjoyable preparation process, allowing you to focus on the cooking technique and the exciting transformation of simple ingredients into an extraordinary dish.
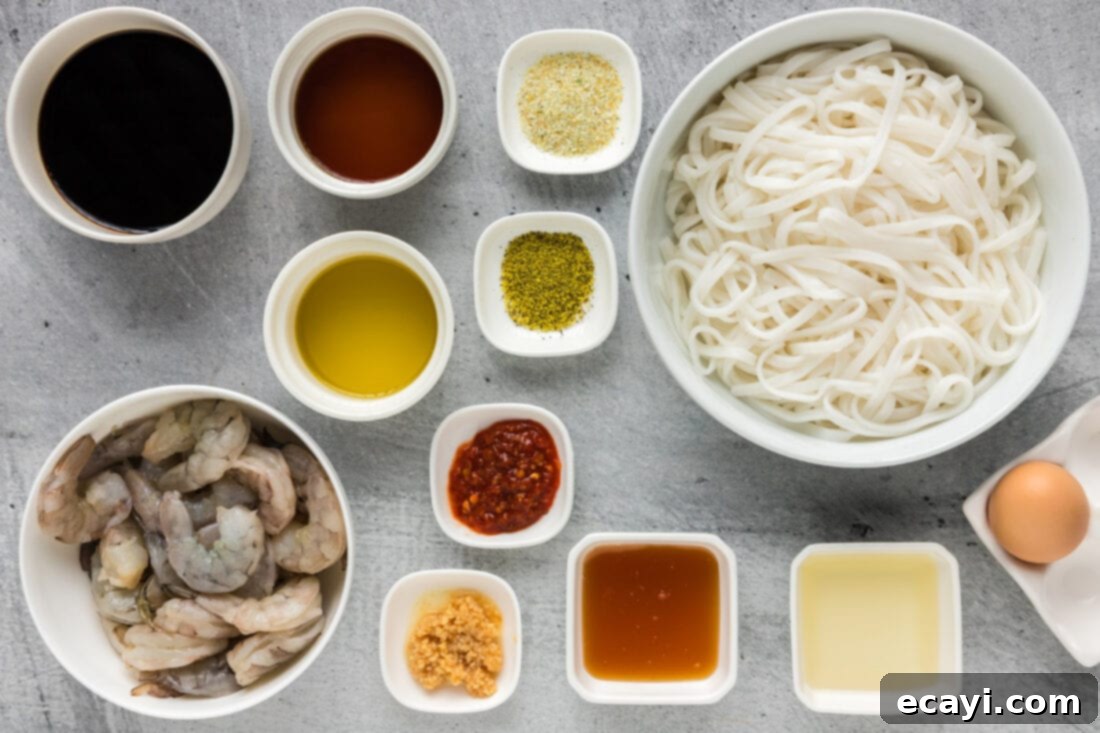
Ingredient Spotlight & Smart Swaps for Your Pad Thai
Understanding each ingredient’s role and knowing possible substitutions can empower you to create the best Pad Thai for your taste and pantry. Let’s dive deeper into the core components:
SHRIMP: The star protein of this dish! You can use either fresh or frozen shrimp, but ensure they are raw, peeled, and deveined. For the best texture and flavor, I highly recommend avoiding precooked shrimp for this recipe, as they tend to become rubbery when stir-fried a second time. If using frozen shrimp, it’s essential to thaw them completely first. You can do this by placing them in the refrigerator overnight or by running them under cold water for about 15-20 minutes. Once thawed, pat them thoroughly dry with paper towels to ensure they sear nicely and don’t steam in the pan. This step is crucial for achieving that perfect, succulent texture. If shrimp isn’t your preference, feel free to substitute with thinly sliced chicken, firm tofu cubes, or even a mix of vegetables like broccoli florets and bell peppers for a vegetarian option. Simply adjust cooking times accordingly.
NOODLES: For an authentic Pad Thai experience, thin, flat rice noodles (often labeled as “rice stick noodles” or “Pad Thai noodles”) are non-negotiable. These delicate noodles absorb the sauce beautifully and provide the characteristic chewy texture of the dish. It’s vital to prepare them according to package instructions, which usually involves soaking in hot water rather than boiling. Overcooked noodles can become mushy and clumpy, while undercooked ones will be too hard. A perfect noodle is pliable and al dente. Look for brands that specify “thin” or “medium-thin” for the best results. If you can’t find these, wider rice noodles can work, but they might change the dish’s overall feel.
PAD THAI SAUCE: The heart and soul of any Pad Thai lies in its sauce, which needs to hit all four flavor notes: sweet, sour, salty, and spicy. Our homemade sauce offers a fantastic balance that’s easy to achieve. We’ve opted for a mixture of honey and rice vinegar to provide the essential sweetness and tanginess. This combination works wonderfully, especially since traditional tamarind paste can sometimes be a bit tricky to locate in regular grocery stores. However, if you are lucky enough to find tamarind paste (often available in Asian markets), you can definitely use it for a more authentic flavor profile. To substitute, omit the rice vinegar and honey, and start with 2 tablespoons of tamarind paste. Taste the sauce, and adjust as needed, adding more paste for sourness or a touch of honey if you desire a sweeter finish. Don’t forget the low-sodium soy sauce for saltiness and umami, and fish sauce, which is absolutely crucial for that unmistakable authentic Thai depth of flavor. A good quality fish sauce should be clear and amber-colored. Finally, the Asian chili garlic sauce adds a pleasant heat, which you can increase or decrease to your liking.
OTHER KEY INGREDIENTS:
- Garlic: Freshly minced garlic is indispensable for building a robust flavor base.
- Egg: A scrambled egg cooked directly in the pan adds richness and a lovely textural element to the noodles.
- Olive Oil: Or any neutral oil with a high smoke point (like canola or vegetable oil) is suitable for stir-frying.
- Seasonings: Garlic salt and lemon pepper enhance the shrimp, bringing out its natural sweetness and providing a zesty kick.
By understanding these components, you’re well on your way to mastering the art of homemade Shrimp Pad Thai!
Mastering Homemade Shrimp Pad Thai: Step-by-Step Guide
These step-by-step photos and detailed instructions are provided to help you visualize each stage of making this incredibly delicious recipe. For a convenient printable version of this recipe, complete with precise measurements and instructions, simply Jump to Recipe at the bottom of this page.
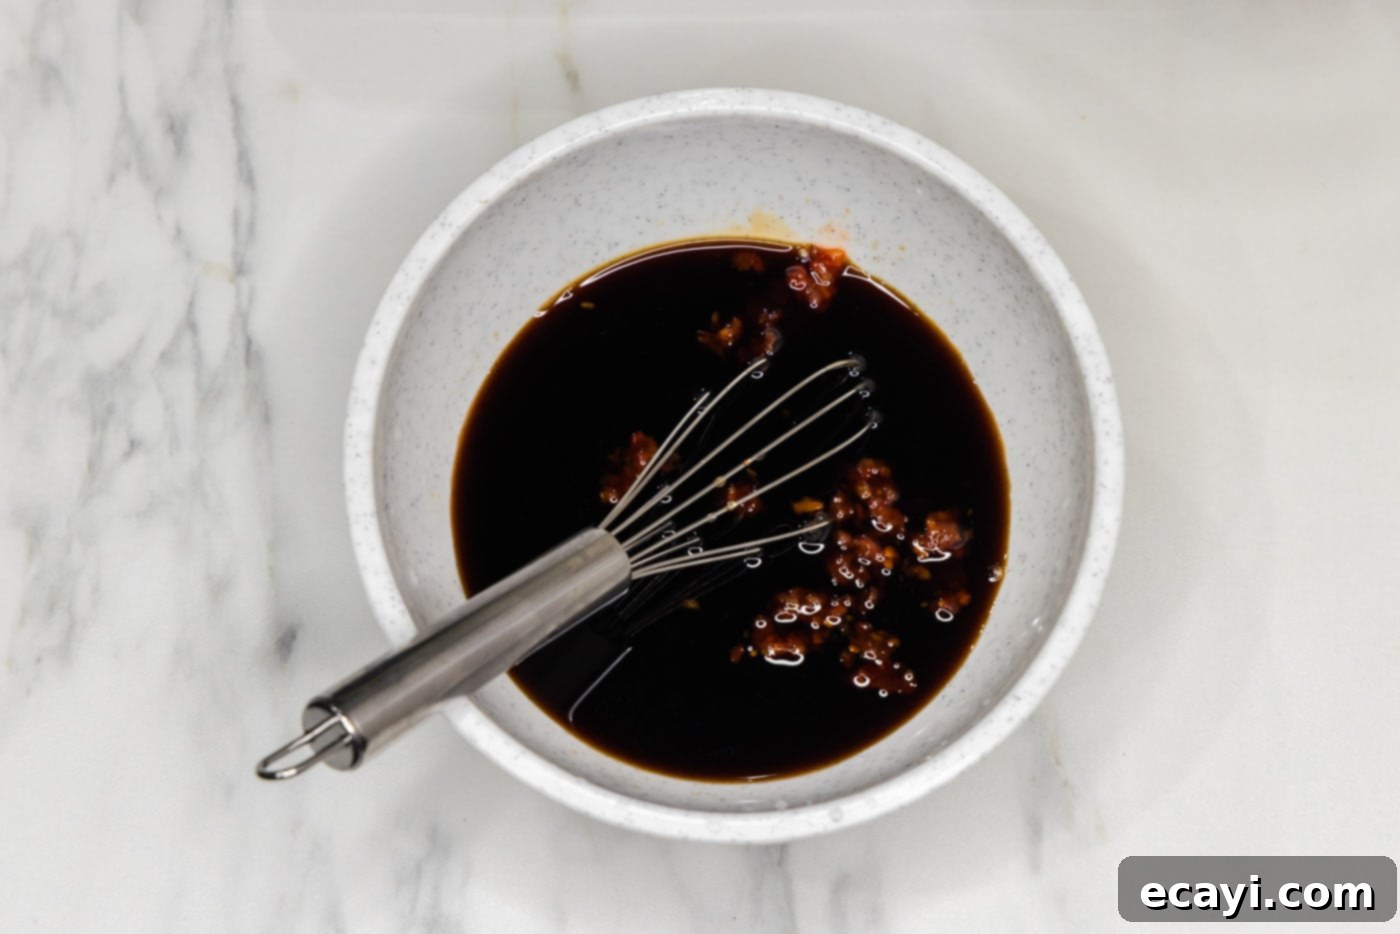
- Prepare the Signature Pad Thai Sauce: Begin by creating the heart of your Pad Thai. In a medium-sized bowl, combine all the sauce ingredients: low-sodium soy sauce, fish sauce, honey, rice vinegar, and Asian chili garlic sauce. Whisk them thoroughly until all components are fully integrated and the honey has dissolved. This ensures a consistent flavor profile throughout the dish. Set this flavorful mixture aside; it will be added later to coat the noodles and shrimp in its savory embrace.

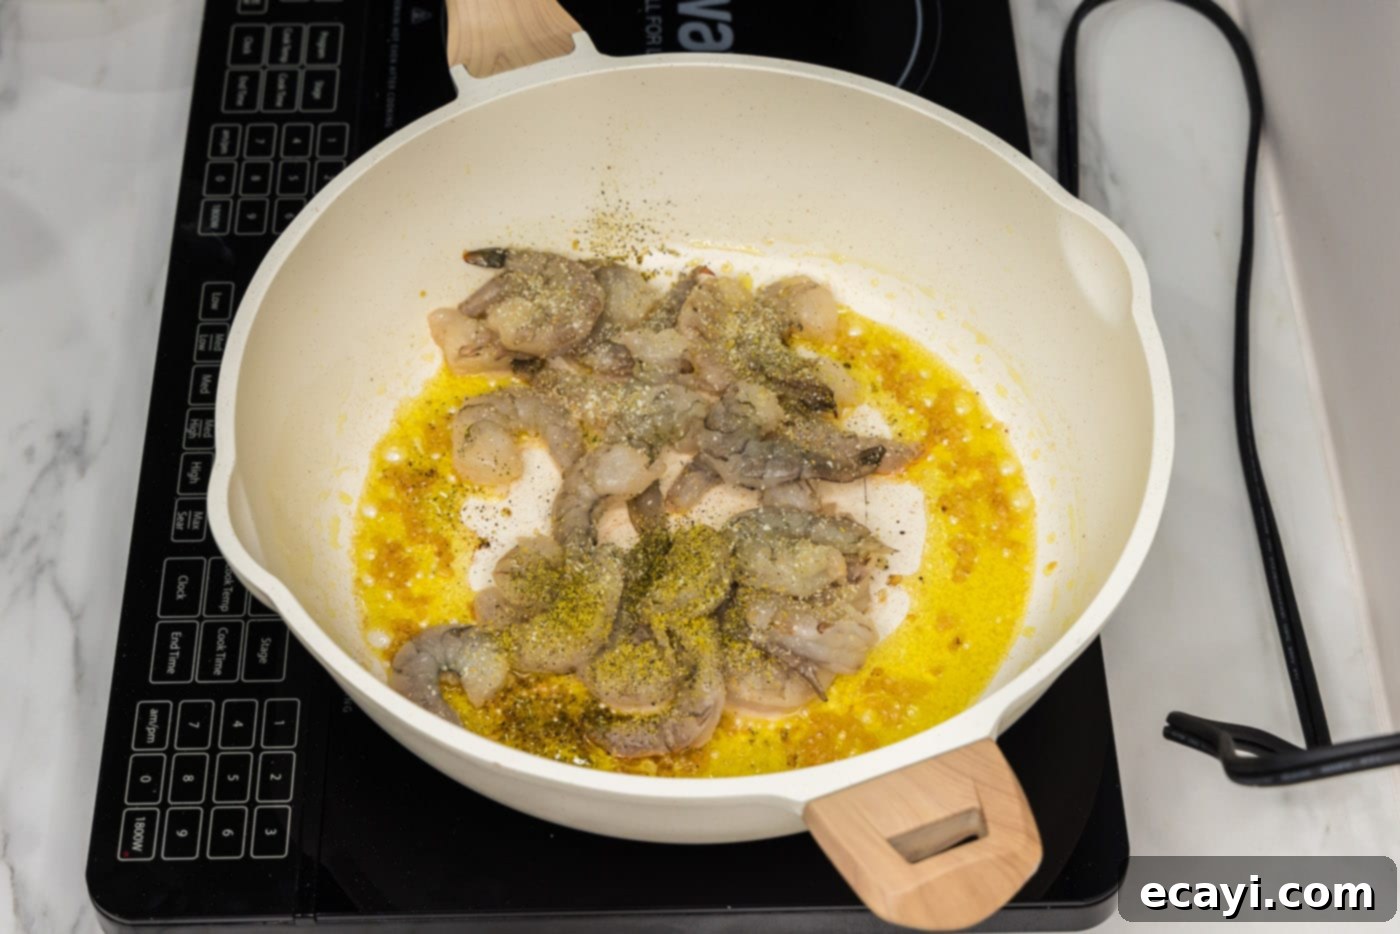
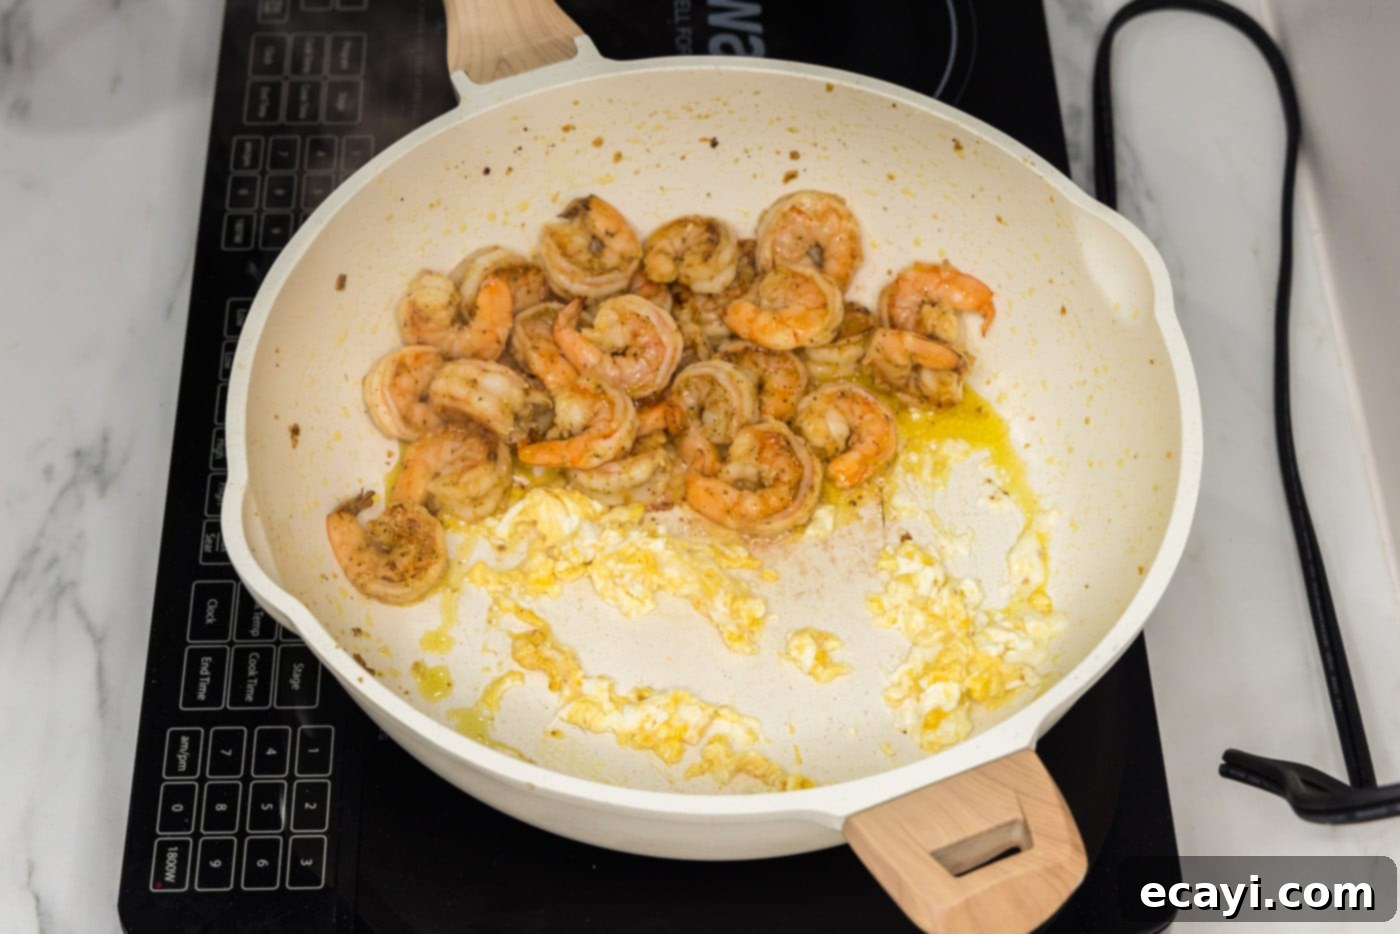
- Stir-Fry the Shrimp to Perfection: Heat the olive oil in a large skillet or wok over medium-high heat until it begins to shimmer, indicating it’s hot enough for proper searing. Add the minced garlic and your prepped raw shrimp to the hot oil. Sprinkle the shrimp generously with garlic salt and lemon pepper, ensuring an even coating. Stir-fry the shrimp for approximately 2-3 minutes per side. You’ll know they’re perfectly cooked when they turn opaque and curl into a “C” shape with beautiful pink and orange hues. Be careful not to overcook them, as this can lead to a rubbery texture. Once cooked, gently push the shrimp and garlic to one side of the pan, making space for the egg.

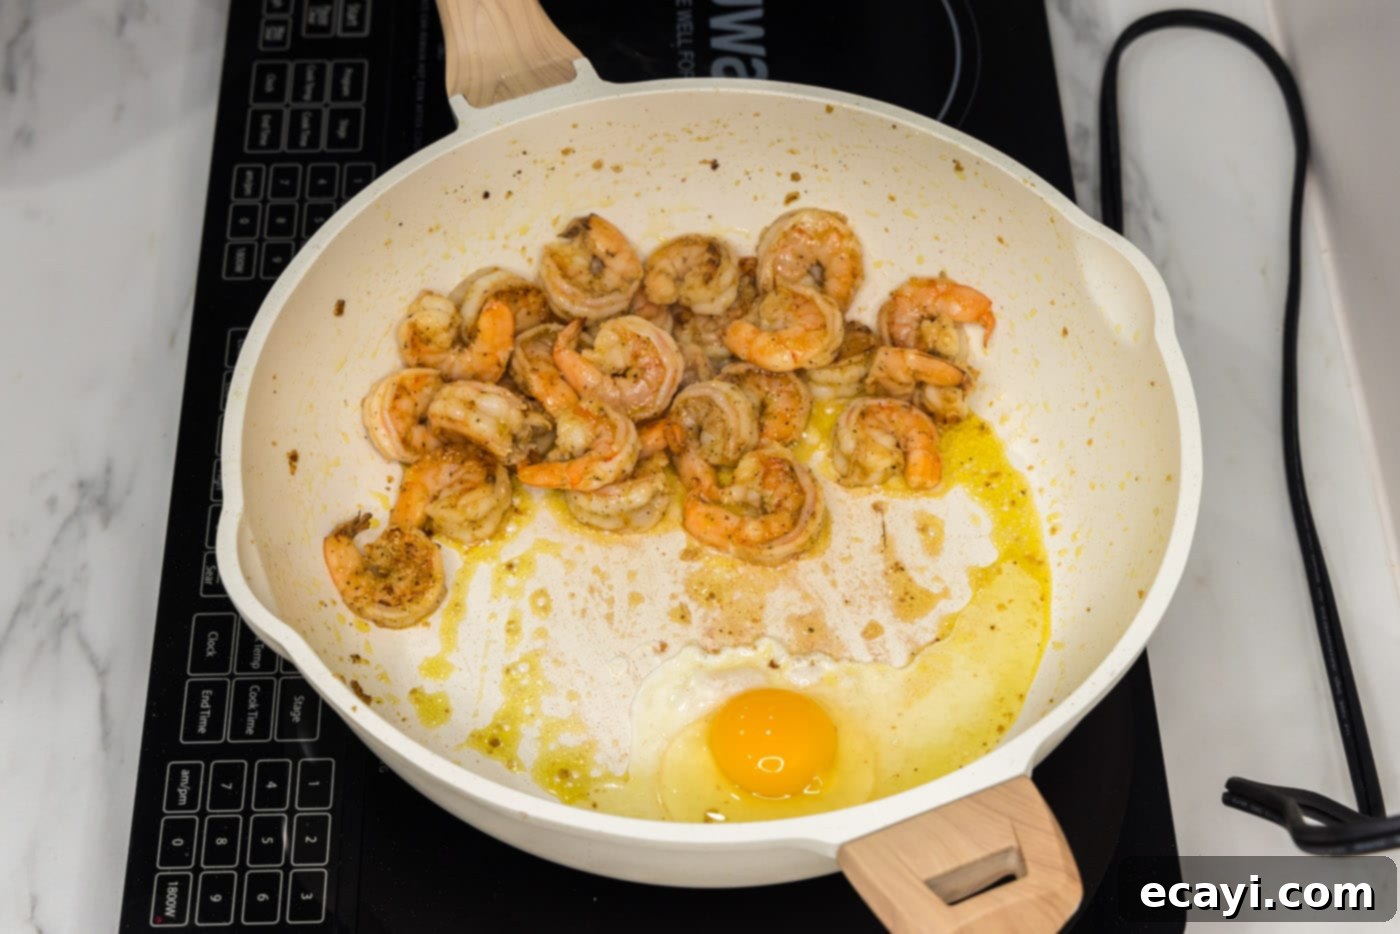
- Add the Scrambled Egg: Crack the large egg directly into the empty space in the skillet. Using a rubber spatula, quickly scramble the egg until it’s just cooked through but still soft. Once scrambled, combine the cooked egg with the shrimp and garlic, tossing them gently to mix the flavors and textures. This adds a wonderful richness and an additional protein element to your Pad Thai.


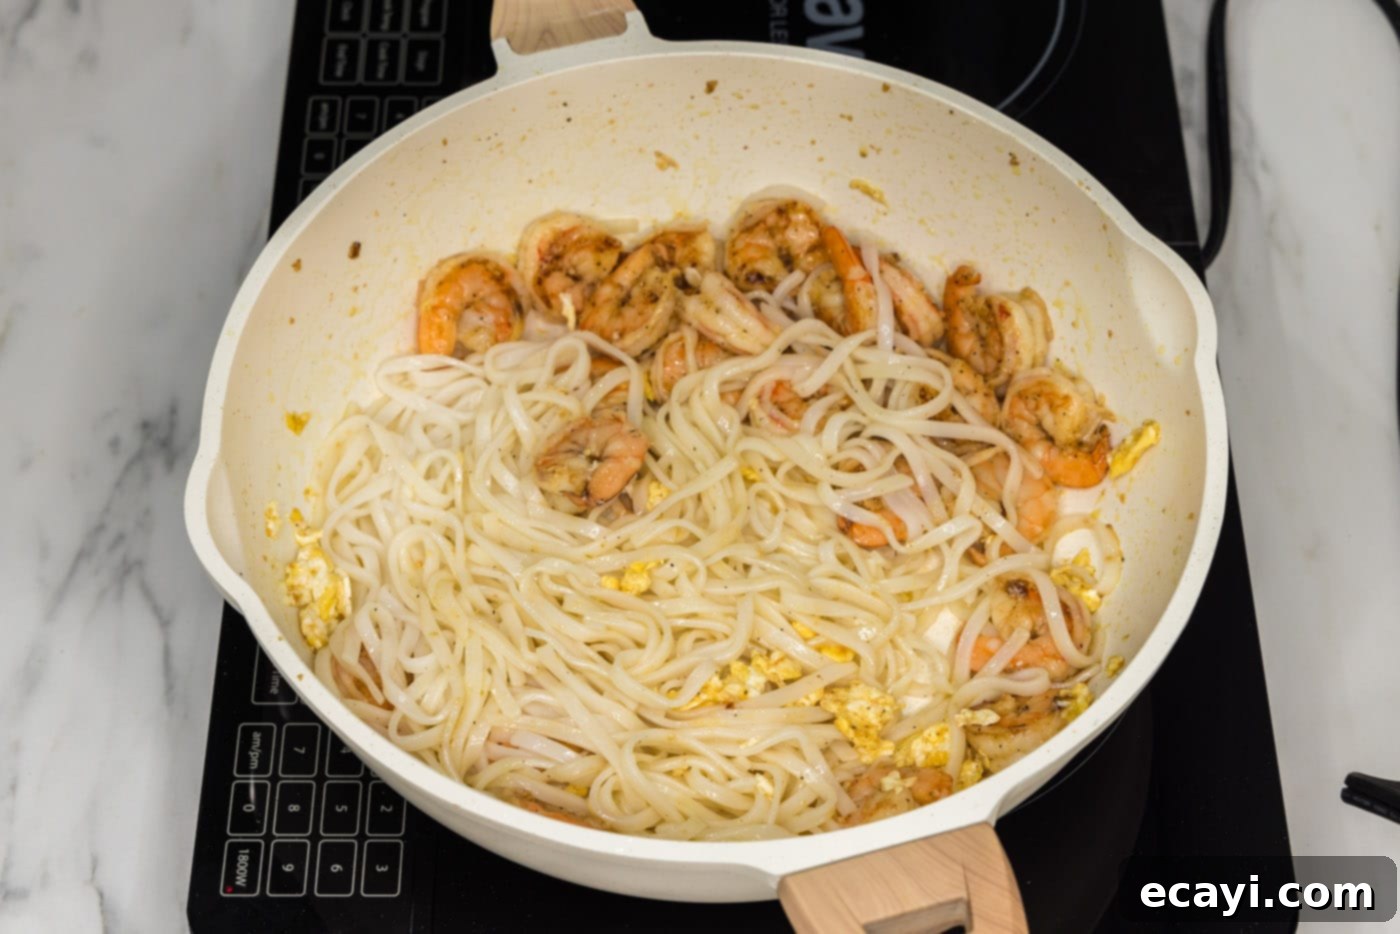
- Incorporate the Noodles: Add the pre-cooked (or properly soaked) Pad Thai rice noodles to the skillet. Gently toss all the ingredients together – the shrimp, egg, garlic, and noodles – ensuring they are well distributed before adding the sauce. This step sets the stage for the noodles to evenly absorb the incredible flavors of your homemade sauce.

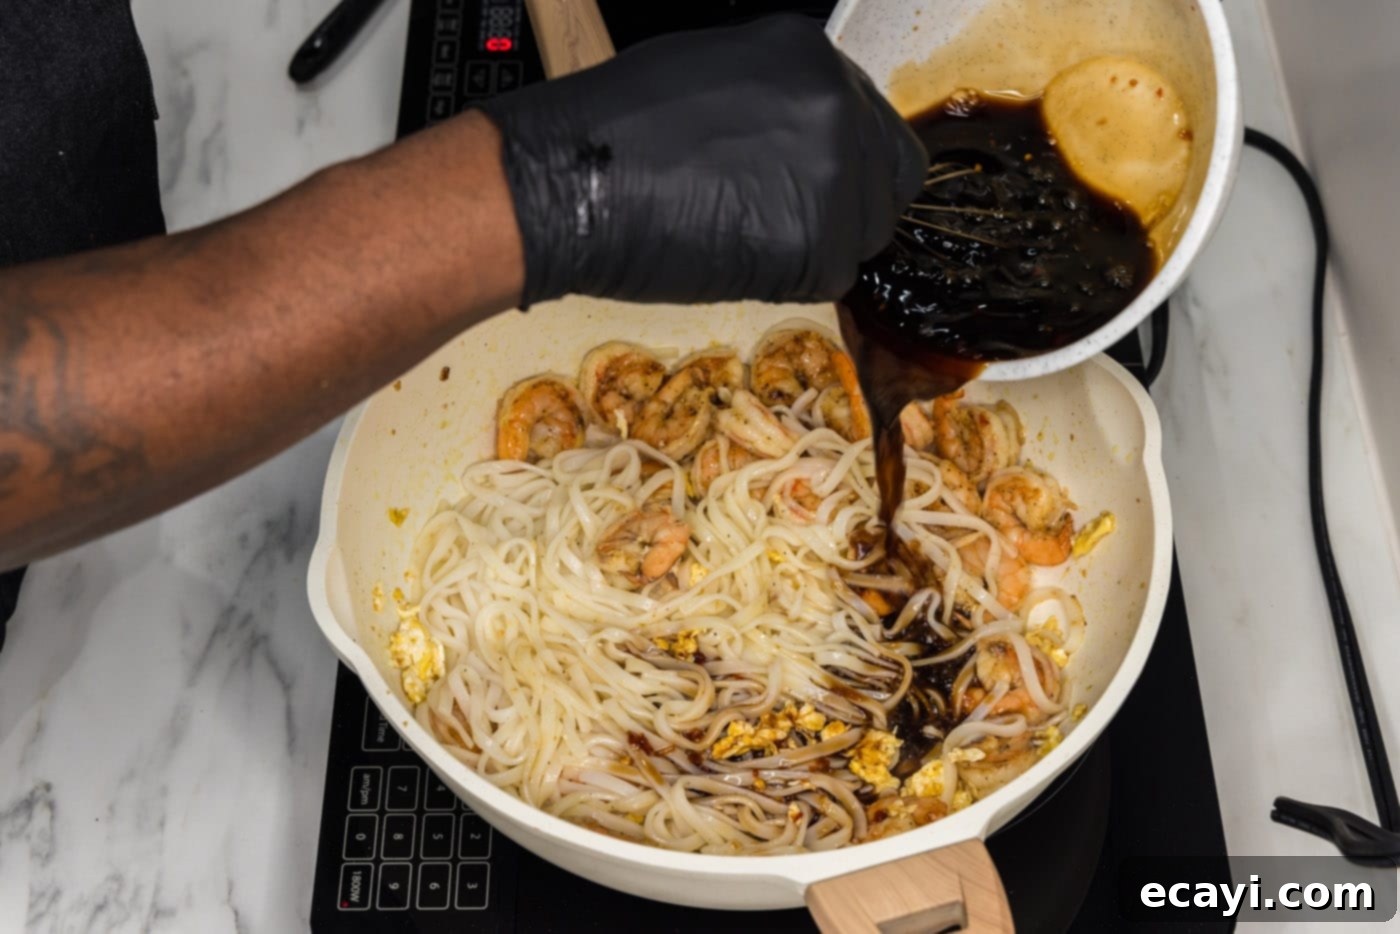
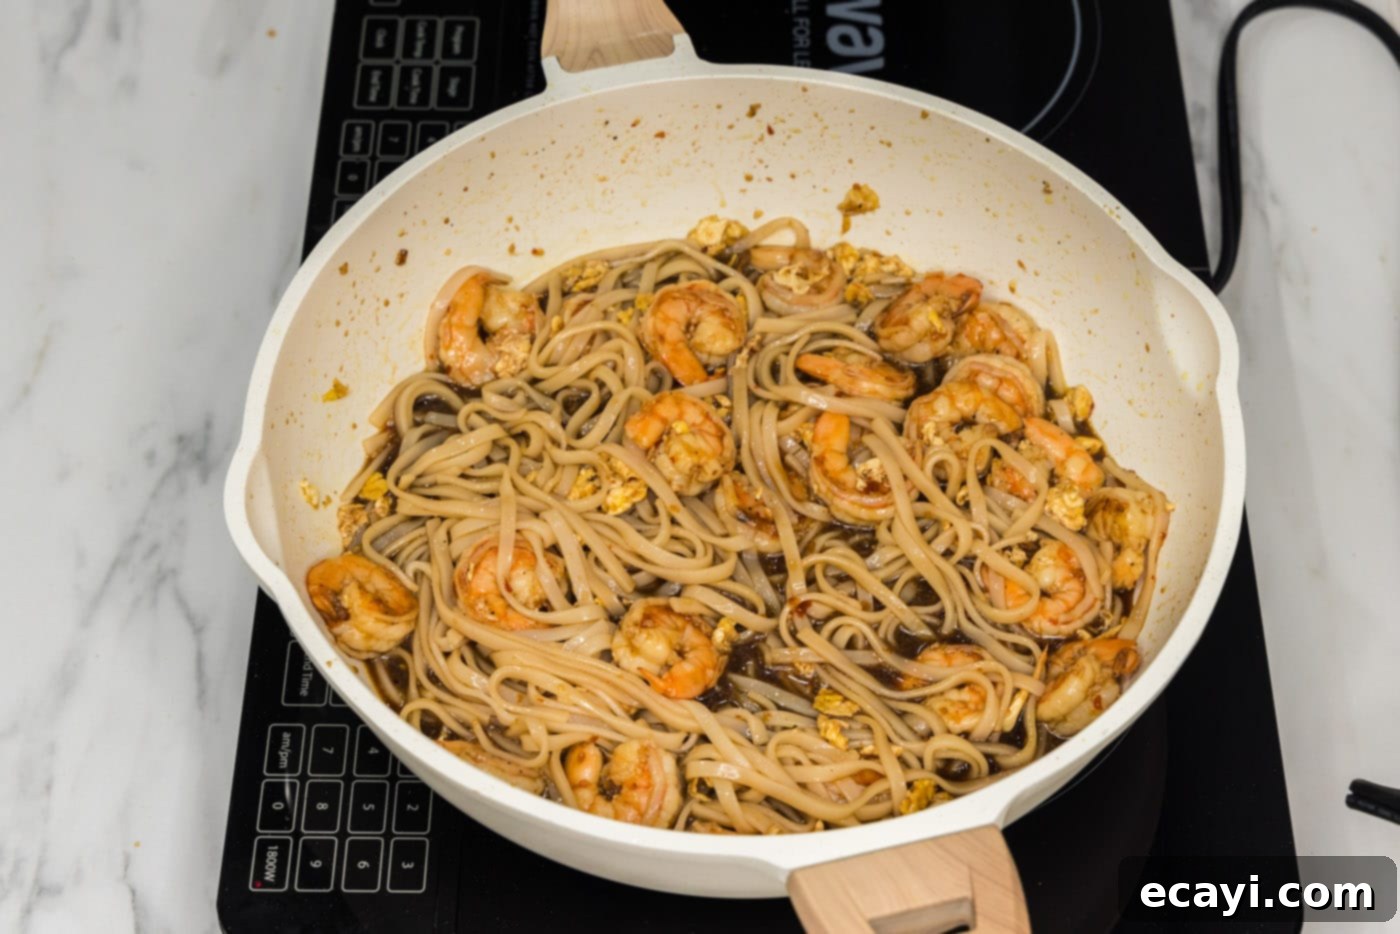
- Sauce and Simmer: Pour the prepared Pad Thai sauce evenly over the noodles, shrimp, and egg in the skillet. Increase the heat slightly to bring the mixture to a gentle boil, then immediately reduce the heat to low. Allow the Pad Thai to simmer for a few minutes, stirring occasionally, until all the ingredients are thoroughly heated through and the noodles have beautifully absorbed the sauce.
CHEF’S TIP: If you prefer a thicker Pad Thai sauce that clings more robustly to the noodles, you can easily achieve this. In a small bowl, whisk together 2 teaspoons of cornstarch with 1/4 cup of cold water until a smooth slurry forms. Add this cornstarch slurry to the simmering Pad Thai in the skillet. Continue to simmer and stir gently for another 1-2 minutes, or until the sauce thickens to your desired consistency. This simple trick adds body to the sauce without altering its delicious flavor.
Frequently Asked Questions & Expert Tips for Perfect Pad Thai
Shrimp cooks remarkably fast, which also means it can be very easily overcooked. The tell-tale signs of perfectly cooked shrimp are when they curl into a loose “C” shape and turn opaque with vibrant pink and orange hues. If your shrimp are curled tightly into an “O” shape, they are likely overcooked, resulting in a rubbery and tough texture. Always keep a close eye on them during cooking; a few seconds can make all the difference.
Traditional Shrimp Pad Thai on its own is generally considered mild, with a predominant balance of sweet, sour, and salty flavors. The chili garlic sauce in our recipe is typically the only component that introduces a subtle hint of heat, which for many, might not even be noticeably spicy. However, the beauty of homemade Pad Thai is that the heat level is entirely adjustable to your preference! If you’re a fan of a fiery kick, I highly recommend adding thinly sliced fresh red chili peppers (such as bird’s eye chilies) to the dish during the final stages of cooking, or as a garnish. You could also increase the amount of Asian chili garlic sauce in the recipe or add a dash of sriracha or crushed red pepper flakes to individual servings.
To store any delicious leftovers, transfer the Shrimp Pad Thai into an airtight container and refrigerate it promptly. It will remain fresh for 2-3 days. When it comes to reheating, a skillet over medium-low heat is your best friend. Add a splash of water or broth to help rehydrate the noodles and prevent them from drying out. Stir gently until warmed through. Since shrimp can easily overcook and become rubbery when reheated, an expert tip is to reheat the noodles and sauce mixture separately, and then add the cooked shrimp back in only during the last minute or two, just until they are warmed through. This helps maintain their tender texture.
While a traditional wok is ideal for stir-frying due to its high heat retention and curved shape, a large heavy-bottomed skillet (like a cast-iron skillet or a good quality non-stick pan) will work perfectly for this recipe. The key is to ensure your pan is large enough to hold all the ingredients without overcrowding, which can lead to steaming instead of stir-frying.
Absolutely! Pad Thai is highly versatile. Popular vegetable additions include bean sprouts (stir-fried briefly or added as a fresh garnish), thinly sliced carrots, bell peppers, snow peas, or broccoli florets. Add harder vegetables early in the stir-frying process so they have enough time to cook to your desired tenderness, usually after the garlic but before the shrimp.
Elevate Your Shrimp Pad Thai: Serving and Garnishing Tips
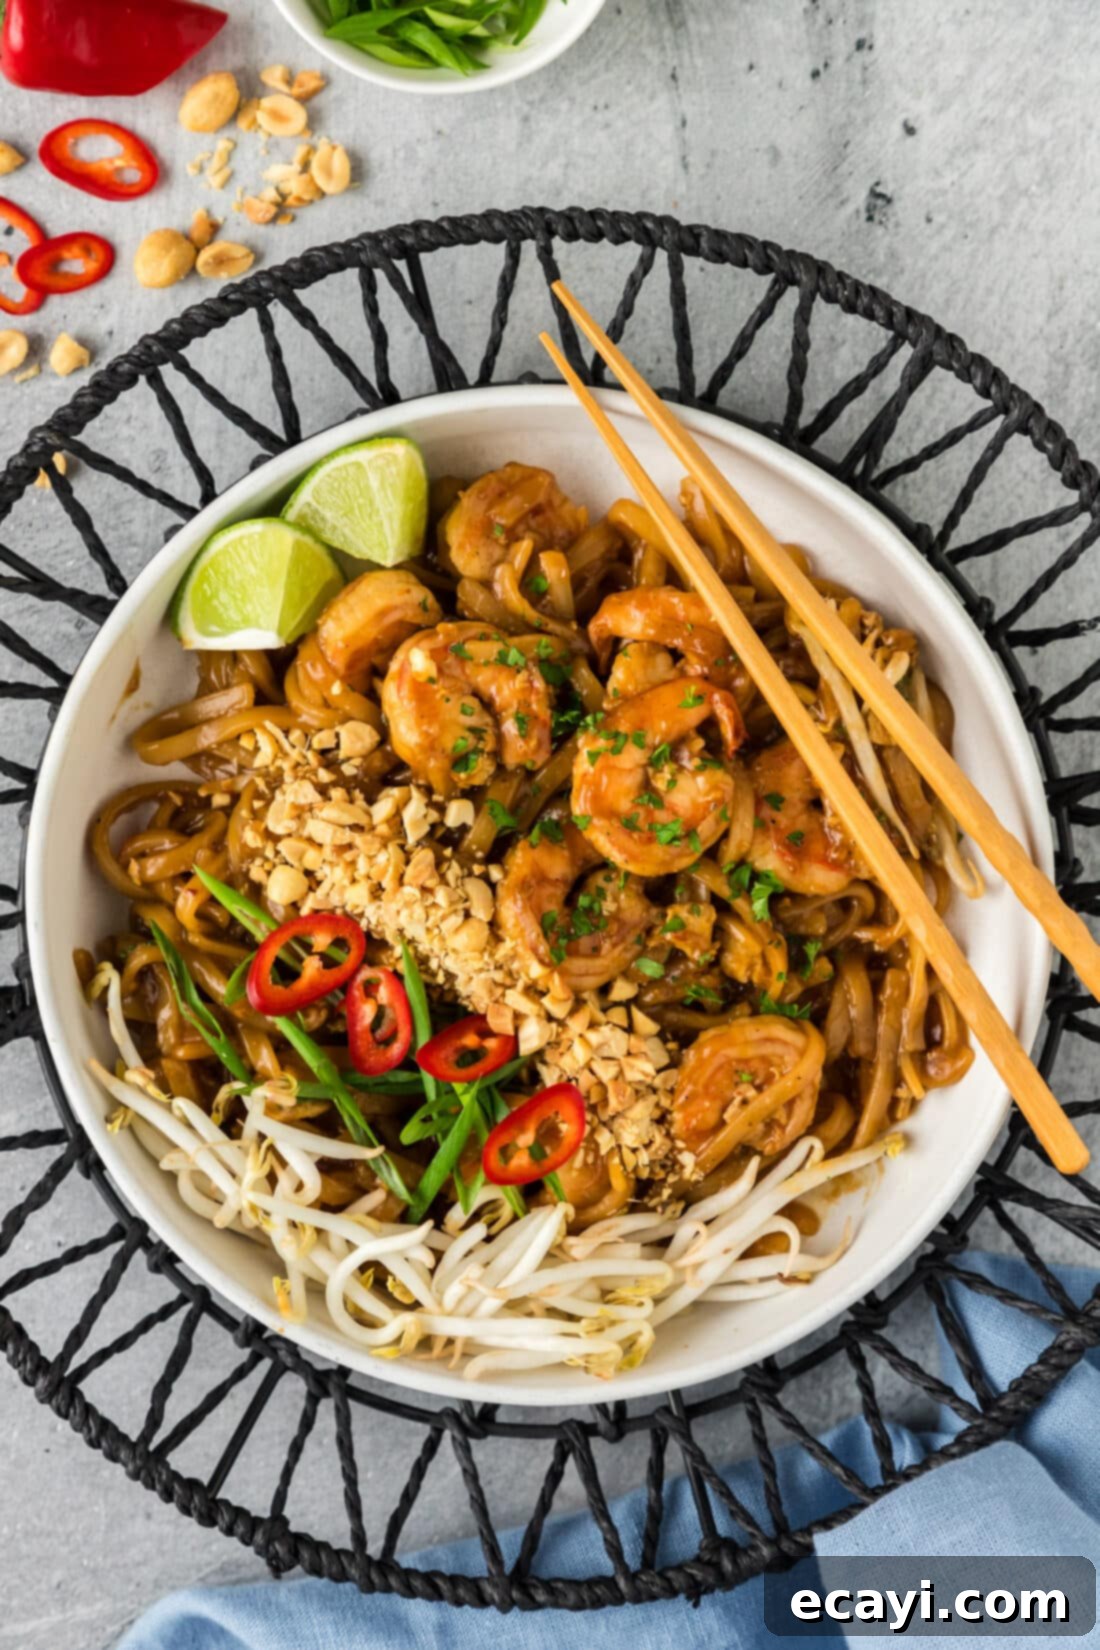
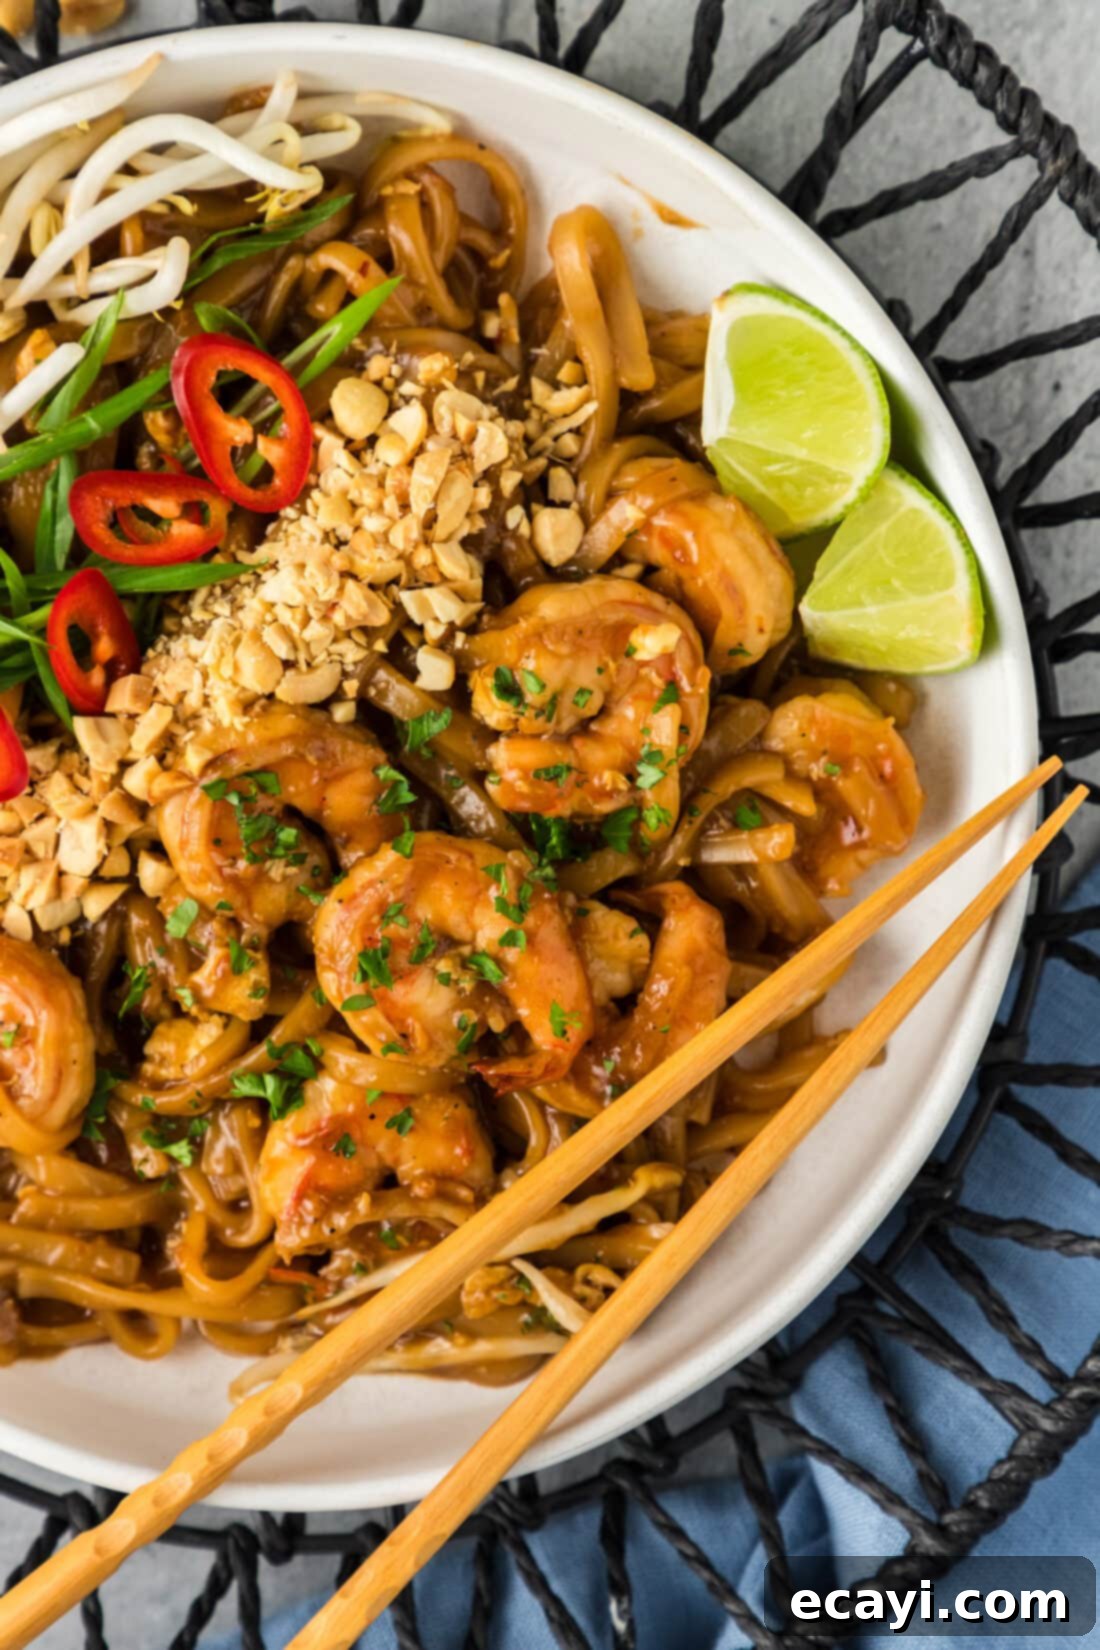
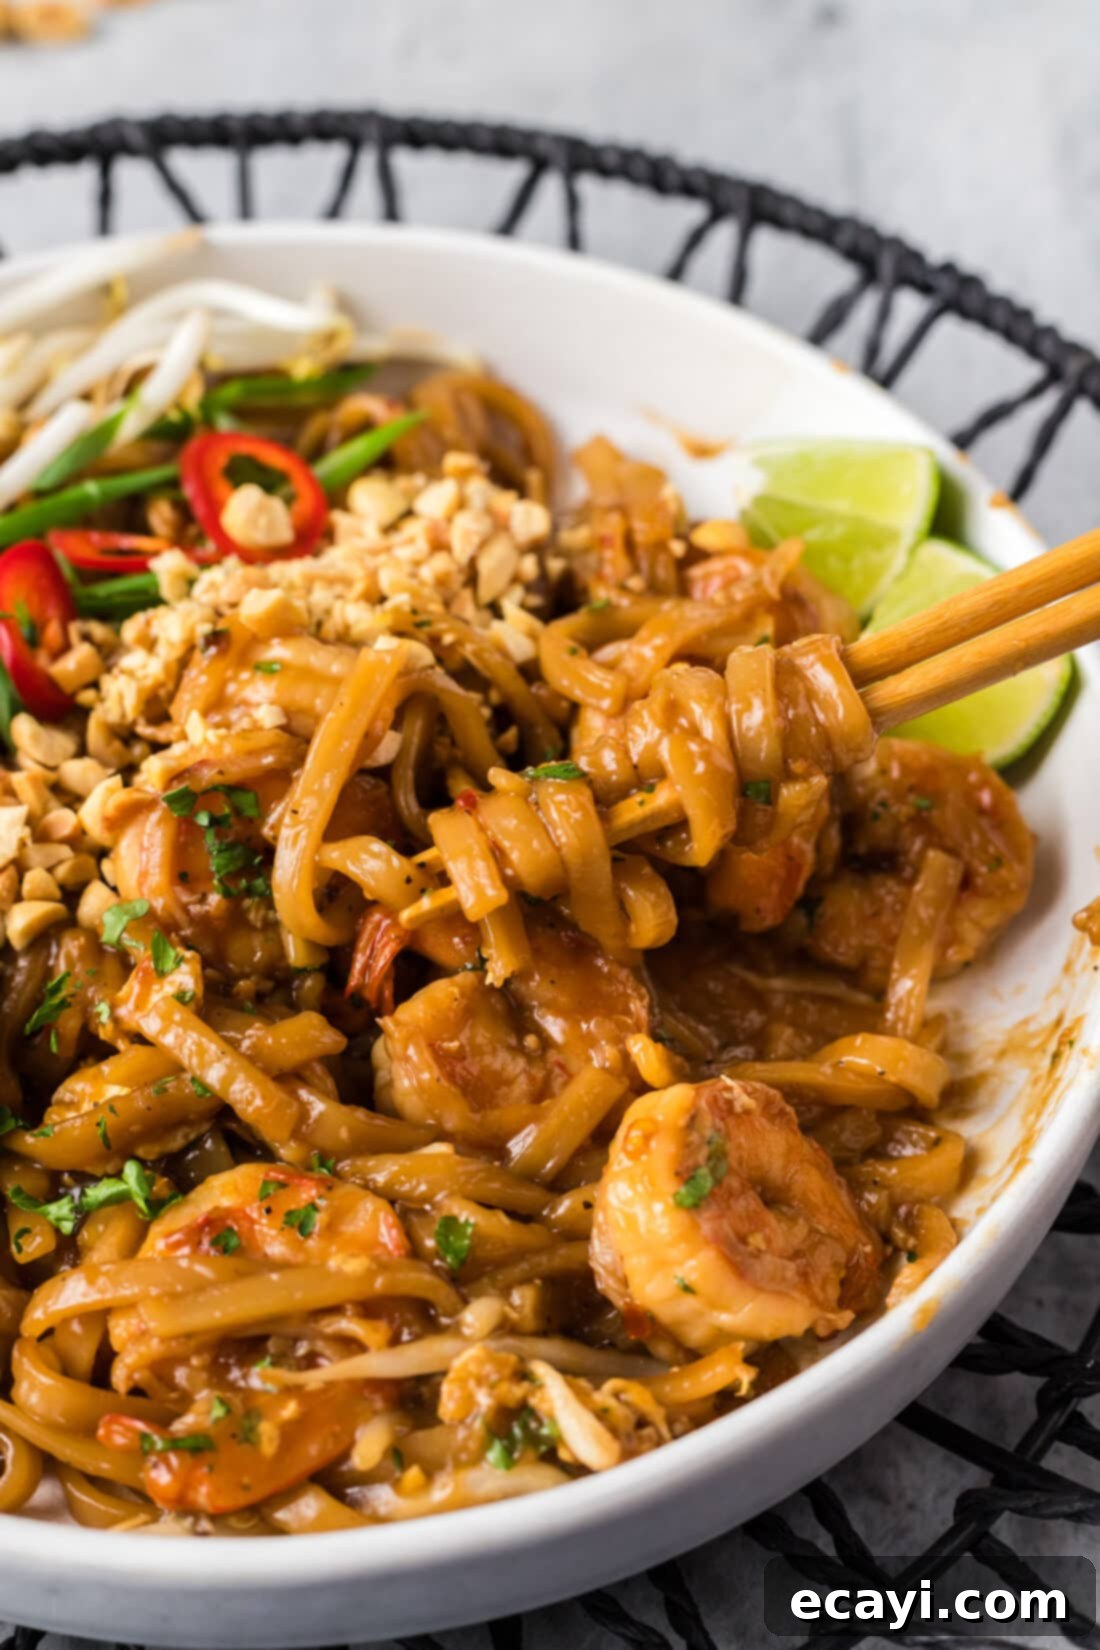
Once your delectable Shrimp Pad Thai is hot off the skillet, it’s time to bring it to life with traditional and flavorful garnishes. These additions not only enhance the visual appeal but also contribute essential textures and aromatic notes that are integral to the Pad Thai experience. Optionally, and highly recommended, artfully garnish your bowls of Shrimp Pad Thai with a generous sprinkle of chopped roasted peanuts for a delightful crunch, a handful of fresh bean sprouts for added freshness and crispness, thinly sliced red chili peppers if you crave extra heat, or vibrant thinly sliced green onions for a mild oniony zest. A crucial finishing touch is a fresh wedge of lime, whose bright, acidic squeeze just before eating truly awakens all the flavors and balances the richness of the sauce. Consider serving this main dish with a light, crisp cucumber salad or a simple green salad to complement the rich flavors.
Discover More Asian-Inspired Delights
If you’ve enjoyed mastering this homemade Shrimp Pad Thai, you’ll love exploring other vibrant and flavorful Asian-inspired dishes. Expand your culinary repertoire with these equally delicious and accessible recipes, perfect for any weeknight meal or special occasion:
- Spicy & Aromatic Shrimp Curry
- Fiery Hunan Shrimp
- Fresh & Crispy Shrimp Spring Rolls
- Sweet & Savory Pineapple Fried Rice
- Classic Shrimp Egg Rolls
I absolutely adore spending time in the kitchen, experimenting with new flavors, and sharing my culinary discoveries and experiences with all of you! Remembering to come back each day to find new recipes can be a challenge, which is why I offer a convenient newsletter delivered straight to your inbox every time a new recipe is posted. Simply subscribe today and start receiving your free daily recipes, making it easier than ever to bring delicious meals to your table!
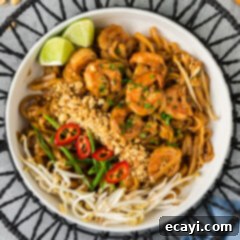
Shrimp Pad Thai
IMPORTANT – There are often Frequently Asked Questions within the blog post that you may find helpful. Simply scroll back up to read them!
Print It
Pin It
Rate It
Save ItSaved!
Ingredients
Sauce
- ½ cup low sodium soy sauce
- ¼ cup fish sauce
- 3 Tablespoons honey
- 3 Tablespoons rice vinegar
- 1 Tablespoon Asian chili garlic sauce
Entree
- 2 Tablespoons olive oil
- 1 Tablespoon minced garlic
- 1 pound raw large shrimp peeled and deveined for quicker cooking
- 1 teaspoon garlic salt
- 1 teaspoon lemon pepper
- 1 large egg
- 4 ounces pad Thai rice noodles cooked (or soaked) per package instructions to al dente
Things You’ll Need
-
Whisk
-
Mixing bowls
-
Large heavy bottomed skillet (or a wok)
Before You Begin
- For the best texture and flavor, use raw, peeled, and deveined shrimp. Fresh or frozen shrimp will work, however, I wouldn’t suggest using precooked shrimp for this recipe as they tend to become rubbery when reheated. If you are using frozen shrimp, be sure to thaw them first and pat them thoroughly dry before beginning.
- Shrimp cooks very quickly, which also means it can easily be overcooked. The shrimp will curl and turn opaque with beautiful pink and orange hues when it is perfectly finished cooking. Overcooked shrimp are rubbery and tough in texture, so watch them closely!
- Pad Thai noodles should be cooked or soaked until al dente – pliable but still slightly firm. Overcooked noodles will become mushy.
- Optionally garnish your finished shrimp Pad Thai with chopped roasted peanuts for crunch, fresh bean sprouts, thinly sliced red chili peppers for heat, or finely sliced green onions along with a fresh wedge of lime to squeeze over.
Instructions
-
In a medium bowl, whisk together all the sauce ingredients until well combined. Set aside.
-
Heat olive oil in a large skillet or wok over medium-high heat until shimmering. Add minced garlic and shrimp, then sprinkle with garlic salt and lemon pepper. Cook the shrimp for 2-3 minutes per side, just until they change color and become opaque. Move the cooked shrimp to one side of the pan.
-
Crack the large egg into the empty side of the skillet and use a rubber spatula to scramble it quickly. Once cooked, stir the scrambled egg and shrimp together.
-
Add the pre-cooked rice noodles to the skillet with the shrimp and egg. Toss gently to combine all ingredients evenly.
-
Pour the prepared Pad Thai sauce over the mixture in the skillet. Bring to a gentle boil, then immediately turn the heat down to low. Simmer for a few minutes, stirring occasionally, until all ingredients are heated through and the noodles have absorbed the flavorful sauce.
-
If you prefer your sauce thicker, whisk together 2 teaspoons of cornstarch and a 1/4 cup of water in a small bowl until smooth. Add this slurry to the skillet and continue to simmer and stir until the sauce reaches your desired thickness. Serve immediately with your favorite garnishes.
Expert Tips & FAQs
- To store leftovers, place them in an airtight container in the refrigerator for 2-3 days. When reheating, use a skillet over medium-low heat. To prevent shrimp from overcooking and becoming rubbery, consider reheating the noodles and sauce mixture first, and only add the shrimp back in towards the very end, just long enough to warm them through.
- Don’t overcrowd your pan when stir-frying the shrimp. If necessary, cook the shrimp in two batches to ensure they sear rather than steam. This results in a better texture.
- Ensure your rice noodles are prepared just right – typically soaked in hot water until pliable but still retaining a slight chew. Over-soaking or boiling can make them mushy.
- Experiment with garnishes! Besides peanuts, bean sprouts, lime, and green onions, fresh cilantro, a sprinkle of red pepper flakes, or even some shredded cabbage can add wonderful fresh elements.
Nutrition
The recipes on this blog are tested with a conventional gas oven and gas stovetop. It’s important to note that some ovens, especially as they age, can cook and bake inconsistently. Using an inexpensive oven thermometer can assure you that your oven is truly heating to the proper temperature. If you use a toaster oven or countertop oven, please keep in mind that they may not distribute heat the same as a conventional full sized oven and you may need to adjust your cooking/baking times. In the case of recipes made with a pressure cooker, air fryer, slow cooker, or other appliance, a link to the appliances we use is listed within each respective recipe. For baking recipes where measurements are given by weight, please note that results may not be the same if cups are used instead, and we can’t guarantee success with that method.
