Homemade Whole Wheat English Muffins: Your Ultimate Guide to Easy, Flavorful Breakfasts
Instantly upgrade your breakfasts and brunches by making whole wheat English muffins from scratch: it’s easier than you think and infinitely more rewarding! Discover the joy of homemade goodness with our comprehensive recipe and tips.

This post contains affiliate links. Full disclosure is at the bottom of the article.
Why Make Whole Wheat English Muffins from Scratch? The Homemade Advantage
Perhaps you’ve always considered English muffins a quintessential convenience item – grab a bag, pop one in the toaster, and you’re good to go. But what if we told you that making whole wheat English muffins from scratch is not only surprisingly simple but also transforms your breakfast experience? The difference between store-bought and homemade is truly remarkable. While a quick trip to the grocery store might save you a few bucks, the superior flavor, texture, and nutritional value of homemade English muffins are priceless.
Imagine starting your day with a warm, perfectly toasted English muffin, its earthy aroma filling your kitchen. This isn’t just about avoiding a trip to the store; it’s about elevating a simple meal into something truly special. For me, a toasted whole wheat English muffin loaded with ham and egg is a go-to weekday lunch – quick, satisfying, and packed with flavor. Running out of store-bought muffins one day sparked a revelation: why not make them myself? The answer was clear: homemade English muffins are undeniably tastier, offer a delightful texture, and can be frozen for future enjoyment, ensuring you always have a fresh batch ready to be toasted to perfection.
The Surprisingly Simple Process of Baking English Muffins
A little research quickly revealed a delightful secret: making whole wheat English muffins from scratch is actually quite easy. Don’t let the thought of baking bread intimidate you! While it does require a touch of patience – typical of all bread-making endeavors as you wait for the starter to develop and the dough to rise – the process itself is largely hands-off. This flexibility in timing means you won’t stress if your schedule shifts; the dough can happily rest in the fridge for an extra day or two without issue. Moreover, the actual shaping and cooking of these wholesome English muffins are straightforward, especially if you have a stand mixer to assist with kneading. In essence, you do not need to be a master baker to enjoy the delightful, habit-changing goodness of a freshly baked whole wheat English muffin at home.
Embracing this simple baking project opens up a world of culinary satisfaction. Not only will you produce a superior product, but you’ll also gain a deeper appreciation for the art of baking. Plus, the wholesome ingredients you use will make these English muffins a healthier choice for your family, rich in fiber and flavor.
Essential Tips for Baking Perfect Whole Wheat English Muffins
To ensure your first batch of homemade whole wheat English muffins is a resounding success, here are some important tips to guide you through the process. These insights will help you understand the nuances of this recipe and achieve that ideal chewy-yet-tender texture.
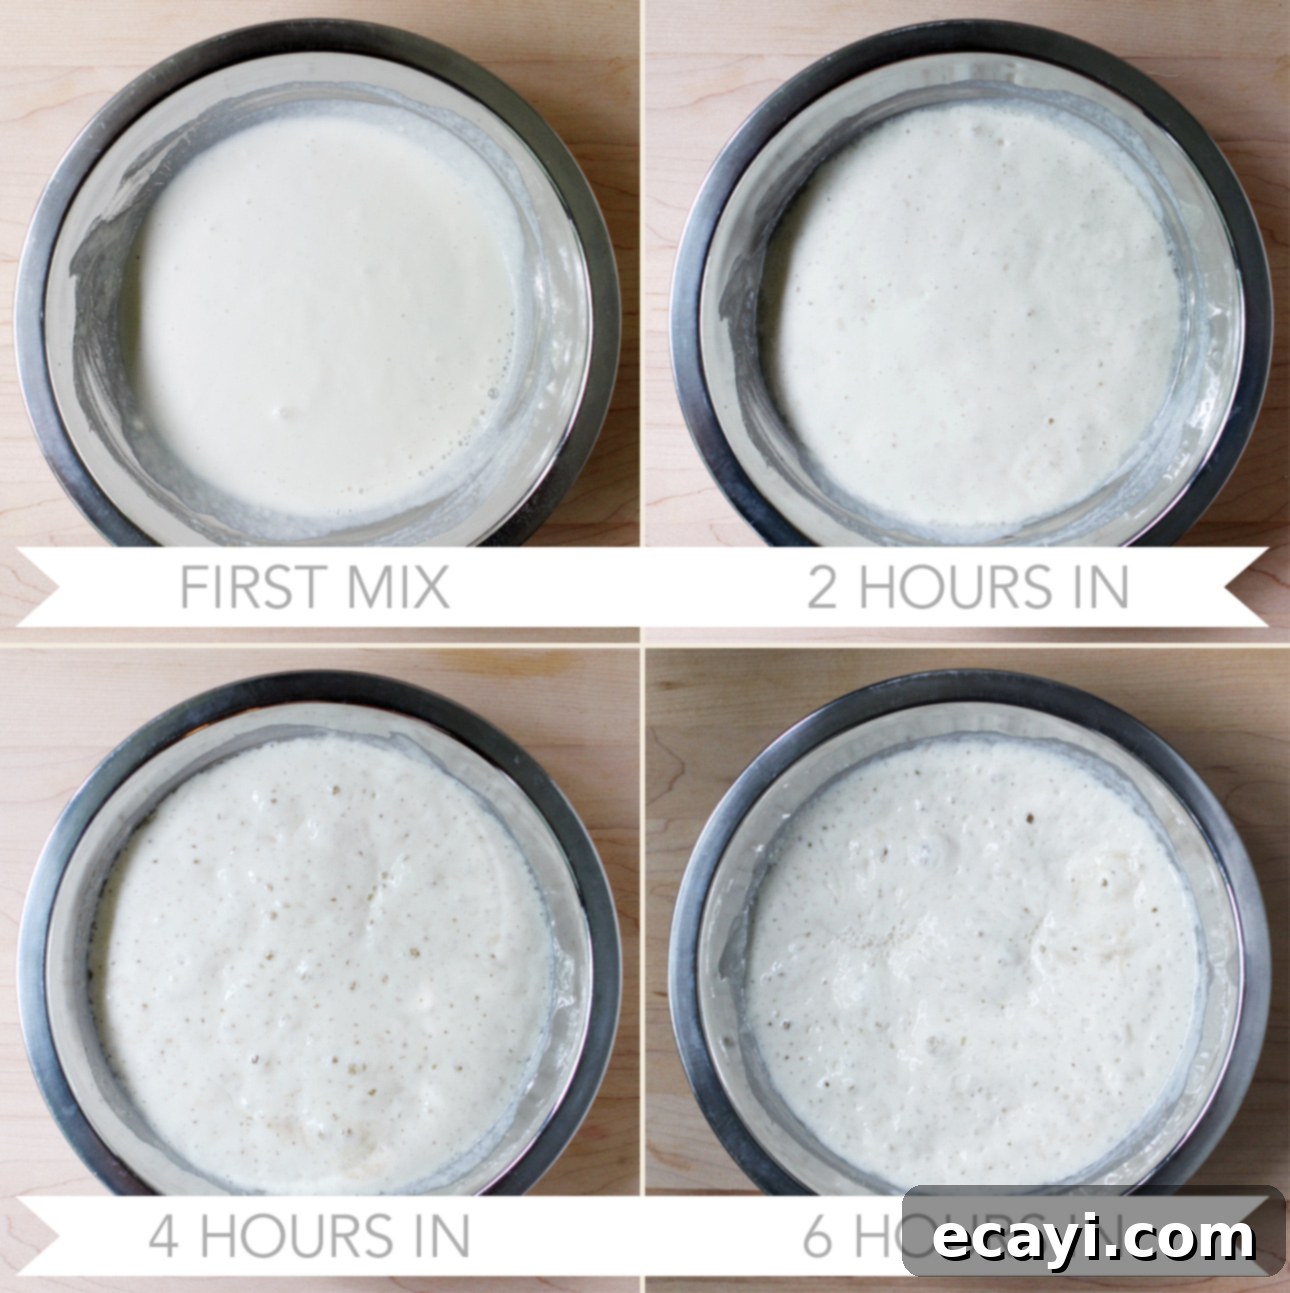
- Understanding the Starter for Optimal Flavor and Volume: This recipe begins with a “starter,” a foundational mixture of flour, water, and yeast that ferments and becomes beautifully bubbly. The starter is crucial as it contributes significantly to the English muffins’ volume, lightness, and complex flavor profile. You can activate it in as little as an hour, or allow it to develop for up to 48 hours in the refrigerator. Based on my experience, letting the starter develop for approximately 6 hours before you begin preparing the main English muffin dough yields the best balance of robust flavor and impressive rise. I often mix the starter first thing in the morning and then proceed with the dough in the afternoon, making it a manageable, flexible task.
- The Importance and Flexibility of Dough Rising Time: Once your English muffin dough is mixed, it requires a minimum of 2 hours to rise in a warm environment, such as a turned-off oven. However, this step offers incredible flexibility! You can also opt for a slow rise by refrigerating the dough for up to 48 hours. This method is incredibly handy for meal prep and entertaining. Imagine being able to prepare the dough a couple of days in advance and then effortlessly serve warm, freshly baked English muffins for brunch, impressing your guests without any last-minute stress! A longer, slower rise often contributes to a more developed, nuanced flavor in your finished muffins.
- English Muffin Rings: Optional, Not Essential: Many traditional English muffin recipes suggest using specific English muffin rings—circular molds designed to help shape the muffins into perfectly uniform rounds. While these can be helpful for absolute precision, this particular recipe produces a dough that holds its shape exceptionally well. Therefore, the use of English muffin rings is absolutely not required to achieve beautifully shaped, delicious homemade muffins. You can simply shape them by hand, saving you from purchasing extra kitchen gadgets.
- Mastering Stovetop Cooking for the Perfect Finish: Unlike conventional muffins baked in an oven, these whole wheat English muffins are entirely cooked on the stovetop. The key to success is using a lightly greased large skillet (cast iron, nonstick, or aluminum all work perfectly) over low heat. This gentle, consistent heat allows the English muffins to cook thoroughly from the inside out while developing their signature dark brown, slightly crusty exterior on both sides. Don’t rush this step; low and slow is the way to go to ensure they are cooked all the way through without burning.
- Understanding Whole Wheat English Muffin Texture: If you’re accustomed to the widely available store-bought varieties, you’ll know that whole wheat English muffins naturally possess a more uniform, slightly denser texture compared to their white flour counterparts. This wholesome texture is delightfully light, chewy, and satisfying in its own right, though it lacks the pronounced “nooks and crannies” typically found in classic white flour English muffins. It’s an important distinction to note so you can appreciate the unique characteristics of this healthier, whole-grain version.
Now that you’re armed with these essential tips and a clear understanding of the process, if you’re ready to significantly enhance the flavor and nutritional value of your breakfasts and brunches, let’s get baking! Prepare to enjoy the unmatched taste of truly homemade goodness.
Pin Recipe
Whole Wheat English Muffins
Ingredients
For the starter
- ½ cup all-purpose flour
- ½ cup water
- ½ tsp instant yeast (also called quick rise or bread machine yeast)
For the English muffin dough
- ½ cup whole milk
- ½ cup plain yogurt
- 1 tsp instant yeast (also called quick-rising or bread machine yeast)
- 2 tbsp extra-virgin olive oil
- 2 tbsp honey
- 1 ½ tsp kosher salt
- 2 cups whole wheat bread flour
- 1 ½ cups all-purpose flour
- Fine ground cornmeal, for dusting
- Cooking spray or melted butter, for cooking
Instructions
To make the starter (1-24 hours ahead)
-
At least an hour, and preferably 6 hours (or up to 24 hours for a deeper flavor profile), before you plan to cook your English muffins, prepare your starter. In a small bowl, combine the all-purpose flour, water, and instant yeast. Mix these ingredients thoroughly until they form a sticky but smooth dough. This will be the foundation of your English muffins’ unique texture and flavor. Cover the bowl tightly with plastic wrap to prevent a skin from forming and allow it to rest. You can let it develop for up to 6 hours at room temperature, or if you’re planning further ahead, you can refrigerate it for up to 24 hours. The longer the rest, the more complex the flavors will become.

To make the English muffin dough
-
In the bowl of a stand mixer fitted with the paddle attachment (or in a large mixing bowl if you prefer using a hand mixer or whisking by hand), combine the prepared starter, whole milk, plain yogurt, additional instant yeast, extra-virgin olive oil, and kosher salt. Mix these wet ingredients on low speed for approximately 1 minute, until the mixture is beautifully creamy and has a slight frothy texture. This ensures all the initial ingredients are well incorporated and the yeast is activated.
Stand mixer kneading instructions
-
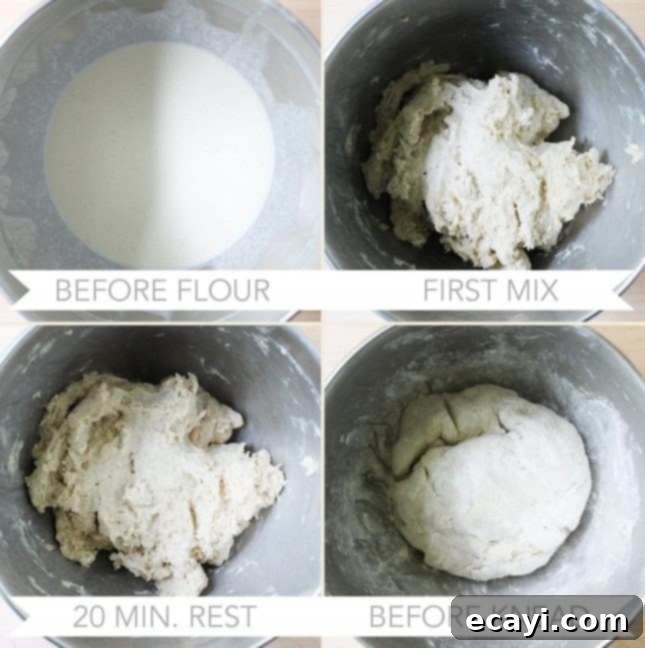
Add the whole wheat bread flour and 1 cup (250 ml) of the all-purpose flour to the wet yeast mixture in the bowl. Mix on low speed until a shaggy, sticky dough begins to form, which should take about 1 minute. At this stage, the dough will look a bit rough and unformed. Cover the bowl loosely with plastic wrap and let the dough rest for 20 minutes. This resting period, known as autolyse, allows the flour to fully hydrate, making the dough easier to knead and contributing to a better texture.
-
After the rest, gradually mix in just enough of the remaining all-purpose flour until you achieve a soft dough that cleanly pulls away from the sides of the bowl. Switch from the paddle attachment to the dough hook. Knead the dough on medium-low speed for 6 to 8 minutes, until it becomes smooth, elastic, and well-developed. If the dough starts to climb up the hook, simply stop the mixer, scrape it down, and continue kneading. The final dough should feel tacky and elastic when touched, but it should not stick persistently to your hands. This thorough kneading is essential for developing the gluten structure.
Hand kneading instructions (if not using a stand mixer)
-
If you’re kneading by hand, add the whole wheat flour and 1 cup (250 ml) of the all-purpose flour to the bowl containing the yeast mixture. Use a sturdy wooden spoon or a stiff spatula to thoroughly combine the ingredients, forming a craggy, sticky dough. Cover the bowl with plastic wrap and let it rest for 20 minutes, allowing the flour to hydrate and making subsequent kneading easier.
-
Turn the rested dough out onto a lightly floured work surface. Begin kneading, incorporating just enough additional flour as needed to create a smooth and elastic dough. The hand kneading process typically takes between 5 to 8 minutes, requiring consistent effort to develop the gluten. By the end, the dough should feel tacky and elastic to the touch, but it should not stick excessively to your hands. Once kneaded, shape the dough into a smooth ball.

-
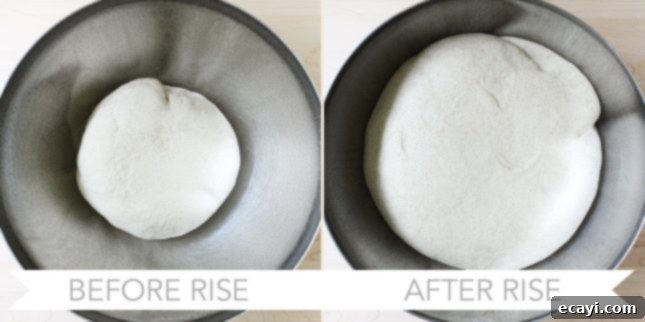
Lightly oil a clean, large mixing bowl. Place the dough into the oiled bowl, turning it once to coat, then cover it securely with plastic wrap. Allow the dough to rise in a warm spot for up to 2 hours, until it has roughly doubled in size. Alternatively, for a slower rise and enhanced flavor development, you can refrigerate the dough overnight or for up to 3 days. The extended cold fermentation significantly contributes to the depth of flavor in the finished muffins, making this a great make-ahead option.

To shape the English muffins
-
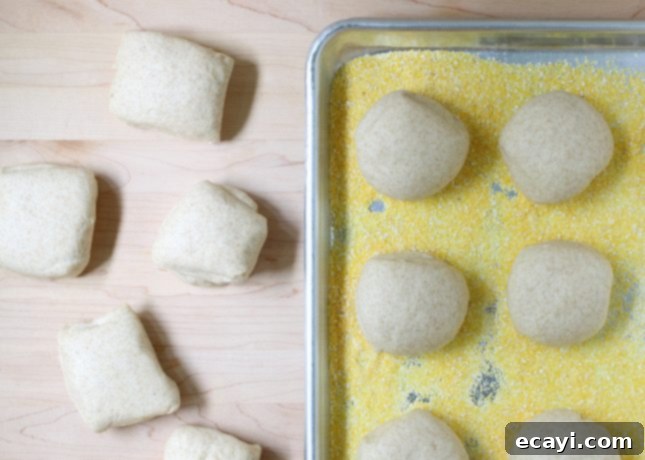
Prepare a baking sheet by scattering about ¼ cup (60 ml) of fine ground cornmeal evenly over its surface. Gently turn the risen dough out onto a lightly floured work surface. Using a sharp knife or a pastry scraper, divide the dough into 12 equal pieces. For best results, try to make them as uniform in size as possible to ensure even cooking.
-
Take one portion of dough and gently shape it into a neat ball. Place this ball onto the prepared cornmeal-dusted baking sheet. Lightly sprinkle the top of the dough ball with a little more cornmeal, then use the palm of your hand to gently press it down into a flat round, approximately 4 inches (10 cm) in diameter. This hand-shaping method works perfectly and eliminates the need for English muffin rings.

-
Repeat this shaping process for all remaining portions of dough, arranging them on the baking sheet about 1 inch (2.5 cm) apart to allow for their final rise. Once all muffins are shaped, loosely cover the entire sheet with plastic wrap. Let them rest in a warm place for their final proof. This will take about 1 hour for dough that was risen at room temperature, or up to 2 hours for dough that was refrigerated. The muffins should appear visibly puffy before cooking.

To cook the English muffins on the stovetop
-
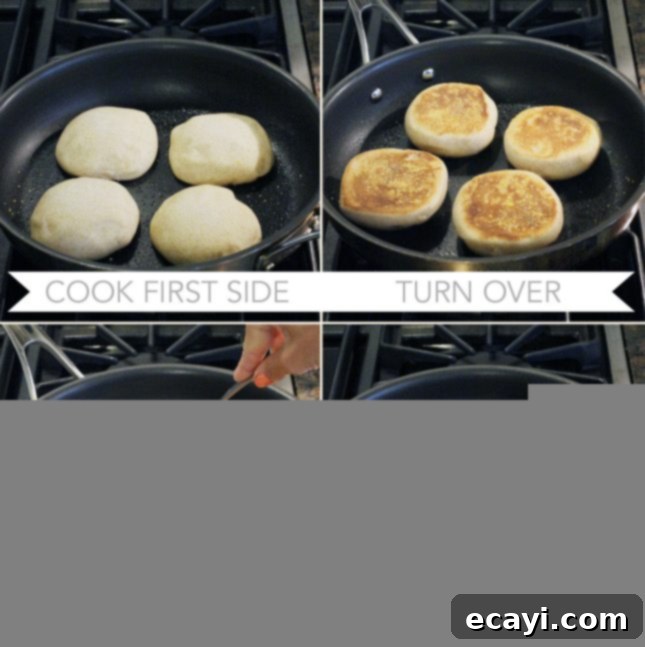
Heat a large skillet (cast iron works beautifully for even heat) over medium-low heat. This moderate-to-low temperature is critical for ensuring the muffins cook through without burning. Lightly coat the skillet with cooking spray or a small amount of butter. Carefully transfer a few of the risen English muffins to the skillet, making sure not to overcrowd the pan. If you choose to use English muffin rings, place the muffins in the skillet with the rings still on. Cook for about 6 minutes, until the bottoms of the muffins achieve a dark golden-brown color. If they appear to be browning too quickly, immediately lower the heat.
-
Using a spatula, carefully flip the muffins to the other side and continue to cook for another 6 minutes (adding more cooking spray or butter if the pan seems dry). The second side should also develop a beautiful dark golden-brown crust. The muffins are fully cooked when they appear puffy, and their sides feel dry to the touch, yet the muffin itself still feels somewhat elastic. It’s crucial not to rush this step; the longer cooking time on low heat ensures the interior is thoroughly cooked. For those who prefer thinner, less puffy English muffins, you can gently press the tops of the muffins with a spatula while they cook on the second side. This technique helps to prevent excessive rising.

-
Transfer the cooked English muffins to a cooling rack immediately after removing them from the skillet. Allow them to cool for at least 20 minutes before splitting or serving. While it will be incredibly tempting to dig in right away, this crucial final cooling and resting period is absolutely essential. It allows the muffins to fully set and continue cooking gently with residual heat, ensuring a perfectly moist and tender interior.
-
Repeat the cooking process for the remaining batches of muffins. Between each batch, it’s a good practice to quickly wipe the skillet clean with a paper towel to remove any stray cornmeal or browned bits, and then lightly re-grease it with cooking spray or butter. This ensures consistent browning and prevents sticking for all your muffins.
-
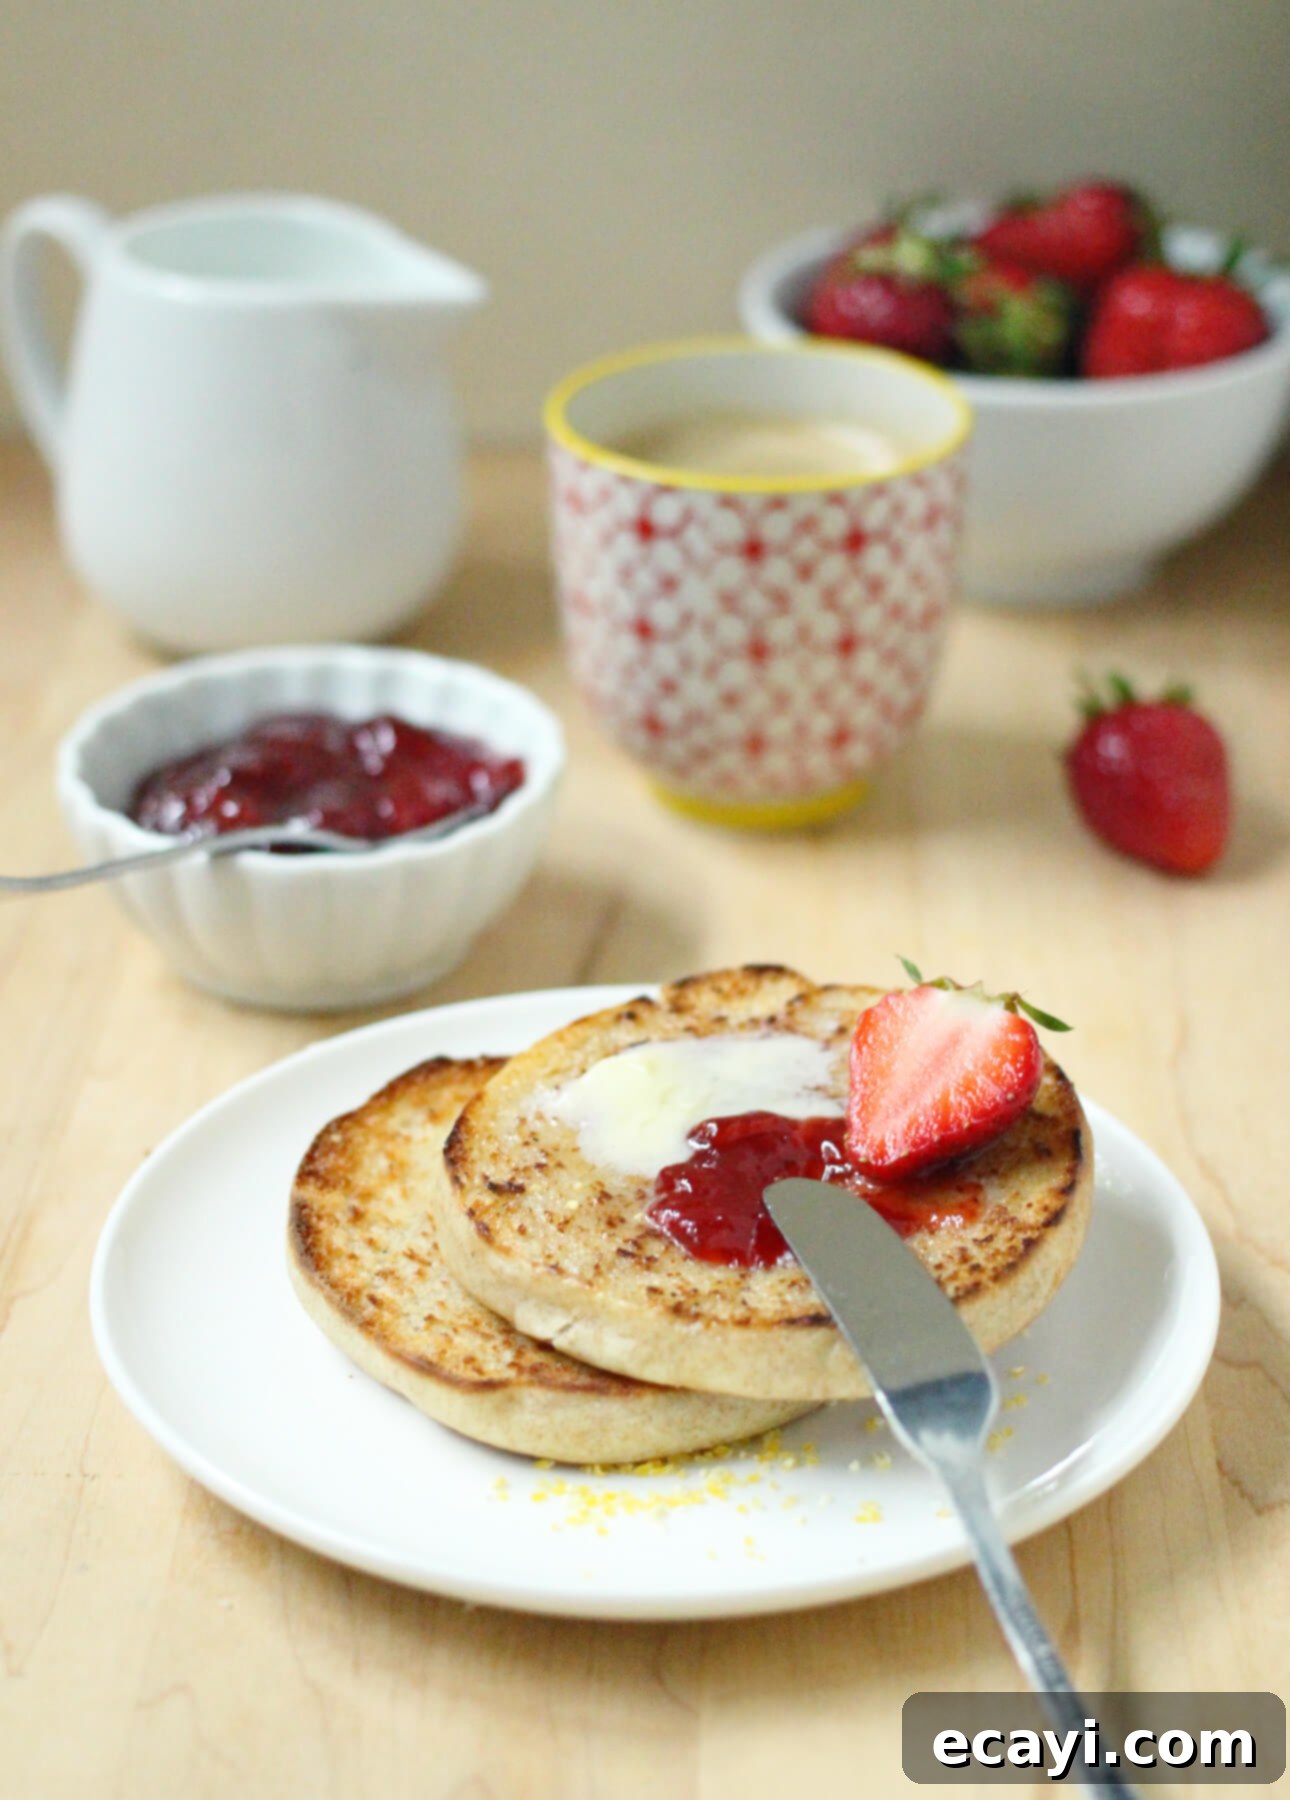
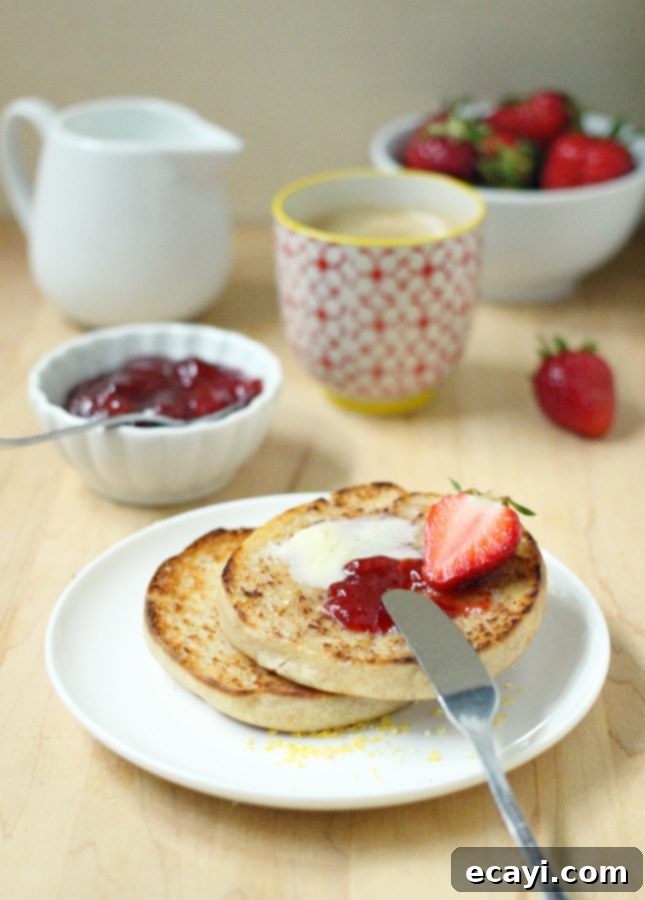
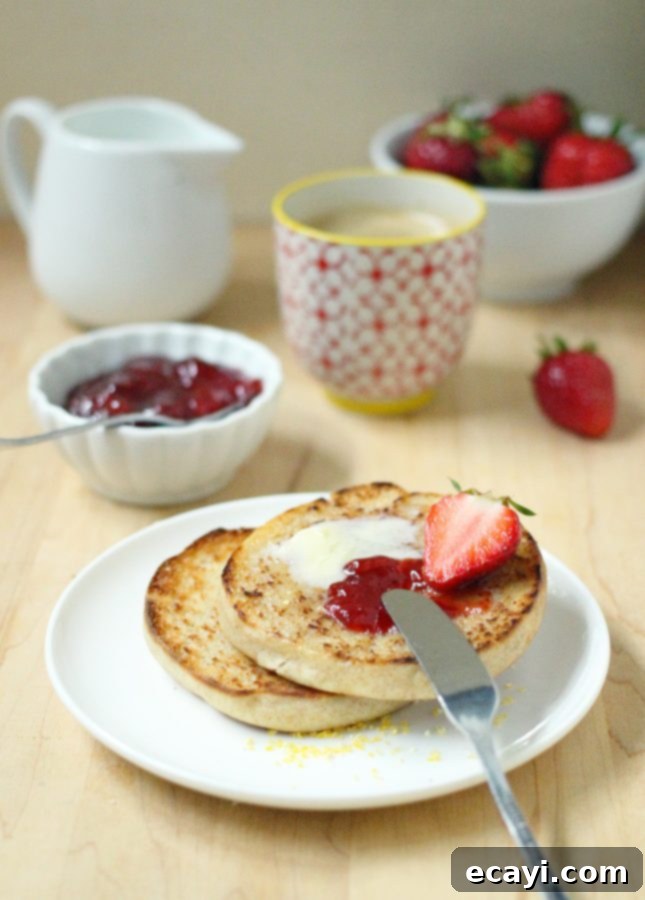
SERVING SUGGESTIONS: Once cooled, the best way to enjoy these homemade English muffins is to split them open. Use either a serrated knife or, for those classic “nooks and crannies” (even in whole wheat!), gently pry them open with a fork. Lightly toast them to revive their fresh-baked warmth and serve hot. They are heavenly with a generous spread of butter, your favorite jam, marmalade, or any other spread that suits your fancy. For a truly satisfying meal, transform them into a memorable breakfast sandwich with eggs, cheese, and your choice of protein.
-
STORAGE TIPS: These homemade whole wheat English muffins store wonderfully! They can be kept in an airtight container at room temperature for up to 2 days, or if you need them to last longer, refrigerate them for up to a week. For extended freshness, English muffins freeze exceptionally well. Simply place them in a freezer-safe bag or container, and they will keep for up to a month. To enjoy from frozen, just pop them directly into the toaster.
-
Recipe Credit: This recipe was lovingly developed by Marie Asselin of FoodNouveau.com, incorporating valuable tips and techniques inspired by Emma Christensen (The Kitchn), Melissa Clark (The New York Times), and Bon Appétit, ensuring a well-tested and delicious outcome.
Did you make this?
Tell me how you liked it! Leave a comment below or take a picture and tag it with @foodnouveau on Instagram. Your feedback and creations inspire us!
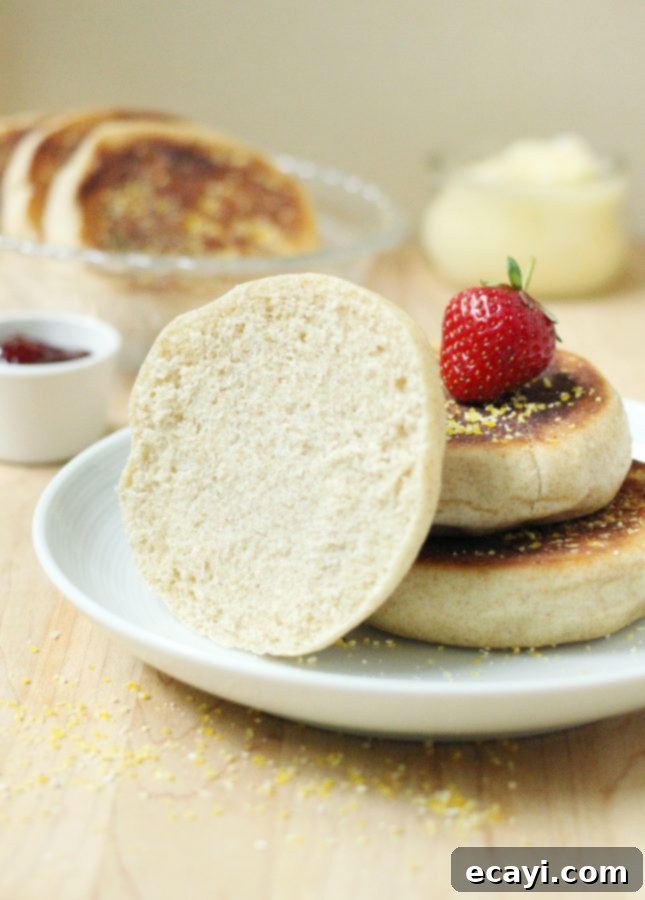
Enhance Your Breakfast Experience with Homemade Goodness
There’s something incredibly satisfying about making wholesome food from scratch, and these whole wheat English muffins are a perfect example. Not only do they offer a richer, more nuanced flavor than anything you’ll find in a store, but they also provide a wonderful sense of accomplishment. Incorporating whole wheat flour means you’re adding valuable fiber and nutrients to your diet, making these a healthy and delicious choice for any meal of the day. From a quick weekday breakfast to a leisurely weekend brunch, these muffins are versatile and incredibly rewarding. Don’t hesitate to dive into this delightful baking project – your taste buds and your health will thank you!
Disclosure Notice: This site is a participant in the Amazon Associates Program, an affiliate advertising program designed to provide a means for the site to earn fees by linking to Amazon and affiliated sites.
If you click on an affiliate link, I may earn advertising or referral fees if you make a purchase through such links, at no extra cost to you. This helps me creating new content for the blog–so thank you! Learn more about advertising on this site by reading my Disclosure Policy.
