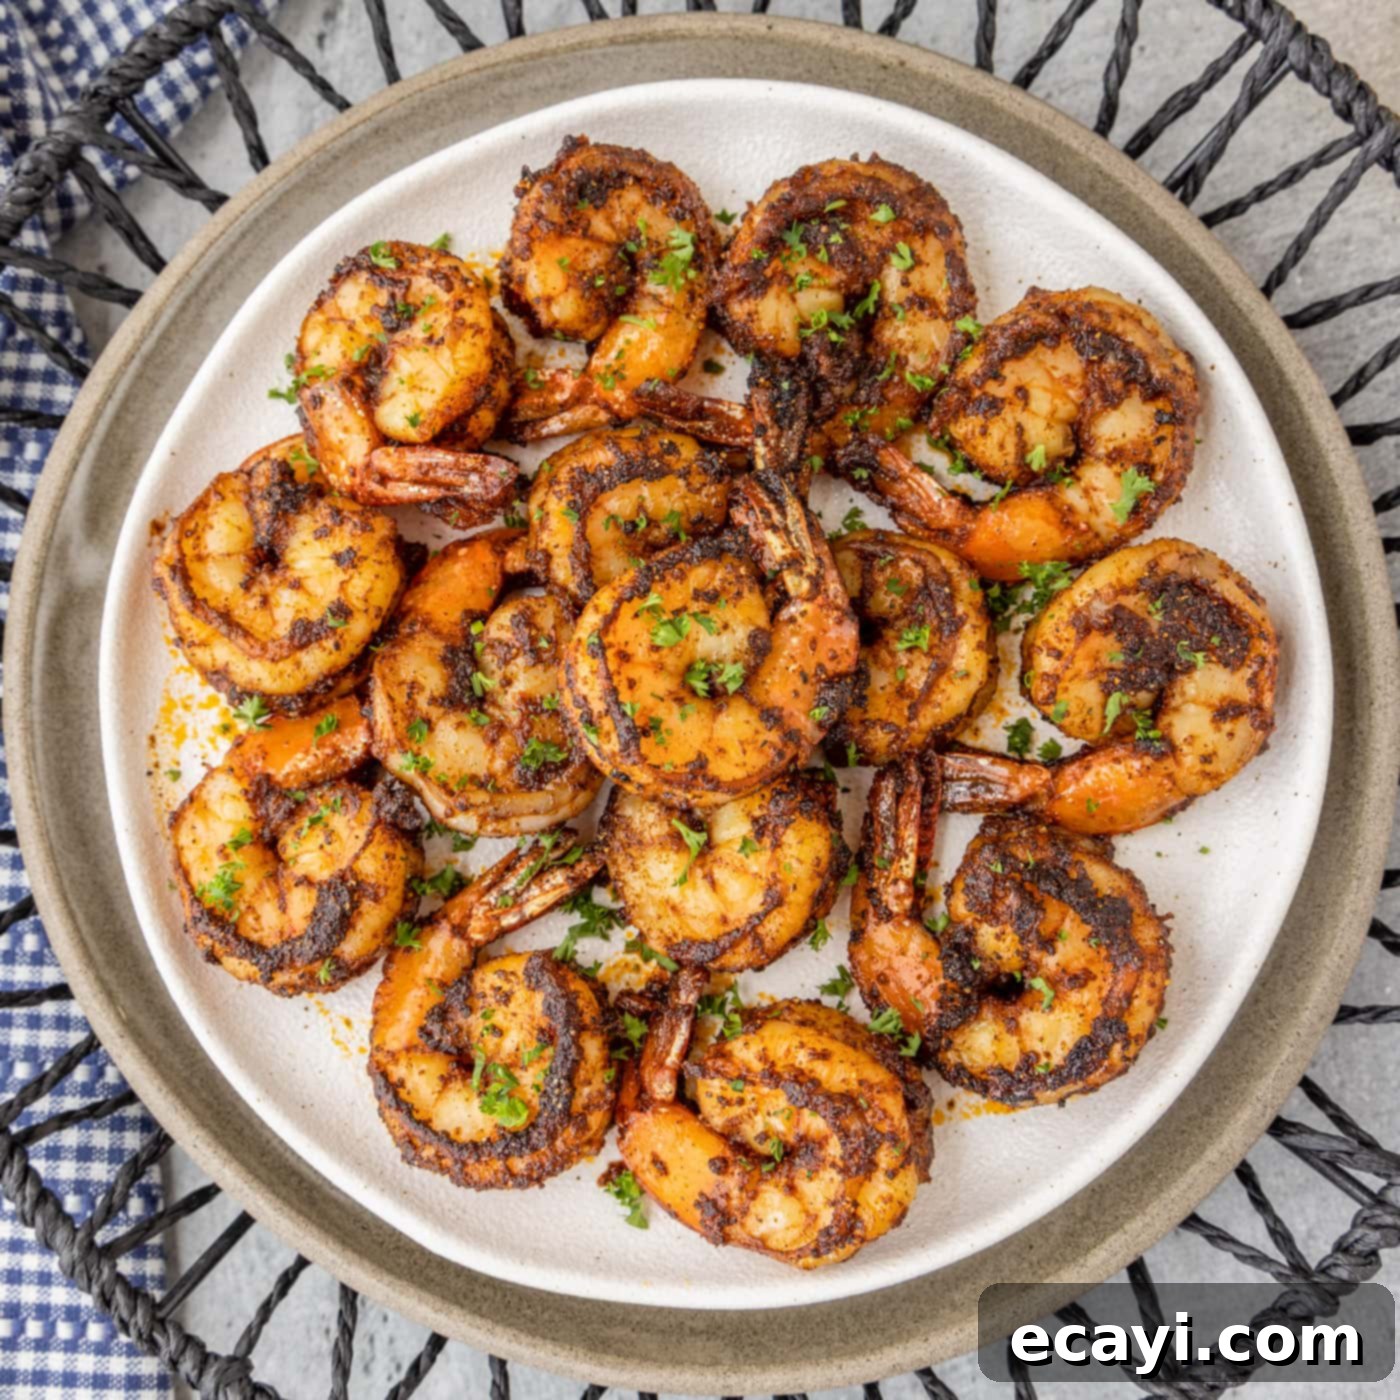
Irresistibly Delicious Blackened Shrimp: A Quick & Spicy Cajun-Inspired Recipe
Prepare your taste buds for an explosion of flavor with this incredible blackened shrimp recipe! Succulent shrimp are expertly pan-seared to perfection, coated in a homemade blend of bold and spicy seasonings that create an irresistible, caramelized crust. This dish brings the vibrant essence of Cajun cuisine right into your kitchen, offering a quick, easy, and profoundly satisfying meal that’s perfect for any day of the week.
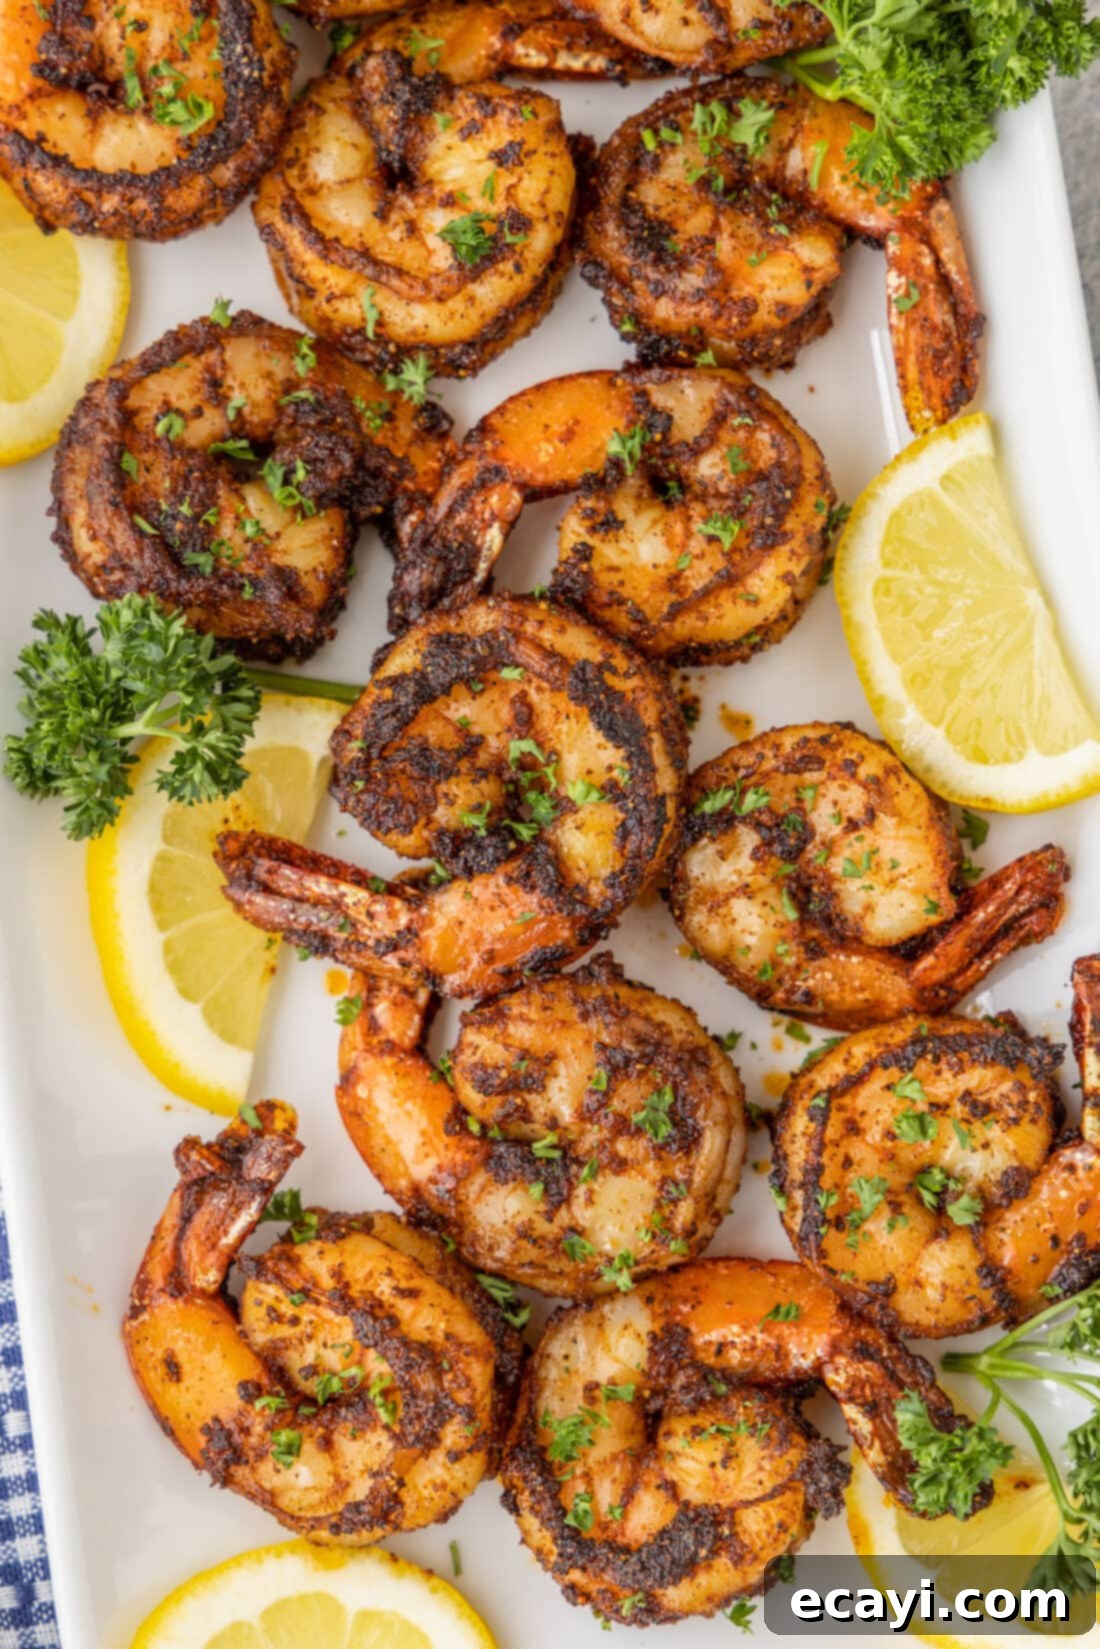
Why This Blackened Shrimp Recipe Is a Must-Try
This blackened shrimp recipe isn’t just a meal; it’s an experience. The secret lies in our carefully crafted homemade blackened seasoning, a harmonious blend of chili powder, paprika, garlic powder, a touch of brown sugar, salt, pepper, and fiery cayenne pepper. This isn’t merely a spice rub; it’s a symphony of bold, spicy, and aromatic notes that come together to form an unforgettable flavor profile. Each ingredient plays a crucial role: the paprika and chili powder provide depth and color, garlic powder adds an aromatic base, brown sugar helps caramelize the shrimp to perfection, and cayenne pepper delivers that signature Cajun kick.
Blackened seasoning is a cornerstone of Cajun cuisine, originating from the vibrant culinary traditions of the American South. The technique involves searing food at very high temperatures in a cast-iron skillet, causing the spices to darken and form a delicious, crisp, and slightly smoky crust. This “blackening” process creates an incredible depth of flavor without actually burning the food. While it’s famously used on fish and chicken, shrimp truly shine with this method, cooking quickly and absorbing every nuance of the seasoning. If you’re a fan of rich, rustic, and spicy flavors, this recipe will quickly become a favorite. Elevate your next pasta dish by substituting these succulent shrimp into our Cajun chicken pasta for an extra layer of authentic Southern spice and zest.
Essential Ingredients for Perfect Blackened Shrimp
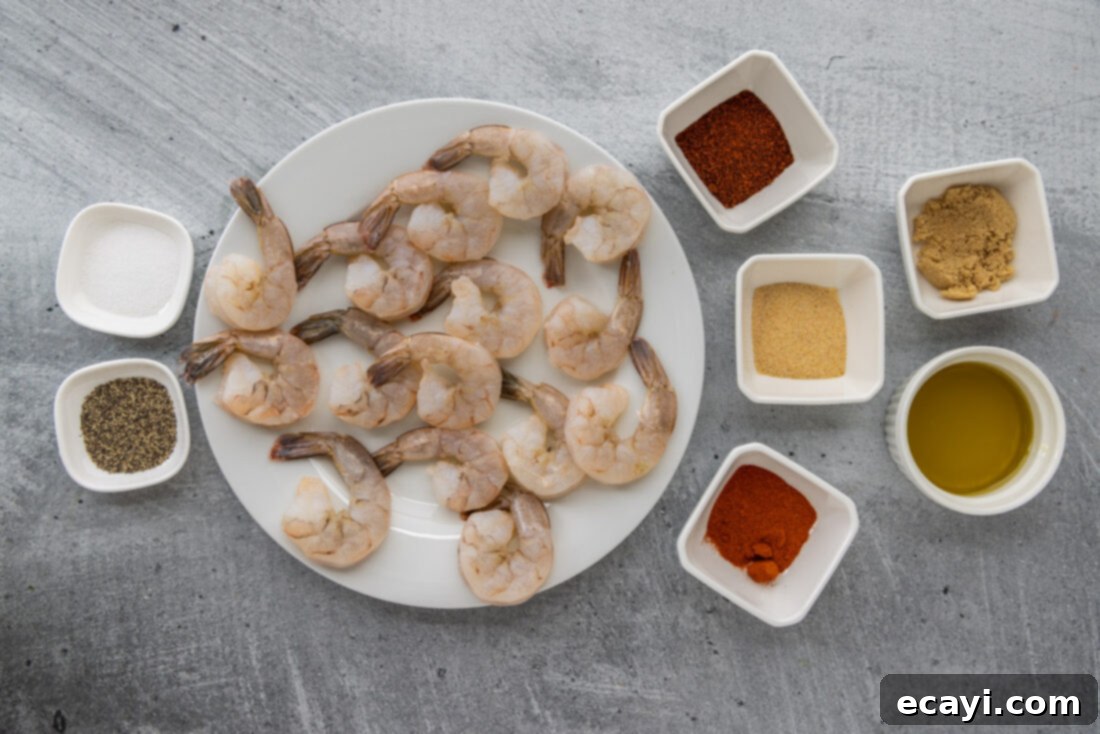
Crafting exceptional blackened shrimp starts with high-quality ingredients. Below is a detailed look at what you’ll need, along with helpful tips for selection and potential substitutions. For precise measurements and step-by-step instructions, make sure to check out the printable recipe card at the conclusion of this post.
Ingredient Spotlight & Expert Tips
SHRIMP – The star of our dish! We typically opt for extra-large grilling shrimp, found fresh at the butcher counter of our local grocery store. Look for shrimp that are already peeled and deveined, ideally with the tails left on for presentation and easier handling. While fresh is always best, you can certainly use frozen bagged shrimp. The key is to ensure they are raw (not pre-cooked) and completely thawed before you begin cooking. Thawing can be done overnight in the refrigerator or by placing the sealed bag under cold running water for about 15-20 minutes. After thawing, pat them extremely dry with paper towels; excess moisture will steam the shrimp instead of allowing them to get that desirable blackened crust.
HOMEMADE BLACKENED SEASONING – Our signature blend brings this dish to life. It features:
- Chili Powder: Adds earthy, mild heat and a foundational flavor.
- Paprika: Contributes a sweet, smoky, and slightly peppery taste, along with a beautiful red hue that deepens during blackening.
- Garlic Powder: Essential for a pungent, aromatic base that complements the seafood.
- Brown Sugar: A touch of sweetness helps balance the spices and, crucially, aids in caramelization, giving the shrimp that gorgeous dark crust. Don’t omit this, it’s key to the “blackened” effect!
- Salt & Pepper: The fundamental seasonings to enhance all other flavors.
- Cayenne Pepper: This is where the heat comes from! Our recipe includes 2 teaspoons for a good kick, but you have full control. If you prefer a milder flavor, reduce the amount to a pinch or omit it entirely. For those who love intense spice, feel free to add a bit more!
If you’re short on time or prefer a ready-made option, quality pre-packaged blackened seasoning blends are available in most grocery stores. Just be aware that salt levels can vary, so adjust accordingly.
OLIVE OIL – A good quality olive oil is ideal for searing, but any high-smoke-point oil like avocado oil or grapeseed oil will also work beautifully.
Step-by-Step Guide to Making Blackened Shrimp
These step-by-step photos and detailed instructions are here to help you visualize how to make this delicious recipe. For a convenient printable version of this recipe, complete with precise measurements and full instructions, simply Jump to Recipe at the bottom of the page.
- Prepare the Shrimp: Begin by thoroughly rinsing your shrimp under cold water. This helps clean them and ensures a fresh taste. The most critical step here is to pat them *completely dry* with paper towels. Any residual moisture will prevent the shrimp from searing properly and achieving that desired crispy blackened crust.
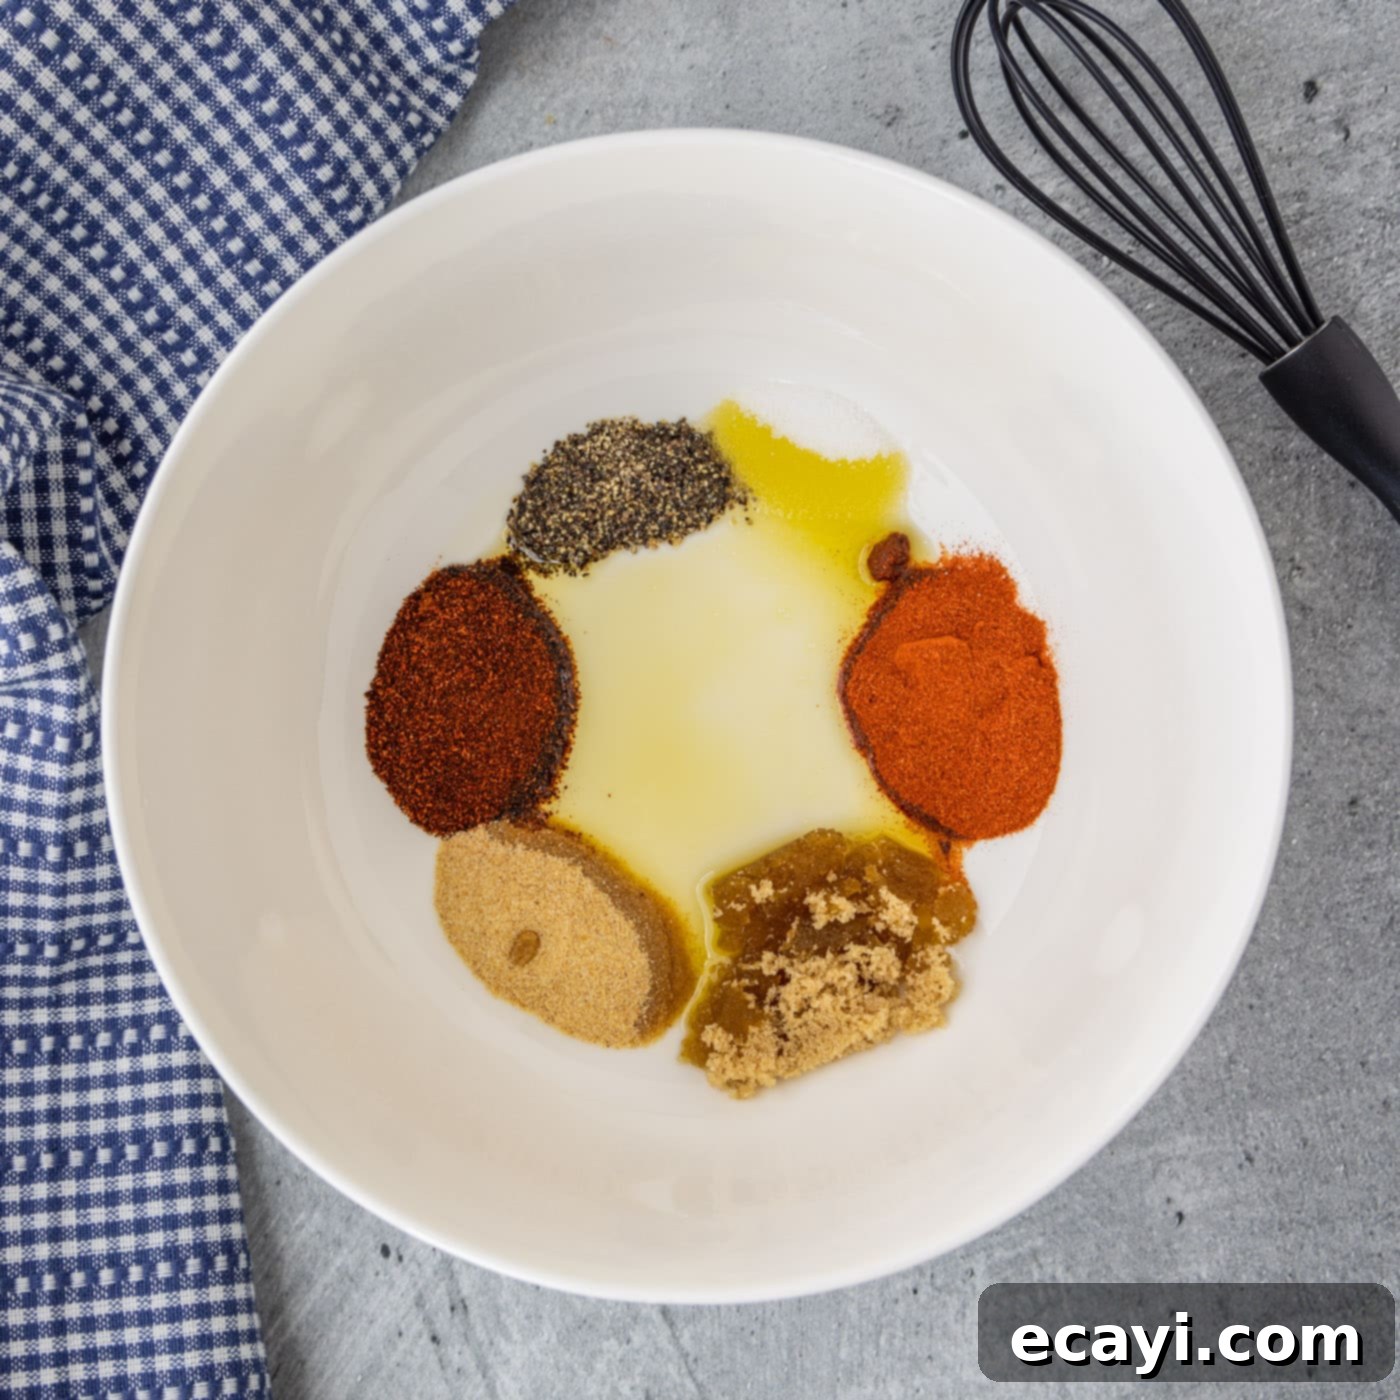
- Create the Seasoning Blend: In a small bowl, combine all the seasoning ingredients: chili powder, paprika, garlic powder, brown sugar, salt, pepper, and cayenne pepper (if using). Whisk them together thoroughly until all the spices are evenly distributed. This ensures every shrimp gets a consistent coating of flavor.
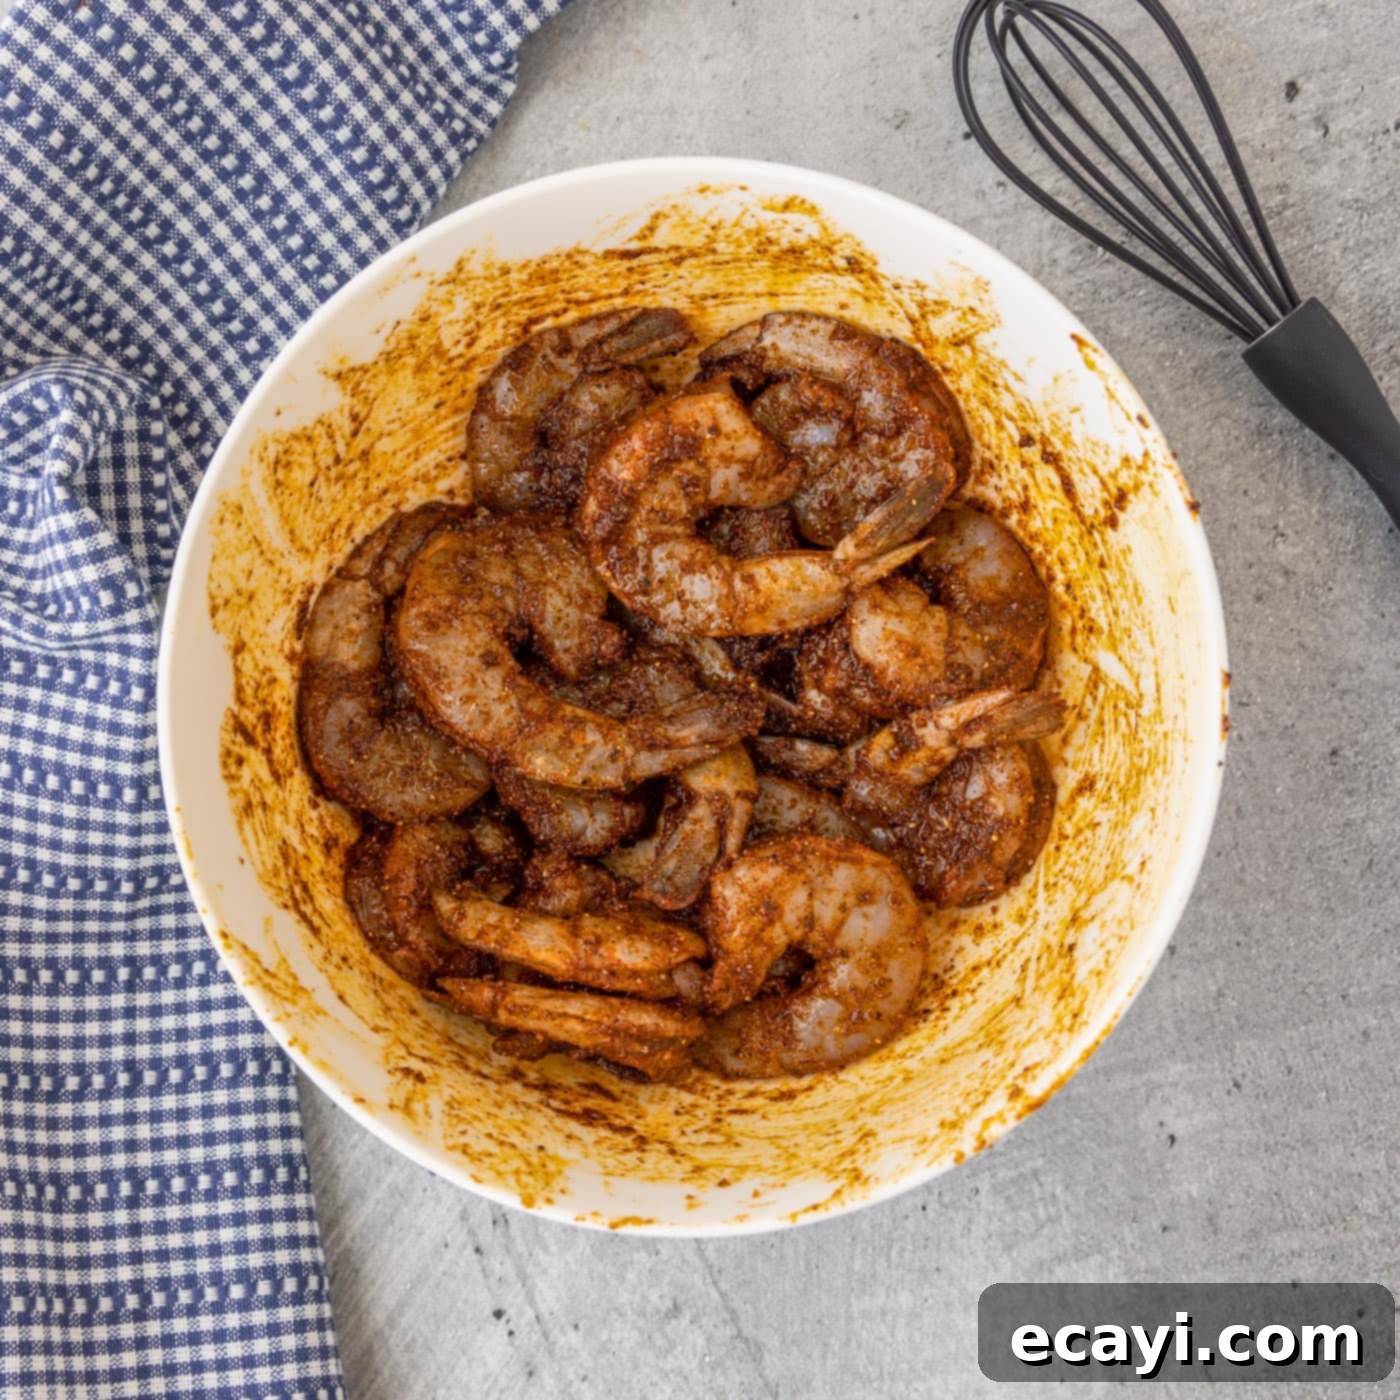
- Season the Shrimp: Drizzle the dried shrimp with a bit of olive oil, then add the prepared seasoning blend. Using gloved hands (this prevents staining and spice irritation), toss the shrimp gently but thoroughly to ensure each piece is coated completely and evenly with the spices. Don’t skimp on the coating; this is where the flavor comes from!
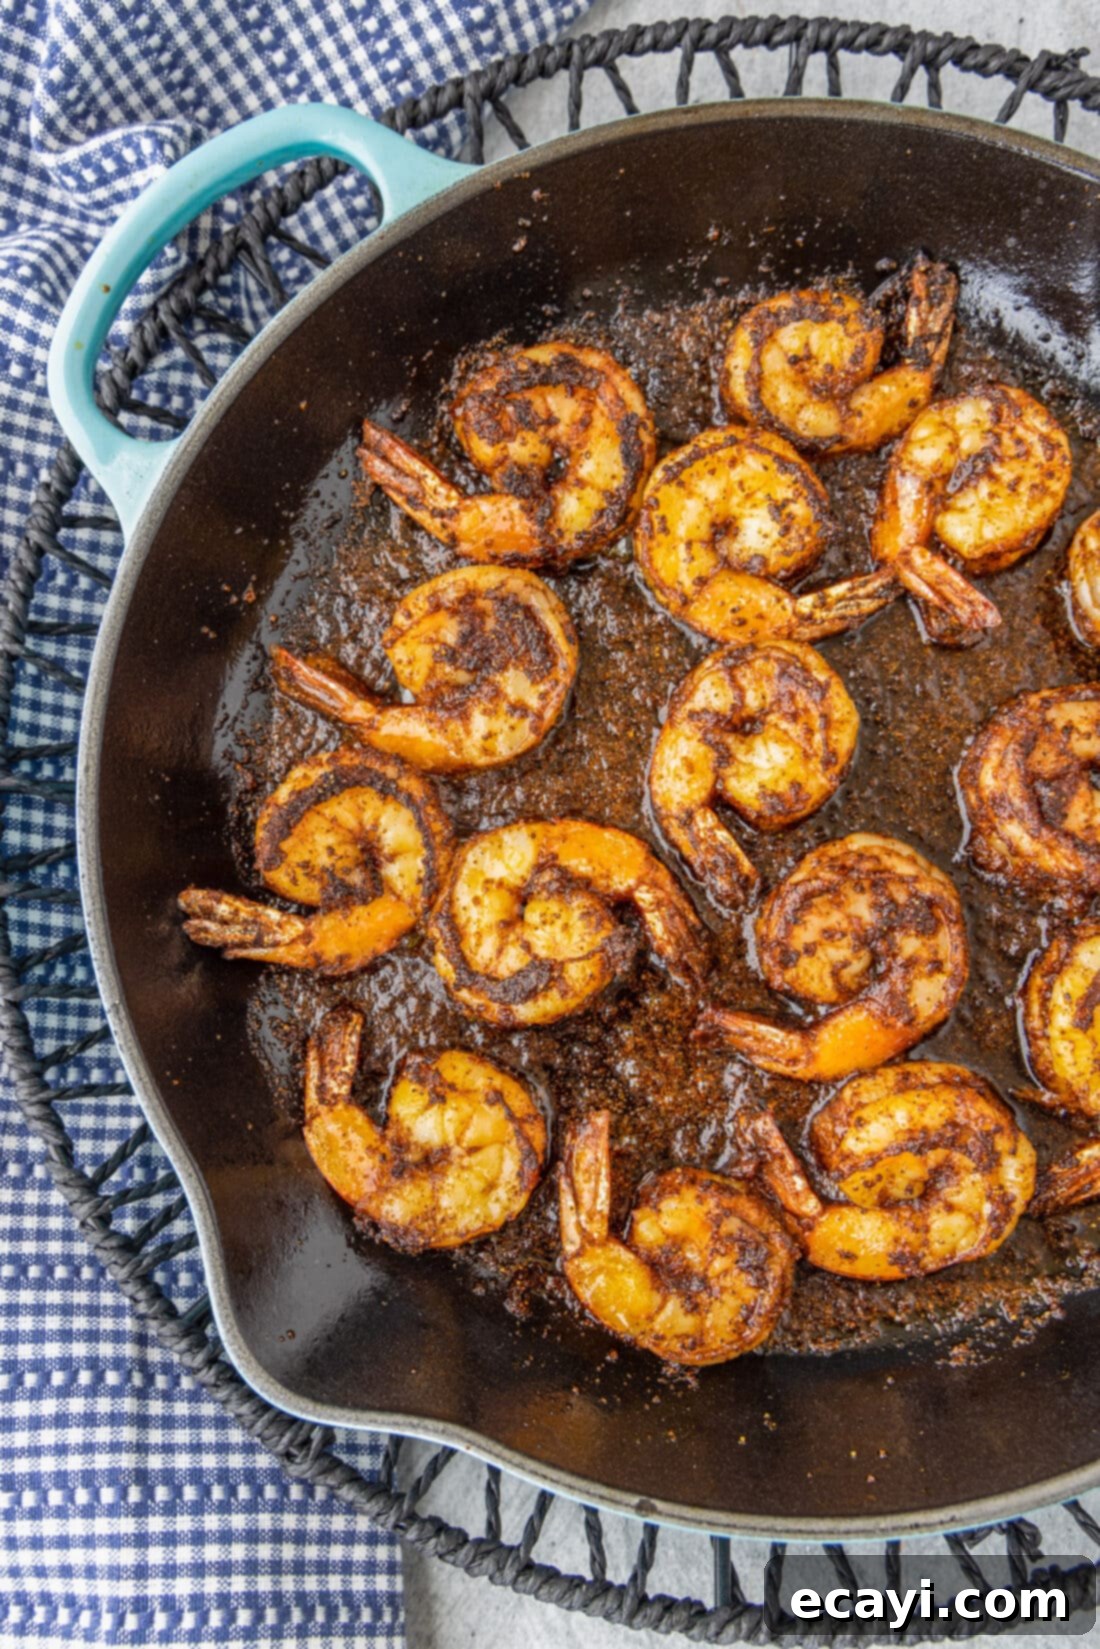
- Preheat Your Skillet: Heat a heavy-bottomed skillet (a cast iron skillet is highly recommended for best results) over medium-high heat. Allow it to get very hot before adding the shrimp. A hot pan is essential for achieving that perfect blackened crust. Add the remaining olive oil to the hot pan, ensuring it coats the bottom.
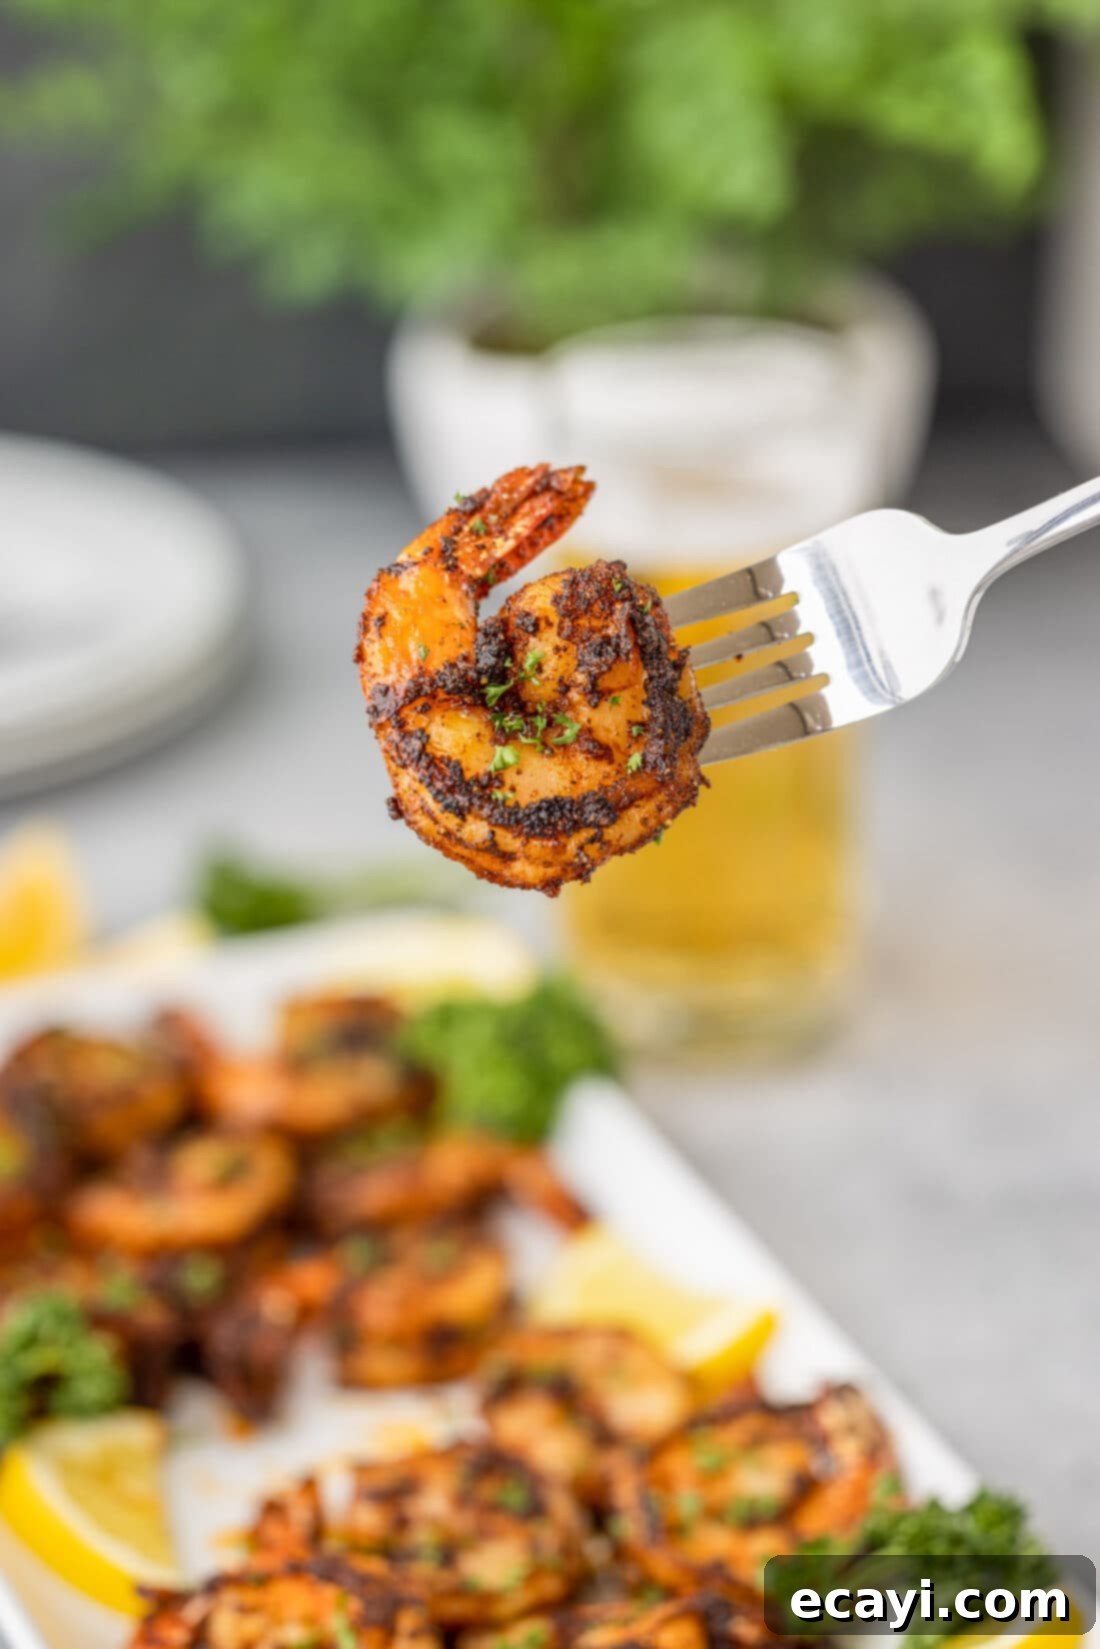
- Cook the Shrimp: Carefully place the seasoned shrimp into the hot skillet in a single layer. It’s crucial not to crowd the pan, as this will lower the temperature and cause the shrimp to steam instead of sear. Cook the shrimp for approximately 2-3 minutes per side. You’ll know they’re ready when they turn opaque, curl into a “C” shape, and develop a beautiful dark, crispy crust. Remove them promptly from the pan to prevent overcooking, which can make them rubbery. If cooking in batches, wipe out any excessive burnt spices between batches to avoid bitterness.
Frequently Asked Questions & Expert Tips
The level of spiciness in blackened shrimp primarily comes from the cayenne pepper in the spice blend. While the cayenne does add a fantastic “kick” and depth of flavor, it doesn’t have to be overwhelmingly spicy. You have full control! For a milder version, simply reduce the amount of cayenne to a small pinch, or omit it altogether. If you love heat, feel free to add a bit more. The other spices provide a rich flavor base that is delicious even without intense heat.
“Blackened” refers to a specific cooking method that originated in Cajun cuisine. It involves coating food (like shrimp, fish, or chicken) in a blend of spices and then searing it at very high temperatures in a superheated cast-iron skillet, often with butter. The high heat and spices cause the surface of the food to form a dark brown, almost black, caramelized crust. This process creates intense flavor and a delicious texture, but it does *not* mean the food is burnt. The spices are toasted and caramelized, enhancing their flavors, rather than burning them to an acrid crisp. It’s a technique that yields a distinctive, rich, and slightly smoky taste.
A cast-iron skillet is by far the best choice for blackening. Its ability to retain and distribute high, even heat is crucial for achieving that signature dark, crusty exterior. If you don’t have cast iron, a heavy-bottomed stainless steel skillet can work, but you may need to adjust cooking times slightly and ensure it gets very hot.
You can mix the seasoning blend ahead of time and store it in an airtight container for future use. However, it’s best to coat the shrimp in the seasoning just before cooking. If seasoned too far in advance, the salt can start to draw moisture out of the shrimp, affecting their texture and the ability to get a good crust.
Store any leftover blackened shrimp in an airtight container in the refrigerator for up to 2-3 days. While delicious cold in salads, for reheating, gently warm them in a skillet over medium-low heat for a few minutes until just heated through. Be careful not to overcook, as reheating can make them tough if done improperly.
Blackened shrimp pairs wonderfully with a variety of sides. Some popular choices include fluffy white rice, dirty rice, creamy grits, sautéed greens like collards or spinach, corn on the cob, a fresh garden salad, or even some crusty French bread to soak up any flavorful pan juices.
Creative Ways to Serve Blackened Shrimp
The versatility of blackened shrimp makes it an excellent addition to countless meals. For a simple yet satisfying dinner, serve it elegantly over a bed of fluffy white or brown rice. Transform your next Taco Tuesday by wrapping these flavorful shrimp into soft tacos or burritos, topped with a zesty slaw and a drizzle of crema. They are also a fantastic protein boost for crisp salads, adding a burst of spicy flavor and satisfying texture. Of course, they are equally delightful enjoyed on their own as an appetizer or main course, perhaps with a side of classic cocktail sauce, a tangy remoulade, or our unique Alabama white sauce for dipping. For a truly wholesome and hearty meal, toss them into a vibrant bowl with roasted vegetables and your grain of choice. The possibilities are endless!
Discover More Irresistible Shrimp Recipes
If you love the ease and deliciousness of shrimp, we have plenty more recipes to inspire your next meal! Explore our collection for diverse flavors and cooking methods:
- Shrimp Pasta
- Popcorn Shrimp
- Shrimp Kabobs
- Shrimp Po Boys
- Spicy Shrimp
- Butterfly Shrimp
- Citrus Pepper Shrimp
I love to bake and cook and share my kitchen experience with all of you! Remembering to come back each day can be tough, that’s why I offer a convenient newsletter every time a new recipe posts. Simply subscribe and start receiving your free daily recipes!
Blackened Shrimp
IMPORTANT – There are often Frequently Asked Questions within the blog post that you may find helpful. Simply scroll back up to read them!
Print It
Pin It
Rate It
Save ItSaved!
Ingredients
- 1 pound extra large grilling shrimp peeled and deveined, tails on (fresh or thawed frozen)
Seasoning
- ⅓ cup olive oil
- ½ Tablespoon chili powder
- 1 Tablespoon paprika
- 1 Tablespoon garlic powder
- 1 Tablespoon brown sugar
- 1 teaspoon salt
- 2 teaspoons black pepper
- 2 teaspoons cayenne pepper optional, adjust to your preferred spice level
Things You’ll Need
-
Large cast-iron or heavy-bottomed skillet
-
Mixing bowls
-
Vinyl gloves
-
Tongs
-
Whisk
Before You Begin
- We source our high-quality grilling shrimp from the butcher counter at our local grocery store. For convenience, you can also use frozen, bagged raw shrimp. It’s crucial that they are not pre-cooked. Ensure frozen shrimp are fully thawed before use; you can thaw them overnight in the refrigerator or by placing them in a sealed bag under cold running water for 15-20 minutes. After thawing, pat them very dry with paper towels to ensure a perfect sear and crispy crust.
- The distinctive heat in blackened shrimp comes primarily from the cayenne pepper in the spice blend. While essential for the classic flavor, the amount is fully customizable. If you prefer a milder dish, simply add a smaller pinch of cayenne or omit it entirely. For those who enjoy a significant kick, you might even add a touch more!
- For the best blackened crust, use a heavy-bottomed skillet, preferably cast iron, heated to medium-high until very hot. Avoid overcrowding the pan; cook the shrimp in batches if necessary to maintain high heat and achieve proper searing.
Instructions
-
Rinse shrimp thoroughly under cold water and then pat them completely dry with paper towels. This step is crucial for achieving a proper sear.
-
In a small bowl, combine all the seasoning ingredients (chili powder, paprika, garlic powder, brown sugar, salt, pepper, and cayenne pepper). Whisk them together until well blended.
-
Drizzle the dried shrimp with a portion of the olive oil, then add the prepared seasoning blend. Using gloved hands, toss the shrimp vigorously to ensure each piece is evenly and thoroughly coated.
-
Heat your heavy-bottomed skillet (preferably cast iron) over medium-high heat until it’s very hot. Add the remaining olive oil to coat the pan.
-
Place the seasoned shrimp into the hot skillet in a single layer, ensuring not to overcrowd the pan. Cook for approximately 2-3 minutes per side, or until the shrimp are opaque, curled, and have developed a dark, crusty “blackened” exterior. Remove from heat immediately to prevent overcooking.
Nutrition
The recipes on this blog are tested with a conventional gas oven and gas stovetop. It’s important to note that some ovens, especially as they age, can cook and bake inconsistently. Using an inexpensive oven thermometer can assure you that your oven is truly heating to the proper temperature. If you use a toaster oven or countertop oven, please keep in mind that they may not distribute heat the same as a conventional full sized oven and you may need to adjust your cooking/baking times. In the case of recipes made with a pressure cooker, air fryer, slow cooker, or other appliance, a link to the appliances we use is listed within each respective recipe. For baking recipes where measurements are given by weight, please note that results may not be the same if cups are used instead, and we can’t guarantee success with that method.
