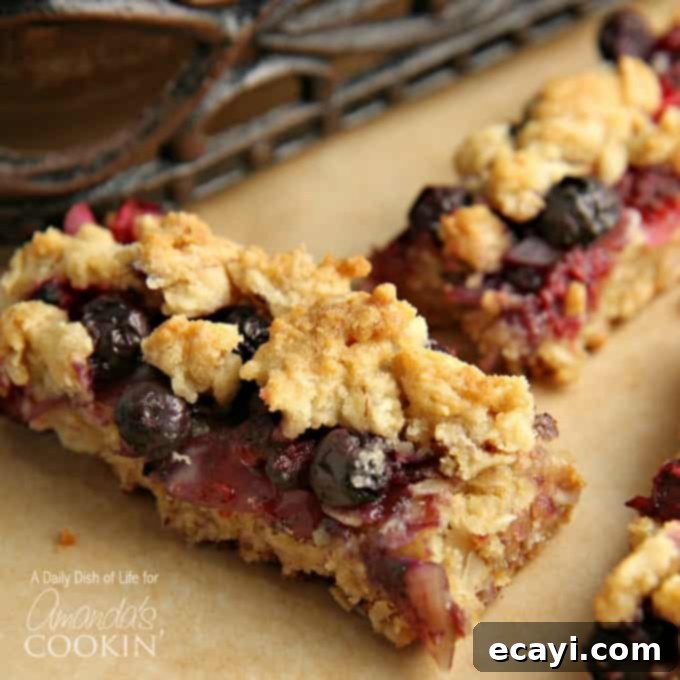
Delicious Berry Cookie Bars: An Easy, Kid-Approved Family Favorite Recipe
Get ready to discover your new favorite dessert! These incredibly delicious berry cookie bars are an absolute game-changer for busy families and anyone craving a sweet, fruity treat. They are remarkably easy to prepare, bursting with the vibrant flavors of fresh or frozen berries, and universally loved by kids and adults alike. Perfect for an after-school snack, a delightful addition to any potluck, or simply a sweet indulgence any time you need a pick-me-up, these homemade cookie bars promise to deliver smiles with every bite.
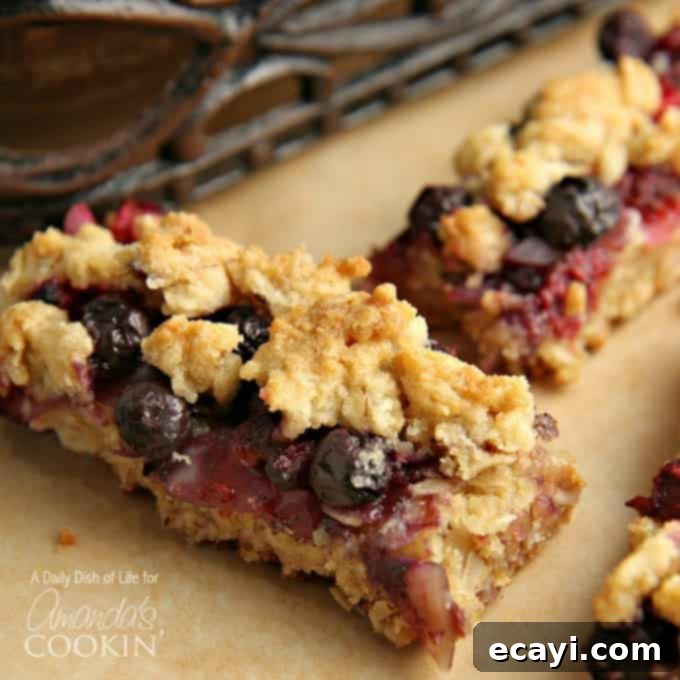
Why These Berry Cookie Bars Will Become Your Go-To Recipe
When it comes to baking, there’s a certain comfort in relying on tried-and-true recipes that consistently deliver fantastic results. This particular recipe for berry cookie bars is a testament to that philosophy. It builds upon a beloved base that has been a hit in our family for years, specifically inspired by our cherished Lemon Blueberry Bars. Knowing the foundation is solid ensures that these fruit-filled cookie bars will be just as successful and equally adored. The beauty of a reliable base recipe is its adaptability, allowing for simple variations that open up a world of flavor possibilities.
The concept behind these bars is straightforward: a delightful cookie crust and crumble topping sandwiching a generous layer of mixed berries. The simplicity of the ingredients combined with easy-to-follow steps means even novice bakers can achieve a show-stopping dessert. Plus, the vibrant colors and fresh taste make them an appealing option for any occasion, from casual family dinners to more festive gatherings. Imagine a dessert that brings together the comforting texture of a cookie with the juicy sweetness of ripe berries – that’s exactly what you get with these incredible berry cookie bars.
Customize Your Berry Experience
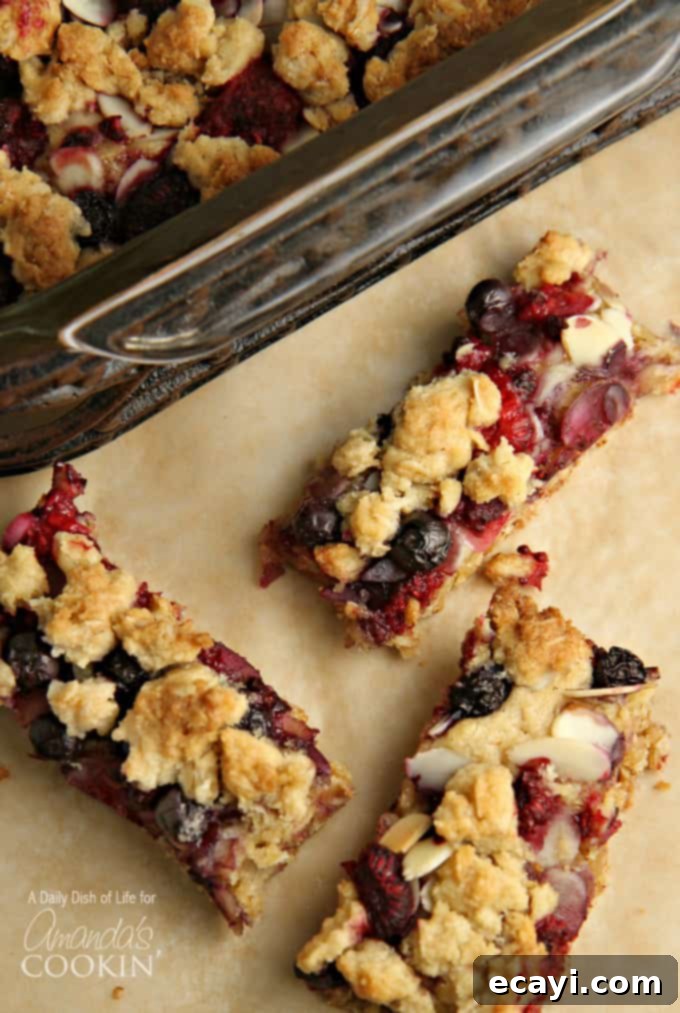
One of the most appealing aspects of these homemade cookie bars is their incredible versatility. While I typically use a mix of frozen blueberries, blackberries, raspberries, and strawberries for a full spectrum of color and flavor, you are absolutely free to use any combination of berries you desire. Have a surplus of fresh summer strawberries? Go for it! Prefer the tangy kick of pure raspberries? That works too! You can even use a single type of berry if that’s what you have on hand or what your family prefers. The flexibility of this recipe allows you to tailor it to your taste buds and what’s in season, making it a truly personal baking experience.
Using frozen berries is not just convenient; it’s often more economical and ensures you can enjoy these delightful bars year-round, regardless of seasonal availability. They also tend to hold their shape well during baking, releasing just enough juice to create a tender, fruity layer without making the bars soggy. If you opt for fresh berries, ensure they are ripe and sweet for the best flavor outcome.
To Nut or Not To Nut?
Another fantastic customizable element is the addition of nuts. I personally love the subtle crunch and nutty flavor that slivered almonds bring to these cookie bars. They provide a wonderful textural contrast to the soft cookie and juicy berries, adding another layer of complexity to each bite. However, if nuts aren’t your preference, whether due to taste or allergies, feel free to omit them entirely. The bars will be just as delightful and delicious without them. For those who enjoy nuts but want to try something different, chopped walnuts or pecans could also be excellent substitutes, offering their unique earthy notes to complement the berries.
Disclosure: This post contains affiliate links. This means that if you make a purchase through one of these links, I may earn a small commission at no additional cost to you. Your support helps keep this blog running and allows me to continue sharing delicious recipes!
Essential Ingredients and Tools for Your Berrylicious Bars
To embark on your journey to create these irresistible berry cookie bars, you’ll need a few common baking ingredients and some basic kitchen tools. The beauty of this recipe lies in its accessibility; no fancy or hard-to-find items are required, making it an ideal choice for everyday baking.
Ingredients:
- 2 sticks of butter, softened
- 2 cups of light brown sugar, packed
- 2 teaspoons of baking powder
- 1 large egg
- 1 teaspoon pure vanilla extract
- 2 cups of all-purpose flour
- 2 cups of rolled oats (quick or old-fashioned work well)
- 1/4 cup of slivered almonds (optional, but highly recommended for texture)
- 2 cups of frozen mixed berries (blueberries, strawberries, raspberries, blackberries – a colorful medley!)
Recommended Tools:
- 13 x 9 inch baking dish: The perfect size for a generous batch of bars.
- Stand mixer (or a hand mixer): Great for creaming butter and sugar, ensuring a smooth, uniform dough.
- Measuring cups and spoons
- Rubber spatula or wooden spoon
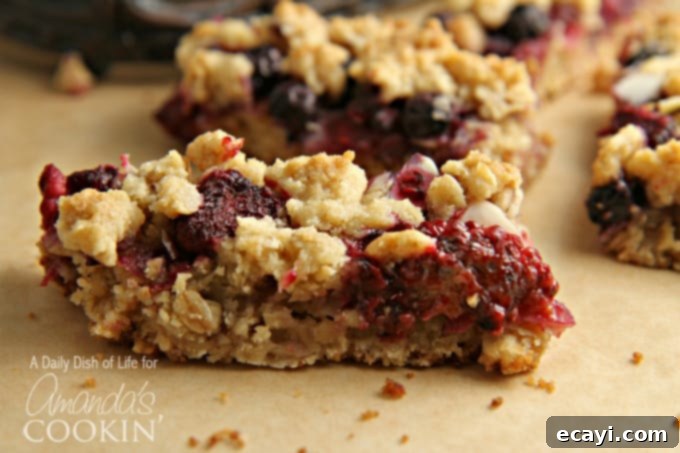
Serving & Storage: Making Your Berry Cookie Bars Last
These berry cookie bars have a magical way of disappearing quickly in our household – it’s a good problem to have! To ensure we always have some on hand, I often make a double batch and freeze about half of it for later. Freezing these bars is incredibly simple and allows you to enjoy a homemade treat whenever a craving strikes without having to bake from scratch. Simply cut the cooled bars into individual portions, wrap them tightly in plastic wrap, and then place them in a freezer-safe bag or airtight container. They can be stored in the freezer for up to 3 months. When you’re ready to enjoy, just let them thaw at room temperature for an hour or two, or gently warm them in the microwave for a few seconds for that freshly baked feel.
Beyond being a perfect after-school snack or an easy on-the-go treat, these versatile dessert bars are an excellent option for potlucks, picnics, and holiday gatherings. Their sturdy nature makes them easy to transport, and their vibrant appearance is always a crowd-pleleaser. With the beautiful contrast of red strawberries and blue blueberries, these bars are particularly festive and ideal for celebrations like the 4th of July, adding a patriotic touch to your dessert spread. Their delightful blend of sweet and tart flavors appeals to a wide range of palates, guaranteeing they’ll be a hit wherever they go.
More Irresistible Cookie Bar Recipes to Explore:
If you’re anything like me, once you master one amazing cookie bar recipe, you’ll want to dive into more! Here are some other fantastic cookie bar recipes from fellow food bloggers that are sure to inspire your next baking adventure:
- PB&J Bars with Strawberry Jam from A Dish of Daily Life: A nostalgic and comforting treat.
- Raspberry Oatmeal Crumble Bars from Averie Cooks: A delightful combination of fruity sweetness and wholesome oats.
- Blueberry Crumble Bars from Love Bakes Good Cakes: Classic blueberry goodness in a convenient bar form.
- Raspberry Lemon Bars from Diethood: A zesty and sweet pairing that’s always refreshing.
- Tropical Dream Dessert Bars – Amanda’s Cookin’: For a taste of paradise in every bite.
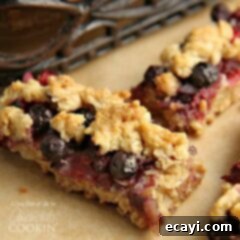
Berrylicious Bars
IMPORTANT – There are often Frequently Asked Questions within the blog post that you may find helpful. Simply scroll back up to read them!
Print It
Pin It
Rate It
Save ItSaved!
Ingredients
- 2 sticks of butter softened
- 2 cups of light brown sugar packed
- 2 teaspoons baking powder
- 1 egg
- 1 teaspoon vanilla
- 2 cups all purpose flour
- 2 cups oats
- ¼ cups almond slivers
- 2 cups frozen mixed berries
Instructions
-
Preheat your oven to 350 degrees F (175 degrees C). This ensures the oven is at the correct temperature for even baking from the start.
-
Thoroughly grease a 13 x 9 inch baking dish with butter. This prevents sticking and helps the bars release easily after baking. You can also line it with parchment paper for even easier removal.
-
Using a stand mixer fitted with the paddle attachment (or a hand mixer), beat the softened butter until it is light, fluffy, and smooth. This creates an airy base for your cookie dough.
-
Add the light brown sugar (ensure it’s packed for accurate measurement) and baking powder to the creamed butter. Continue to beat on medium speed until the mixture is well combined and fluffy, scraping down the sides of the bowl as needed.
-
Incorporate the vanilla extract and the egg into the butter and sugar mixture. Beat until all ingredients are fully combined and the mixture is smooth. Be careful not to overmix at this stage.
-
Gradually add the all-purpose flour to the wet mixture, a half-cup at a time, continuing to beat on low speed until just combined. Overmixing the flour can lead to tough bars, so stop as soon as no dry streaks remain.
-
Remove the bowl from the stand mixer and gently fold in the rolled oats using a rubber spatula or wooden spoon. Stir just until the oats are evenly distributed throughout the dough.
-
Reserve about a 1/2 cup of the cookie dough for the crumble topping. Press the remaining dough evenly into the bottom of your prepared 13×9 inch baking dish. You can use your hands or the back of a spoon for this.
-
Evenly spread the two cups of frozen mixed berries across the top of the pressed dough layer. Then, sprinkle the optional almond slivers over the berries. The frozen berries will help maintain their structure during baking.
-
Take the reserved 1/2 cup of dough and crumble small pieces uniformly over the top of the berries and almonds. This will create a delicious, textured crumble topping.
-
Bake for 35 to 40 minutes, or until the top is golden brown and a toothpick inserted into the cookie portion (avoiding the berries) comes out clean. Baking times may vary slightly depending on your oven.
-
Allow the berry cookie bars to cool completely in the baking dish on a wire rack before cutting them into squares or rectangles. This is crucial for clean cuts and for the bars to set properly. Enjoy your homemade, fruity masterpiece!
The recipes on this blog are tested with a conventional gas oven and gas stovetop. It’s important to note that some ovens, especially as they age, can cook and bake inconsistently. Using an inexpensive oven thermometer can assure you that your oven is truly heating to the proper temperature. If you use a toaster oven or countertop oven, please keep in mind that they may not distribute heat the same as a conventional full sized oven and you may need to adjust your cooking/baking times. In the case of recipes made with a pressure cooker, air fryer, slow cooker, or other appliance, a link to the appliances we use is listed within each respective recipe. For baking recipes where measurements are given by weight, please note that results may not be the same if cups are used instead, and we can’t guarantee success with that method.
