Effortless Homemade Berry Jam: No Pectin, Just 3 Simple Ingredients (3 Delicious Ways!)
Imagine waking up to a delicious slice of toast, generously spread with vibrant, sweet, and tangy jam. What if I told you that this incredible treat could be made right in your own kitchen, with minimal effort and without the need for any special equipment or store-bought pectin? Yes, it’s entirely possible, and today, I’m thrilled to share my foolproof method for creating easy Homemade Berry Jam in three incredibly tasty flavors: classic Strawberry, sweet Blueberry, and tart Cranberry!

Homemade Berry Jam: A Journey from Tradition to Simplicity
Growing up, summers often meant an annual pilgrimage to the strawberry fields. The reward? Baskets overflowing with ruby-red treasures, followed by hours spent washing, hulling, and meticulously transforming them into countless jars of homemade jam. While those memories are cherished and evoke a sense of wholesome tradition, the modern cook, often pressed for time, seeks efficiency without compromising on flavor or authenticity. And that’s precisely what this easy berry jam recipe delivers!
Forget the time-consuming canning processes or the need for specialty pectin. This method distills the essence of homemade jam down to its most fundamental and delicious components, making it accessible for everyone. We’re talking about just three core ingredients: your chosen berries, a touch of citrus, and some sugar. It’s a game-changer for anyone who loves the taste of homemade preserves but wants to simplify the preparation.
RELATED: For another classic, you might also like this recipe – Strawberry Jam
The Simplicity of Three: Why This Homemade Berry Jam Needs No Pectin
The real beauty of this homemade berry jam recipe lies in its elegant simplicity – no need for commercial pectin. Many berries, especially when combined with sugar and acid, naturally contain enough pectin to set beautifully. We harness this natural gelling power, creating a jam that’s pure in flavor and free from added thickeners. The citrus not only brightens the taste but also activates the natural pectin in the berries, helping the jam achieve that perfect spreadable consistency.
This means less fuss, fewer specialized ingredients to buy, and a more wholesome product for your family. The ratio of berries to sugar and citrus is carefully balanced to ensure a luscious, thick jam without any extra steps. You’ll be amazed at how easily a handful of ingredients can transform into something so profoundly delicious and satisfying.
Enjoy Homemade Jam All Year: The Power of Frozen Fruit
One of the most liberating aspects of this homemade berry jam recipe is its versatility with ingredients. While fresh, in-season berries are always a delight, you are absolutely not limited to summer harvests! This recipe works wonderfully with frozen fruit. That’s right – you can enjoy the comforting taste of homemade jam year-round, meaning you don’t have to wait until July to make batches (because we’ve all been there, right, scrambling to preserve summer’s bounty?).
Using frozen berries can even be an advantage. Often, frozen berries are picked at their peak ripeness and flash-frozen, locking in their flavor and nutrients. They also tend to release their juices more readily as they thaw and cook, which can aid in the jam-making process. Simply grab a bag from your freezer, and you’re halfway to a delicious batch of jam, regardless of the season outside your window. This makes homemade jam an accessible pleasure, anytime you crave it.

Crafting Your Jam: A Step-by-Step Guide to Perfection
The process itself is wonderfully straightforward. You’ll essentially just combine everything together in a medium saucepan and set it on the stove to cook down. The magic happens as the berries release their juices, the sugar dissolves, and the mixture begins to thicken. We’ll also add a crucial element: citrus. A splash of fresh lemon or orange juice, along with a bit of zest, serves multiple purposes. It brightens up the colors of the jam, adds a delightful zing of flavor, and crucially, helps to activate the natural pectin in the berries, aiding in the setting process.
As the berries soften, you’ll gently mash them. This step is entirely up to your preference – mash a little for a chunkier jam with whole fruit pieces, or mash more thoroughly for a smoother consistency. Continue to simmer, stirring occasionally, allowing the mixture to reduce and thicken. The cooking time typically ranges from 20 to 30 minutes, depending on the berry type and desired thickness. You’ll know it’s ready when it coats the back of a spoon and appears glossy. Once it reaches your desired thickness, simply remove it from the heat and let it cool. The jam will continue to thicken significantly as it cools, transforming into that luscious, spreadable texture we all adore.
Essential Ingredients for Your Homemade Berry Jam
To embark on your homemade jam journey, you’ll need just a few simple, high-quality ingredients. The beauty of this recipe is its adaptability, allowing you to customize flavors and sweetness levels to your liking. Here’s a breakdown of what you’ll need for a basic batch, which can then be tailored to our three delicious variations:
- 2 cups berries: Choose your favorite! Fresh or frozen strawberries, blueberries, or cranberries work perfectly.
- ¼ to ½ cup sugar: The amount depends on the natural sweetness of your berries and your personal preference. Tart cranberries will require more sugar.
- 2 Tbsp lemon or orange juice: Freshly squeezed is always best for optimal flavor and pectin activation.
- 1 Tbsp lemon or orange zest: Adds a wonderful aromatic boost and further enhances the citrus notes.
Products you may find useful:
- Citrus zester
- Medium saucepan
- Potato masher
- Measuring cups and spoons
Explore Delicious Flavor Variations
While the core technique remains the same, a slight tweak in your berry and citrus choice can yield vastly different and equally delightful results. Let’s dive into the specifics for each of our three featured homemade berry jams:
Strawberry Jam: The Quintessential Summer Treat
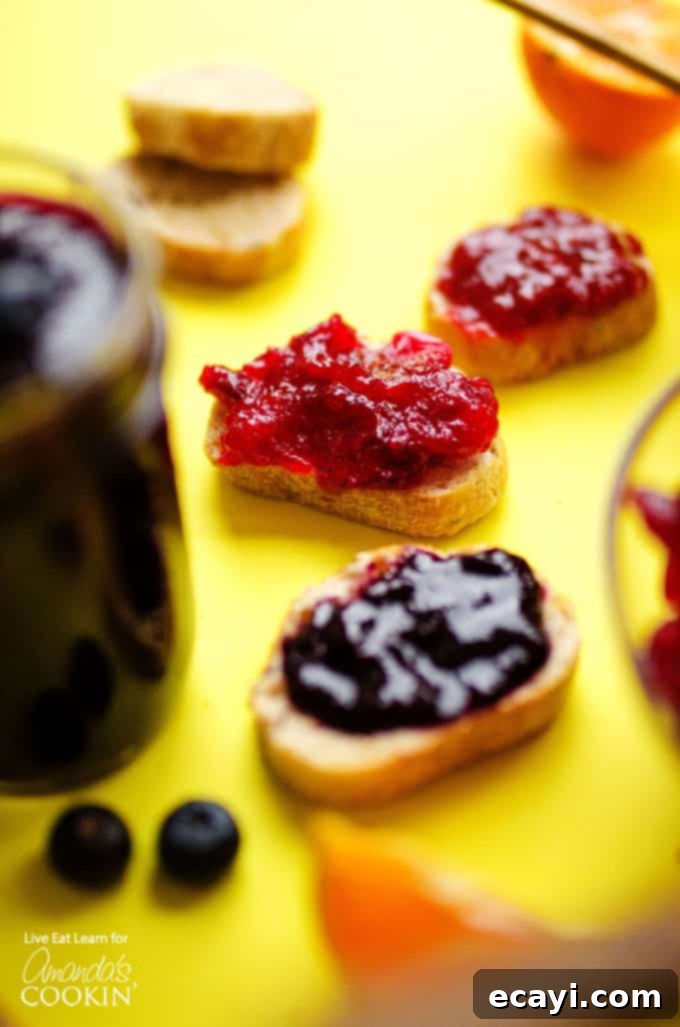
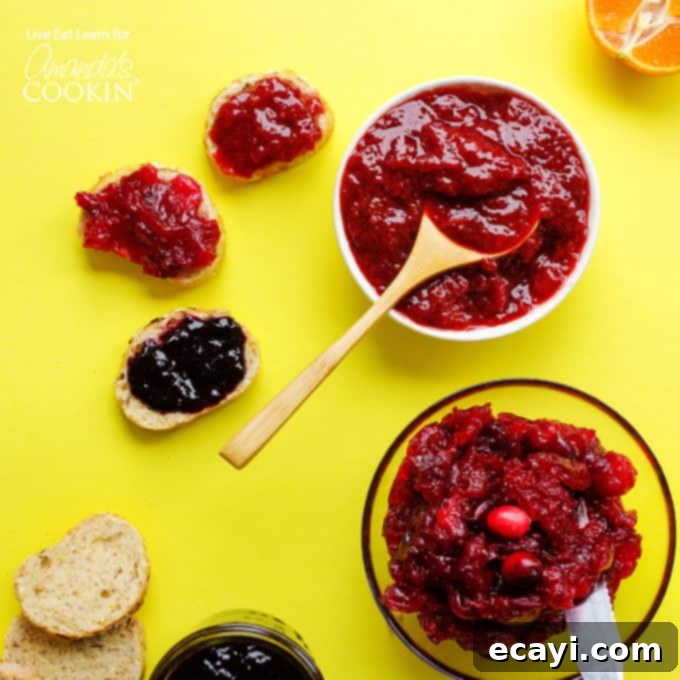
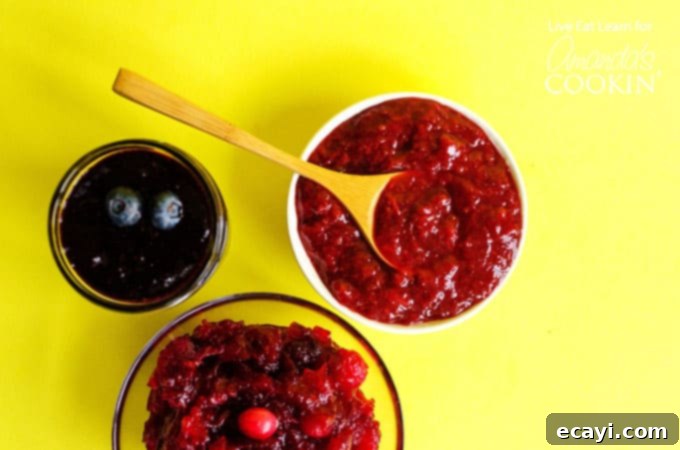
Sweet and wonderfully aromatic, homemade strawberry jam is a timeless classic. For this version, we combine fresh or frozen strawberries with a touch of sugar and bright orange juice and zest. The orange complements the strawberries beautifully, enhancing their natural sweetness and providing a lovely depth of flavor. This jam is perfect for spreading on scones, filling pastries, or simply enjoying on your morning toast.
Blueberry Jam: A Burst of Sweetness and Antioxidants
Blueberry jam offers a slightly different profile—rich, sweet, and with a beautiful deep purple hue. For blueberry jam, we pair 2 cups of fresh or frozen blueberries with a quarter cup of sugar, and then add lemon juice and zest. The lemon provides a zesty contrast that really makes the blueberry flavor pop. It’s fantastic on pancakes, stirred into yogurt, or even as a topping for vanilla ice cream.
Cranberry Jam: Tangy Goodness for Any Season
Often associated with holidays, homemade cranberry jam is a vibrant and tangy option that deserves to be enjoyed year-round. Given their natural tartness, cranberries require a bit more sugar – typically ½ cup for 2 cups of berries. Orange juice and zest are the perfect partners here, balancing the cranberries’ tartness with their inherent sweetness and aroma. This jam is not just for turkey; try it with cream cheese and crackers, or as a glaze for chicken or pork.

Serving and Storing Your Homemade Berry Jam
Once your homemade berry jam has cooled and reached its perfect consistency, the possibilities for enjoyment are endless! Of course, it’s divine on classic toast, English muffins, or warm biscuits. But don’t stop there! Swirl it into a bowl of plain Greek yogurt for a quick, healthy breakfast, dollop it over pancakes or waffles, or use it as a filling for tarts and thumbprint cookies. For a savory twist, a spoonful of cranberry jam can elevate a cheese board, complementing sharp cheeses beautifully.
Storage: Since this recipe doesn’t involve traditional canning methods, your homemade jam should be stored in the refrigerator. In an airtight container or jar, it will keep fresh for up to 2-3 weeks. For longer storage, you can freeze the jam in freezer-safe containers for several months. Just be sure to leave some headspace in the container, as the jam will expand slightly when frozen. Thaw it in the refrigerator overnight before use, and stir well before serving.
Frequently Asked Questions About Homemade Berry Jam
New to making jam? Don’t worry, here are some common questions and helpful answers to ensure your jam-making experience is a sweet success!
- Do I really not need pectin? Yes, absolutely! Berries naturally contain pectin, and when cooked with sugar and acid (from the citrus), they release enough to set the jam. This recipe leverages that natural process, making it simpler and pectin-free.
- How do I know when the jam is set? A simple way to test for doneness is the “cold plate test.” Place a small plate in the freezer before you start cooking. When you think the jam is ready, spoon a small amount onto the cold plate, wait 30 seconds, then push it with your finger. If it wrinkles, it’s set. If it’s still runny, continue cooking for a few more minutes and retest.
- Can I use less sugar? You can slightly adjust the sugar amount based on the sweetness of your fruit and your preference. However, sugar plays a crucial role not only in taste but also in the jam’s texture and as a preservative. Reducing it too much can result in a thinner jam that spoils more quickly.
- What if my jam is too runny? Don’t panic! Simply continue simmering the jam over medium-high heat, stirring frequently, until it thickens to your desired consistency. Be patient, as it can sometimes take a bit longer for the natural pectin to activate and for the water to evaporate.
- How long does this homemade jam last? Without traditional canning, your jam will last 2-3 weeks in the refrigerator. If you wish to store it longer, it freezes beautifully for up to 3-6 months.
This homemade berry jam is bursting with vibrant colors and incredible flavor. Whether you choose strawberry, blueberry, or cranberry, you’ll be delighted by the ease and deliciousness of this recipe. Try this easy recipe today and elevate your breakfast, desserts, and snacks!
Looking for more delightful homemade options? Check out these fantastic recipes below!
- Breakfast Parfaits with Homemade Dark Chocolate Granola
- Homemade Chicken Nuggets
- 5 Minute Homemade Ricotta
- Easy Homemade Fruit Roll-Ups
- Homemade Taco Seasoning
- Cinnamon Honey Butter

Homemade Berry Jam (3 Ways!)
IMPORTANT – There are often Frequently Asked Questions within the blog post that you may find helpful. Simply scroll back up to read them!
Print It
Pin It
Rate It
Save ItSaved!
Ingredients
Strawberry Jam
- 2 cups strawberries fresh or frozen
- ¼ cup sugar
- 2 Tbsp orange juice + 1 Tbsp zest
Blueberry Jam
- 2 cups blueberries fresh or frozen
- ¼ cup sugar
- 2 Tbsp lemon juice + 1 Tbsp zest
Cranberry Jam
- 2 cups cranberries fresh or frozen
- ½ cup sugar
- 2 Tbsp orange juice + 1 Tbsp zest
Instructions
-
Combine berries, sugar, citrus juice, and zest in a medium saucepan. Set over medium heat and cook, uncovered, until berries begin to soften.
-
Using a potato masher or fork, mash the berries a bit, then increase heat to medium/high and let simmer (10 minutes for cranberries, 20-30 minutes for strawberries and blueberries).
-
Remove from heat and allow to cool (mixture will thicken as it cools).
Nutrition
The recipes on this blog are tested with a conventional gas oven and gas stovetop. It’s important to note that some ovens, especially as they age, can cook and bake inconsistently. Using an inexpensive oven thermometer can assure you that your oven is truly heating to the proper temperature. If you use a toaster oven or countertop oven, please keep in mind that they may not distribute heat the same as a conventional full sized oven and you may need to adjust your cooking/baking times. In the case of recipes made with a pressure cooker, air fryer, slow cooker, or other appliance, a link to the appliances we use is listed within each respective recipe. For baking recipes where measurements are given by weight, please note that results may not be the same if cups are used instead, and we can’t guarantee success with that method.
This post was originally published on this blog on Jan 5, 2018.
