Easy & Elegant Mini Cheesecakes with Cherry Topping: Your Ultimate Make-Ahead Dessert Recipe
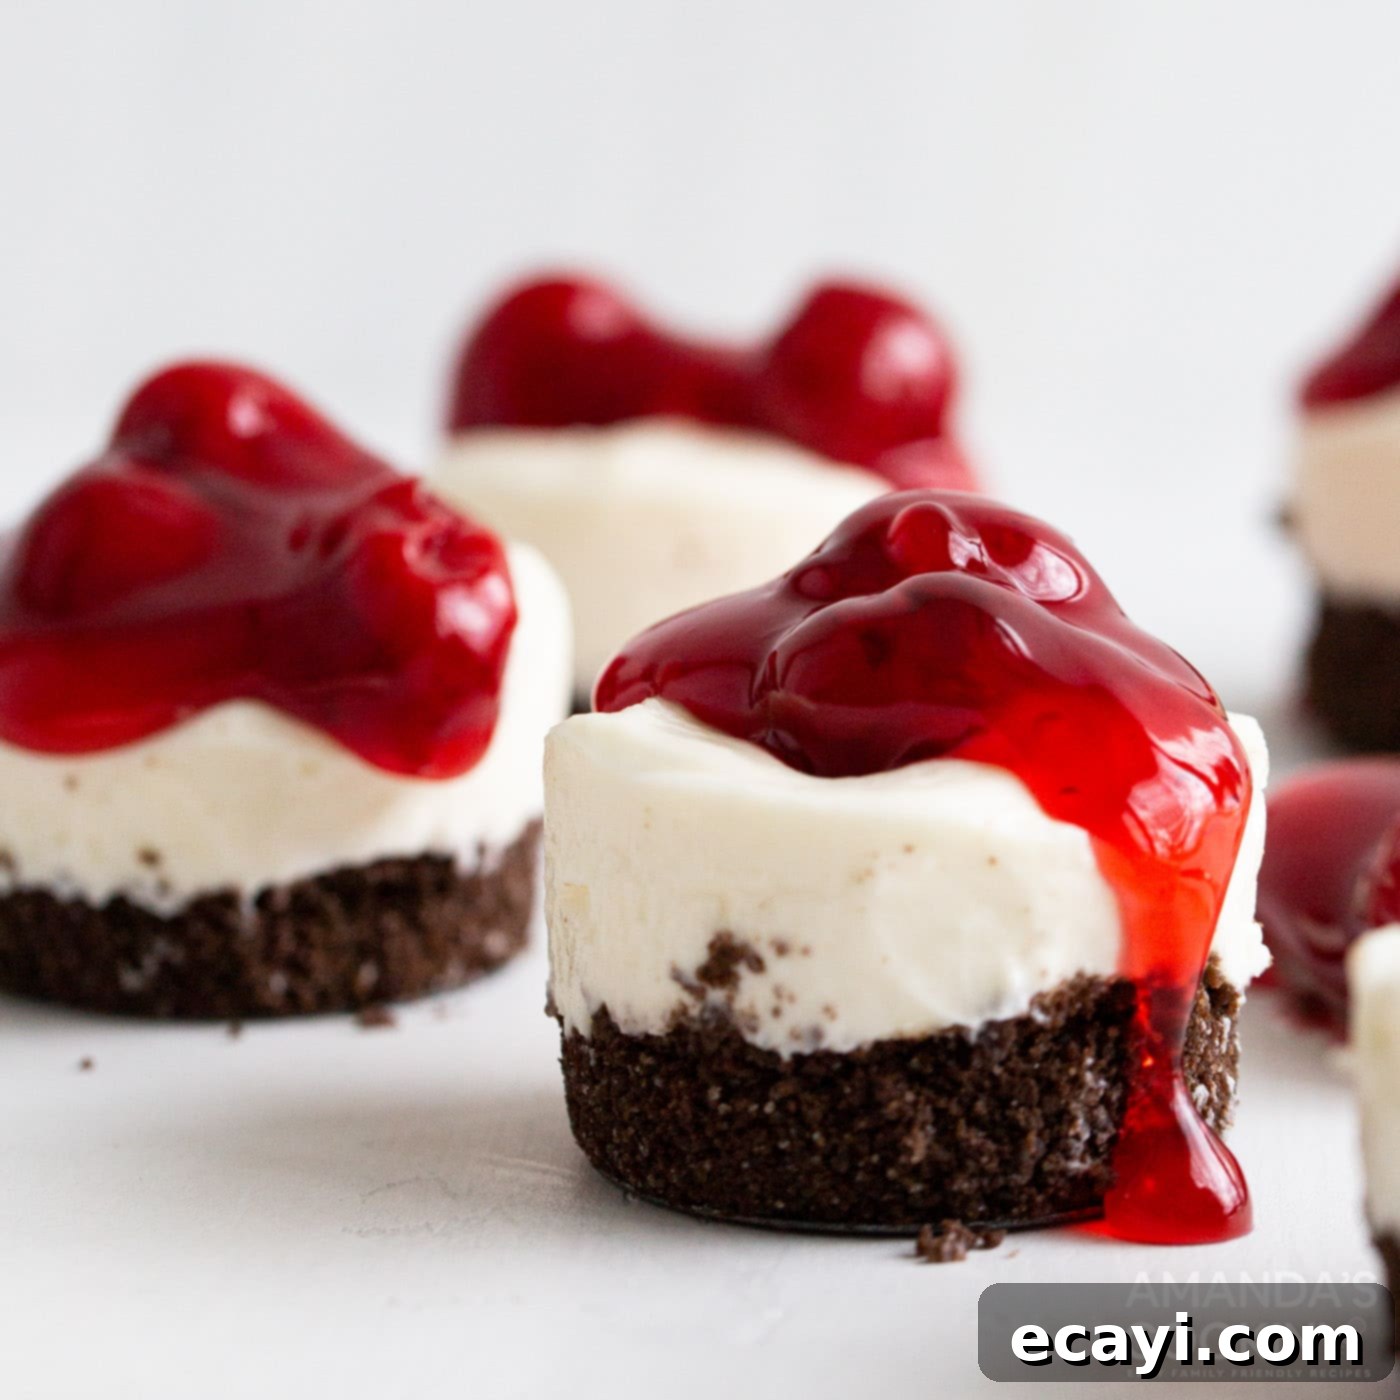
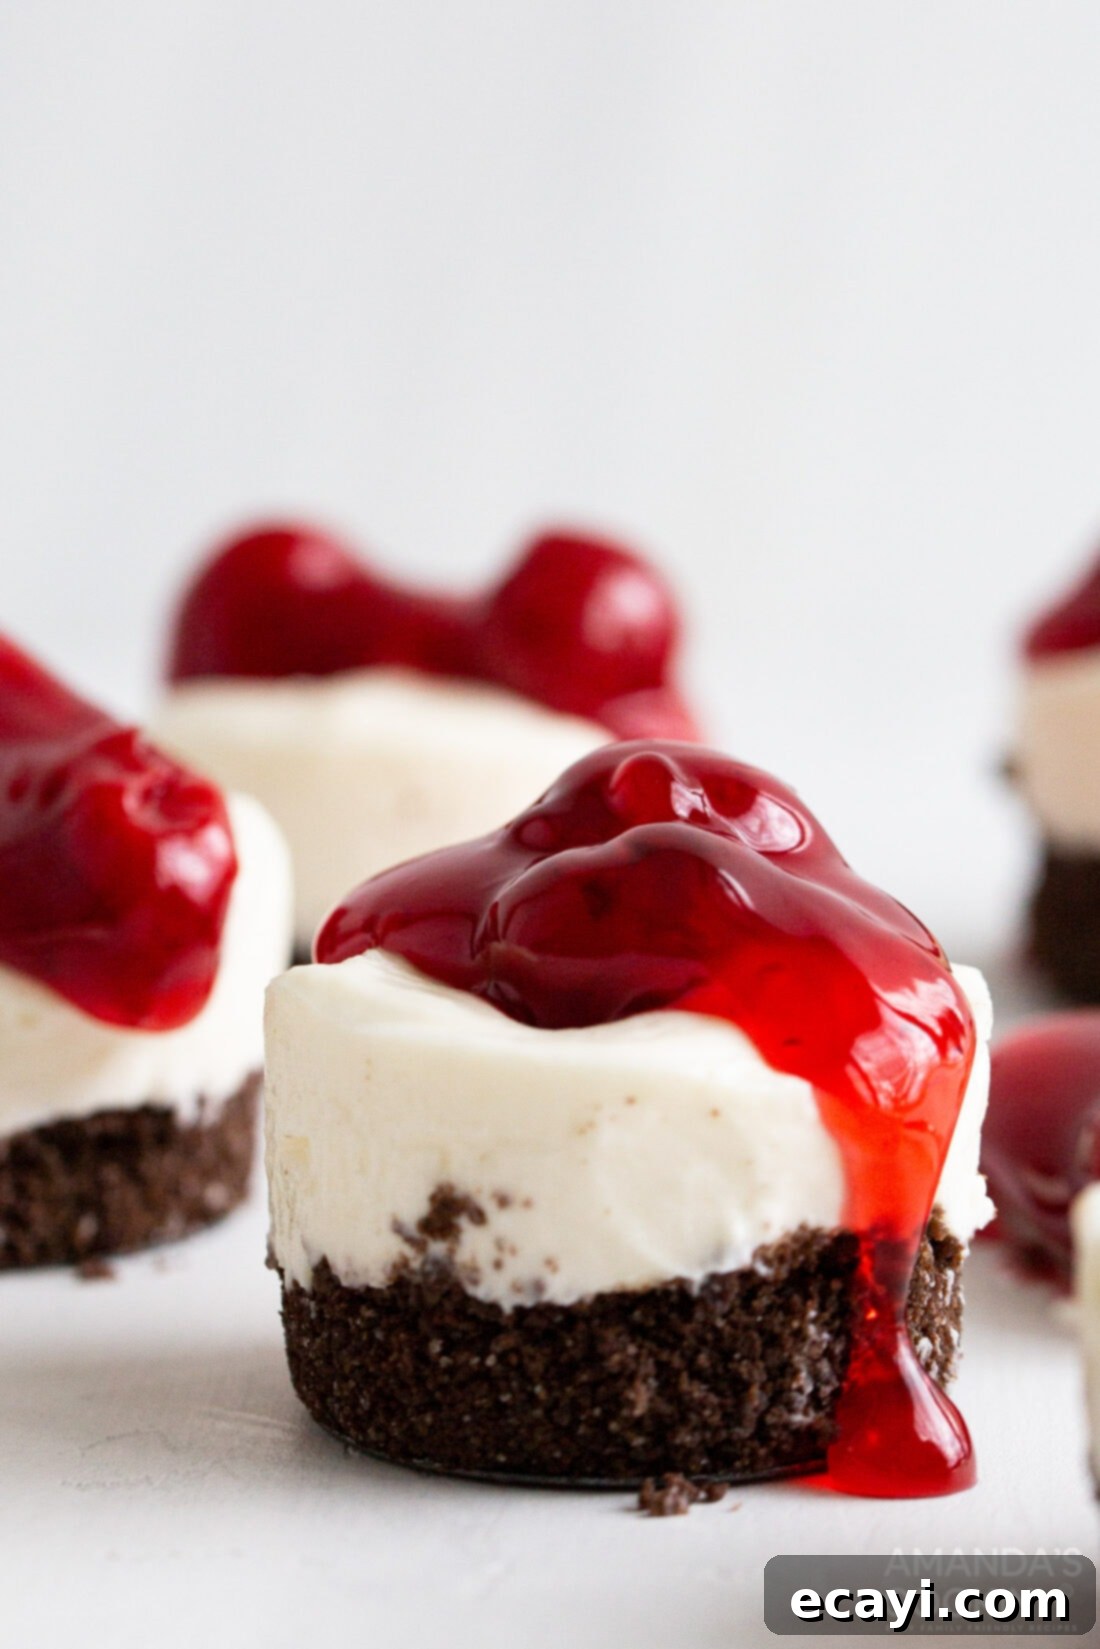
Delight your taste buds and impress your guests with these utterly irresistible mini cheesecakes. Each bite offers a harmonious blend of rich, smooth, and creamy cheesecake filling nestled atop a perfectly crunchy graham cracker crust, all crowned with a vibrant, sweet cherry topping. This easy-to-follow recipe is not only a joy to make but also incredibly versatile, making it the ideal make-ahead dessert for any gathering, from casual potlucks to elegant dinner parties. Say goodbye to struggling with slicing and serving a traditional cheesecake, and hello to perfectly portioned, individual treats that are as beautiful as they are delicious.
Why This Mini Cheesecake Recipe Works So Well
There’s something undeniably charming about a classic, full-sized cheesecake, but these individual mini cheesecakes bring a whole new level of convenience and elegance to your dessert table. They are a true crowd-pleaser, perfect for a variety of occasions, and here’s why this recipe stands out:
- Effortless Individual Portions: Gone are the days of uneven slices and messy serving! Each mini cheesecake is perfectly portioned, making them incredibly easy for guests to grab and enjoy. This also makes them ideal for events like potlucks, picnics, and holiday gatherings where convenience and presentation are key.
- Simple & Straightforward Preparation: Despite their gourmet appearance, these cheesecakes are surprisingly simple to prepare. With just a few basic ingredients and a minimal amount of hands-on time, you can create a dessert that tastes like it came from a high-end bakery.
- Mostly No-Bake Wonder: One of the best features of this recipe, especially during warmer months, is that the cheesecake filling requires no baking at all! The only oven time is a quick 5-minute bake for the graham cracker crust, which helps it set beautifully. This means you won’t have to heat up your kitchen, making it a fantastic, light summer dessert option.
- Ultimate Make-Ahead Dessert: Planning a party can be stressful, but your dessert doesn’t have to be. These mini cheesecakes are fantastic for making ahead of time. You can prepare the crusts and filling a day or two in advance, keeping them chilled in the refrigerator, and simply add the luscious cherry topping right before serving. This flexibility frees up your time on the day of your event, allowing you to relax and enjoy your guests.
- Versatile Topping Options: While we adore the classic cherry topping, these mini cheesecakes serve as a delightful blank canvas for a myriad of flavors. You can easily customize them with different fruit fillings, chocolate ganache, caramel, or fresh berries, tailoring them to your personal preference or the theme of your event.
- Rich, Creamy, and Satisfying: The combination of cream cheese, heavy cream, and sour cream creates a filling that is incredibly smooth, rich, and melts in your mouth. The slight tang from the lemon juice perfectly balances the sweetness, making each mini treat utterly satisfying without being overly heavy. The light crunch from the graham cracker crust provides a wonderful textural contrast, completing this dreamy dessert experience.
Key Ingredients You Will Need
Crafting these delectable mini cheesecakes requires a selection of fresh, high-quality ingredients. Most of these items are pantry staples, ensuring a convenient baking experience. Below, we’ll dive into the specifics of each component, but for precise measurements and a complete list, please refer to the comprehensive recipe card located at the end of this post.
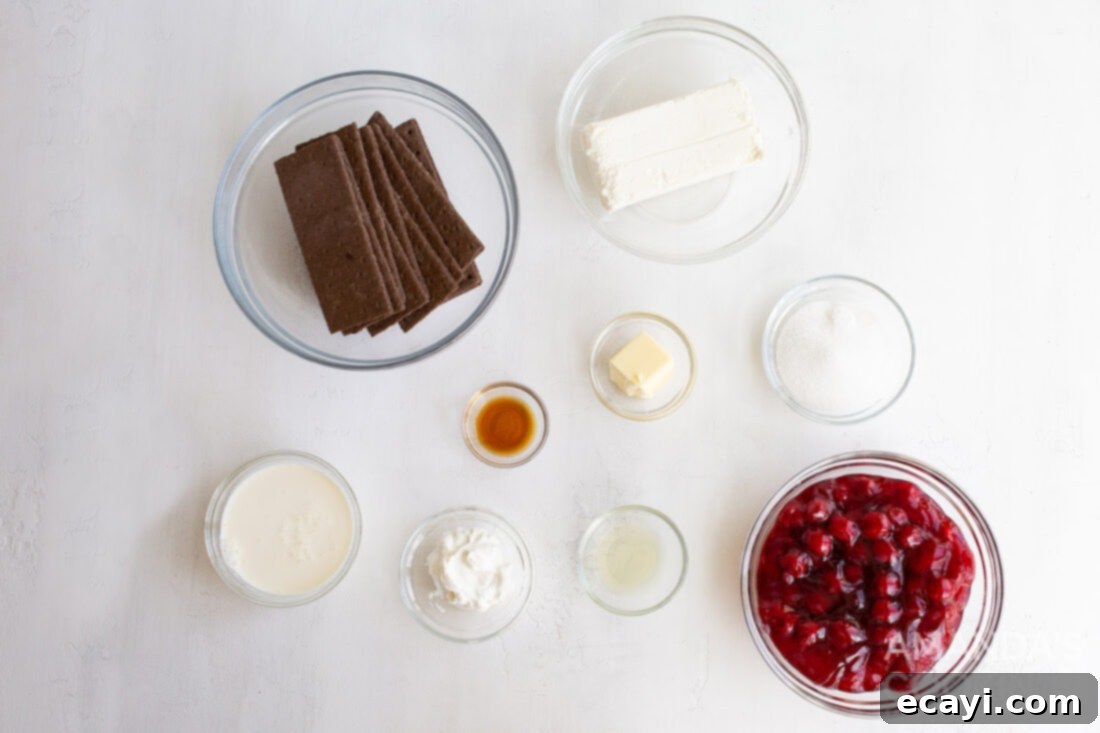
Ingredient Info and Substitution Suggestions
CRUST – The foundation of any great cheesecake is a flavorful and sturdy crust. For these mini delights, we opted for **chocolate graham crackers**, which lend a subtle cocoa flavor that pairs beautifully with the creamy filling and tart cherry topping. If chocolate isn’t your preference, **regular honey graham crackers** are an excellent and classic alternative. Beyond graham crackers, consider experimenting with **Oreo cookies** (crushed, with the cream filling removed for a less sweet option, or left in for extra richness), **shortbread cookies** for a buttery, delicate base, or even **ginger snaps** for a spiced kick. Whichever you choose, ensure they are finely pulsed into crumbs in a food processor to create a uniform texture. The melted butter acts as a binder, holding the crumbs together, and a touch of sugar enhances the sweetness. Make sure to pack the crust mixture firmly into the mini cheesecake pan cups; this step is crucial for preventing crumbly crusts when serving.
FILLING – The heart of these mini cheesecakes lies in their incredibly smooth and creamy filling. This luscious mixture is a careful balance of key ingredients:
- Cream Cheese: The star of the show! Always use full-fat block cream cheese, and ensure it’s **completely softened to room temperature** before mixing. This is vital for achieving that signature smooth, lump-free consistency. Cold cream cheese will result in a clumpy filling.
- Heavy Whipping Cream: When whipped, this adds incredible lightness and airiness to the filling, making it less dense than traditional baked cheesecakes while maintaining richness.
- Sour Cream: A secret weapon for cheesecakes! Sour cream contributes a wonderful tangy note that cuts through the sweetness and richness of the cream cheese, enhancing the overall flavor profile. It also helps to create an incredibly velvety texture.
- Sugar: Granulated sugar provides the perfect amount of sweetness. Feel free to adjust slightly to your taste, but remember the topping will also add sweetness.
- Lemon Juice: A splash of fresh lemon juice is essential. It brightens the flavors, adds a subtle zing, and helps balance the richness of the dairy components.
- Vanilla Extract: A classic flavor enhancer, vanilla extract adds warmth and depth to the filling, complementing all the other ingredients beautifully. Use pure vanilla extract for the best flavor.
TOPPING – While these mini cheesecakes are delicious on their own, a vibrant topping elevates them to another level. Our recipe features a convenient **cherry pie filling**, offering a sweet and tart contrast to the creamy cheesecake. You can use store-bought filling for ease or prepare your own homemade fruit compote if you prefer. The possibilities for toppings are truly endless, allowing for endless customization:
- Other Fruit Pie Fillings: Explore blueberry, strawberry, apple, raspberry, or peach pie fillings for different fruit flavors.
- Fresh Fruits: A medley of fresh berries (strawberries, blueberries, raspberries) or sliced peaches makes for a beautiful and refreshing topping, especially when drizzled with a simple glaze or a dusting of powdered sugar.
- Chocolate Indulgence: A rich **chocolate ganache** poured over the top, or a sprinkle of mini chocolate chips, will satisfy any chocoholic.
- Caramel Dream: A generous drizzle of **caramel sauce**, perhaps with a sprinkle of toasted pecans or walnuts, creates a decadent treat.
- Lemon Curd: For a bright and tangy option, a spoonful of homemade or store-bought lemon curd is delightful.
- Whipped Cream: A simple dollop of freshly whipped cream can be a light and elegant finish, often paired with a fresh berry.
- Nutty Crunch: Finely chopped toasted nuts like almonds or pistachios add a pleasant textural contrast.
Remember to reserve the topping until just before serving to maintain the best appearance and texture of the cheesecake.
How to Make Mini Cheesecakes
Creating these individual mini cheesecakes is a straightforward and rewarding process. Follow these detailed step-by-step instructions, complemented by helpful photos, to achieve perfect results every time. For your convenience, a printable version with precise measurements and complete instructions is available in the recipe card at the bottom of this post, allowing you to easily follow along in your kitchen. You can Jump to Recipe to get the printable version of this recipe, complete with measurements and instructions at the bottom.
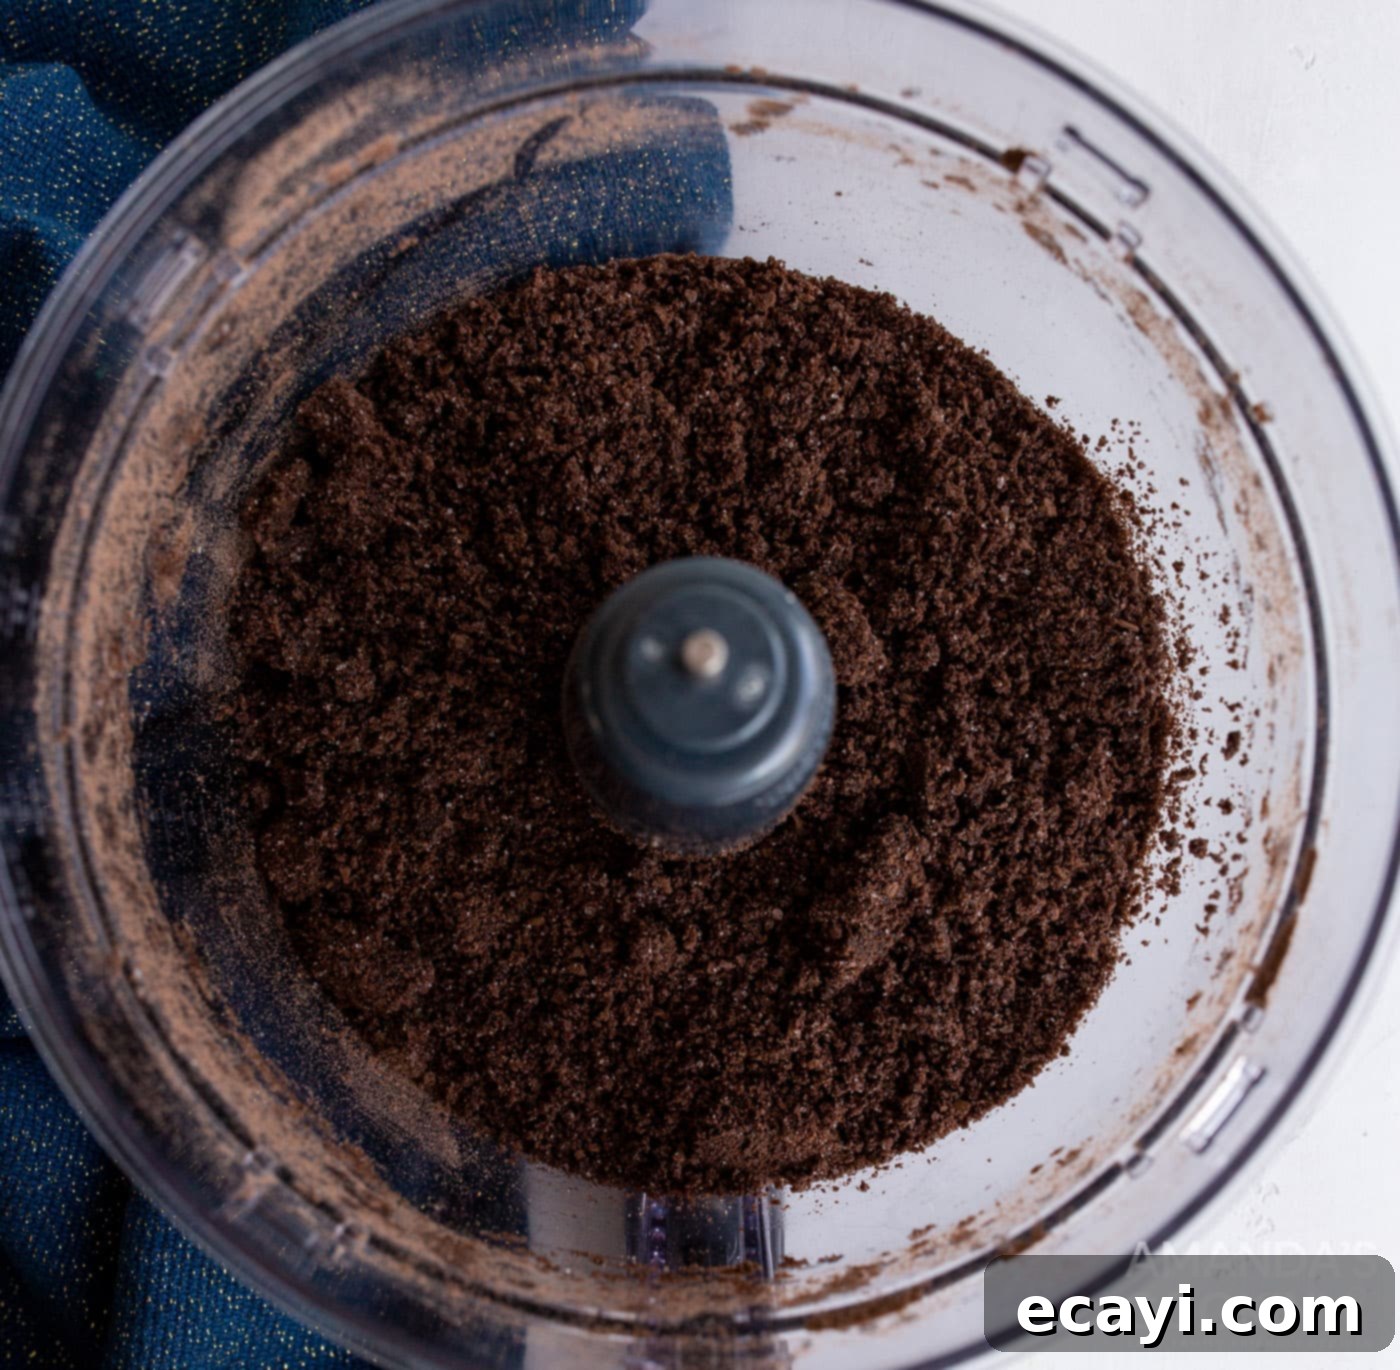
- In a food processor, pulse the graham crackers into a fine, even crumb. This ensures a smooth, consistent base for your cheesecakes. Add the sugar to the crumbs and pulse briefly to combine. While on low speed, slowly drizzle in the melted butter. Continue to pulse until the mixture resembles wet sand and holds together when pressed. This indicates the butter has fully incorporated, ready to form a stable crust.

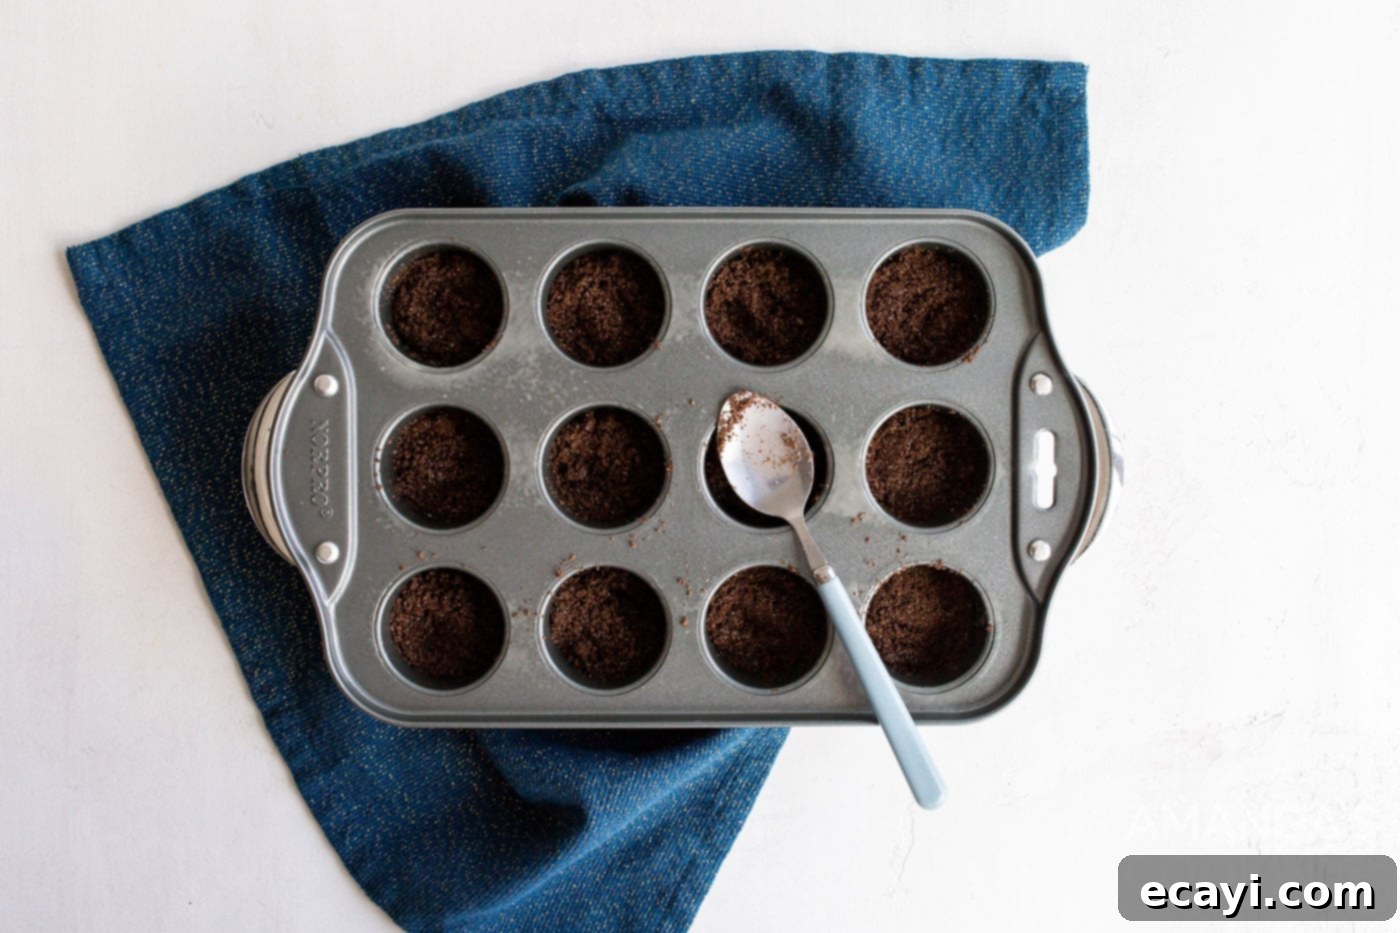
- Spray your mini cheesecake pan (or a mini muffin tin) with non-stick cooking spray. Spoon the graham cracker mix evenly into the cups, about 1-1/2 Tablespoons per cup. Using the back of a spoon or a small tamper, firmly pack down the crust mixture. Bake at 350F (175°C) for just 5 minutes to help set the crust. Allow to cool for an additional 10 minutes (or completely) before filling. Cooling is essential to prevent the filling from melting into the warm crust.

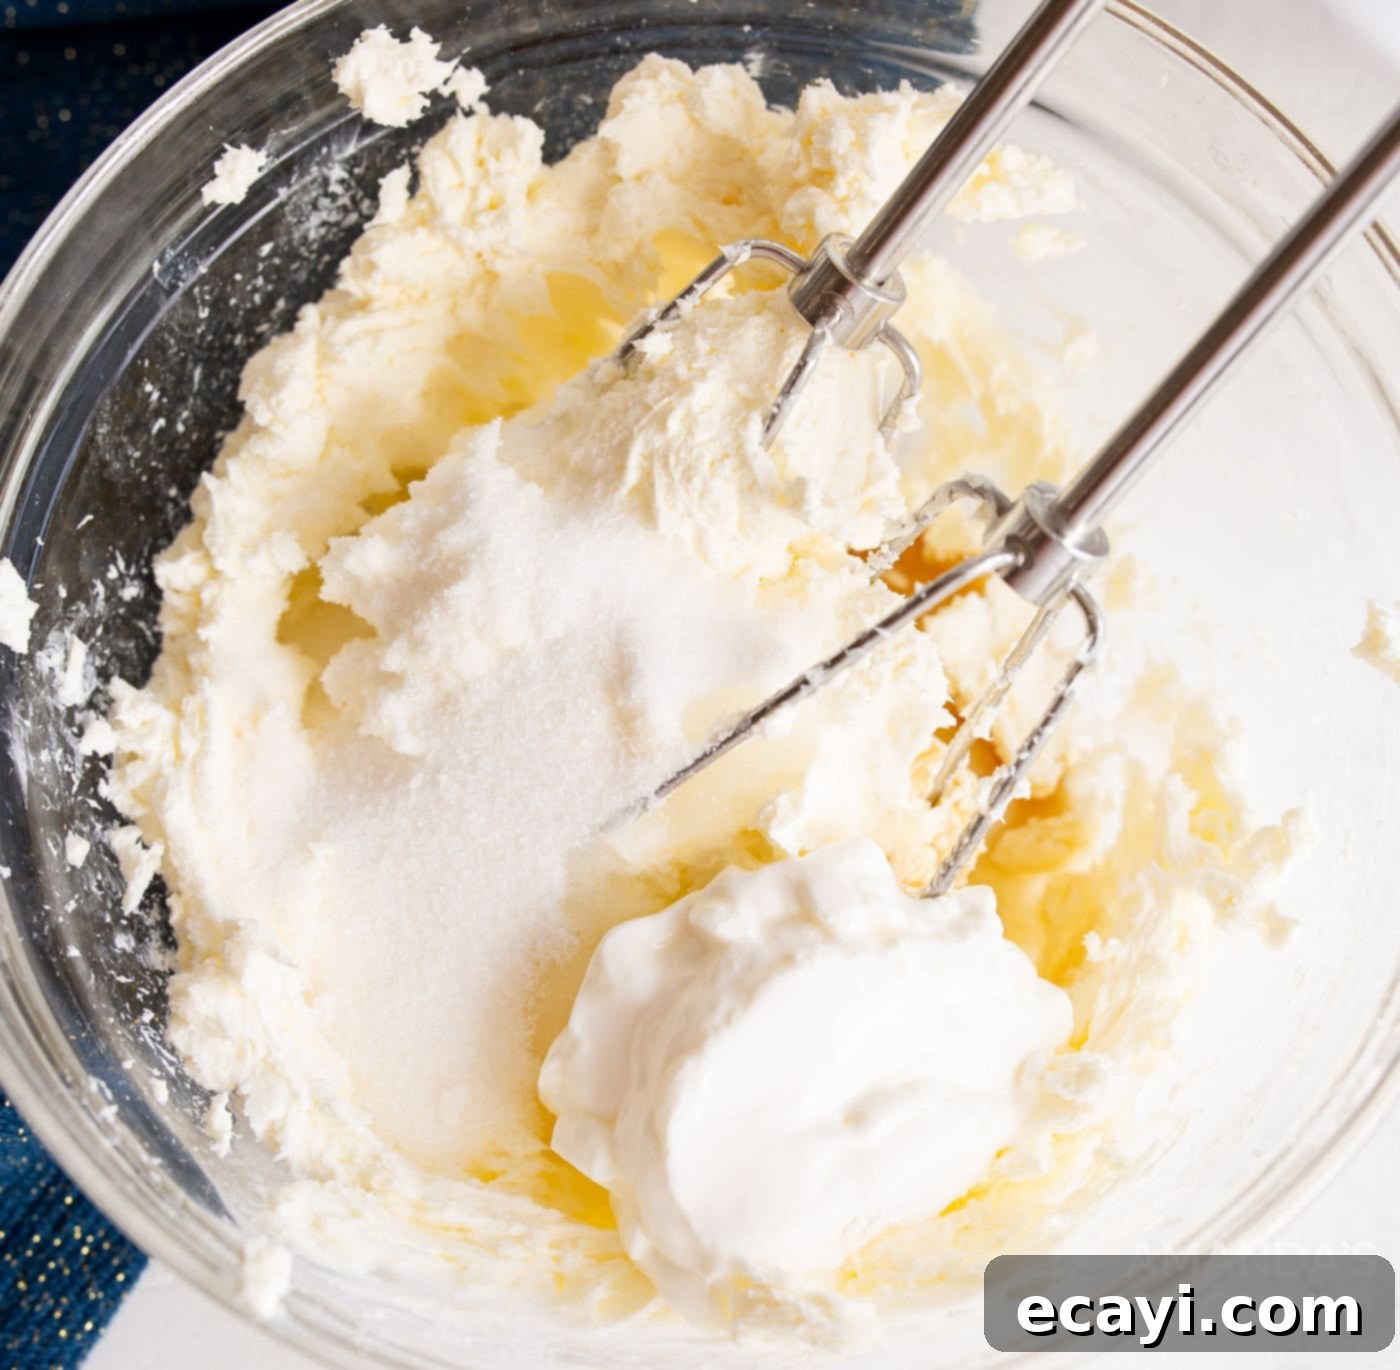
- In a medium bowl, use a hand mixer to beat the softened cream cheese for 1 minute until it’s light and fluffy. Ensure your cream cheese is at room temperature for a smooth, lump-free filling. Add the sugar, sour cream, fresh lemon juice, and vanilla extract to the bowl. Use the hand mixer to combine these ingredients until just smooth. Be careful not to overmix at this stage.

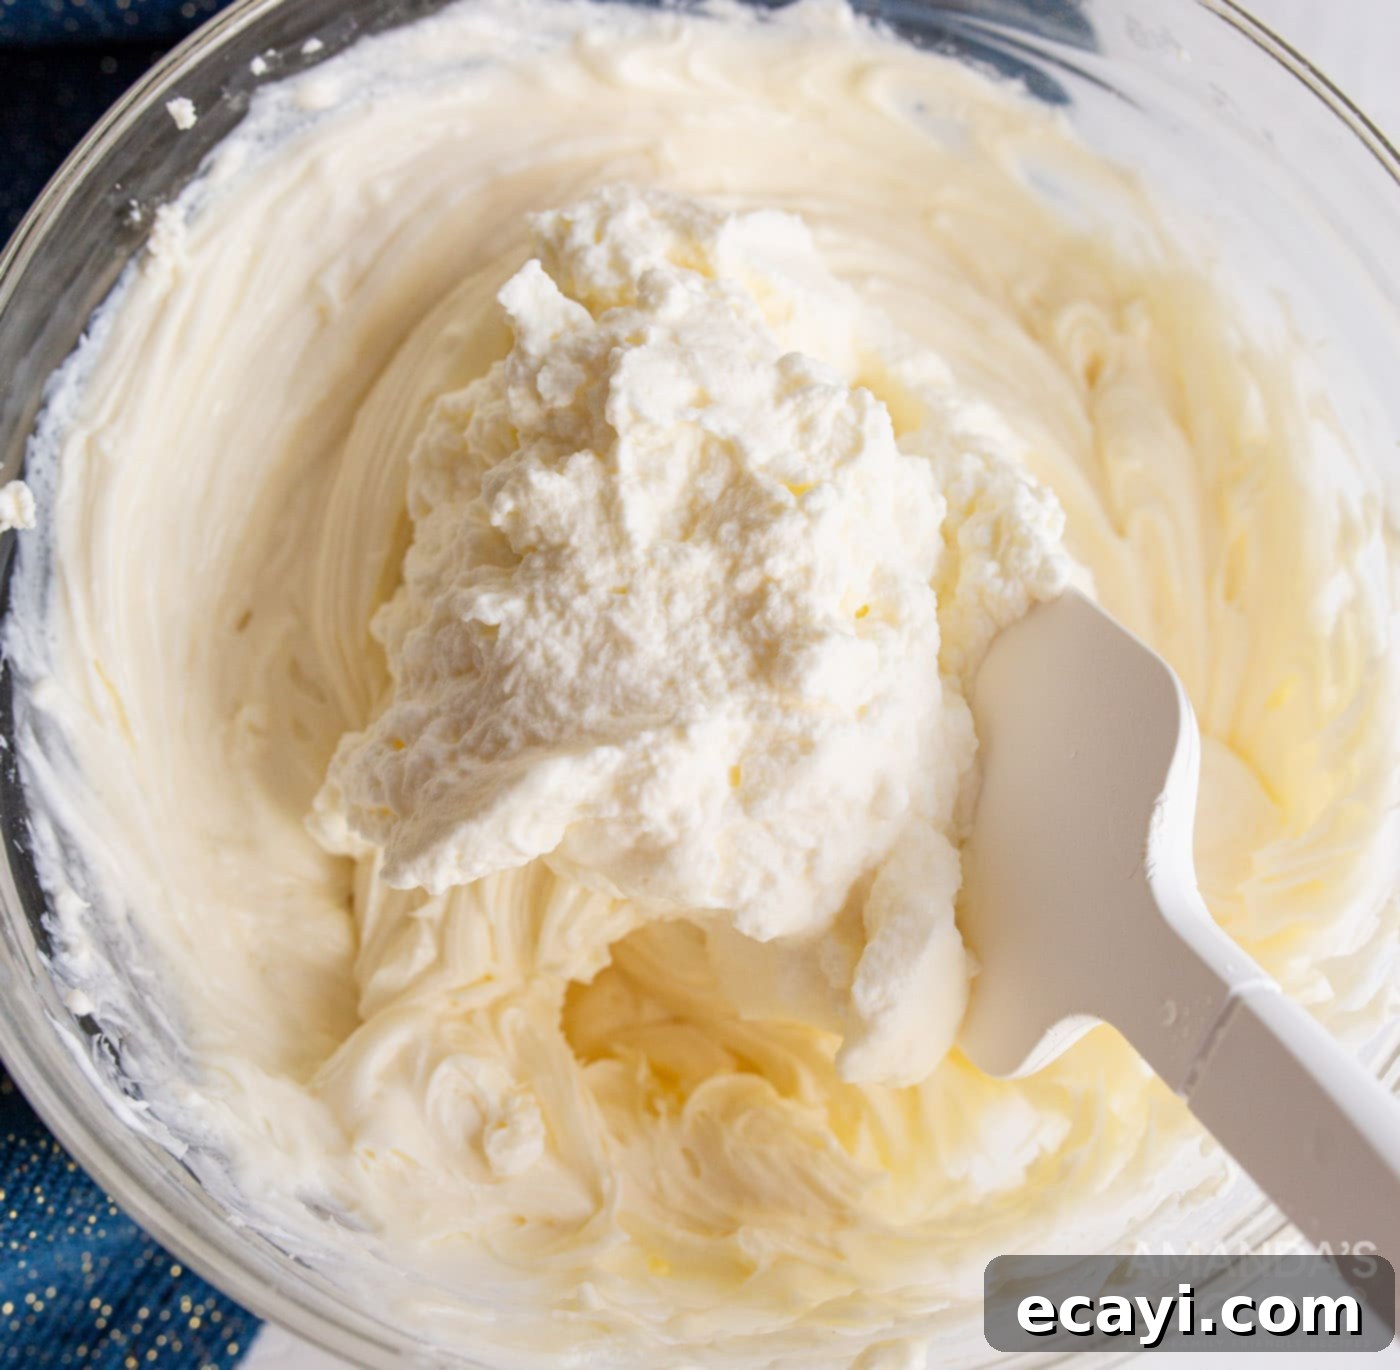
- In a separate, clean bowl, beat the heavy whipping cream on high speed until stiff peaks form, which typically takes about 2-3 minutes. Gently fold this freshly whipped cream into the cream cheese mixture using a spatula. Use a light hand and a folding motion to incorporate the whipped cream without deflating it, preserving the airy texture of the cheesecake filling.

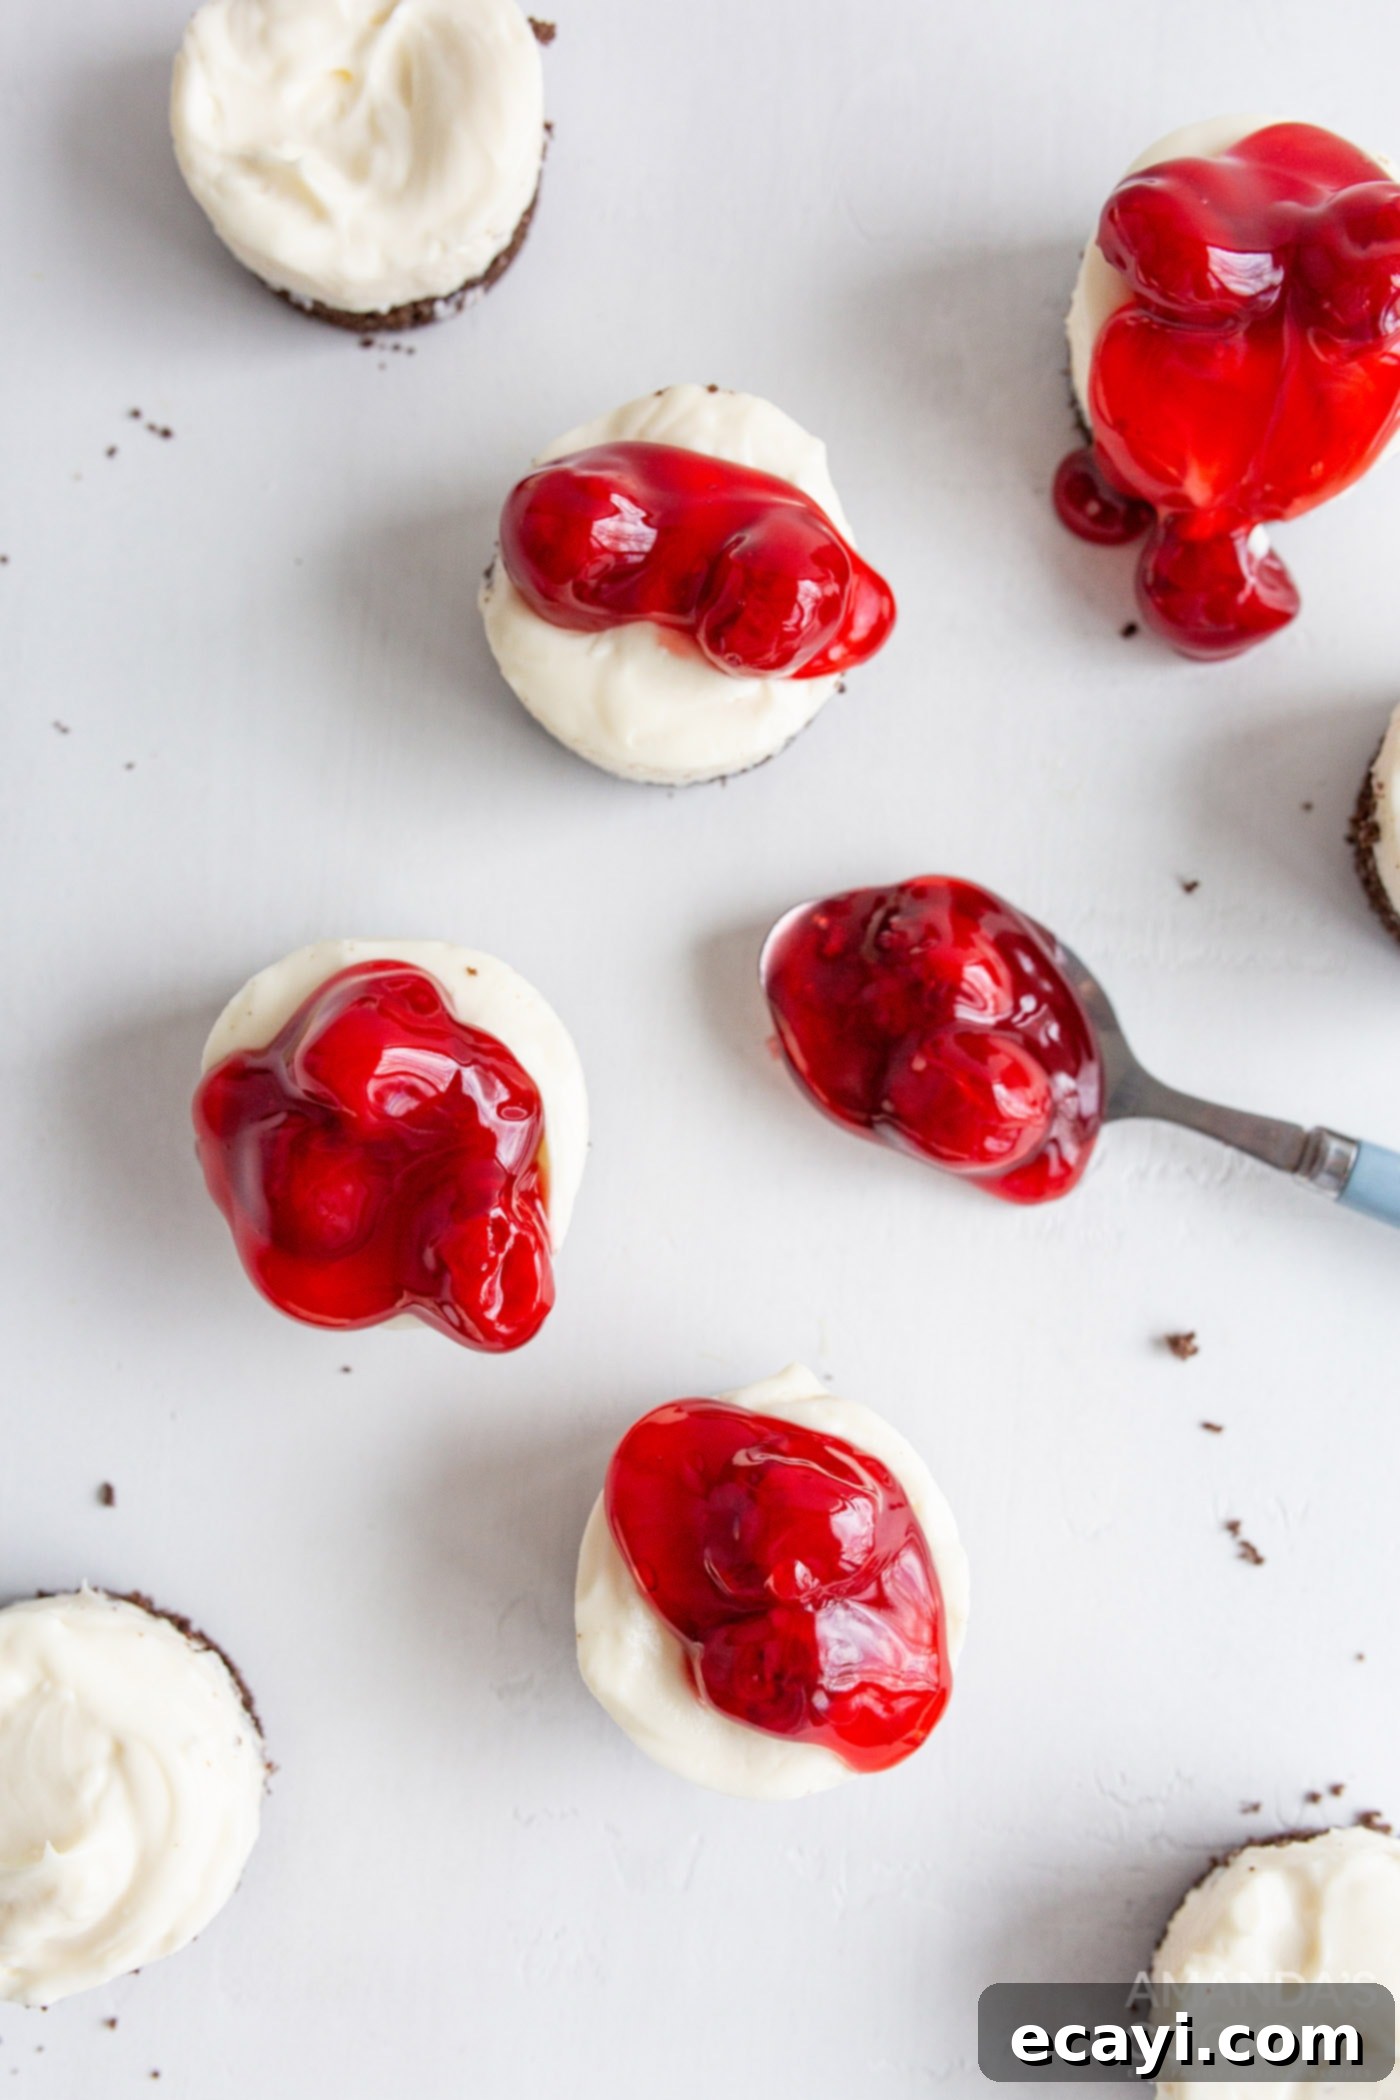
- Top the cooled crusts with the creamy cheesecake filling, spooning about 2-3 Tablespoons into each. Smooth the tops with the back of a spoon or a small offset spatula. Cool in the refrigerator for at least 4 hours. This extended chilling period is crucial for the filling to set properly. Top with about 1 Tablespoon of cherry filling just before serving for the best presentation and taste.

Frequently Asked Questions
The beauty of these mini cheesecakes lies in their versatility when it comes to toppings. While classic cherry pie filling is a crowd-favorite, the possibilities are truly endless! Beyond the various fruit pie fillings like luscious strawberry, vibrant blueberry, tart raspberry, or even spiced apple, you can get creative. Consider a rich chocolate ganache for a decadent touch, a sweet and salty caramel drizzle complemented by toasted pecans or walnuts, or a bright and zesty **lemon curd**. For a fresh and elegant finish, a simple dollop of freshly **whipped cream** paired with seasonal fresh berries (strawberries, raspberries, or blueberries) is always a winner. You could also experiment with chocolate shavings, crushed candies, or a sprinkle of cinnamon sugar. Don’t be afraid to mix and match flavors to find your perfect combination!
Yes, absolutely! These mini cheesecakes are an ideal make-ahead dessert, which is one of their biggest advantages. You can prepare the crusts and the creamy cheesecake filling up to 2-3 days in advance. Once the filling has been added to the cooled crusts and smoothed, simply cover the pan (or transfer the cheesecakes to an airtight container) and refrigerate them. It’s crucial to **reserve the topping** until just before you plan to serve them. This prevents the topping from becoming soggy or bleeding into the cheesecake over time, ensuring a fresh and vibrant presentation when it’s time to enjoy. This advance preparation makes entertaining much more relaxed!
Definitely! Mini cheesecakes freeze beautifully, making them an excellent option for long-term storage or preparing in large batches. To freeze, ensure the cheesecakes are fully set and *without any toppings*. Place them on a baking sheet and freeze for about an hour until firm. Then, transfer the frozen cheesecakes to an airtight freezer-safe container or a heavy-duty freezer bag, separating layers with parchment paper to prevent sticking. They will keep well in the freezer for up to 3 months. When you’re ready to enjoy them, thaw them overnight in the refrigerator. Just like with make-ahead refrigeration, add your desired toppings only after they have fully thawed and are ready to be served.
While graham crackers (chocolate or original) are the traditional choice, you have several delicious alternatives for your crust. **Shortbread cookies** provide a wonderfully buttery and delicate base. For chocolate lovers, crushed **Oreo cookies** (with or without the cream filling) create a rich, dark crust. Other fantastic options include **ginger snaps** for a spicy flavor profile, **vanilla wafers** for a milder taste, or even digestive biscuits. The key is to finely crush your chosen cookies and combine them with melted butter and a touch of sugar to form a cohesive mixture that will set nicely in the pan.
When stored properly in an airtight container in the refrigerator, these delicious mini cheesecakes will maintain their freshness and delightful texture for up to 5 days. This makes them perfect for enjoying throughout the week or for preparing several days before a special event. Always ensure they are covered to prevent them from absorbing odors from other foods in the fridge and to keep them from drying out.
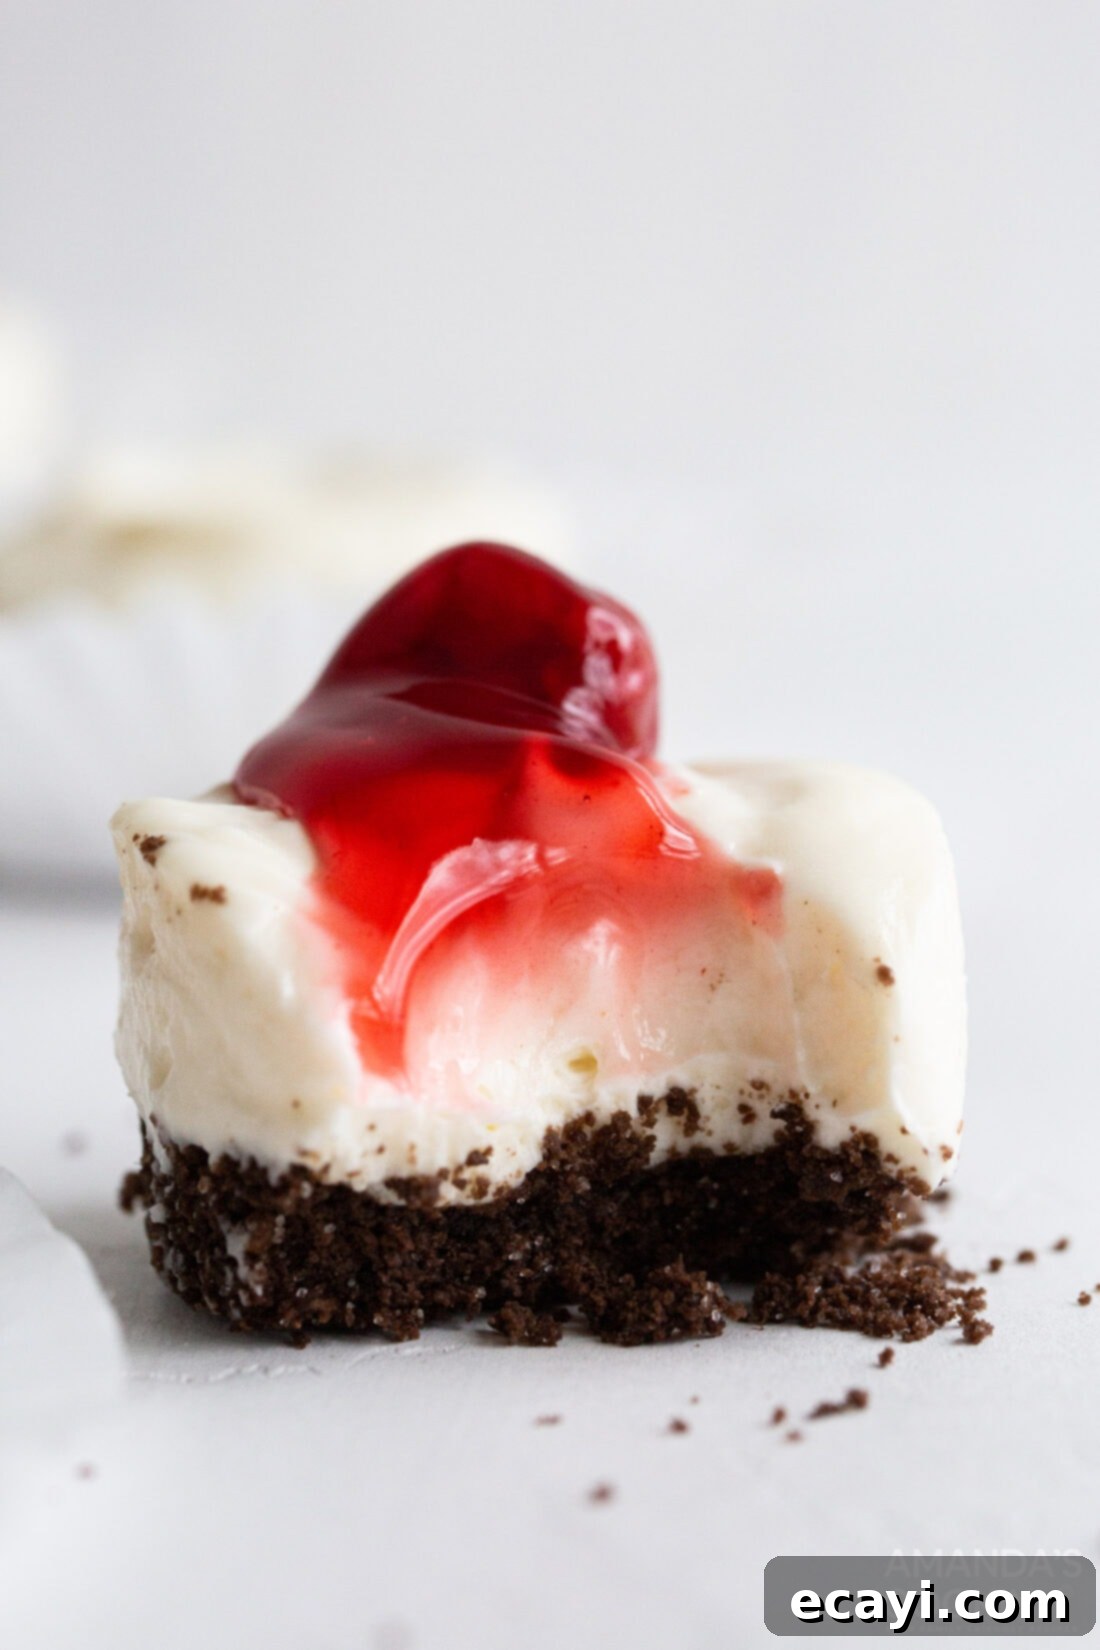
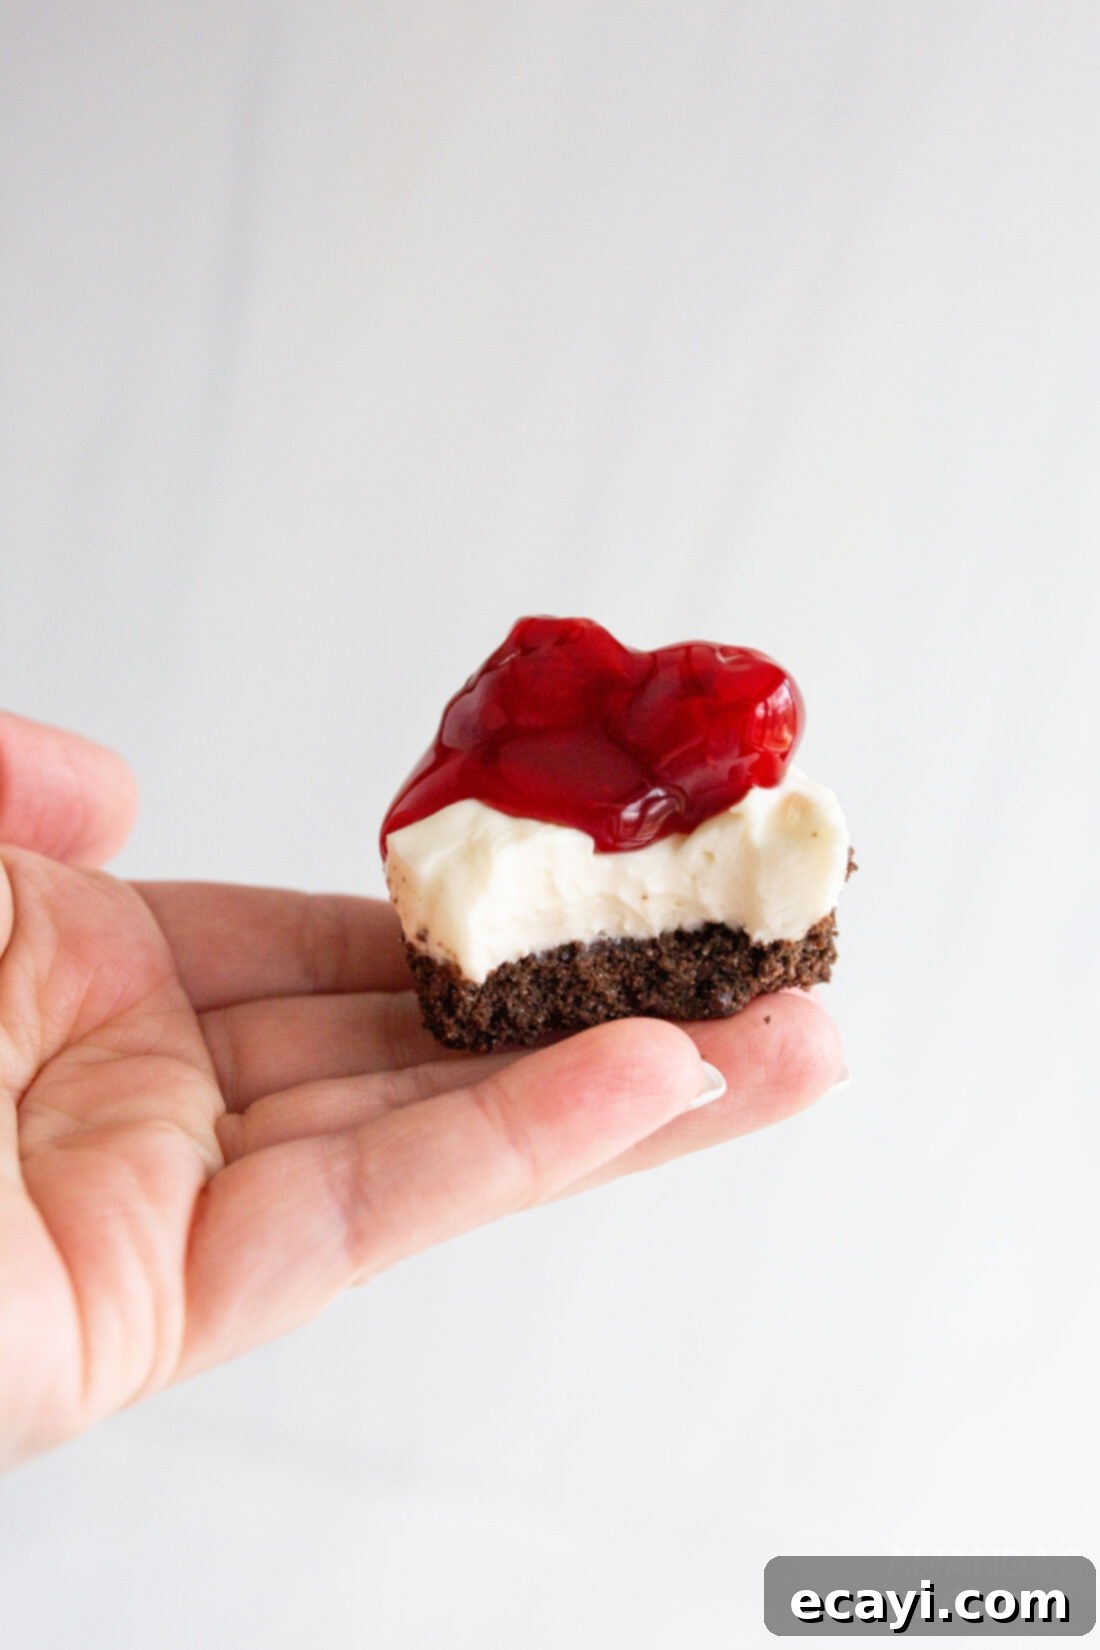
Once chilled to perfection, these mini cheesecakes emerge as a delightful treat, boasting a lusciously creamy and soft filling that melts in your mouth, perfectly complemented by the subtle crunch of the graham cracker crust and the sweet-tart burst of cherry pie filling. They truly taste like a dream come true!
More Decadent Cheesecake Recipes
- Tiramisu Cheesecake
- Instant Pot Strawberry Cheesecake
- Instant Pot Cheesecake
- Chocolate Cheesecake Brownies
- Instant Pot Funfetti Cheesecake
- No Bake Cheesecake Bars
- Oreo Cheesecake
- Cheesecake Stuffed Strawberries
I love to bake and cook and share my kitchen experience with all of you! Remembering to come back each day can be tough, that’s why I offer a convenient newsletter every time a new recipe posts. Simply subscribe and start receiving your free daily recipes!
Mini Cheesecakes
IMPORTANT – For detailed tips, substitution suggestions, and answers to common questions, please refer to the comprehensive sections within the blog post above!
Print It
Pin It
Rate It
Save ItSaved!
Ingredients
Crust
- 6 chocolate graham crackers about 1 sleeve of a standard box
- 1 Tablespoon sugar
- 2 Tablespoons butter melted
Filling
- ½ cup heavy whipping cream
- 8 oz cream cheese softened
- ¼ cup sugar
- 2 Tablespoons sour cream
- 1 teaspoon lemon juice
- ½ teaspoon vanilla extract
Topping
- 8 oz cherry pie filling purchase a 21 oz can, you will not need all of it, only about 8 oz/ 2-3 cherries per cheesecake
Things You’ll Need
-
Food processor
-
Mini cheesecake pan
-
Hand mixer
Before You Begin
- For optimal freshness, store mini cheesecakes in an airtight container in the refrigerator for up to 5 days. They can also be frozen without toppings for up to 3 months; thaw overnight in the fridge before serving.
- Broaden your flavor horizons with various fruit pie fillings (strawberry, blueberry, apple, raspberry) or decadent options like chocolate ganache, caramel with nuts, or a classic dollop of whipped cream with fresh berries.
Instructions
-
In a food processor, pulse the graham crackers into a fine crumb. Add in the sugar. While on low speed, drizzle in the melted butter.
-
Spray the mini cheesecake pan with non-stick cooking spray. Spoon the graham cracker mix into the cups evenly, about 1-1/2 Tablespoon, and pack down with the back of the spoon. Bake at 350F for 5 minutes and allow to cool for an additional 10 minutes before filling.
-
In a medium bowl using a hand mixer, beat the cream cheese for 1 minute. Add the sugar, sour cream, lemon juice, and vanilla extract to the bowl and use a hand mixer to combine.
-
In a separate bowl beat the heavy whipping cream on high speed until whipped cream forms. About 2-3 minutes. Fold into the bowl with the cream cheese mixture.
-
Top the cooled crusts with filling, about 2-3 Tablespoons each. Cool in the refrigerator for 4 hours. Top with 1 Tablespoon of cherry filling before serving.
Nutrition
The recipes on this blog are tested with a conventional gas oven and gas stovetop. It’s important to note that some ovens, especially as they age, can cook and bake inconsistently. Using an inexpensive oven thermometer can assure you that your oven is truly heating to the proper temperature. If you use a toaster oven or countertop oven, please keep in mind that they may not distribute heat the same as a conventional full sized oven and you may need to adjust your cooking/baking times. In the case of recipes made with a pressure cooker, air fryer, slow cooker, or other appliance, a link to the appliances we use is listed within each respective recipe. For baking recipes where measurements are given by weight, please note that results may not be the same if cups are used instead, and we can’t guarantee success with that method.
This post was originally published here on April 24, 2021.
