Ultimate Blackberry Swirl Cheesecake Recipe: Creamy, Fruity, and Absolutely Irresistible
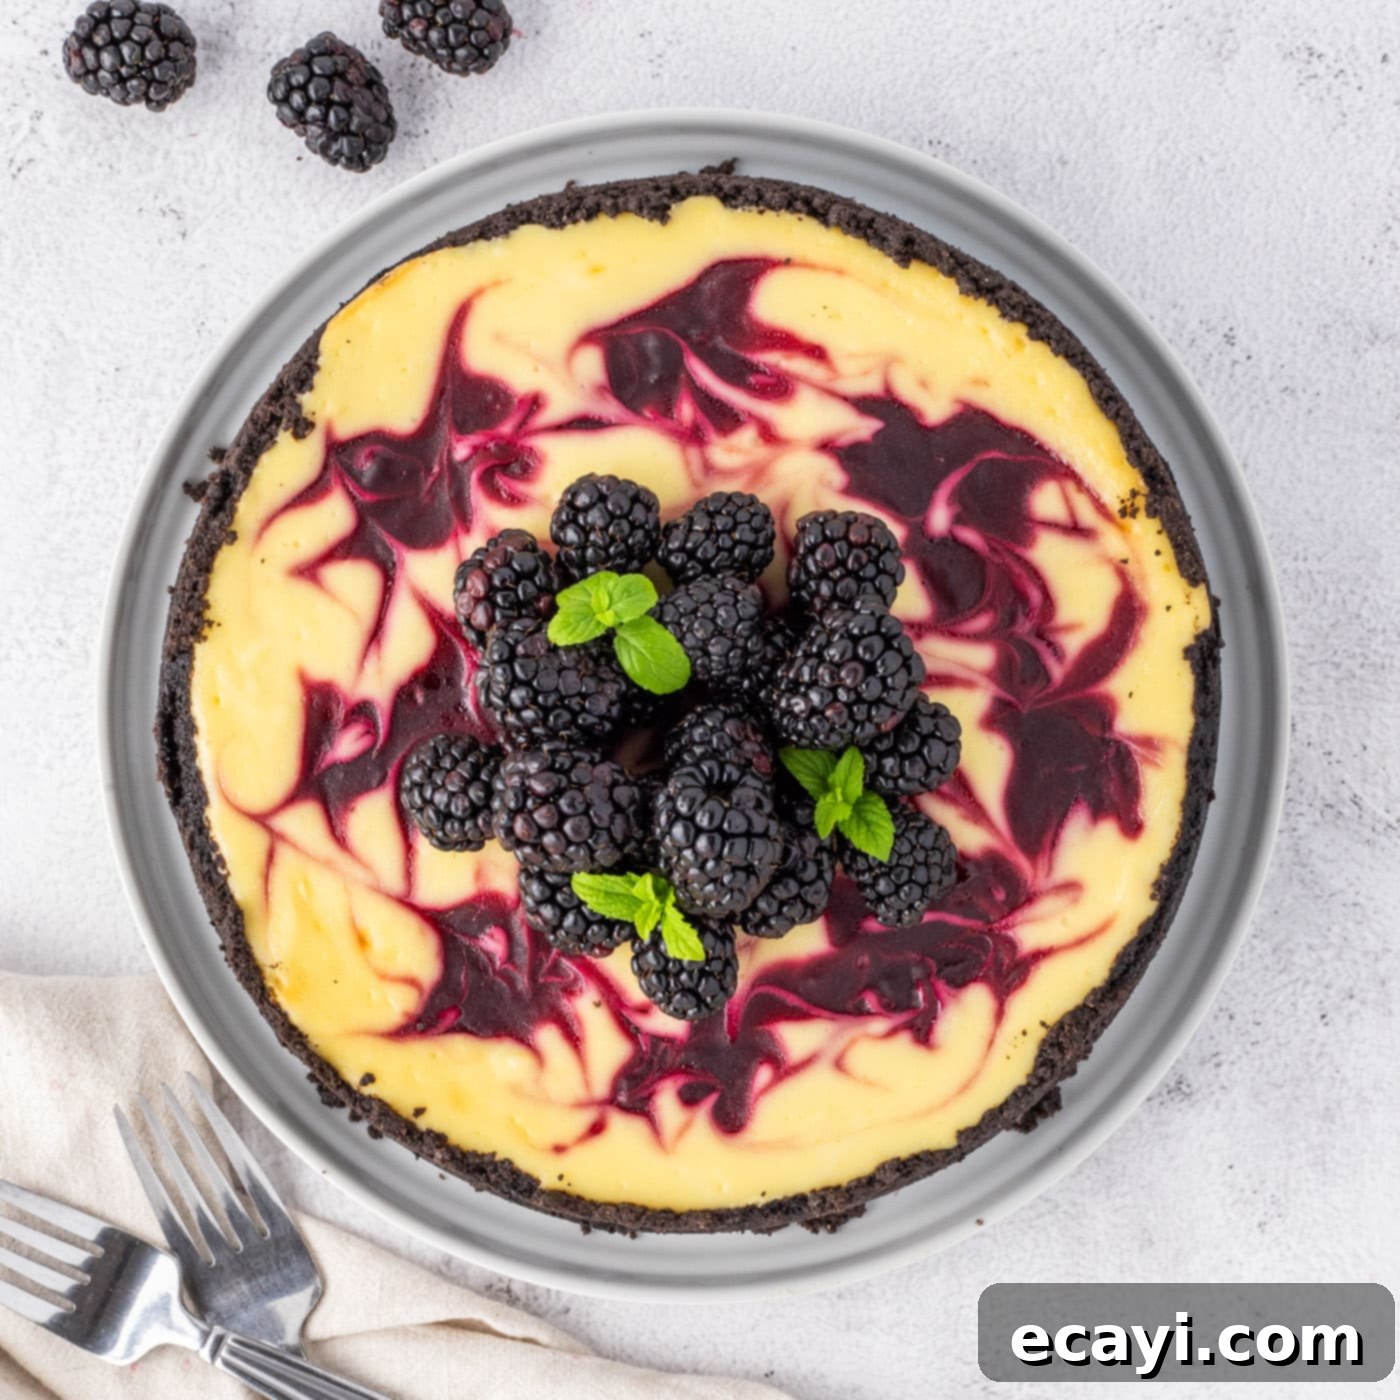
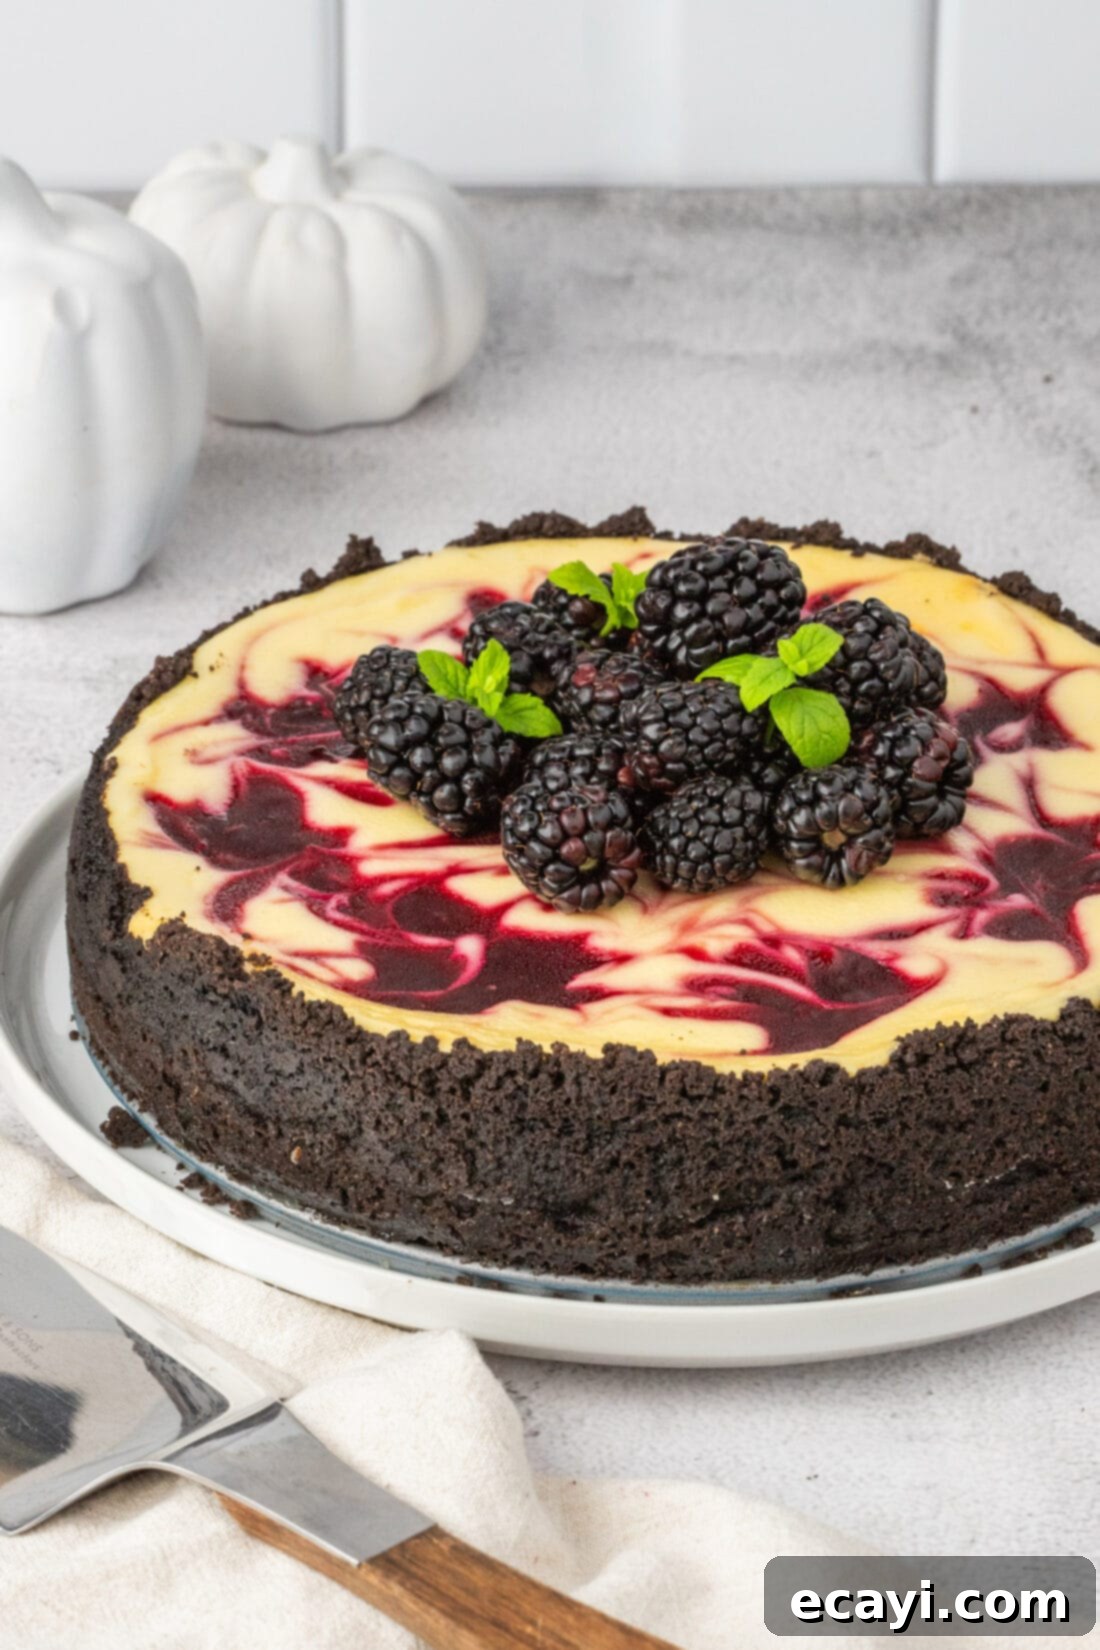
Prepare to be enchanted by this show-stopping dessert! Our Blackberry Swirl Cheesecake is a harmonious blend of textures and flavors, featuring luscious, marbled wisps of vibrant blackberry sauce elegantly woven through a rich, creamy cheesecake base. All of this delightful filling rests upon a perfectly crunchy and irresistible Oreo cookie crust, creating a dessert that’s as beautiful to behold as it is delicious to eat. This recipe promises a truly unforgettable homemade cheesecake experience, perfect for any occasion.
Why This Blackberry Swirl Cheesecake Recipe is a Must-Try
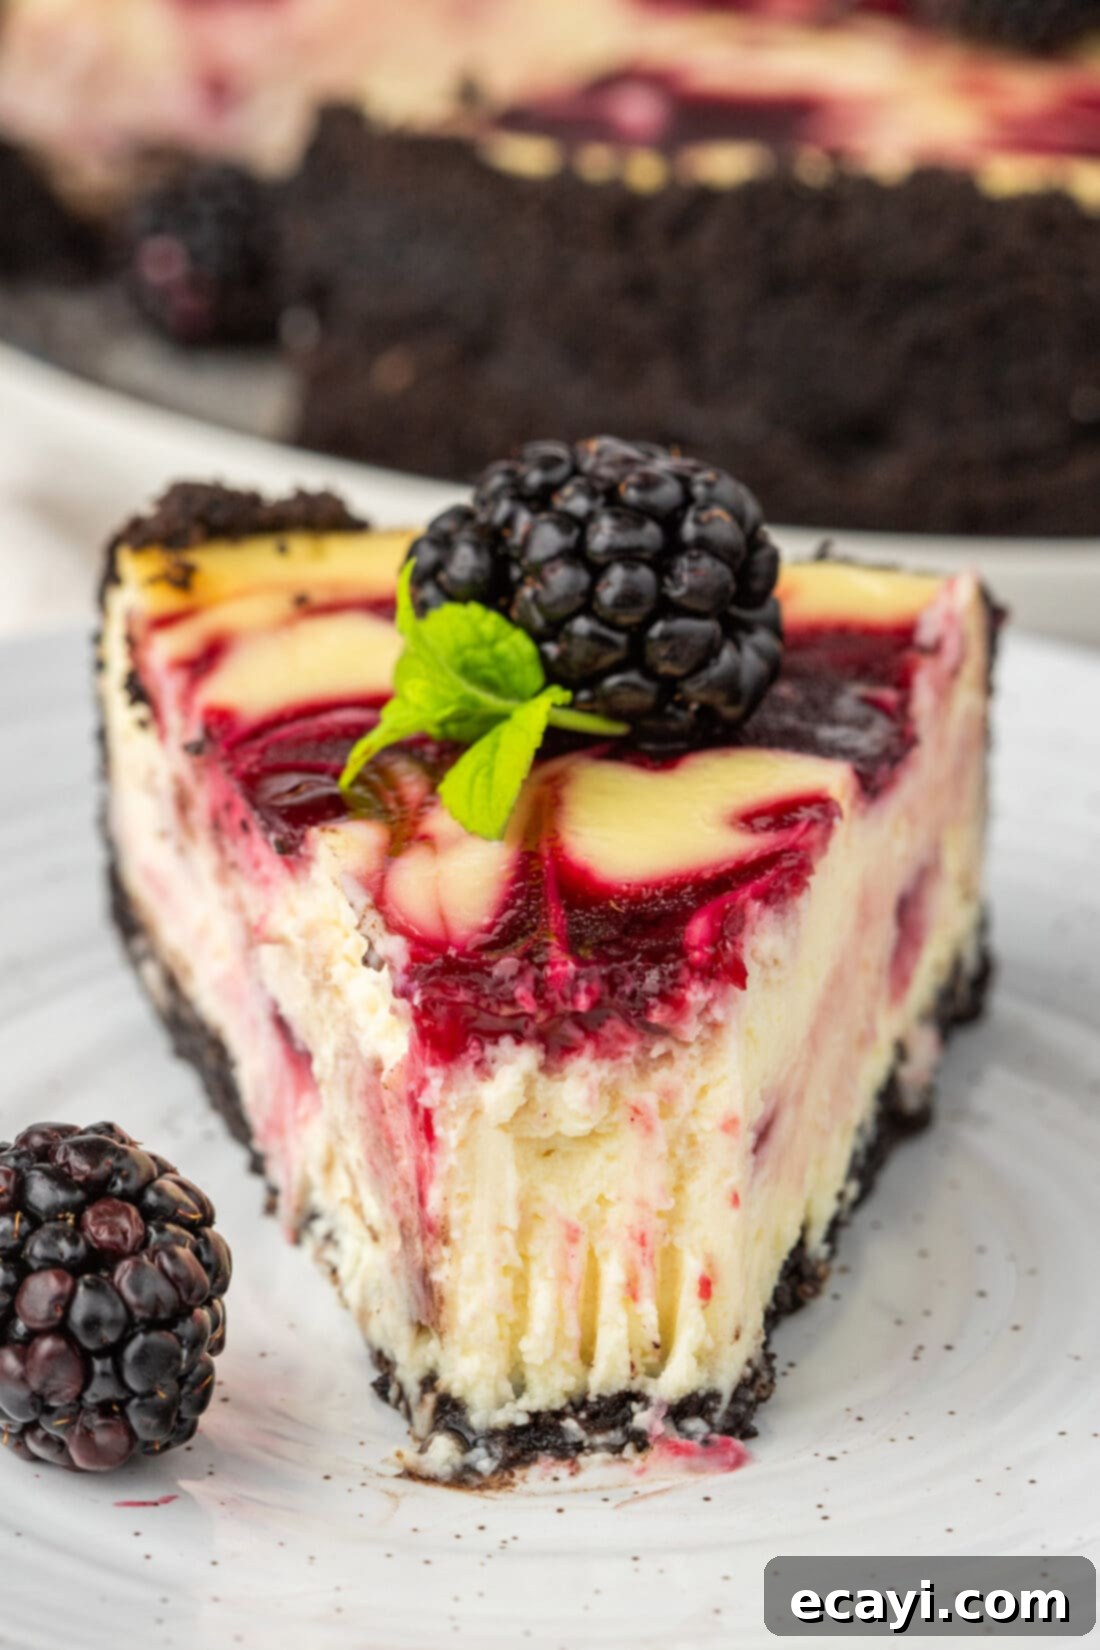
This blackberry swirl cheesecake isn’t just a dessert; it’s an experience. It’s undeniably a show-stopper that will earn you countless compliments and requests for the recipe! The magic begins with a robust and flavorful Oreo cookie crust, providing a delightful textural contrast to the smooth filling. This firm, chocolatey foundation is then generously topped with our classic, velvety cream cheese base, which serves as the perfect canvas for the star of the show: the easy-to-make, intensely fruity blackberry sauce that’s artfully swirled throughout.
One of the key reasons this recipe shines is its celebration of blackberries. In our opinion, these plump, juicy berries are truly underrated. Their natural sweetness is perfectly balanced by a subtle tartness, creating a bright counterpoint to the rich, decadent cheesecake. Whether you opt for fresh blackberries when they are in season or utilize the convenience of frozen ones, the result is consistently superb. While blackberries are exceptional, this recipe is remarkably versatile. Feel free to experiment with other fruits you love, or if you’re looking for a different berry twist, hop over to our strawberry swirl cheesecake for another fantastic variation. The swirling technique ensures that every slice offers a beautiful visual appeal and a burst of fruity flavor, making this homemade dessert truly special.
Key Ingredients for Your Blackberry Swirl Cheesecake
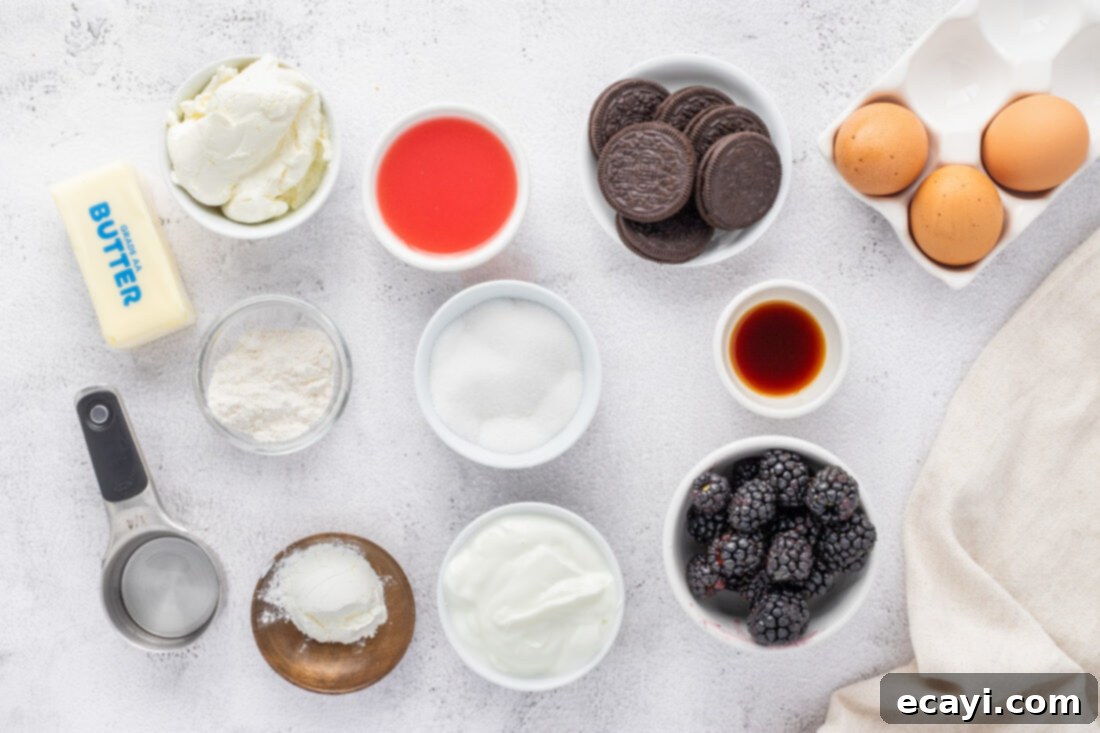
To create this irresistible blackberry swirl cheesecake, you’ll need a selection of fresh, high-quality ingredients. While the full list with precise measurements and detailed instructions can be found in the printable recipe card at the very end of this post, let’s take a quick look at the main components that bring this dessert to life.
Ingredient Spotlight & Expert Substitution Suggestions
Understanding your ingredients is key to successful baking. Here’s a deeper dive into the components of this blackberry swirl cheesecake and how to ensure the best results, along with some helpful substitution tips.
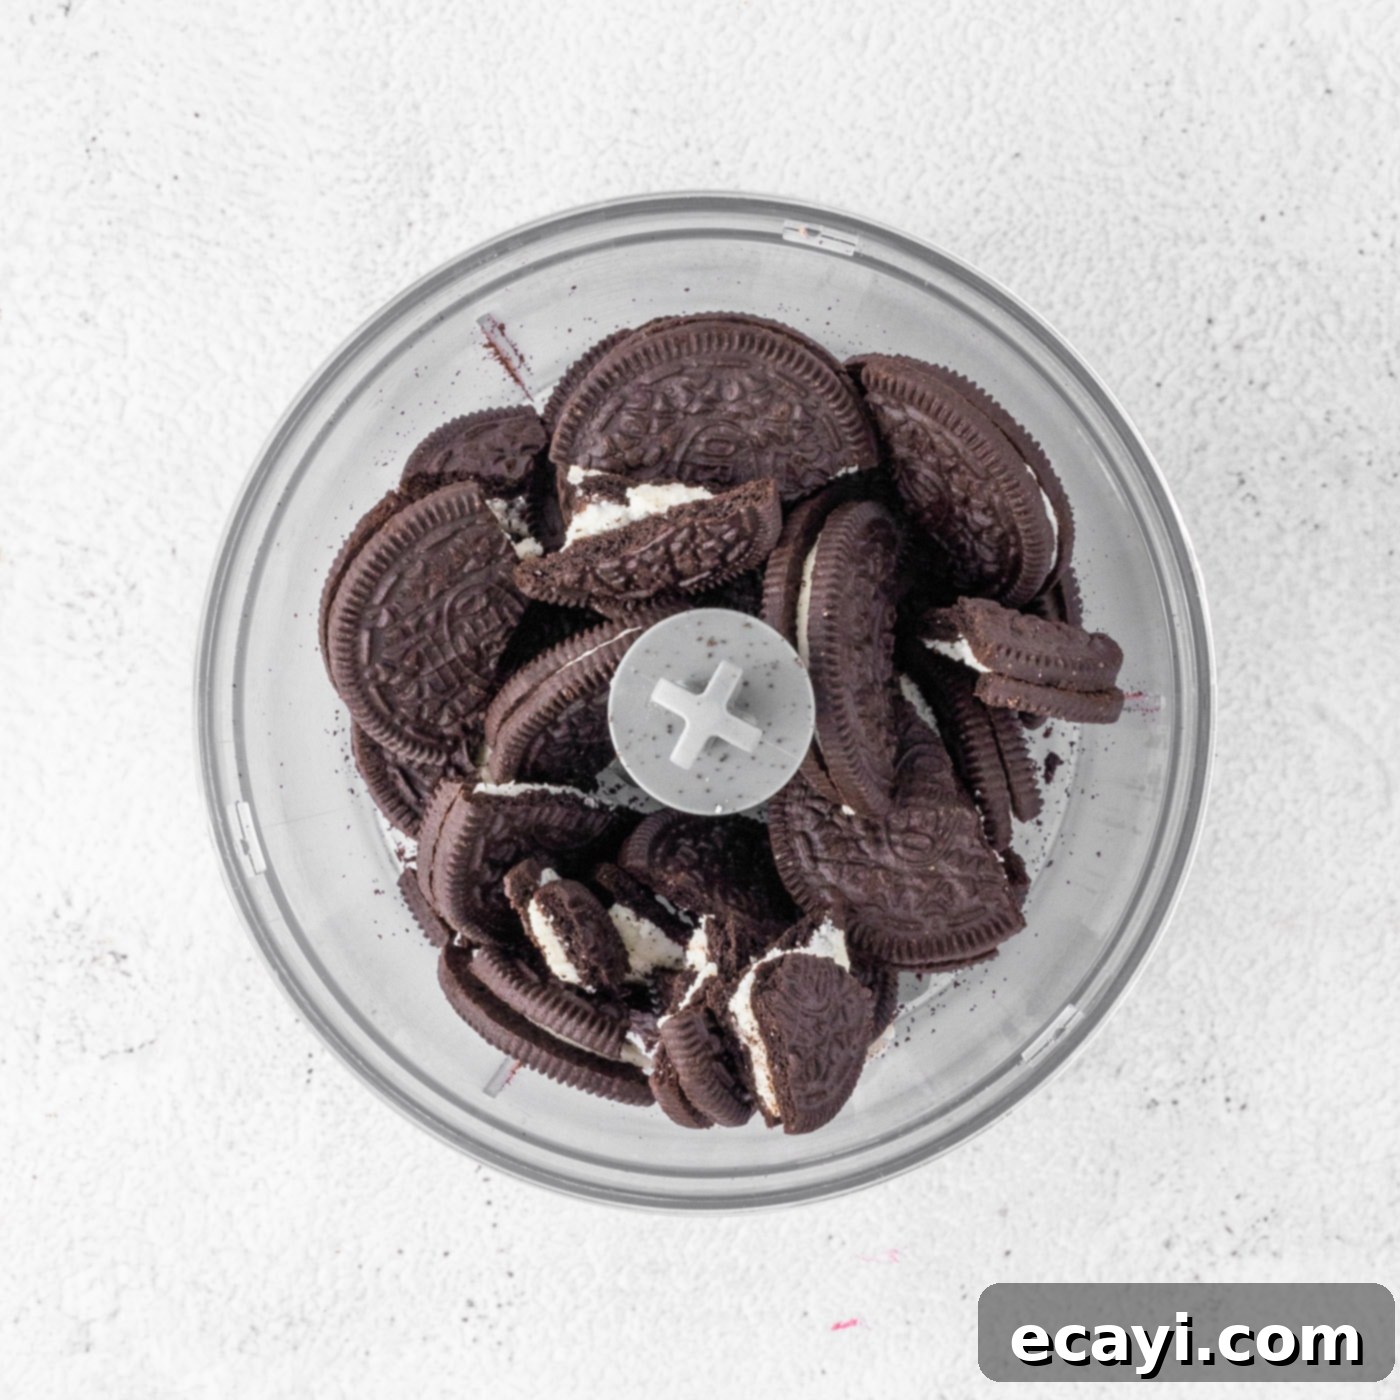
CRUST – For that signature rich, chocolatey base, you’ll need approximately 30 Oreo cookies, which yields about 3 cups of fine Oreo cookie crumbs. Using a food processor makes quick work of this, but you can also place them in a sturdy plastic bag and crush them with a rolling pin. Once crushed, these crumbs are mixed with melted butter to form a cohesive base. If you prefer a different flavor profile or don’t have Oreos on hand, a classic graham cracker crust is an excellent and equally delicious substitute. Simply use the same amount of graham cracker crumbs mixed with melted butter.
CHEESECAKE FILLING – The heart of any great cheesecake is the cream cheese. For optimal creaminess and to prevent any lumps in your batter, it is absolutely crucial to bring your cream cheese to room temperature before you begin mixing. The easiest way to do this is to slice the cold cream cheese into smaller cubes and allow them to rest on your kitchen counter for about 30-45 minutes. This simple step ensures that the cream cheese blends smoothly with the sugar and other ingredients, creating a velvety, lump-free batter. We recommend using full-fat cream cheese for the richest texture and flavor. The Greek yogurt adds a wonderful tang and extra creaminess, while the flour and cornstarch provide structure, helping to prevent cracks during baking. Remember to add eggs one at a time and mix gently to avoid incorporating too much air, which can also contribute to cracking.
SAUCE – The vibrant blackberry swirl is what makes this cheesecake truly pop. You have the flexibility to use either fresh or frozen blackberries for the sauce – both work beautifully. If using frozen, there’s no need to thaw them first; simply combine them with sugar and fruit nectar (or fruit juice) in a saucepan. The mixture will be simmered and reduced, allowing the flavors to concentrate and the sauce to thicken. Crushing the berries as they cook helps to release their juices and pulp. After cooking, straining the sauce through a wire sieve is a vital step to achieve a smooth, seedless puree that creates those elegant swirls. Discard the solids, which are mostly seeds and pulp, and chill the sauce thoroughly before assembly. If your sauce appears too thin after cooling, a quick cornstarch slurry (a mixture of cornstarch and a small amount of water) can be blended in while heating for a few extra minutes to achieve the desired consistency. Fruit nectar (like Kern’s, Jumex, or Goya) provides a rich fruit base, but any fruit juice can be substituted.
How to Make Blackberry Swirl Cheesecake: Step-by-Step Instructions
These step-by-step photos and detailed instructions are here to help you visualize each stage of making this exquisite blackberry swirl cheesecake. For your convenience, you can also Jump to Recipe to access the printable version of this recipe, complete with precise measurements, a full ingredient list, and concise instructions at the bottom of the page.
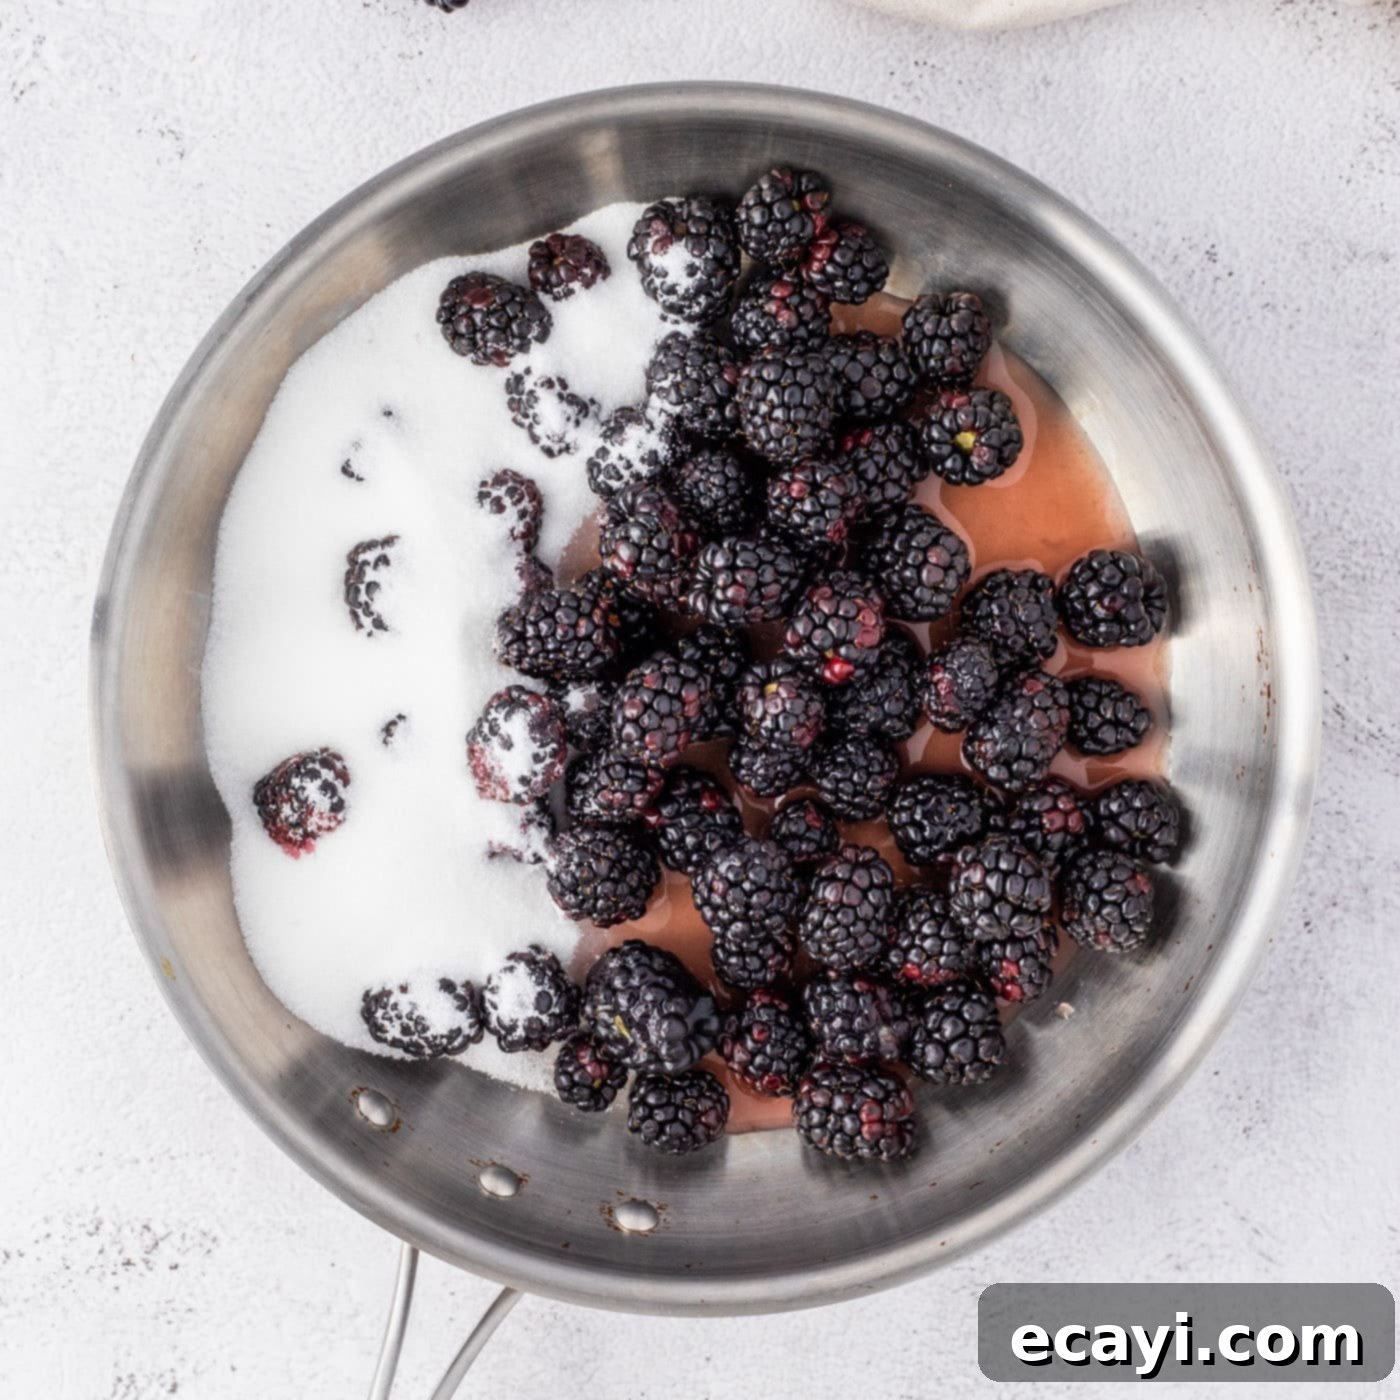
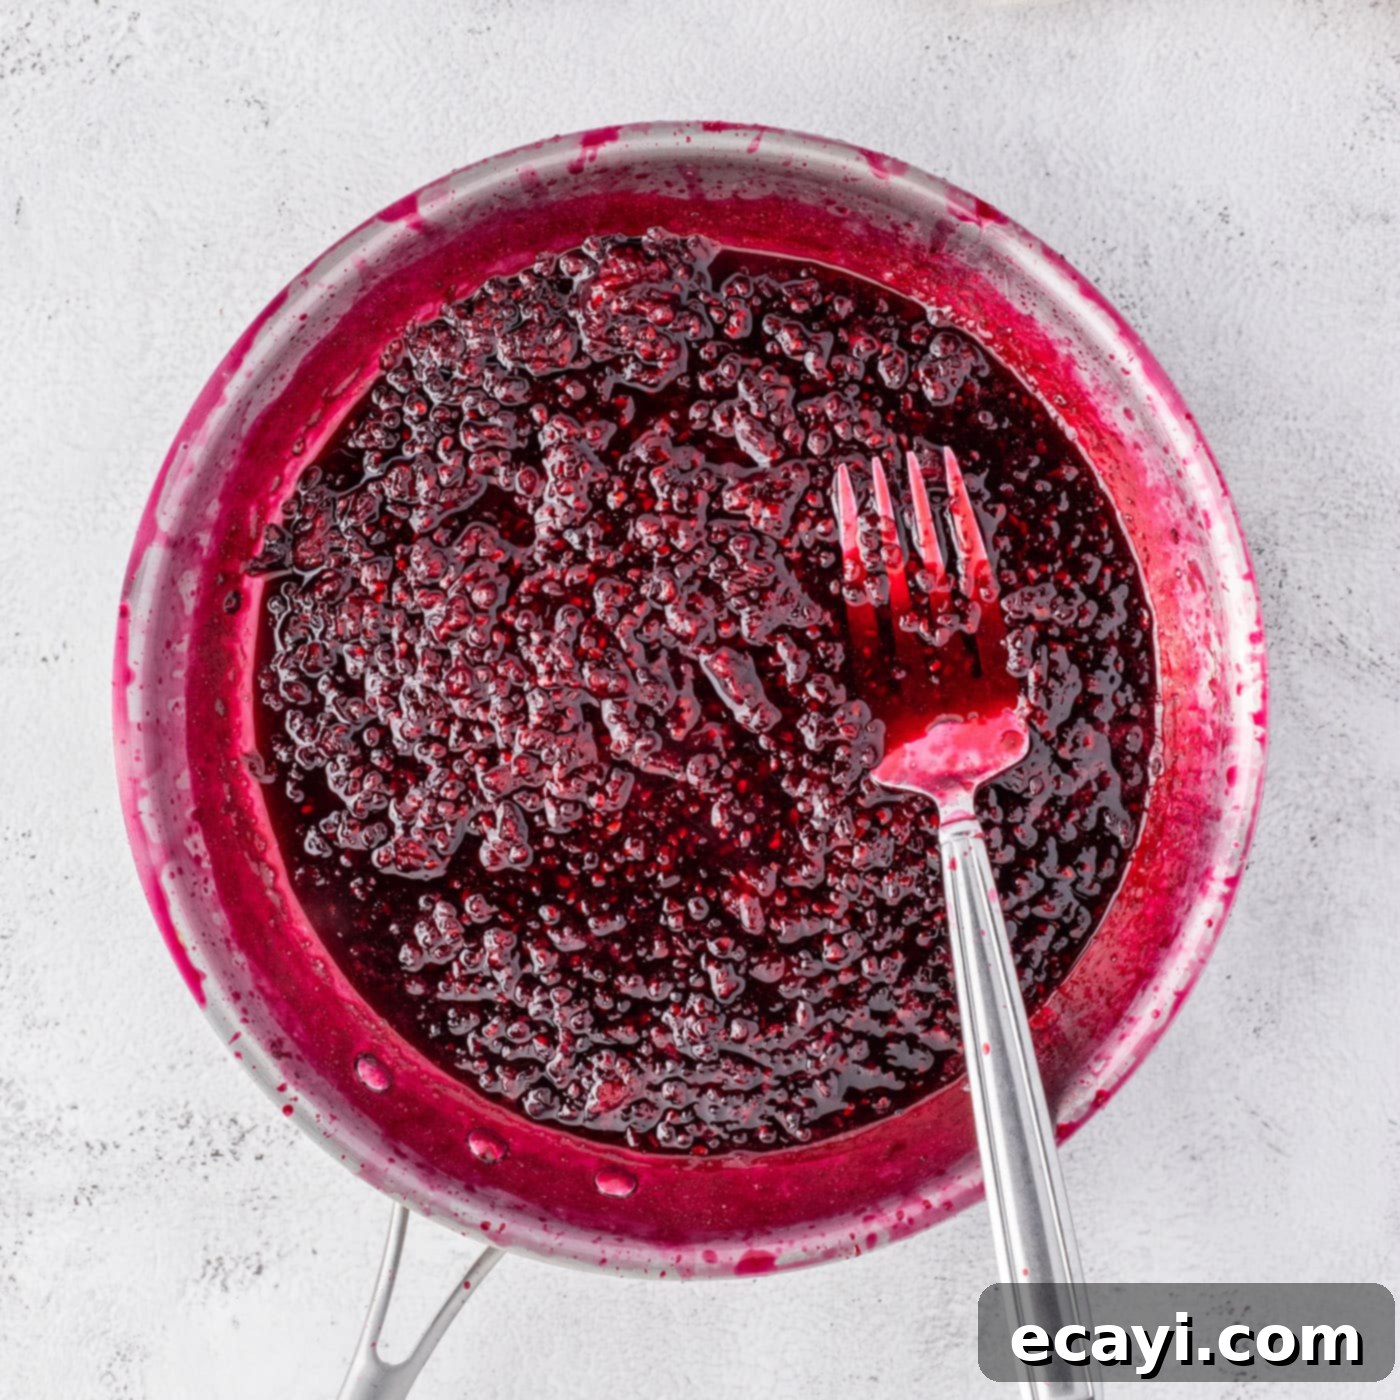
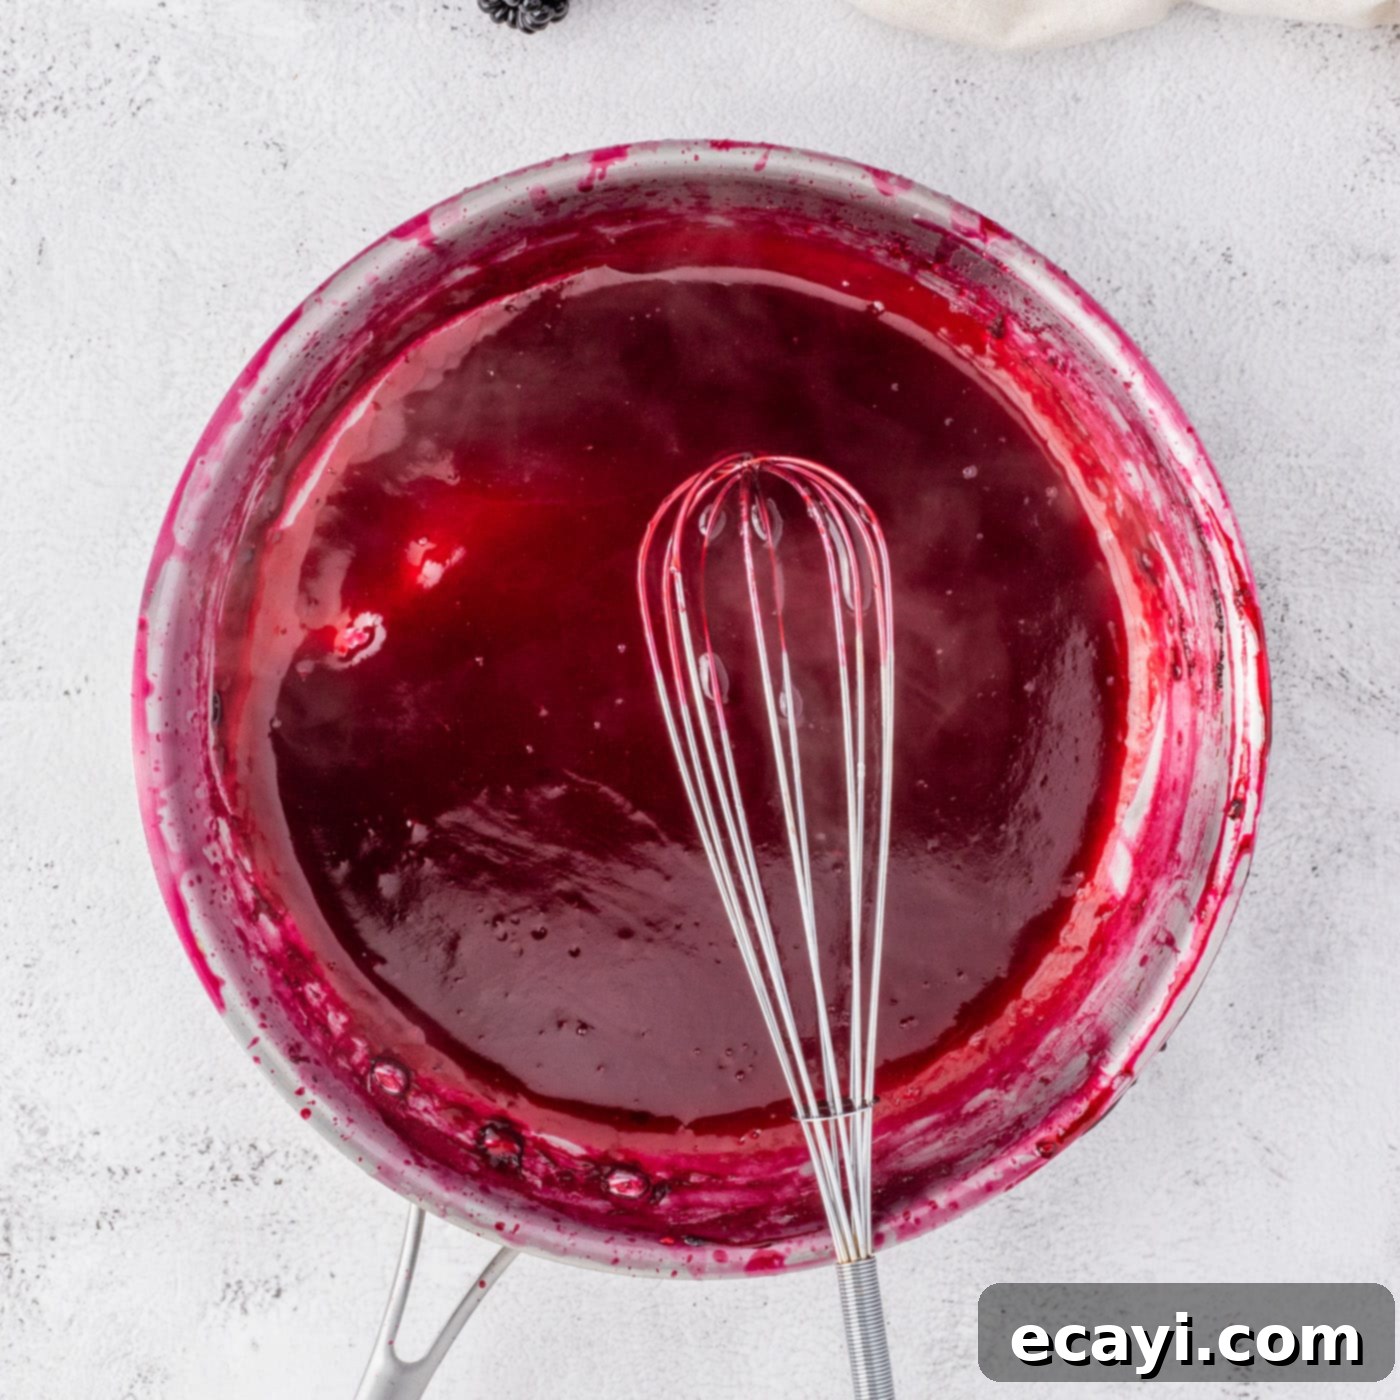
- **Prepare the Blackberry Sauce:** Begin by combining the fresh or frozen blackberries, granulated sugar, and fruit nectar in a medium saucepan. Place the saucepan over medium heat and bring the mixture to a gentle simmer. Continue to cook for approximately 10 minutes, stirring frequently. As the berries soften, use a large fork or potato masher to crush them, helping to release their juices and thicken the sauce. Cook until the mixture has noticeably thickened. Once reduced, carefully strain the warm blackberry sauce through a fine-mesh wire sieve into a clean bowl. Use the back of a spoon to press firmly against the pulp, extracting as much liquid as possible. Discard the solids (mostly seeds and skin) and allow the smooth, vibrant sauce to chill completely in the refrigerator. This cooling step is essential to prevent the sauce from thinning the cheesecake batter.


- **Adjust Sauce Thickness (Optional):** If, after chilling, your blackberry sauce appears too thin for swirling, don’t worry. In a small bowl, whisk together 1 Tablespoon of cornstarch with ¼ cup of cold water to create a slurry. Gently reheat the blackberry sauce over low heat, then slowly blend in the cornstarch slurry, stirring continuously. Cook for an additional few minutes until the sauce thickens to your desired consistency.

- **Prepare for Water Bath:** Preheat your oven to 350°F (175°C). Simultaneously, place a large roasting pan or another oven-safe, deep pan on the lower rack of your oven. This pan will be used for the hot water bath, which helps the cheesecake bake evenly and prevents cracking. Fill this pan with enough hot water so that it will rise to about 2 inches around the sides of your springform pan once placed inside.
- **Protect the Springform Pan:** Cheesecakes baked in a water bath require a well-sealed springform pan to prevent water from seeping in. Using 18-inch heavy-duty aluminum foil, carefully wrap the entire exterior of your springform pan with at least 4 layers of foil. Ensure it’s tightly sealed all around the bottom and sides to create an impenetrable barrier against the water.
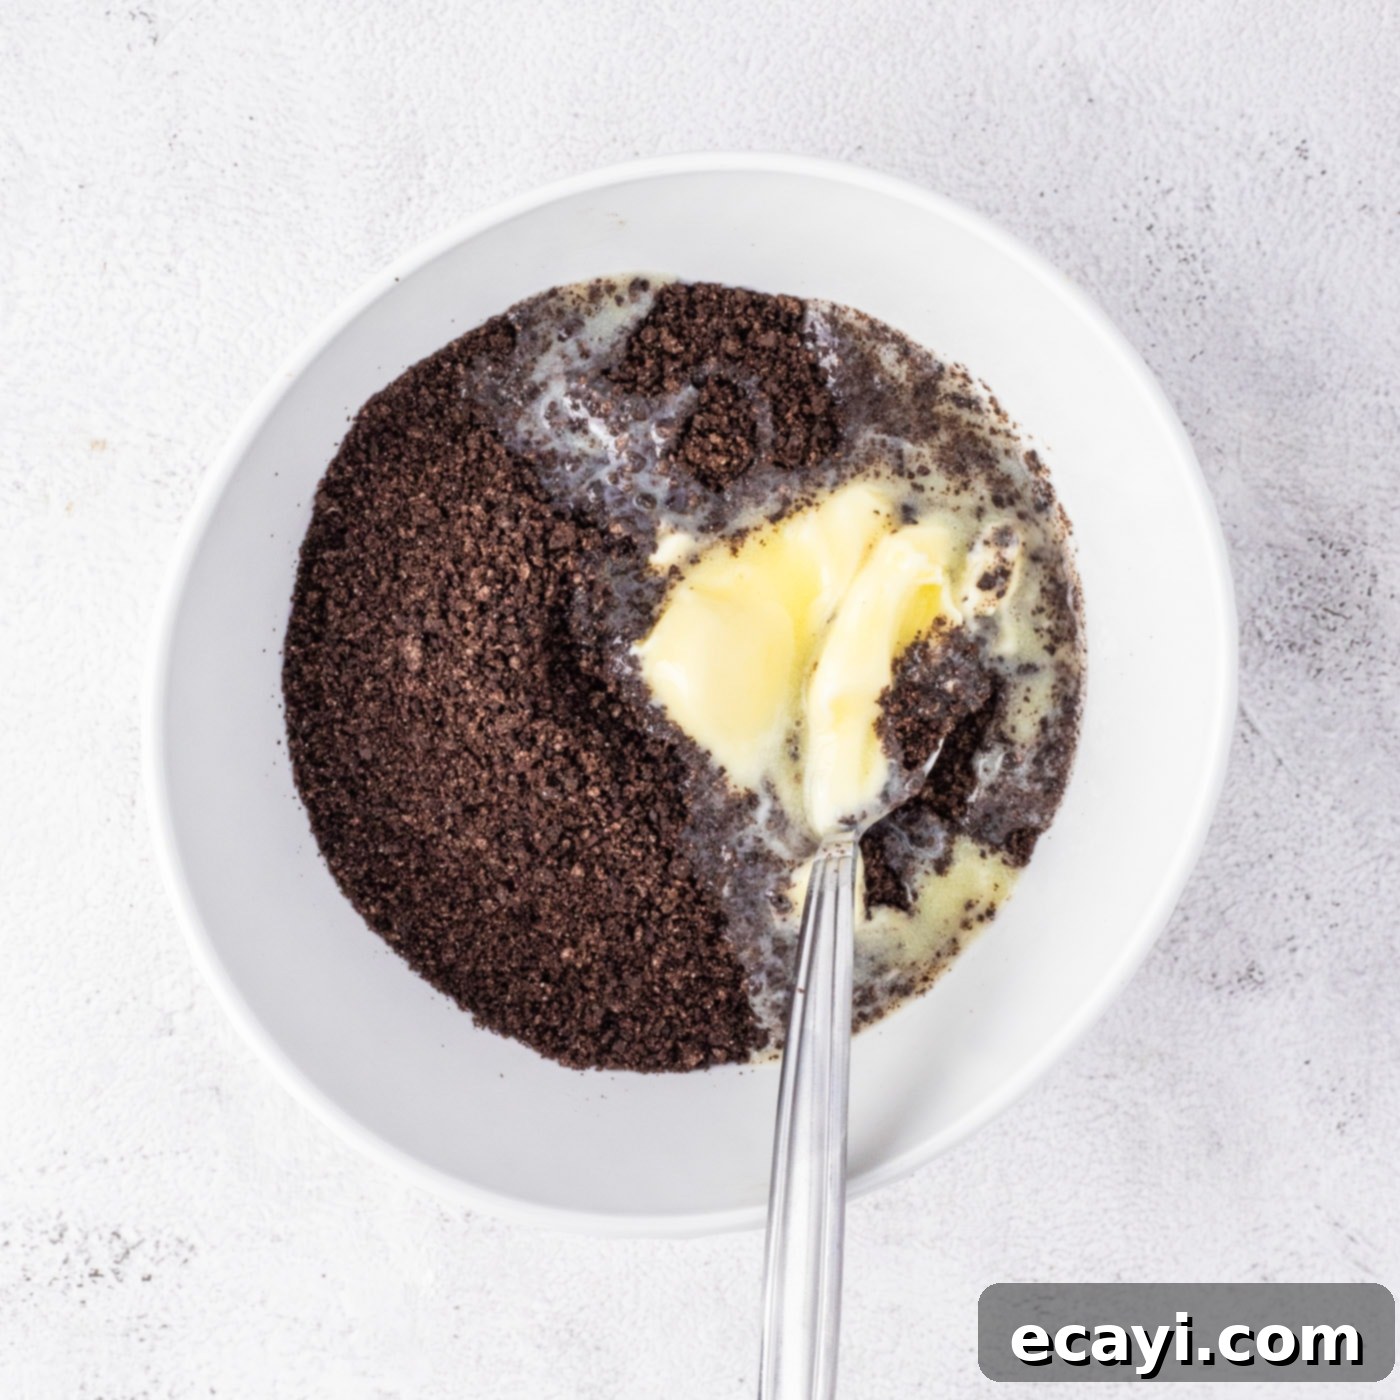
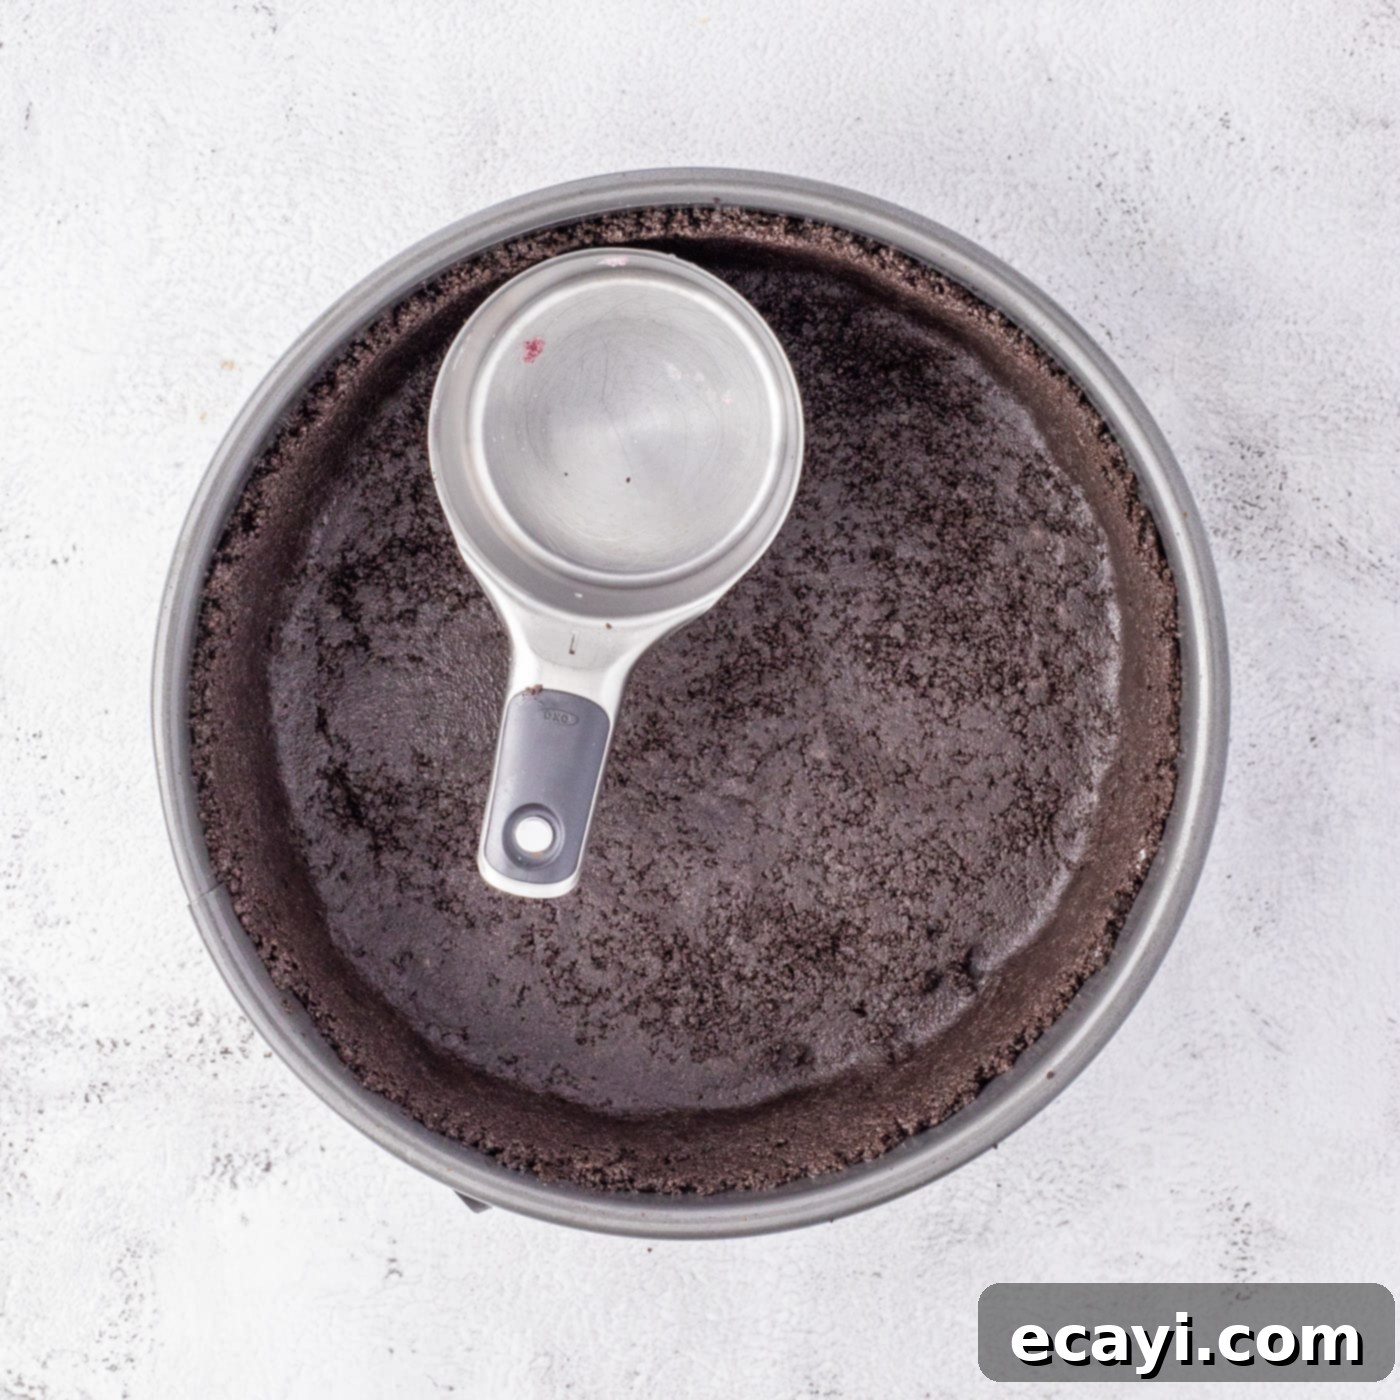
- **Make the Oreo Crust:** In a food processor, pulse the Oreo cookies until they form fine crumbs. Alternatively, you can place them in a sturdy plastic bag and smash them with a rolling pin. Transfer the crumbs to a small bowl. Pour in the melted unsalted butter and stir until the crumbs are thoroughly moistened and resemble wet sand. Press this crumb mixture evenly into the bottom and slightly up the sides of your prepared springform pan. Use the bottom of a glass or a measuring cup to firmly compact the crust, ensuring an even and tight layer. A well-compacted crust is key to a stable cheesecake.


- **Pre-bake the Crust:** Bake the Oreo crust in the preheated oven for 10 minutes. This helps to set the crust and prevents it from becoming soggy. Once baked, remove it from the oven and set it aside to cool completely before adding the cheesecake filling.
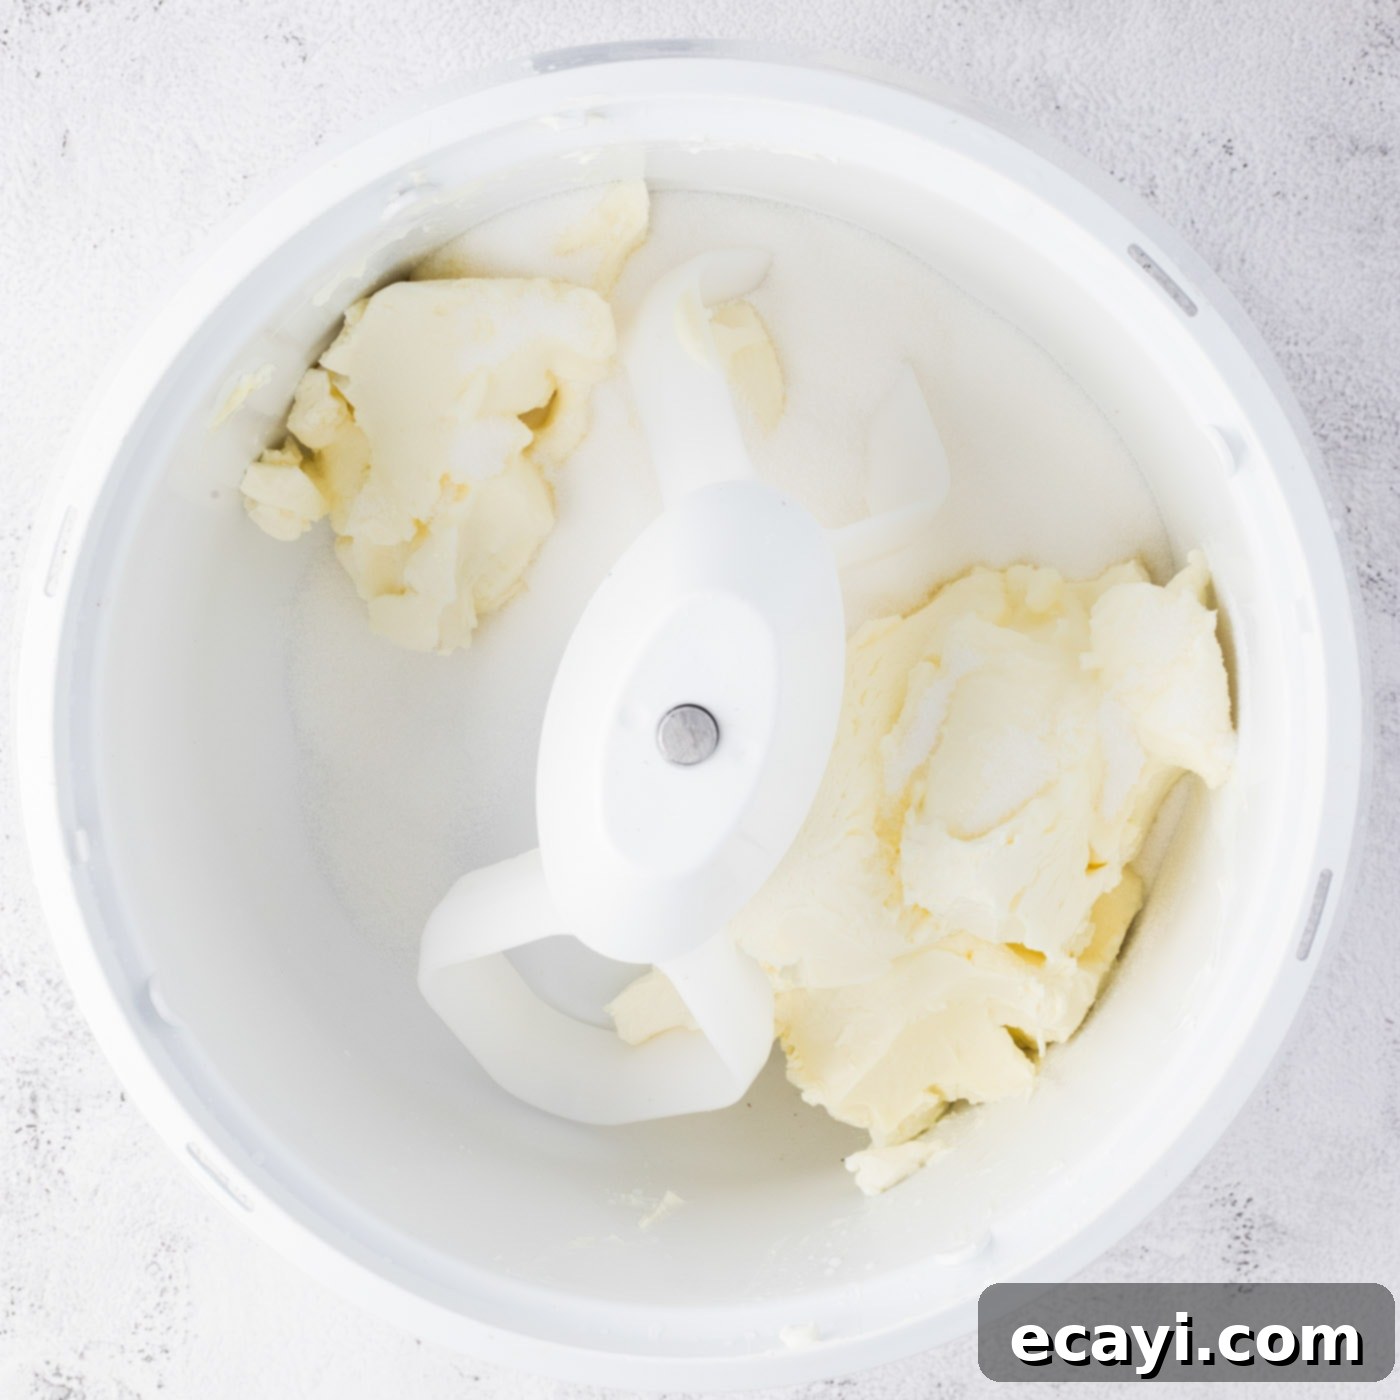
- **Prepare the Cheesecake Filling Base:** In a large mixing bowl, preferably using a stand mixer with a paddle attachment (or a hand mixer), combine the softened cream cheese and granulated sugar. Beat them together on low speed until the mixture is completely smooth and creamy, making sure to scrape down the sides of the bowl frequently to ensure all ingredients are well incorporated. Avoid overmixing at this stage, as incorporating too much air can lead to cracks in the finished cheesecake.

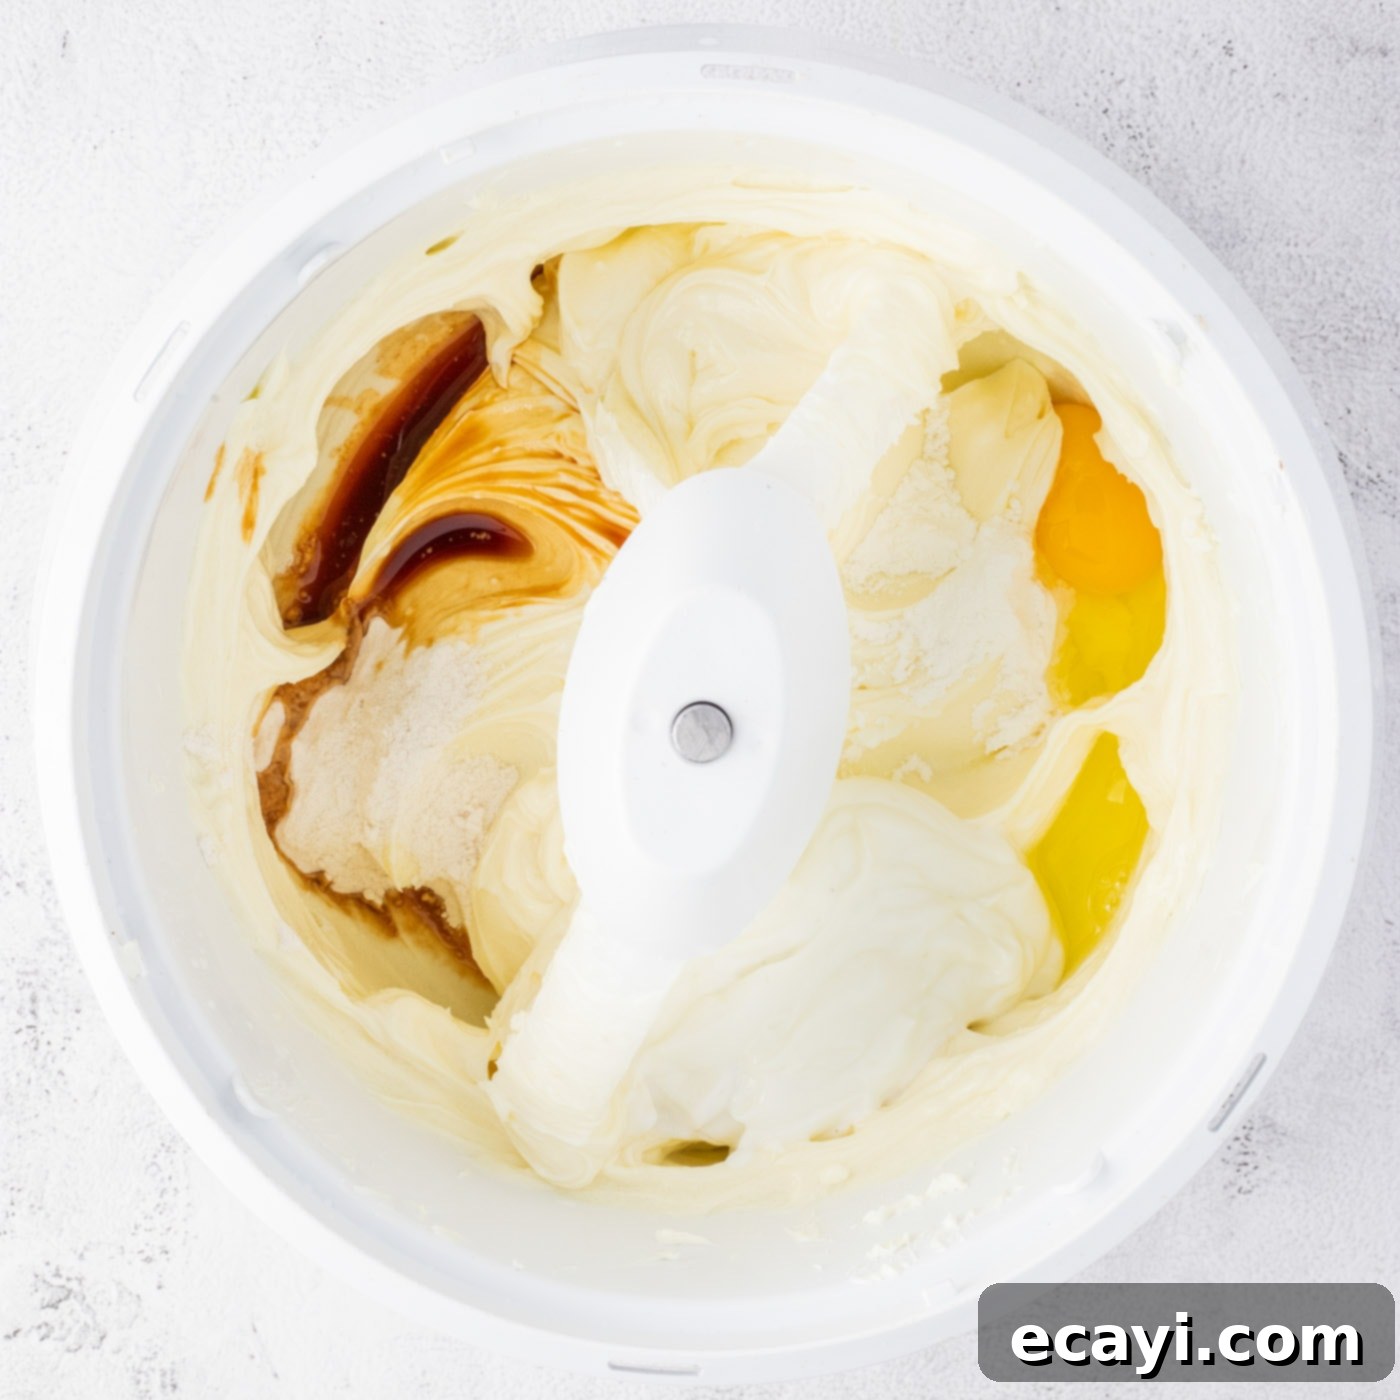
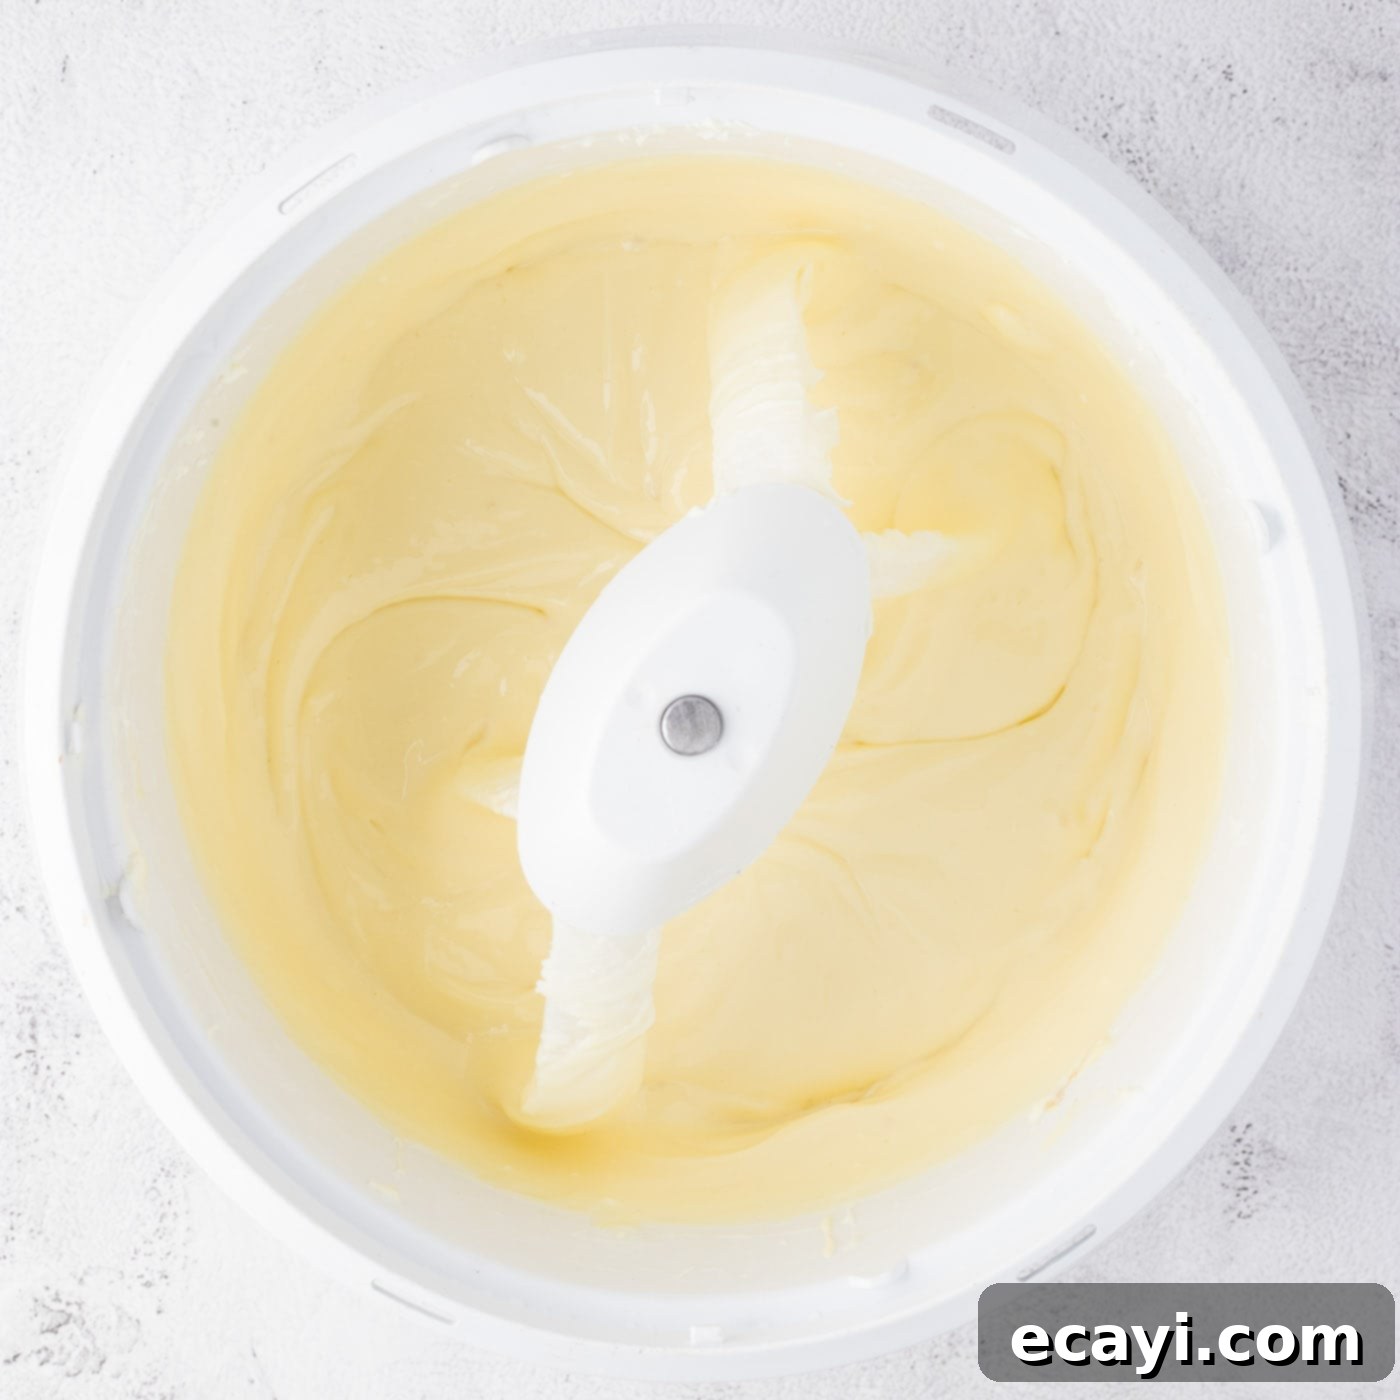
- **Incorporate Remaining Filling Ingredients:** Add the Greek yogurt, all-purpose flour, cornstarch, and vanilla extract to the cream cheese mixture. Continue beating on low speed, scraping the bowl often, until just combined. Finally, add the large eggs, one at a time, beating only until each egg is incorporated before adding the next. Again, do not overmix. The goal is a smooth, homogenous batter.


Assembling Your Blackberry Swirl Cheesecake
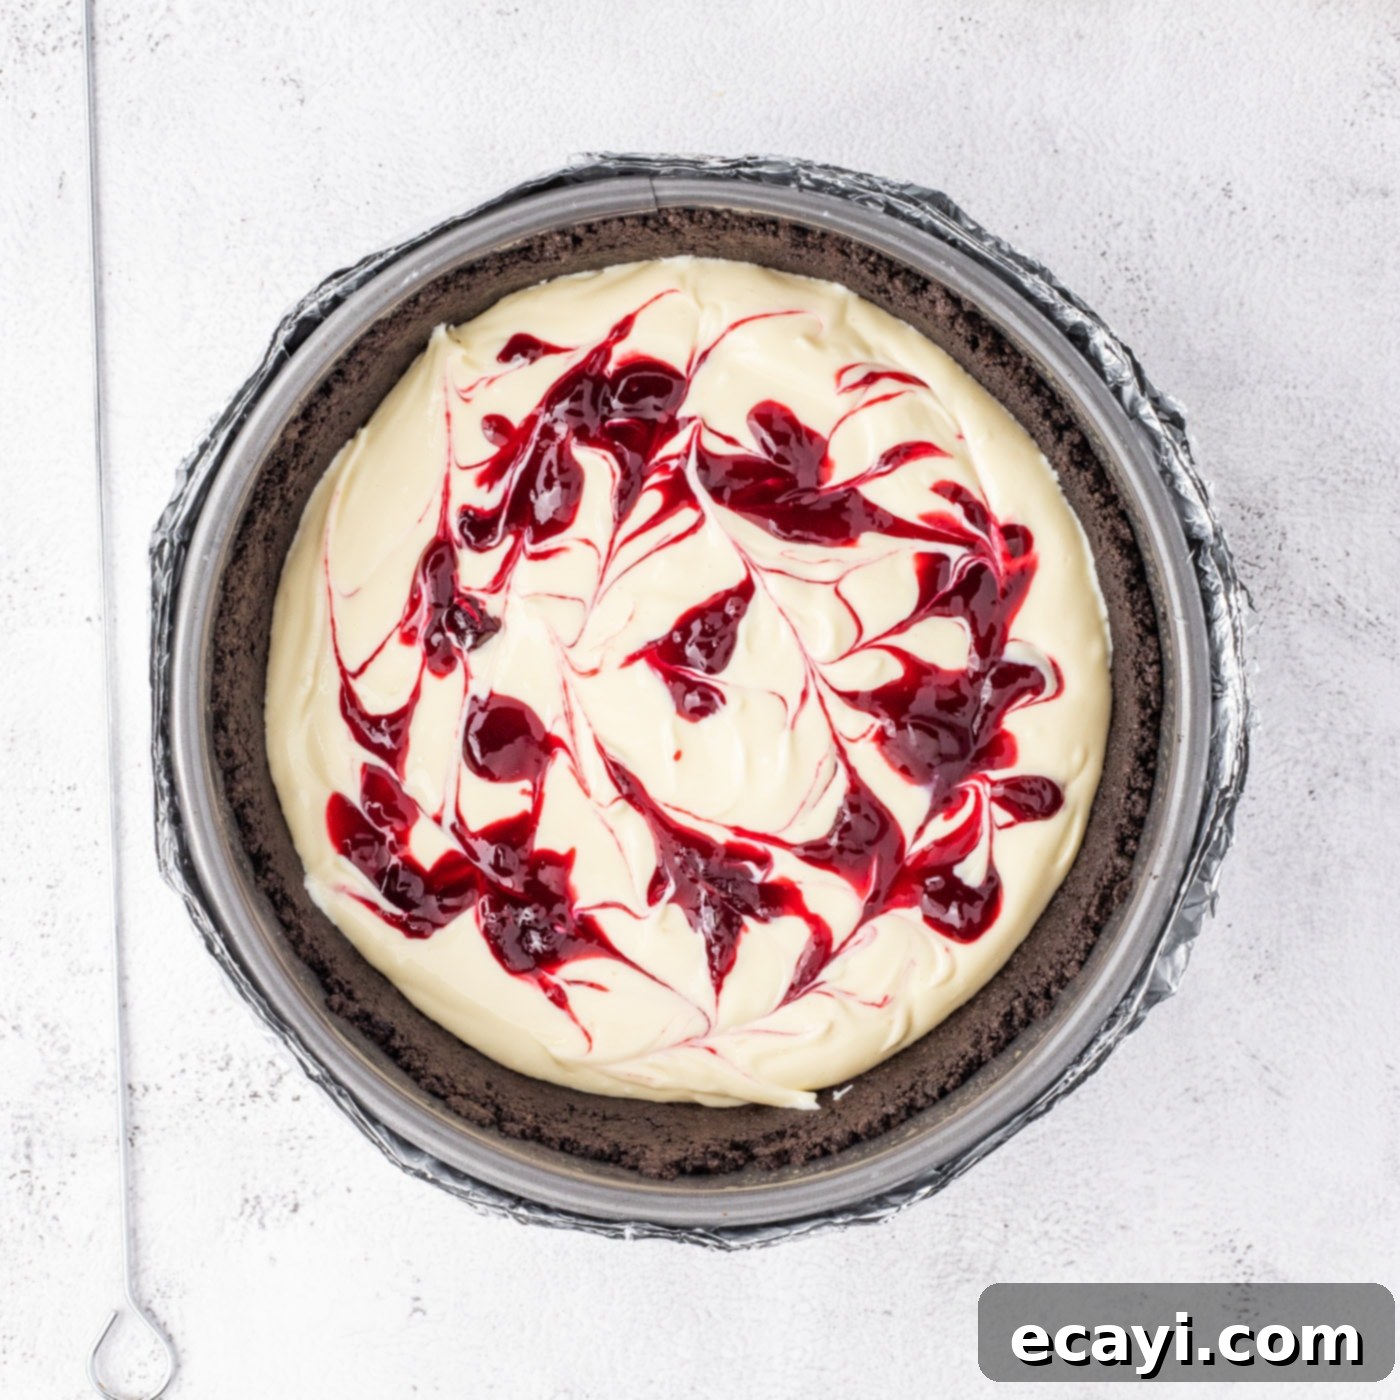
- **First Layer and Swirl:** Carefully pour half of the prepared cheesecake batter over the completely cooled Oreo crust in the springform pan. Now, take half of your chilled blackberry sauce and sprinkle it over the batter in small, random droplets. Using a toothpick, gently swirl the sauce into the batter. Aim for delicate, marbled patterns rather than completely mixing the colors together.

- **Second Layer and Swirl:** Slowly and carefully pour the remaining cheesecake batter onto the surface, covering the first swirled layer. Repeat the swirling process with the remaining blackberry mixture, sprinkling it in small droplets and gently marbling with a toothpick across the surface.
- **Place in Water Bath:** Carefully transfer your foil-wrapped springform pan, now filled with the cheesecake mixture, into the roasting pan already in your oven. Ensure the hot water bath surrounds the cheesecake pan, reaching about 2 inches deep. The water bath provides a moist, even baking environment.
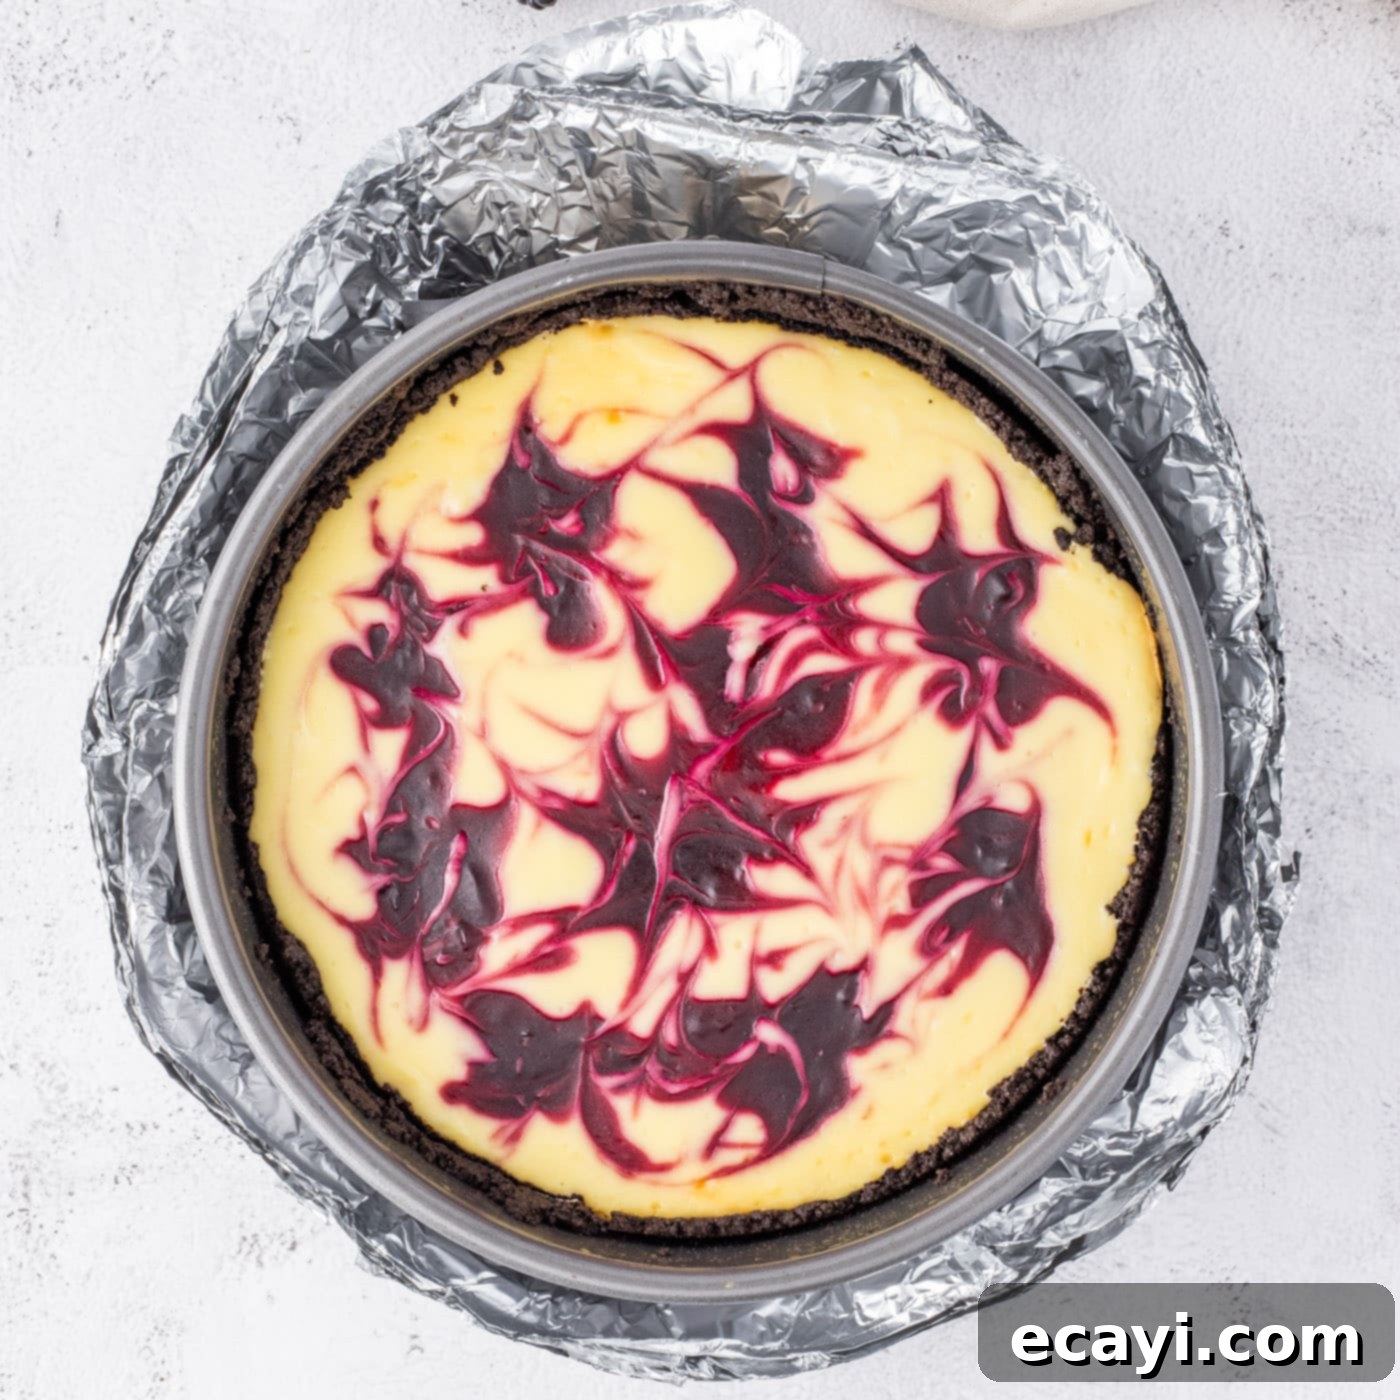
- **Bake to Perfection:** Bake the cheesecake for 60 to 70 minutes. Begin checking for doneness around the 1-hour mark. To test, gently jiggle the pan (while it’s still in the oven). A perfectly baked cheesecake will be mostly set around the edges but will still have a slight, uniform jiggle in the very center. If the center appears liquid or too wobbly, continue baking for another 10 to 15 minutes, checking again.
- **Crucial Cooling Process:** Once the cheesecake is set but still jiggly, turn the oven off completely. *Do not remove the cheesecake from the oven yet.* Instead, leave it in the cooling oven for an additional hour. To aid in slow cooling and prevent cracking, place a wooden spoon in the oven door to keep it open by about half an inch. This gradual cooling process is absolutely vital for achieving a smooth, crack-free surface on your cheesecake.

- **Final Chill:** After the hour of slow cooling in the oven, remove the cheesecake from the oven and the water bath. Carefully unwrap and remove the foil lining from the springform pan. Let the cheesecake cool completely on a wire rack at room temperature. Once cooled, transfer it to the refrigerator and chill for a minimum of 5 hours, or ideally, overnight. This chilling period is crucial for the cheesecake to fully set and for its flavors to meld beautifully.
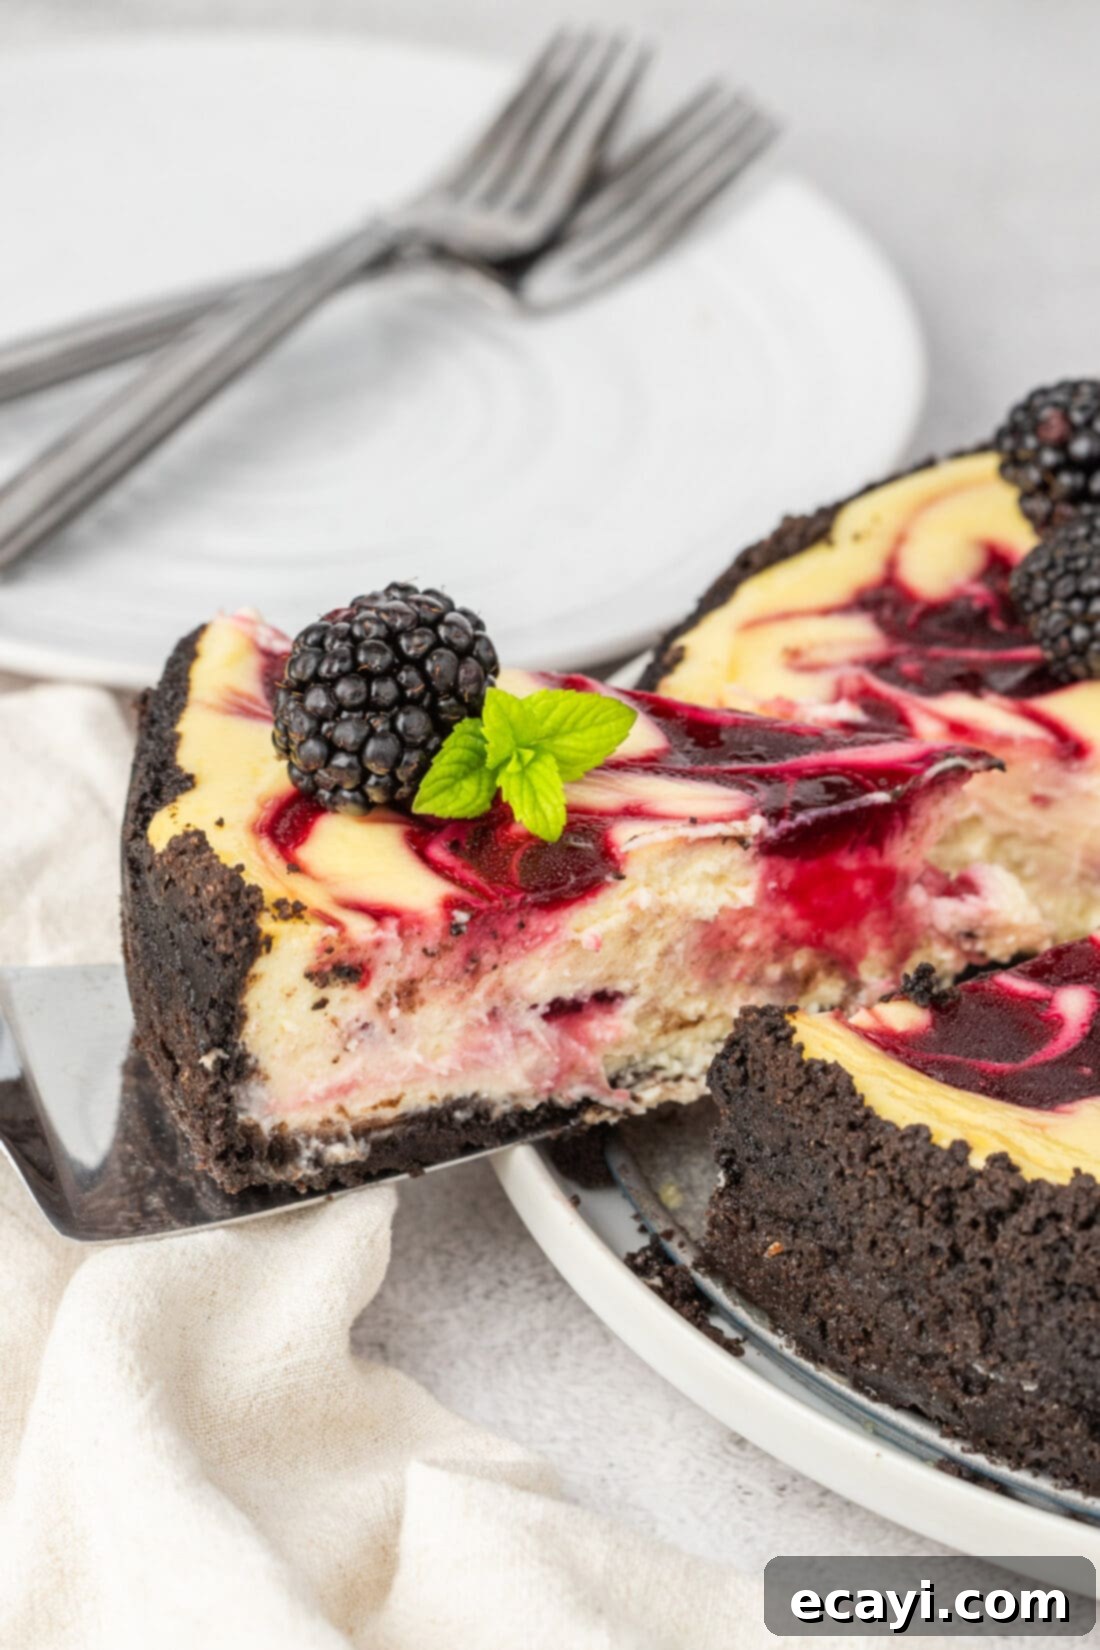
- **Serve and Garnish:** Before serving, run a thin, sharp knife around the edge of the pan to ensure an easy release when the springform ring is removed. Garnish your magnificent blackberry swirl cheesecake with extra fresh blackberries, delicate mint leaves, and a dollop of whipped cream for a truly elegant presentation and a burst of complementary flavors.
Frequently Asked Questions & Expert Tips for Cheesecake Success
Proper storage is essential to maintain the freshness and quality of your homemade blackberry swirl cheesecake. Once cooled and thoroughly chilled, store the cheesecake covered tightly with plastic wrap or placed inside an airtight container. This will protect it from drying out and absorbing other odors from the refrigerator. It will keep beautifully in the refrigerator for up to 5 days. For the best flavor and texture, allow slices to come to room temperature for about 15-20 minutes before serving, as the flavors become more pronounced.
Absolutely! Blackberry swirl cheesecake freezes exceptionally well, making it a perfect make-ahead dessert. After the cheesecake has been baked and thoroughly chilled in the refrigerator for at least 5 hours (or overnight), prepare it for freezing. You can freeze the entire cheesecake or individual slices. To freeze, wrap the cheesecake (with or without the springform pan’s base) in at least two layers of plastic wrap, ensuring it’s completely airtight. Follow this with a layer of heavy-duty aluminum foil to prevent freezer burn. Label with the date. It can be frozen for up to 3 months. To thaw, simply transfer the frozen cheesecake to the refrigerator and allow it to thaw overnight (typically 8-12 hours) before serving. Do not thaw at room temperature, as this can affect the texture.
Expert Tips for a Perfect Cheesecake
- **Room Temperature Ingredients are Key:** We cannot stress this enough – ensure your cream cheese and eggs are at room temperature. Cold cream cheese will result in a lumpy batter, and cold eggs can cause the mixture to curdle or separate.
- **Do Not Overmix:** When making the cheesecake batter, mix on low speed and only until the ingredients are just combined. Overmixing incorporates too much air, which can cause the cheesecake to puff up in the oven and then fall dramatically, leading to unsightly cracks.
- **Water Bath is Your Friend:** The water bath creates a moist, steamy environment in the oven, which helps the cheesecake bake gently and evenly. This gentle baking is crucial for preventing cracks and ensuring a smooth, creamy texture. Don’t skip the multiple layers of foil around the springform pan to prevent leaks!
- **Patience with Cooling:** The slow cooling process (leaving the cheesecake in the turned-off oven with the door ajar) is just as important as the baking itself. Rapid temperature changes are a common cause of cracks in cheesecakes. Let it cool slowly and naturally.
- **Chill, Chill, Chill:** A cheesecake needs ample time to chill and set completely. Rushing this step will result in a soft, unset cheesecake that won’t hold its shape or slice cleanly. Plan for at least 5 hours, but overnight is always best.
- **Clean Slices:** For perfectly clean slices, use a sharp knife dipped in hot water and wiped clean between each cut.
Delightful Serving Suggestions for Your Cheesecake
While this blackberry swirl cheesecake is truly magnificent on its own, a few simple garnishes can elevate its presentation and flavor even further. Serve chilled slices with a generous dollop of freshly whipped cream to complement the rich, creamy texture of the cheesecake. For an added touch of freshness and visual appeal, scatter a few extra fresh blackberries around the plate. Optionally, a sprig of fresh mint leaves provides a lovely contrasting color and a subtle aromatic hint that pairs beautifully with the berries. Consider a light dusting of powdered sugar just before serving for an elegant finish. For a more indulgent experience, a drizzle of chocolate sauce or a scoop of vanilla bean ice cream could also be delightful additions.
More Irresistible Cheesecake Recipes to Explore
If you’ve fallen in love with the art of cheesecake making, or simply can’t get enough of this creamy dessert, we have plenty more tempting recipes for you to try. From classic fruit flavors to rich, decadent options, there’s a cheesecake for every palate and occasion. Expand your baking repertoire with these other fantastic cheesecake creations:
- Classic Cherry Cheesecake
- Decadent Baileys Cheesecake
- Elegant Tiramisu Cheesecake
- Indulgent Salted Caramel Cheesecake
I love to bake and cook and share my kitchen experience with all of you! Remembering to come back each day can be tough, that’s why I offer a convenient newsletter every time a new recipe posts. Simply subscribe and start receiving your free daily recipes, delivered right to your inbox!

Blackberry Swirl Cheesecake
IMPORTANT – There are often Frequently Asked Questions within the blog post that you may find helpful. Simply scroll back up to read them!
Print It
Pin It
Rate It
Save ItSaved!
Ingredients
Blackberry Sauce
- 2 cups blackberries fresh or frozen, plus extra for garnish
- ½ cup granulated sugar
- 4 Tablespoons fruit nectar or fruit juice
- ¼ cup water optional
- 1 Tablespoon cornstarch optional
Oreo Crust
- 3 cups crushed Oreo cookie crumbs 30 Oreo cookies
- 6 Tablespoons unsalted butter melted
Cheesecake Filling
- 32 ounces cream cheese at room temperature. Four 8 ounce packages
- 1 cup granulated sugar
- 5 ounces Greek yogurt
- 1 Tablespoon all purpose flour
- 1 Tablespoon cornstarch
- 1 teaspoon vanilla extract
- 3 large eggs at room temperature
Things You’ll Need
-
Sieve
-
Food processor
-
9 inch springform pan
-
Stand mixer or hand mixer
Before You Begin
- Bring the eggs and the cream cheese to room temperature before beginning. Slice the cream cheese into cubes and allow it to rest on the counter for 30-45 minutes. This will prevent lumps in your batter.
- You can substitute the fruit nectar with fruit juice. Good options for fruit nectar include Kern’s, Jumex, and Goya in your favorite flavor.
- You will need about 30 Oreo cookies or 3 cups of Oreo cookie crumbs to make the crust. You can substitute with a graham cracker crust if preferred.
Instructions
To Make the Blackberry Sauce
-
Combine the blackberries, sugar, and fruit nectar in a saucepan. Bring to simmer on medium heat, and cook for 10 minutes, stirring often and crushing the berries with a large fork. Cook the mixture down until it has thickened. Strain the thickened blackberry sauce through a wire sieve into a bowl, pressing the pulp with the back of a spoon. Discard solids and chill the sauce.
-
If it’s too thin, make a small slurry of cornstarch and water, and blend the slurry into the blackberry sauce as it cooks for an extra few minutes.
-
Preheat the oven to 350°F, and add a roasting pan or other large pan in the lower section of the oven to make a hot water bath. Place enough hot water in the pan that it will rise to about 2 inches around the cheesecake pan.
-
Using 18-inch heavy-duty aluminum foil, wrap the outside of your springform pan with 4 layers of foil, to ensure no water leaks into the cheesecake as it bakes in the water bath.
For the Crust
-
In a food processor, pulse the Oreo Cookies to crumbs (or smash in a plastic bag). Place in a small bowl. Stir in the melted Butter. Pour the crumb mixture into the prepared springform pan and press evenly into the bottom and up the sides of the pan using a glass or measuring cup. Be careful to get an even layer of crust.
-
Bake crust for 10 minutes. Set aside and allow crust to cool completely.
For the Cheesecake Filling
-
In a mixing bowl (with paddles if available), combine the cream cheese and sugar. Beat together at low speed until smooth and creamy, scraping the sides of the bowl.
-
Add in the yogurt, flour, cornstarch, vanilla extract, and eggs (one egg at a time). Beat at low speed, scraping the bowl until combined.
Assembling the Cheesecake
-
Pour half of the batter into the cooled crust. Sprinkle half of the blackberry sauce over the batter in small droplets. Swirl with a toothpick until the surface is marbled.
-
Pour remaining batter slowly onto the surface of the cheesecake. Sprinkle the remaining blackberry mixture over the batter in small droplets. Swirl with a toothpick until the surface is marbled.
-
Place your wrapped springform pan filled with cheesecake mixture in the water bath pan in the oven. The hot water should be around 2 inches deep.
-
Bake for 60 to 70 minutes. Begin checking the cheesecake at the 1-hour point to check its consistency. A slight jiggle of the pan (while still in the oven) will tell you if it’s ready, or needs more time. The cheesecake should be jiggly, but not liquid when done baking. If it seems a little liquid in the center, check it again in 10 to 15 minutes.
-
When the cheesecake is set, yet jiggly, turn the oven off, but leave the cheesecake in the oven for another hour, until the oven has cooled. Do not open the oven during this time, but put a wooden spoon in the oven door to keep it open a half inch or so. This allows the cheesecake to cool slowly as the oven cools, and prevents cracking.
-
Remove from the oven when cooled. Carefully remove the foil lining from the springform pan. Chill in the fridge for at least 5 hours.
-
Run a knife around the edge of the pan to ensure an easy release when the springform is removed. Garnish with remaining fresh blackberries, mint leaves, and whipped cream.
Expert Tips & FAQs
- Store the cheesecake covered with plastic wrap or in an air-tight container kept in the refrigerator for up to 5 days.
- Freezing – After the cheesecake has chilled in the refrigerator, wrap it in a couple layers of plastic wrap followed by a layer of aluminum foil (you can do this with or without the pan). Freeze for up to 3 months. Thaw in the refrigerator overnight.
Nutrition
The recipes on this blog are tested with a conventional gas oven and gas stovetop. It’s important to note that some ovens, especially as they age, can cook and bake inconsistently. Using an inexpensive oven thermometer can assure you that your oven is truly heating to the proper temperature. If you use a toaster oven or countertop oven, please keep in mind that they may not distribute heat the same as a conventional full sized oven and you may need to adjust your cooking/baking times. In the case of recipes made with a pressure cooker, air fryer, slow cooker, or other appliance, a link to the appliances we use is listed within each respective recipe. For baking recipes where measurements are given by weight, please note that results may not be the same if cups are used instead, and we can’t guarantee success with that method.
