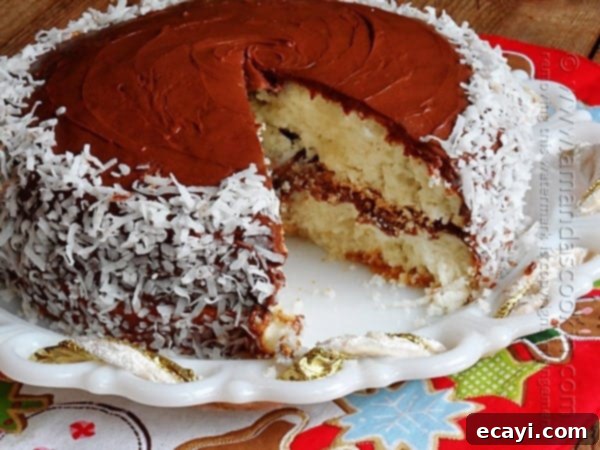
Decadent Almond Joy Coconut Snowflake Cake: Your Ultimate Holiday Dessert Guide
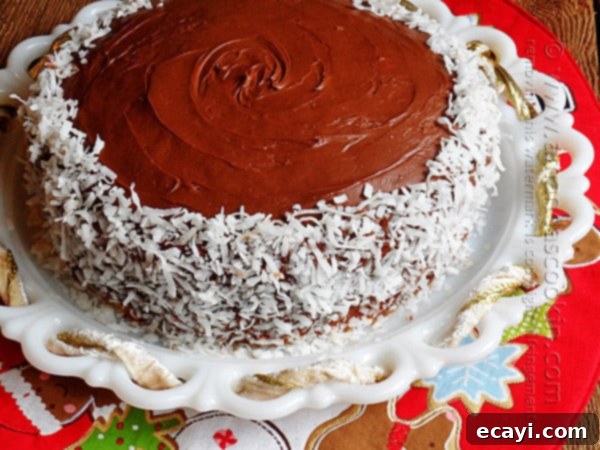
Calling all coconut enthusiasts and holiday dessert connoisseurs! If you’re searching for a show-stopping yet surprisingly simple cake to grace your festive table, look no further. This exquisite Almond Joy Coconut Snowflake Cake perfectly blends the tropical allure of coconut with the classic chocolate-almond candy bar flavor. It’s not just a cake; it’s a festive experience, designed to impress with minimal effort, making it the ideal centerpiece for any holiday gathering. Imagine a moist, tender white cake, deeply infused with the richness of cream of coconut, generously frosted with luscious Almond Joy icing, and adorned with delicate flaked coconut to resemble freshly fallen snow. This creation is a celebration in every slice, promising to be a memorable addition to your holiday traditions.
While this delightful cake is remarkably easy to assemble, it does require a crucial step: an overnight stay in the refrigerator. This extended chilling period, or at least a solid 4-6 hours, is essential for the cake to fully absorb the cream of coconut, transforming it into an incredibly moist and flavorful treat. Planning ahead ensures that the cake reaches its peak deliciousness, allowing ample time for the flavors to meld and the texture to become perfectly tender. So, mark your calendar and prepare to indulge in a truly exceptional dessert experience.
The Inspiration: Betty Crocker’s Almond Joy Frosting
The journey to creating this spectacular cake began with an exciting invitation from the wonderful team at Betty Crocker. They challenged me to try out their new, innovative Almond Joy frosting. As a long-time fan of the classic candy bar and a lover of unique flavor combinations, I was thrilled to accept. This pre-made frosting proved to be a game-changer, simplifying the process while delivering an authentic and delightful Almond Joy taste. Its rich, creamy texture and distinct blend of coconut and almond notes made it the perfect foundation for a cake worthy of such an iconic flavor profile. Using a quality prepared frosting not only saves significant time but also guarantees a consistent, delicious result, allowing home bakers to focus on assembly and decoration for a truly impressive finish.
Choosing Your Cake Base: Convenience Meets Quality
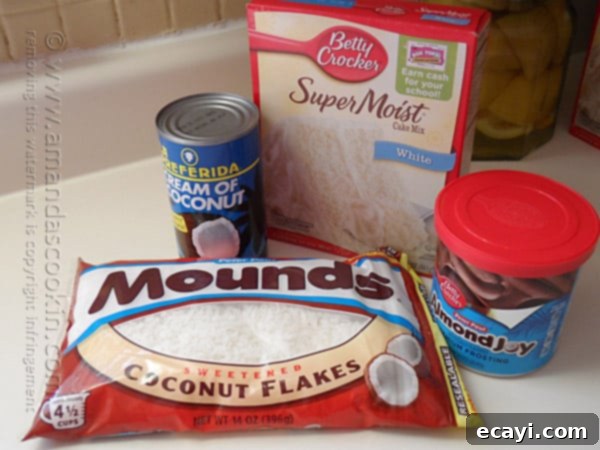
For this recipe, I opted for the convenience of a white cake mix, specifically Betty Crocker’s Super Moist White Cake Mix. Using a high-quality cake mix is a fantastic shortcut for busy bakers, ensuring a consistently delicious and light cake without the fuss of measuring multiple dry ingredients. However, if you prefer to bake from scratch, a homemade white cake recipe would certainly elevate this dessert even further. My personal favorite, and one I highly recommend, is the exceptional white cake recipe found in Dorie Greenspan’s acclaimed book, Baking From My Home to Yours. Whichever route you choose, the key is a tender, moist base that will beautifully absorb the cream of coconut and complement the rich frosting.
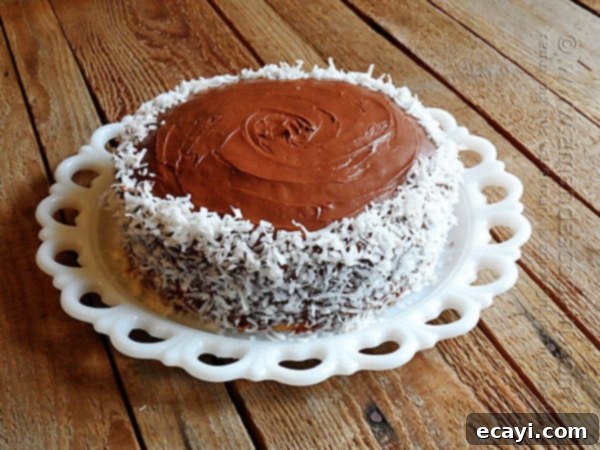
This cake delivers an incredibly moist and sweet experience, making it an absolute dream for anyone who adores coconut. The infusion of cream of coconut into the cake layers ensures a deep, pervasive coconut flavor and an irresistibly tender crumb. We then enhance this with a hint of coconut extract in the batter, maximizing that tropical essence. Of course, not everyone is fond of the texture of flaked coconut, even if they love the flavor. This is a common preference, and thankfully, it’s an easy fix! If you fall into this category, simply omit the decorative flaked coconut on the outside of the cake. The robust coconut flavor will still shine through in every bite, thanks to the cream of coconut and extract, ensuring you get all the taste without the texture you might not enjoy.
Baking the Perfect Coconut Cake Layers
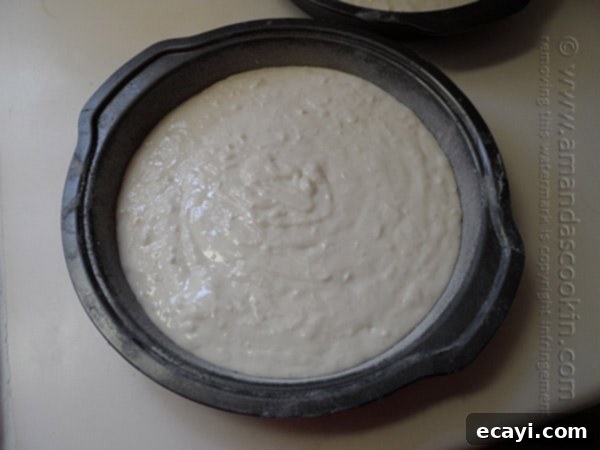
Preparing the cake batter is straightforward. Combine your chosen cake mix (along with its required additions like water, oil, and egg whites) and a touch of coconut extract in a large mixing bowl. Beat until well combined and smooth, taking care not to overmix, which can lead to a tough cake. Distribute the batter evenly between two prepared 9-inch round cake pans. For an extra boost of coconut flavor and texture right within the cake, feel free to fold in some sweetened flaked coconut directly into the batter before baking. This step adds another layer of coconut goodness that will delight true aficionados. Ensure your pans are properly greased and floured, or lined with parchment paper, to prevent sticking and ensure easy release after baking.
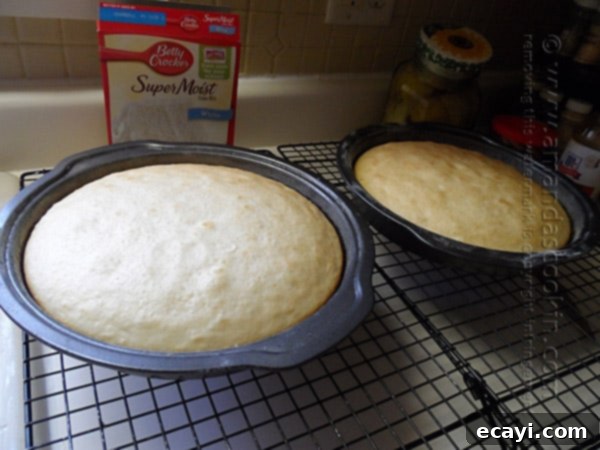
Once your batter is ready, bake the cakes according to the recipe instructions or cake mix package directions, typically for 25-30 minutes, or until a wooden skewer inserted into the center comes out clean and the top springs back when lightly touched. After baking, allow the cakes to cool in their pans on a wire rack for about 20 minutes. This initial cooling period allows the cakes to set and become firm enough to handle without breaking. Once partially cooled, carefully invert them onto the wire rack to cool completely. Cooling cakes thoroughly before the next steps is crucial to prevent them from breaking apart and to ensure the cream of coconut is absorbed correctly without becoming watery.
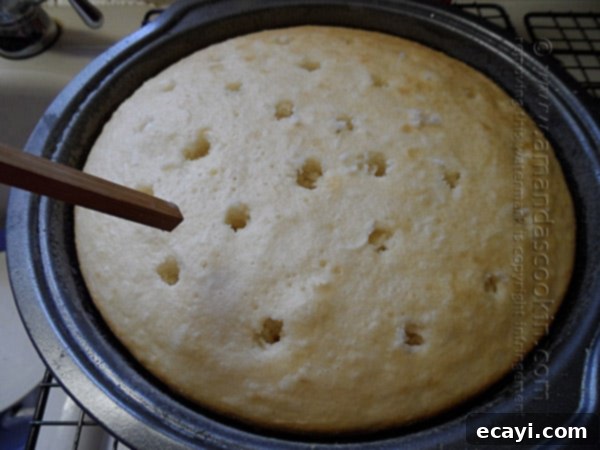
The Secret to Ultra-Moist Coconut Flavor: Poking Holes
Here’s where the magic truly happens to achieve that extraordinary moistness and deep coconut flavor. Once your cake layers have cooled sufficiently (they should still be slightly warm or at room temperature, not hot), grab a straw or a chopstick. Carefully poke numerous holes across the entire top surface of each cake layer. Be mindful not to poke all the way through to the bottom; you want to create reservoirs for the liquid without compromising the structural integrity of the cake. These small channels are essential for allowing the cream of coconut to seep deep into the cake, infusing every crumb with its rich, sweet essence.
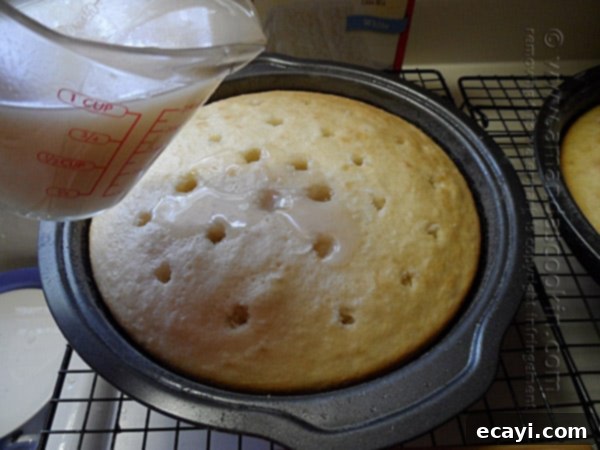
With the holes poked, it’s time for the delicious infusion. Slowly and evenly pour about half of your cream of coconut over one cake layer, ensuring the liquid flows into the freshly poked holes. Take your time with this step, allowing the cake to gradually absorb the cream. Repeat the process with the remaining cream of coconut on the second cake layer. Once both cakes are thoroughly infused, cover them lightly and transfer them to the refrigerator. This is where the crucial overnight chilling comes into play. This extended chilling period allows the cakes to fully soak up the cream of coconut, intensifying the flavor and creating an incredibly moist, almost custardy texture that sets this cake apart. Resist the urge to rush this step; patience will be rewarded with an undeniably superior cake.
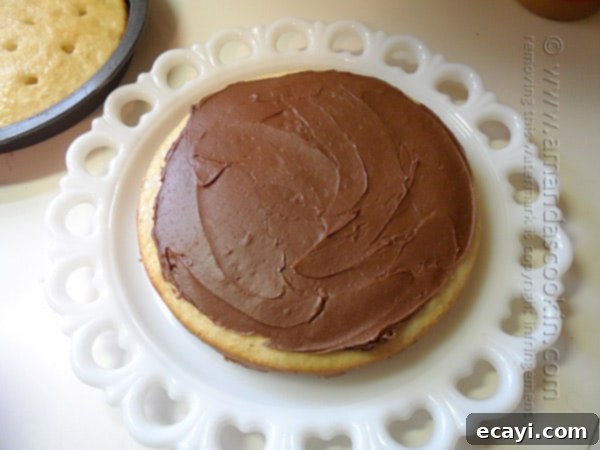
Assembling and Decorating Your Snowflake Masterpiece
After your cake layers have had their beauty sleep in the refrigerator and are thoroughly chilled and infused, they’re ready for their grand transformation. To easily remove the cakes from their pans, a quick trick is to dip the bottom of each pan into a large bowl of hot water for about 30 seconds. This gently warms the pan, helping the cake release cleanly. Then, use an icing spatula to carefully loosen the sides before inverting them onto a wire rack or your serving plate. Place one of the cake layers onto your chosen cake plate. Spread a generous third of the Betty Crocker Almond Joy frosting onto the center of this layer, gently spreading it outwards, leaving about a ½-inch border from the edge. This luscious frosting, with its perfect blend of chocolate, coconut, and almond, is the star of the show. Carefully place the second cake layer on top, aligning it evenly. Now, use the remaining frosting to generously cover the entire cake – both the top and sides – creating a smooth, inviting canvas.
To achieve the beautiful “snowflake” effect that gives this cake its festive charm, generously coat the sides and the top rim of the cake with sweetened flaked coconut. Gently press the coconut flakes into the frosting until the cake is completely covered, creating a snowy, glistening appearance. This not only adds to the visual appeal but also provides a delightful texture contrast. For an extra touch of elegance, you can garnish with whole or chopped almonds, or a delicate drizzle of melted chocolate, to further emphasize the Almond Joy theme. Once decorated, your magnificent Almond Joy Coconut Snowflake Cake is ready to be admired and, more importantly, devoured. Each slice promises a symphony of flavors and textures, making it an unforgettable dessert for any occasion.
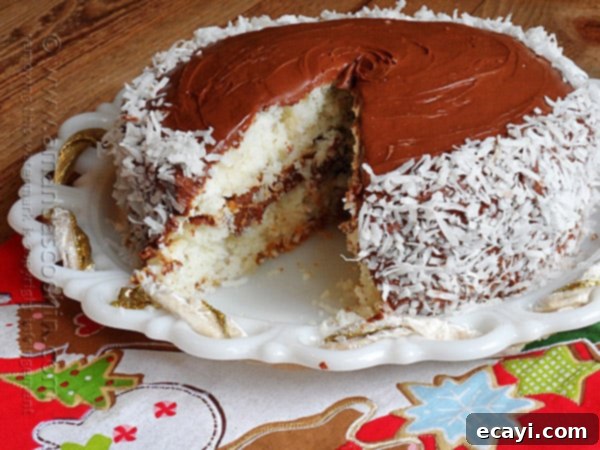
Enjoy every delightful bite of this festive and flavorful creation!
Frequently Asked Questions About Baking This Almond Joy Coconut Cake
Q: Can I use fresh coconut instead of cream of coconut?
A: While fresh coconut adds great flavor, cream of coconut is specifically formulated to be thicker and sweeter, making it ideal for infusing moisture and intense flavor into the cake layers. It also ensures the cake remains incredibly moist during the chilling process. Substituting with fresh coconut milk might result in a less moist cake and a less concentrated coconut flavor. If you do use fresh coconut, you might consider blending it with some sweetened condensed milk to achieve a similar consistency and sweetness.
Q: What if I can’t find Betty Crocker Almond Joy frosting?
A: If the Betty Crocker Almond Joy frosting isn’t available, you have a couple of options. You can use a chocolate fudge frosting and mix in about ½ teaspoon of almond extract and ½ cup of finely chopped toasted almonds, along with a few tablespoons of finely shredded coconut. Alternatively, you can make a homemade chocolate or coconut buttercream frosting and add these flavorings. The key is to capture the essence of chocolate, coconut, and almond.
Q: Can I add chocolate to the cake batter?
A: Absolutely! To make this cake even more like an Almond Joy bar, you can fold in ½ to 1 cup of mini chocolate chips or finely chopped bittersweet chocolate into the cake batter before baking. This will add delightful pockets of chocolate throughout the moist coconut cake layers.
Q: How do I store the Almond Joy Coconut Snowflake Cake?
A: Store the cake covered in the refrigerator for up to 3-4 days. The chilling actually enhances the cake’s flavor and moisture. For longer storage, you can freeze individual slices or the whole cake (unfrosted if possible) wrapped tightly in plastic wrap and then foil for up to 2-3 months. Thaw in the refrigerator before serving.
Q: My flaked coconut isn’t sticking well to the sides. Any tips?
A: Ensure your frosting is generous and still slightly soft (but not warm) when you apply the coconut. Gently press the coconut flakes onto the sides of the cake. You can also use a large spatula or your clean hands to cup the coconut flakes and press them against the sides. If the frosting has set too much, you can slightly warm a thin metal spatula and gently smooth it over the frosting to make it tacky again before applying the coconut.
Q: Can this cake be made ahead for a party?
A: This cake is actually perfect for making ahead! Since it requires overnight refrigeration for the cream of coconut to fully absorb, it’s ideal to prepare it a day in advance. You can bake and infuse the cake layers, then chill them overnight. On the day of your event, simply frost and decorate, and it will be ready to serve. This makes holiday entertaining much easier.
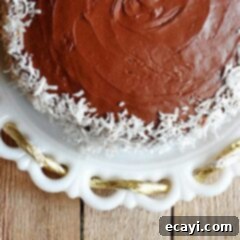
Almond Joy Coconut Snowflake Cake
IMPORTANT – There are often Frequently Asked Questions within the blog post that you may find helpful. Simply scroll back up to read them!
Print It
Pin It
Rate It
Save ItSaved!
Ingredients
- 1 16.25- ounce box Betty Crocker Super Moist White Cake Mix
- 1 ¼ cups water
- ⅓ cup canola oil
- 3 egg whites
- 1 teaspoon coconut extract
- 1 cup cream of coconut
- 1 16- ounce container Betty Crocker Peter Paul Almond Joy frosting
- 1 cup Mounds sweetened coconut flakes
Before You Begin
Instructions
-
Preheat oven to 350 F. Spray two 9-inch round cake pans and dust with flour.
-
Beat cake mix, water, oil, egg whites and coconut extract in a large bowl in low speed for 30 seconds, then on medium speed for 2 minutes. Distribute batter evenly among two cake pans and bake for 25-30 minutes, or until center of cake springs back when touched. Cool in pan on wire rack for 20 minutes.
-
Use a straw or chop stick to poke holes in the top of each cake, being careful not to reach the bottom of the cake. Slowly pour ½ of the cream of coconut over one of the cakes, making sure the liquid is going down into the holes. Repeat with the remaining ½ cup of cream of coconut on the second cake. Refrigerate overnight.
-
To loosen the cake from the pan, dip the bottom of the pan into a large bowl or pan of hot water and hold there for about 30 seconds. Use an icing spatula to loosen the sides to help remove it from the pan. Place one of the cake layers onto your cake plate and spread about 1/3 of the Almond Joy frosting onto the center of the cake, spreading to about ½-inch from the sides. Place the second layer on top of the first and frost the remainder of the cake, top and sides. Use coconut to coat sides and around the top rim of the cake.
The recipes on this blog are tested with a conventional gas oven and gas stovetop. It’s important to note that some ovens, especially as they age, can cook and bake inconsistently. Using an inexpensive oven thermometer can assure you that your oven is truly heating to the proper temperature. If you use a toaster oven or countertop oven, please keep in mind that they may not distribute heat the same as a conventional full sized oven and you may need to adjust your cooking/baking times. In the case of recipes made with a pressure cooker, air fryer, slow cooker, or other appliance, a link to the appliances we use is listed within each respective recipe. For baking recipes where measurements are given by weight, please note that results may not be the same if cups are used instead, and we can’t guarantee success with that method.
