The Ultimate Guide to Making a Crispy Homemade Blooming Onion (Restaurant Style)
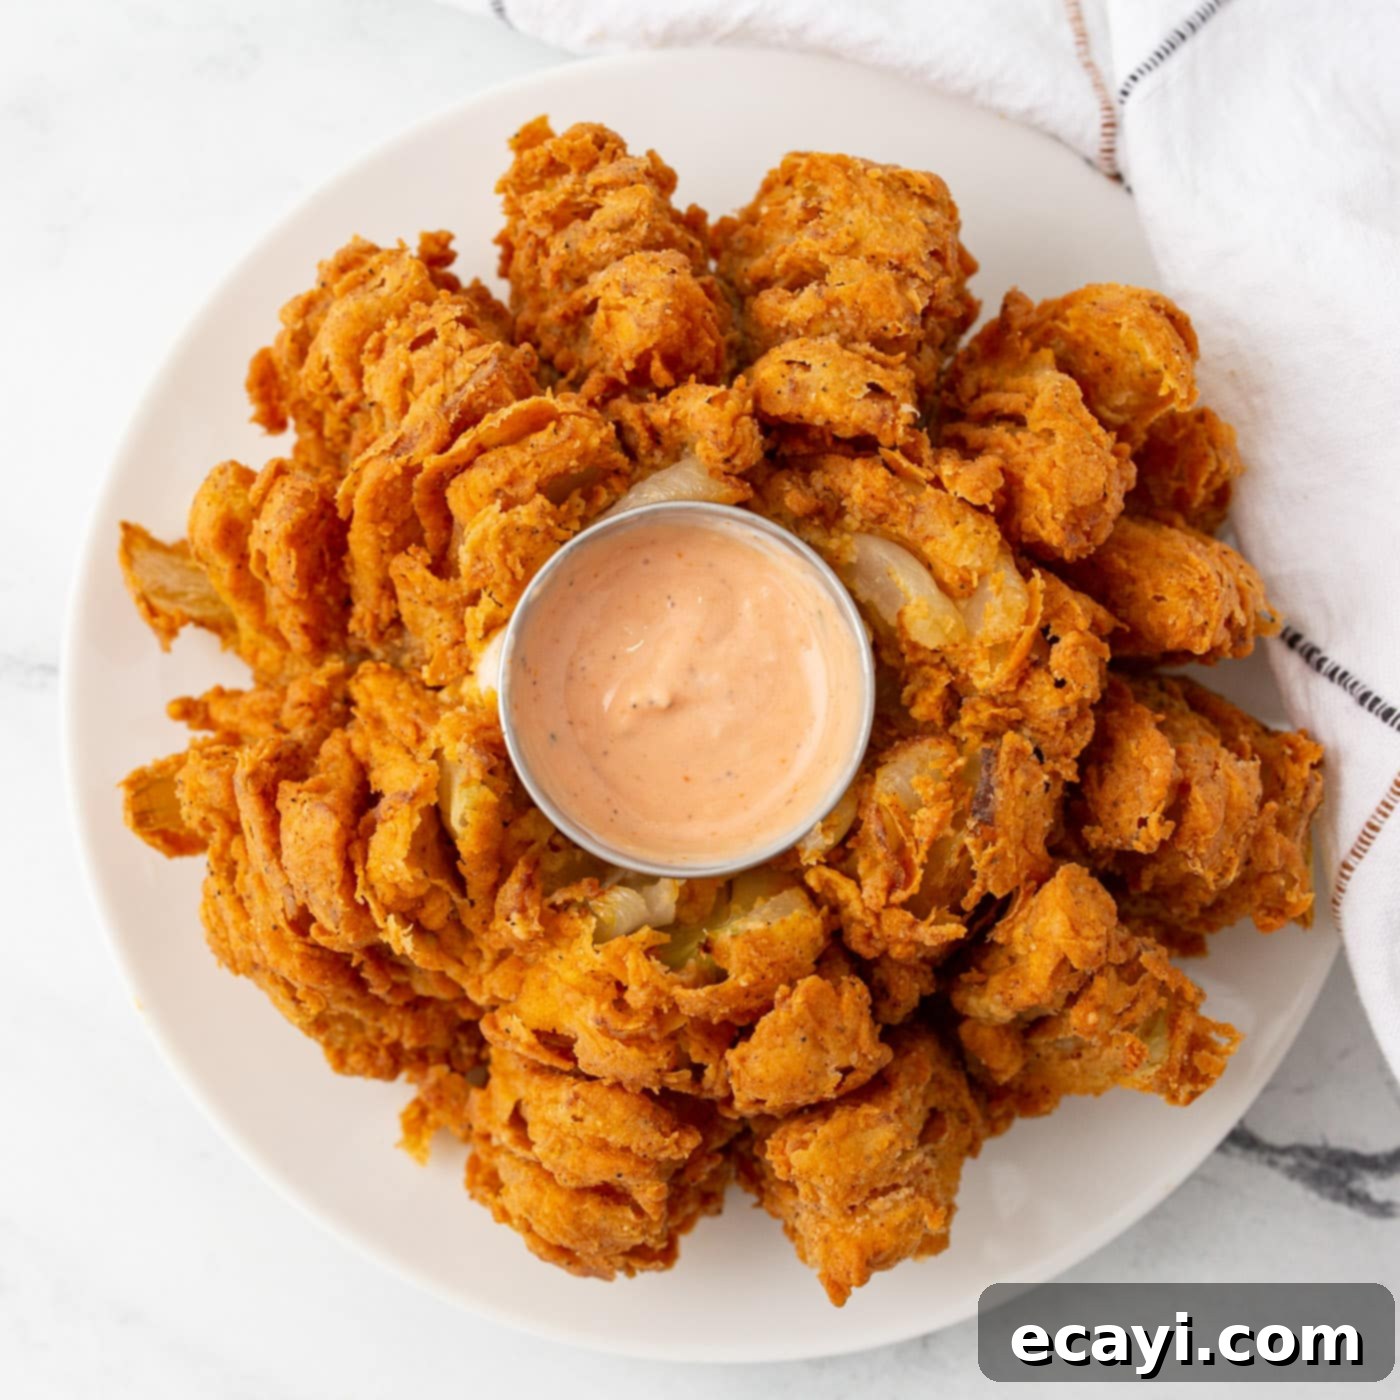
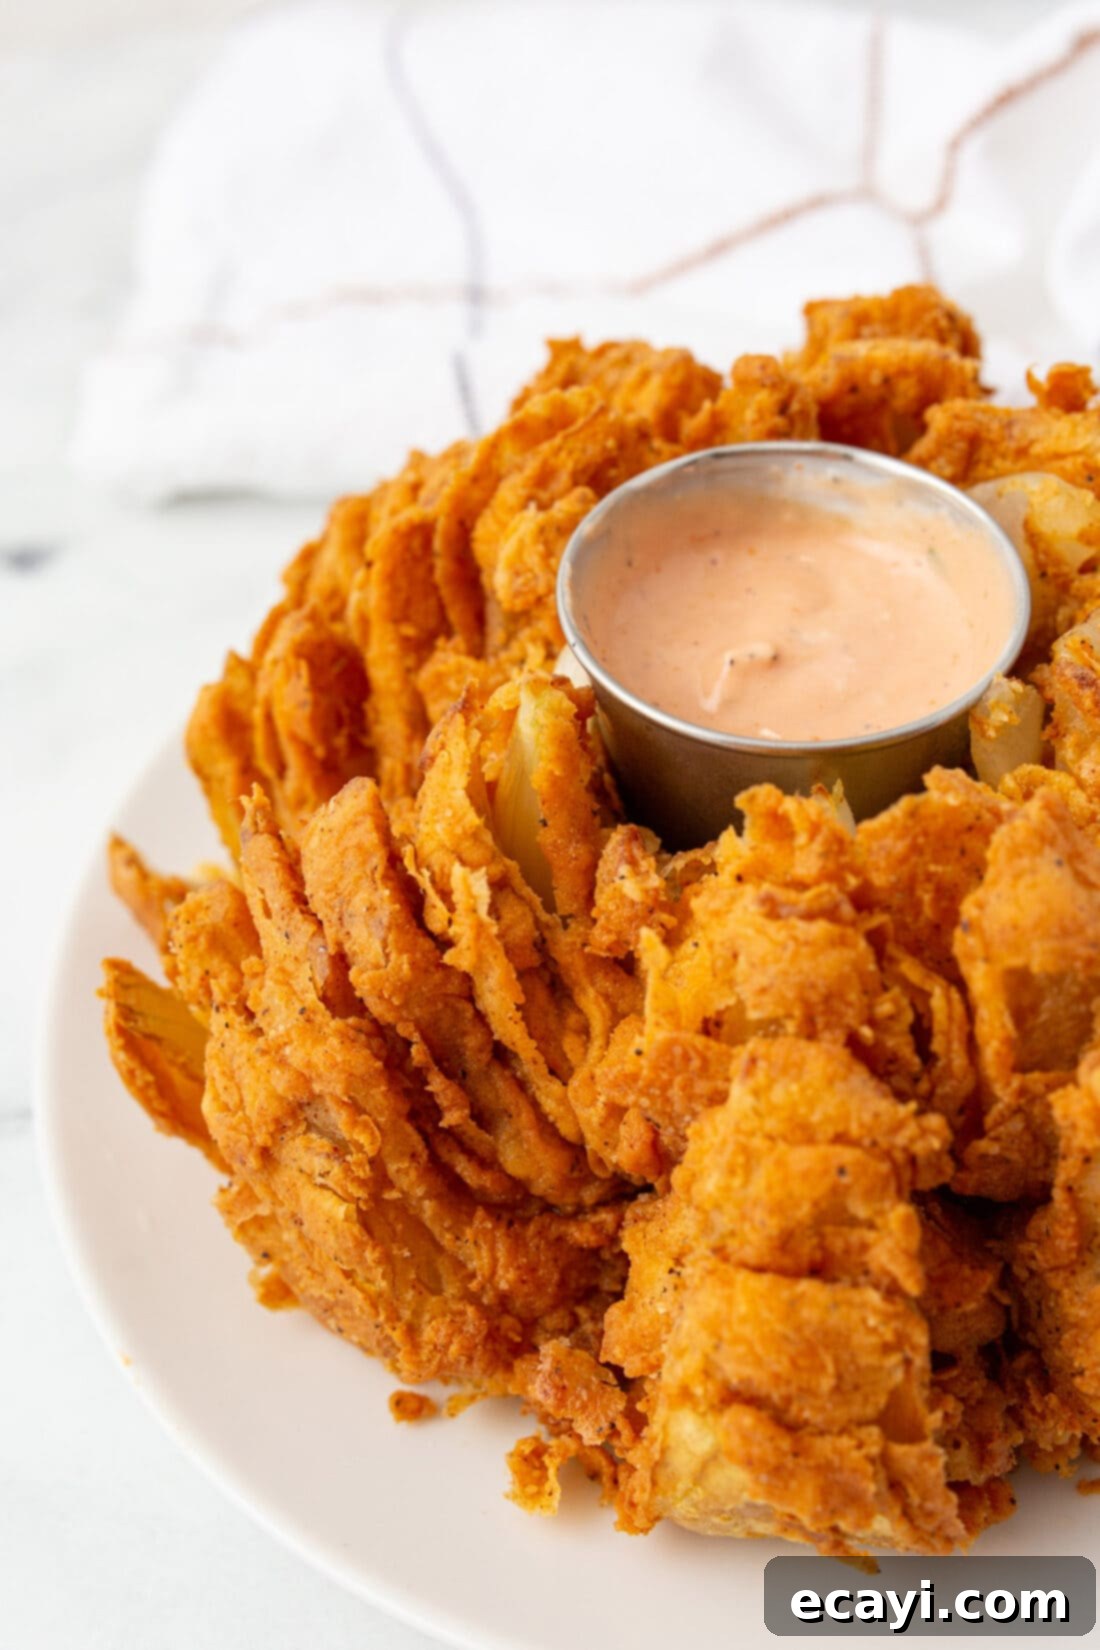
Prepare to impress your guests with this incredible restaurant-style blooming onion, right in your own kitchen! This show-stopping appetizer features a large onion meticulously sliced into delicate petals, then generously double-dipped in a flavorful egg mixture and seasoned flour before being deep-fried to a perfect crispy, golden-brown. It’s an irresistible, savory treat that makes for one of the most exciting party appetizers, ideal for game day gatherings, holiday parties, or any festive occasion. Forget the drive-thru; mastering this homemade version is easier and more satisfying than you think, delivering that iconic pull-apart deliciousness everyone loves.
Why You’ll Love This Easy Homemade Blooming Onion Recipe
Making your own blooming onion might seem daunting at first glance, but this recipe simplifies the process, making it surprisingly straightforward and incredibly rewarding. The magic lies in a few key steps that ensure a perfectly crispy exterior and tender, sweet onion within. You’ll start by expertly slicing the onion to create those signature “petals” that fan out beautifully. This unique preparation method allows for maximum surface area, ensuring every piece gets thoroughly coated in the delectable batter. Then, a crucial double-dipping technique in a milk-and-egg wash followed by a seasoned flour mixture creates a robust coating that crisps up wonderfully in the hot oil. The result is a savory, crunchy, and utterly addictive appetizer that easily rivals, or even surpasses, your favorite restaurant versions.
Many of us have fond memories of enjoying a blooming onion at popular chain restaurants like Outback Steakhouse. This homemade recipe captures that beloved experience, offering a fun and interactive appetizer that’s perfect for sharing. It’s a delightful twist on classic onion rings, designed for pulling apart and dunking into your preferred dipping sauce. The satisfaction of crafting such an impressive dish from scratch is immense, and your guests will undoubtedly be impressed by your culinary prowess!
RELATED: Elevate your fry game with this amazing French Fry Sauce recipe!
Essential Ingredients for Your Crispy Blooming Onion
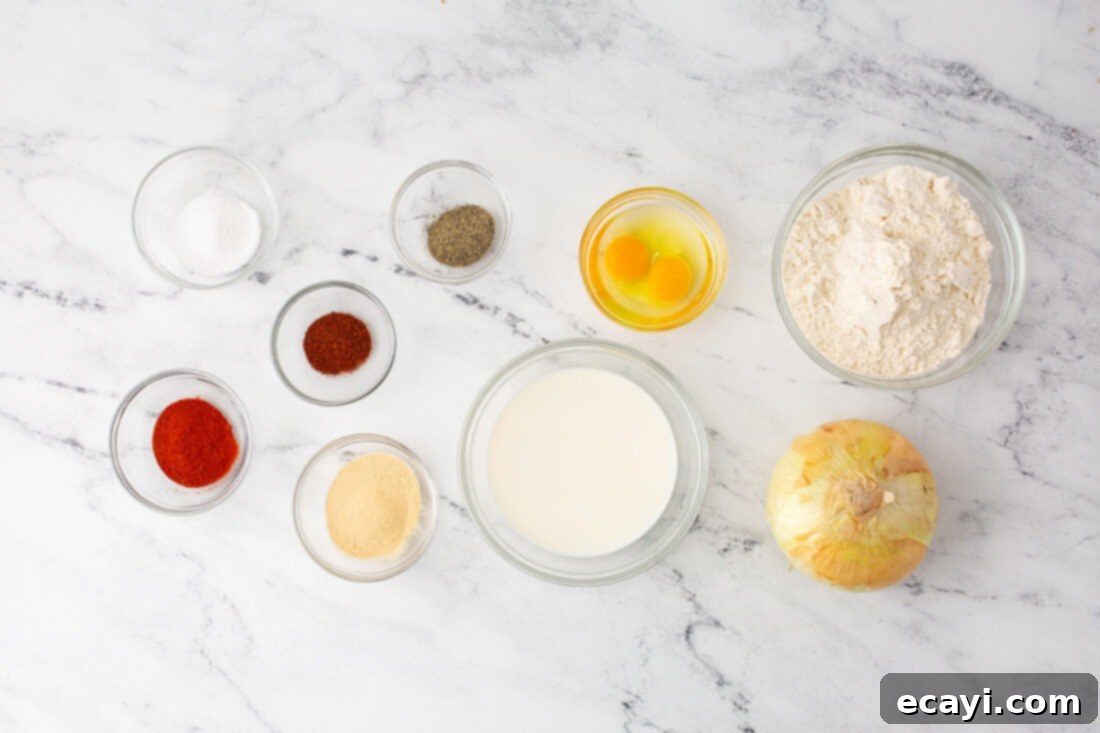
Creating the perfect blooming onion starts with a handful of simple, readily available ingredients. You’ll need one large onion, milk, eggs, all-purpose flour, and a selection of common seasonings to create that irresistible crispy batter. The frying oil is also a key component for achieving that signature golden finish. For precise measurements, detailed instructions, and a printable version of this recipe, please refer to the recipe card located at the end of this post.
Ingredient Deep Dive & Smart Substitutions
- ONION: For an exceptionally sweet and tender blooming onion, I highly recommend using a large Vidalia onion. These onions are known for their mild flavor and high sugar content, which caramelizes beautifully when fried, offering a delightful contrast to the savory batter. If Vidalia onions are not available in your area, don’t fret! You can achieve excellent results with other sweet onion varieties like Walla Walla or Maui onions. The key is to select a large, firm onion that will hold its shape well after slicing.
- MILK & EGGS: This combination forms the wet dredge that helps the seasoned flour adhere to the onion petals. The milk adds moisture and richness, while the eggs act as a binder. For best results, whole milk is preferred, but any milk (dairy or non-dairy, like almond milk) will work. There isn’t a direct substitute for eggs in this context, as they are crucial for the batter’s adhesion and texture.
- ALL-PURPOSE FLOUR & SEASONINGS: The dry coating is where much of the flavor and crispiness comes from. All-purpose flour provides the structural base for the batter. The seasonings—garlic powder, salt, paprika, chili powder, and pepper—create a savory, slightly spicy profile that perfectly complements the sweet onion. Feel free to adjust the seasoning blend to your taste; a pinch of cayenne for extra heat, or onion powder for more depth, could be great additions. You can also experiment with other spices like oregano or thyme for a unique twist.
- FRYING OIL: Vegetable oil or canola oil are excellent choices for deep frying due to their high smoke points and neutral flavor, which won’t interfere with the taste of your blooming onion. You’ll need enough oil to fill your Dutch oven halfway, ensuring the onion is fully submerged during frying for even cooking and a consistent golden-brown crust.
Crafting Your Perfect Blooming Onion: A Step-by-Step Guide
These detailed step-by-step photos and instructions are provided to help you visualize each stage of making this delicious recipe. For a convenient printable version, complete with all measurements and instructions, you can Jump to Recipe at the bottom of this post.
- Prepare Your Frying Station: Begin by filling a 5.5-quart Dutch oven or a similar heavy-bottomed pot halfway with your chosen vegetable or frying oil. Place it on the stove and preheat the oil to precisely 375°F (190°C). Using a cooking thermometer is crucial here to ensure the oil is at the correct temperature for even cooking and a crispy result.
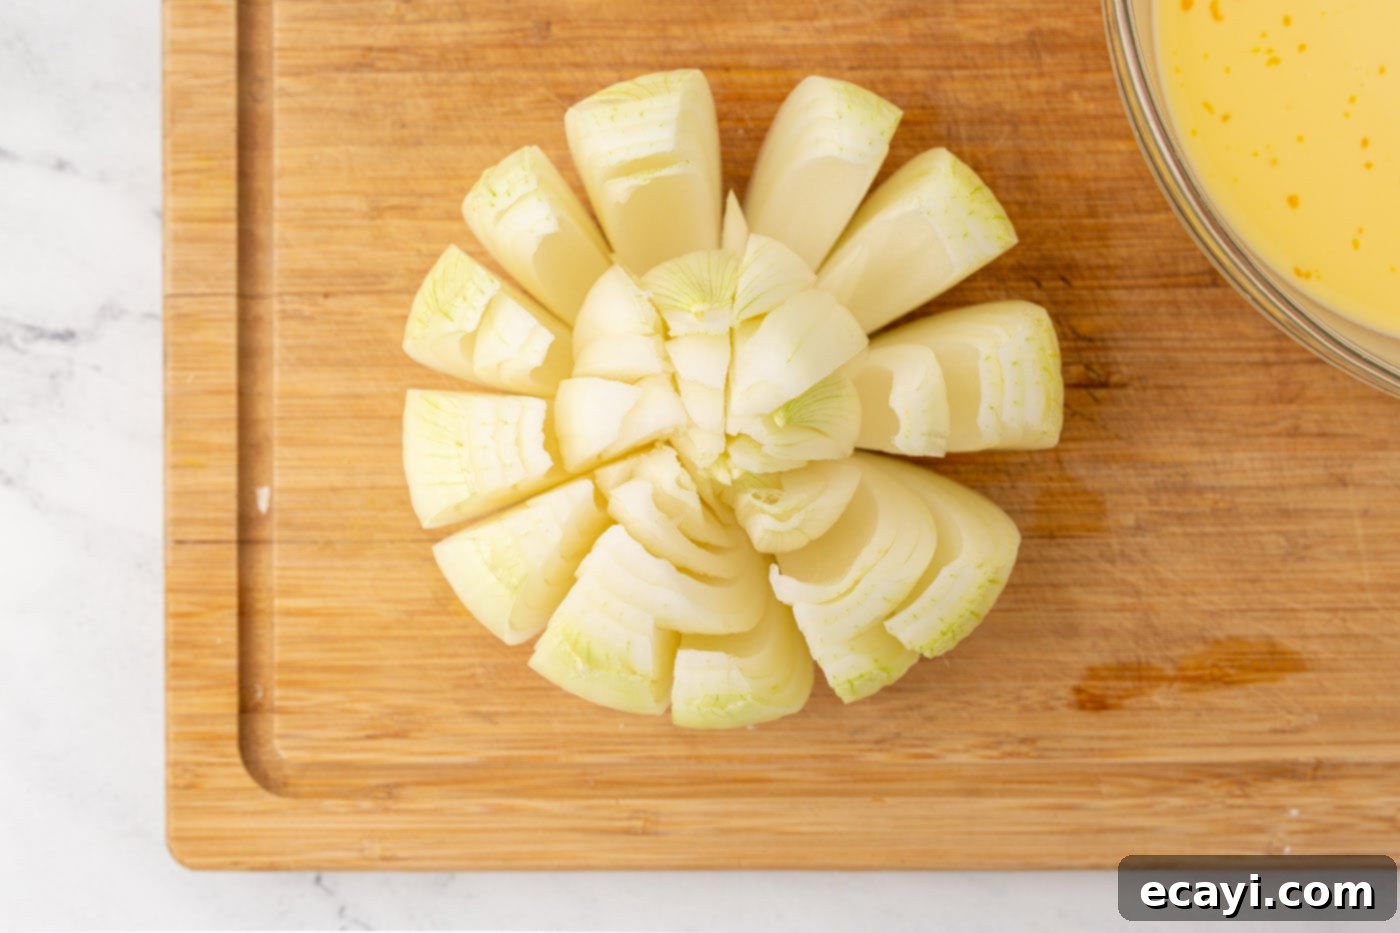
- Initial Onion Trim and Base Cuts: First, trim about 1 inch off the very top of your onion, then carefully remove the papery outer layers. Flip the onion upside down so the trimmed top is facing your cutting board. Make four deep, vertical cuts, evenly spaced around the onion, as if you were dividing it into quarters with a compass. It’s essential to leave the very center base of the onion intact – this holds all the “petals” together.
- Creating the Petals: Now, make two additional cuts between each of the primary cuts you just made. This will result in 12-16 sections, or “petals,” depending on how many cuts you make. Again, be very careful to keep the solid root base of the onion intact at the bottom. This base acts as the anchor for your blooming onion.
- Fan Out the Petals: Once all the cuts are made, flip the onion back over so the cut side is facing up. Gently use your fingers to carefully separate and fan out each of the individual petals. This step is important for ensuring that the batter gets into every crevice, allowing for maximum crispiness and an appealing “bloom” effect.

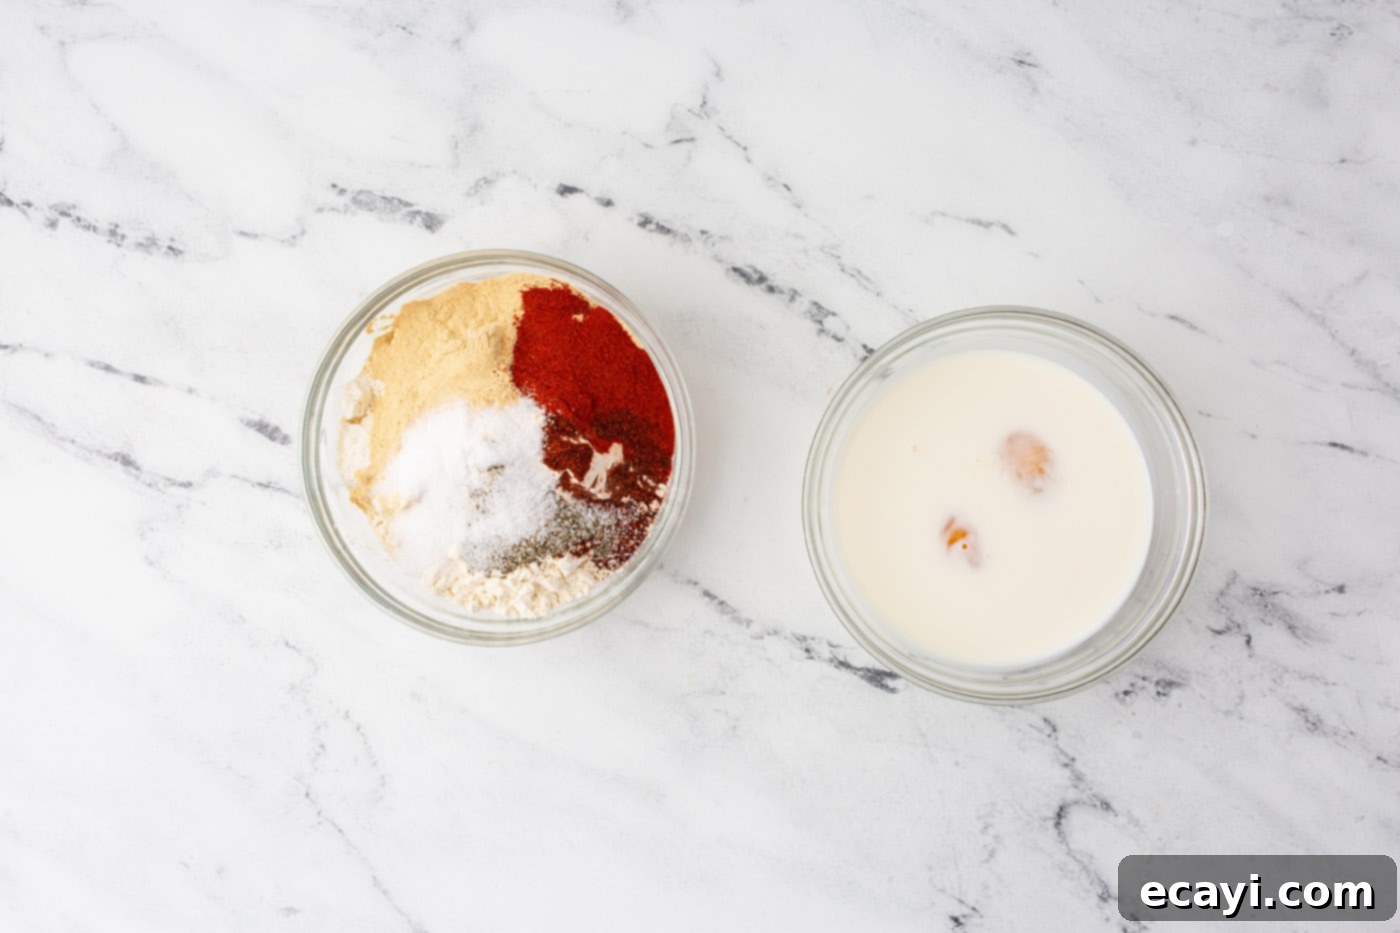
- Prepare the Wet Batter Mixture: In a large mixing bowl, combine the milk and eggs. Whisk them together thoroughly until well combined and slightly frothy. This will be your first coating layer, helping the dry ingredients adhere evenly.
- Prepare the Dry Seasoning Mixture: In a separate large bowl, whisk together all the dry ingredients: all-purpose flour, garlic powder, salt, paprika, chili powder, and pepper. Ensure all the spices are evenly distributed throughout the flour for consistent flavor.

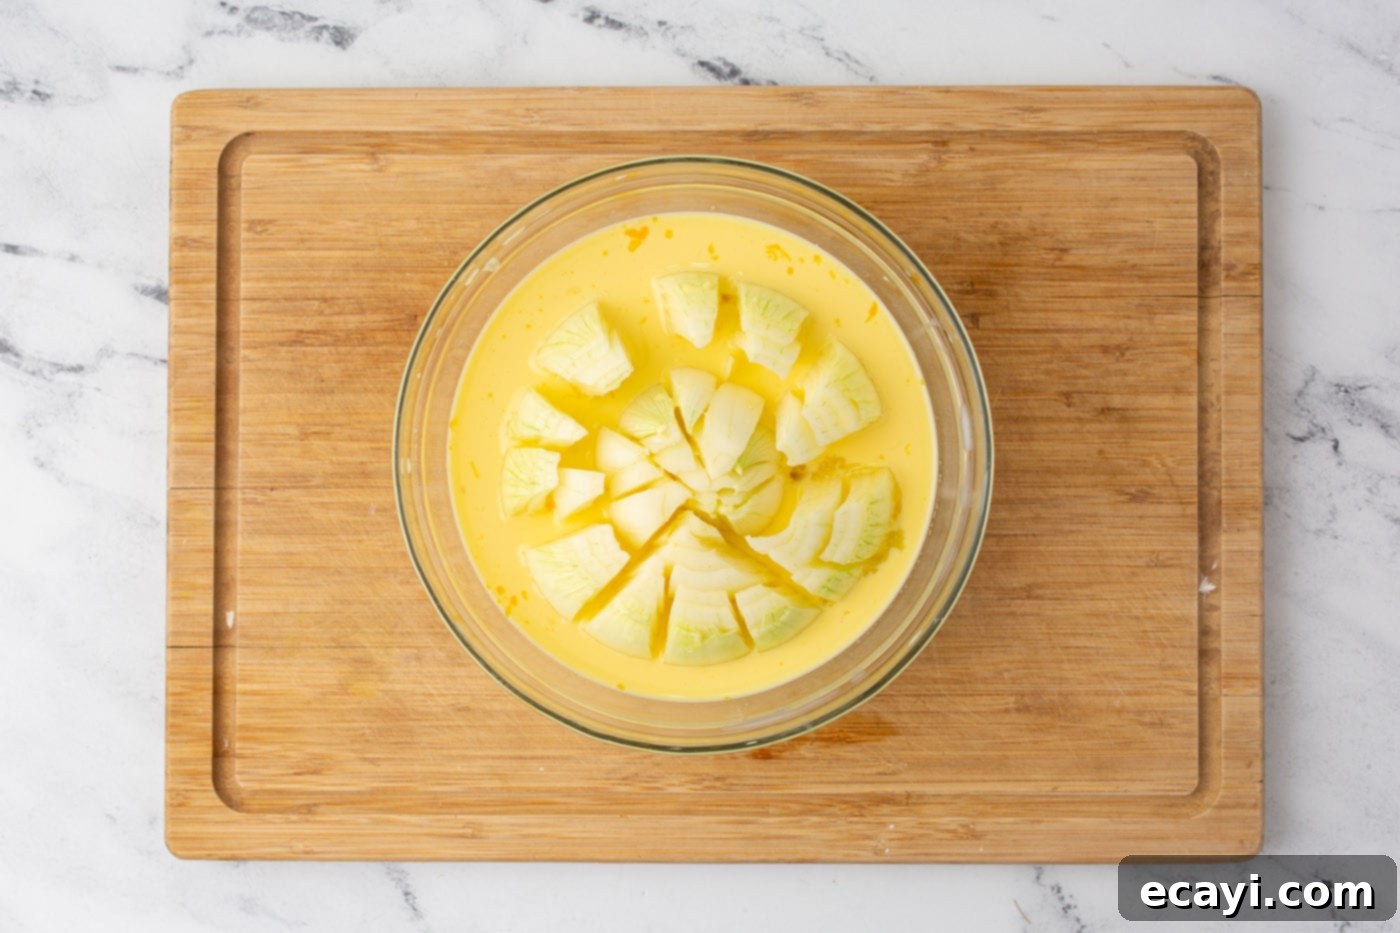
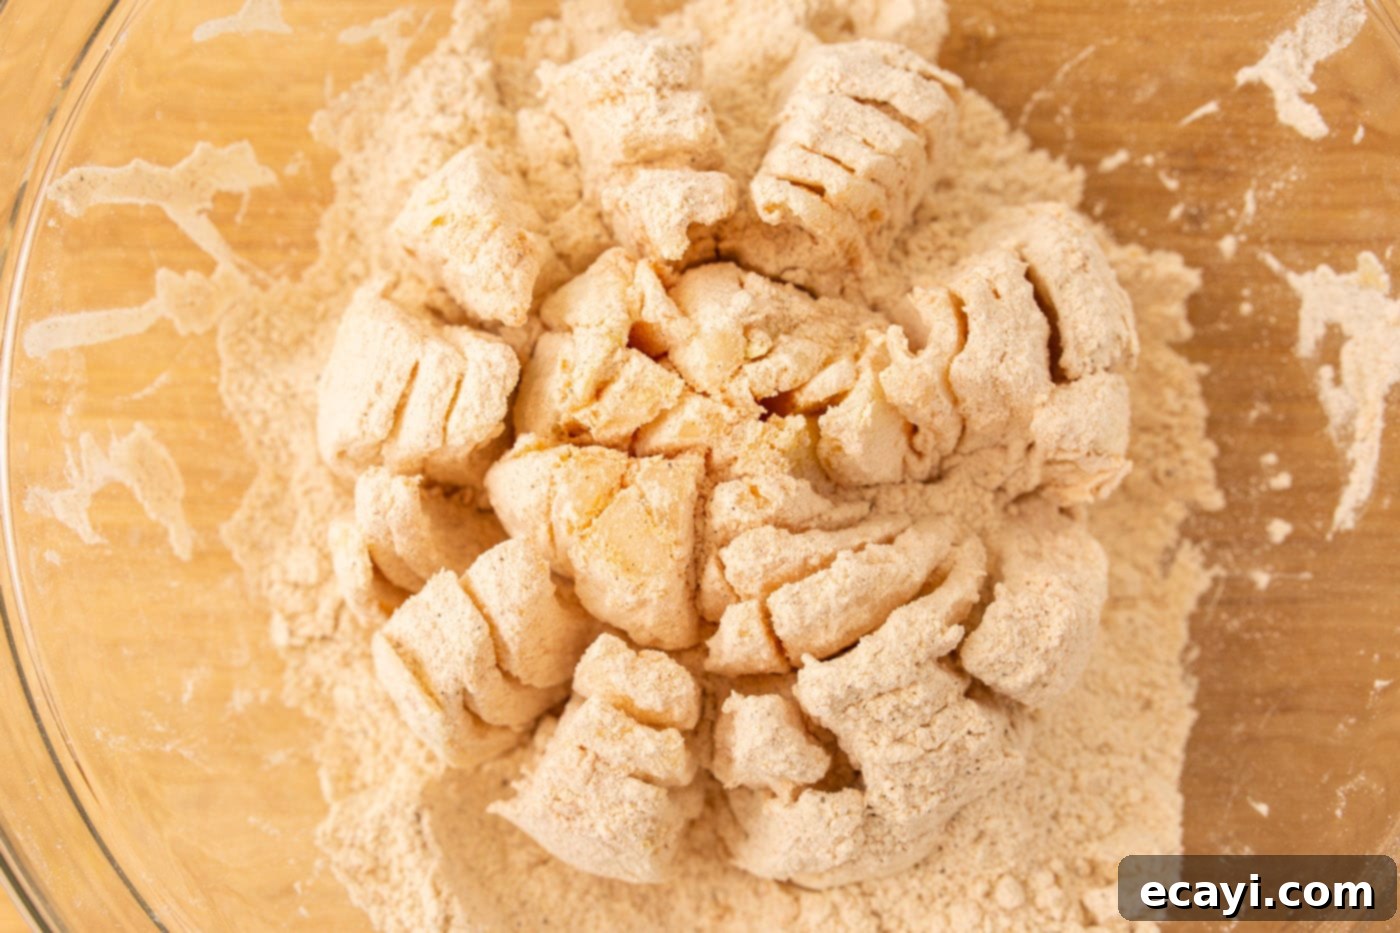
- Double-Dipping for Ultimate Crispiness: Now for the coating! First, carefully dip the fanned-out onion into the egg mixture, ensuring all petals are thoroughly coated. Let any excess drip off. Next, transfer the onion to the bowl with the dry ingredients. Generously coat the entire onion, making sure to gently fan the petals apart with your fingers during this process to get the seasoned flour into every nook and cranny. Repeat this entire process – a second dip in the egg mixture, followed by another thorough coating in the dry ingredients – to create a thick, crunchy batter that will hold up perfectly during frying.


- Deep Frying to Golden Perfection: Once your oil has reached 375°F (190°C), carefully lower the coated blooming onion into the hot oil. A spider strainer or a large slotted spoon can be very helpful for this step. Fry the onion for approximately 10 minutes, or until it achieves a beautiful, deep golden-brown color and is wonderfully crispy. Turn it gently halfway through if needed to ensure even browning.
- Drain and Serve Immediately: Once fried, carefully remove the blooming onion from the oil using your spider strainer. Transfer it to a plate lined with paper towels to drain any excess grease. Allow it to cool for just a minute or two before serving immediately with your favorite dipping sauce. The best blooming onions are enjoyed fresh and hot!
Blooming Onion FAQs & Expert Tips for Success
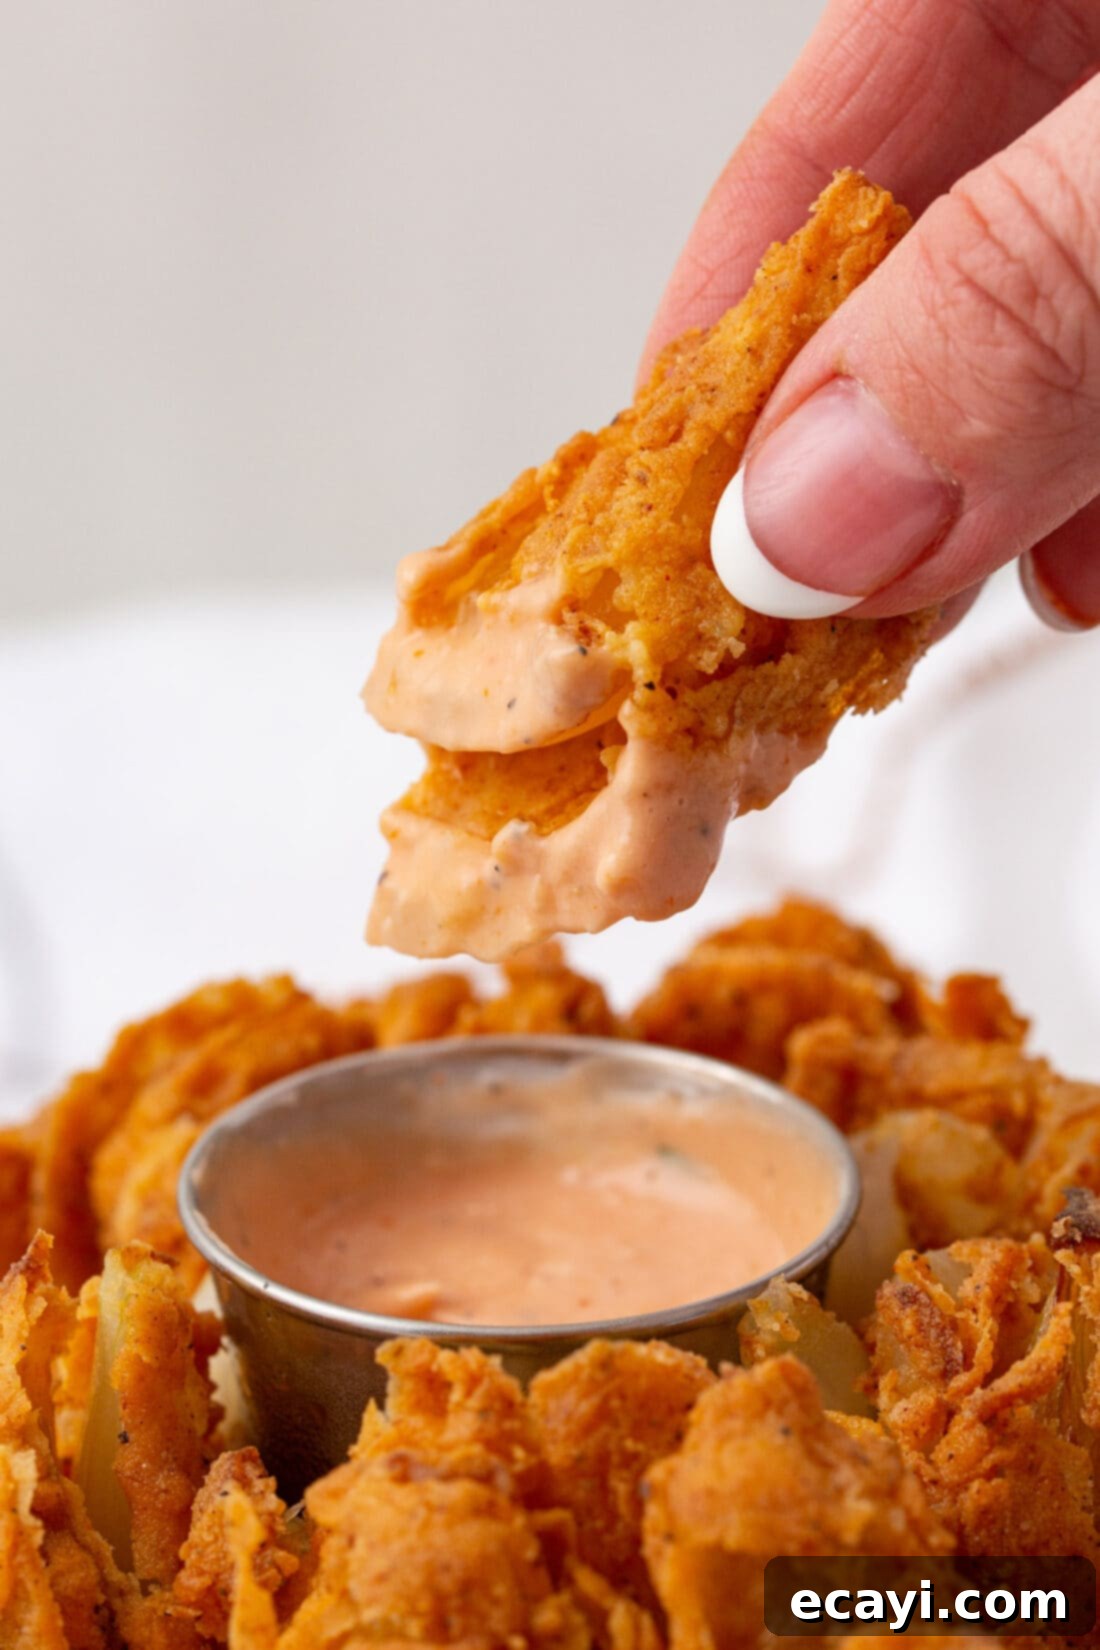
The possibilities for dipping sauces are endless and truly enhance the blooming onion experience! Classic choices include a tangy ranch dressing, a zesty garlic aioli, or a smoky BBQ sauce. For those who enjoy a kick, consider a creamy southwest ranch, a spicy chipotle sauce, or a classic honey mustard. Of course, good old ketchup is always a reliable option. Many people love a dedicated “fry sauce” or the sweet and savory notes of Sweet Baby Ray’s Special Sauce, which often tastes remarkably similar to the popular blooming onion dipping sauce served at Outback Steakhouse. Don’t be afraid to try a variety!
Like many deep-fried foods, a blooming onion is best enjoyed fresh, warm, and crispy, right after it’s made. It doesn’t typically keep very well, as the crispy coating can become soggy over time. However, if you do have leftovers, you can attempt to store them in an airtight container in the refrigerator for 2-3 days. For reheating, your best bet is an air fryer or a conventional oven. Reheat at 350°F (175°C) for 5-10 minutes in an air fryer or 10-15 minutes in an oven, until it crisps back up. Microwaving is not recommended, as it will likely result in a very soggy texture.
Additional Tips for a Perfect Blooming Onion Every Time:
- Oil Temperature is Key: Always use a thermometer to ensure your oil is at 375°F (190°C). Too cool, and the onion will absorb too much oil and be greasy. Too hot, and the outside will burn before the inside is tender.
- Don’t Overcrowd: Only fry one blooming onion at a time to maintain the oil temperature and ensure even cooking.
- Coat Thoroughly: When dredging, take extra care to separate the petals and ensure every surface is coated with both the wet and dry mixtures. This is crucial for that signature crispy texture.
- Use a Sweet Onion: While any large onion works, sweet varieties like Vidalia or Walla Walla truly shine in this recipe, offering a delightful flavor balance.
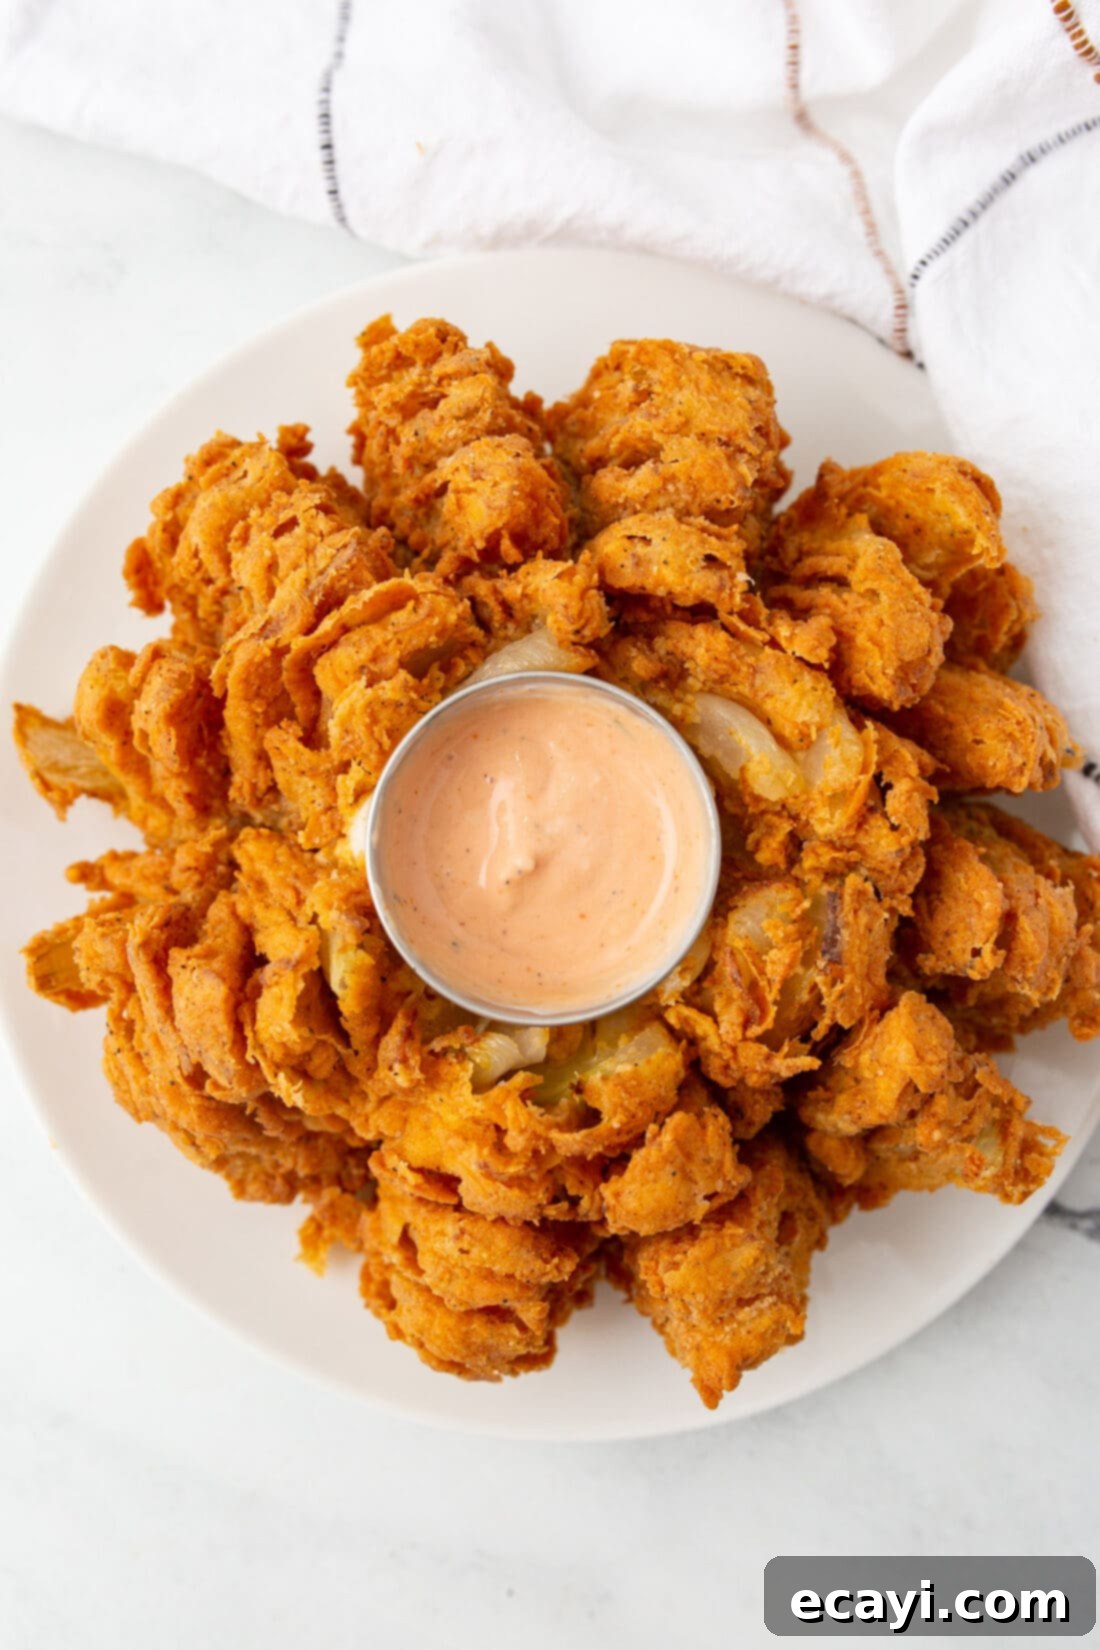
Serving Your Delicious Homemade Blooming Onion
The blooming onion is a showstopper all on its own! Serve this fantastic appetizer warm and fresh, allowing guests to pull apart the crispy petals and dunk them into a variety of dipping sauces. It’s perfect for casual get-togethers, game nights, or as a fun starter for a weekend meal. Because fried foods tend to lose their crispiness quickly, it’s always best to prepare and serve your blooming onion just before you plan to enjoy it for the ultimate taste and texture experience. Consider offering a platter with multiple dipping sauces to cater to different preferences.
More Delicious Appetizer Recipes to Try
- Beer Cheese Dip
- Pinwheel Sandwiches
- Grape Jelly Meatballs
- Air Fryer Fried Pickles
- Air Fryer Jalapeno Fries
- Classic Crispy Onion Rings
- Fried Green Tomatoes
I love to bake and cook and share my kitchen experience with all of you! Remembering to come back each day can be tough, that’s why I offer a convenient newsletter every time a new recipe posts. Simply subscribe and start receiving your free daily recipes!

Blooming Onion
IMPORTANT – There are often Frequently Asked Questions within the blog post that you may find helpful. Simply scroll back up to read them!
Print It
Pin It
Rate It
Save ItSaved!
Ingredients
- 1 Vidalia onion large, for best results
- 1 cup milk
- 2 eggs
- 2 cups all-purpose flour
- 2 Tbsp garlic powder
- 1 Tbsp salt
- 1 Tbsp paprika
- ½ Tbsp chili powder
- ½ Tbsp pepper
- frying oil as needed (e.g., vegetable or canola oil with a high smoke point)
Things You’ll Need
-
5 qt Dutch oven
-
Spider strainer
Before You Begin
- This blooming onion pairs wonderfully with a variety of dipping sauces, including classic ranch, creamy garlic aioli, smoky BBQ, zesty southwest ranch, ketchup, sweet honey mustard, spicy chipotle sauce, or a homemade fry sauce. For a taste similar to Outback Steakhouse, try Sweet Baby Ray’s Special Sauce.
- To achieve maximum crispiness and flavor, ensure you thoroughly coat the onion in between each petal with the dry ingredients during the double-dredging process. Gently fan the petals as you coat.
Instructions
-
Fill a 5-5.5 quart Dutch oven halfway with vegetable or other frying oil. Preheat to 375°F (190°C).
-
Trim the top of the onion by about 1 inch. Remove the outer layer of the onion. Flip upside down and make four cuts, leaving the center intact, across from each other as a compass.
-
Make two additional cuts between each of the primary cuts. Be sure to keep the center base of the onion intact.
-
Flip the onion back over and use fingers to help fan out the petals.
-
In a large bowl, combine the milk and eggs.
-
In another large bowl, combine the dry ingredients with a whisk.
-
Dip the onion in the egg mixture, followed by the dry ingredients. Repeat this process once more for a double coating. Be sure to fan the petals of the onion during the process to get as much coverage as possible with the batter.
-
Use a spider strainer to carefully lower the onion into the frying oil. Fry for 10 minutes until golden brown and crispy.
-
Remove the onion and drain excess grease on a paper towel. Serve immediately with your favorite dipping sauce.
Nutrition
The recipes on this blog are tested with a conventional gas oven and gas stovetop. It’s important to note that some ovens, especially as they age, can cook and bake inconsistently. Using an inexpensive oven thermometer can assure you that your oven is truly heating to the proper temperature. If you use a toaster oven or countertop oven, please keep in mind that they may not distribute heat the same as a conventional full sized oven and you may need to adjust your cooking/baking times. In the case of recipes made with a pressure cooker, air fryer, slow cooker, or other appliance, a link to the appliances we use is listed within each respective recipe. For baking recipes where measurements are given by weight, please note that results may not be the same if cups are used instead, and we can’t guarantee success with that method.
