Effortlessly Delicious Blueberry Upside Down Cake: A Simple Cake Mix Recipe
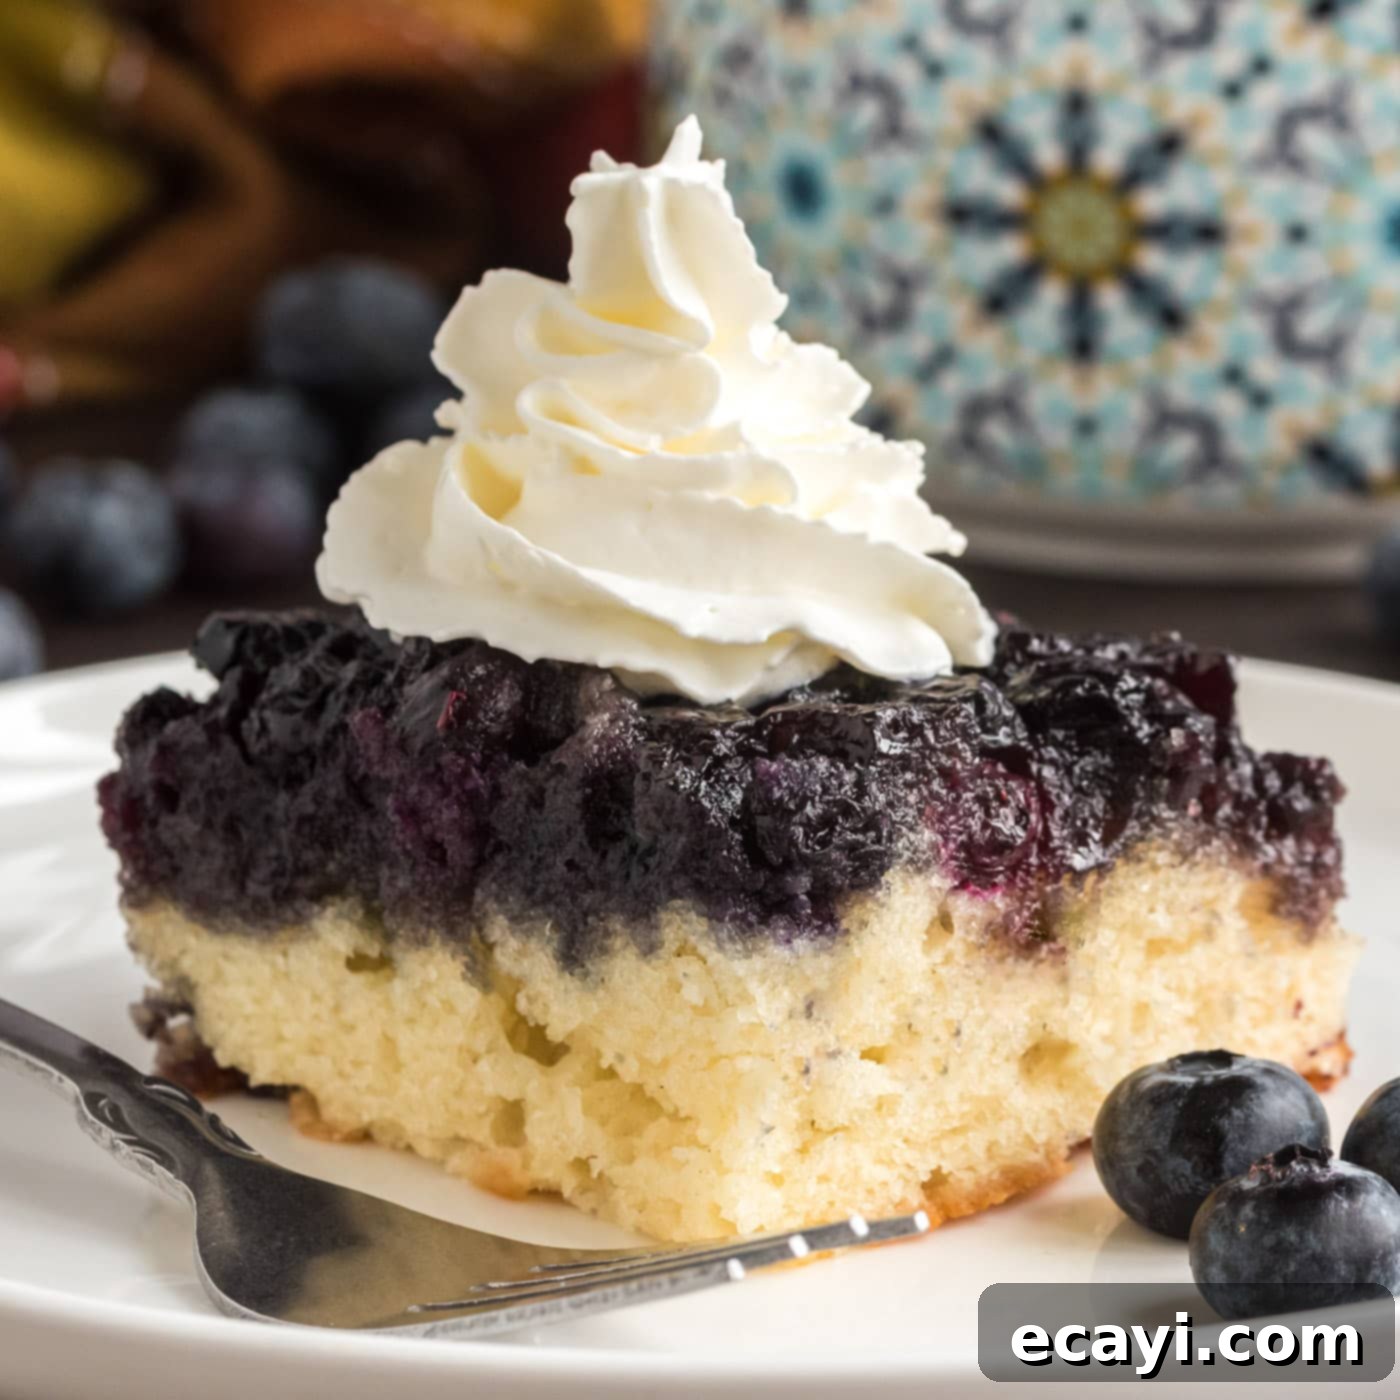
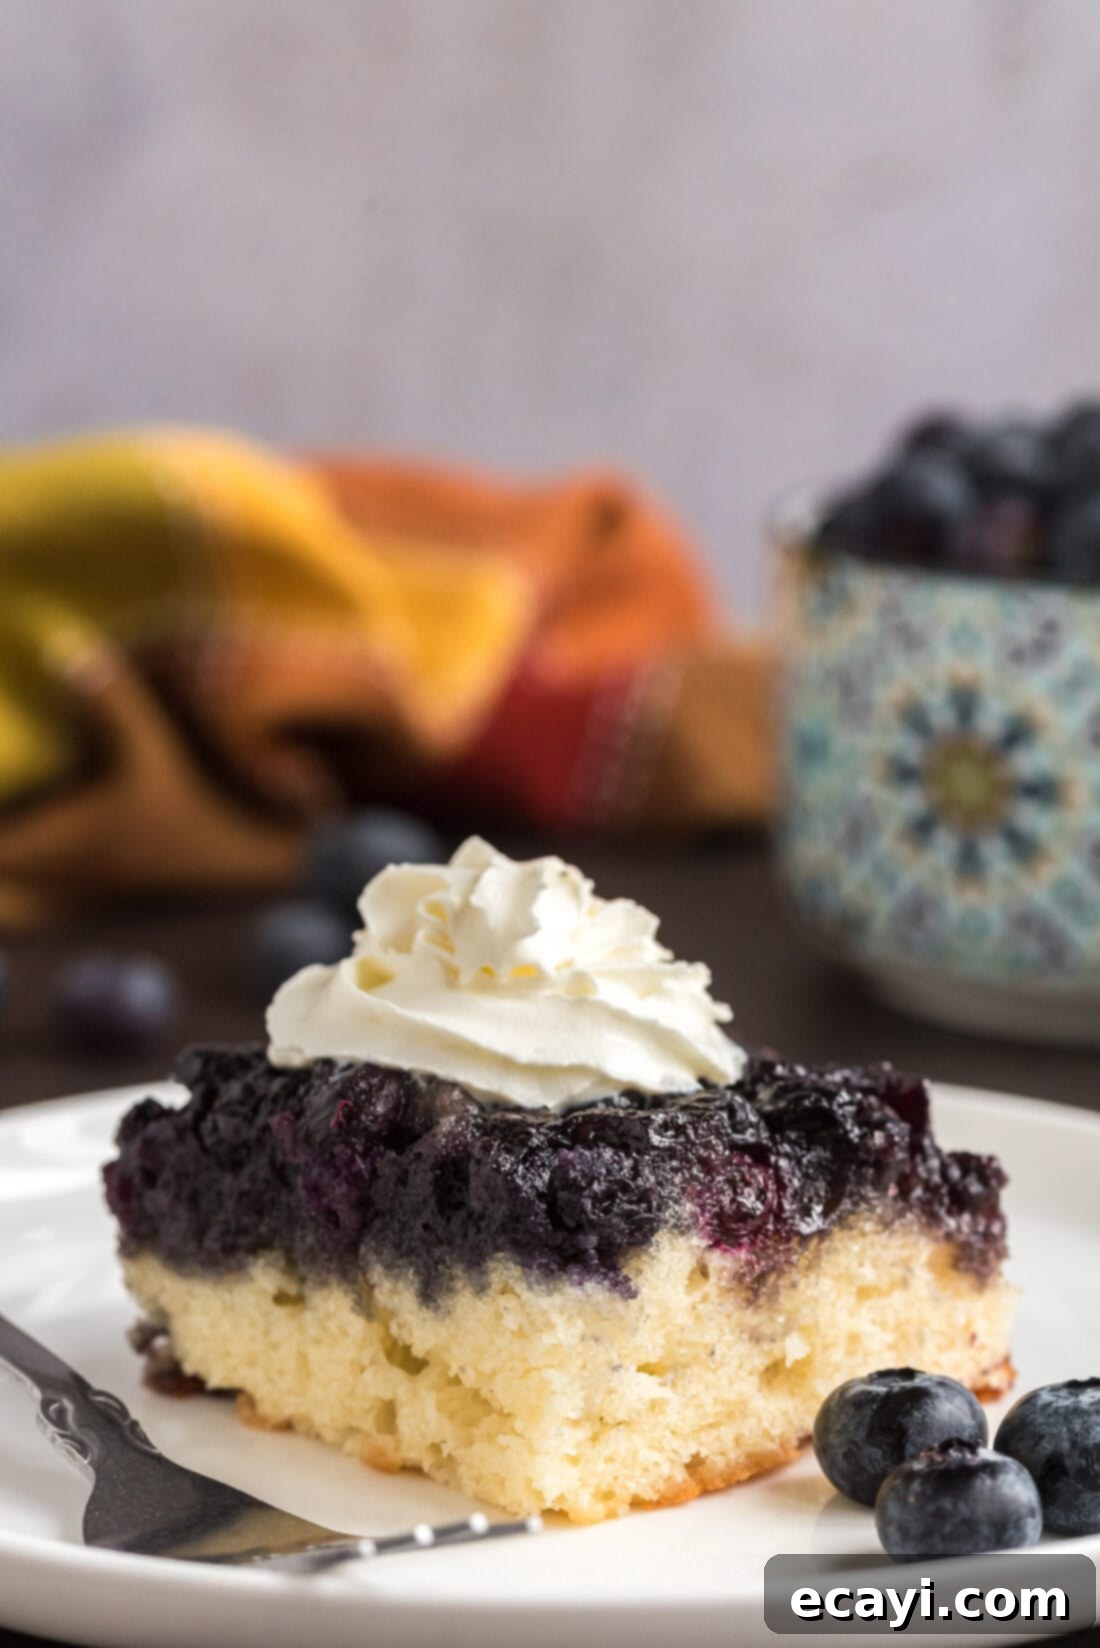
Craving a homemade dessert that’s both impressive and incredibly easy to make? Look no further than this delightful blueberry upside down cake! It’s a fuss-free recipe that leverages the convenience of a cake mix, combined with the juicy sweetness of fresh or frozen blueberries, rich brown sugar, and creamy butter. The magic truly happens when this cake is inverted, revealing a stunning caramelized berry topping that infuses every bite with incredible moisture and a burst of vibrant flavor. This tender cake base perfectly complements the sticky-sweet blueberries, making it an instant favorite for any occasion.
Why You’ll Love This Easy Blueberry Upside Down Cake Recipe
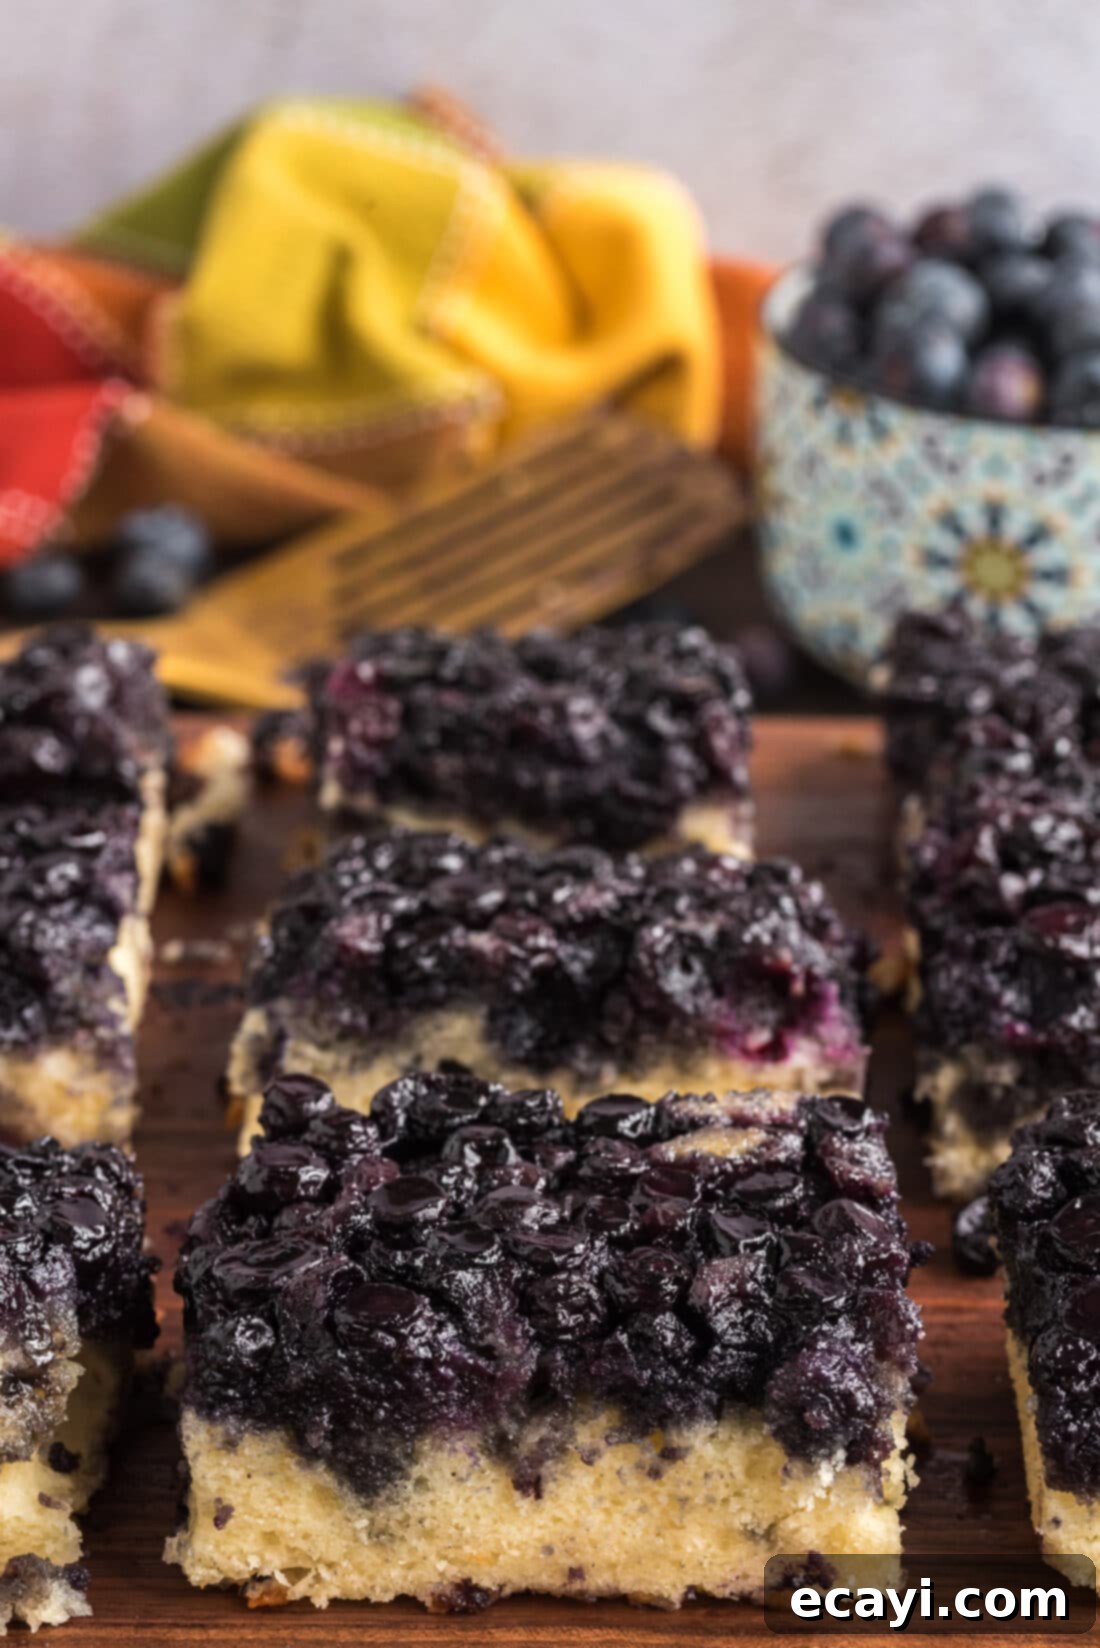
While the world offers a plethora of pineapple, peach, and raspberry upside down cakes, this blueberry version stands out with its unique charm and effortless preparation. Imagine sinking your teeth into a super soft, tender cake base topped with vibrant, caramelized blueberries that burst with subtle sweetness, perfectly balanced by sticky brown sugar. It’s a flavor explosion that’s surprisingly easy to achieve, making it a stellar choice for parties, family gatherings, or simply a sweet treat any day of the year. This isn’t just a new recipe; it’s a tried-and-true classic I’ve cherished and perfected since 2014, consistently delivering delicious results.
One of the most appealing aspects of this blueberry upside down cake is how smoothly it releases from the pan, often with greater ease than other fruit varieties. Whether it’s the smaller size of the blueberries creating less resistance, or simply a perfectly balanced topping mixture, this reliable release is a significant bonus. No more worrying about sticky fruit clinging to the pan! This consistent success makes it one of our absolute favorite upside down cake variations to bake, ensuring a beautiful presentation every time. The convenience of using a readily available cake mix doesn’t compromise on flavor or texture; instead, it guarantees a consistently moist and tender crumb that forms the perfect canvas for the sweet berry topping.
Beyond its easy preparation and flawless flip, this cake offers a delightful textural contrast. The tender, airy cake acts as a soft pillow for the plump, slightly jammy blueberries, each one coated in a golden-brown sugar glaze. The butter and brown sugar melt together during baking, creating a rich, buttery caramel that seeps into the bottom layer of the cake, transforming it into the moist and flavorful top once inverted. This process not only imparts incredible flavor but also helps to keep the cake wonderfully moist, making it a truly decadent dessert experience.
Essential Ingredients for Your Blueberry Upside Down Cake
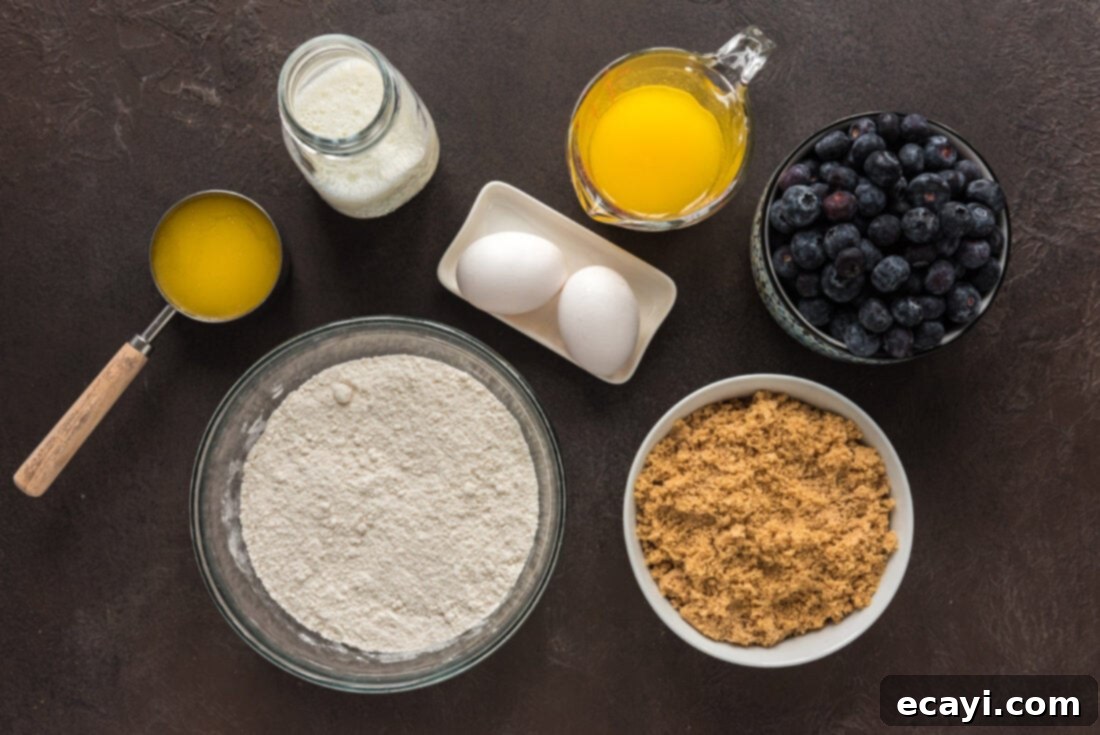
Gathering your ingredients for this easy blueberry upside down cake is straightforward, thanks to its simple components. You’ll be amazed at how a few pantry staples can transform into such a spectacular dessert. The key to its simplicity lies in using a convenient cake mix, which takes much of the guesswork out of baking, allowing you to focus on the delicious blueberry topping. All precise measurements, ingredients, and detailed instructions are conveniently available in the printable recipe card at the very end of this article.
Ingredient Breakdown & Smart Substitution Suggestions
CAKE MIX – The foundation of this incredibly easy blueberry upside down cake is a standard box of cake mix. This shortcut is what makes the recipe so approachable and time-efficient, without sacrificing flavor or texture. You have several excellent options for your cake base: yellow, white, French vanilla, or even a lemon cake mix will all work beautifully, each offering a slightly different complementary note to the blueberries. Simply prepare the cake mix according to the package instructions, which means you’ll also need to have on hand the additional ingredients typically listed on the back of the box, such as eggs, oil, and water or milk.
BLUEBERRIES – Whether you prefer the vibrant taste of summer or need a convenient option, both fresh and frozen blueberries are perfectly suited for this recipe. If using fresh blueberries, ensure they are thoroughly washed and dried before incorporating them. For frozen blueberries, there’s no need to thaw them beforehand; you can add them directly to the pan. They will bake beautifully and retain their plump, juicy texture. Using blueberries, either fresh or frozen, ensures this delicious upside down cake can be enjoyed year-round, regardless of the season.
BUTTER & BROWN SUGAR – These two ingredients are the secret to the irresistibly rich, sticky, and caramelized topping. The butter melts into a luscious pool at the bottom of the baking dish, creating a non-stick base and a rich flavor. Dark brown sugar is highly recommended over light brown sugar for this recipe, as its deeper molasses notes contribute to a more profound caramel flavor and a more desirable sticky texture for the topping. The combination of these two elements forms a sweet, buttery syrup that perfectly coats the blueberries and permeates the cake as it bakes, creating that signature upside down cake experience.
Step-by-Step: How to Bake the Perfect Blueberry Upside Down Cake
These step-by-step photos and detailed instructions are designed to help you visualize each stage of making this delicious recipe. For a convenient printable version of the complete recipe, including all measurements and instructions, simply Jump to Recipe at the bottom of this post.
- Prepare Your Baking Setup: Begin by preheating your oven to 350°F (175°C). This ensures your oven is at the correct temperature for even baking from the start. To catch any potential drips and make cleanup easier, place a 13×9 inch baking dish directly onto a sturdy cookie sheet. This simple step can prevent a messy oven if the fruit topping happens to bubble over.
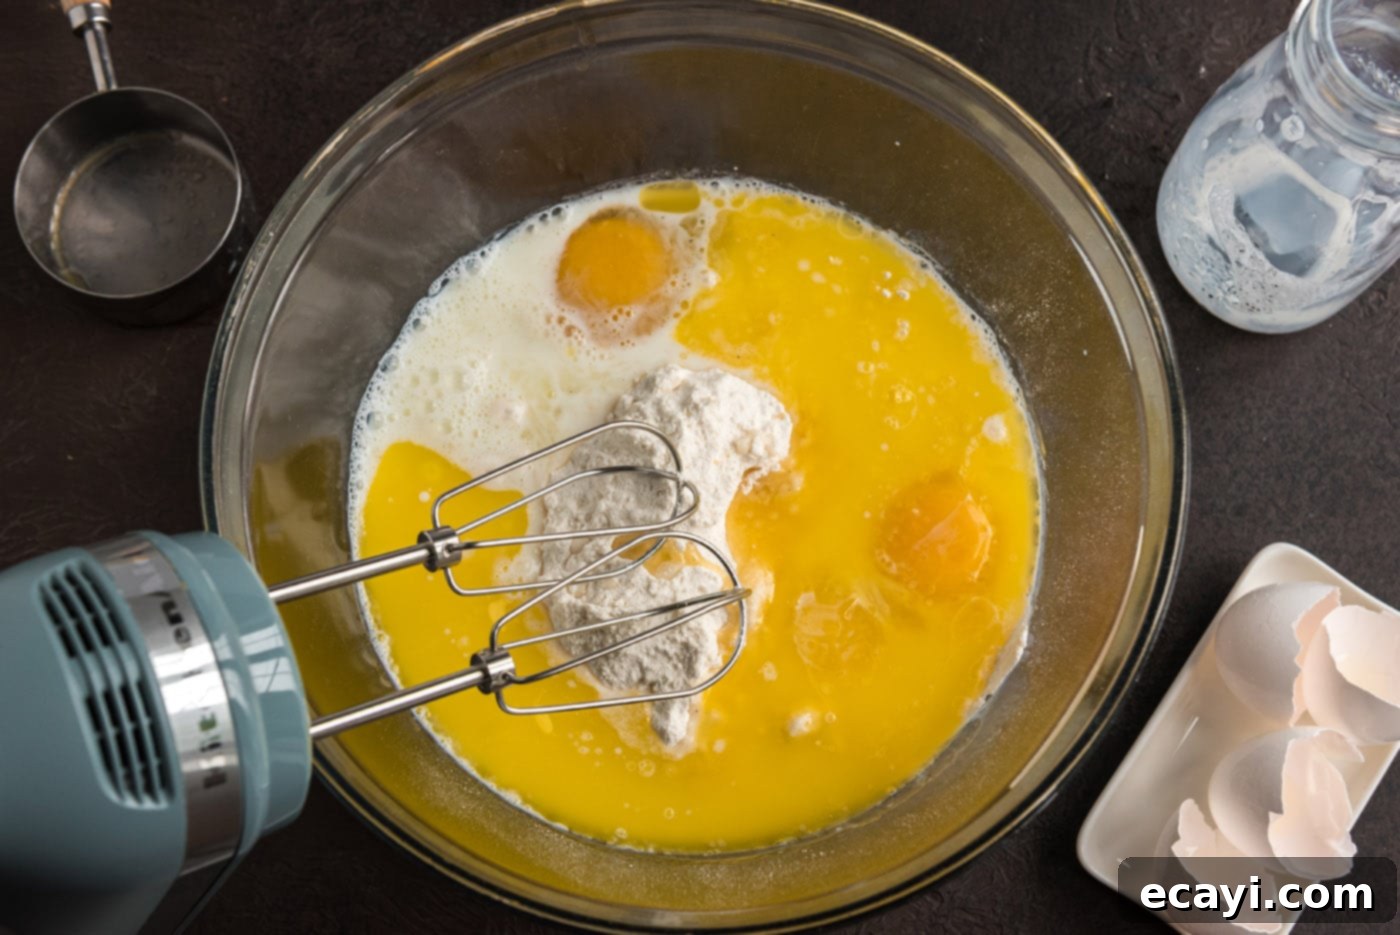
- Whip Up the Cake Batter: Following the instructions precisely on the back of your chosen 15.25 ounce box of cake mix, prepare the batter. This typically involves combining the mix with eggs, oil, and water or milk. Use a hand mixer or stand mixer to ensure the batter is smooth and lump-free. Once mixed, set the prepared batter aside while you work on the delicious blueberry topping.

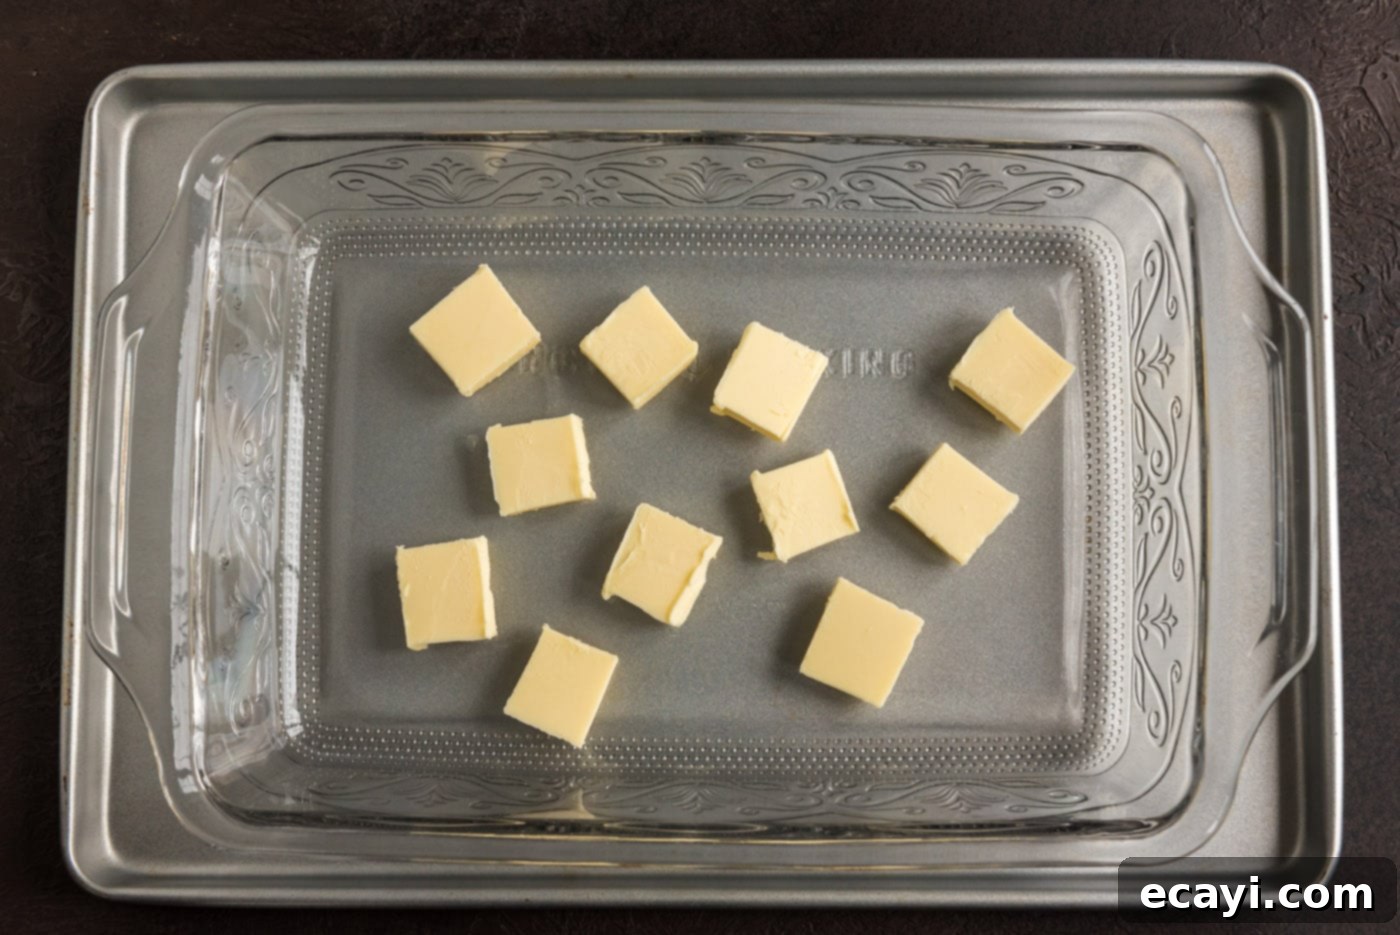
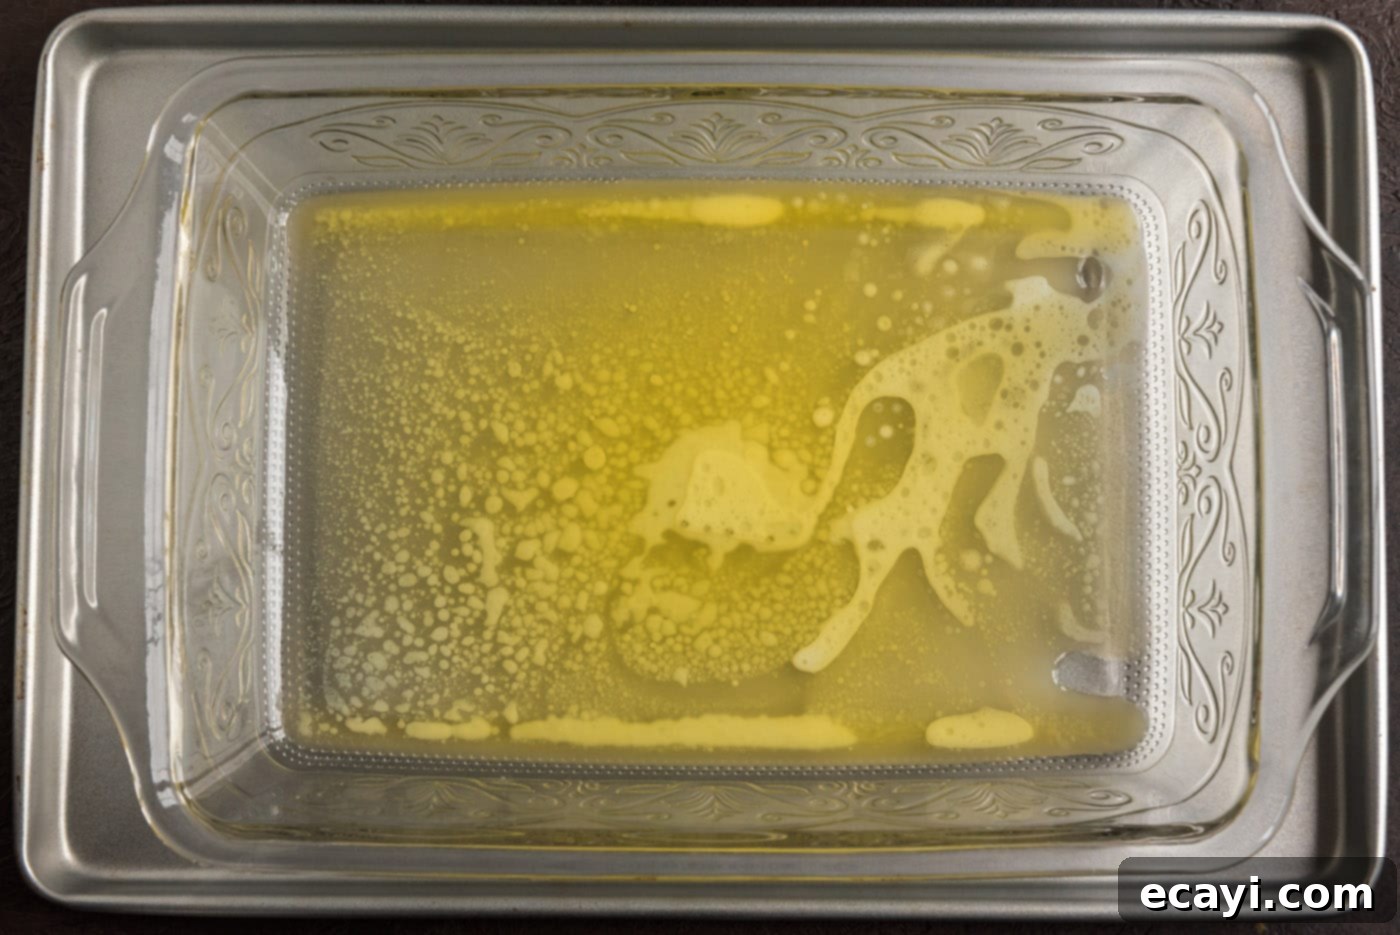
- Melt the Butter for the Topping: Cut the recommended amount of butter into several pats and distribute them evenly across the bottom of your 13×9 inch baking dish. Place the baking dish (still on the cookie sheet) into your preheated oven for approximately 3-4 minutes, or until the butter has completely melted and is shimmering. Carefully remove the dish from the oven using oven mitts.


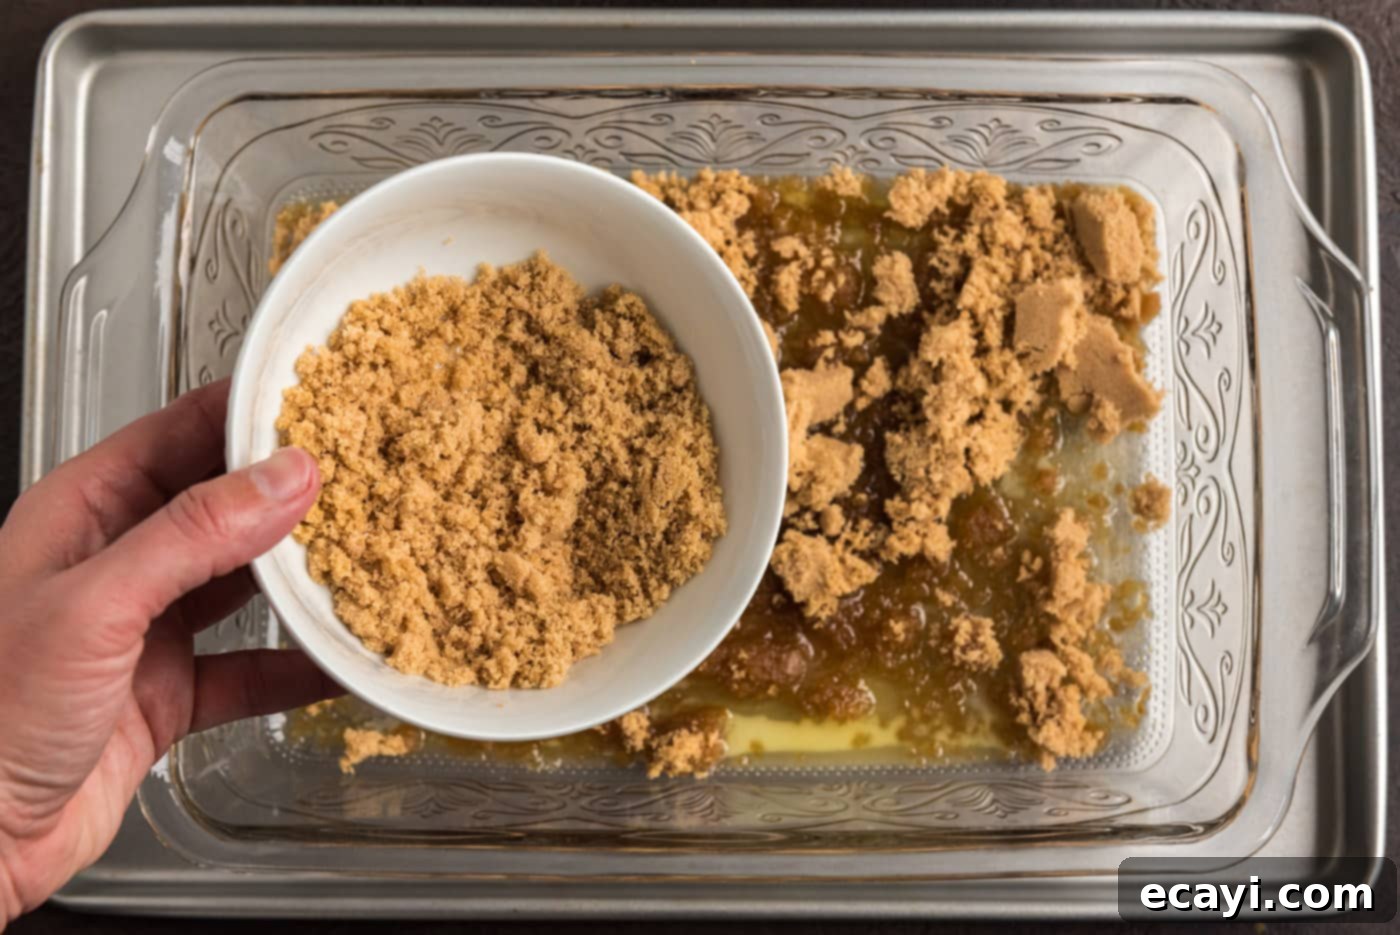
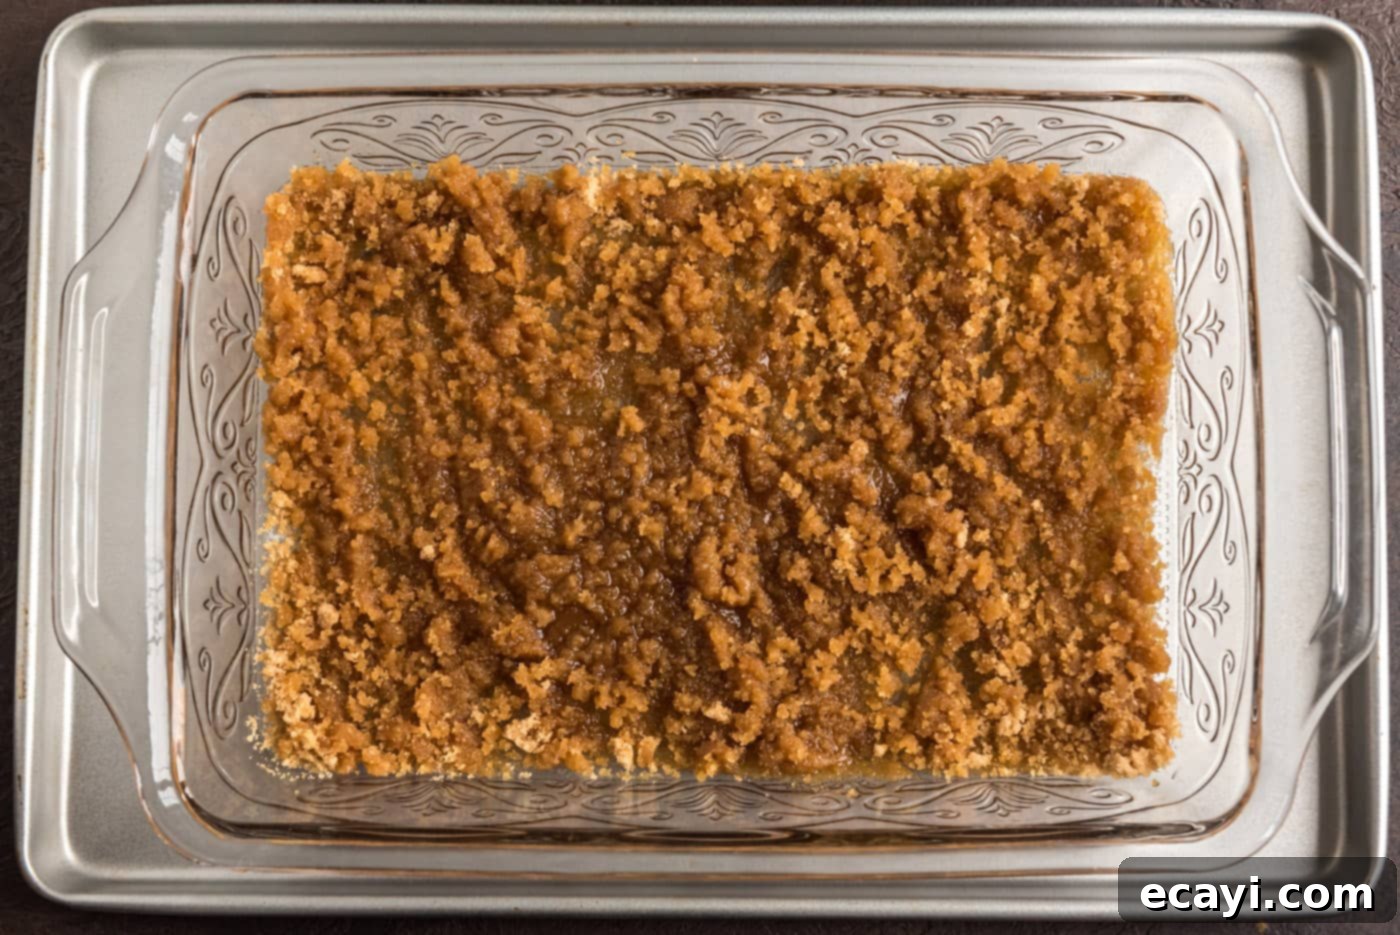
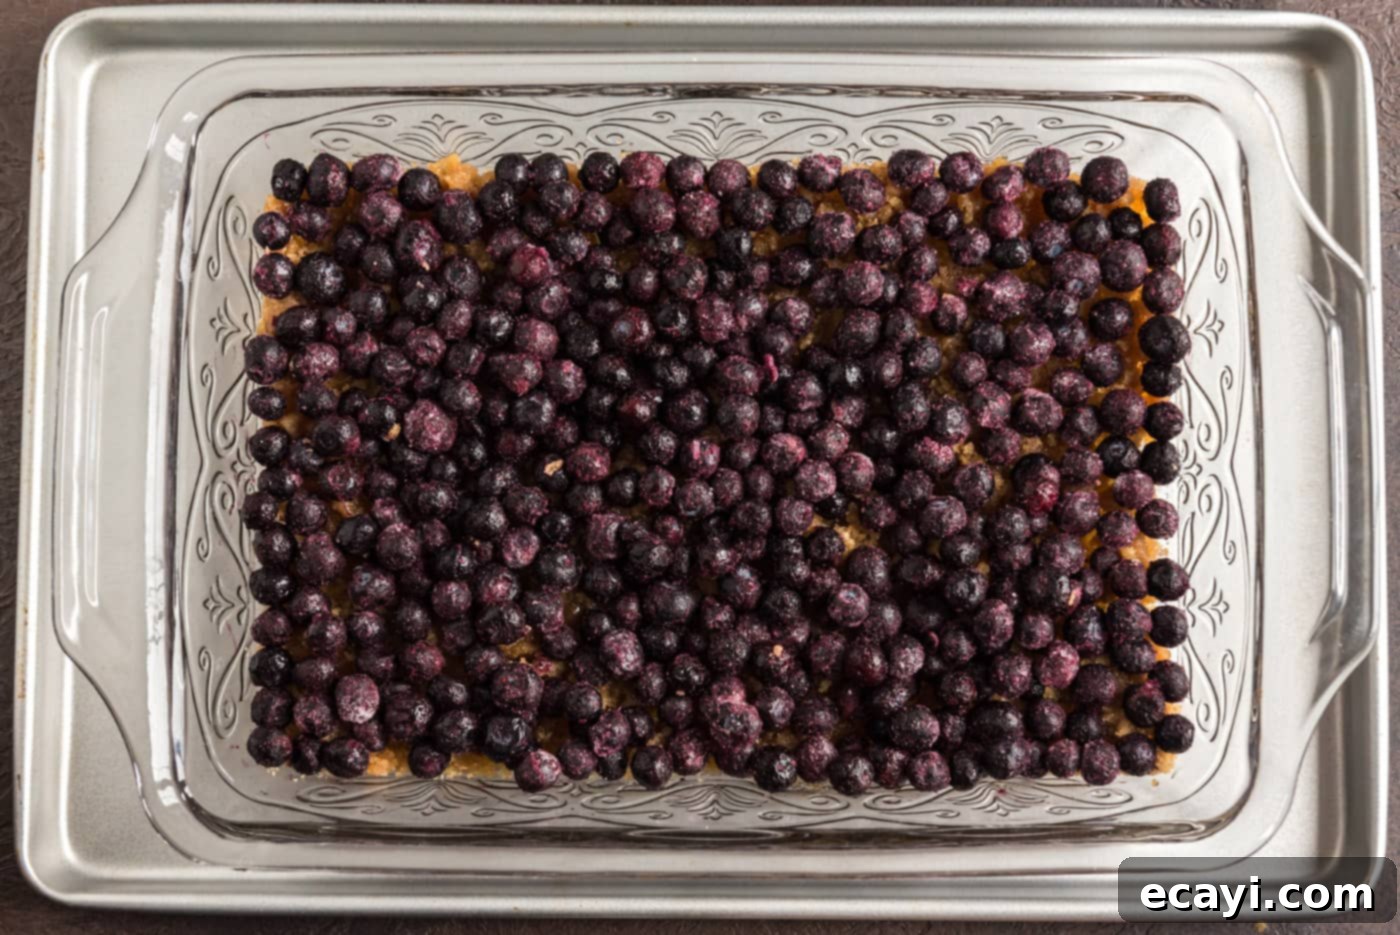
- Create the Caramelized Berry Layer: Evenly sprinkle the packed brown sugar over the melted butter in the baking dish. Use a fork to gently mix and distribute the brown sugar, creating a uniform, sticky layer. Next, pour your fresh or frozen blueberries over the brown sugar mixture. Spread them out in a single, even layer across the entire bottom of the pan. This will form the beautiful caramelized top of your cake.


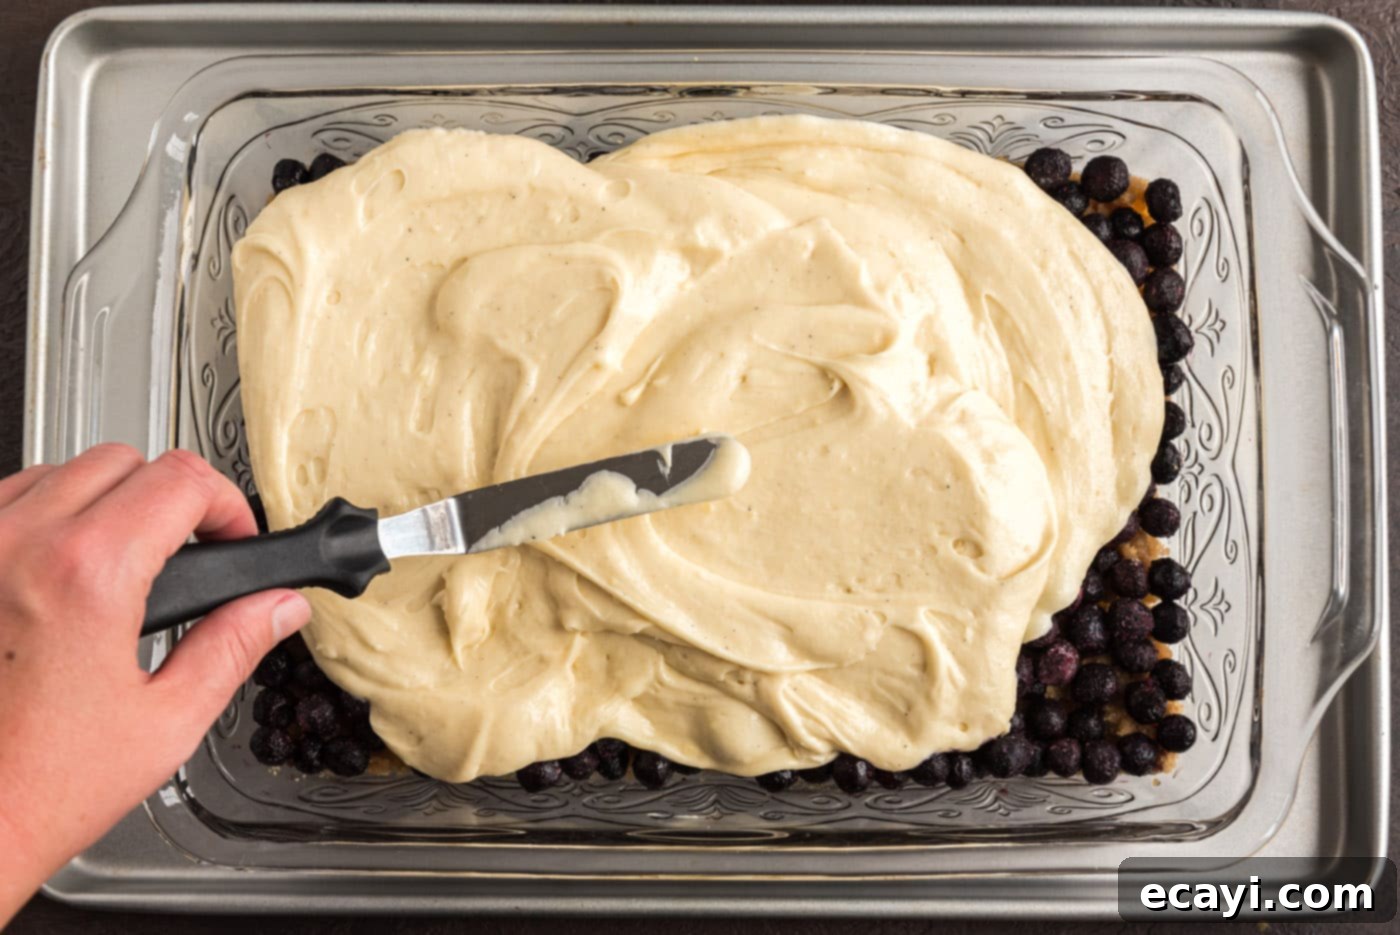
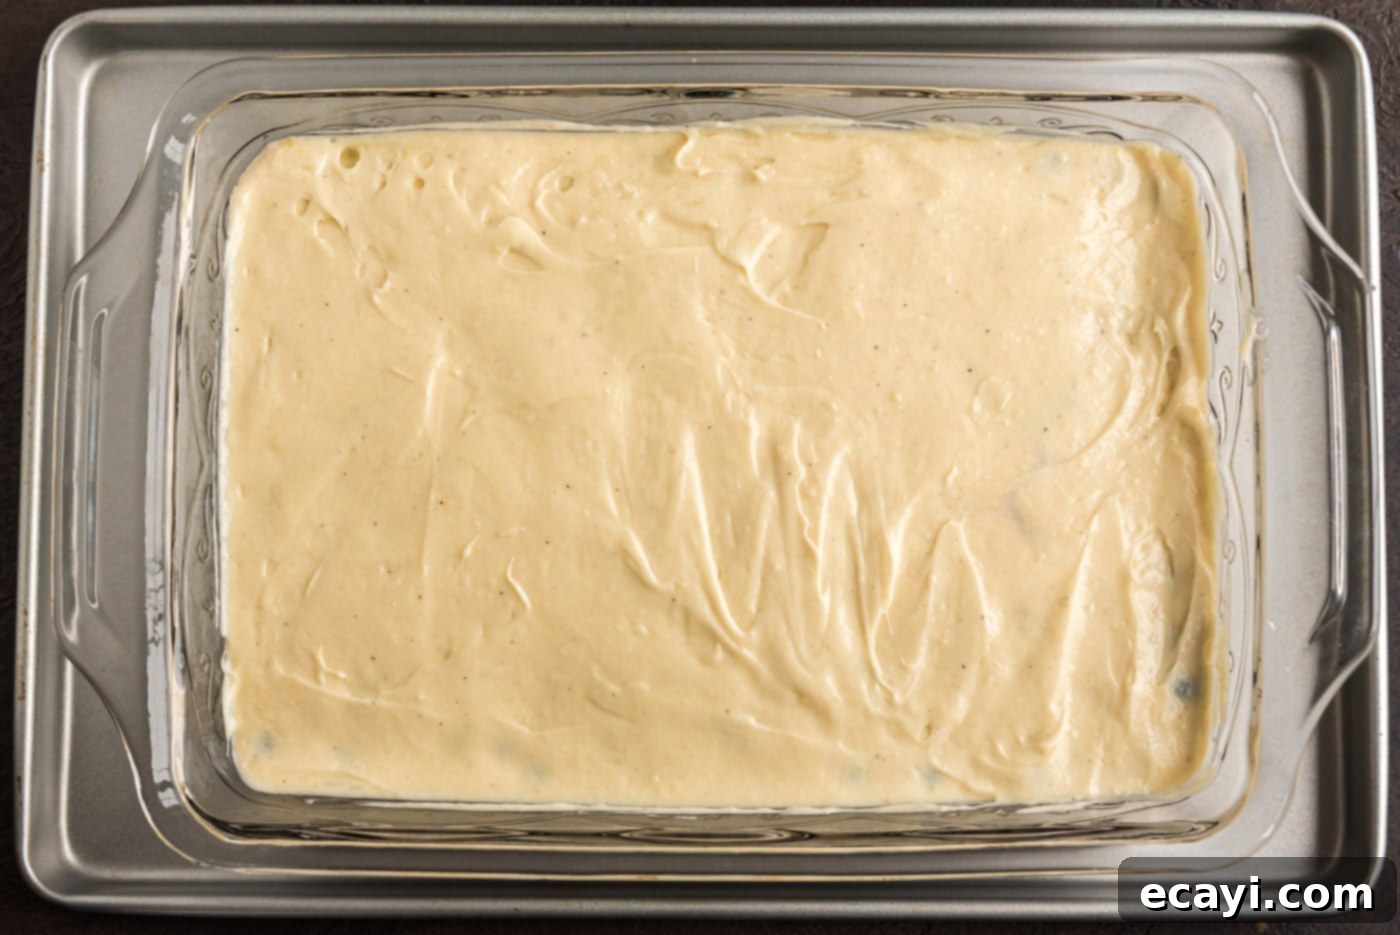
- Layer with Cake Batter: Carefully pour the prepared cake batter directly over the layer of blueberries and brown sugar. Use an offset spatula or the back of a spoon to gently spread the batter evenly across the entire surface, ensuring all the blueberries are covered. This creates a smooth base for the cake.


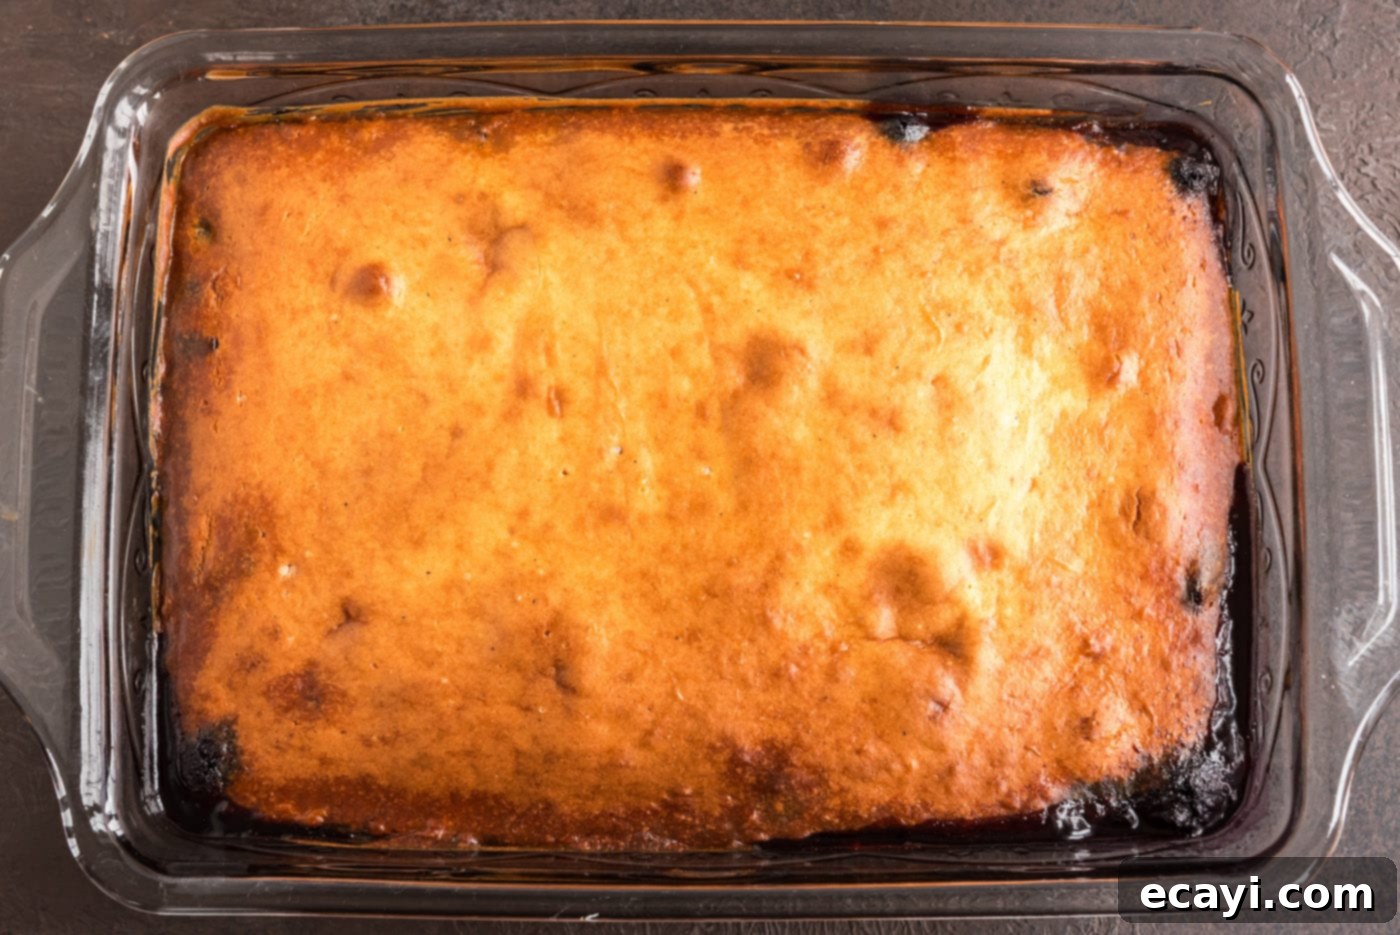
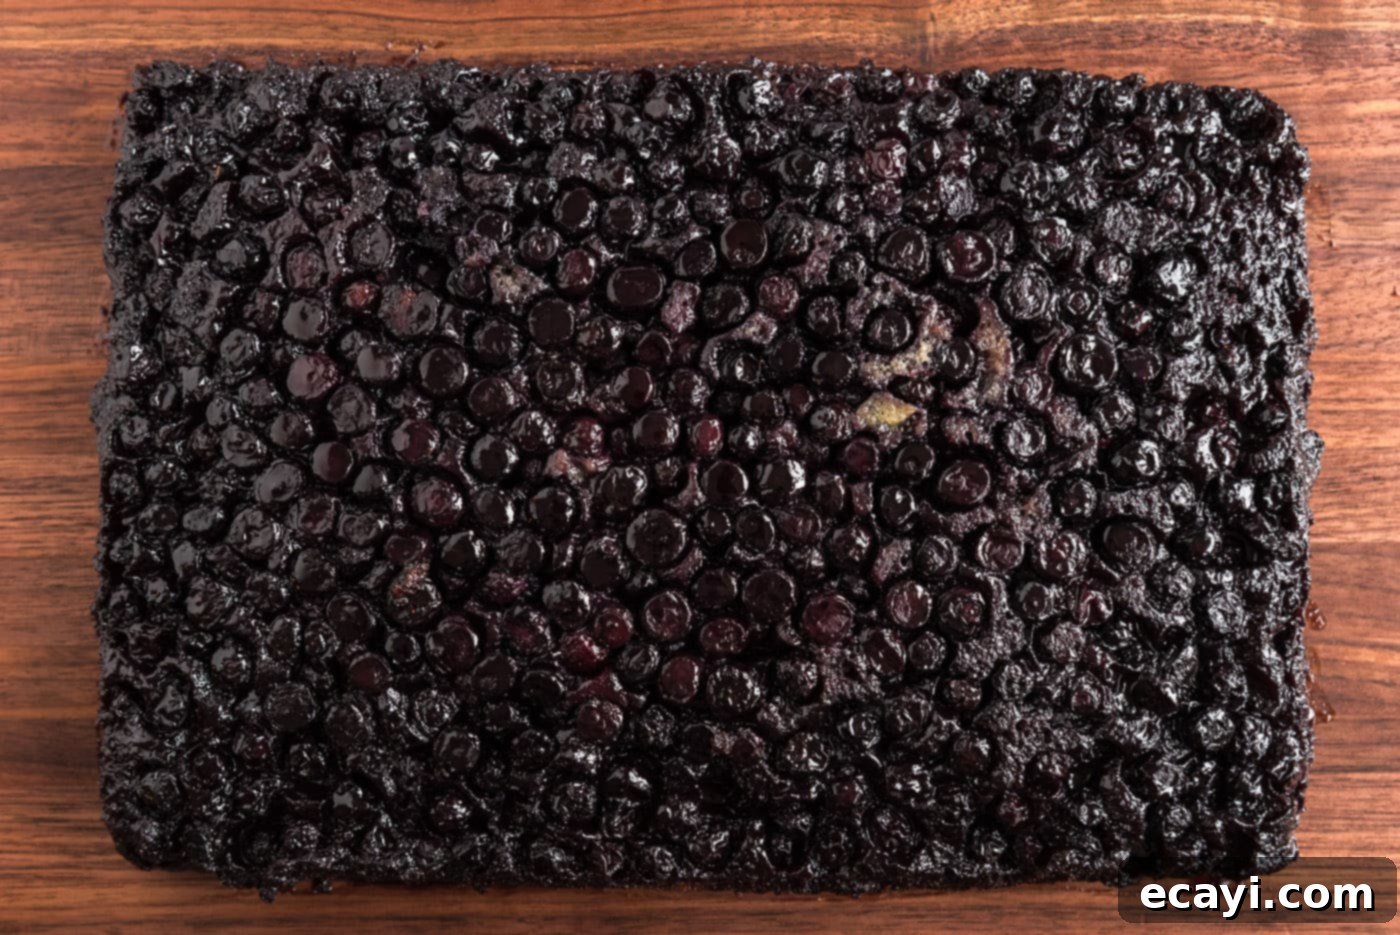
- Bake and Invert: Place the baking dish (still on the cookie sheet) back into your 350°F (175°C) preheated oven. Bake for 45 to 50 minutes, or until a wooden toothpick inserted into the center of the cake comes out clean. This indicates it’s fully cooked. Once baked, remove the cake from the oven and let it cool in the pan for exactly 10 minutes. This cooling period is crucial as it allows the caramelized topping to set slightly, making for an easier and cleaner inversion. After 10 minutes, carefully place a large, flat plate, serving platter, or cutting board over the baking dish, then swiftly and confidently invert the cake onto the plate. Remove the baking dish, and marvel at your beautifully caramelized blueberry masterpiece!


Frequently Asked Questions & Expert Tips for Success
How do you store your Blueberry Upside Down Cake?
Once your easy blueberry upside down cake has fully cooled to room temperature, store it in an airtight container. At room temperature, it will stay fresh and delicious for up to 2 days. If you need to keep it longer, you can store it in the refrigerator for up to 5 days. It’s incredibly important not to cover the cake until it has completely cooled. Covering a warm cake traps condensation, causing it to “sweat” and become soggy, which can ruin the texture of both the cake and its beautiful caramelized topping. Always ensure it’s cool before sealing.
Can you freeze Blueberry Upside Down Cake?
Yes, absolutely! This blueberry upside down cake freezes wonderfully. Once the cake is completely baked and has cooled down to room temperature, you can prepare it for freezing. Wrap the cake tightly first in plastic wrap, ensuring no air can get in. Then, add a second protective layer of aluminum foil. Properly wrapped, the cake can be stored in the freezer for up to 2 months. To serve, simply thaw it overnight in the refrigerator, or at room temperature for a few hours, then gently warm if desired.
Can this cake be made ahead of time?
Yes, you can certainly prepare this blueberry upside down cake a day in advance! Bake the cake as directed and allow it to cool completely. Once cooled, store it covered at room temperature. If preparing ahead for a gathering, I often find it convenient to cut the cake into individual slices before storing. This makes serving much easier. Place the slices into an airtight container or a cake carrier to maintain their freshness and prevent them from drying out. This way, you can simply pull it out and serve when guests arrive, perhaps with a quick warm-up for an extra special touch.
Pro Tip: Ensuring a Clean Flip Every Time
For a perfect, clean inversion of your upside down cake, a few extra steps can make all the difference. While this recipe is known for its easy release, you can further enhance it by lining the bottom of your baking dish with parchment paper *before* adding the melted butter, brown sugar, and blueberries. Cut the parchment paper to fit the bottom of the pan precisely. After the cake has baked and cooled for 10 minutes, gently run a thin knife around the edges of the cake to loosen it from the pan. Then, confidently invert it onto your serving platter. The parchment paper will peel away easily, leaving a pristine, perfectly topped cake.
Customizing Your Cake Mix for Extra Flavor
While a plain vanilla or yellow cake mix works wonderfully, don’t hesitate to add a personal touch! Consider stirring in a teaspoon of vanilla extract (even if the mix already has some) for a richer flavor profile. For an extra bright and citrusy note that complements blueberries beautifully, add 1-2 teaspoons of fresh lemon zest to your cake batter. This simple addition can elevate the “cake mix” flavor and make it taste even more homemade and gourmet.
Delicious Serving Suggestions
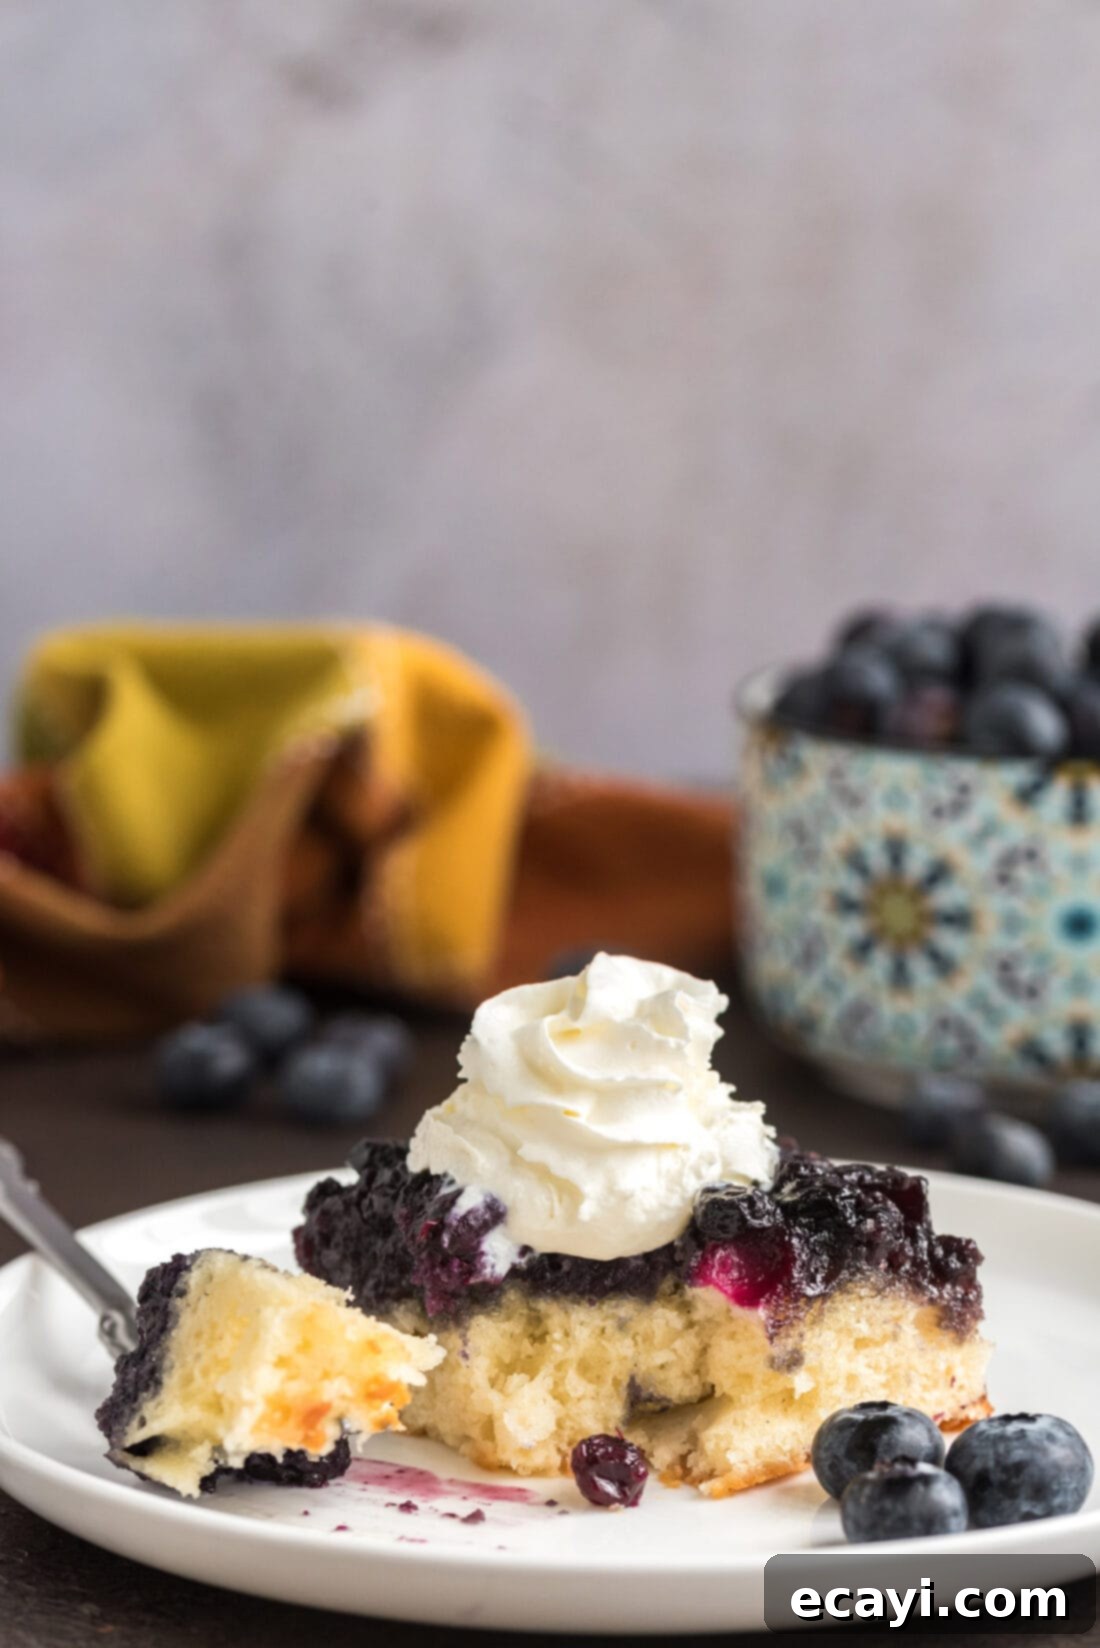
This blueberry upside down cake is undeniably delicious on its own, but a few simple additions can elevate it to a truly unforgettable dessert. For a classic touch, garnish individual slices with a generous dollop of freshly whipped cream. The light, airy cream perfectly contrasts with the rich, dense cake and sweet blueberries. Alternatively, for a truly decadent experience, gently warm a slice of cake and serve it with a scoop of premium vanilla bean ice cream. The melting ice cream mingling with the warm, caramelized berries is pure bliss. Because this versatile cake can be made with either fresh or frozen berries, you can savor its wonderful flavors throughout the entire year – making it perfect for holiday celebrations, special occasions, or simply as a comforting treat “just because.”
I personally love to turn my finished cake out onto a rustic wooden cutting board for a charming, homey presentation. However, if you’re entertaining and aiming for a more elegant display, a large, beautiful platter would be an excellent choice. No matter how you choose to serve it, this easy blueberry upside down cake is sure to impress and delight. Enjoy every flavorful bite!
More Irresistible Blueberry Recipes
If you’ve fallen in love with the sweet and tart charm of blueberries, you’re in luck! We have a fantastic collection of other blueberry-centric recipes that are just as delightful. Dive into these other favorites to satisfy all your blueberry cravings:
- Classic Blueberry Pie: A timeless dessert with a flaky crust and luscious blueberry filling.
- Blueberry Delight: A creamy, layered dessert perfect for a light and refreshing treat.
- Warm Blueberry Cobbler: A rustic, comforting dessert with a sweet biscuit topping.
- Elegant Blueberry Bundt Cake: A beautiful and moist cake, perfect for brunches or special occasions.
- Blueberry Breakfast Cake: A delightful way to start your day, or enjoy as a casual coffee cake.
I love to bake and cook and share my kitchen experience with all of you! Remembering to come back each day can be tough, that’s why I offer a convenient newsletter every time a new recipe posts. Simply subscribe and start receiving your free daily recipes!
Easy Blueberry Upside Down Cake
IMPORTANT – There are often Frequently Asked Questions within the blog post that you may find helpful. Simply scroll back up to read them!
Print It
Pin It
Rate It
Save ItSaved!
Ingredients
- 15.25 ounce box vanilla cake mix prepared according to package directions
- ½ cup melted butter
- 1 ¾ cups packed brown sugar
- 1 ½ pints blueberries (approximately 3 cups, fresh or frozen)
Things You’ll Need
-
13×9 baking dish
-
Baking sheet
Before You Begin
- You can use yellow, white, French vanilla, or even lemon cake mix for this recipe. Prepare the cake mix according to package instructions (which means you will also need the ingredients listed on the back of the box).
- Fresh or frozen blueberries can be used here. If using frozen, do not thaw them first.
Instructions
-
Preheat your oven to 350°F (175°C). Place a 13×9 inch baking dish onto a sturdy cookie sheet to catch any potential drips.
-
Prepare the cake batter from the box mix according to the package directions. Set the prepared batter aside.
-
Cut the butter into pats and place them evenly across the bottom of the baking dish. Place the baking dish (on its cookie sheet) into the preheated oven for 3-4 minutes, or until the butter has completely melted. Carefully remove from the oven.
-
Sprinkle the melted butter evenly with brown sugar, then use a fork to gently distribute it. Pour the blueberries over the brown sugar layer and spread them out into an even single layer.
-
Carefully pour the prepared cake batter over the blueberries, spreading it gently to cover them completely.
-
Bake in the 350°F (175°C) oven for 45 to 50 minutes, or until a wooden toothpick inserted into the center of the cake comes out clean. Let the cake cool in the pan for 10 minutes (this is crucial for a clean flip!). After 10 minutes, carefully place a large, flat serving plate or cutting board over the baking dish, then swiftly invert the cake onto the plate. Remove the baking dish and enjoy your beautiful creation.
Expert Tips & FAQs
- Store the fully cooled cake in an air-tight container at room temperature for up to 2 days or in the refrigerator for up to 5 days. Do not cover the cake until it reaches room temperature; otherwise, trapped moisture will make the cake soggy.
- You can freeze the baked and fully cooled cake for up to 2 months. Wrap the cake well first in plastic wrap, then follow with a layer of aluminum foil for best results.
- Prepare, bake, and store the cake (covered) at room temperature up to a day in advance. When preparing ahead, I often cut the cake into slices and place them into an air-tight container or a cake carrier for easy serving.
Nutrition
The recipes on this blog are tested with a conventional gas oven and gas stovetop. It’s important to note that some ovens, especially as they age, can cook and bake inconsistently. Using an inexpensive oven thermometer can assure you that your oven is truly heating to the proper temperature. If you use a toaster oven or countertop oven, please keep in mind that they may not distribute heat the same as a conventional full sized oven and you may need to adjust your cooking/baking times. In the case of recipes made with a pressure cooker, air fryer, slow cooker, or other appliance, a link to the appliances we use is listed within each respective recipe. For baking recipes where measurements are given by weight, please note that results may not be the same if cups are used instead, and we can’t guarantee success with that method.
This post originally appeared here on November 4, 2014, and has since been updated with new photos, expanded tips, and improved instructions to ensure the best possible baking experience for you!
