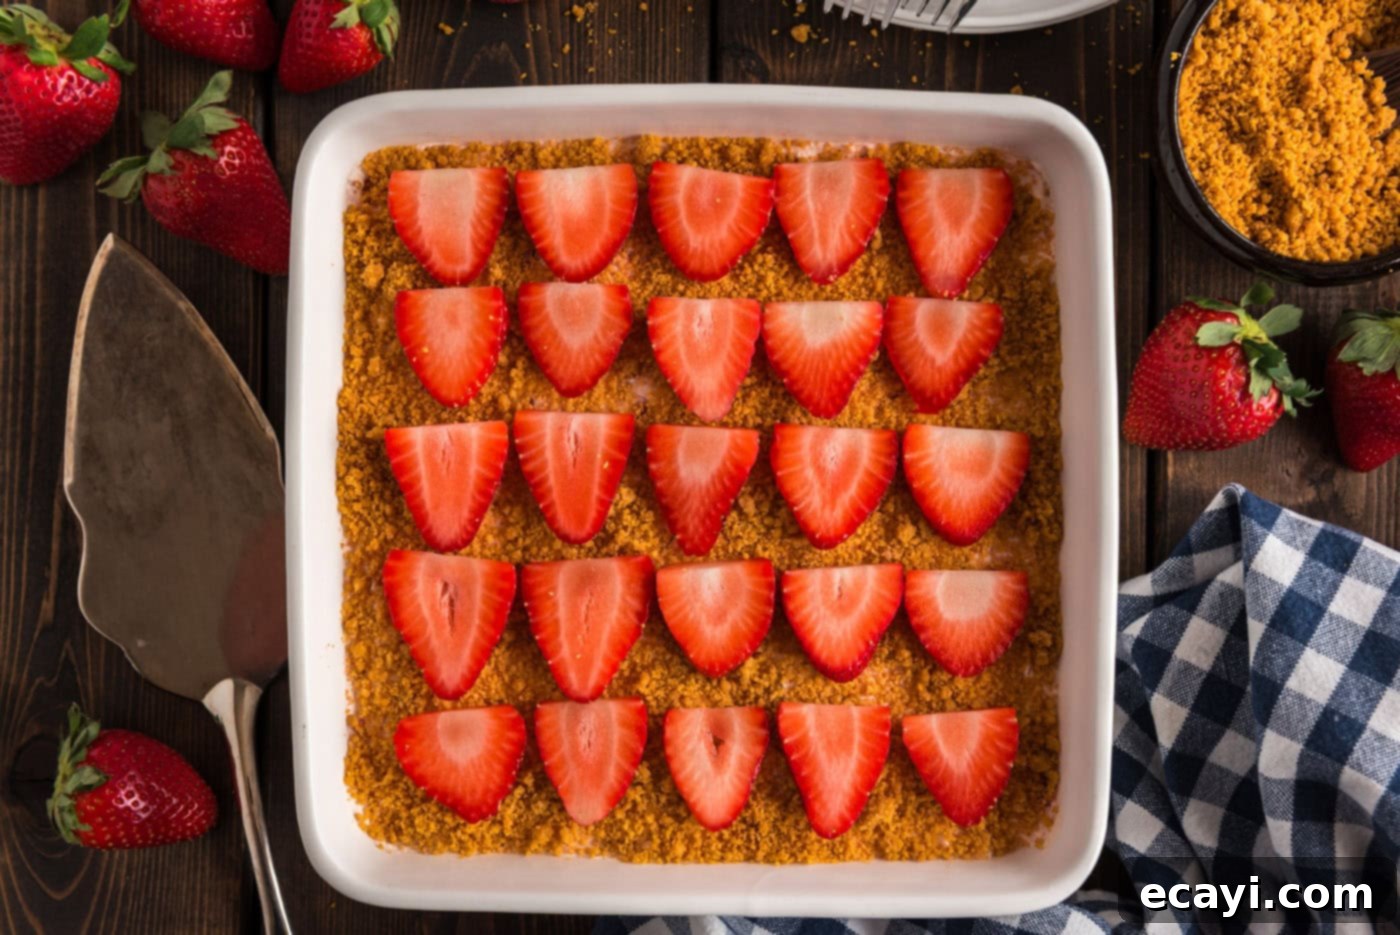
Ultimate No-Bake Strawberry Dream Dessert: Your Perfect Summer Treat!
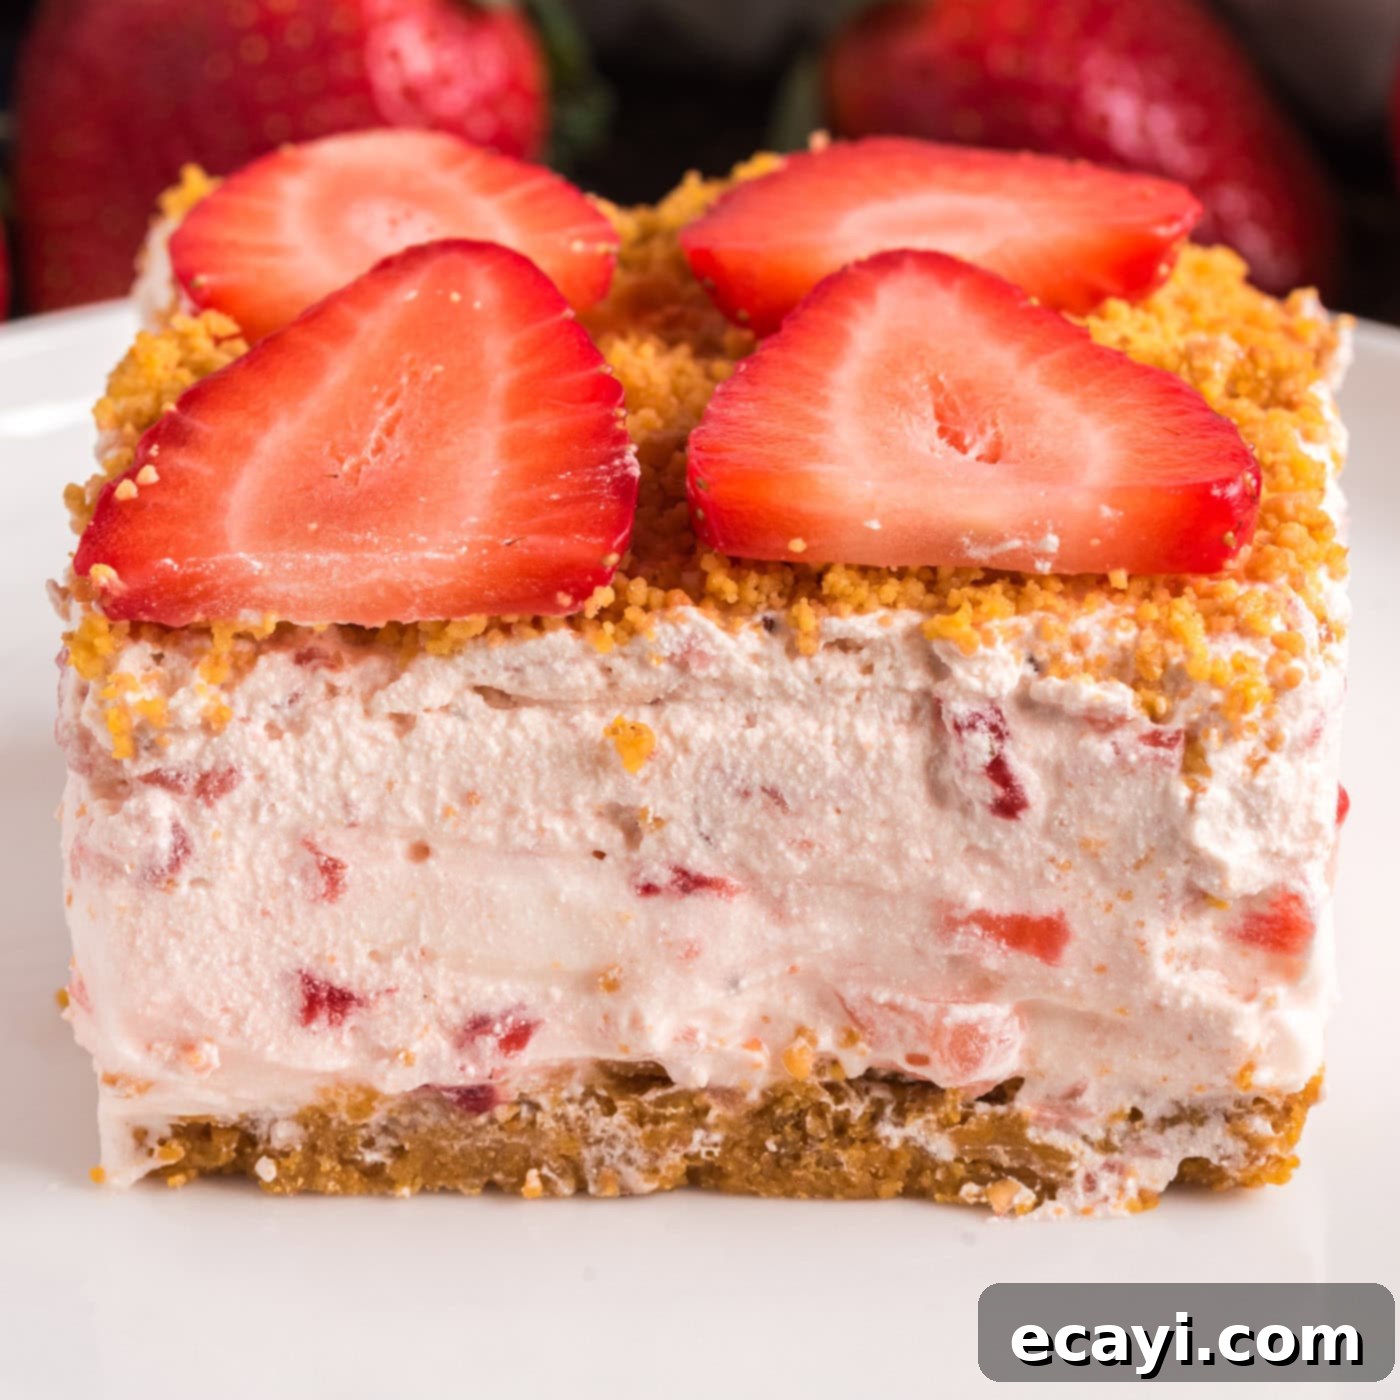
There’s truly nothing quite like a refreshing, easy-to-make dessert to cool down on a hot summer day, and this Strawberry Dream Dessert takes the crown! Imagine a luscious, creamy filling bursting with the vibrant taste of fresh strawberries, all nestled atop a golden, buttery graham cracker crust. What makes it even better? We’ve included a fantastic no-bake option for those days when turning on the oven is simply out of the question. This delightful treat is a breeze to prepare, visually stunning, and promises to be a crowd-pleaser at any gathering.
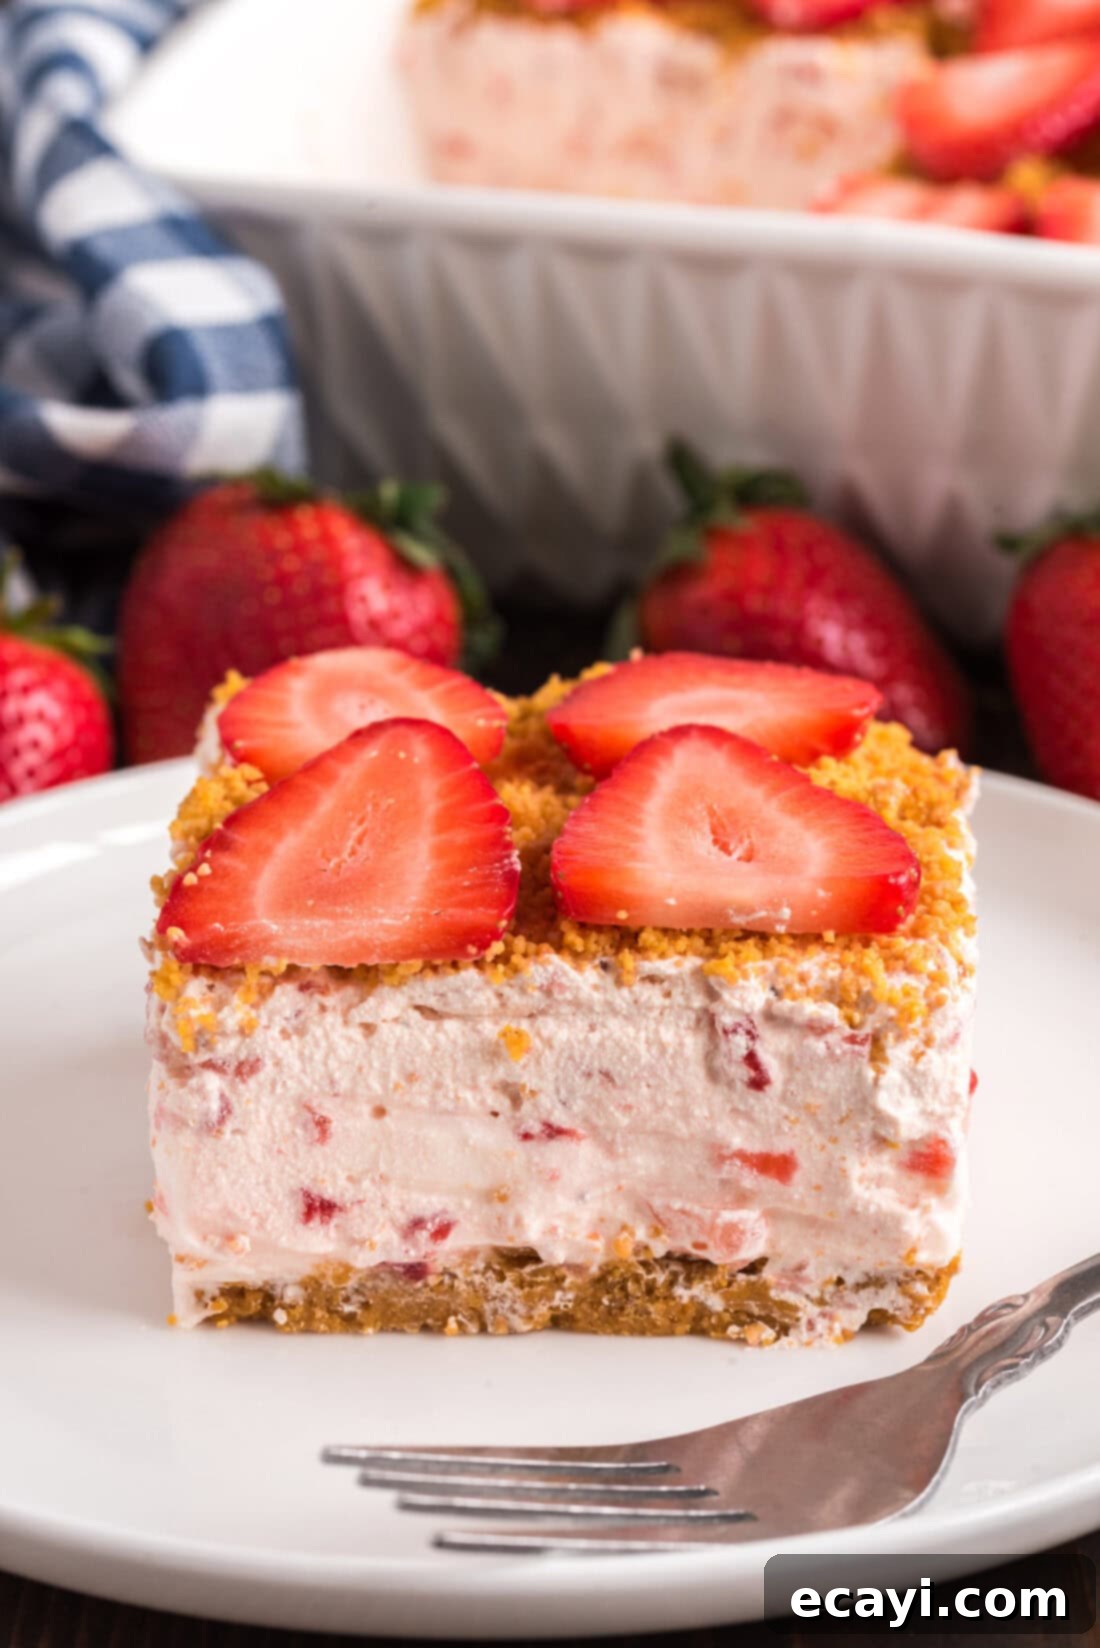
Why This Strawberry Dream Dessert Recipe is a Must-Try
Following in the footsteps of its beloved counterpart, the pineapple dream dessert, our sweet strawberry dream dessert offers an equally enchanting experience. It’s truly a celebration of summertime flavors – lush, airy, and wonderfully light. This dessert perfectly embodies everything I adore in a warm-weather treat: simplicity, freshness, and an irresistible texture.
One of the most appealing aspects of this strawberry dream dessert is its incredible ease of preparation. You can whip up this delightful confection in about 25 minutes, excluding the crucial chill time. The recipe relies on simple, readily available ingredients such as powdered sugar, rich butter, smooth cream cheese, fluffy Cool Whip, and, of course, an abundance of fresh, juicy strawberries. These ingredients combine harmoniously to create a dessert that is both comforting and exhilaratingly fresh. While we often opt for a baked graham cracker crust for its added crispness, we’ve thoughtfully provided a no-bake alternative, making it perfect for scorching summer days when you want to keep your kitchen cool. Let’s dive into making this exceptional dessert!
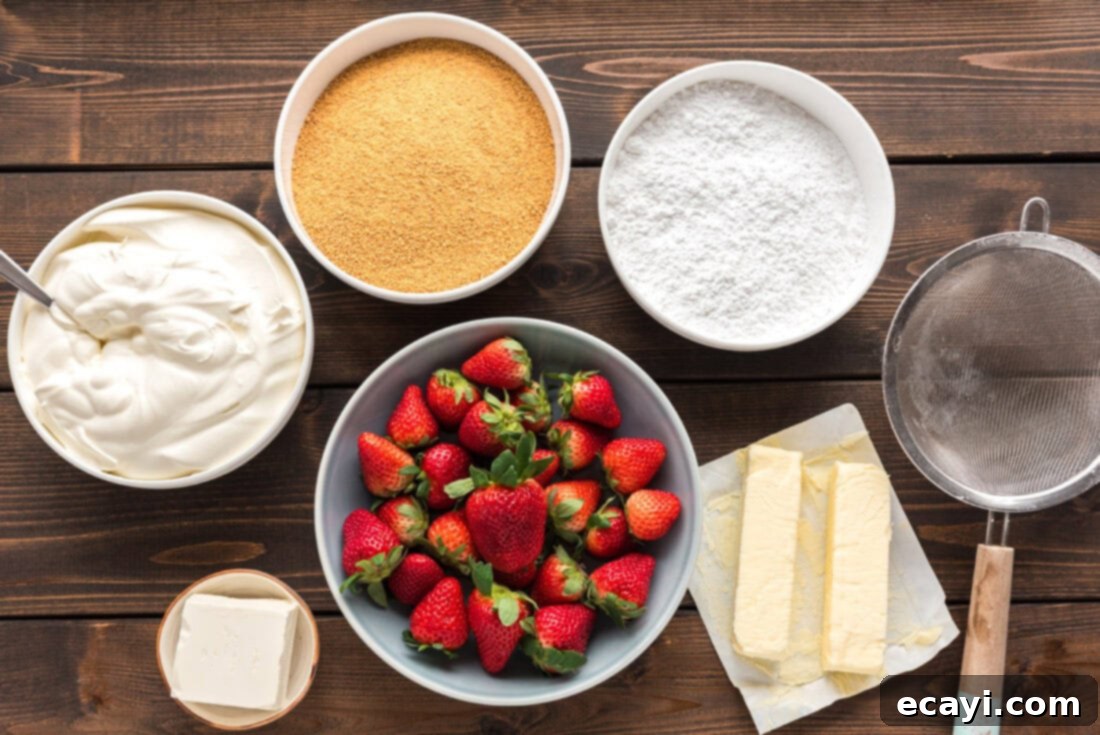
Key Ingredients for Your Strawberry Dream Dessert
For the precise measurements, detailed ingredient list, and comprehensive instructions, please refer to the printable recipe card located at the conclusion of this post. Gathering your ingredients beforehand will ensure a smooth and enjoyable baking (or no-baking!) process.
Ingredient Insight and Smart Substitution Tips
Understanding your ingredients and knowing when and how to substitute can elevate your dessert-making experience. Here’s a closer look at the key components of this Strawberry Dream Dessert:
CRUST – The foundation of this dessert is a delightful graham cracker crust. While a food processor or blender can efficiently pulverize graham crackers into fine crumbs, don’t underestimate the simplicity of a good old-fashioned method. You can achieve equally great results by placing two sleeves of graham crackers into a gallon-sized zipper plastic bag and crushing them with a rolling pin. This can be a fun activity and works just as effectively! If you’re out of graham crackers, digestive biscuits or vanilla wafers can also make an excellent crust.
STRAWBERRIES – For the ultimate flavor and texture, fresh, plump strawberries are highly recommended for this dessert. Their natural sweetness and slight tartness are irreplaceable. Frozen strawberries, once thawed, tend to release a significant amount of liquid, which can compromise the dessert’s consistency and make it watery. If you must use frozen strawberries, ensure you thaw them completely and thoroughly pat them dry with paper towels to remove excess moisture. Instead of merely chopping the strawberries, a quick whirl in the food processor or blender is key. This method breaks them into perfect chunks, releasing just the right amount of their delicious juice and concentrating all that amazing, fresh flavor throughout the filling.
CREAM CHEESE – Use full-fat cream cheese, softened to room temperature. This ensures a smooth, lump-free filling with the perfect rich and tangy balance. Low-fat cream cheese might alter the texture and make the filling less stable. Always make sure it’s softened to prevent lumps when mixing.
BUTTER – Unsalted butter is preferred for both the crust and the filling, allowing you to control the saltiness of the dessert. For the crust, melted butter binds the crumbs perfectly. For the filling, softened butter contributes to the creamy, airy texture alongside the cream cheese. Ensure both are at the correct temperature as specified in the instructions.
POWDERED SUGAR – Also known as confectioners’ sugar, this ingredient is crucial for the filling’s smooth consistency. Unlike granulated sugar, powdered sugar dissolves instantly, preventing a gritty texture. Sifting the powdered sugar before adding it to the cream cheese mixture will also help avoid lumps and ensure a silky-smooth finish.
COOL WHIP – This whipped topping contributes to the dessert’s signature light and airy quality. While homemade whipped cream can be used as a substitute, Cool Whip holds its structure better and longer, making it ideal for a layered, no-bake dessert that needs to chill and hold its shape. If using homemade whipped cream, stabilize it with a bit of powdered sugar and cream of tartar to prevent it from deflating.
Crafting Your Delicious Strawberry Dream Dessert: A Step-by-Step Guide
These step-by-step photos and detailed instructions are provided to help you visualize each stage of making this recipe. For a convenient printable version, complete with all measurements and instructions, you can Jump to Recipe at the bottom of this post.
- Prepare for Baking (or No-Bake): If you’re opting for a baked crust, preheat your oven to 300 F (150 C). If you’re going for the no-bake option, you can skip this step and proceed to prepare your crust for chilling.
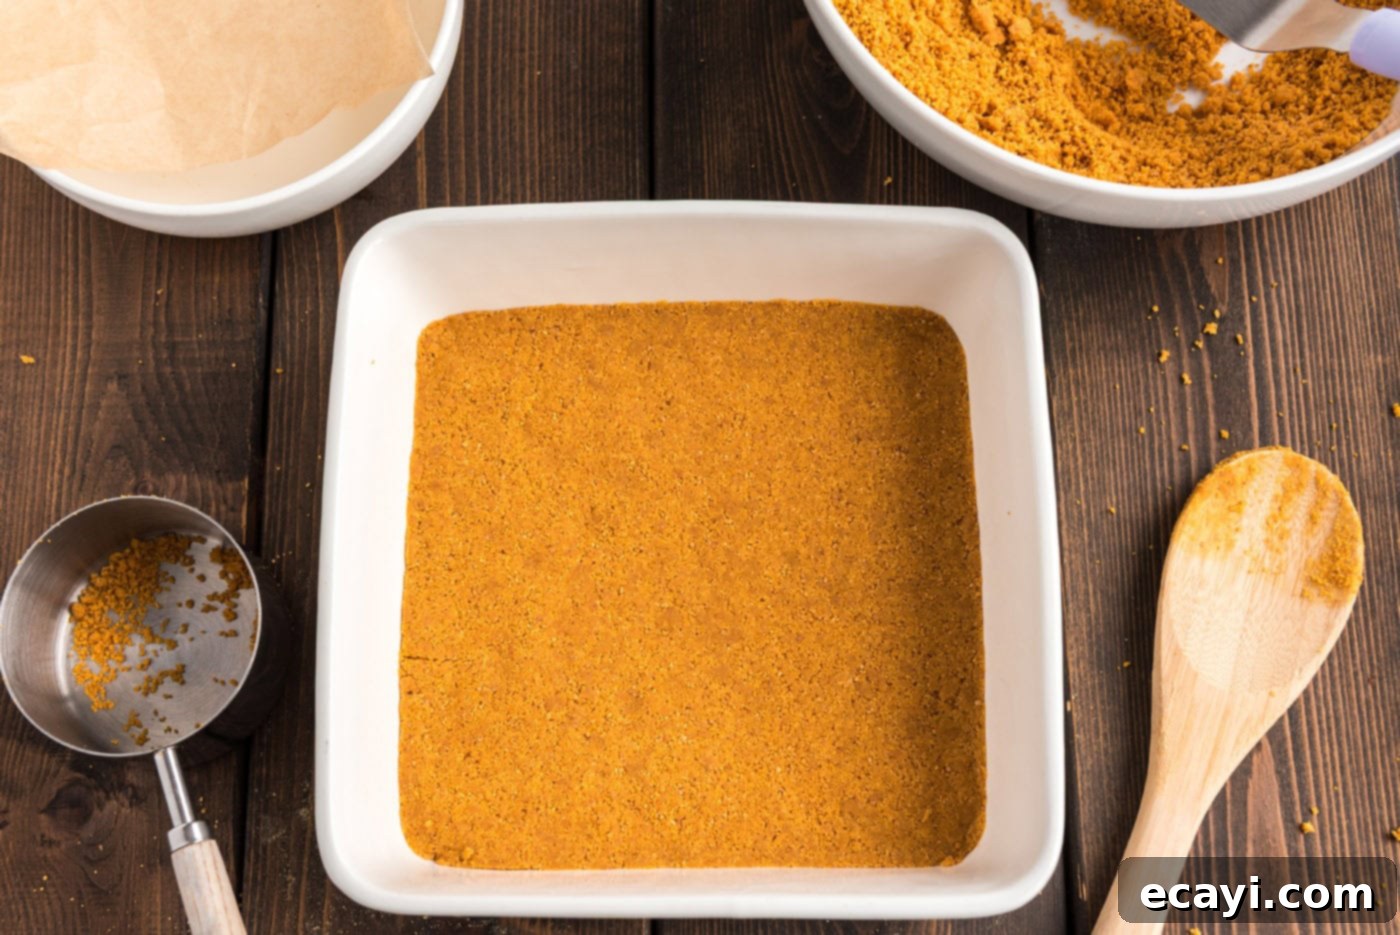
- Create the Buttery Graham Cracker Crust: Begin by melting the specified amount of butter in the microwave. Once melted, set it aside to cool slightly. In a medium bowl, combine your crushed graham cracker crumbs with the cooled melted butter. Toss the mixture thoroughly until all the crumbs are evenly moistened and incorporated. Press about 2 cups of this crumb mixture firmly but gently into the bottom of a 9×9 inch square pan. For a baked crust, bake for 8-10 minutes until lightly golden and fragrant. Transfer the pan to a wire rack to cool completely. This cooling step is essential to ensure the crust sets properly. Reserve any remaining graham cracker crumbs; these will be used later as a delightful topping. For the no-bake crust, simply press firmly into the pan and place in the refrigerator for at least 20 minutes to firm up.

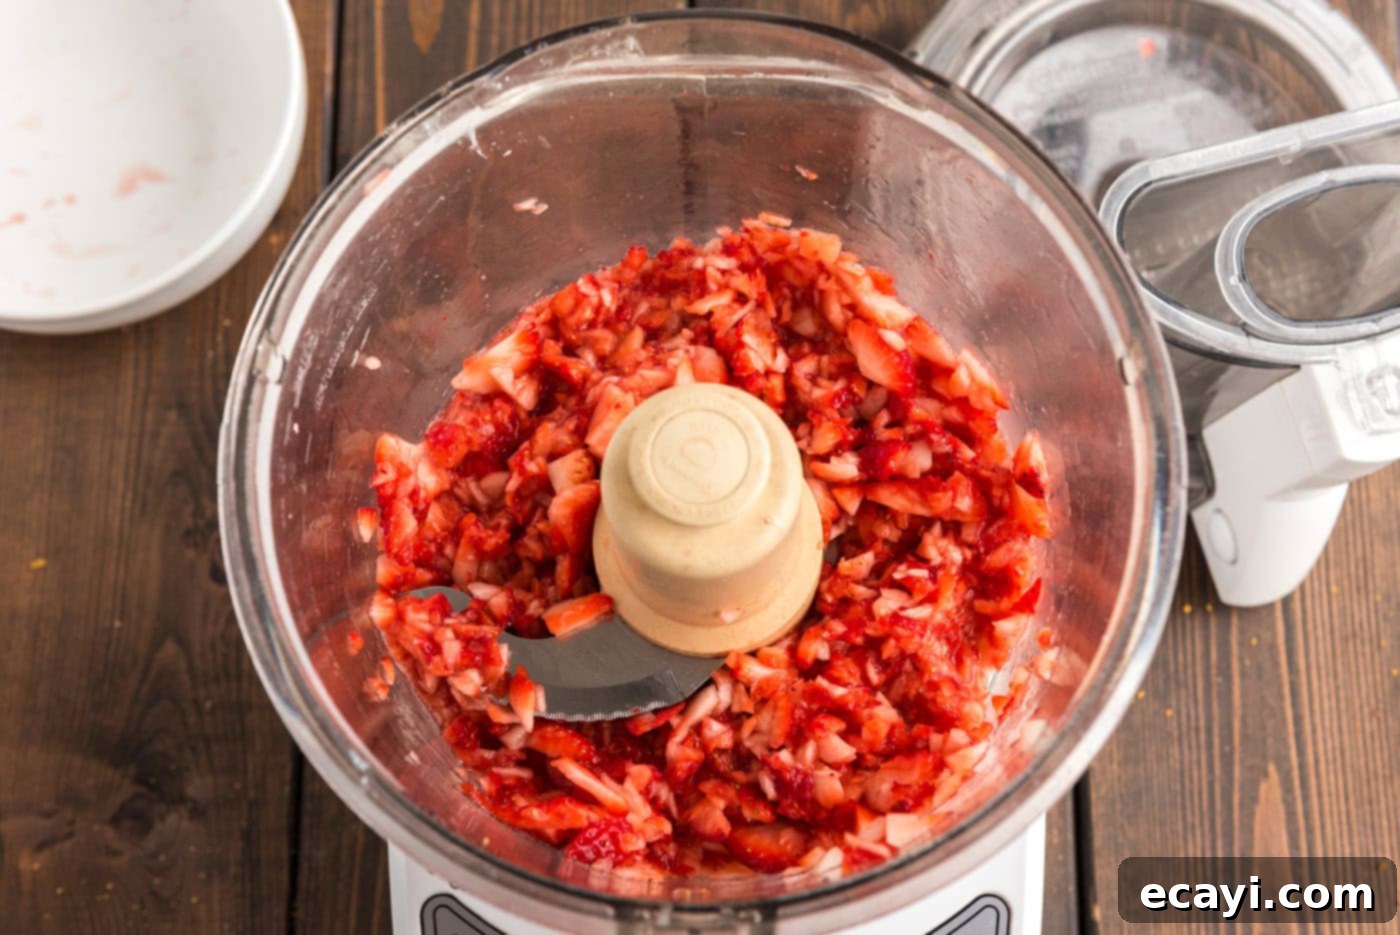
- Prepare the Fresh Strawberries: Take your hulled and halved fresh strawberries and place them into a blender or food processor. Pulse a few times, just enough to break them into small, juicy chunks. Be careful not to over-process them into a complete puree; you want distinct pieces of strawberry for texture and visual appeal.

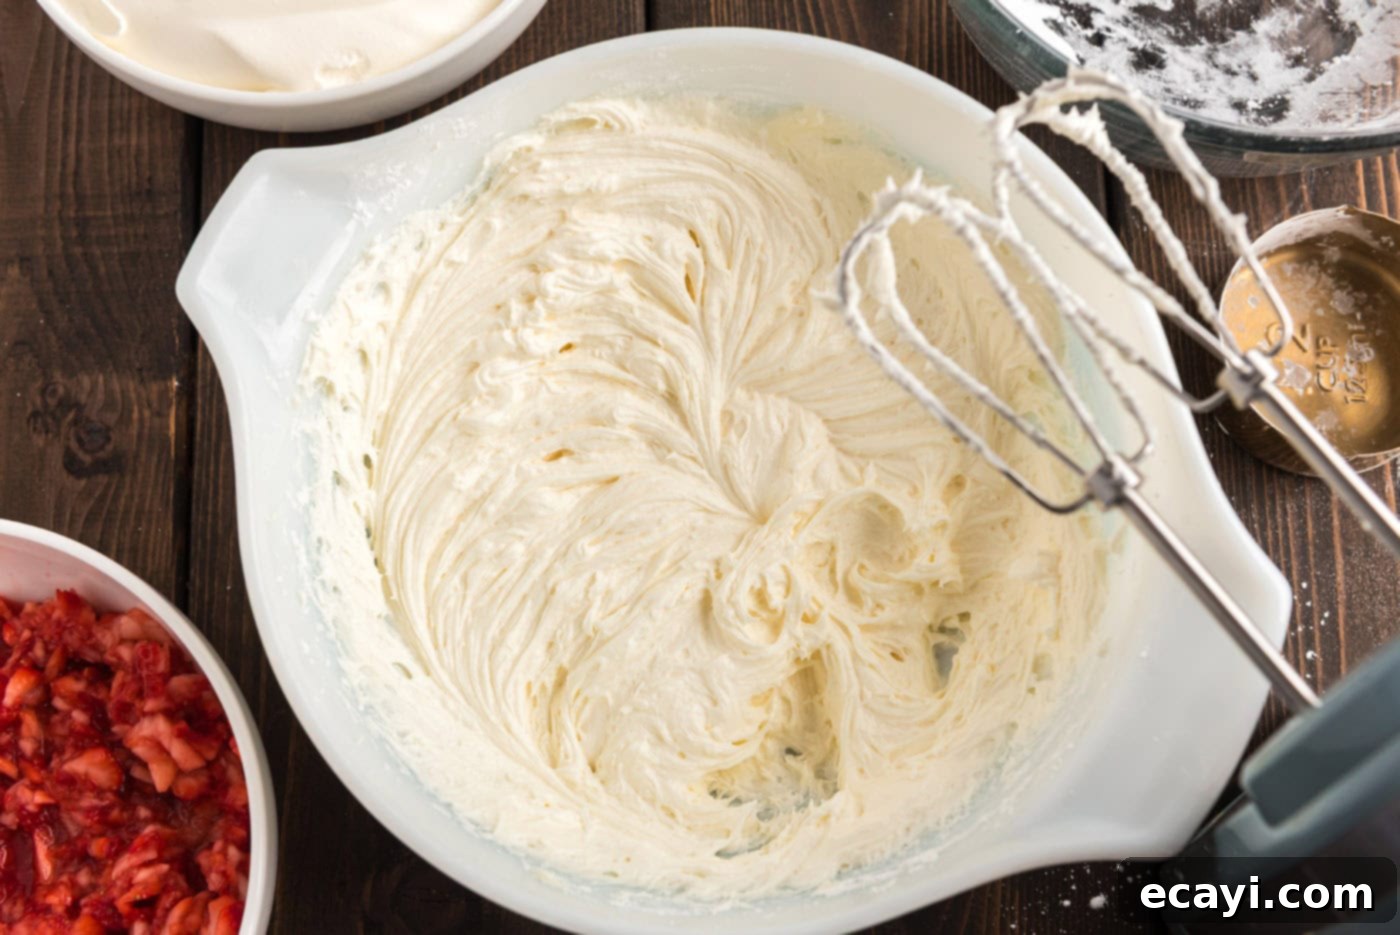
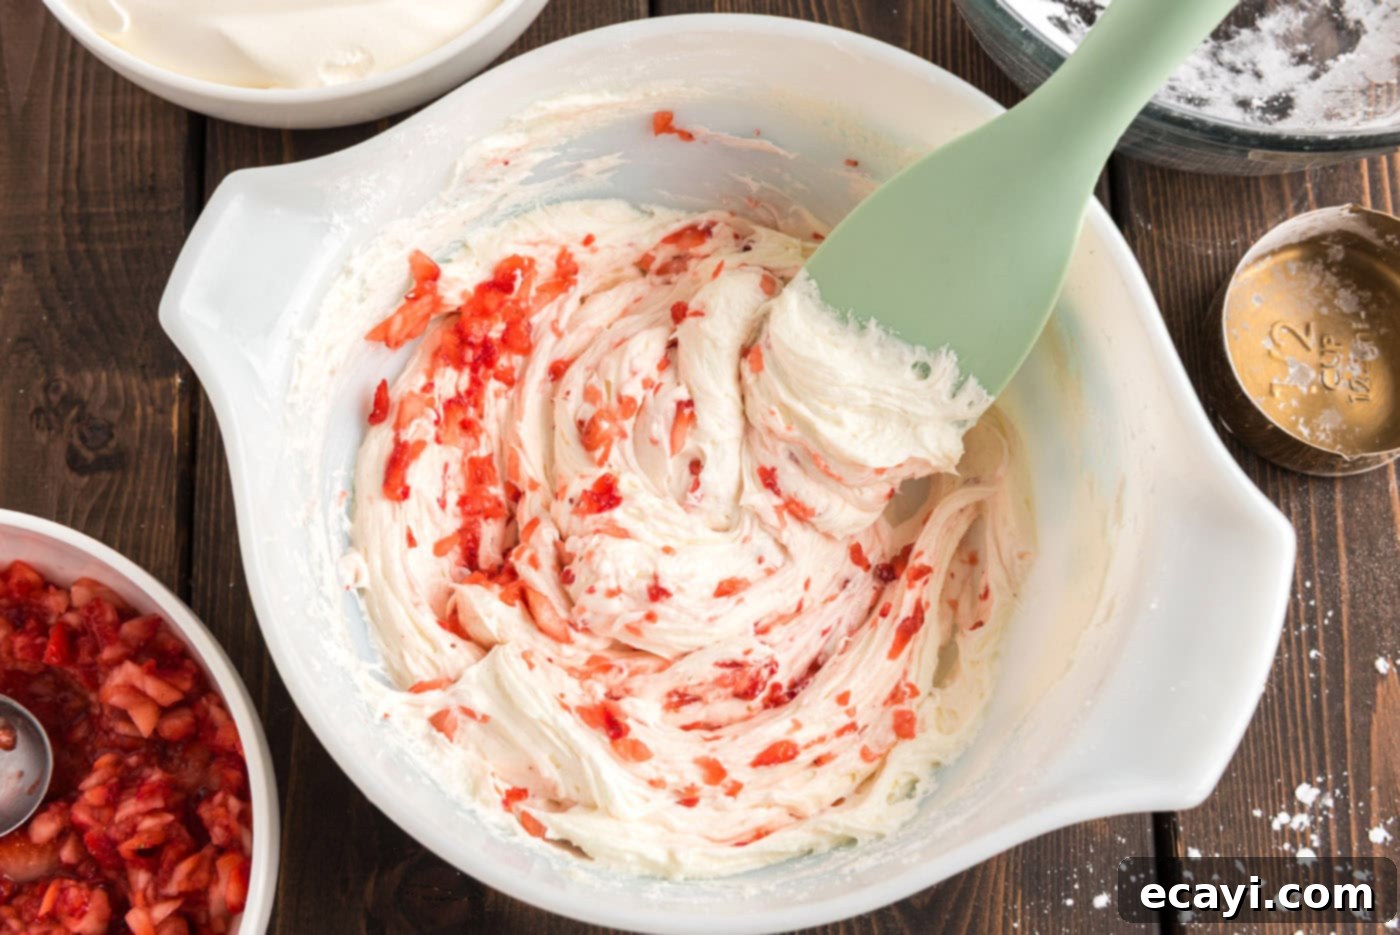
- Whip Up the Cream Cheese Layer: In a large mixing bowl, beat the softened cream cheese and the softened butter together using an electric mixer. Continue beating until the mixture is beautifully creamy and smooth, with no lumps. Reduce the mixer speed to low and gradually add the sifted powdered sugar, one cup at a time, allowing it to fully incorporate after each addition. Once all the sugar is in, increase the mixer speed to medium-high and beat vigorously for about a minute or until the mixture is light, fluffy, and well combined. This ensures an airy and delicious cream cheese layer.

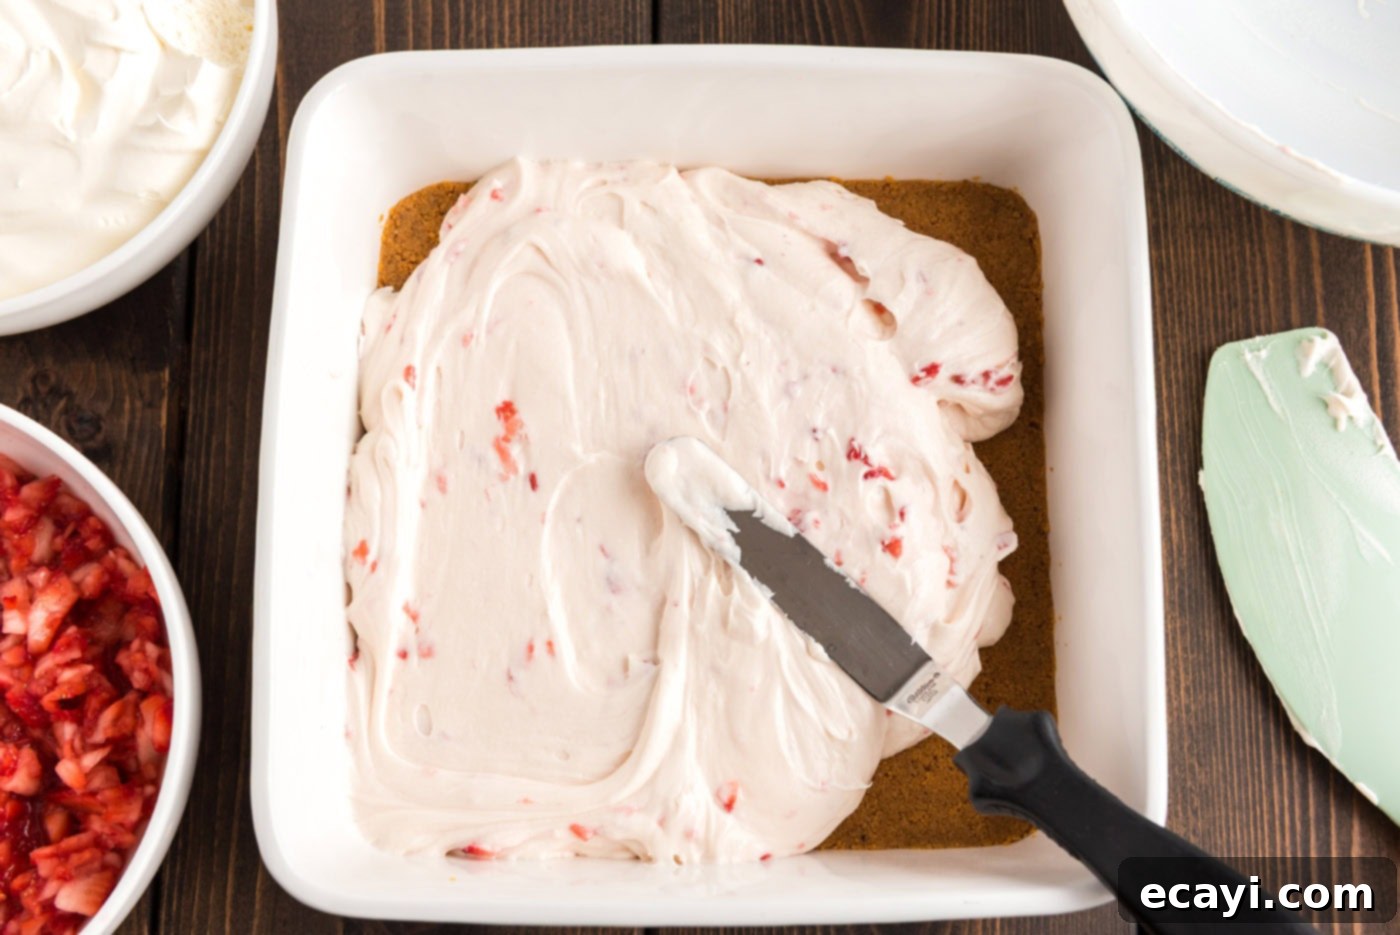
- Assemble the First Layer: Carefully add a generous tablespoon of the pulsed strawberry chunks into the cream cheese mixture. Gently fold it in using a rubber spatula, just enough to distribute some strawberry flavor throughout the cream cheese without overmixing. Evenly spread this creamy, strawberry-infused cream cheese mixture over your cooled (or chilled no-bake) graham cracker crust.


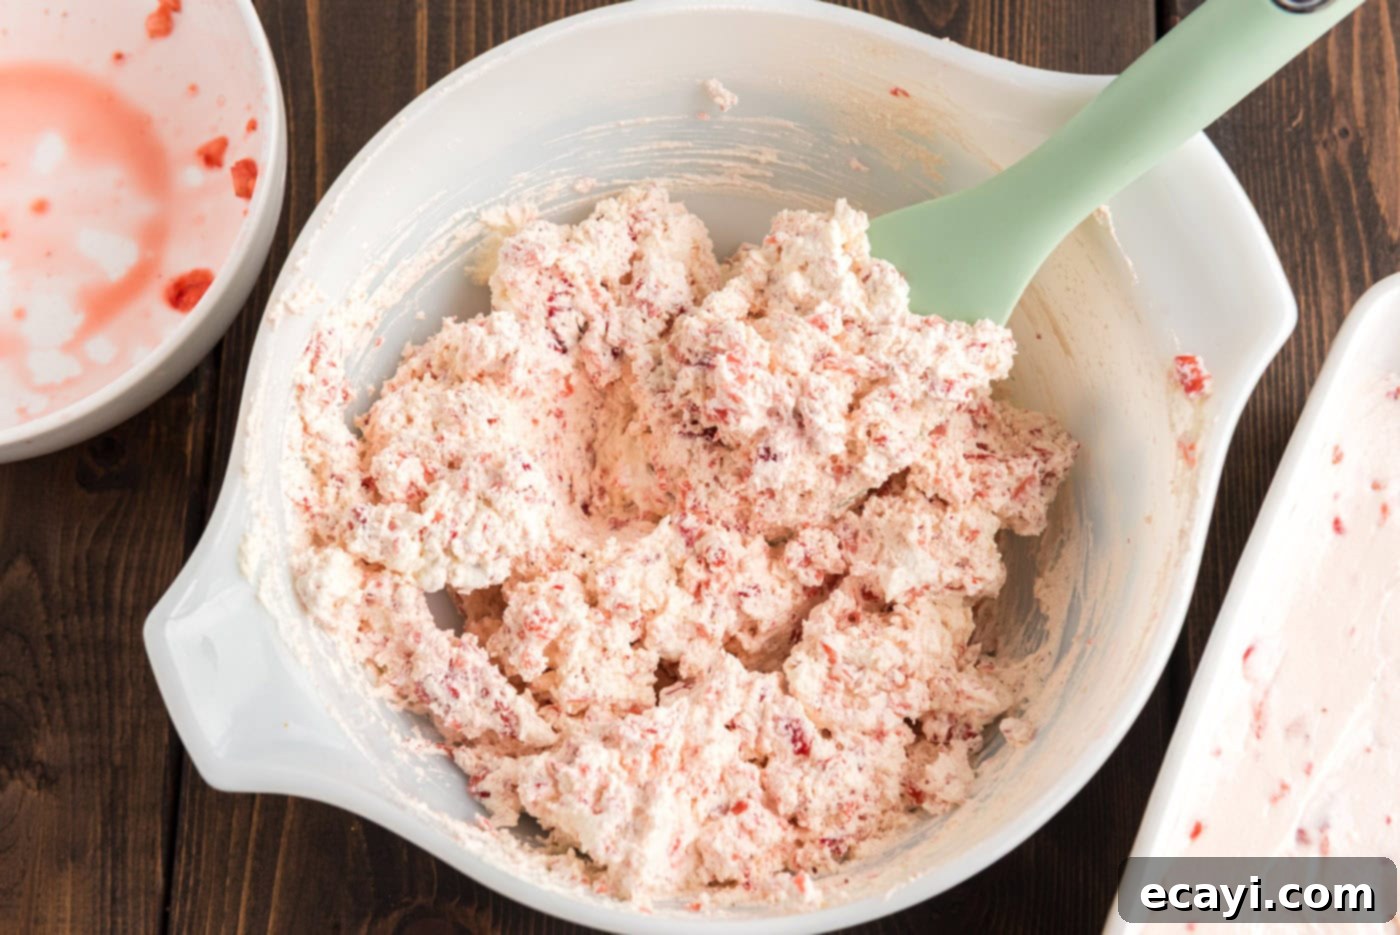
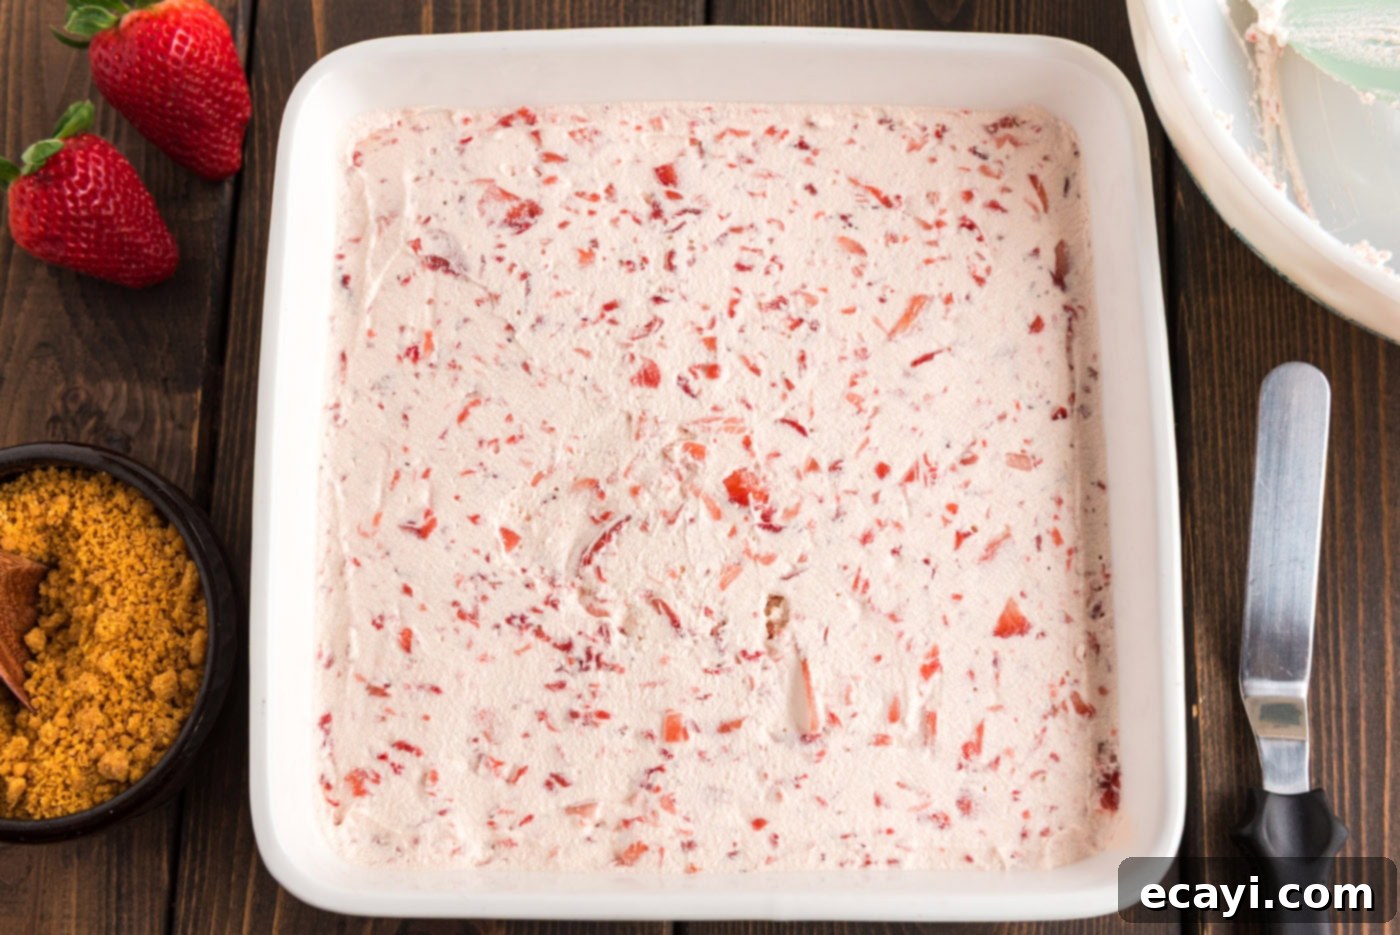
- Add the Light and Fruity Topping: In a separate bowl, gently fold the remaining pulsed strawberry chunks into the Cool Whip. This creates a beautifully light and fruity top layer. Carefully spread this strawberry Cool Whip mixture over the cream cheese layer, ensuring it forms an even and smooth topping.


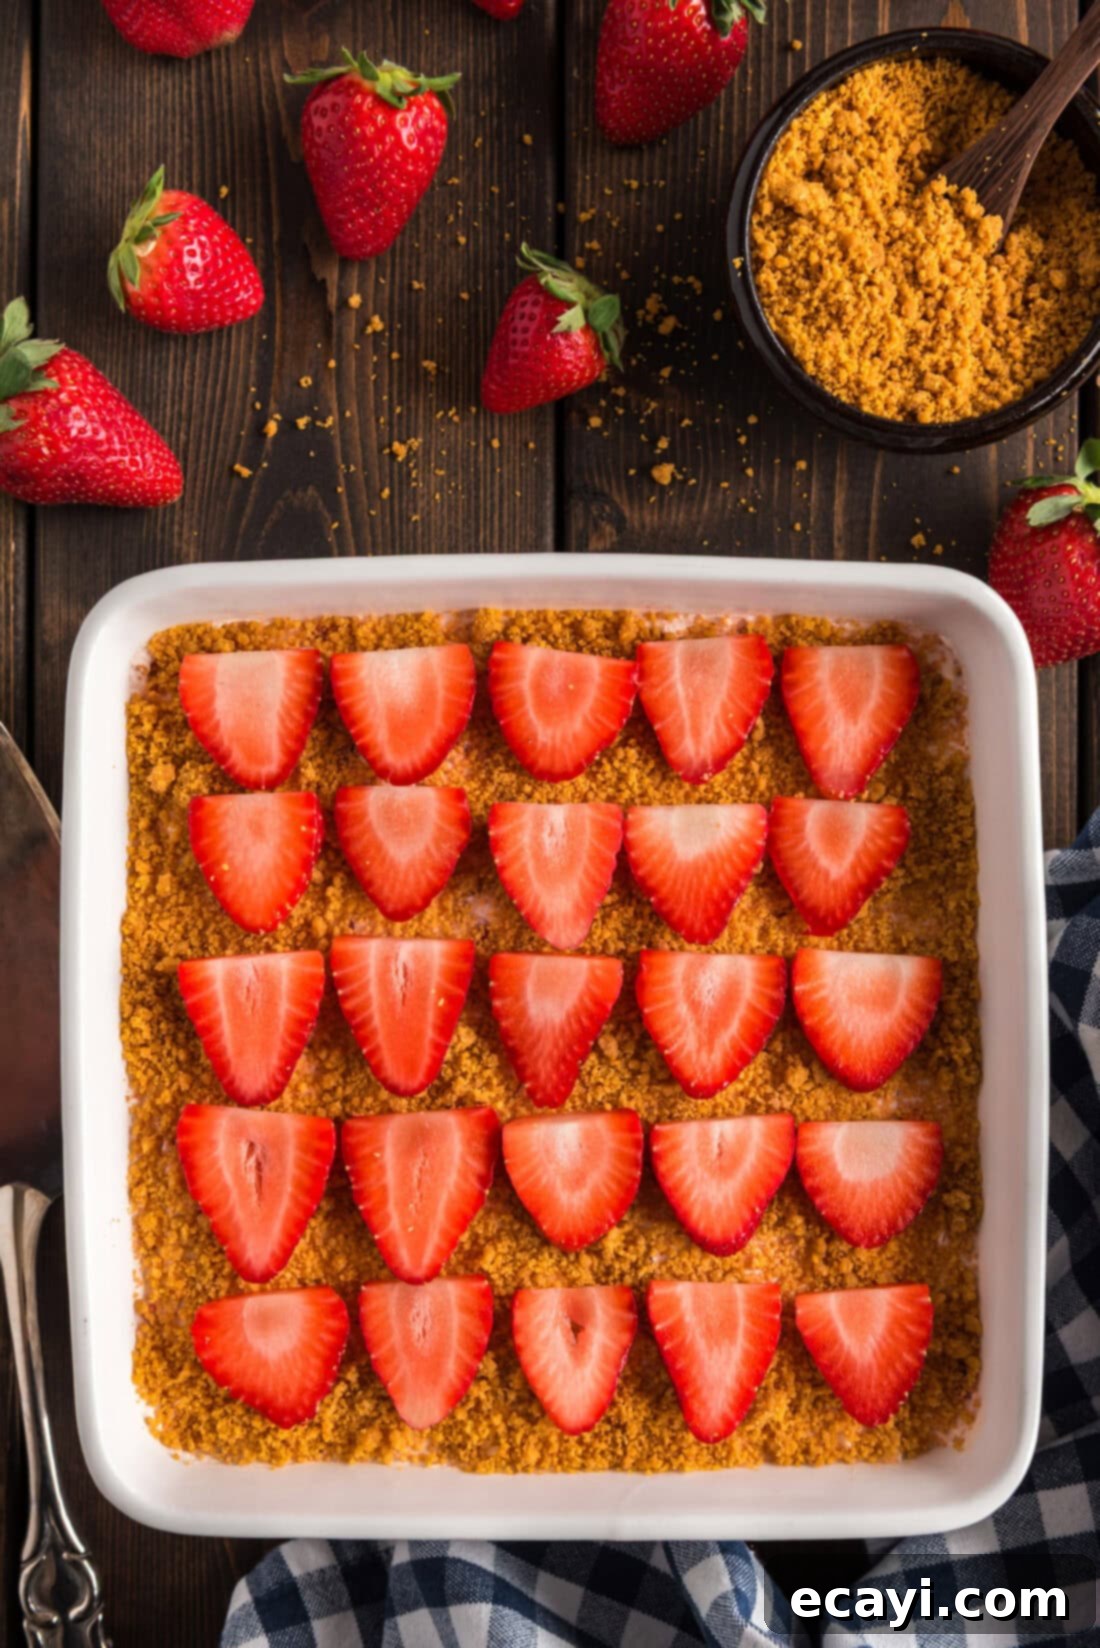
- Garnish and Chill: Sprinkle the reserved graham cracker crumb mixture generously over the top of the dessert (you might not use all of it, depending on your preference). For an extra touch of freshness and visual appeal, optionally arrange some thinly sliced fresh strawberries on top.

- The Essential Chill Time: This step is non-negotiable for the dessert to properly set and for the flavors to meld beautifully. Refrigerate the Strawberry Dream Dessert for a minimum of 4 hours. For optimal firmness, texture, and flavor development, chilling it overnight is highly recommended. This allows all the layers to become perfectly firm and makes slicing much easier.
Frequently Asked Questions & Expert Tips for Success
This recipe is designed for a 9×9 inch square baking pan. You have flexibility with the material – a metal, glass, or ceramic pan will all work wonderfully. However, since this beautiful dessert is typically served directly from the pan, a glass or ceramic pan with a lid makes for a much nicer presentation and easier storage. If you’re planning to feed a larger crowd, you can easily double this recipe to fit a standard 13×9 inch pan, making it perfect for parties and potlucks!
Absolutely, making this dessert in advance is not only possible but highly recommended! It’s actually suggested to prepare it at least four hours prior to serving to allow ample time for all the layers to set properly in the refrigerator. For the best possible texture and flavor, preparing it up to a day ahead of time and storing it, covered, in the refrigerator allows the flavors to deepen and the dessert to firm up even further. When it comes to garnishing with fresh sliced strawberries, it’s best to hold off until about an hour or so before serving. Even when kept covered, sliced strawberries can begin to dry out or lose their vibrant appeal if left in the refrigerator overnight, diminishing their fresh look.
To maintain its freshness and delightful texture, store your Strawberry Dream Dessert covered with plastic wrap or in an airtight container. Keep it refrigerated. When properly stored, this dessert will remain delicious for up to 4 days, making it ideal for enjoying over several days or for meal prepping a sweet treat.
Yes, this strawberry dream dessert freezes exceptionally well! To freeze, first place the uncovered dessert (still in its pan) into the freezer for a couple of hours until it’s completely hardened. This “flash freezing” step prevents the plastic wrap from sticking. Once firm, remove from the freezer, place a layer of plastic wrap directly onto the surface of the dessert, pressing it gently to remove any air. Then, wrap the entire pan completely with aluminum foil. This dual-layer protection helps prevent freezer burn. It can be stored in the freezer for up to 3 months. To enjoy, simply thaw the dessert overnight in the refrigerator.
For individual portions, flash-freeze slices on a baking sheet, ensuring they don’t touch each other. Once frozen solid, wrap each piece individually in plastic wrap. You can then place these wrapped pieces into a freezer-safe bag for extra protection. When you’re ready to indulge, remove a piece from the freezer and unwrap it immediately. Allow it to thaw in the refrigerator or at room temperature until ready to eat. It’s crucial to unwrap it *before* it thaws to prevent the plastic wrap from adhering to the dessert.
While strawberry is the star here, the “dream dessert” concept is wonderfully versatile! You can certainly experiment with other berries. Raspberries, blueberries, or a mixed berry blend would be fantastic. Just ensure that if you use frozen berries, you follow the advice of thawing and thoroughly patting them dry to avoid excess moisture. The key is to achieve that chunky, juicy texture without watering down the creamy layers.
Achieving clean slices for a beautiful presentation is easier than you think! First, make sure your dessert is thoroughly chilled, preferably overnight. A cold dessert is a firm dessert, which cuts much cleaner. Before each cut, dip your knife in hot water and wipe it clean with a towel. The warm, clean blade will glide through the layers without sticking, giving you those picture-perfect slices. Repeat this process for every cut for the best results.
Delightful Serving Suggestions for Your Strawberry Dream Dessert
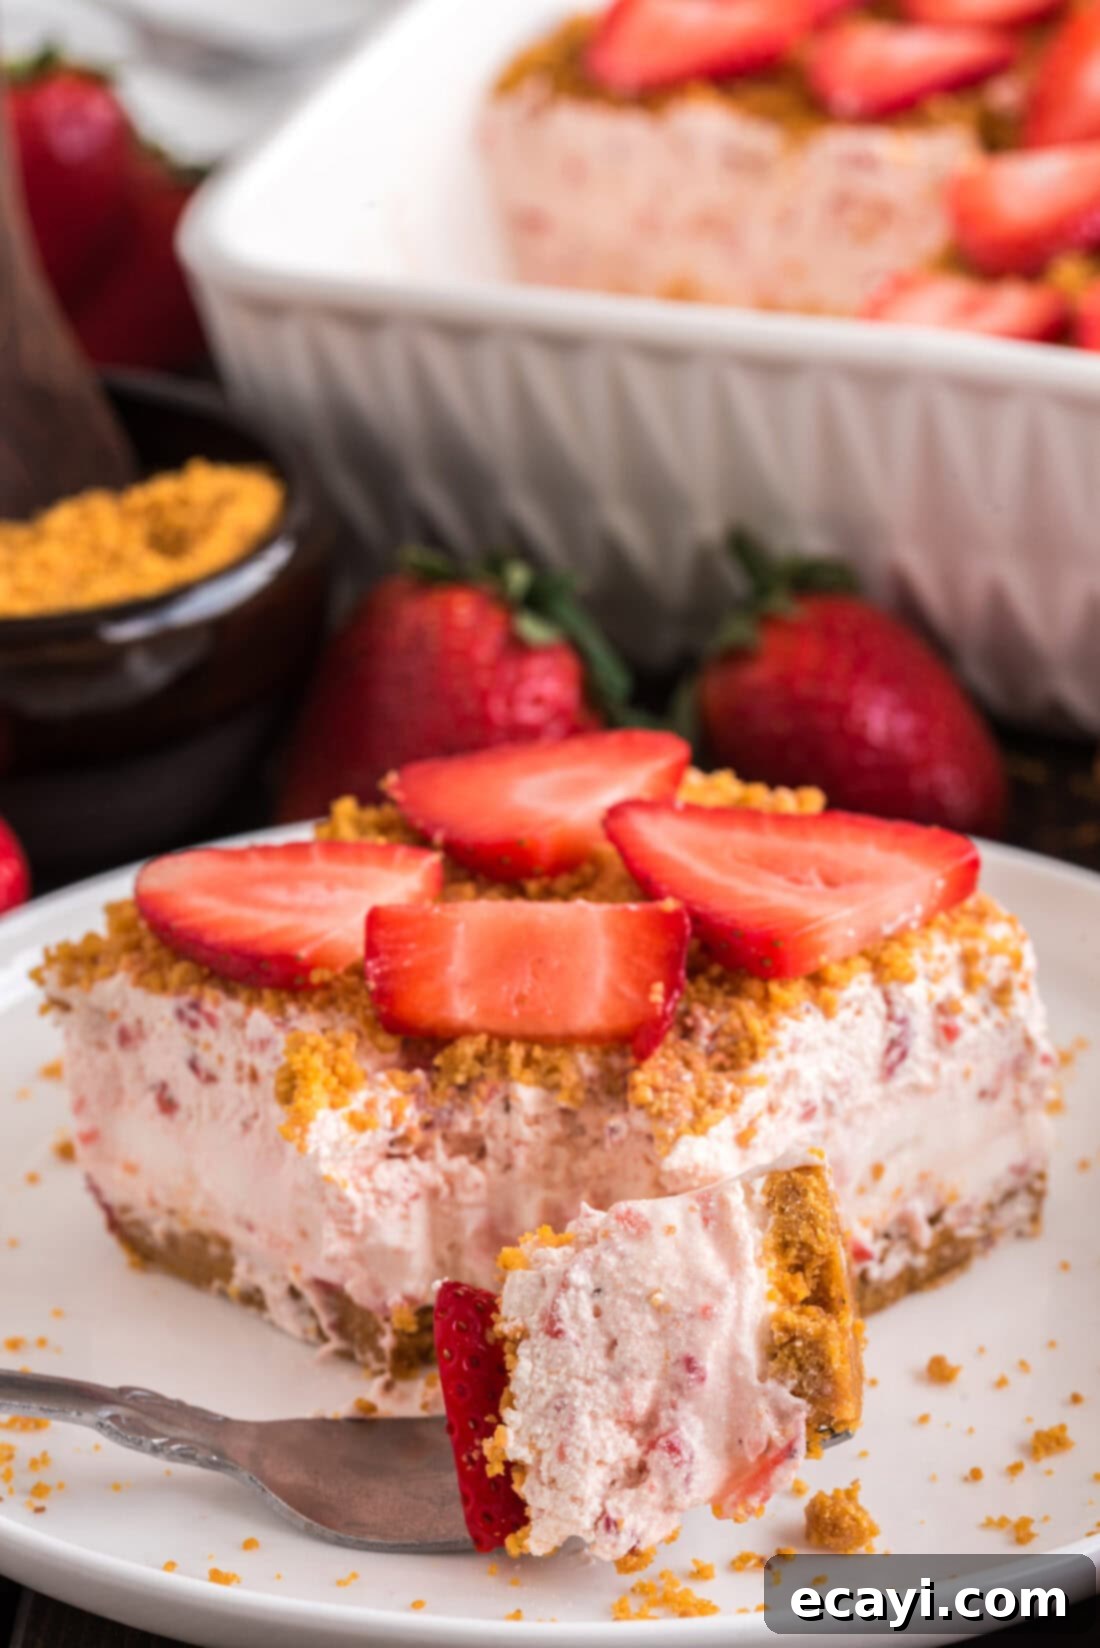
We believe in keeping things beautifully simple when it comes to garnishing our Strawberry Dream Dessert. A sprinkle of extra crushed graham crackers adds a lovely textural contrast and highlights the crust, while a few artfully arranged fresh sliced strawberries provide a burst of color and reinforce the main flavor. However, feel free to get creative with your presentation! You could opt for an additional layer of plain Cool Whip on top, swirled with a dollop of strawberry puree, or even a generous scattering of finely chopped fresh strawberries for a more intense fruit experience. This dessert is an absolute showstopper for potlucks, summer BBQs, picnics, or any festive occasion. Remember to always serve it well-chilled to maximize its refreshing qualities. Enjoy every single creamy, fruity bite!
Explore More Irresistible Strawberry Recipes
If you’re as big a fan of fresh strawberries as we are, you’ll love these other fantastic recipes that highlight this versatile fruit:
- Strawberry Lasagna
- Strawberry Icebox Cake
- Strawberry Jello Pretzel Salad
- No Bake Strawberry Cheesecake Bars
I’m passionate about baking and cooking, and I love sharing my culinary adventures and tested recipes with all of you! To make sure you never miss out on a delicious new creation, I offer a convenient newsletter that delivers a fresh recipe directly to your inbox every time one posts. Simply subscribe today and start receiving your free daily recipes – it’s the easiest way to keep your kitchen inspired!
Strawberry Dream Dessert
IMPORTANT – There are often Frequently Asked Questions within the blog post that you may find helpful. Simply scroll back up to read them!
Print It
Pin It
Rate It
Save ItSaved!
Ingredients
CRUST
- ½ cup unsalted butter for crust. 115g
- 2 ½ cups graham cracker crumbs 2 sleeves. 362g
FILLING
- 2 cups fresh strawberries hulled and halved. 330g
- 4 ounces cream cheese softened. 115g
- ½ cup unsalted butter softened (for filling). 115g
- 2 cups powdered sugar sifted. 300g
- 8 ounces Cool Whip 1 container
Optional Garnish
- sliced strawberries
- graham cracker crumbs
Things You’ll Need
-
Square baking pan 9×9. metal, glass, or ceramic
-
Food processor or blender
-
Electric mixer
-
Rubber spatula
Before You Begin
- NO BAKE CRUST OPTION – For a quick and easy alternative, simply follow the instructions for making the graham cracker crust. Instead of baking it, firmly press the mixture into your chosen pan and place it in the refrigerator for about 20 minutes. The butter will solidify as it chills, holding the crust together. While a no-bake crust might not be as firm as a baked one, especially after sitting out for a while, it tastes just as delicious and saves you from turning on the oven!
- This recipe is perfected for a square baking pan (9×9 inches). Whether you use a metal or glass pan, consider that this dessert is often served directly from the dish. A glass pan with a lid is an excellent choice for both presentation and convenient storage. For larger gatherings, remember you can easily double the recipe to fit a 13×9 inch pan.
- To crush your graham crackers, you have options: a food processor or a blender can do the job quickly. However, a simpler method that works just as well is to place two sleeves of graham crackers into a gallon zipper plastic bag and crush them thoroughly with a rolling pin. This is a great way to release some stress too!
- Strawberry Quality Matters: Always opt for fresh, plump strawberries for the best results. Frozen strawberries tend to release too much liquid once thawed, which can make your dessert watery and impact its consistency. If frozen is your only option, ensure they are fully thawed and meticulously patted dry to remove all excess moisture before using.
Instructions
-
Preheat oven to 300 F (for baked crust option).
MAKE THE CRUST
-
Melt butter in the microwave and allow to cool slightly. In a bowl, combine the graham cracker crumbs and melted butter, tossing until fully incorporated. Press 2 cups of the crumb mixture firmly into a 9×9 square pan. Bake for 8-10 minutes (or chill for 20 mins for no-bake). Place on a wire rack to cool completely. Reserve remaining crumbs for topping.1/2 cup unsalted butter, 2 1/2 cups graham cracker crumbs
MAKE THE FILLING
-
Place hulled and halved fresh strawberries in a blender or food processor and pulse a few times until broken into chunks. Do not over-process into a puree.2 cups fresh strawberries
-
In a large bowl, beat the softened cream cheese and softened butter together until smooth and creamy using an electric mixer. Reduce speed to low and gradually add the sifted powdered sugar, one cup at a time, until fully incorporated. Increase speed and beat well for about a minute until light and fluffy.4 ounces cream cheese, 1/2 cup unsalted butter, 2 cups powdered sugar
-
Add a heaping tablespoon of the pulsed strawberry chunks into the cream cheese mixture and gently stir with a rubber spatula. Evenly spread this mixture over the cooled graham cracker crust.
-
Fold the remaining strawberry chunks into the Cool Whip. Carefully spread this strawberry Cool Whip mixture on top of the cream cheese layer. Sprinkle the reserved graham cracker crumb mixture on top (use as much or as little as you like). Optionally, garnish with fresh sliced strawberries for extra appeal.8 ounces Cool Whip
-
Refrigerate the dessert for a minimum of 4 hours to allow all layers to set completely. For optimal firmness and flavor development, chilling overnight is highly recommended.
Expert Tips & FAQs
- FREEZING FOR LONGER STORAGE – To properly freeze this dessert, I always recommend a “flash freeze” first, then wrap. Place the dessert (uncovered, still in its pan) in the freezer for a couple of hours until it’s completely firm. This prevents the plastic wrap from sticking to the creamy layers. Once hardened, remove it from the freezer and carefully place a layer of plastic wrap directly onto the dessert’s surface, pressing it down to eliminate air pockets. Finally, wrap the entire pan thoroughly with aluminum foil for maximum protection against freezer burn. This method allows you to store the dessert for up to 3 months. When you’re ready to enjoy, simply thaw it overnight in the refrigerator.
- If you prefer to wrap individual pieces, follow the same flash-freezing technique. Arrange individual slices on a baking sheet, ensuring they are slightly separated so they don’t freeze together. Once frozen solid, remove from the freezer and wrap each piece individually with plastic wrap. For added convenience and protection, you can place these wrapped, frozen pieces into a larger freezer bag.
- Thawing Frozen Dessert: When consuming frozen portions, always remove the dessert from the freezer and unwrap it immediately. This prevents the plastic wrap from sticking to the dessert as it thaws. Allow the piece to thaw in the refrigerator for a few hours or at room temperature for a shorter period until it reaches your desired consistency.
Nutrition
The recipes on this blog are tested with a conventional gas oven and gas stovetop. It’s important to note that some ovens, especially as they age, can cook and bake inconsistently. Using an inexpensive oven thermometer can assure you that your oven is truly heating to the proper temperature. If you use a toaster oven or countertop oven, please keep in mind that they may not distribute heat the same as a conventional full sized oven and you may need to adjust your cooking/baking times. In the case of recipes made with a pressure cooker, air fryer, slow cooker, or other appliance, a link to the appliances we use is listed within each respective recipe. For baking recipes where measurements are given by weight, please note that results may not be the same if cups are used instead, and we can’t guarantee success with that method.
This post was originally published on this blog on Jun 22, 2017, and has since been extensively updated with fresh content, new photos, and comprehensive expert tips to enhance your cooking experience.
