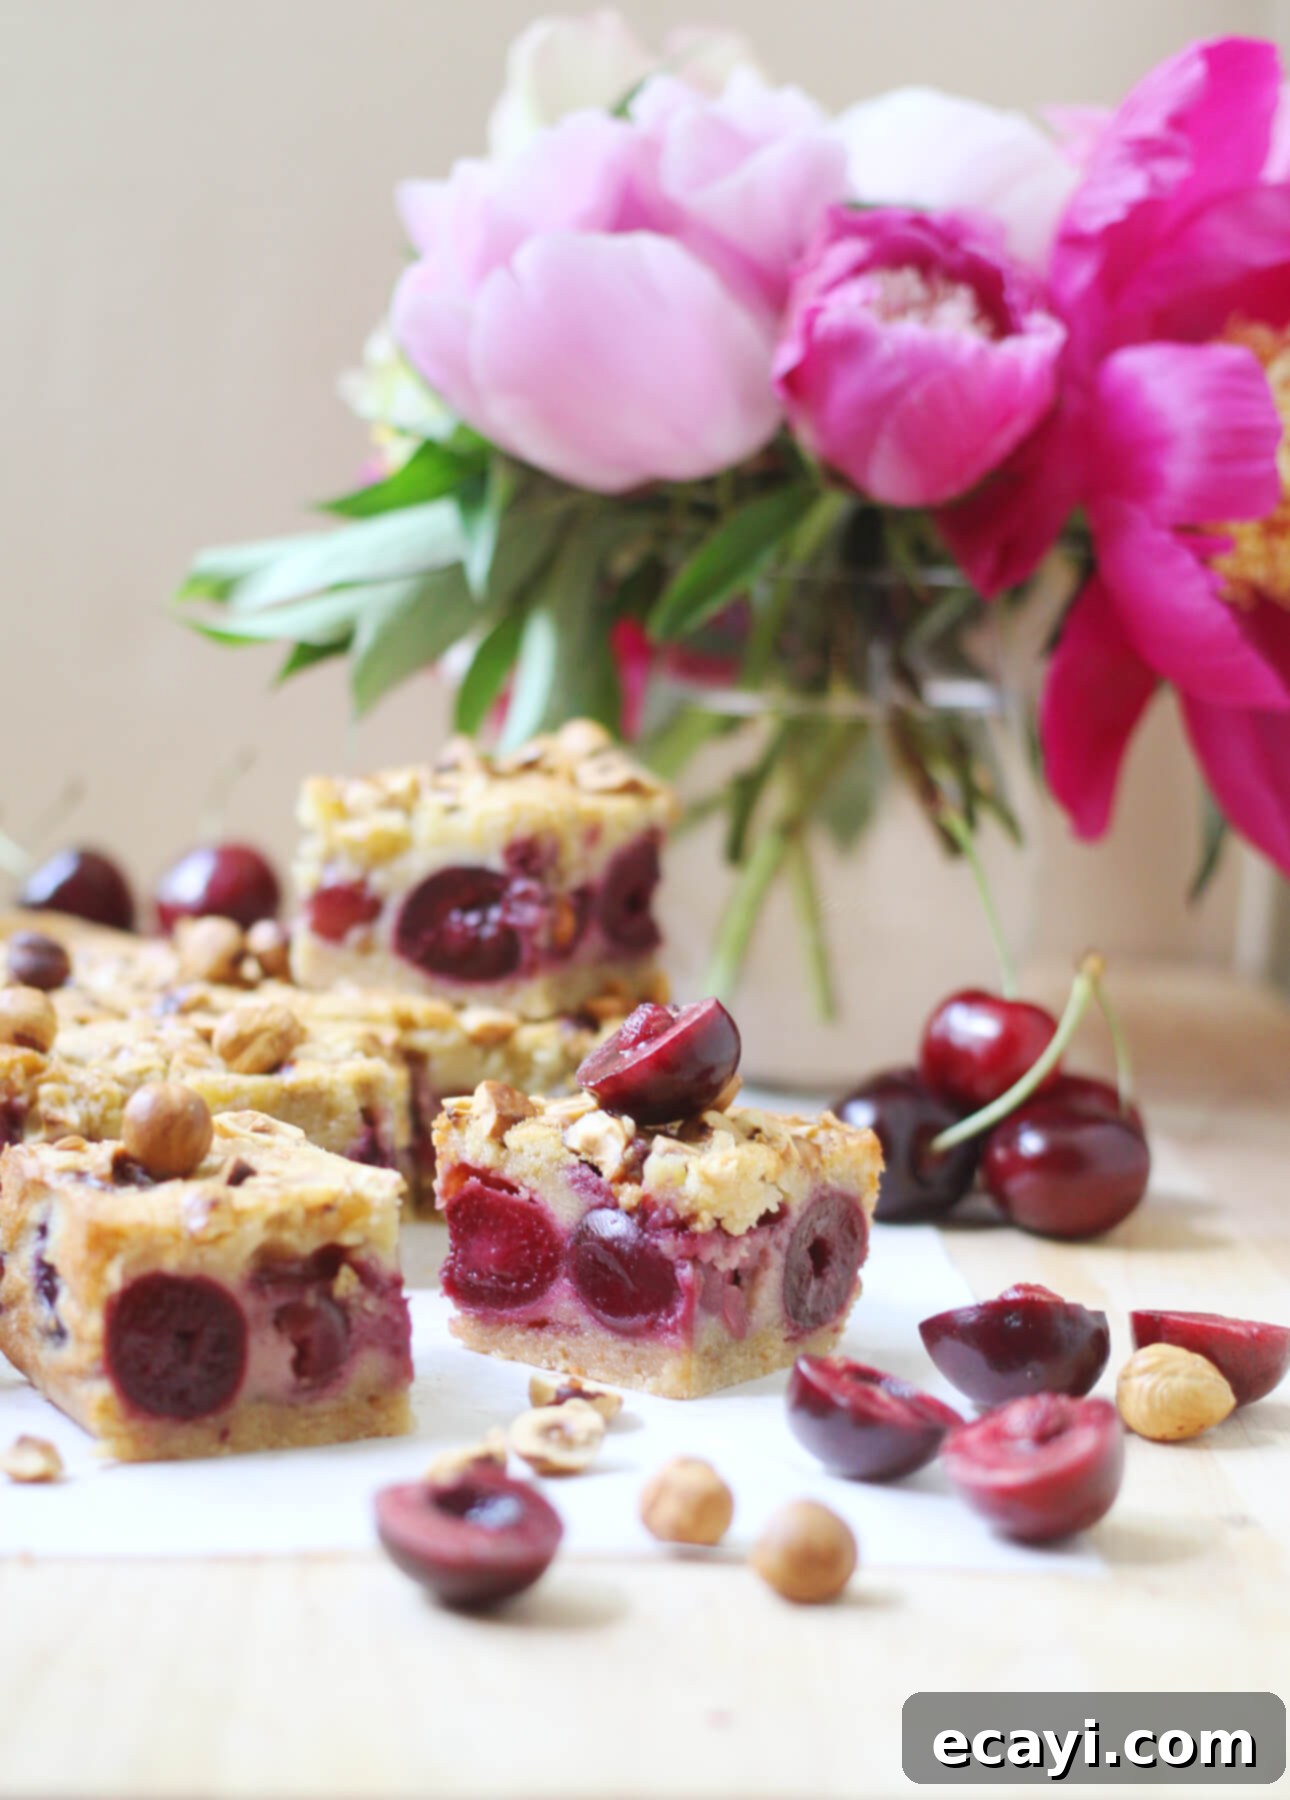
Delectable Brown Butter, Hazelnut & Cherry Clafoutis Bars: Your Ultimate Portable Summer Dessert
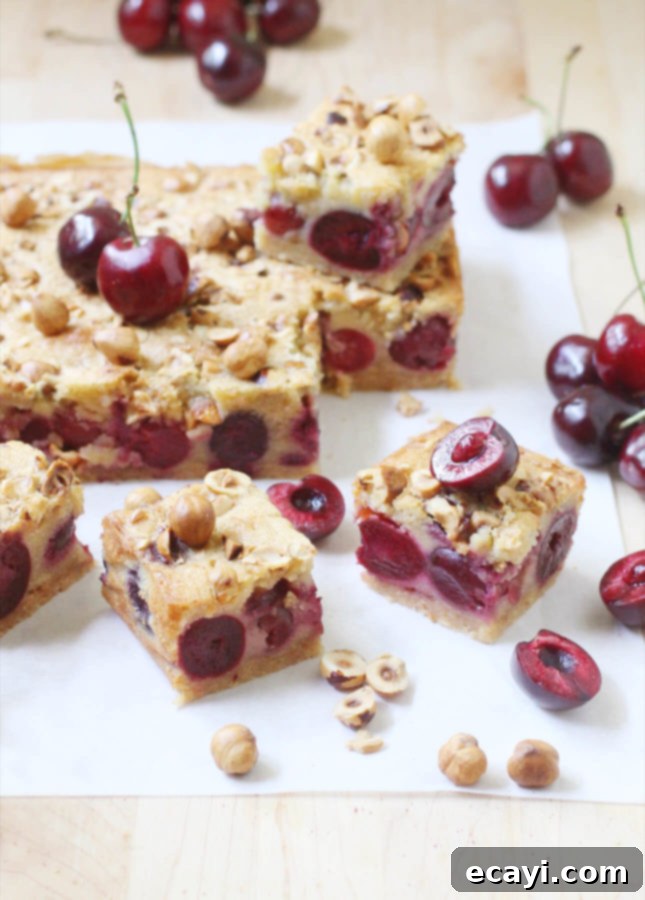
These juicy, nutty, and rich Brown Butter, Hazelnut, and Cherry Clafoutis Bars are a celebration of all good things about summer, conveniently packaged in a portable form.
This post contains affiliate links. Full disclosure is at the bottom of the article.
Summer is synonymous with an abundance of fresh, vibrant produce, and for me, nothing quite captures the essence of the season like ripe, sweet cherries. It’s officially cherry season, and I’ve found myself completely enchanted by these ruby-red gems! This newfound obsession might largely be attributed to my son, who has been enthusiastically devouring bags upon bags of them over the past few weeks. While I’ve always appreciated cherries, our household has now fallen in love with them with a capital L, making them a staple in our summer snacking and baking.
The moment a fresh haul of cherries enters our home, it seems to vanish almost instantly. To ensure I have enough for my culinary experiments, I’ve resorted to strategically squirreling away a few cups as soon as I return from the market. I’ve been secretly exploring various baking creations with them, and for good reason: what I truly adore about cherries is their remarkable ability to hold their shape and vibrant color through cooking and baking. Their deep burgundy hue effortlessly transforms any treat into a visually spectacular delight, promising a burst of flavor in every bite.
For years, one of my go-to cherry desserts has been the classic French clafoutis. This elegant dessert, often described as cherries baked in a delicate custard, holds a special place in my heart not just for its exquisite taste but also for its surprising simplicity. Despite its sophisticated French origins, clafoutis is remarkably easy to prepare, making it accessible even for novice bakers. The traditional presentation, typically served warm from a round dish, is undeniably charming. However, this year, I felt a strong urge to innovate. My goal was to create more portable desserts—think cookies, brownies, and bars—perfect for packing up for a spontaneous picnic or bringing along to a friend’s gathering. This led me to a burning question: could clafoutis, with its custardy texture, ever be made truly portable?
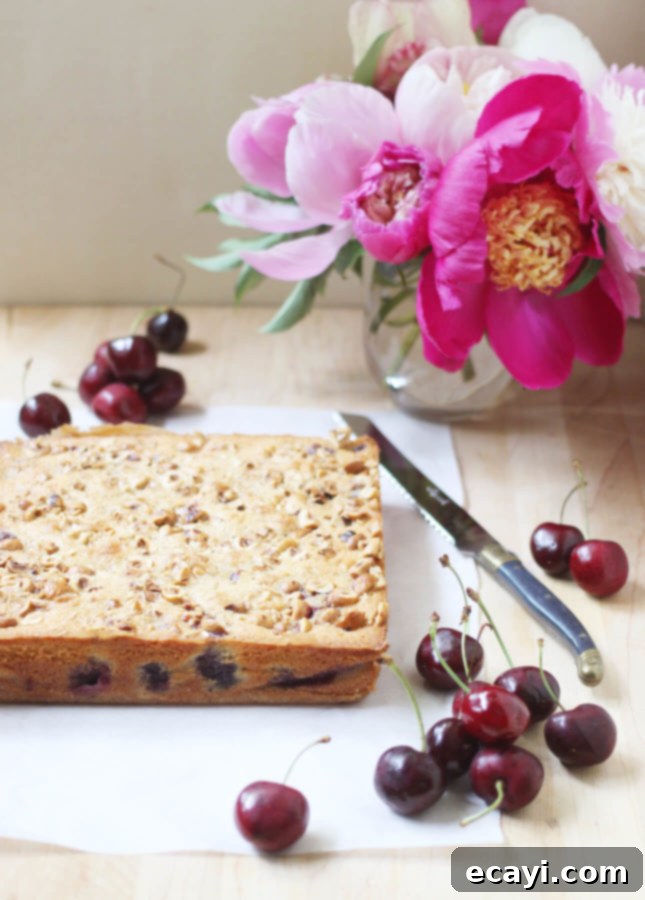
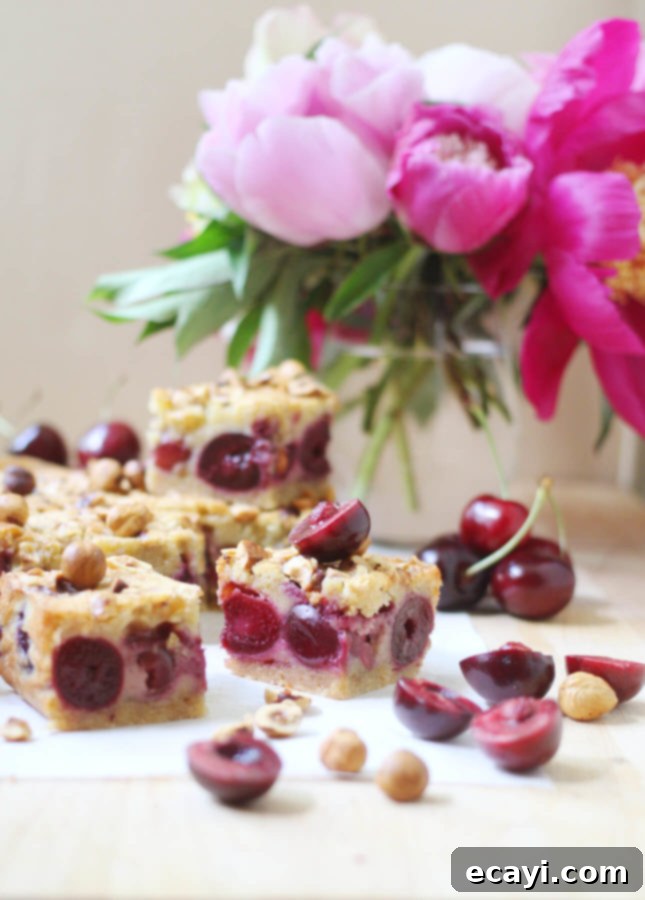
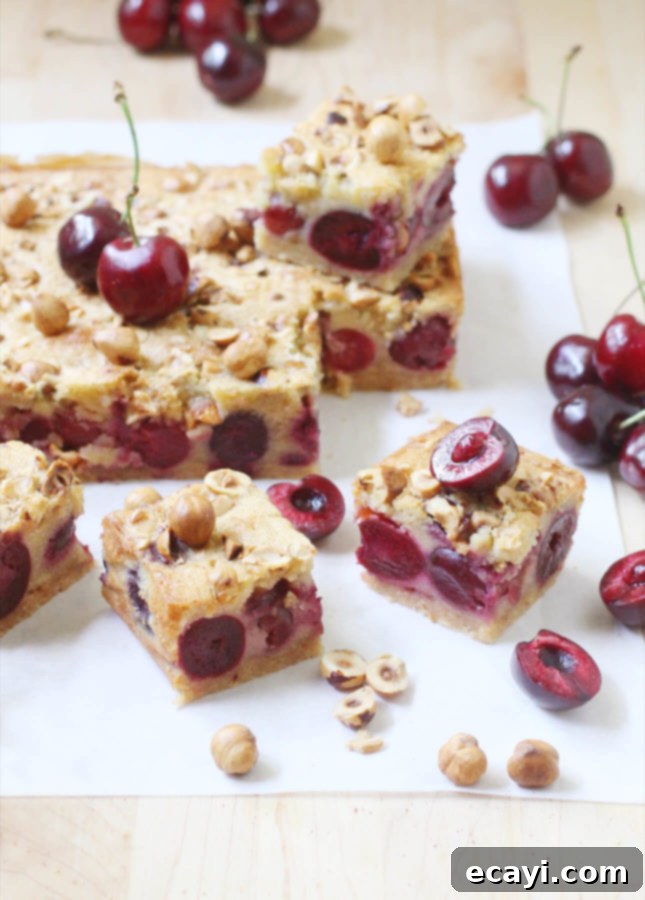
The answer, I’m thrilled to report, is a resounding yes! I successfully transformed the beloved clafoutis into a convenient bar format. And not just any bar, but one enriched with the unparalleled depth of brown butter. The combination of cherries and hazelnuts has always struck me as a harmonious pairing, a match truly made in heaven, and these clafoutis bars undeniably prove it. The delightful buttery crust is generously infused with ground hazelnuts, providing a textural contrast and an earthy base. The inspiration for incorporating brown butter into the filling was a playful twist on its French name: beurre noisette, which literally translates to “hazelnut butter.” This name perfectly describes the rich, nutty aroma that develops when butter is gently melted and simmered until its milk solids caramelize to a beautiful golden-brown. This transformation elevates ordinary butter into a flavor powerhouse, echoing the very essence of hazelnuts.
Initially, I considered using brown butter solely in the crust, but I yearned for a more pronounced flavor impact that would truly shine in the finished bar. To ensure the filling achieved the desired structure and portability—a hallmark of any good bar—I adapted the traditional clafoutis custard ratio. This involved reducing the cream content and increasing the flour, a subtle but crucial adjustment. The real game-changer, however, was the addition of that exquisite brown butter directly into the filling. The resulting texture is wonderfully unique, reminiscent of a dense, chewy blondie, but with the added joy of being generously studded throughout with plump, juicy, and utterly delicious cherries. Are you starting to have beurre noisette dreams yet? I certainly am! This dessert is not just a treat for the taste buds; it’s an experience that celebrates the finest flavors of summer.
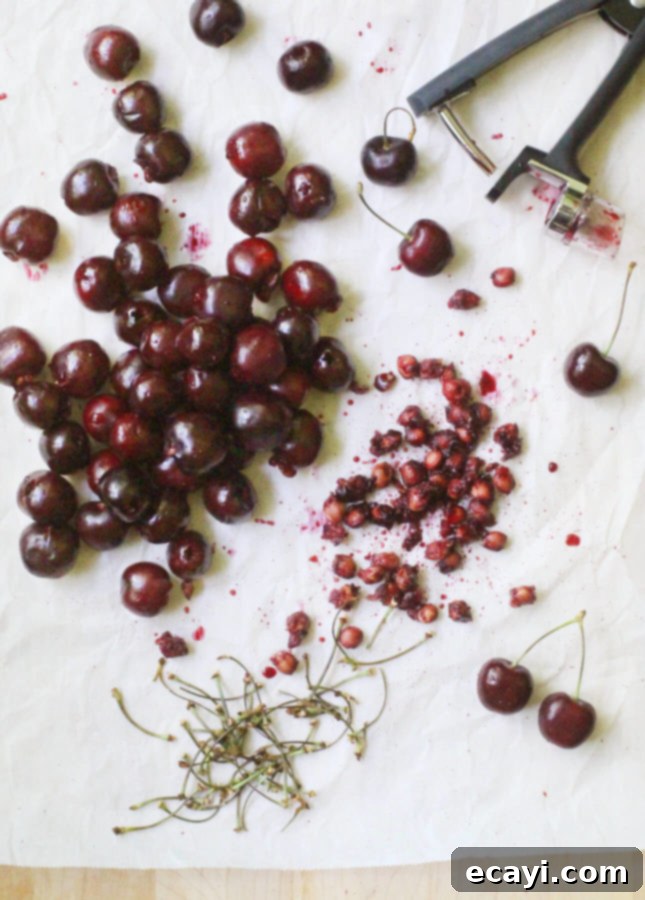
I understand what many of you might be thinking: pitting cherries can be a tedious chore. Believe me, I know the struggle. I’ve probably spent countless hours halving and pitting thousands of cherries by hand throughout my baking journey. While it’s not inherently difficult, it can be time-consuming, especially when you have a mountain of cherries to process. This year, however, I finally succumbed to the irresistible allure of a dedicated cherry pitter. My decision was fueled by a combination of a hungry toddler, eager for quick, pit-free snacks, and an impulsive desire for a shiny new kitchen gadget (because, why not? We all deserve a little kitchen luxury now and then!). The Oxo cherry pitter had been lingering on my Amazon wish list for years, and let me tell you, it has proven to be worth every single penny. Like all Oxo products, it’s exceptionally sturdy, incredibly comfortable to hold and use, impressively efficient, and wonderfully easy to clean. There’s no turning back for me now! I realize this might sound like an infomercial, but I assure you, it’s not. I simply feel compelled to share that if you consider yourself a serious cherry lover, this gadget will become an indispensable tool in your kitchen, far from gathering dust in the back of a drawer.
So, if you, like me, manage to safeguard a handful of precious cherries from the ravenous appetites of your family or friends, I wholeheartedly encourage you to give these Brown Butter, Hazelnut, and Cherry Clafoutis Bars a try. They are more than just a dessert; they are a delightful ode to summer, capturing its very essence in a convenient, utterly delicious bar form. Imagine the joy of biting into a rich, nutty, and buttery bar, bursting with sweet-tart cherries, all while enjoying the warm summer breeze. These bars are not only perfect for sharing but also a wonderful way to savor the seasonal bounty of cherries.
VIDEO: How to make brown butter
Unlock a world of flavor by learning how to make brown butter step by step. This technique is much easier than you might imagine and promises to elevate both your sweet and savory dishes!
Pin Recipe
Brown Butter, Hazelnut, and Cherry Clafoutis Bars
Ingredients
Crust
- 1/2 cup 125 ml ground hazelnuts (1.7 oz. / 50 g)
- 1/2 cup 125 ml all-purpose flour
- 1/4 cup 60 ml sugar
- Pinch of salt omit if using salted butter
- 1/4 cup 60 ml butter, melted
Filling
- 20 oz 560 g fresh cherries
- 1/2 cup 125 ml salted butter (or unsalted + 1/4 tsp/1 ml kosher salt)
- 1/2 cup 125 ml sugar
- 2 eggs
- 1/2 cup 125 ml all-purpose flour, sifted
- 1/4 cup 60 ml heavy cream
- 1 tsp 5 ml finely grated lemon zest (about 1/2 lemon)
- 1 tsp 5 ml pure vanilla extract
- 1/4 cup 60 ml crushed roasted, peeled hazelnuts (see note)
Instructions
-
For the crust: Preheat oven to 350°F (175°C). Grease an 8 x 8-inch baking pan with cooking spray, then line with parchment paper, letting two sides overhang. (This will make unmolding the bars easier later on.)
-
In a medium bowl, whisk the ground hazelnuts, flour, sugar, and salt together. Drizzle in the melted butter and mix until the ingredients are wet. Transfer into the prepared baking pan and press down all the way to the sides of the pan to form the crust. Bake until the crust is turning golden around the edges, about 20 minutes. Remove from the oven and set on a cooling rack while you prepare the crust. (Keep the oven on.)
-
For the filling: Use a cherry pitter to pit the cherries, or do it by hand, then set the pitted cherries aside. Melt the butter in a small stainless steel saucepan (see note) over medium heat. Simmer, swirling the pot from time to time. If the butter bubbles up preventing you from watching closely over the color changing (that’s the water evaporating), lift the pot off the heat for a few seconds until the bubbles recede, then put back on the heat. The butter is ready when the milk solids at the bottom of the pot turn a light brown color and the concoction gives off a delicious hazelnut aroma. When it does, remove the butter from the heat, pour in a small bowl, and let cool for 10 minutes. (Congratulations, you’ve just made brown butter!)
-
In a medium mixing bowl, whisk the eggs sugar and eggs together. Gradually whisk in the flour to make sure there are no lumps. Whisk in the heavy cream, lemon zest, vanilla extract, and brown butter.
-
Distribute the pitted cherries over the crust. Pour the clafoutis mixture over the cherries and use a spatula to spread it all over. Sprinkle with the crushed hazelnuts. Bake at 350°F (275°C) for 35 minutes, or until the clafoutis is puffed and set in the center and golden brown around the edges. Transfer the pan to a cooling rack and let cool completely.
-
Run a sharp knife along the two sides that are not covered by parchment paper. Pull on the parchment paper to lift the bars out of the pan. Use a very sharp knife to cut the bars into squares, making a gentle sawing motion to cut through the cherries without smashing them down. Store the bars in an airtight container at room temperature for up to a day, or in the fridge for up to 3 days.
Notes
- To make brown butter, it’s best to use a stainless steel saucepan because the change in color is easier to monitor over the pale metal. If using a non-stick pan, you can use a spoon to scoop up some butter throughout the cooking process (just make sure to dip the spoon all the way down to the bottom of the pan to catch some of the milk solids).
- How to toast and peel hazelnuts: Place the hazelnuts on a baking tray covered with parchment or aluminum paper, and bake at 350°F [170°C] for 10 to 15 minutes, giving the tray a good shake every five minutes. When the hazelnuts’ skin is shiny and crackled, remove from the oven and transfer to a clean dish towel. Close the towel up into a bundle and rub the hazelnuts against one another vigorously to remove the skin. Open the towel and pickup the peeled hazelnuts. Some bits of skin will remain but that’s ok! Keep the peeled hazelnuts in an airtight container in the fridge until ready to use.
Did you make this?
Tell me how you liked it! Leave a comment or take a picture and tag it with @foodnouveau on Instagram.
Disclosure Notice: This site is a participant in the Amazon Associates Program, an affiliate advertising program designed to provide a means for the site to earn fees by linking to Amazon and affiliated sites.
If you click on an affiliate link, I may earn advertising or referral fees if you make a purchase through such links, at no extra cost to you. This helps me creating new content for the blog–so thank you! Learn more about advertising on this site by reading my Disclosure Policy.
