Crispy Baked Buffalo Cauliflower Wings: The Ultimate Healthy & Vegetarian Party Appetizer
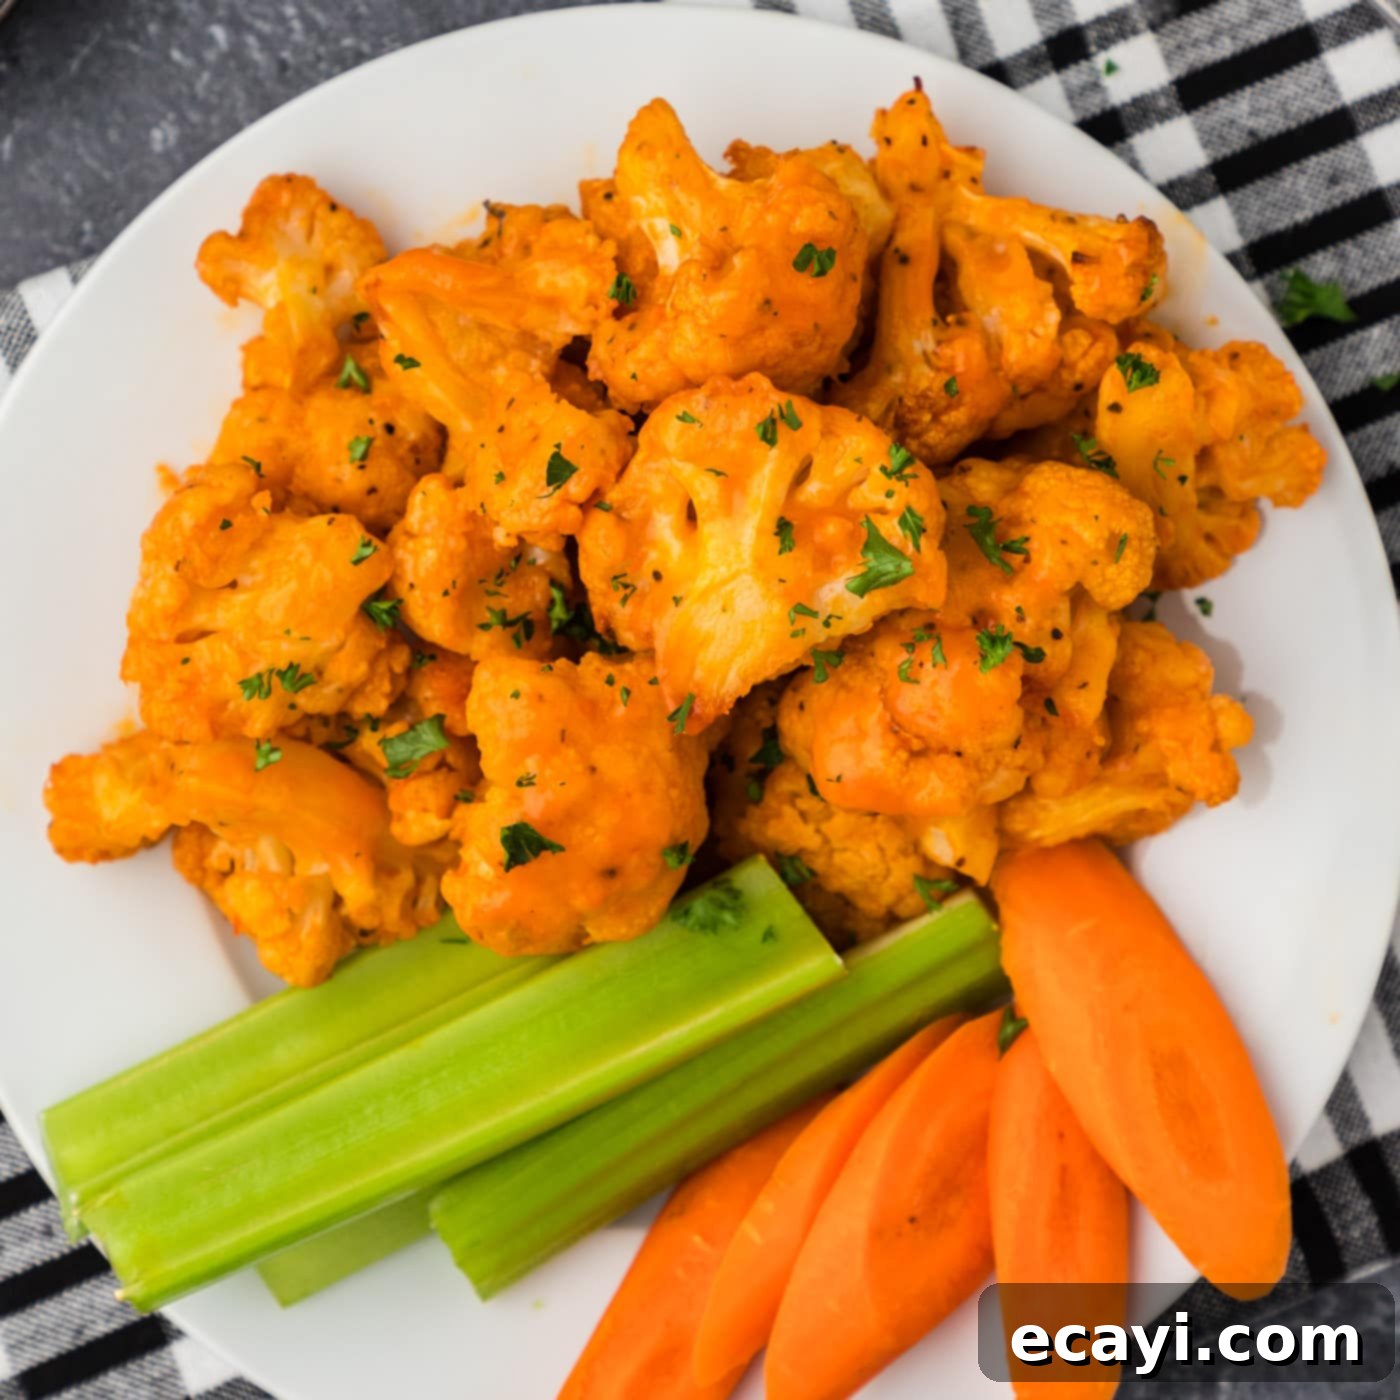
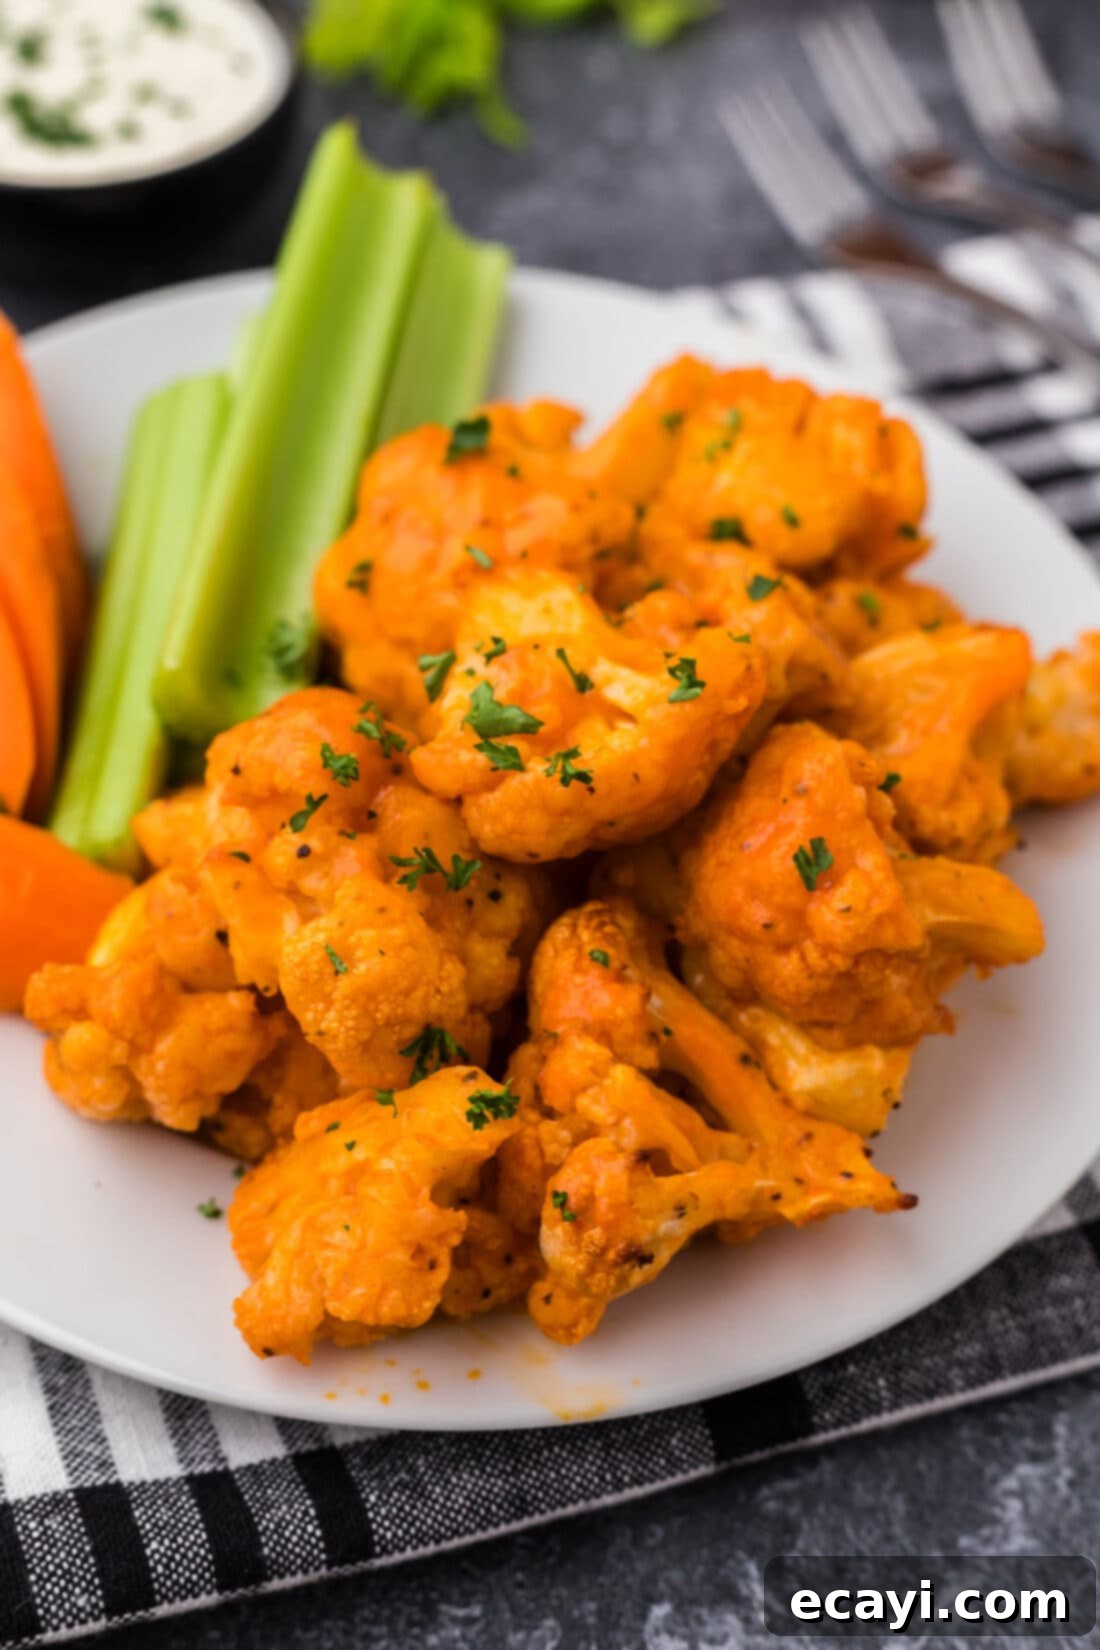
Get ready to delight your taste buds with these incredibly delicious and satisfying Roasted Buffalo Cauliflower Wings! Perfect as a crowd-pleasing appetizer, a flavorful side dish, or even a main course, these vegetarian “wings” offer all the spicy, tangy goodness of classic buffalo chicken wings without the meat. Each cauliflower floret is lightly breaded for an irresistibly crispy crunch on the outside, then baked to tender perfection, and finally coated in a rich, homemade buffalo sauce that packs a flavorful punch. Serve them with a cooling, creamy dip like ranch or blue cheese, alongside crisp celery and carrot sticks, for the ultimate game day snack or party food sensation.
Why This Buffalo Cauliflower Recipe Works So Well
This recipe for buffalo cauliflower isn’t just a delicious alternative to traditional chicken wings; it’s a culinary triumph in its own right. It successfully transforms humble cauliflower florets into crave-worthy, bite-sized morsels that are crispy, tender, and bursting with flavor. The magic lies in a few key steps that ensure a superior texture and taste. First, the florets are coated in a seasoned flour and water mixture, which creates a light, protective breading. This breading is crucial for developing those golden, crunchy edges when baked, mimicking the satisfying exterior of fried wings.
Baking, rather than frying, makes this version significantly healthier while still achieving fantastic results. The high oven temperature ensures the cauliflower cooks through to a tender interior, while the breading crisps up beautifully. The addition of cornstarch to the buffalo sauce also plays a vital role. It helps the sauce thicken to the perfect consistency, allowing it to cling wonderfully to each floret without making them soggy. This means every bite delivers that iconic spicy, buttery buffalo flavor. Whether you’re a seasoned vegetarian, looking for a lighter appetizer, or simply want to try something new and exciting, these buffalo cauliflower wings are guaranteed to impress with their texture, flavor, and ease of preparation.
If you prefer a milder spice or a different flavor profile, consider trying our spicy roasted cauliflower recipe, where a blend of dry spices takes center stage instead of a sauce. Alternatively, you can always serve the buffalo sauce on the side, allowing everyone to customize their spice level with a simple dip and dunk.

Key Ingredients You Will Need for This Recipe
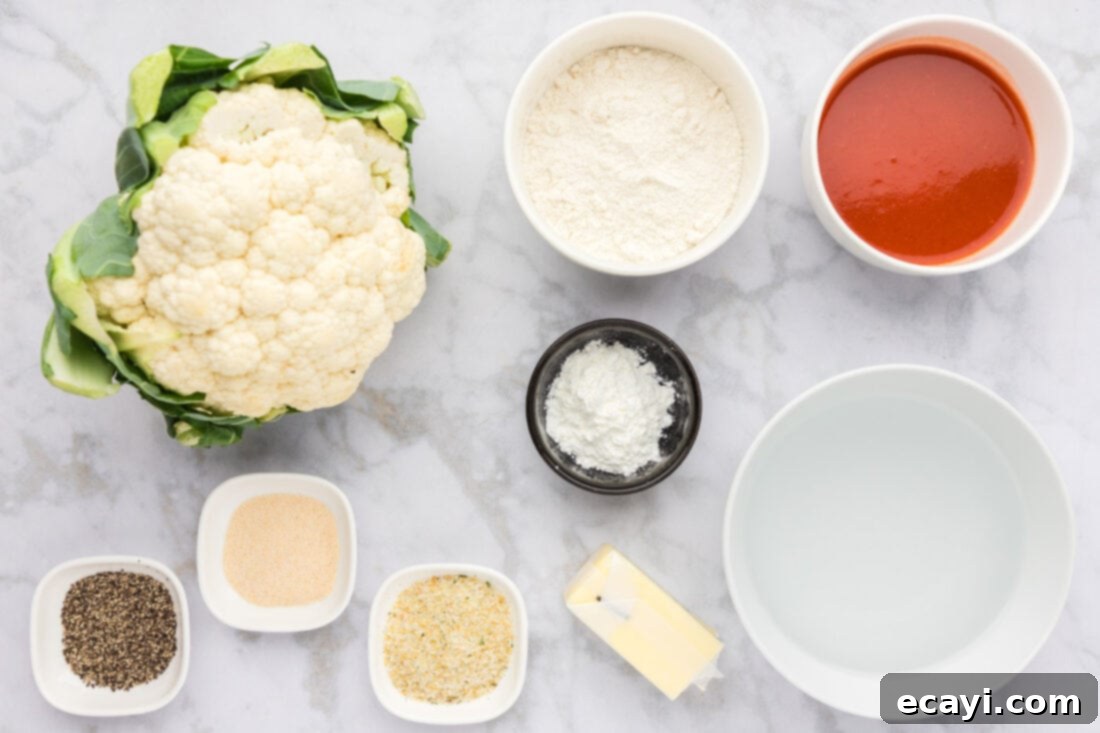
Creating these sensational buffalo cauliflower wings requires a handful of simple ingredients, most of which you likely already have in your pantry. While precise measurements and a printable recipe card are available at the very end of this post, let’s dive into the core components and why they are essential for perfect results.
Ingredient Info and Substitution Suggestions
CAULIFLOWER: The star of our show! When selecting your cauliflower, look for a firm, dense head with creamy white florets and fresh, green leaves. Avoid any heads with brown spots or discoloration. The key to evenly cooked and perfectly crispy buffalo cauliflower is to cut the florets into uniform, bite-sized pieces. Aim for pieces that are roughly 1 to 1.5 inches in size. This consistency ensures that every piece roasts at the same rate, preventing some from being undercooked while others are burnt. Smaller florets will cook faster and yield more crispy surface area, while larger ones will have a more tender, “meatier” bite. Feel free to adjust the size to your preference, just ensure they are consistent.
FLOUR: All-purpose flour forms the base of our crispy breading. When combined with water and seasonings, it creates a light batter that adheres to the cauliflower florets, providing the perfect canvas for achieving that desirable golden-brown crispiness in the oven. For those seeking a gluten-free option, a good quality gluten-free all-purpose flour blend can be used as a substitute. Ensure your gluten-free blend contains xanthan gum or add a small pinch separately to help with binding. We also season the flour mixture with onion powder, garlic salt, and pepper. This initial layer of seasoning infuses flavor directly into the cauliflower before the buffalo sauce is even introduced, enhancing the overall taste complexity.
CORNSTARCH: This is a secret weapon for achieving truly crispy baked cauliflower. When incorporated into the breading mixture, cornstarch helps to create a lighter, crispier coating compared to flour alone. It draws out moisture, which is crucial for preventing a soggy texture. Additionally, cornstarch is used to create a “slurry” for the buffalo sauce. This slurry, a mixture of cornstarch and cold water, is essential for thickening the sauce to the perfect consistency, ensuring it coats the cauliflower beautifully without dripping off. Do not skip the cornstarch – it’s key for both texture and sauce adhesion!
HOT SAUCE: For that authentic buffalo flavor, Frank’s RedHot Original Cayanne Pepper Sauce is highly recommended. It’s the classic choice for a reason – its distinct vinegary tang and moderate heat are what define traditional buffalo sauce. When combined with butter, it creates the iconic flavor profile we all love. However, feel free to experiment with your favorite hot sauce if you have one! Depending on your preference for heat and flavor, options like Cholula, Tabasco, or even a smoky chipotle hot sauce could offer interesting variations. Remember that different hot sauces have varying spice levels, so adjust the quantity to suit your heat tolerance. For a milder sauce, you can reduce the amount of hot sauce slightly or increase the butter. For extra heat, add a pinch of cayenne pepper to the sauce mixture.
UNSALTED BUTTER: Butter is indispensable in creating a rich, smooth, and authentic buffalo sauce. It mellows the heat of the hot sauce and adds a luscious, creamy mouthfeel. Using unsalted butter allows you to control the overall saltiness of the dish, especially since garlic salt is already in the breading and hot sauce can contain sodium. If you’re looking for a dairy-free or vegan option, plant-based butter alternatives work wonderfully here without compromising on flavor or texture. Ensure your chosen vegan butter has a good fat content to properly emulsify with the hot sauce.
How to Make Roasted Buffalo Cauliflower Wings
These step-by-step photos and detailed instructions are provided to help you visualize each stage of making this delicious recipe. For a complete printable version, including all precise measurements and cooking instructions, please refer to the Jump to Recipe section at the bottom of this post.
- Prepare the Oven and Baking Sheet: Begin by preheating your oven to a robust 450°F (230°C). This high temperature is key to achieving crispy cauliflower. Line a large baking sheet with aluminum foil for easy cleanup, then lightly spray it with nonstick cooking spray. This prevents sticking and helps the cauliflower brown evenly.
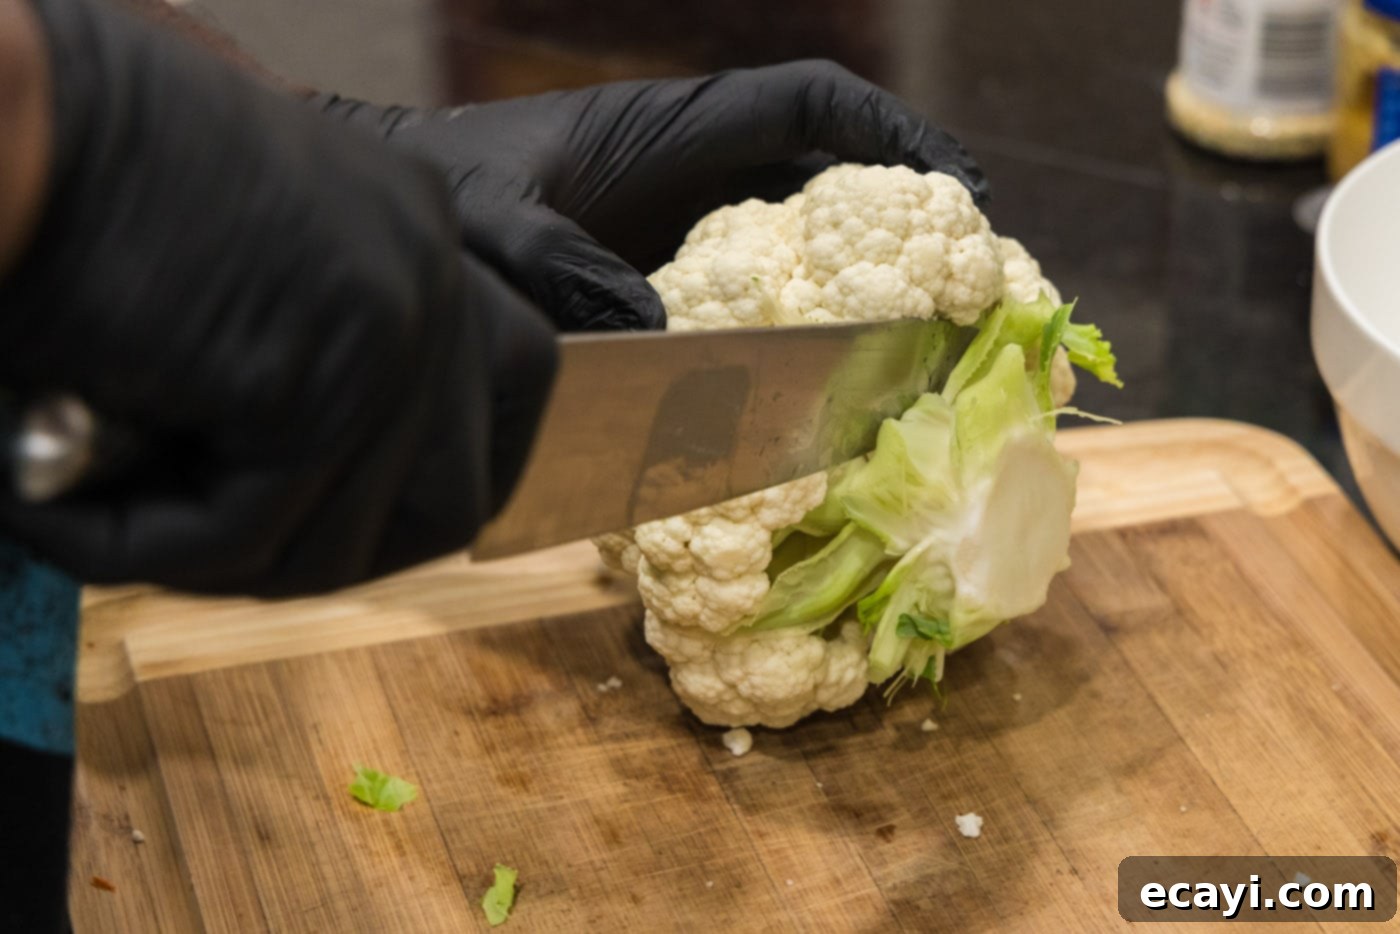
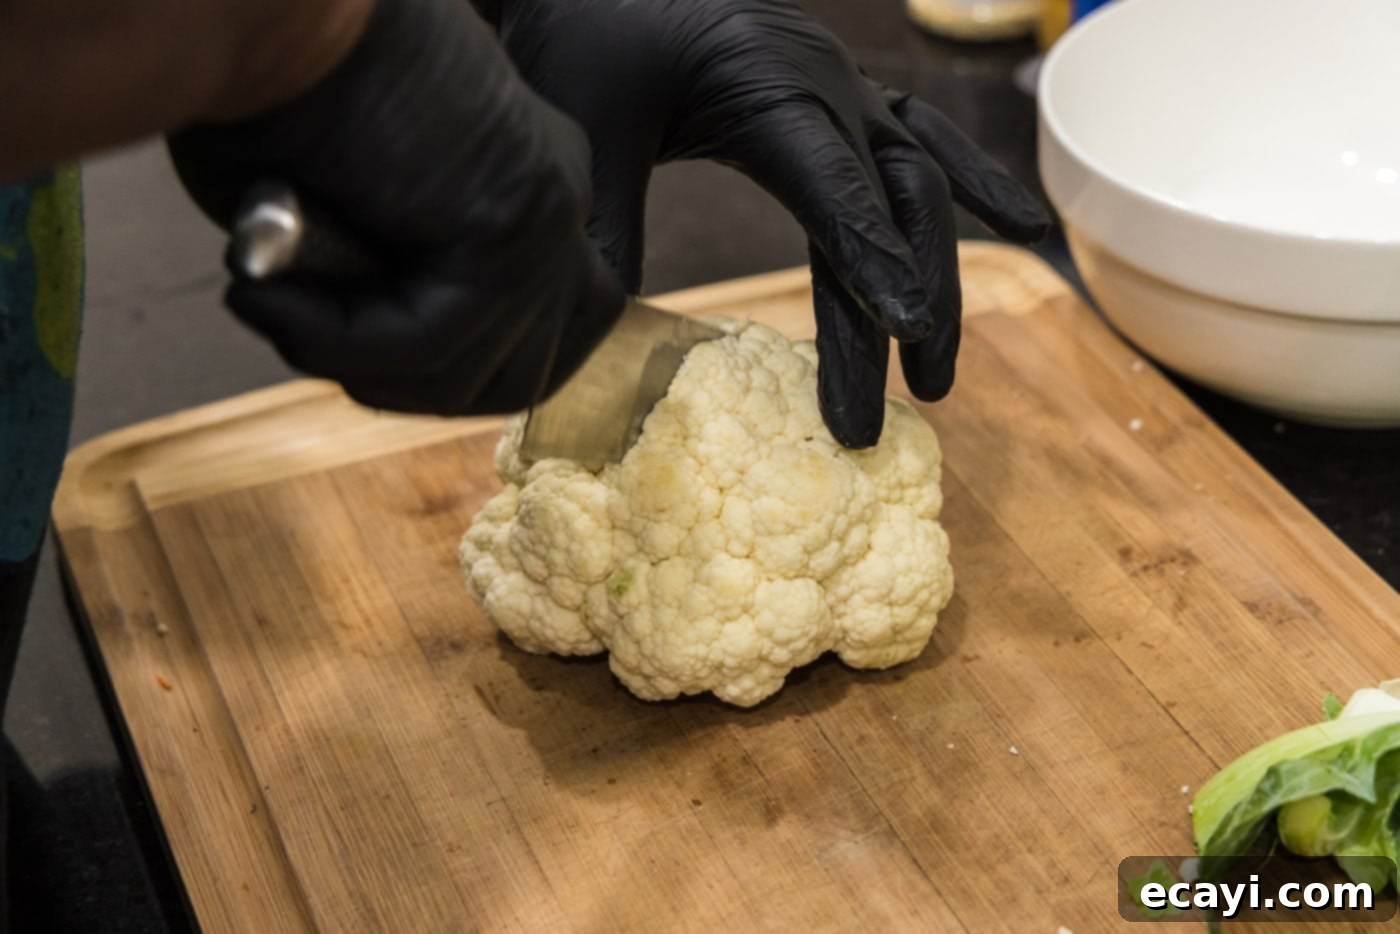
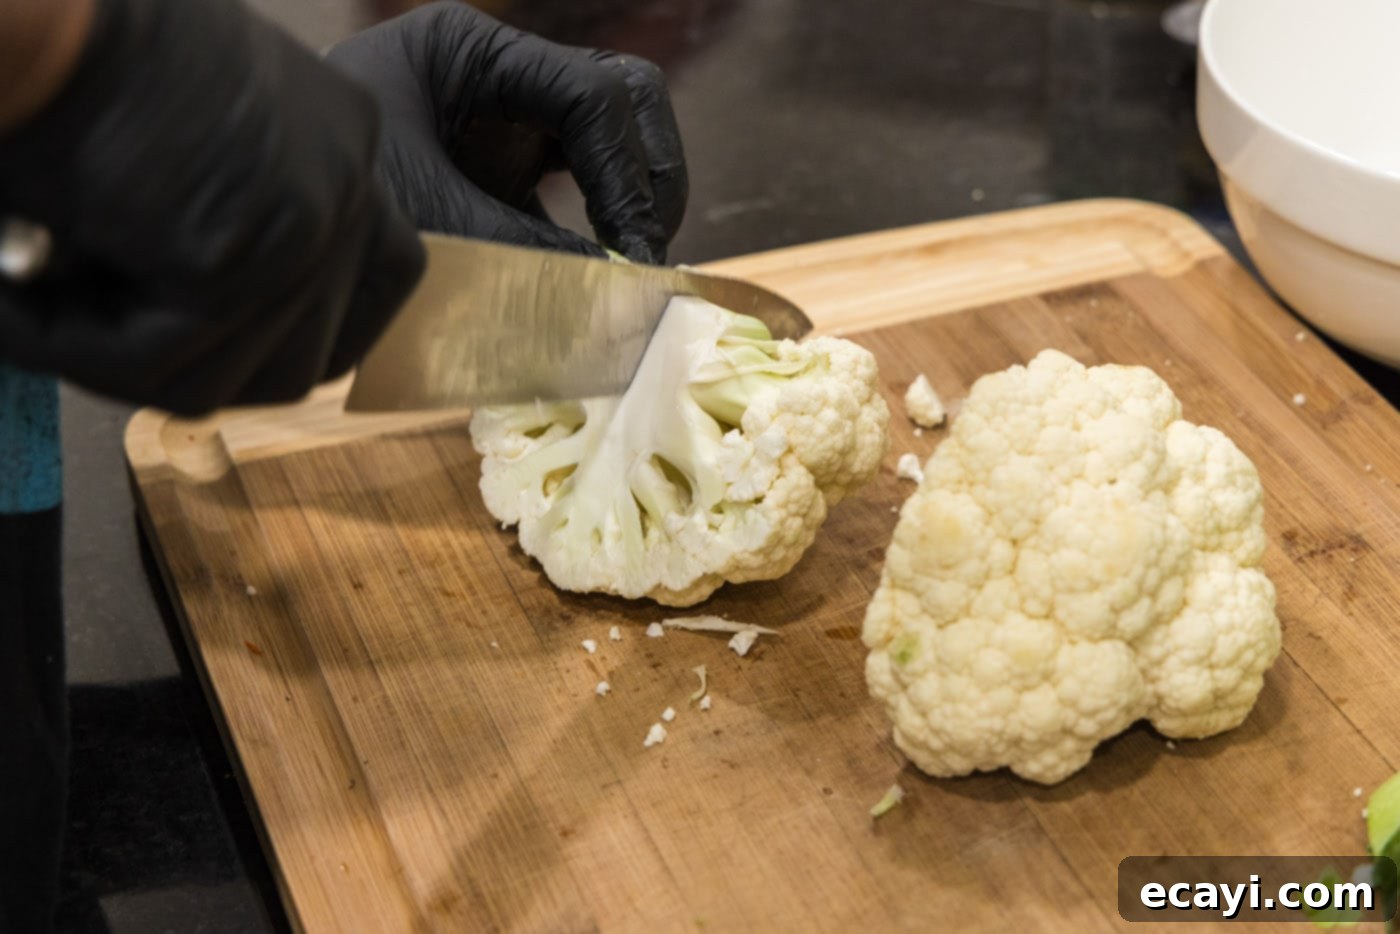
- Cut the Cauliflower: Carefully cut the medium-sized head of cauliflower into uniform, bite-sized florets. The ideal size is approximately 1 to 1.5 inches. This consistency ensures even baking and a better “wing” experience. Set the prepared florets aside. If you need guidance on how to efficiently cut a head of cauliflower, see our tips below or in the FAQ section.


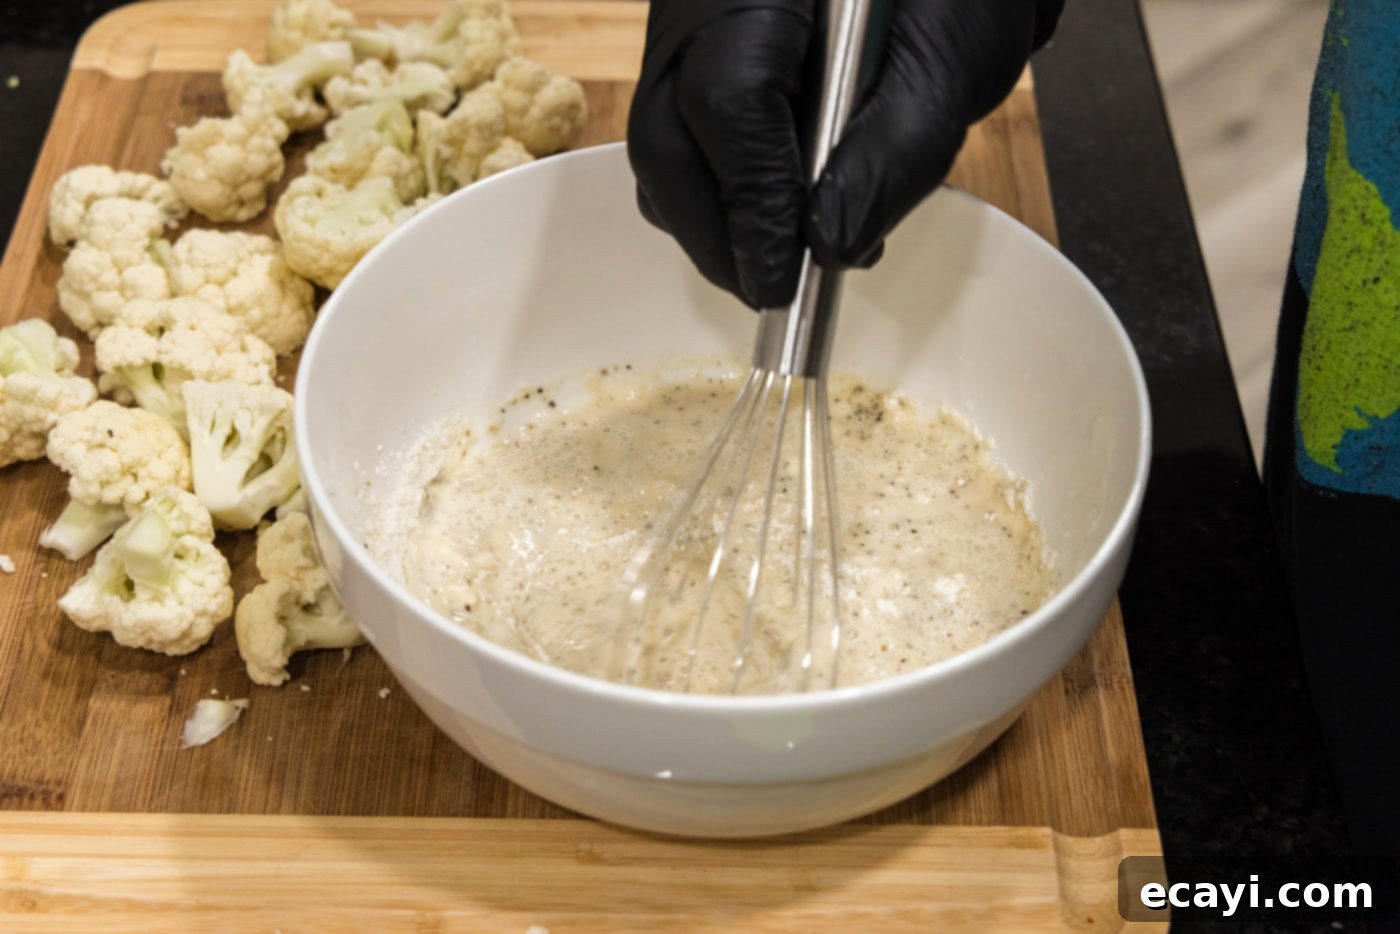
- Prepare the Breading Mixture: In a medium-sized mixing bowl, combine the all-purpose flour, onion powder, garlic salt, and black pepper. Whisk these dry ingredients together thoroughly to ensure the seasonings are well distributed. Then, gradually whisk in 1 cup of water until you achieve a smooth, lump-free batter. The consistency should be thin enough to coat the cauliflower but thick enough to cling.

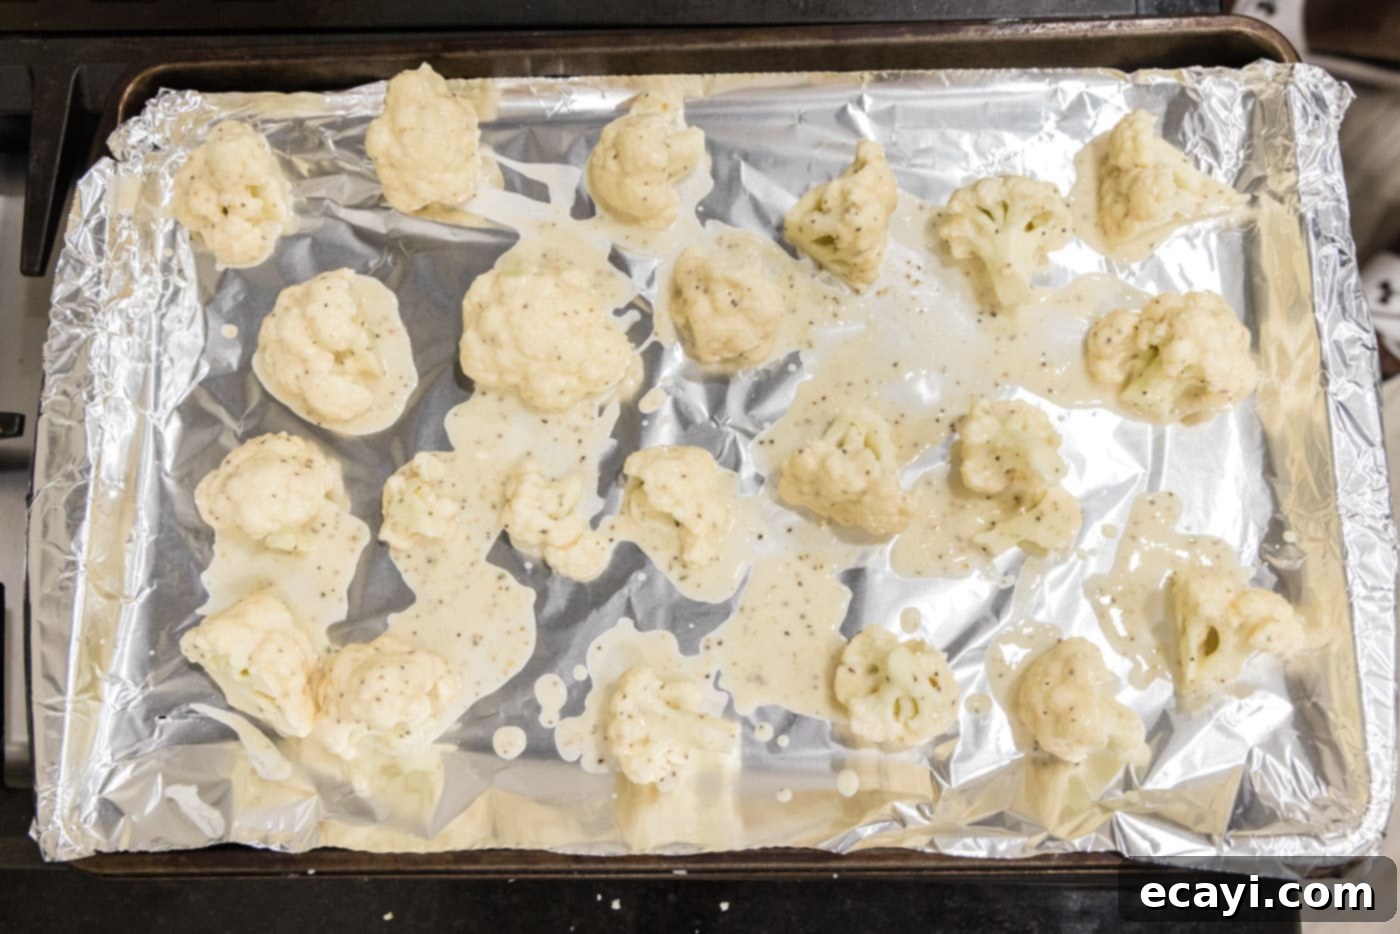
- Coat the Cauliflower: Using gloved hands (or tongs), add the cauliflower florets to the flour mixture. Toss them gently but thoroughly, ensuring each floret is completely coated in the batter. The goal is an even, thin layer of breading. Once coated, transfer the florets to your prepared baking sheet, arranging them in a single layer without overcrowding. Give them a little space so they can crisp up properly.

- First Bake: Bake the coated cauliflower for 20 minutes in the preheated oven. During this time, the cauliflower will begin to soften, and the breading will start to turn golden brown and crisp.
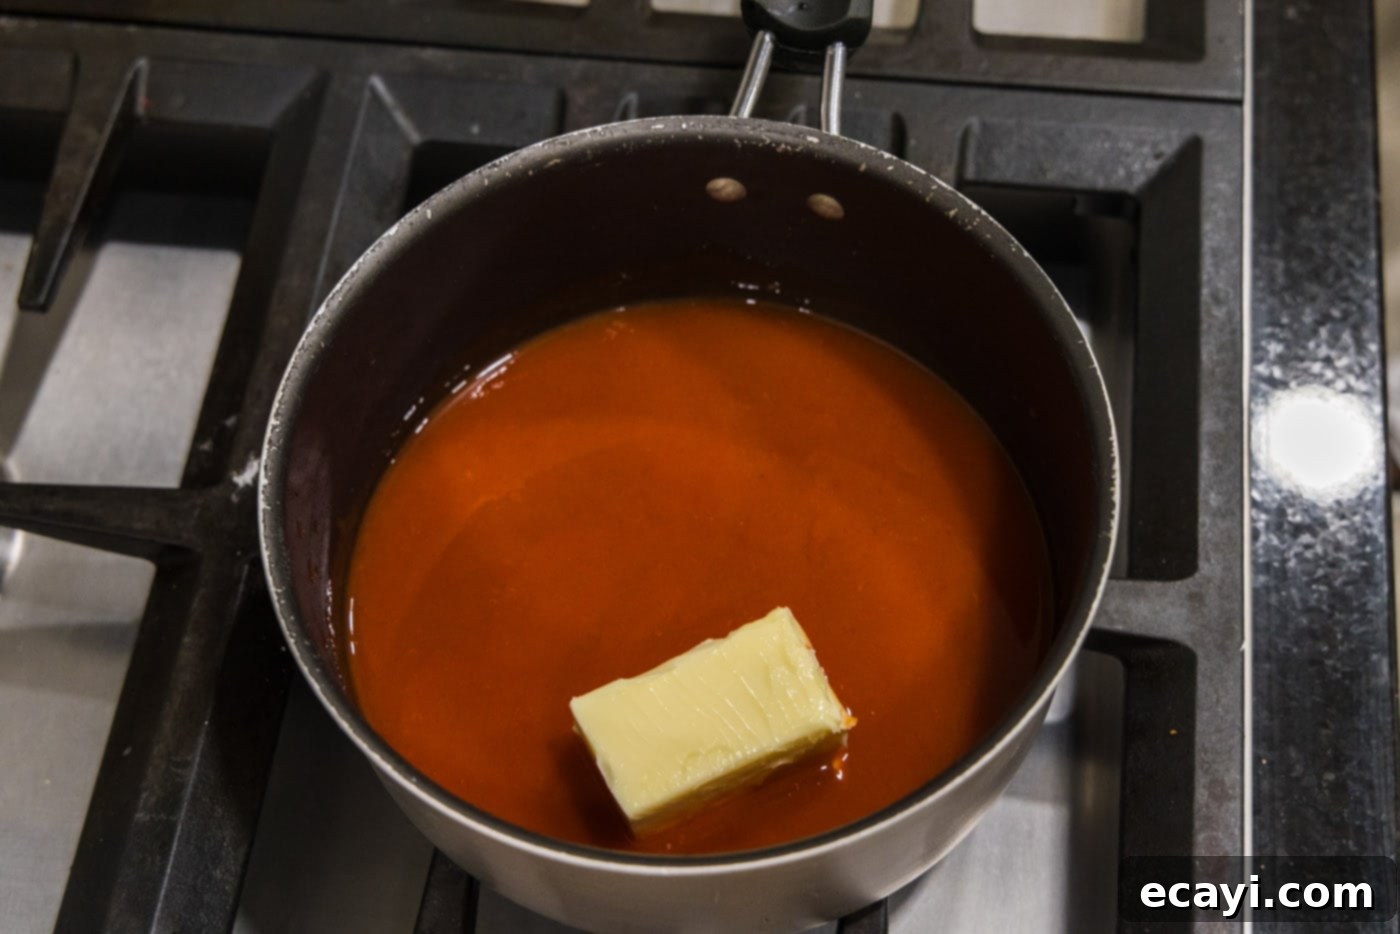
- Prepare the Buffalo Sauce: While the cauliflower is baking, it’s time to make that iconic buffalo sauce. In a medium saucepan, combine the hot sauce (preferably Frank’s RedHot) and the unsalted butter. Heat this mixture over medium-high heat, stirring occasionally, until the butter has completely melted and the sauce is well combined and simmering gently.

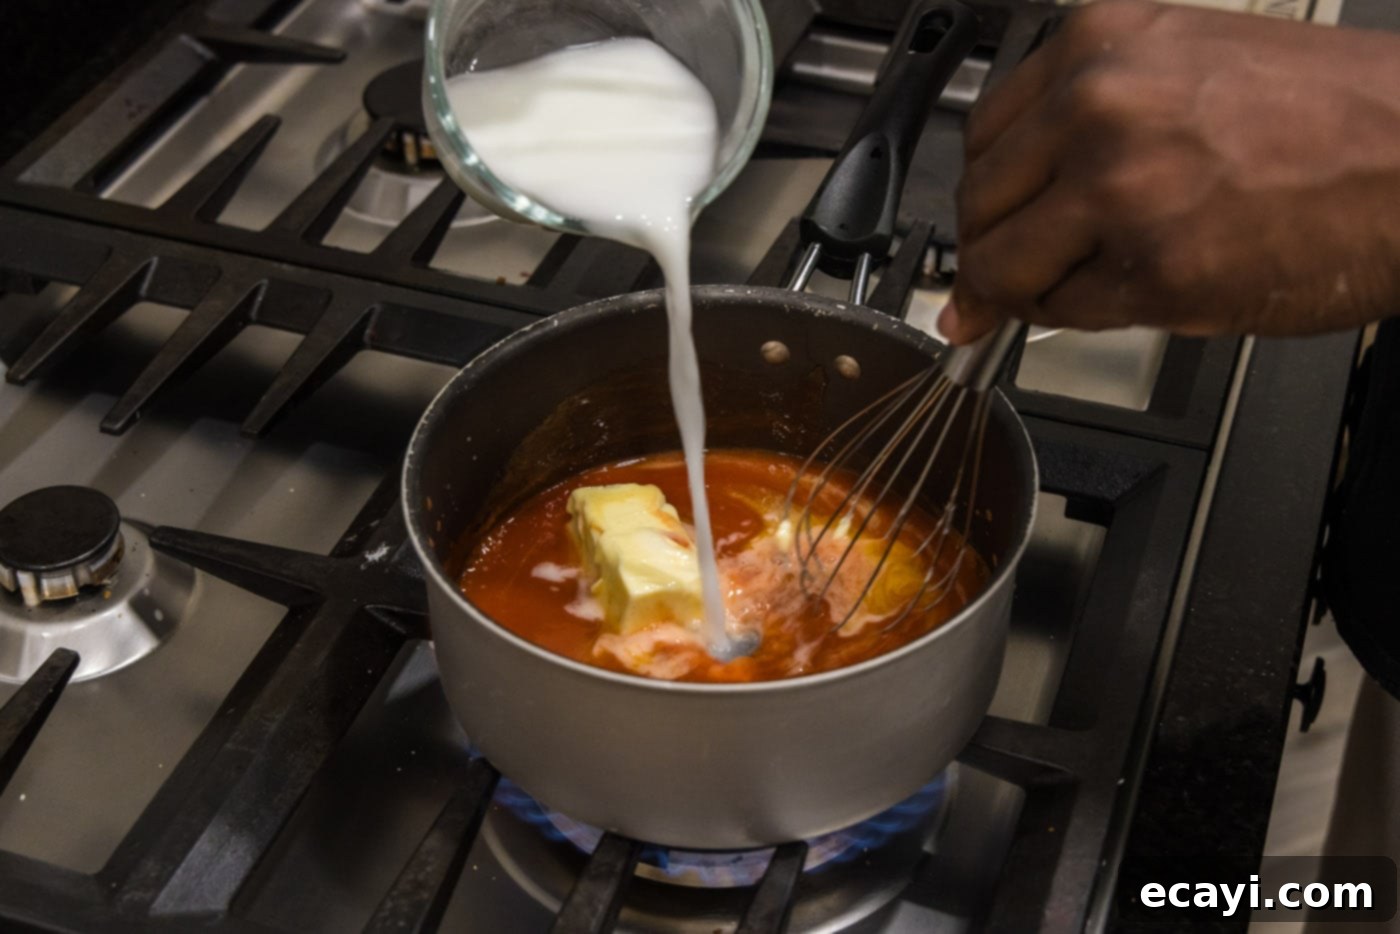
- Thicken the Sauce with a Slurry: In a small bowl, whisk together the cornstarch with ½ cup of cold water until a smooth slurry forms. Pour this cornstarch slurry into the simmering buffalo sauce in the saucepan. Continue to simmer and whisk constantly for 1-2 minutes, or until the sauce begins to visibly thicken to a glossy, coatable consistency. Remove from heat once thickened.

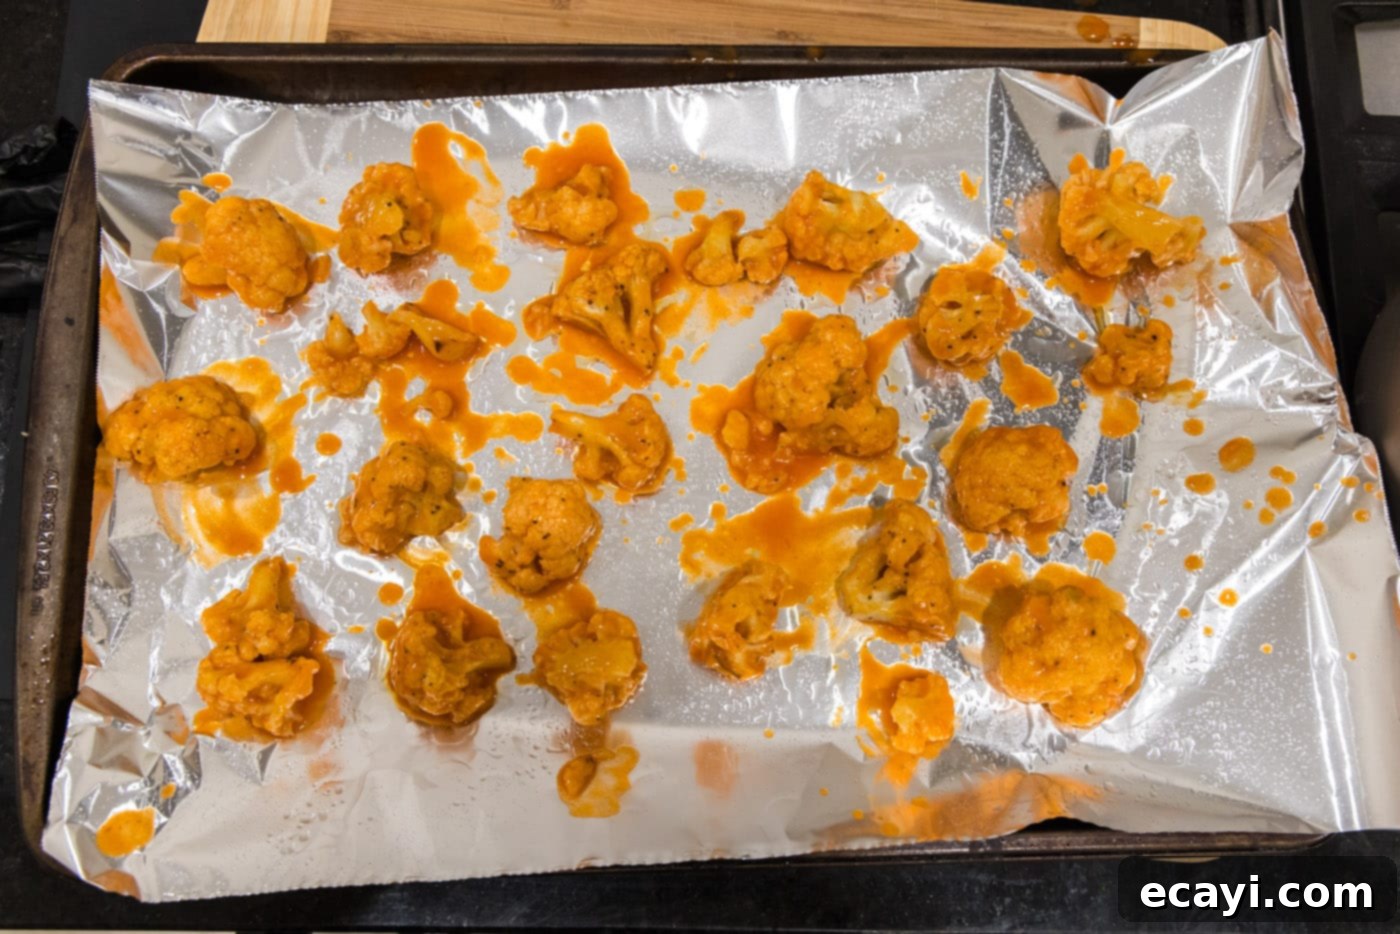
- Sauce and Second Bake: Once the cauliflower has completed its first bake and is lightly golden, remove it from the oven. Carefully dip each baked floret into the prepared buffalo sauce, turning it to ensure it is thoroughly coated on all sides. Place the sauced florets back onto the same baking sheet (or a fresh one if preferred, though the foil makes it easy). Return the baking sheet to the oven and bake for an additional 10 minutes. This second bake allows the sauce to caramelize slightly and adhere perfectly to the crispy cauliflower, locking in all that spicy, buttery flavor.


Frequently Asked Questions & Expert Tips for Perfect Buffalo Cauliflower
To keep your leftover buffalo cauliflower wings fresh, store them in an airtight container in the refrigerator for up to 4 days. When you’re ready to enjoy them again, reheat them for optimal crispiness. The best methods for reheating are in an air fryer at 350°F (175°C) for 5-7 minutes, or in a conventional oven also at 350°F (175°C) until they are warmed through and crispy again. Avoid the microwave, as it will likely make them soggy.
When comparing to traditional fried chicken wings, buffalo cauliflower wings are generally considered a healthier alternative. Cauliflower itself is a nutrient-dense vegetable, packed with fiber, vitamins (like C and K), and antioxidants, while being low in fat and calories. This recipe utilizes baking instead of deep-frying, further reducing the fat content. While the flour breading and butter in the sauce add some calories and fat, they are still a lighter option than their meat-based counterparts, especially for those looking to reduce meat consumption or increase vegetable intake. They are a fantastic source of fiber, which is beneficial for digestive health. If protein is your primary concern, chicken wings would, of course, provide more. For a truly low-calorie and low-carb option, you could reduce the flour coating or omit it entirely and simply toss roasted cauliflower florets directly in the buffalo sauce.
Absolutely! The air fryer is an excellent tool for making these wings extra crispy. After coating the florets in the flour mixture, arrange them in a single layer in your air fryer basket. Be careful not to overcrowd the basket; you may need to work in batches to ensure proper air circulation and crisping. Air fry at 375°F (190°C) for 8-10 minutes, or until they are golden and crisp. Remove them from the air fryer, toss them thoroughly with the prepared hot sauce mixture, then return them to the basket for another 5-7 minutes of air frying until the sauce is caramelized and clinging beautifully. The air fryer often yields an even crispier result than baking!
Cutting cauliflower into florets is simple once you know the technique. Start by placing the head of cauliflower right side up on a sturdy cutting board. Using a sharp chef’s knife, carefully cut the head in half directly through the center, from the top down through the stem. Then, from each half, you can easily cut the individual florets away from the central core. Aim to cut at the base of each stem to release the florets. Try to keep them as uniform in size as possible for even cooking.
Yes, this recipe can easily be made vegan! The primary non-vegan ingredient is butter in the buffalo sauce. Simply substitute the unsalted butter with a high-quality plant-based butter alternative. Most hot sauces are naturally vegan, but always double-check the label if you’re unsure. The breading mixture (flour, water, seasonings) is already vegan. Enjoy a delicious plant-based appetizer!
The spice level of your buffalo cauliflower can be easily customized. To make it milder, reduce the amount of hot sauce in the buffalo sauce mixture and slightly increase the butter. You can also opt for a milder hot sauce brand. For extra heat, add a pinch of cayenne pepper or a dash of ghost pepper sauce to your buffalo sauce, or choose a hotter hot sauce from the start. A sprinkle of red pepper flakes on the finished wings also adds a nice kick.

Serving Suggestions for Your Buffalo Cauliflower Wings
These spicy, tangy, and crispy buffalo cauliflower wings are incredibly versatile and pair wonderfully with a variety of sides and dips. You’ll likely have some extra buffalo sauce left over, so definitely keep it on hand for an extra dip! The classic accompaniments include a cooling ranch or creamy blue cheese dressing, which provides a delightful contrast to the heat of the buffalo sauce. Fresh, crisp celery sticks and carrot sticks are also essential, offering a refreshing crunch and a natural palate cleanser. For a complete appetizer platter, consider adding some cucumber slices or cherry tomatoes. Beyond being a fantastic party snack for game days or casual gatherings, these buffalo cauliflower wings can also be served as a flavorful vegetarian side dish alongside burgers, grilled sandwiches, or even as part of a larger vegetarian meal.
More Delicious Appetizer Recipes to Try
If you loved these buffalo cauliflower wings and are searching for more tantalizing appetizers to impress your guests or simply enjoy at home, we have some fantastic suggestions:
- Spicy Wings: For meat-lovers who still crave that spicy kick, these traditional wings are a must-try.
- Jalapeno Poppers: Creamy, spicy, and perfectly fried or baked, these poppers are always a hit.
- Buffalo Chicken Dip: A warm, cheesy, and spicy dip that brings all the buffalo flavors in a shareable format, perfect for dipping chips or veggies.
I absolutely love creating and sharing my kitchen adventures with all of you! Remembering to check back for new recipes daily can be tricky, which is why I offer a convenient newsletter delivered straight to your inbox every time a new recipe is posted. Simply subscribe here and start receiving your free daily recipes!

Buffalo Cauliflower
These golden baked florets have crispy crunchy edges surrounding a tender interior. Perfect for dipping and dunking into bleu cheese or ranch!
IMPORTANT – There are often Frequently Asked Questions within the blog post that you may find helpful. Simply scroll back up to read them!
Pin It
Rate It
Save It
Course: Appetizer, Side Dish
Cuisine: American
Servings: 3 servings
Total Time: 45 mins
Calories: 271
Author: Amanda Davis
Ingredients
- 1 head cauliflower (medium-sized)
- ½ cup all-purpose flour
- 1 teaspoon onion powder
- 2 teaspoons garlic salt
- 1 teaspoon black pepper
- 1 cup water
- ½ cup hot sauce (such as Frank’s)
- 4 Tablespoons unsalted butter
- 2 teaspoons cornstarch
- ½ cup water (for slurry)
Things You’ll Need
- Baking sheet
- Saucepan
- Chef’s knife
- Cutting board
Before You Begin (Notes)
- Try to cut the florets into uniform pieces as well as you can, this way they will roast evenly in the oven.
- I recommend using Frank’s RedHot sauce, after all, it is this classic hot sauce that’s combined with butter to create what we know as buffalo sauce. However, if you have a favorite hot sauce in mind, you can certainly use that instead.
Instructions
- Preheat oven to 450°F (230°C). Line a baking sheet with aluminum foil and spray with nonstick cooking spray.
- Cut cauliflower into florets. Set aside. To cut a head of cauliflower – Beginning with the head of cauliflower right side up, cut it in half directly through the center. From each half, cut the cauliflower florets from the core, cutting at each individual stem.
- In a medium bowl, combine flour, onion powder, garlic salt, and pepper. Whisk in the water.
- Using gloved hands, coat each floret in flour mixture. Place coated florets on prepared baking sheet.
- Bake for 20 minutes.
- Meanwhile, make the Buffalo sauce by combining hot sauce and butter in a medium saucepan. Heat over medium-high until butter has melted.
- Make a slurry from the cornstarch and ½ cup water. Pour slurry into saucepan and simmer until sauce begins to thicken.
- When cauliflower is done, remove from oven and dip each floret into the buffalo sauce, turning to coat well. Put sauced florets back on pan and bake 10 more minutes.
Expert Tips & FAQs (Summary from main text)
- You will have sauce leftover, perfect for dipping!
- Store leftover buffalo cauliflower in an air-tight container in the refrigerator for up to 4 days. Reheat in an air fryer or 350°F (175°C) oven until warmed through and crisp.
- Air Fryer Method: Air fry in a single layer at 375°F (190°C) for 8-10 minutes (or until crisp). Remove, toss with hot sauce mixture, then return to basket to air fry for another 5-7 minutes. Work in batches to avoid overcrowding.
Nutrition
Serving: 1 serving | Calories: 271cal | Carbohydrates: 28g | Protein: 6g | Fat: 16g | Saturated Fat: 10g | Polyunsaturated Fat: 1g | Monounsaturated Fat: 4g | Trans Fat: 1g | Cholesterol: 40mg | Sodium: 1899mg | Potassium: 673mg | Fiber: 5g | Sugar: 4g | Vitamin A: 535IU | Vitamin C: 122mg | Calcium: 63mg | Iron: 2mg
Tried this Recipe? Pin it for Later!
Follow on Pinterest @AmandasCookin or tag #AmandasCookin!
The recipes on this blog are tested with a conventional gas oven and gas stovetop. It’s important to note that some ovens, especially as they age, can cook and bake inconsistently. Using an inexpensive oven thermometer can assure you that your oven is truly heating to the proper temperature. If you use a toaster oven or countertop oven, please keep in mind that they may not distribute heat the same as a conventional full sized oven and you may need to adjust your cooking/baking times. In the case of recipes made with a pressure cooker, air fryer, slow cooker, or other appliance, a link to the appliances we use is listed within each respective recipe. For baking recipes where measurements are given by weight, please note that results may not be the same if cups are used instead, and we can’t guarantee success with that method.
