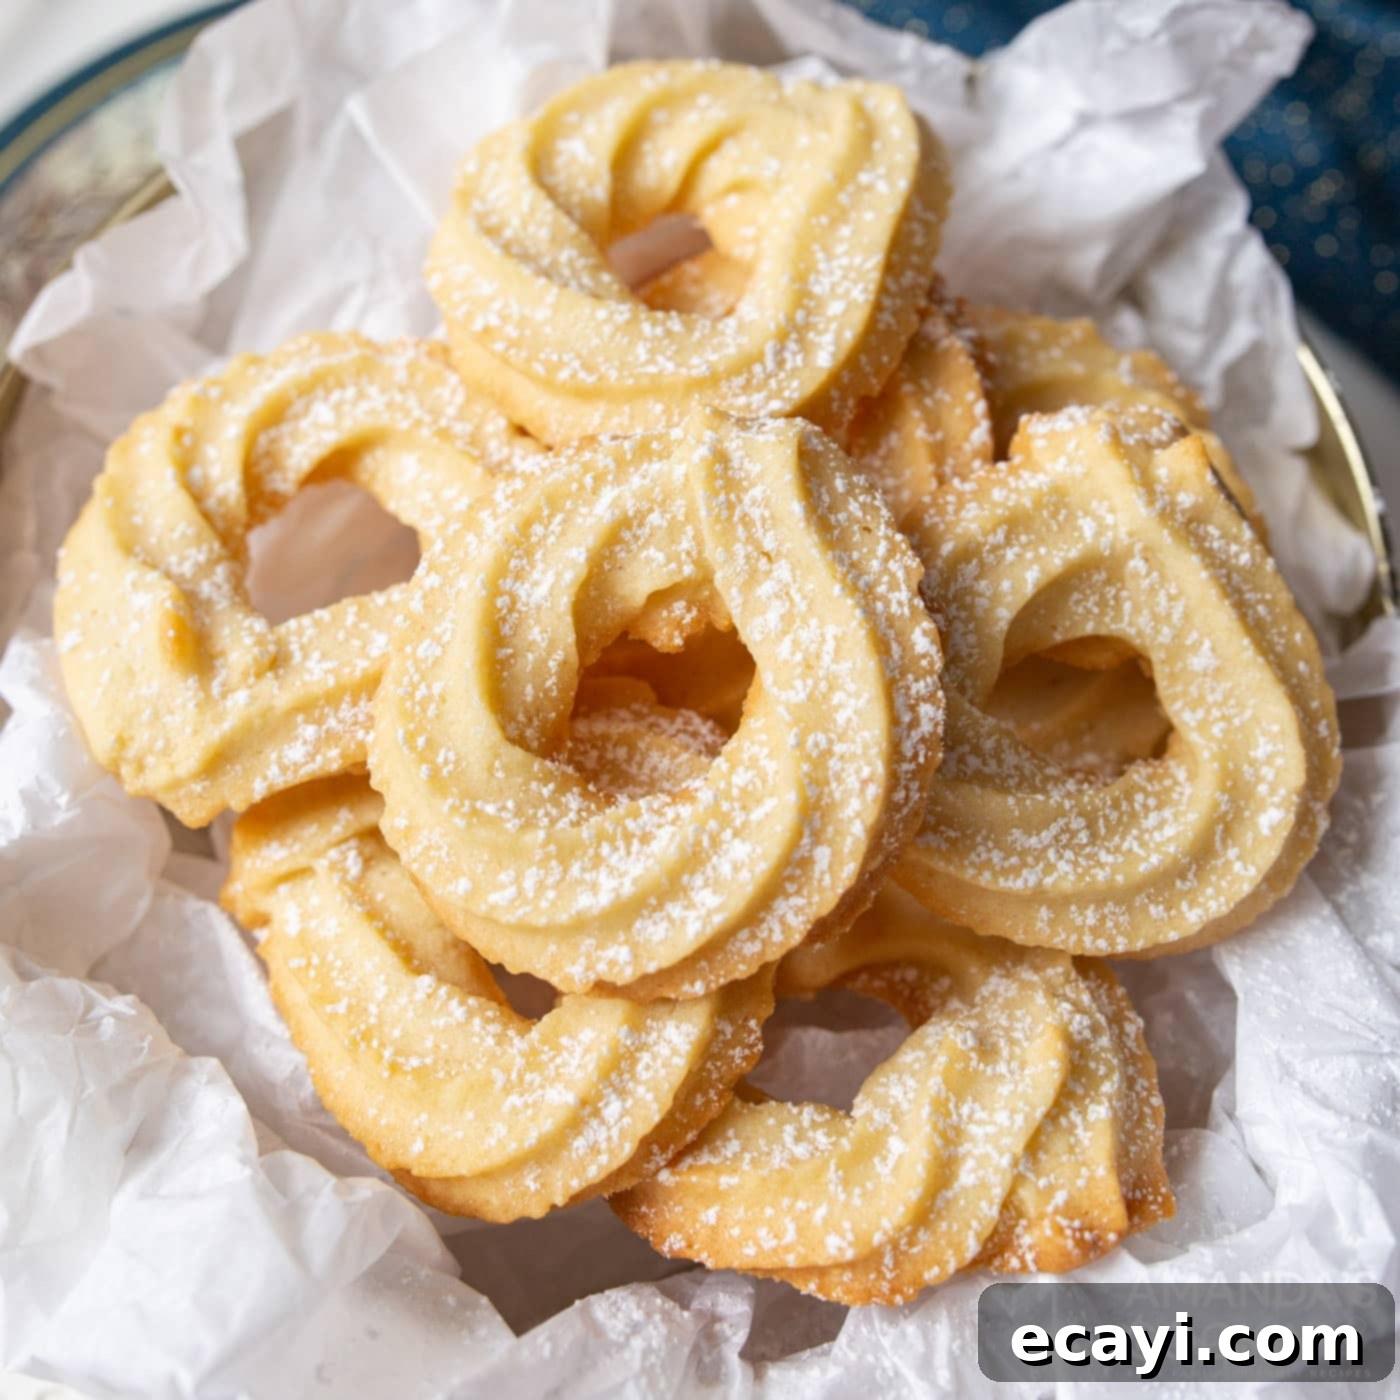
Delicate Danish Butter Cookies: A Classic Recipe for Buttery Perfection
Indulge in the timeless charm of these exquisite Danish butter cookies, meticulously piped into elegant swirls. Each bite offers a rich, unmistakable buttery flavor complemented by a delightfully soft texture and a delicate, light crunch. Perfect for any occasion, these classic cookies are sure to become a cherished addition to your baking repertoire.
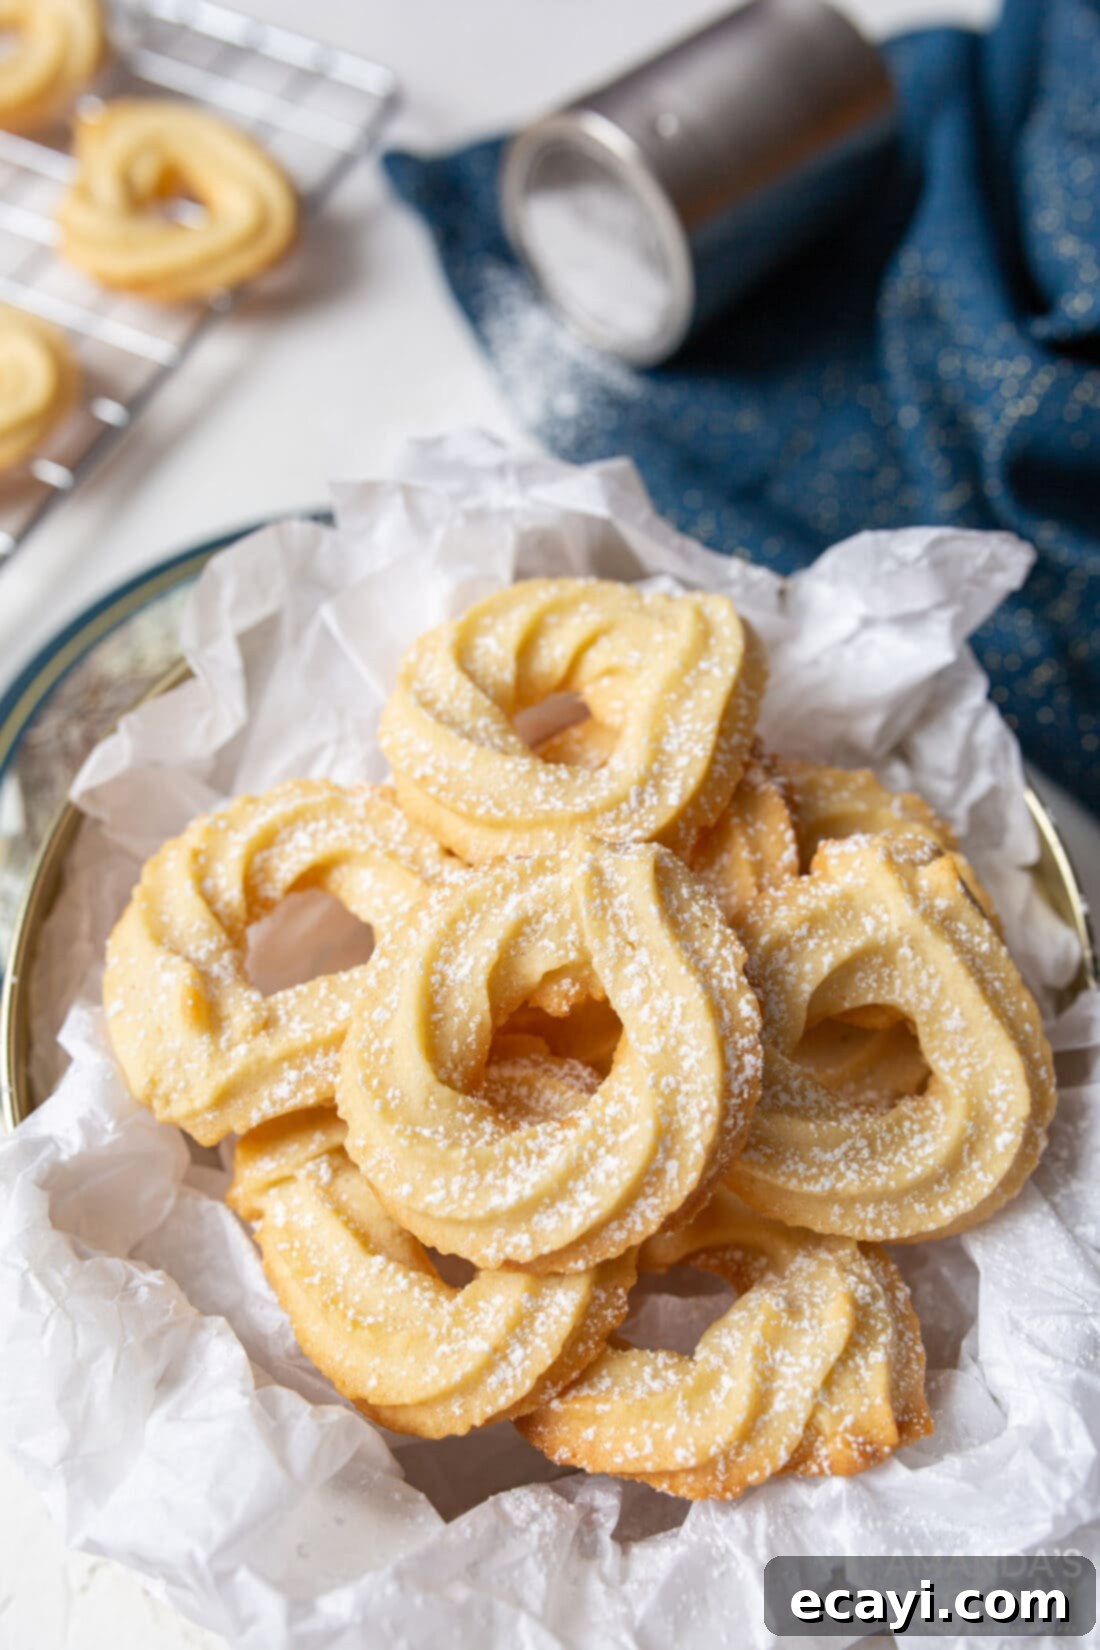
Why This Danish Butter Cookie Recipe Is a Must-Try
Our Danish butter cookie recipe stands out for its simplicity and the truly exceptional results it delivers. While often compared to Spritz cookies, the dough for these Danish delights is slightly firmer, which makes it ideal for piping intricate, elegant shapes with ease. The result is a cookie that is wonderfully soft, delicately tender, intensely buttery, and practically melts in your mouth.
These classic butter cookies are an excellent choice for those who appreciate sweet treats that aren’t overly saccharine. Their balanced sweetness allows the pure, rich butter flavor to shine through, creating a sophisticated and satisfying experience. Whether you’re looking for a simple yet impressive dessert for a gathering, a thoughtful homemade gift, or just a delightful snack with your afternoon tea, these cookies are a perfect fit. They embody comfort and tradition in every beautifully piped swirl.
Essential Ingredients for Your Homemade Danish Butter Cookies
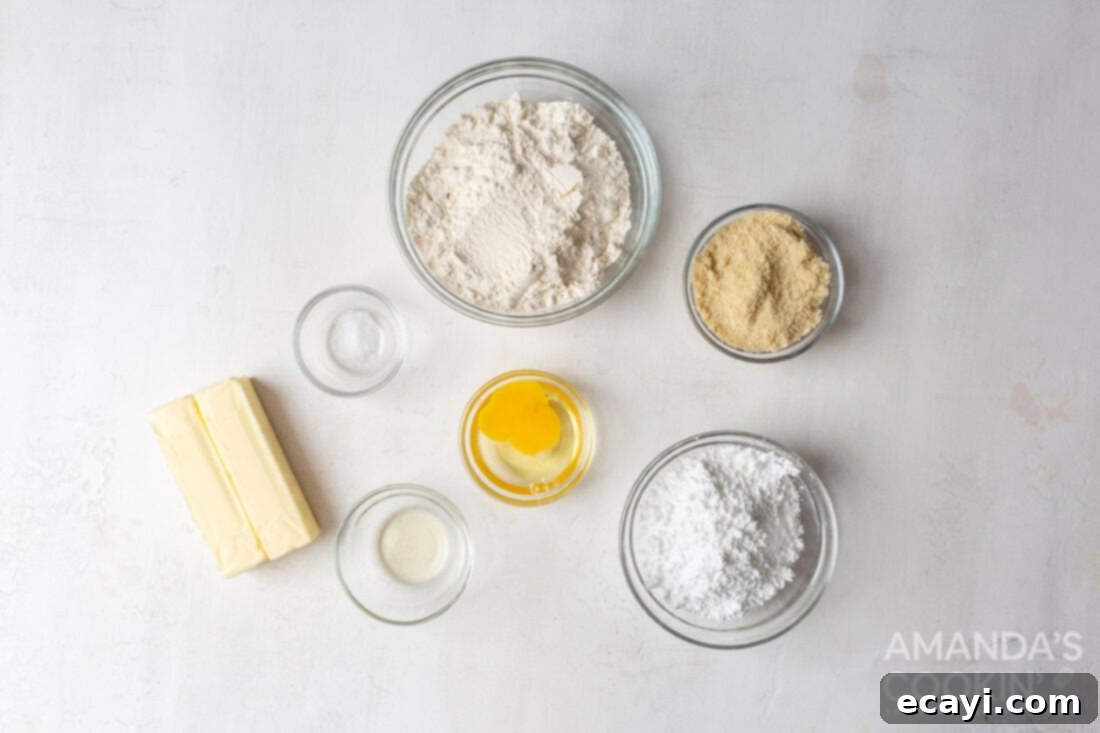
Crafting perfect Danish butter cookies begins with the right ingredients. You’ll find a complete list of measurements, ingredients, and detailed instructions in the printable recipe card at the very end of this article. For now, let’s explore the key components that make these classic cookies so irresistible.
2021: 12 DAYS OF CHRISTMAS COOKIES
Discover 12 delightful Christmas cookies, plus essential bonus baking tips!
Get your copy of the Christmas cookies cookbook today for ONLY $9.97!
Ingredient Spotlight: Tips for Perfect Danish Butter Cookies
Each ingredient plays a crucial role in achieving the signature taste and texture of these famous butter cookies. Here’s a deeper dive into what you’ll need and some helpful substitution tips.
FLOUR – Accurate flour measurement is paramount for cookie success. To ensure you get the perfect amount, first, gently aerate your all-purpose flour by stirring it with a spoon. Then, lightly spoon the flour into a dry measuring cup, allowing it to naturally fill without packing. Finally, level off the top with the flat edge of a knife. Avoid packing the flour into the cup or tapping it on the counter, as this can add too much flour, leading to denser, drier, and less tender cookies. We use a combination of all-purpose flour and almond flour in this recipe. The almond flour contributes a subtle sweetness and a wonderfully delicate flavor profile, enhancing the overall richness. If almond flour isn’t available or preferred, you can easily substitute it with an equal amount of additional all-purpose flour.
SUGAR – The secret to the characteristic melt-in-your-mouth texture of these cookies lies in powdered sugar (also known as confectioners’ sugar or icing sugar). Unlike granulated sugar, powdered sugar absorbs moisture in the dough more effectively, resulting in an incredibly soft and tender crumb that dissolves beautifully with each bite. This fine sugar also helps create that smooth, pipeable dough consistency.
BUTTER – High-quality unsalted butter is the star of these Danish butter cookies, providing their signature rich flavor. It is crucial to use butter that is at room temperature – not melted, and not cold. Allow your butter to sit out for about 35-45 minutes (or until it yields slightly when pressed) before you begin baking. This ensures it creams properly with the sugar, creating a light and fluffy base. If you only have salted butter on hand, simply omit the 1/2 teaspoon of salt specified in the recipe card below to prevent the cookies from becoming too salty. The quality of your butter will directly impact the flavor of your finished cookies, so choose a good brand!
EGG – A single large egg binds the ingredients together, adding moisture and richness to the dough. It helps create a stable emulsion with the butter and sugar, contributing to the cookie’s tender structure.
VANILLA EXTRACT – Pure vanilla extract is essential for enhancing the buttery notes and adding a warm, inviting aroma. For the best flavor, opt for a good quality vanilla extract.
SALT – Even with unsalted butter, a small amount of salt is vital. It balances the sweetness of the cookies and amplifies all the other flavors, making the butter taste even richer and more pronounced.
Step-by-Step: How to Make Danish Butter Cookies
These step-by-step photos and detailed instructions are provided to help you visualize each stage of making this delightful recipe. For a convenient printable version, complete with all measurements and instructions, simply Jump to Recipe at the bottom of this post.
- Preheat your oven to 325°F (160°C). This ensures the oven is at a consistent temperature before the cookies go in, promoting even baking.
- In a large bowl, whisk together both the all-purpose flour and almond flour until well combined. This distributes the leavening agents and ensures a consistent texture throughout the dough. Set this aside.
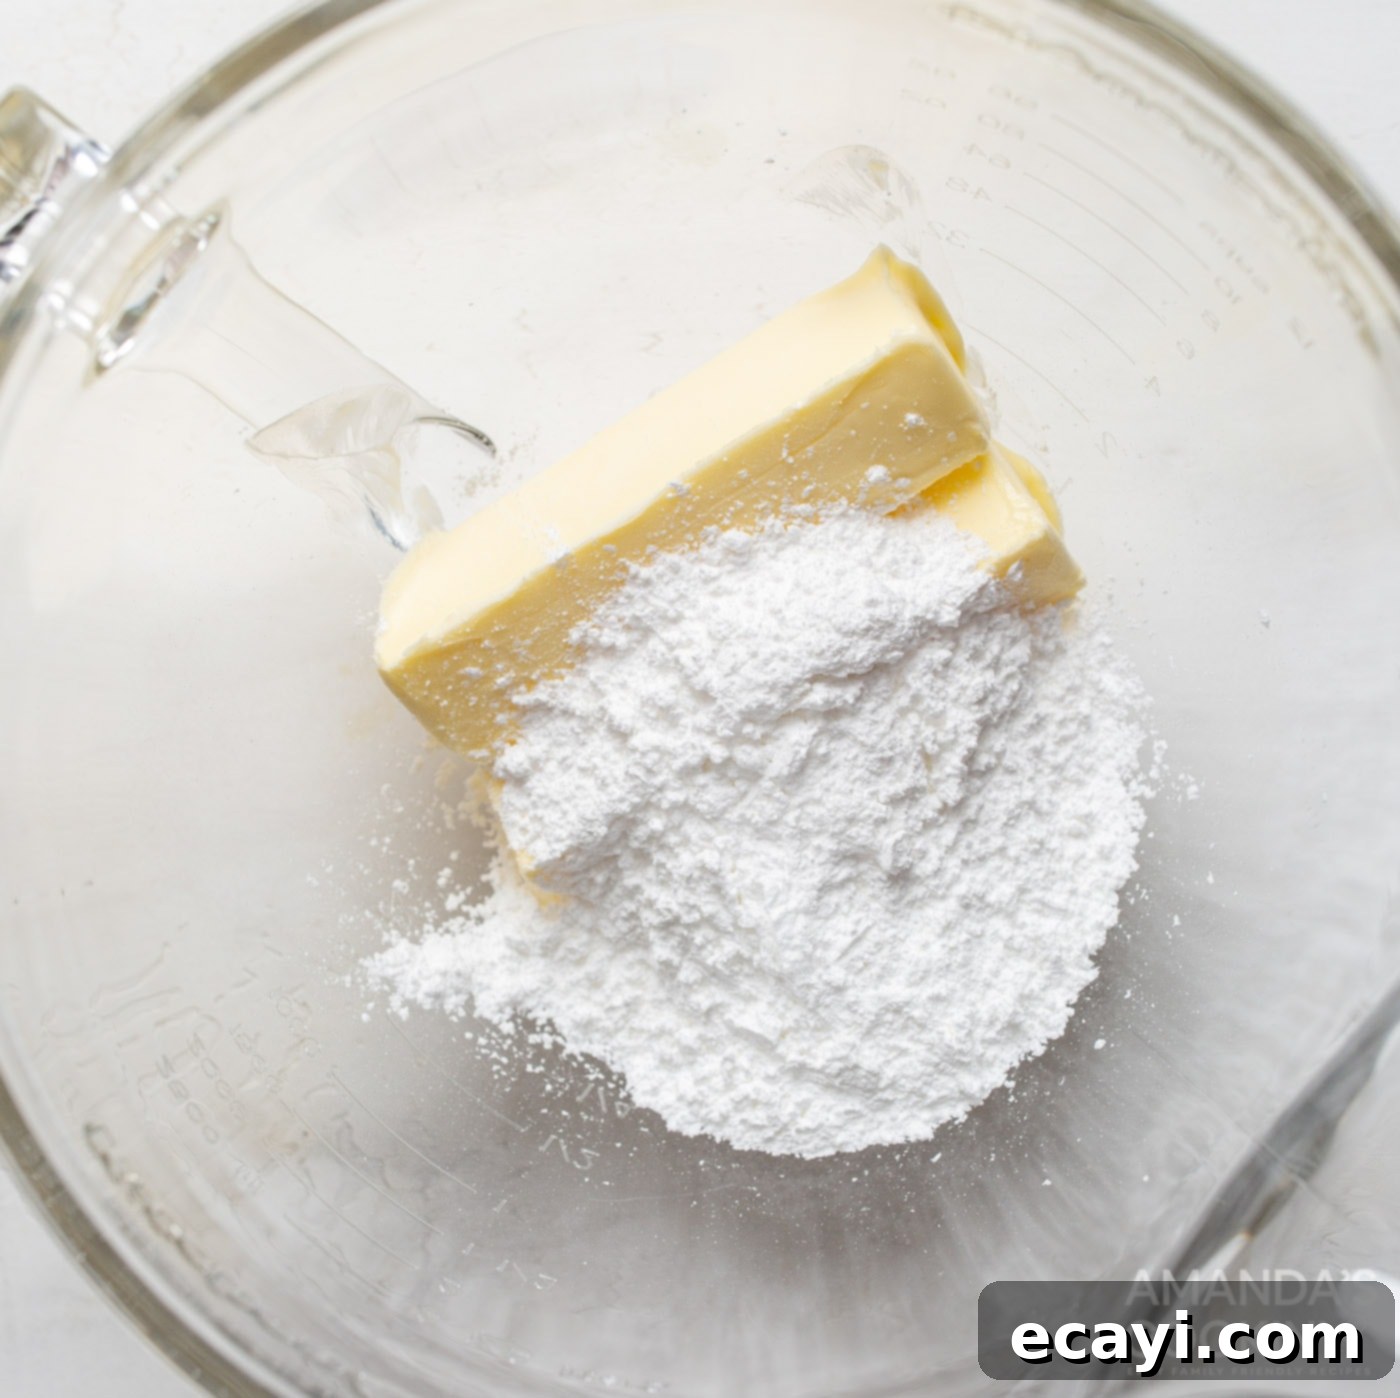
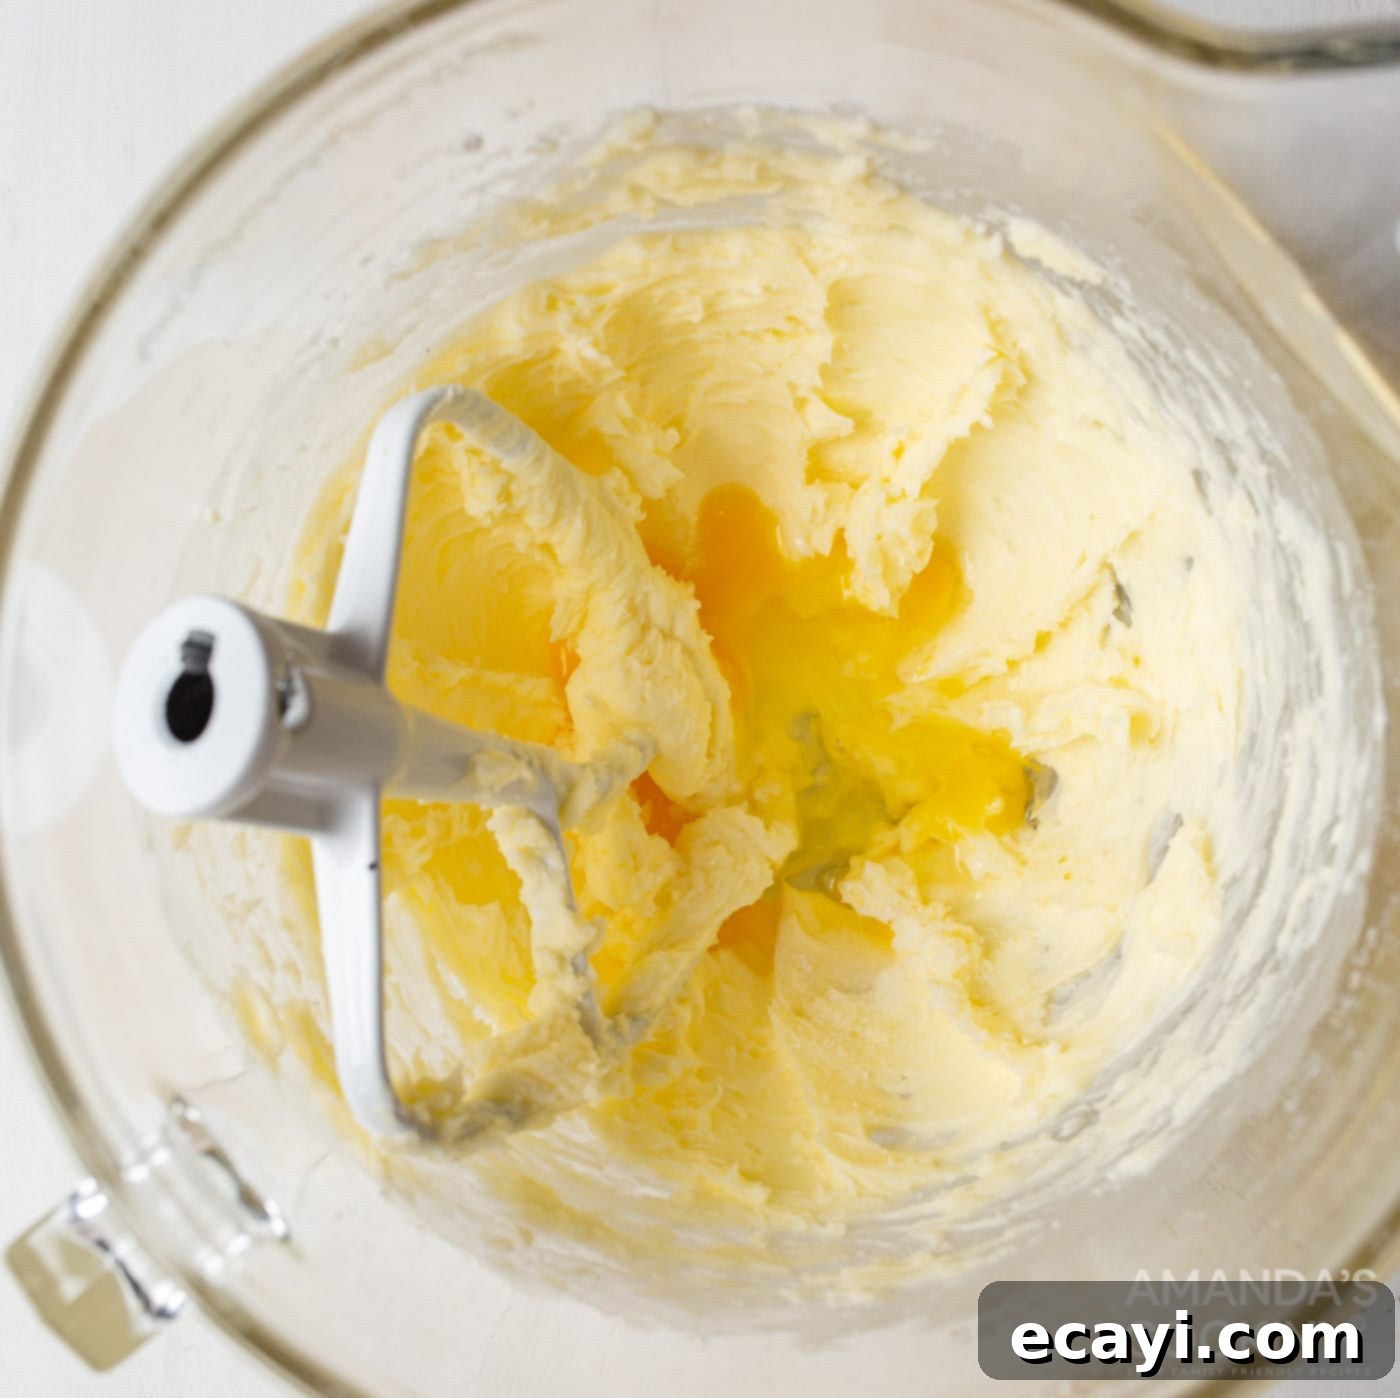
- In the bowl of a stand mixer fitted with a paddle attachment, cream together the softened butter and powdered sugar on medium speed until the mixture becomes wonderfully light, fluffy, and pale in color. This process incorporates air, which is crucial for a tender cookie. Add the egg and vanilla extract, mixing well. Make sure to scrape down the sides of the bowl periodically to ensure all ingredients are thoroughly combined and no pockets of unmixed ingredients remain.
- Gradually add the whisked flours to the stand mixer, mixing on low speed until just combined. Be careful not to overmix; overmixing can develop the gluten in the flour, resulting in tougher cookies. Mix only until no streaks of dry flour are visible. The dough will be thick and firm, which is exactly what you want for piping.
- Prepare a piping bag by fitting it with a large star tip (a Wilton 1M is excellent for this). Working in batches, carefully transfer the cookie dough into the piping bag. On baking sheets lined with parchment paper (which prevents sticking and helps with even baking), pipe 1-inch squared circles or your desired decorative shapes. Don’t worry if the dough feels a bit tough; that’s normal for a pipeable butter cookie dough. Apply steady, even pressure for consistent shapes.
- Bake for approximately 22 minutes, or until the edges of the cookies just begin to turn a light golden brown and the centers are set. The exact baking time may vary slightly depending on your oven and the size of your cookies. Keep a close eye on them to prevent overbrowning. Once baked, remove the cookies from the oven and transfer them to cooling racks to cool completely.
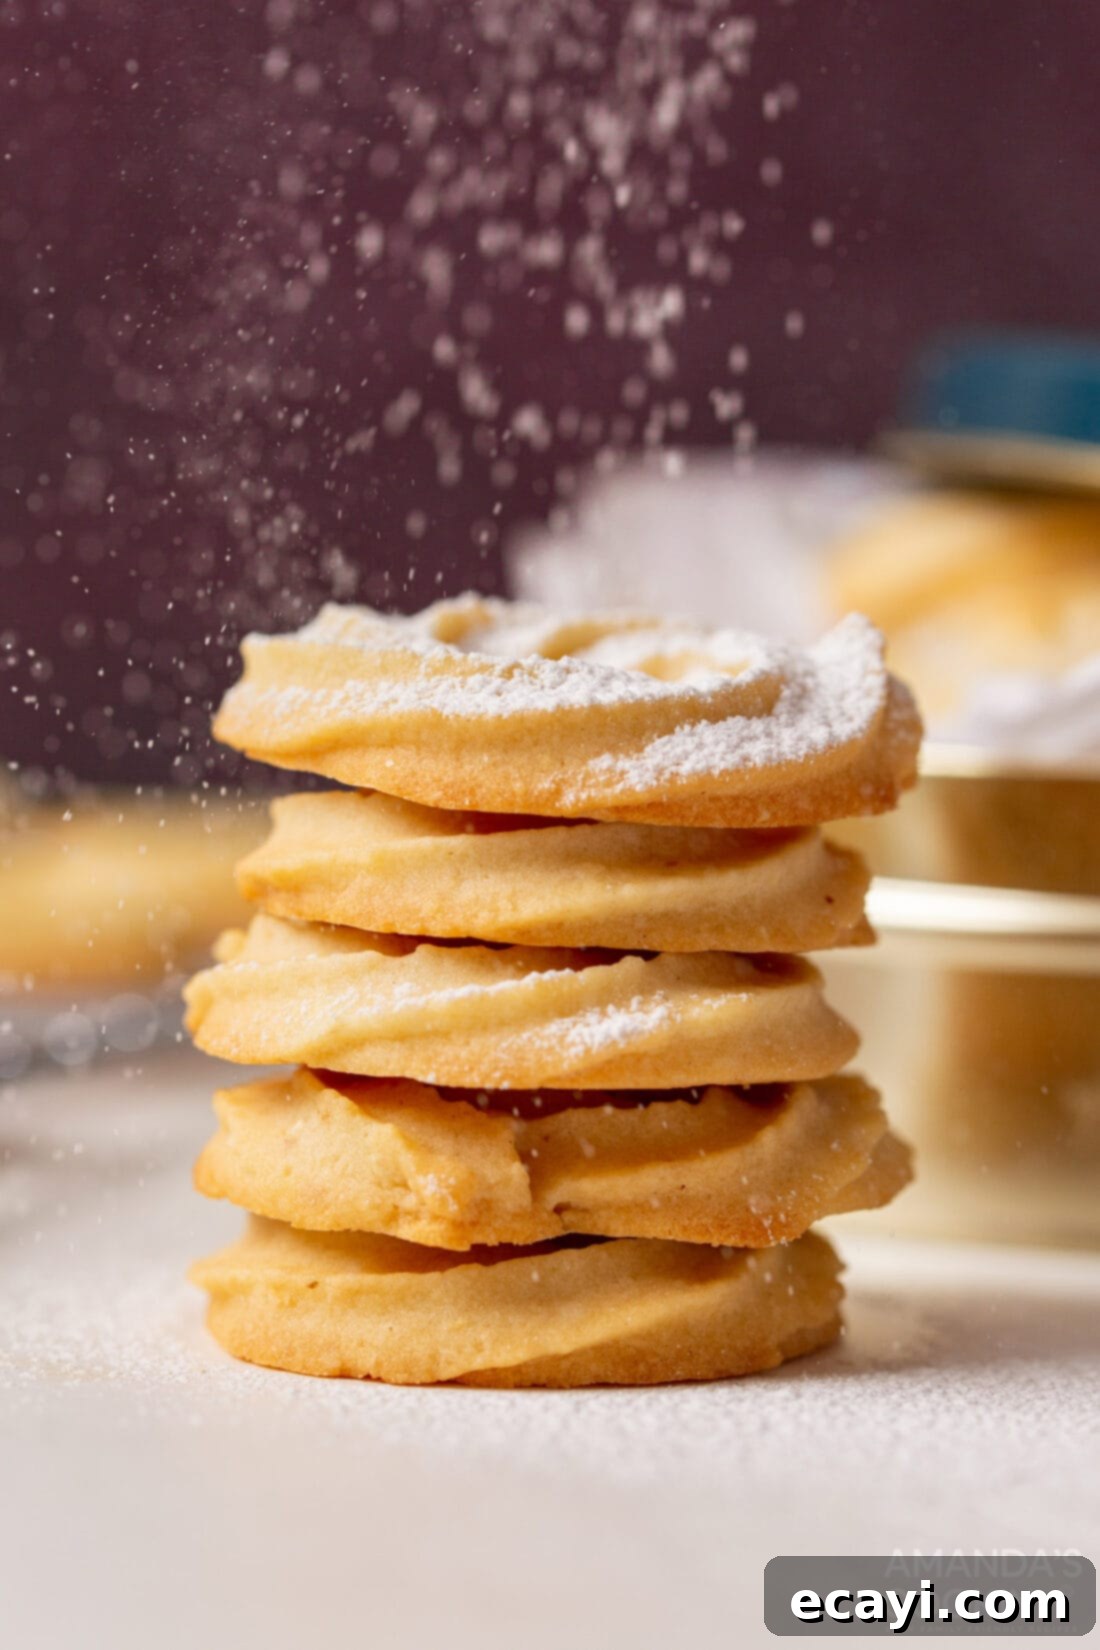
- For an optional, elegant touch, dust the cooled Danish butter cookies with a light coating of confectioners’ sugar. Once completely cool, they are ready to be packaged as a beautiful homemade holiday gift or enjoyed immediately!
Frequently Asked Questions & Expert Tips for Danish Butter Cookies
Absolutely! These butter cookies freeze wonderfully, making them perfect for advance preparation or extending their shelf life. You have two excellent options for freezing:
- Freezing unbaked dough: Prepare the cookie dough as instructed, then pipe your desired shapes onto a parchment paper-lined baking sheet. Place the entire baking sheet in the freezer for about 30-60 minutes, or until the cookies are firm enough to handle without losing their shape (this is called flash freezing). Once flash-frozen, transfer the unbaked cookie shapes into an airtight container or a large freezer-safe zip-top bag. They can be stored in the freezer for up to 2 months. When you’re ready to bake, simply arrange the frozen cookies on a lined baking sheet and bake as usual, adding a couple of extra minutes to the baking time if needed. This method is fantastic for having freshly baked homemade butter cookies on demand!
- Freezing baked cookies: Allow the baked cookies to cool completely. Then, arrange them in a single layer in an airtight container, separated by parchment paper if stacking. You can also place them in a freezer-safe bag. Store in the freezer for up to 1 month. Thaw at room temperature before serving.
A stiff dough is often due to too much flour (from improper measurement or compacting it) or butter that is too cold. Ensure your butter is truly at room temperature. If the dough is still too stiff, try adding a tiny amount (1/2 to 1 teaspoon) of milk or cream, mixing well, until it reaches a pipeable consistency. Remember, the dough is meant to be firm, not runny, for maintaining its piped shape.
To prevent spreading, ensure your butter isn’t *too* soft or greasy, and that your flour is measured correctly. Chilling the piped cookies on the baking sheet for 10-15 minutes before baking can also significantly help them hold their shape beautifully. Additionally, make sure your oven temperature is accurate; a too-low oven can cause cookies to spread before they set.
Delightful Serving Suggestions for Danish Butter Cookies
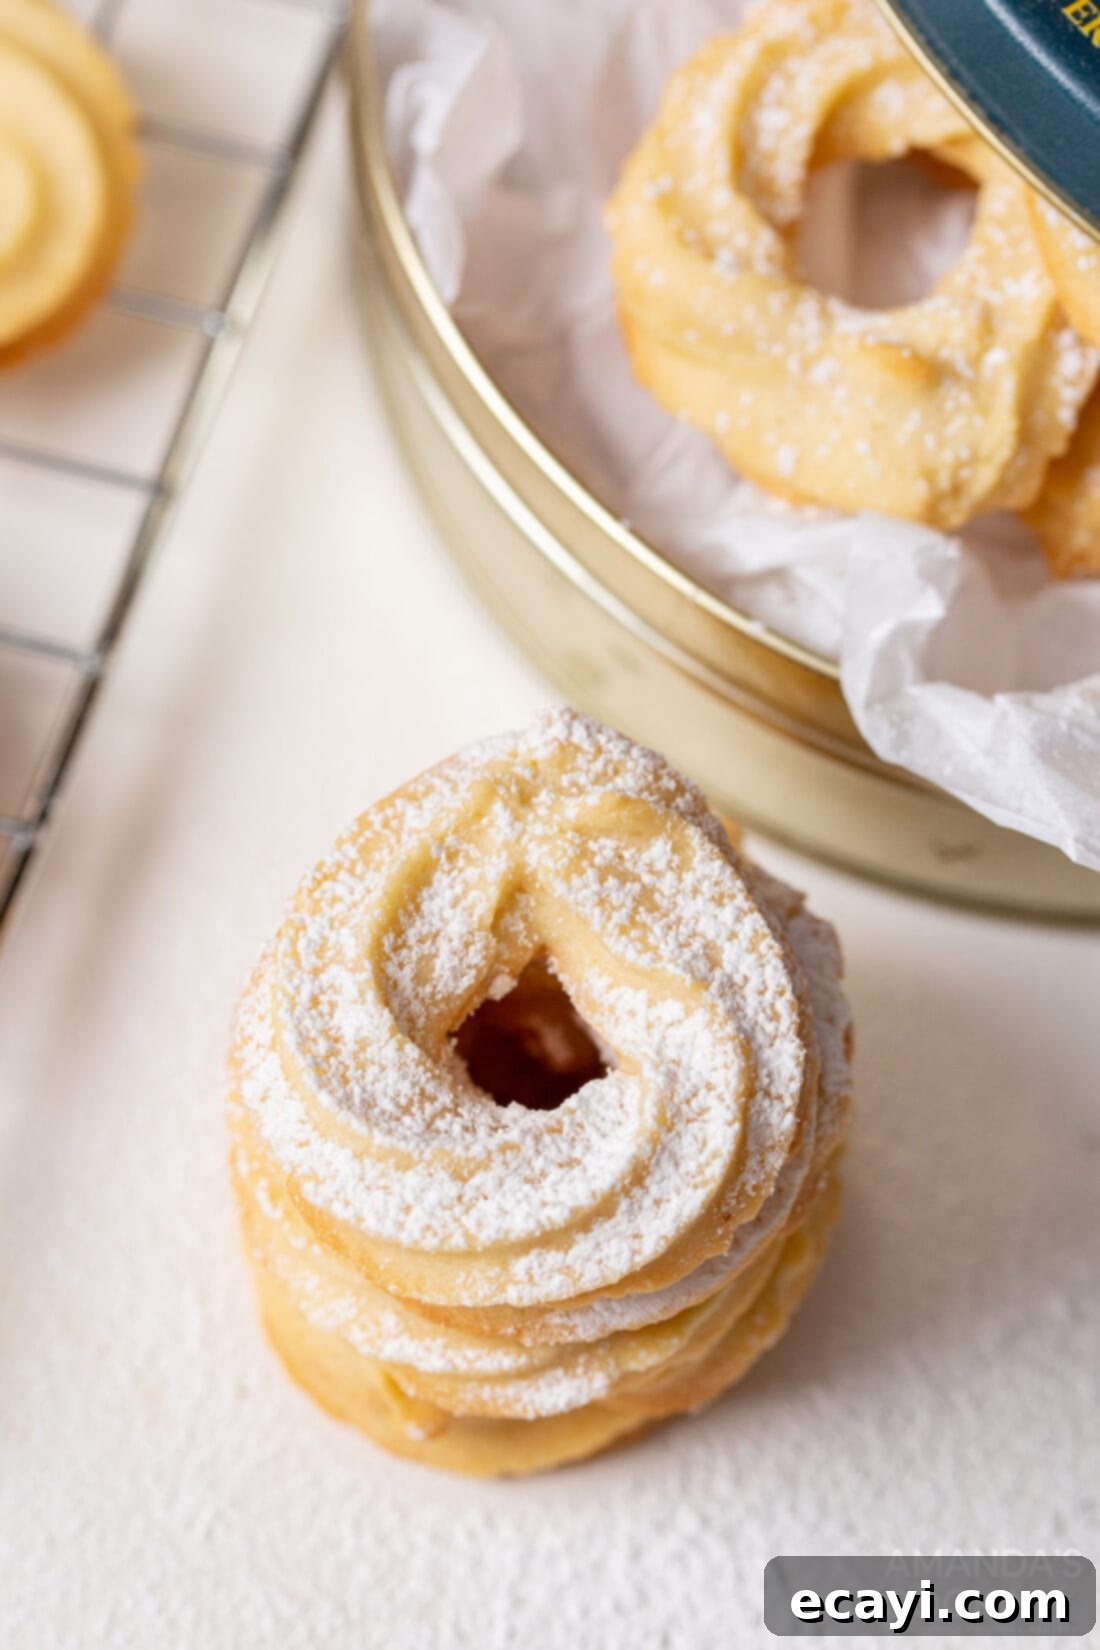
These buttery delights are fantastic on their own, but a light dusting of powdered sugar is a classic and optional finishing touch that enhances their delicate sweetness and elegant appearance. While traditional Danish butter cookies are rarely adorned with heavy icing, you can certainly get creative! For a festive twist, consider dipping or drizzling them with melted white chocolate or dark chocolate, and then topping them with colorful sprinkles, much like we did in our popular butter cookies recipe. They also pair wonderfully with a warm cup of coffee, tea, or even a glass of milk, making them a perfect treat for any time of day.
Explore More Irresistible Cookie Recipes
- Warm & Cozy Hot Cocoa Cookies
- Beautiful Stained Glass Cookies
- Soft & Chewy Peanut Butter Cookies
- Classic Shortbread Cookies
- Festive Cornflake Christmas Cookies
- Irresistible Reeses Pieces Cookies
- Artistic Paintbrush Cookies
- Charming Cherry Wink Cookies
I’m passionate about baking and cooking, and I love sharing my culinary adventures with all of you! To make sure you never miss a new recipe, I offer a convenient newsletter delivered right to your inbox every time a fresh post goes live. Simply subscribe here and start receiving your free daily recipes, inspiration, and tips!
Classic Danish Butter Cookies
IMPORTANT – Don’t forget to check the Frequently Asked Questions and Expert Tips section within the blog post, which you may find incredibly helpful. Just scroll up to read them!
Print Recipe
Pin Recipe
Rate Recipe
Save It
Saved!
Prevent your screen from going dark
Course:
Dessert
Cuisine:
American, Danish
30 cookies
113
Amanda Davis
Ingredients
- 2 cups all-purpose flour
- ½ cup almond flour ground and unblanched
- 1 cup confectioners sugar aka powdered sugar or icing sugar
- 1 cup unsalted butter at room temperature
- 1 tsp vanilla extract
- 1 egg
- ½ tsp salt
- powdered sugar for garnish, optional
Tools You’ll Need
-
Piping bag
-
Large Star Piping Tip (Wilton 1M recommended)
-
Stand mixer
-
Baking sheets
Important Notes Before You Begin
- The cookie dough for Danish butter cookies is intentionally thick and can be a bit challenging to pipe. This is completely normal and ensures the cookies hold their intricate shapes during baking.
- If you are using salted butter instead of unsalted butter, remember to omit the 1/2 teaspoon of salt from the recipe.
- Allow your butter to reach true room temperature (softened but not melted) for about 35-45 minutes before starting. This is essential for proper creaming and a tender cookie texture.
- The final yield of cookies may vary depending on the specific size of the piping tip you choose and the dimensions of the cookies you pipe.
Detailed Instructions
-
Preheat your oven to 325°F (160°C).
-
In a large mixing bowl, thoroughly whisk together both the all-purpose flour and almond flour. Set this dry mixture aside.
-
Using a stand mixer fitted with a paddle attachment, combine the softened butter and powdered sugar. Beat on medium speed until the mixture is light, fluffy, and well aerated. Then, beat in the egg and vanilla extract, making sure to scrape down the sides of the bowl as needed to ensure all ingredients are fully incorporated.
-
Gradually add the whisked flour mixture to the stand mixer bowl. Mix on low speed until the flours are thoroughly combined with the wet ingredients, and no dry streaks remain. Avoid overmixing.
-
Fit a large star piping tip onto a piping bag. Working in manageable batches, transfer the thick cookie dough into the prepared piping bag. Pipe your desired 1-inch (or larger) circular or decorative shapes onto a baking sheet lined with parchment paper. Leave a little space between cookies.
-
Bake the cookies for approximately 22 minutes, or until their edges begin to turn a very light golden brown and the cookies are set. Carefully remove them from the oven and transfer them to wire cooling racks to cool completely. For an optional decorative finish and an extra touch of sweetness, dust the cooled cookies with confectioners’ sugar before packaging them as a delightful homemade gift or serving immediately.
Nutrition Information
Tried this Recipe? Pin it for Later!
Follow on Pinterest @AmandasCookin or tag #AmandasCookin!
The recipes on this blog are meticulously tested with a conventional gas oven and gas stovetop. Please note that oven performance can vary significantly, especially with older models, leading to inconsistent cooking and baking. We highly recommend using an inexpensive oven thermometer to ensure your oven maintains the proper temperature. If you opt for a toaster oven or countertop oven, be aware that heat distribution may differ from a full-sized conventional oven, potentially requiring adjustments to your cooking or baking times. For recipes involving pressure cookers, air fryers, slow cookers, or other appliances, a link to the specific appliances we use is provided within each recipe. In baking recipes where measurements are given by weight, we advise sticking to this method; using volume (cups) may yield different results, and we cannot guarantee success with alternative measurement methods.
