Decadent One-Pan Cast Iron Skillet Brownies: The Ultimate Fudgy, Chewy Dessert
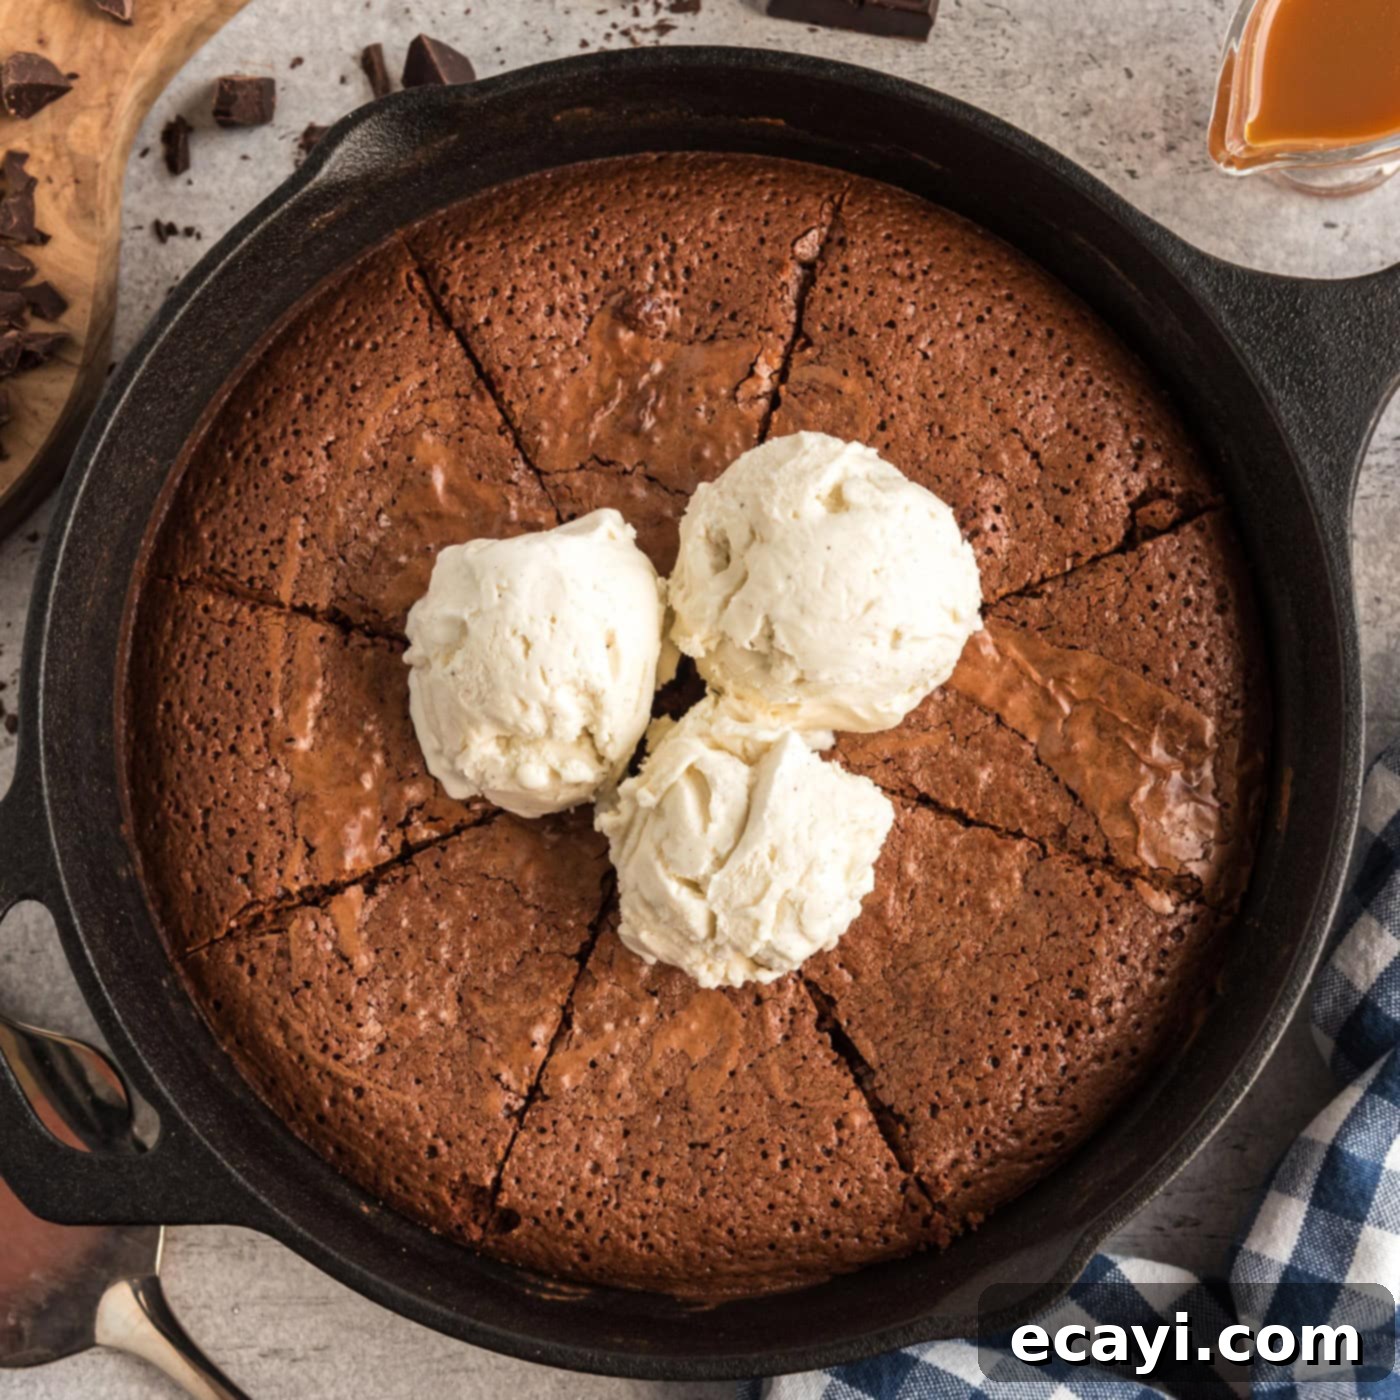
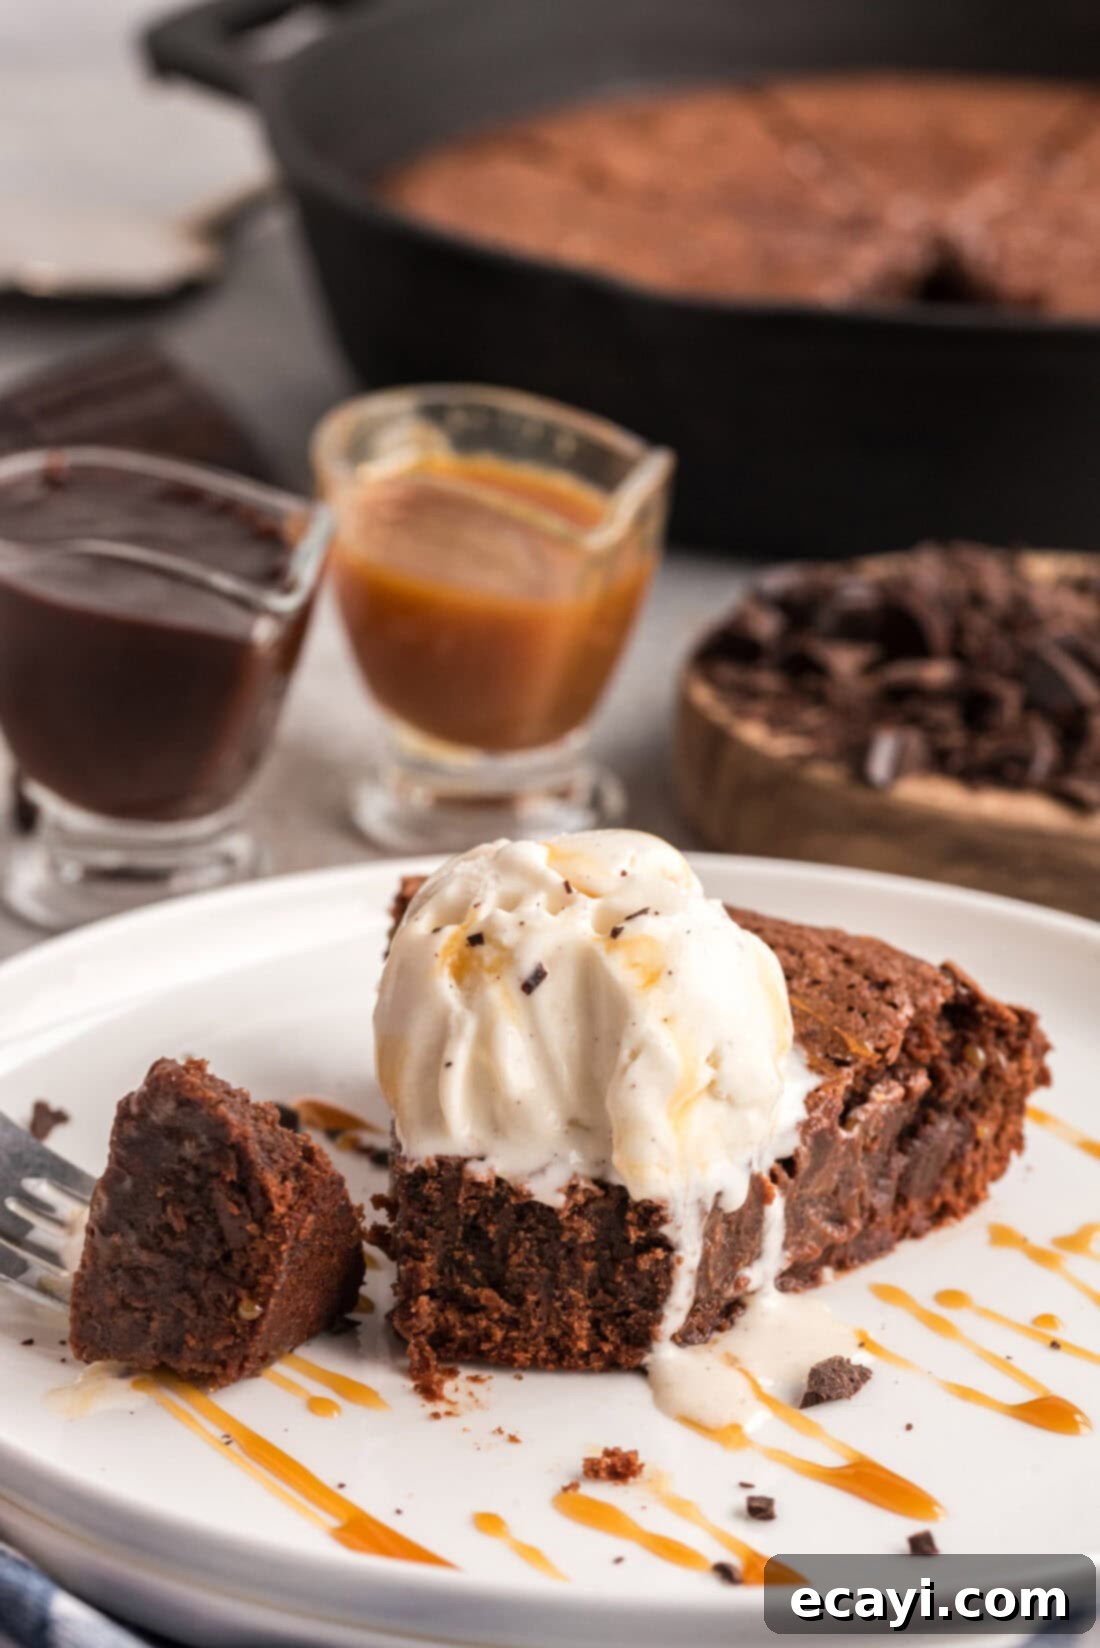
Imagine the perfect brownie: a shimmering, crackled top, irresistibly crisp edges, and an intensely fudgy, rich center. Now, imagine achieving all of this with minimal effort, using just one pan! Our cast iron skillet brownies deliver exactly that – a dessert masterpiece that’s surprisingly simple to make and always impresses. Whether served warm with a generous scoop of vanilla ice cream or enjoyed cool, these one-pan wonders are destined to become your go-to brownie recipe.
Why These Skillet Brownies Are Unbeatable
Our skillet brownies truly stand in a league of their own in the dessert world. They are incredibly thick, satisfyingly chewy, and boast a deep, rich chocolate flavor that every great brownie should have. This recipe, perfected over many years since its original development in 2010, has consistently produced countless fudgy masterpieces from our kitchen. There’s an undeniable comfort and nostalgic charm that comes with baking and enjoying brownies directly from a warm cast iron skillet.
The secret to their consistent perfection lies in the use of a cast iron skillet. Cast iron is renowned for its exceptional heat distribution and retention capabilities. This unique property ensures that your brownies bake evenly, developing those coveted crisp edges while maintaining a supremely moist and fudgy interior. Plus, serving is a delight – you can easily cut them into beautiful wedge-shaped slices, much like a pie, for a sophisticated presentation. Or, for a more casual and equally satisfying experience, simply grab a spoon and dig right into the skillet, just as many of us do with a cookie skillet. The well-seasoned surface of your cast iron skillet naturally prevents sticking, making cleanup a breeze. And the best part? The entire brownie batter comes together right in the skillet itself, eliminating the need for extra mixing bowls and simplifying your baking process!
Key Ingredients for Fudgy Skillet Brownies
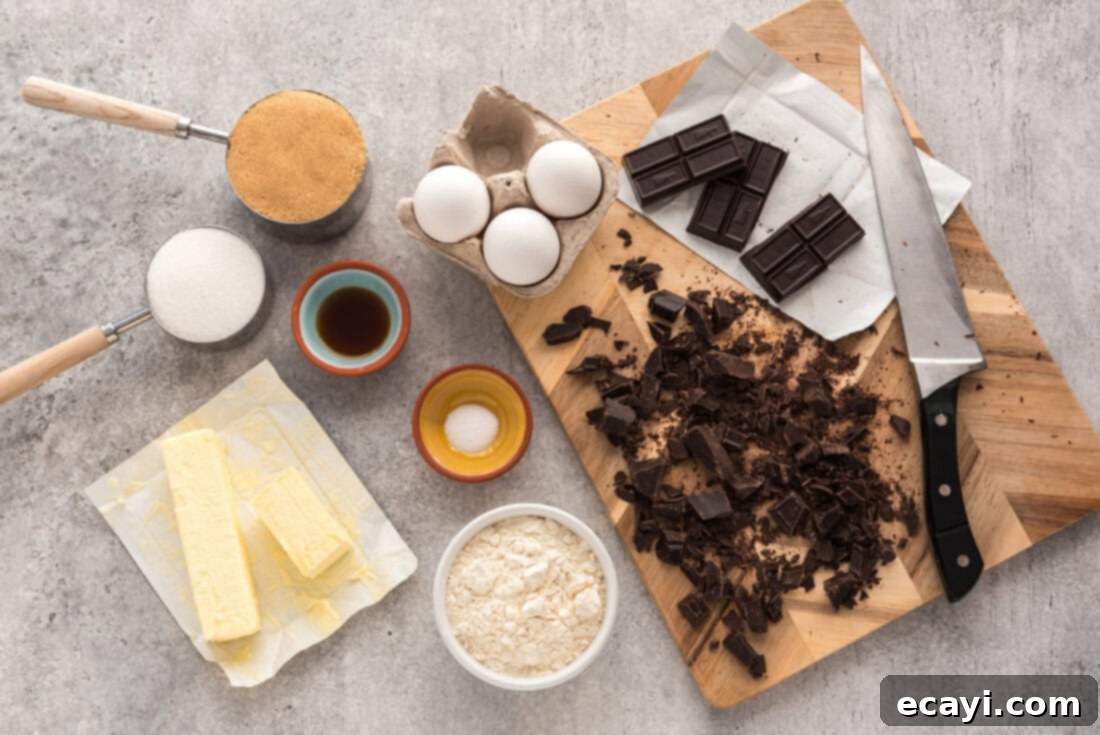
Creating these incredible skillet brownies requires a few simple, high-quality ingredients. For exact measurements and a complete list of instructions, you’ll find the printable recipe card at the very end of this post. However, understanding the role of each ingredient will elevate your baking experience and ensure perfect results every time.
Ingredient Spotlight & Expert Substitutions
Every ingredient in this recipe plays a crucial role in achieving the ultimate fudgy texture and rich flavor. Here’s a closer look at what you’ll need and how you can make minor adjustments if necessary:
- Unsalted Butter: Using unsalted butter allows you to control the total salt content in your brownies. Cut it into chunks for easier melting.
- Unsweetened Baking Chocolate: This is the star of our brownies! Unlike many recipes that rely solely on cocoa powder, we use coarsely chopped unsweetened baking chocolate as the base. This choice provides an intensely rich, deep chocolate flavor and a truly fudgy texture that cocoa powder alone cannot achieve. For best results, avoid substituting with chocolate chips here, as their composition is different.
- Light Brown Sugar: This contributes to the moistness and chewiness of the brownies. Its molasses content adds a subtle depth of flavor.
- Granulated Sugar: Works in conjunction with brown sugar to create that classic crisp, crackled top and adds sweetness.
- Eggs: Act as binders, adding structure, richness, and helping to achieve that desirable chewy texture. Adding them one at a time ensures proper emulsification.
- Pure Vanilla Extract: A splash of pure vanilla extract enhances and complements the deep chocolate notes, bringing out the best in the brownie’s flavor profile.
- All-Purpose Flour: We use a relatively small amount of unbleached all-purpose flour to keep the brownies fudgy rather than cakey. Avoid overmixing once the flour is added.
- Salt: A crucial ingredient that balances the sweetness and intensifies the chocolate flavor, making every bite more satisfying.
Substitution Suggestions:
For the Chocolate: While unsweetened baking chocolate is highly recommended for the richest flavor, you can substitute with a bar of high-quality bittersweet baking chocolate if you prefer a slightly sweeter, less intense chocolate base. If you do this, you might consider slightly reducing the granulated sugar by a tablespoon or two, though it’s often not necessary.
How to Bake Perfect One-Pan Skillet Brownies
These step-by-step photos and detailed instructions are here to guide you through the process, helping you visualize how to create this delicious recipe. For a quick reference, you can Jump to Recipe to get the printable version of this recipe, complete with precise measurements and instructions at the bottom of this page.
- Preheat your oven to 325°F (160°C). Place your cast iron skillet directly onto a stovetop burner.
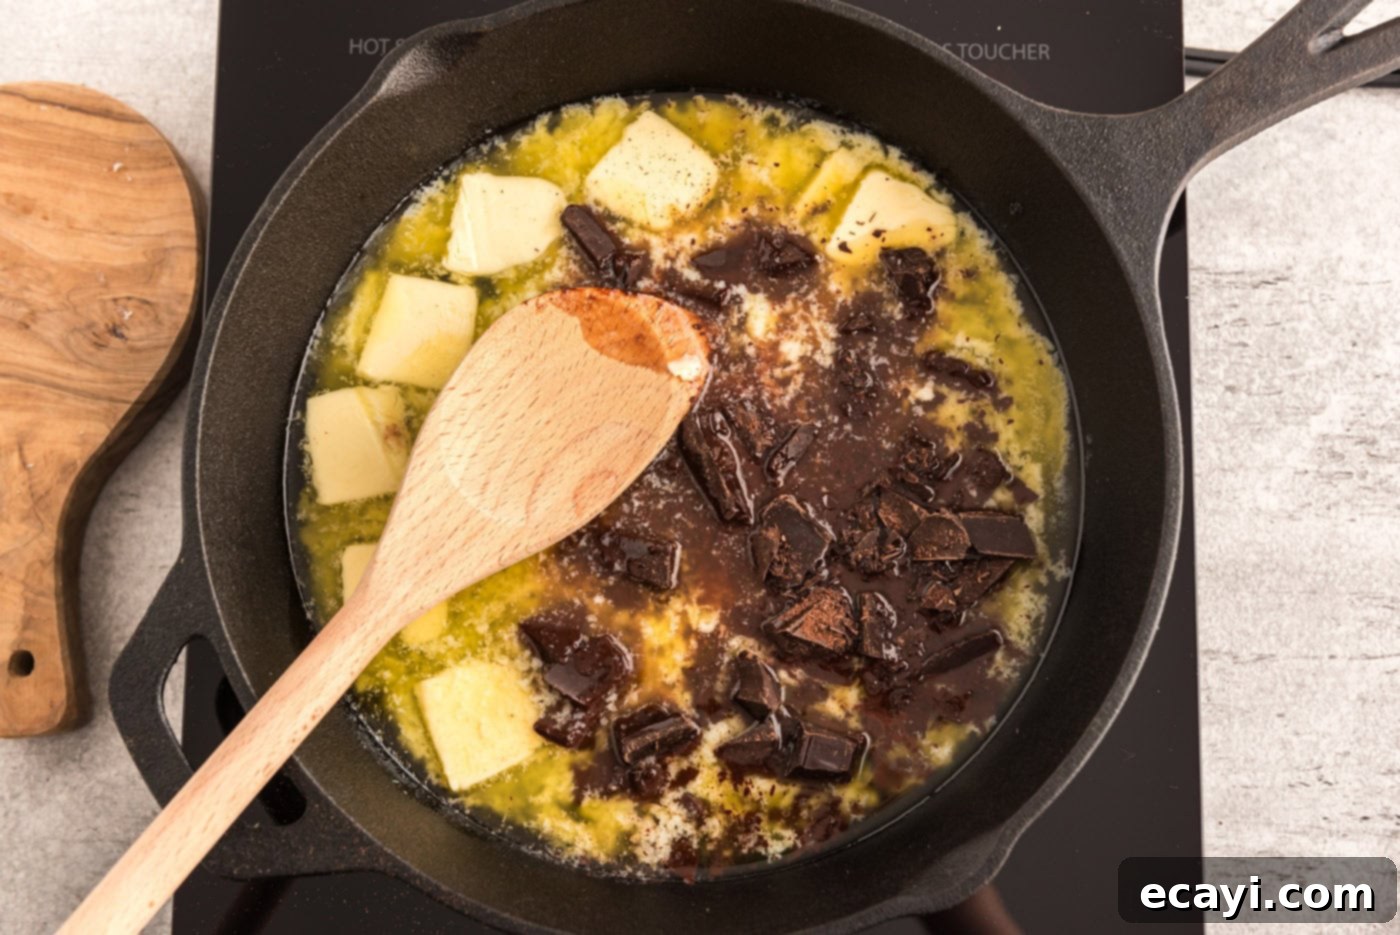
- Cut the unsalted butter into 6 equal chunks. Add these butter chunks along with the coarsely chopped unsweetened baking chocolate to the skillet. Cook over very low heat, stirring gently and occasionally with a wooden spoon. This slow melting process is key to a smooth, unseparated mixture.
PRO TIP – Melting butter and chocolate over low heat takes time, but resist the urge to turn up the heat! While they slowly melt, use this valuable time to measure out your other ingredients. This keeps you productive and prevents any scorching.

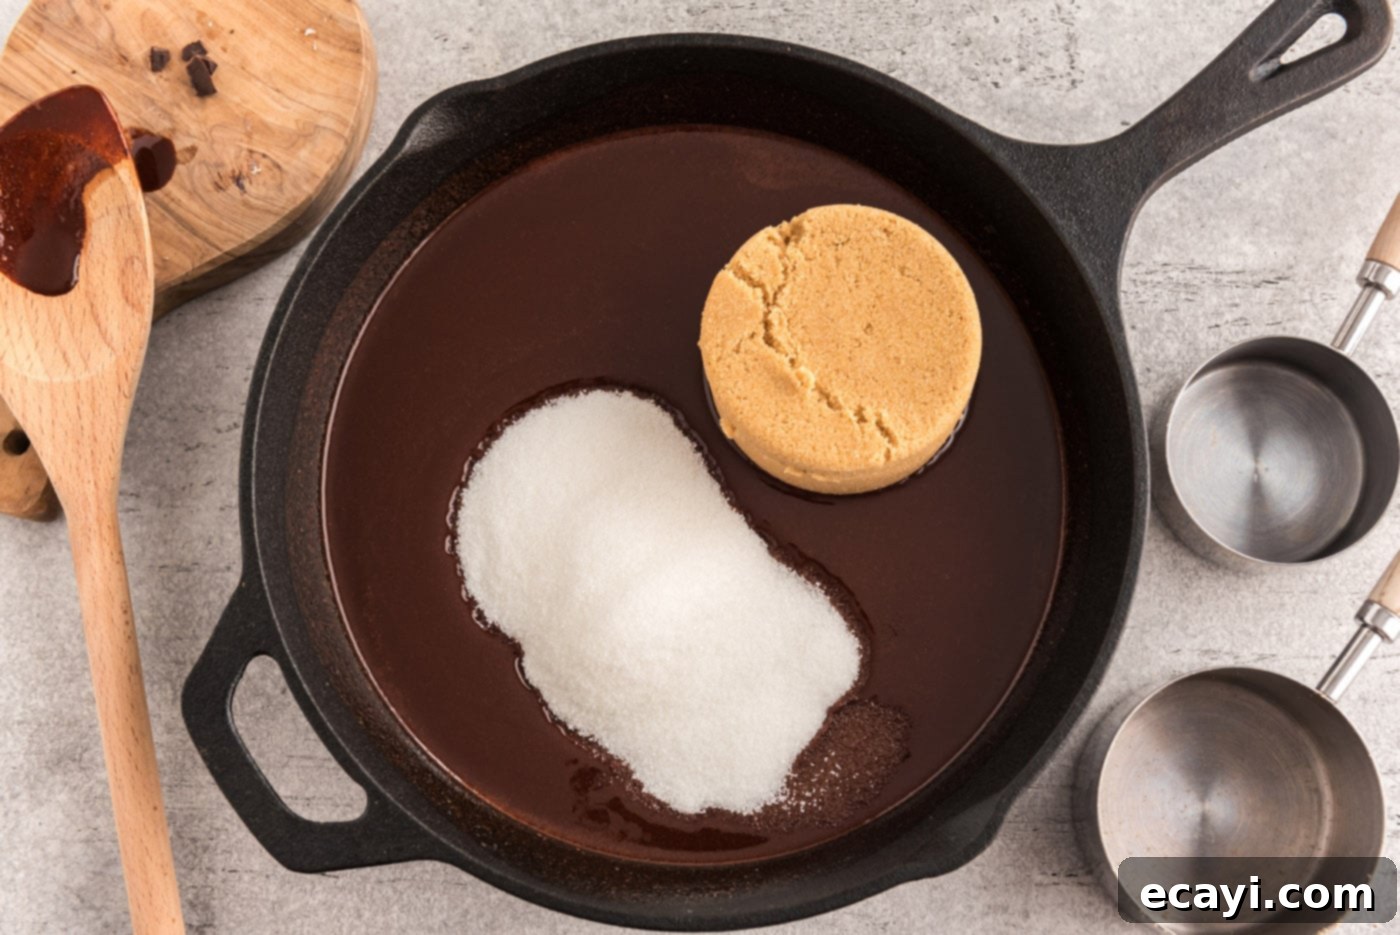
- Once the chocolate and butter are completely melted and smoothly combined, remove the skillet from the heat. Immediately add both the light brown sugar and granulated sugar. Stir vigorously until all the sugars are fully incorporated into the chocolate mixture and no grainy texture remains. This step helps create that signature crackled top.

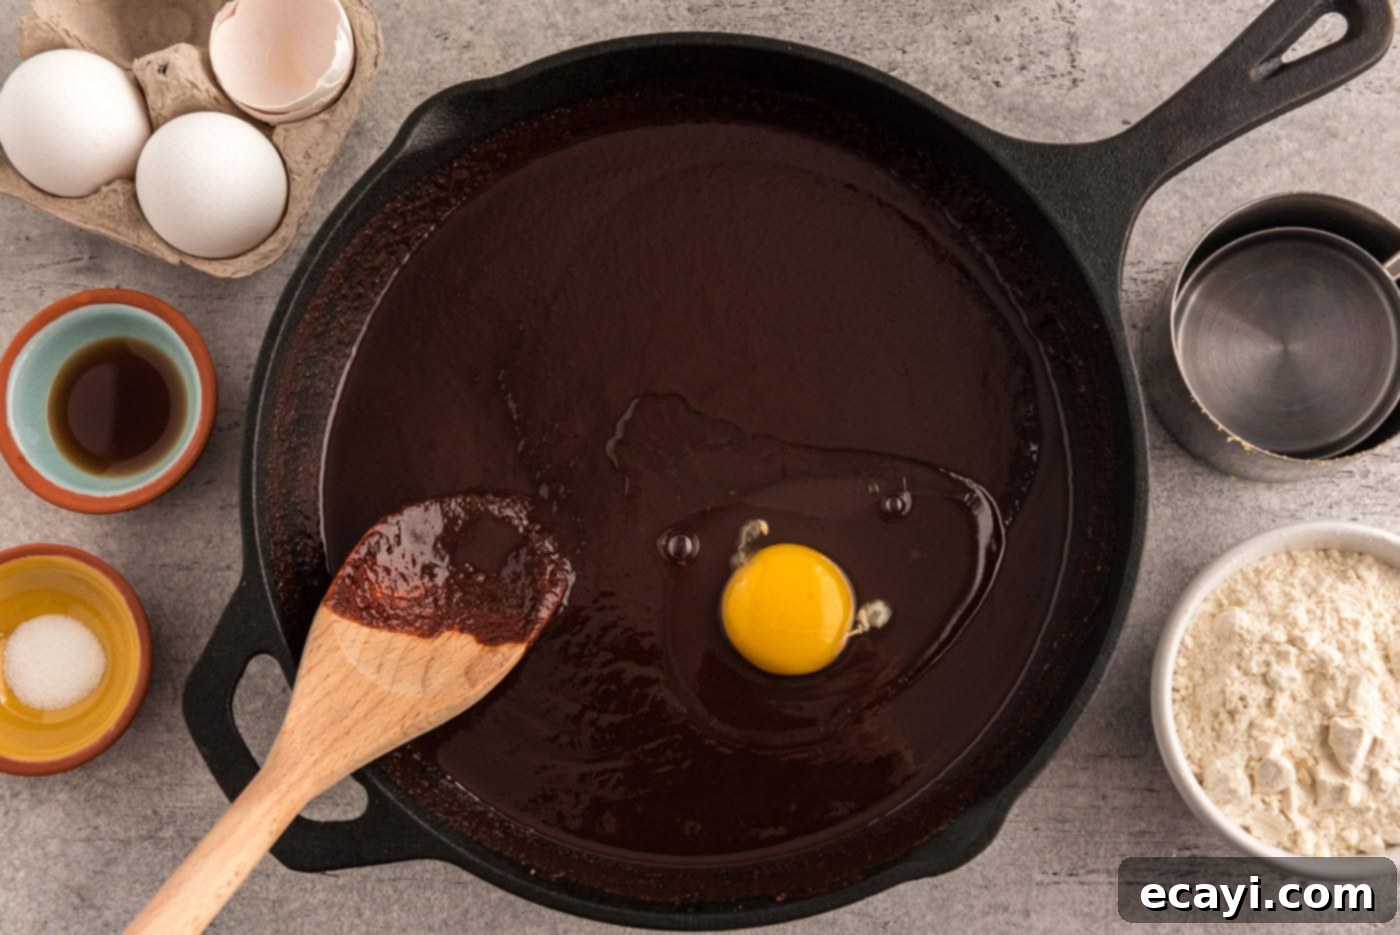
- Add the eggs, one at a time. After each egg addition, stir well until it is fully blended into the batter before adding the next. This ensures proper emulsification and contributes to a wonderfully chewy brownie.

- Pour in the pure vanilla extract and stir thoroughly to distribute its delightful aroma and flavor throughout the batter.
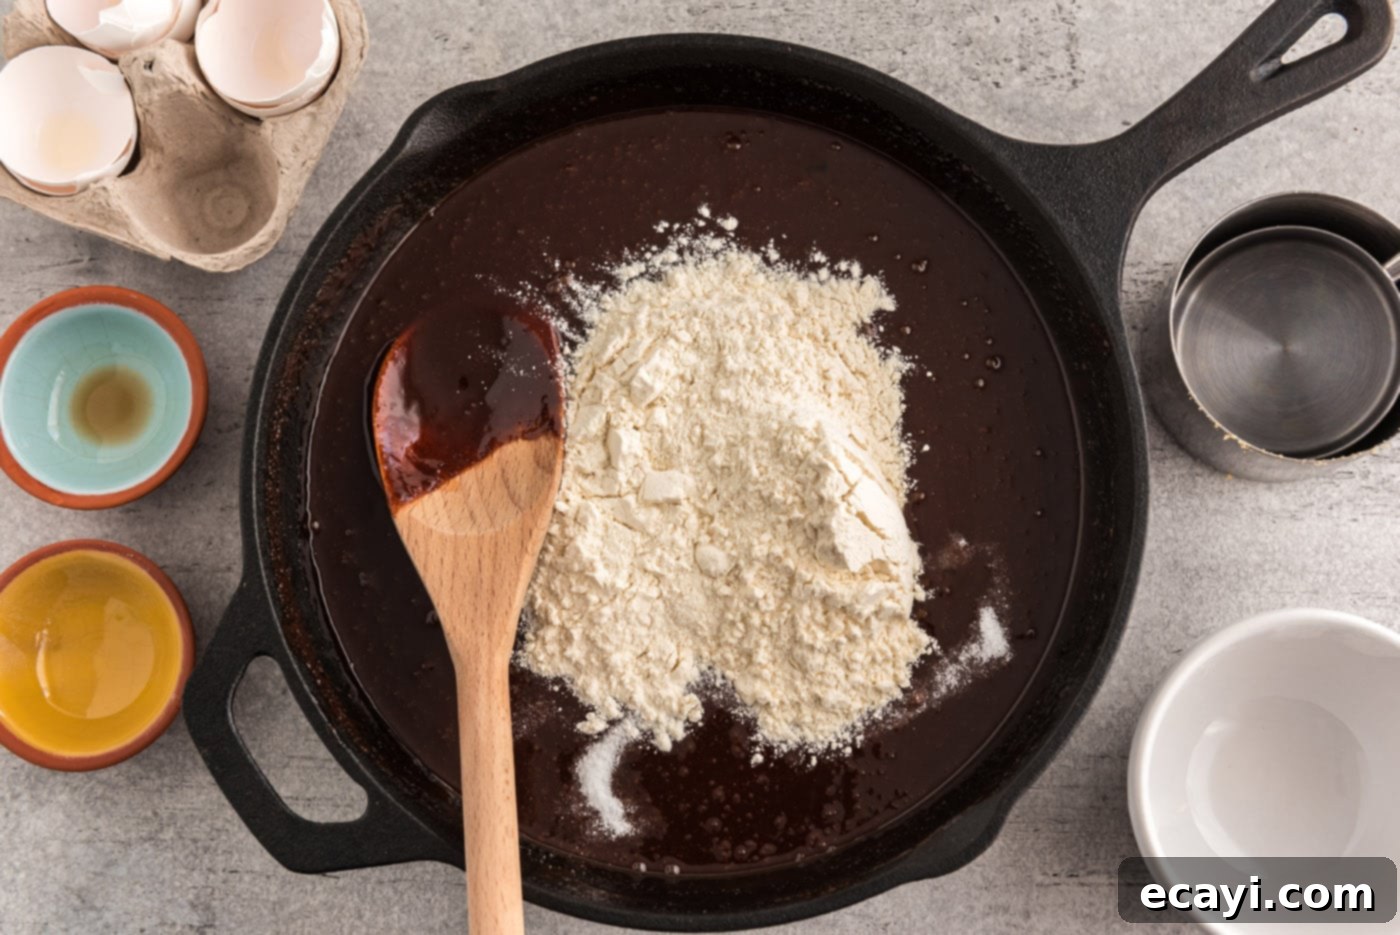
- Add the all-purpose flour and salt to the mixture. Gently stir until there are absolutely no visible traces of dry flour remaining. Be careful not to overmix, as overmixing can lead to tough, cake-like brownies instead of the desired fudgy texture.

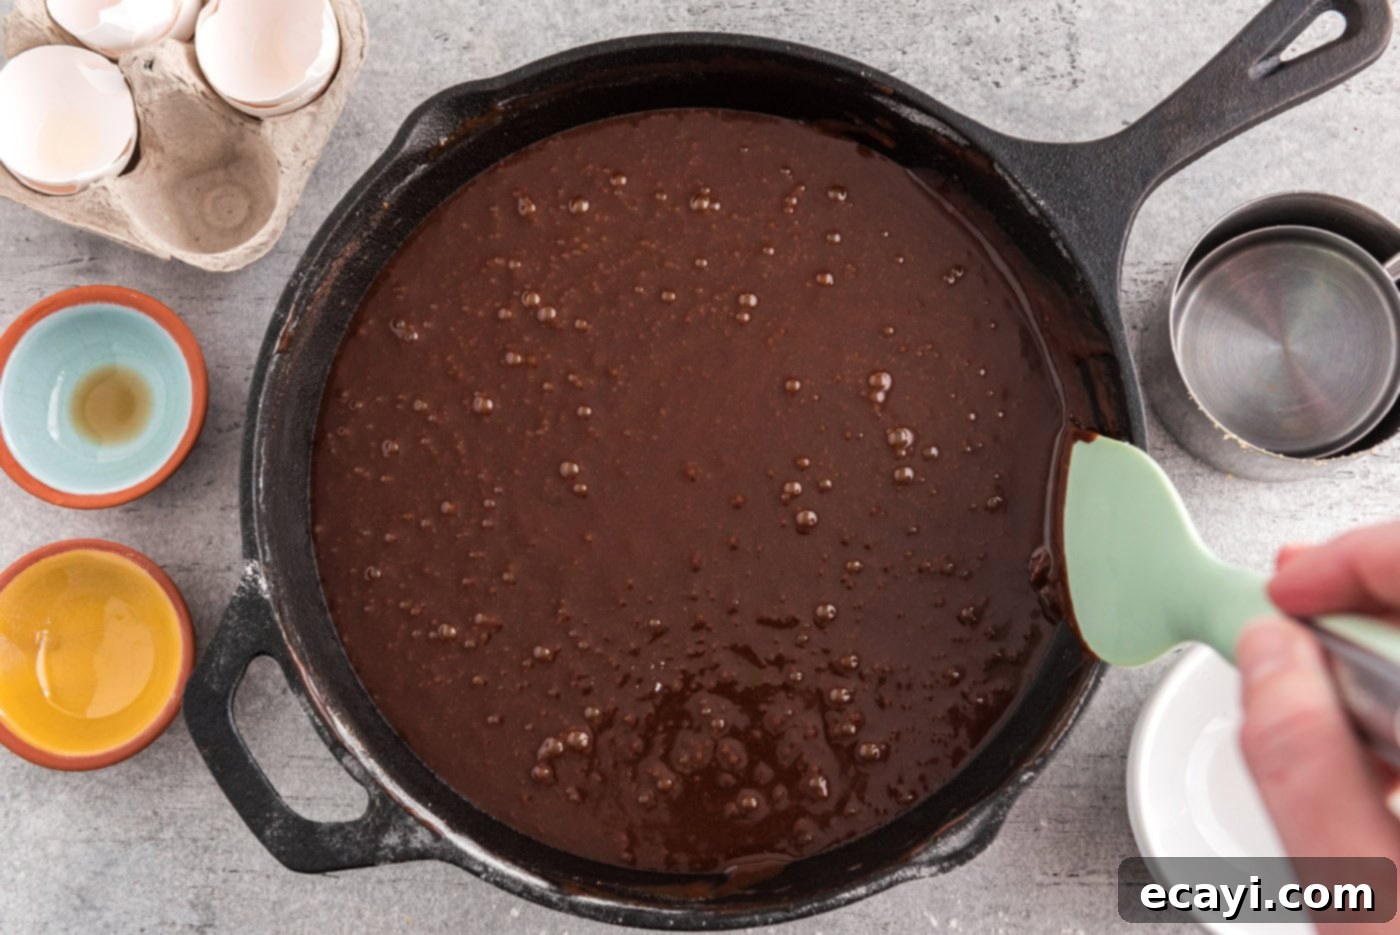
- Using a rubber spatula, scrape down the edges of the pan to ensure all the rich batter is gathered into the center. This helps promote even baking and uniform thickness.

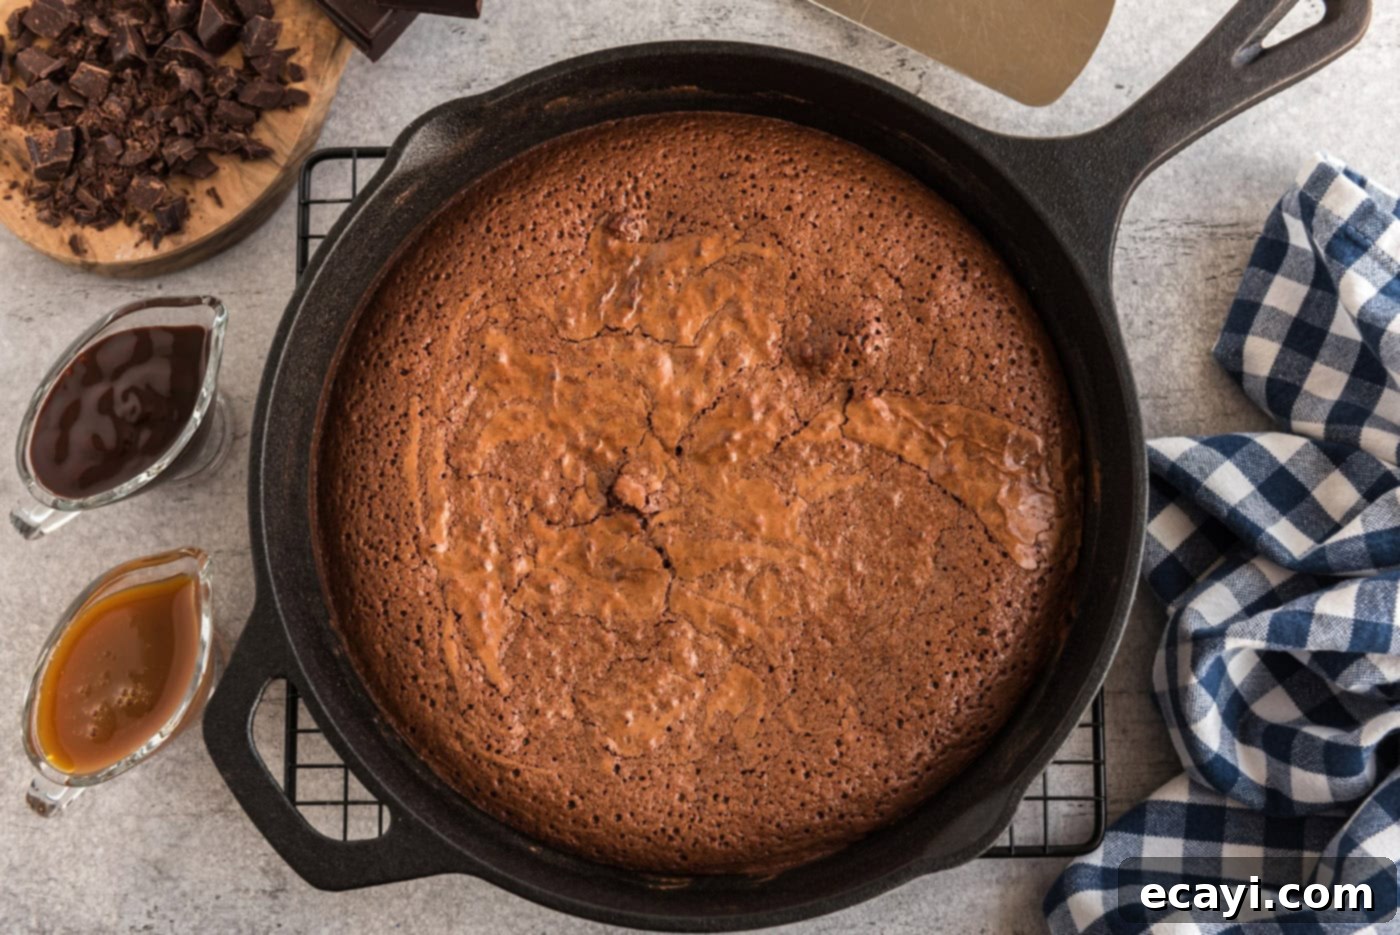
- Carefully transfer the skillet into your preheated oven and bake for approximately 50 minutes. To test for doneness, insert a toothpick into the center of the brownies. It should come out mostly clean, perhaps with a few moist crumbs clinging to it, but definitely no wet batter. If the toothpick is still wet, return the skillet to the oven and continue baking in 5-minute intervals until done. Remember, slightly underbaked is often preferred for ultimate fudginess!

- Once baked, remove the skillet from the oven and allow the brownies to cool on a wire rack for about 15 minutes. If you’re eager to enjoy warm brownies topped with melting ice cream and a drizzle of chocolate sauce, now is the perfect time to cut a wedge. Otherwise, for cleaner slices and a firmer texture, allow the brownies to cool completely at room temperature before cutting them into wedges.
Frequently Asked Questions & Expert Tips for Skillet Brownies
I achieved these wonderfully thick and fudgy brownies using a 9 3/4-inch cast iron skillet. If you opt for a larger skillet, such as a 10 or 12-inch, be aware that your brownies will be thinner. In this case, you’ll need to adjust the baking time accordingly, likely reducing it. Always test for doneness with a toothpick – it should come out mostly clean with a few moist crumbs, never wet batter!
Absolutely, yes! Adding mix-ins is a fantastic way to customize your skillet brownies. While I personally love the intense flavor of coarsely chopped baking chocolate, chocolate chips are an amazing addition for pockets of melted chocolate. You can also fold in your favorite nuts, such as walnuts or pecans, for added crunch and flavor. A brownie only gets better with delightful mix-ins, right?
To keep your brownies fresh and delicious, allow them to cool completely first. Then, transfer the cooled brownie wedges to an airtight container or a large ziptop bag. They will store beautifully at room temperature for up to 5 days, maintaining their fudgy texture. For longer storage, individual brownie pieces can be wrapped in plastic wrap, then foil, and frozen for up to 3 months. Thaw at room temperature before enjoying.
Several factors contribute to the coveted crackled top! Ensuring your butter and sugars are well combined and slightly cooled before adding eggs is important. The ratio of brown and granulated sugar, and the vigorous mixing of the sugars into the warm chocolate-butter mixture also play a key role. Don’t overmix the flour, and bake at the correct temperature for the recommended time to allow the surface to set and crack beautifully.
While the cast iron skillet is truly what makes these brownies exceptional in terms of crispy edges and fudgy interior, you can use a regular 9×9 inch metal baking pan. However, be aware that the texture might vary slightly – you might not get the same level of crispiness on the edges, and the baking time may need to be adjusted. Keep a close eye on them and use the toothpick test.
Irresistible Serving Suggestions
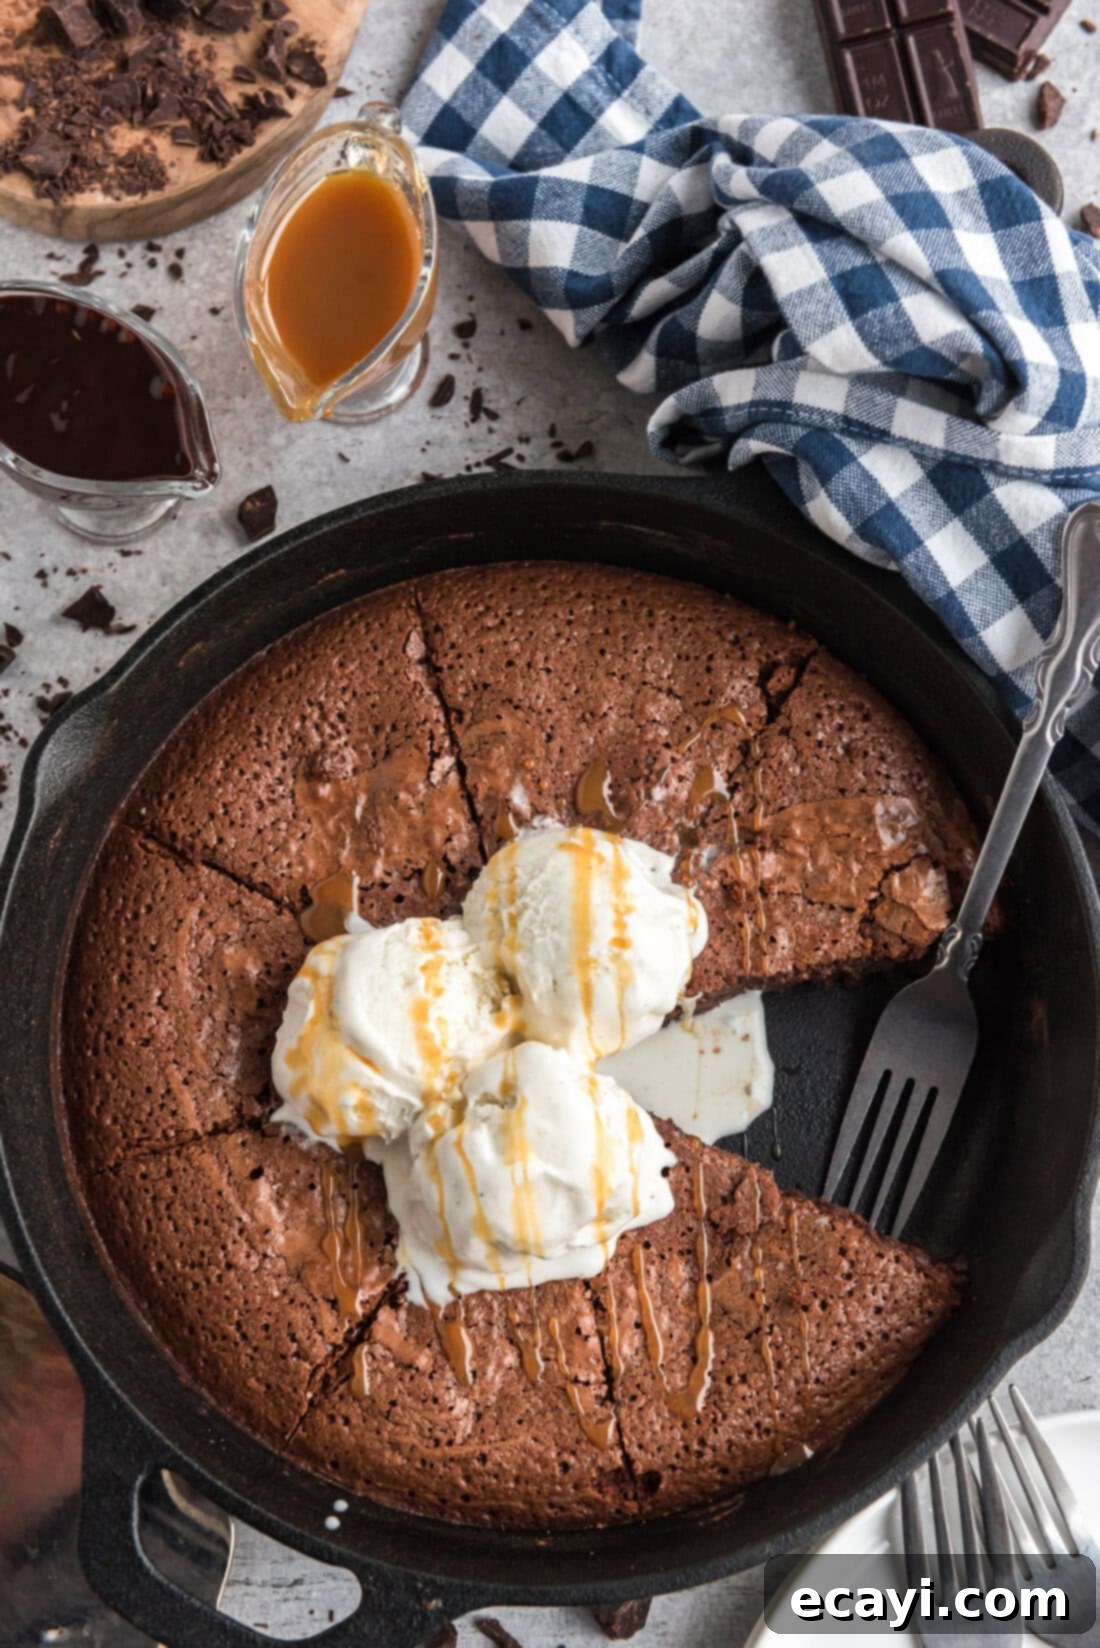
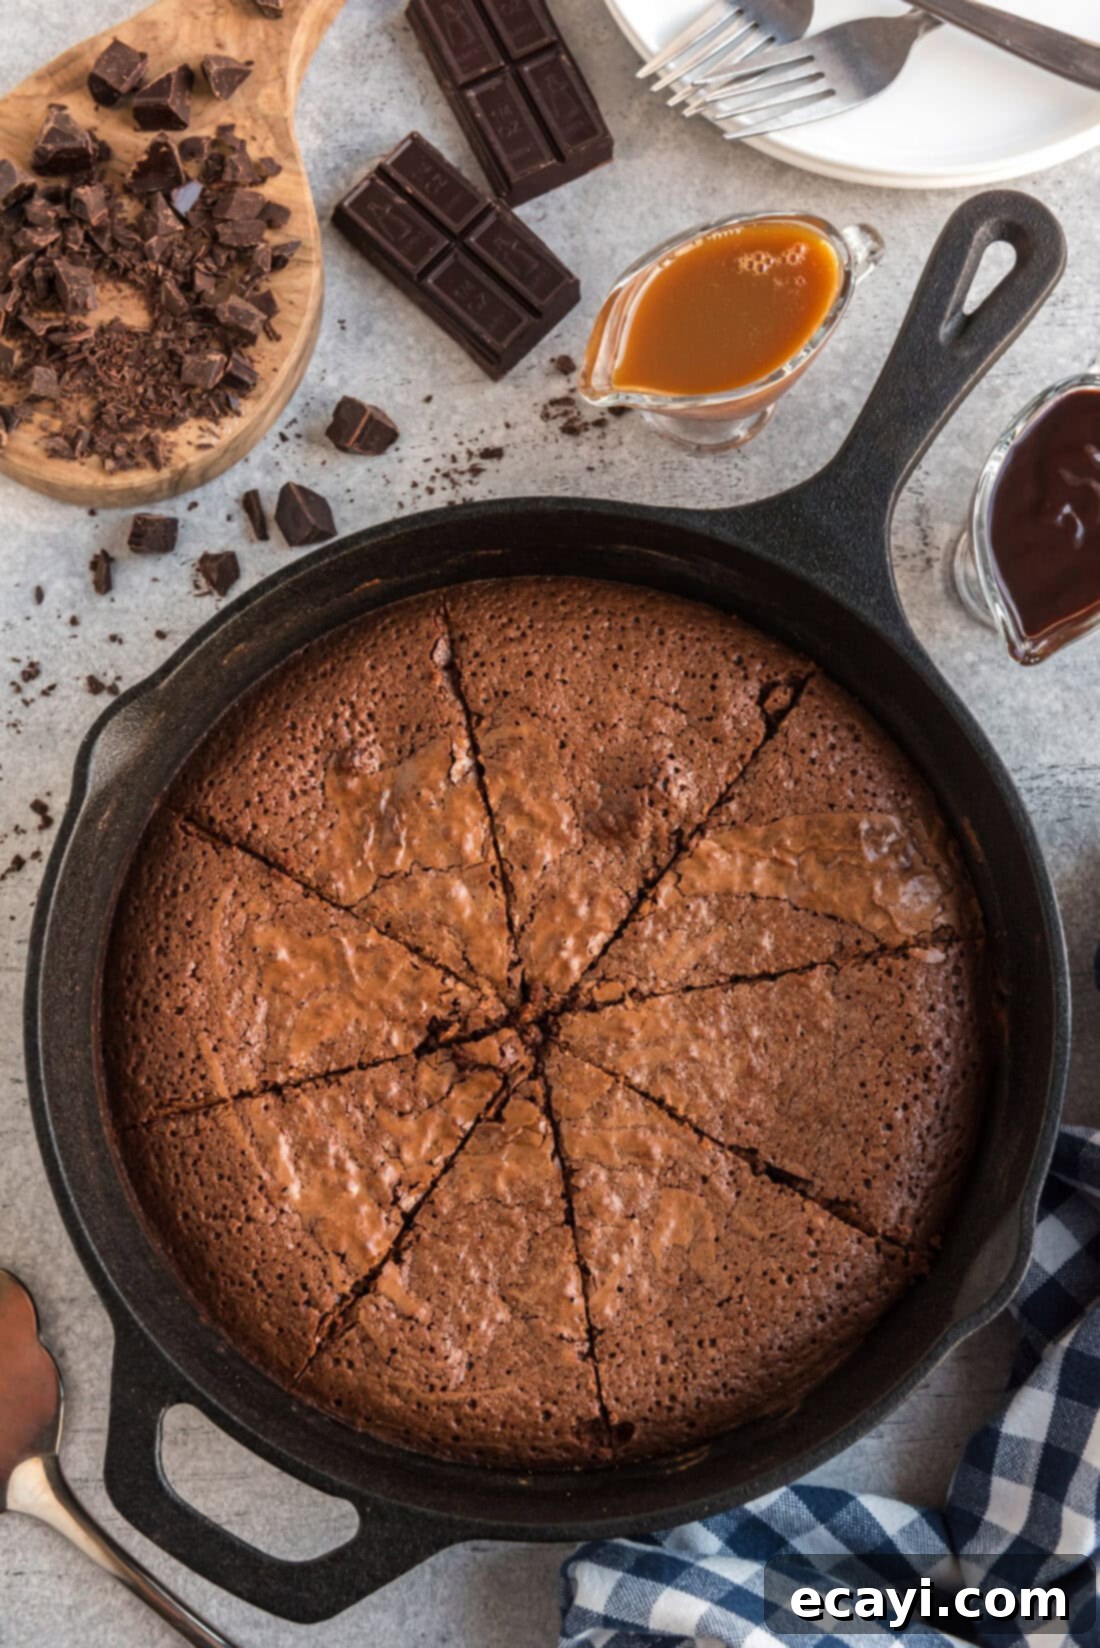
There are countless ways to enjoy these delicious skillet brownies! For the ultimate indulgent treat, serve your warm skillet brownies with a hefty scoop (or two, or three!) of premium vanilla bean ice cream. The contrast of warm, rich brownie and cold, creamy ice cream is pure bliss. Elevate this experience further by drizzling generously with warm chocolate syrup, homemade caramel sauce, or even a tangy raspberry coulis for an extra layer of decadence. If ice cream isn’t your preference, these fudgy brownies are just as satisfying enjoyed on their own, or with a dollop of freshly whipped cream, a sprinkle of sea salt, or a dusting of cocoa powder.
In my personal opinion, the most authentic and proper way to savor a skillet brownie is by digging in directly with a spoon, especially when it’s still warm and gooey – a true moment of pure indulgence! However, if you’re planning on portioning them for guests, saving some for later, or simply prefer a more structured treat, you can elegantly slice them into wedges, much like a pie. Whichever way you choose to enjoy them, these brownies promise a delightful dessert experience every time!
Explore More Delicious Brownie Recipes
If you’ve fallen in love with these skillet brownies and are craving more chocolatey goodness, be sure to check out some of our other fantastic brownie creations:
- Brownie in a Mug
- Millionaire Brownies
- Salted Brownie Cookies
- Chocolate Cheesecake Brownies
I genuinely love to bake, cook, and share my kitchen experiences and perfected recipes with all of you! Remembering to come back each day for new culinary inspiration can be challenging, which is why I offer a convenient newsletter delivered straight to your inbox every time a new recipe posts. Simply subscribe today and start receiving your free daily recipes, making it easier than ever to discover your next favorite dish!

Skillet Brownies
IMPORTANT – There are often Frequently Asked Questions within the blog post that you may find helpful. Simply scroll back up to read them!
Print It
Pin It
Rate It
Save ItSaved!
Ingredients
- ¾ cup unsalted butter 1 1/2 sticks
- 3 ounces unsweetened baking chocolate coarsely chopped
- 1 cup light brown sugar firmly packed
- ½ cup granulated sugar
- 3 eggs
- 1 teaspoon pure vanilla extract
- ¾ cup unbleached all purpose flour
- ¼ teaspoon salt
Things You’ll Need
-
9 inch cast iron skillet
-
Rubber spatula
Before You Begin
- I used a 9 3/4″ cast iron skillet so they come out nice and thick. You can easily use a bigger skillet but do note that the brownies will not be as thick (plus you’ll need to adjust the time in the oven). Bake until a toothpick comes out mostly clean with a few crumbs (no wet batter!).
- You can substitute with a bar of bittersweet baking chocolate if desired.
Instructions
-
Preheat the oven to 325 F. Place cast iron skillet on stovetop burner.
-
Cut butter into 6 chunks and place in skillet with the chocolate. Cook over very low heat, stirring occasionally with a wooden spoon.
TIP – Because the heat is low, it can take some time, so measure out your other ingredients while it’s melting, so you aren’t tempted to turn up the heat!
3/4 cup unsalted butter, 3 ounces unsweetened baking chocolate -
When the chocolate and butter are completely melted, remove pan from the heat and add both sugars. Stir until everything is combined.1 cup light brown sugar, 1/2 cup granulated sugar
-
Add eggs, one at a time, stirring well after each addition.3 eggs
-
Add vanilla and stir well.1 teaspoon pure vanilla extract
-
Add flour and salt and stir until there are no traces of flour left.3/4 cup unbleached all purpose flour, 1/4 teaspoon salt
-
Use a rubber spatula around the edge of the pan to clean off the sides and get all the batter into the middle.
-
Place skillet in the oven and bake for 50 minutes. Insert a toothpick into the center to test for doneness. The toothpick should come out clean, with the possibility of a couple of crumbs. If it’s still wet, put it back in the oven and bake at 5-minute intervals.
-
Allow to cool on a wire rack for about 15 minutes. If you like warm brownies with ice cream and chocolate sauce, cut a wedge now. Otherwise, cool the brownies completely before cutting them into wedges.
Expert Tips & FAQs
- Transfer the cooled brownie wedges to an air-tight container or large ziptop bag and store at room temperature for up to 5 days.
Nutrition
The recipes on this blog are tested with a conventional gas oven and gas stovetop. It’s important to note that some ovens, especially as they age, can cook and bake inconsistently. Using an inexpensive oven thermometer can assure you that your oven is truly heating to the proper temperature. If you use a toaster oven or countertop oven, please keep in mind that they may not distribute heat the same as a conventional full sized oven and you may need to adjust your cooking/baking times. In the case of recipes made with a pressure cooker, air fryer, slow cooker, or other appliance, a link to the appliances we use is listed within each respective recipe. For baking recipes where measurements are given by weight, please note that results may not be the same if cups are used instead, and we can’t guarantee success with that method.
This post originally appeared on this blog on June 10, 2010 and has since been updated with new photos and expert tips.
