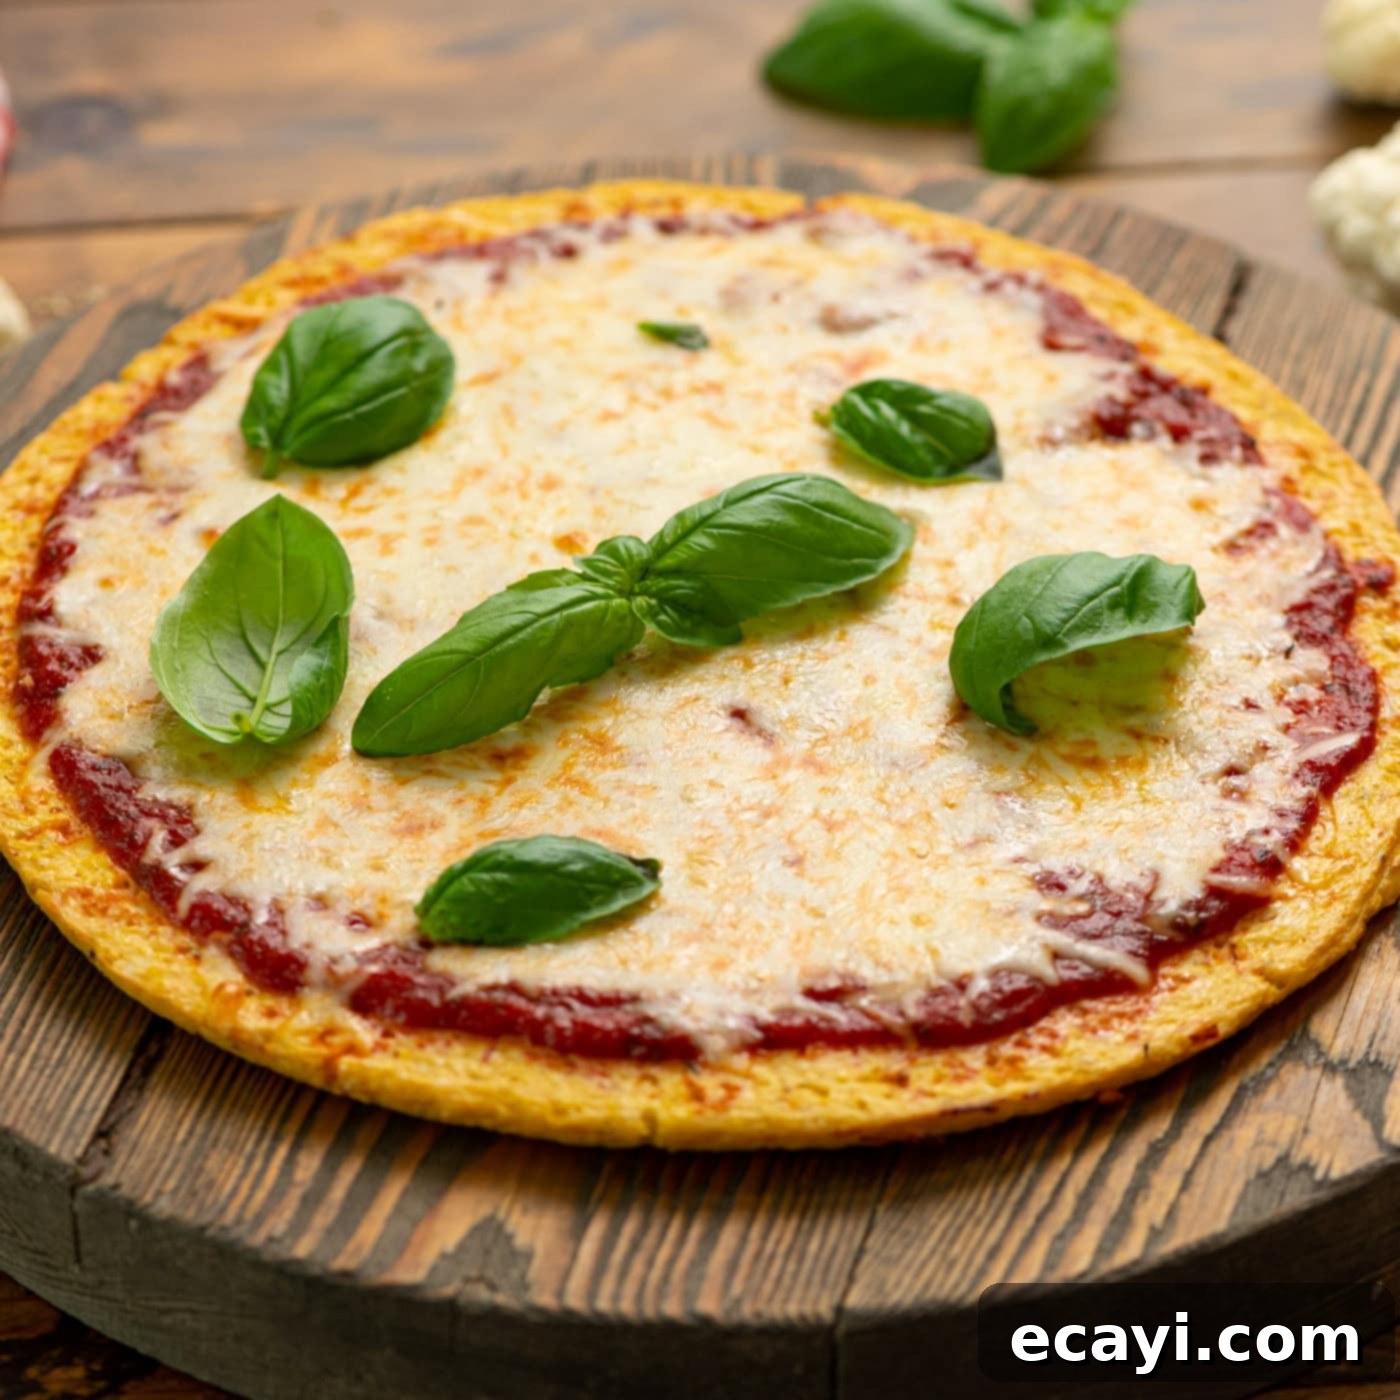
The Ultimate Guide to Making a Crispy, Cheesy & Sturdy Low-Carb Cauliflower Pizza Crust (Keto-Friendly!)
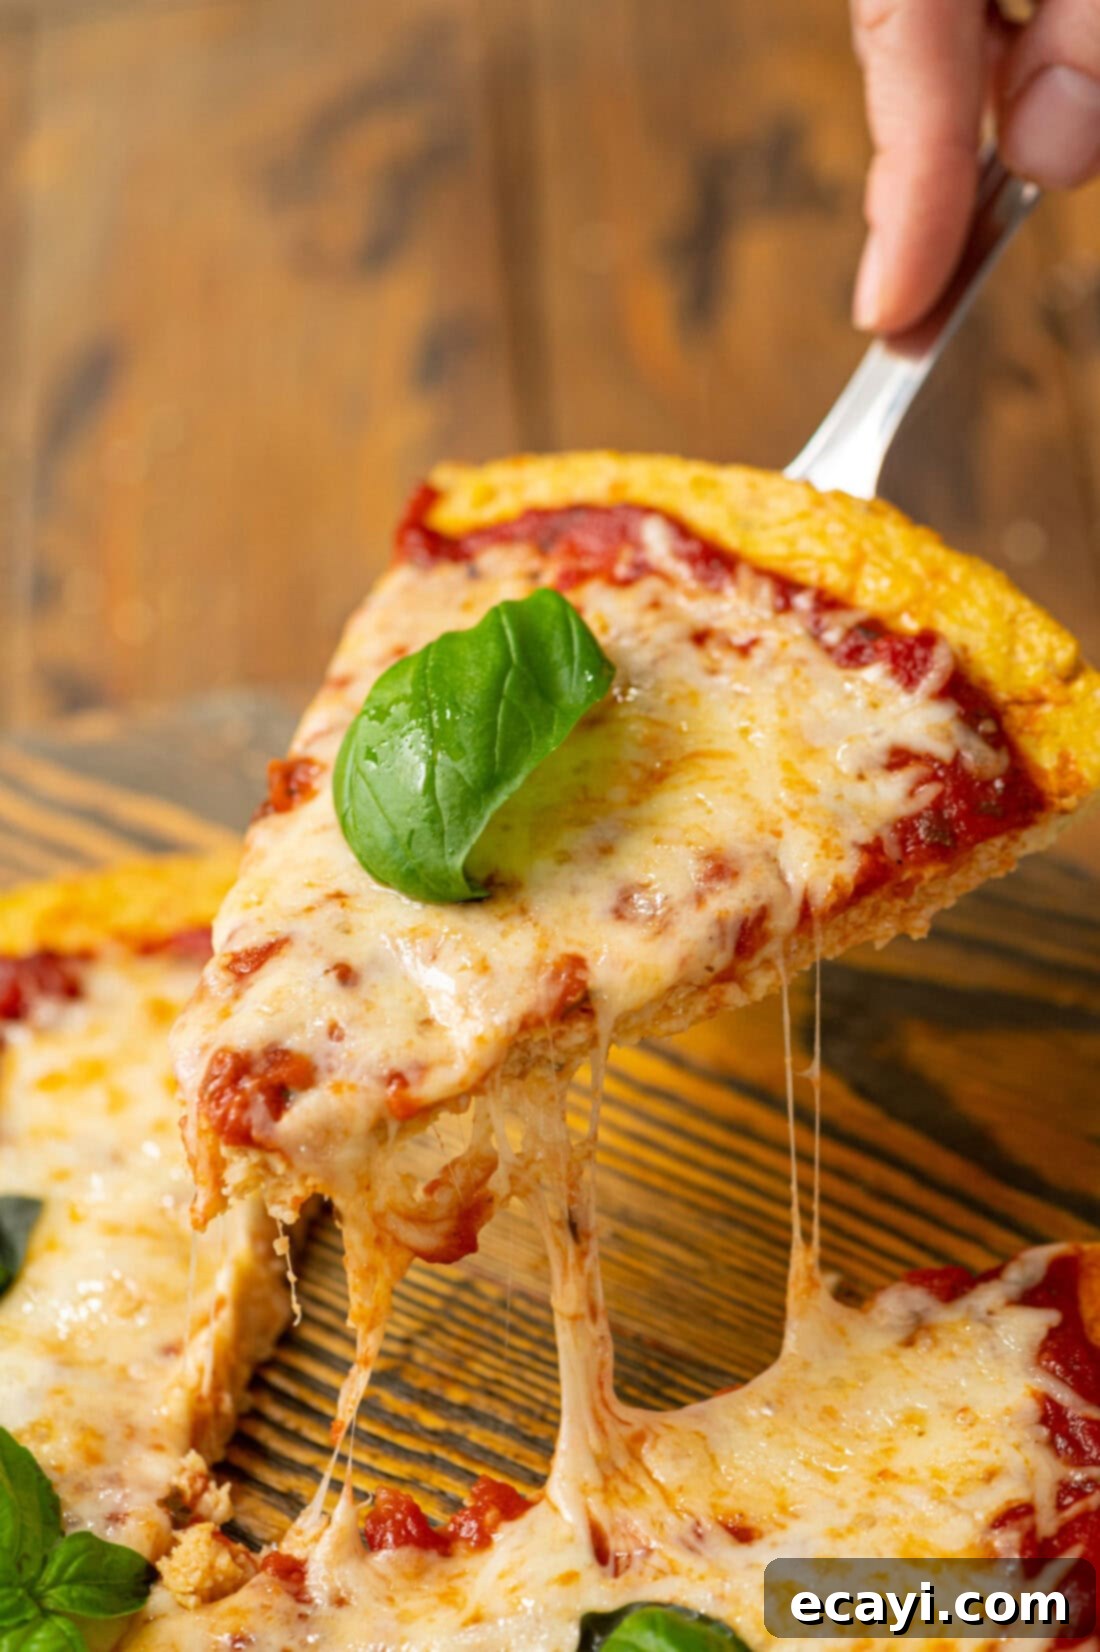
Craving pizza but sticking to a low-carb, keto, or gluten-free diet? Look no further! This homemade Cauliflower Pizza Crust is a game-changer. It’s incredibly cheesy, robust, and strong enough to handle all your favorite toppings without becoming soggy or falling apart. Forget bland, flimsy alternatives – this recipe delivers a satisfyingly crisp texture and rich flavor, making healthy eating delicious and exciting. Get ready to transform your pizza nights with this fantastic, guilt-free option.
Why This Cauliflower Pizza Crust Recipe Stands Out
We’ve all tried cauliflower crusts that promised much but delivered little – often ending up as a soggy, unappetizing mess. This recipe, however, is different. It’s been meticulously developed to ensure you get a genuinely delicious, sturdy, and satisfying pizza base every single time. It’s truly an ideal solution for anyone following a low-carb, keto, or gluten-free lifestyle, providing all the joy of pizza without the guilt of traditional flour crusts. While we might joke about only eating cauliflower, the truth is, when it’s prepared correctly, this versatile vegetable can be surprisingly delightful and incredibly effective as a grain-free substitute.
The magic of this cauliflower pizza crust lies in its exceptional texture and flavor. By combining finely riced cauliflower with binding agents like eggs and a generous amount of cheese, we create a “dough” that bakes into a firm, flavorful crust. The cheese not only adds incredible taste but also helps to create that desirable crispness and structure. This recipe is so versatile that you can even prepare mini cauliflower pizzas, perfect for portion control or appetizer-sized treats. The real secret to success, and what elevates this recipe above others, is a crucial step that many overlook.
The Secret to a Crispy Cauliflower Pizza Crust: Removing Moisture. Cauliflower, despite its seemingly dry appearance, holds a significant amount of water. This moisture is the arch-nemesis of a crispy pizza crust. If not properly removed, it leads to a soggy, weak base that can’t support toppings and lacks that satisfying crunch. Our recipe emphasizes a two-step drying process to ensure every drop of excess moisture is expelled. This diligent moisture removal is what transforms the cauliflower from a watery vegetable into a dense, workable “dough” that bakes up beautifully golden and firm. It’s the difference between a pizza crust that buckles under pressure and one that proudly holds its own, loaded with your favorite ingredients.
Key Ingredients and Essential Tips for Success
Understanding the role of each ingredient is key to mastering this cauliflower pizza crust. Below, you’ll find detailed information on what to look for and how to handle each component. For precise measurements and step-by-step instructions, please refer to the printable recipe card at the end of this post.
- CAULIFLOWER: This is the star of our show. You’ll need one medium to large-sized head of cauliflower. The fresher the cauliflower, the better the results. Avoid any heads with soft spots or discoloration. The crucial step here is drying it out thoroughly. We employ a simple yet effective two-part drying process: first, baking the riced cauliflower, and then, physically squeezing out excess water. This removes the “enemy of crispiness” and is non-negotiable for a truly sturdy crust. You can learn more about cauliflower preparation here.
- EGGS: Eggs act as the primary binder for our “dough.” You’ll need two large eggs to hold the riced cauliflower and cheese mixture together. They provide structure and help the crust firm up during baking. For a vegan alternative, you could try “flax eggs” (1 tbsp ground flaxseed meal + 3 tbsp water per egg, let sit for 5 minutes to thicken), though the texture of the final crust may vary slightly.
- CHEESE: We use a delicious combination of grated Parmesan and mozzarella. This blend is chosen for a reason: Parmesan delivers a sharp, salty flavor, while mozzarella offers that classic melty, stretchy texture and a milder creaminess. Together, they create a wonderfully cheesy and flavorful crust that’s also incredibly sturdy. For a dairy-free option, you could experiment with vegan mozzarella and Parmesan substitutes, keeping in mind that their binding properties might differ.
- SEASONINGS: To enhance the flavor of the crust without overpowering it, we stick to simple yet effective seasonings: salt, dried oregano, and garlic powder. These staples complement the cheese and cauliflower beautifully, providing an aromatic base for any toppings you choose. Feel free to adjust the quantities to your taste, or consider adding other herbs like basil, thyme, or a pinch of red pepper flakes for a subtle kick.
Crafting Your Perfect Cauliflower Pizza Crust: Step-by-Step
These step-by-step photos and detailed instructions are provided to help you visualize each stage of making this recipe. For a quick overview and the printable version with all measurements and instructions, you can Jump to Recipe at the bottom of this page.
- Prepare the Cauliflower: Begin by washing and trimming your head of cauliflower. Remove the tough green leaves and core. Break the cauliflower into florets. Using either a food processor (pulse until it resembles rice) or a box grater (using the medium holes), grate the cauliflower until it reaches a fine, rice-like consistency. Be careful not to over-process it into a mush.
- Pre-Bake and Dry the Cauliflower (First Stage): Preheat your oven to 350 degrees F (175 degrees C). Line a large baking sheet with parchment paper. Spread the riced cauliflower evenly onto the prepared baking sheet in as thin and flat a layer as possible. This maximizes surface area for drying. Bake for 20 minutes, or until the cauliflower begins to brown slightly and feels drier to the touch. This initial baking step helps to cook out some of the inherent moisture. Remove from the oven and let it cool slightly – it needs to be cool enough to handle comfortably. While it cools, increase your oven temperature to 450 degrees F (230 degrees C) for baking the crust.
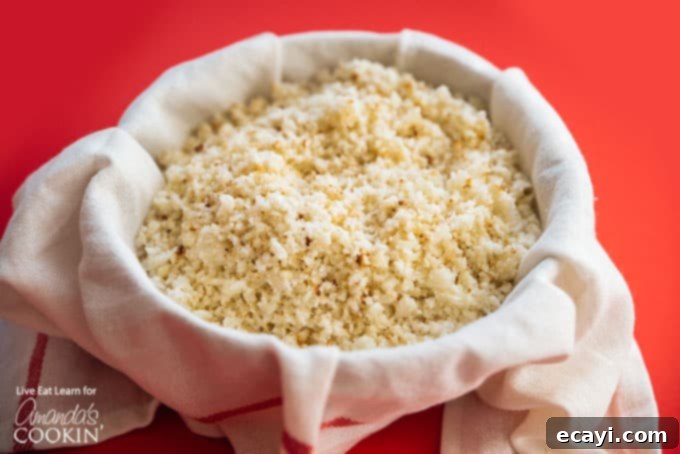
- Squeeze Out Remaining Moisture (The Crucial Step!): This is the most important step for a truly crispy crust. Spoon the slightly cooled, pre-baked cauliflower into a clean, thin cheesecloth or a clean kitchen towel. Gather the edges of the cloth and twist tightly, squeezing out as much liquid as humanly possible. Don’t be shy – this is where you engage your arm muscles! You might even break a sweat. The more water you extract, the crispier your crust will be. What you’ll be left with is a relatively dry, compact cauliflower pulp – this is the perfect foundation for your sturdy pizza crust. Discard the liquid.

- Combine Ingredients: Transfer the thoroughly dried cauliflower pulp to a large mixing bowl. Add the two large eggs, grated Parmesan cheese, grated mozzarella cheese, salt, oregano, and garlic powder. Stir all the ingredients together vigorously until well combined. The mixture should be sticky and form a cohesive “dough.”
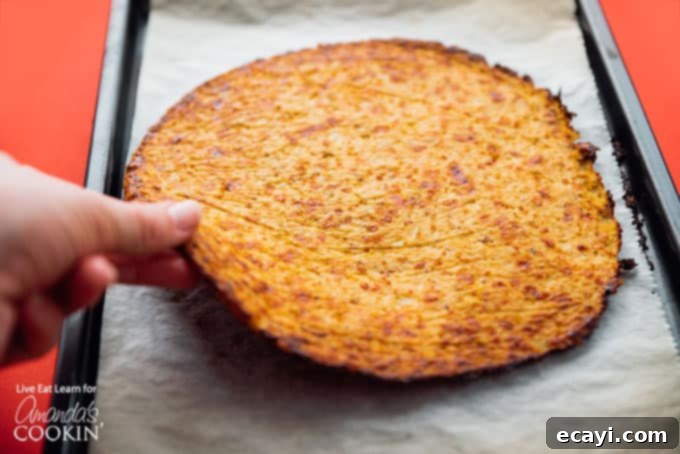
- Shape and Bake the Crust: Line a fresh baking sheet with new parchment paper. Spoon the cauliflower dough onto the center of the parchment. Using your hands, or a spatula, shape the dough into a round pizza crust, about ¼ to ½ inch thick. Aim for an even thickness to ensure uniform cooking. Bake for 15 minutes at 450 degrees F (230 degrees C). After 15 minutes, carefully flip the pizza crust. This is where the *flipping trick* (detailed in the “Before You Begin” section of the recipe card below) comes in handy: place another piece of parchment and a large plate on top, then flip the entire “sandwich.” Bake for another 5-10 minutes, or until golden brown and firm.

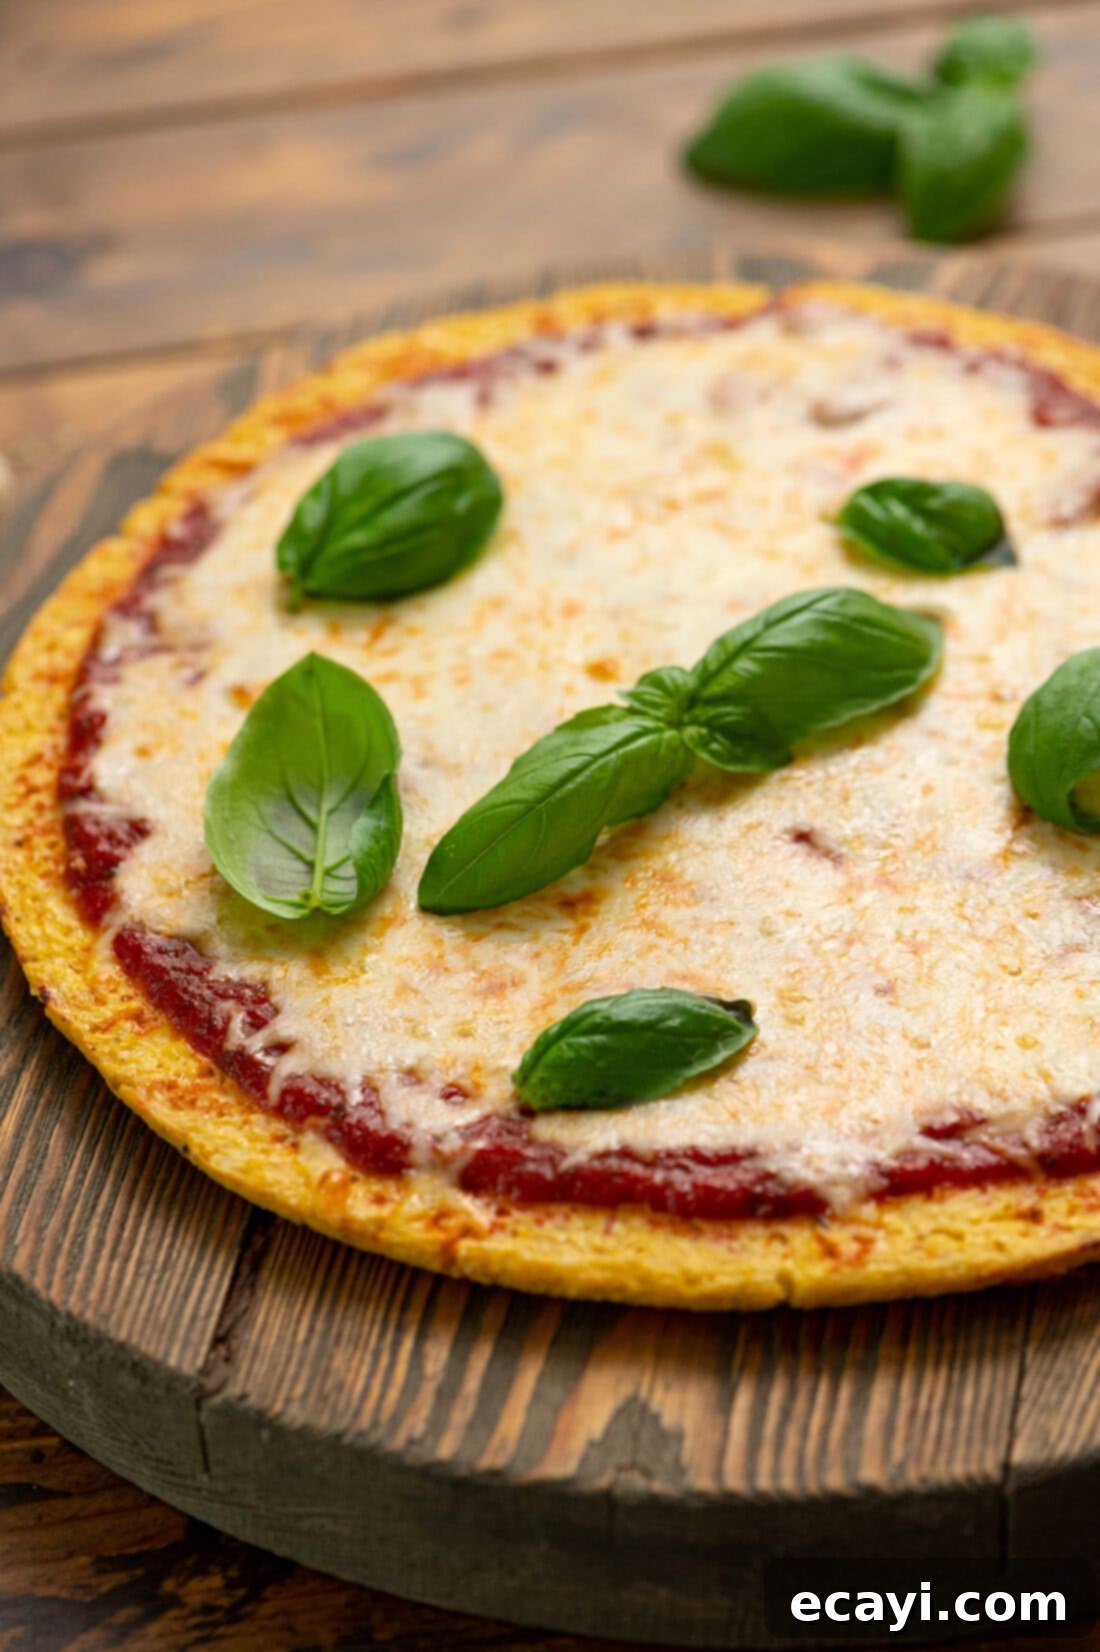
- Add Toppings and Final Bake: Once your crust is firm and golden, remove it from the oven. Now, it’s time for the fun part! Add your favorite pizza sauce and toppings. Return the topped pizza to the oven and bake for an additional 5-7 minutes, or until the cheese is melted, bubbly, and the toppings are heated through to your liking. Enjoy your homemade, low-carb cauliflower pizza!
Frequently Asked Questions & Expert Tips for Cauliflower Crust
Once baked, allow the crust to cool completely. Store it in an airtight container in the refrigerator for up to 3 days. For best results, reheat in the oven or a toaster oven to restore some crispness before adding toppings.
Absolutely! After baking the plain crust (before adding any sauce or toppings), let it cool completely. Wrap it tightly in plastic wrap, then an additional layer of aluminum foil, and store it in the freezer for up to 2 months. When you’re ready to use it, thaw the crust in the refrigerator overnight or at room temperature. Reheat in a preheated oven (around 400°F/200°C) for 5-10 minutes until warmed through and crisp before adding your desired toppings.
The absolute key to crispiness is moisture removal. Don’t underestimate the squeezing step; you want to get out as much liquid as possible from the baked cauliflower. Additionally, ensuring your crust isn’t too thick and baking it on parchment paper on a hot baking sheet (or even a pizza stone) can help achieve a perfect crisp. A higher oven temperature (450°F) is also crucial for browning and crisping.
Yes, you can use frozen riced cauliflower, but be aware that it typically contains even more moisture than fresh cauliflower. You’ll need to thaw it completely and then follow the same drying steps (baking and squeezing) with extra diligence to ensure all excess water is removed. You might find you need to bake it slightly longer in the initial drying phase.
Aim for a thickness between ¼ and ½ inch. A thinner crust will be crispier, while a slightly thicker one will be a bit chewier and more robust. Avoid making it too thick, as it might struggle to cook through and crisp up in the center.
Creative Serving & Topping Inspirations
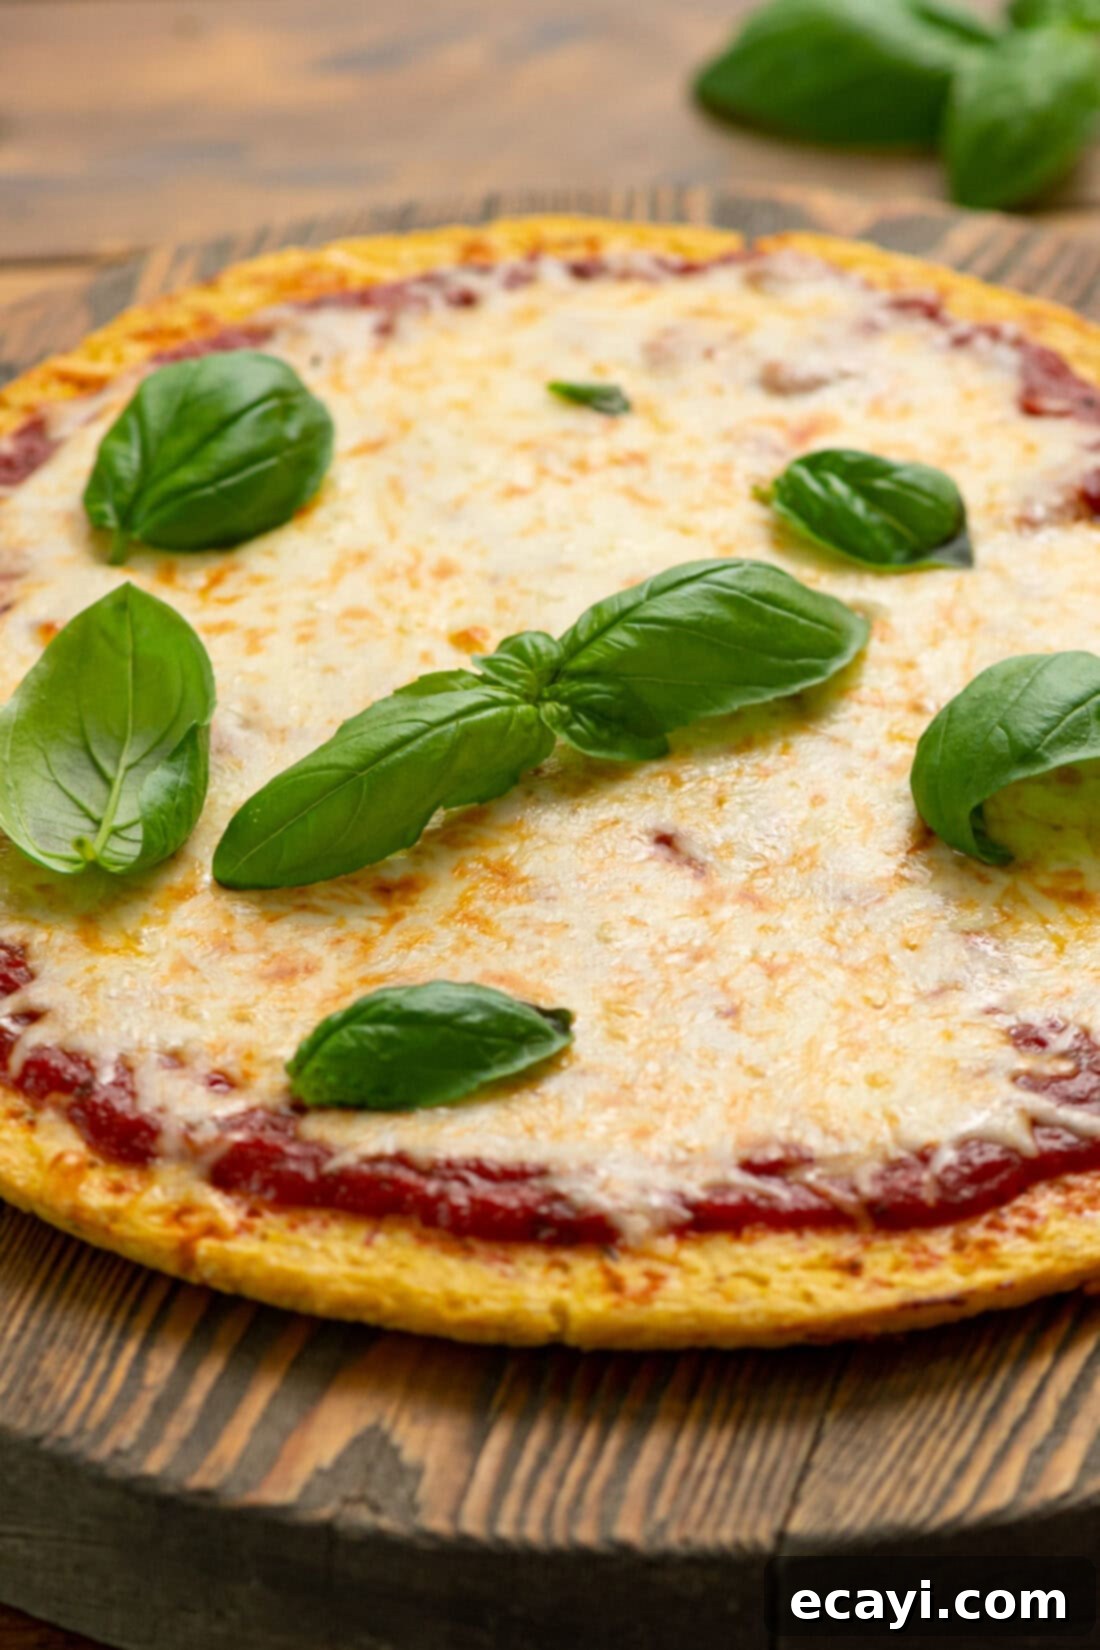
Once you have your perfectly baked cauliflower pizza crust, the possibilities are endless! It serves as an excellent canvas for both classic and adventurous pizza creations. Don’t feel limited by traditional pizza toppings – this low-carb base can truly shine with a variety of flavor profiles.
For those looking for unique topping ideas, why not try something different? Consider a gourmet touch with a 3 Cheese Roasted Grape Pizza, offering a delightful balance of sweet and savory. Or, for a more robust flavor, the Beer and Brussels Sprouts Pizza provides a wonderfully complex taste. If you’re hosting or simply love fresh veggies, our Appetizer Veggie Pizza is a vibrant and healthy choice that everyone will love.
Of course, you can always stick to the tried and true! Top your cauliflower pizza crust with all the classic fixin’s you would normally enjoy on your favorite pizza: zesty marinara sauce, a generous layer of mozzarella, pepperoni, mushrooms, olives, or bell peppers. You can also get creative with different sauces – think creamy alfredo, vibrant pesto, or even a spicy BBQ sauce. The sturdy nature of this crust means it can handle a good amount of toppings without becoming overwhelmed. Experiment, mix and match, and enjoy the delicious versatility of your homemade cauliflower pizza!
More Delightful Cauliflower Recipes
Cauliflower is a culinary chameleon, capable of transforming into a wide array of delicious and healthy dishes. If you’ve enjoyed this pizza crust, you’ll love exploring other ways to incorporate this versatile vegetable into your diet. Here are some of our favorite cauliflower-centric recipes:
- Cauliflower Risotto: A creamy, satisfying alternative to traditional risotto, low in carbs but rich in flavor.
- Cauliflower Fried Rice: A quick and healthy swap for takeout, packed with vegetables and savory goodness.
- Cauliflower Casserole: Comfort food at its finest, made healthier without sacrificing taste.
- General Tso’s Cauliflower: A fantastic vegetarian take on a classic Chinese dish, with sticky, sweet, and spicy flavors.
- Sticky Garlic Cauliflower: Crispy, tender florets coated in a finger-licking good garlic sauce.
I love to bake and cook and share my kitchen experience with all of you! Remembering to come back each day can be tough, that’s why I offer a convenient newsletter every time a new recipe posts. Simply subscribe and start receiving your free daily recipes!

Cauliflower Pizza Crust
IMPORTANT – There are often Frequently Asked Questions within the blog post that you may find helpful. Simply scroll back up to read them!
Print It
Pin It
Rate It
Save ItSaved!
Ingredients
- 1 medium to large head of cauliflower
- 2 large eggs
- ¼ cup grated Parmesan cheese
- ¼ cup grated mozzarella cheese
- ½ teaspoon salt
- ½ teaspoon dried oregano
- ¼ teaspoon garlic powder
Things You’ll Need
-
Food processor (or box grater)
-
Baking sheet (2 needed for pre-baking and final crust)
-
Parchment paper
-
Cheesecloth (or a clean, thin kitchen towel)
-
Large mixing bowl
Before You Begin
Instructions
-
Grate cauliflower into a fine, rice-like consistency using either your food processor or a box grater.
-
Preheat oven to 350 degrees F (175°C). Spread the riced cauliflower onto a parchment-lined baking sheet in as thin and flat of a layer as possible. Bake for 20 minutes, or until the cauliflower begins to brown slightly and feels drier. Remove from oven and let cool slightly. Increase oven temperature to 450 degrees F (230°C).
-
Spoon the slightly cooled cauliflower into a cheesecloth (or clean kitchen towel) and squeeze out as much moisture as possible. This is a critical step for a crispy crust, so wring it out vigorously until the cauliflower is quite dry and crumbly.
-
In a large bowl, combine the dried cauliflower pulp, eggs, Parmesan cheese, mozzarella cheese, salt, oregano, and garlic powder. Stir well until all ingredients are thoroughly mixed and form a cohesive “dough.”
-
Shape the cauliflower mixture into a round pizza crust, about ¼ to ½ inch thick, on a fresh parchment-lined baking sheet. Bake for 15 minutes at 450 degrees F (230°C). Carefully flip the pizza crust halfway through cooking* (refer to “Before You Begin” notes for the flipping trick). Bake for another 5-10 minutes until golden brown and firm.
-
Remove the baked crust from the oven. Top with your favorite sauces and desired toppings. Return to the oven and bake for an additional 5-7 minutes, or until the cheese is melted, bubbly, and the toppings are heated through. Serve immediately and enjoy!
Nutrition
The recipes on this blog are tested with a conventional gas oven and gas stovetop. It’s important to note that some ovens, especially as they age, can cook and bake inconsistently. Using an inexpensive oven thermometer can assure you that your oven is truly heating to the proper temperature. If you use a toaster oven or countertop oven, please keep in mind that they may not distribute heat the same as a conventional full sized oven and you may need to adjust your cooking/baking times. In the case of recipes made with a pressure cooker, air fryer, slow cooker, or other appliance, a link to the appliances we use is listed within each respective recipe. For baking recipes where measurements are given by weight, please note that results may not be the same if cups are used instead, and we can’t guarantee success with that method.
This post was originally published here on March 24, 2019, and has been updated and expanded to provide even more valuable information and tips for creating the perfect cauliflower pizza crust.
