Easy Chicken Parmesan Sliders: Your Ultimate Guide to Quick & Cheesy Party Food
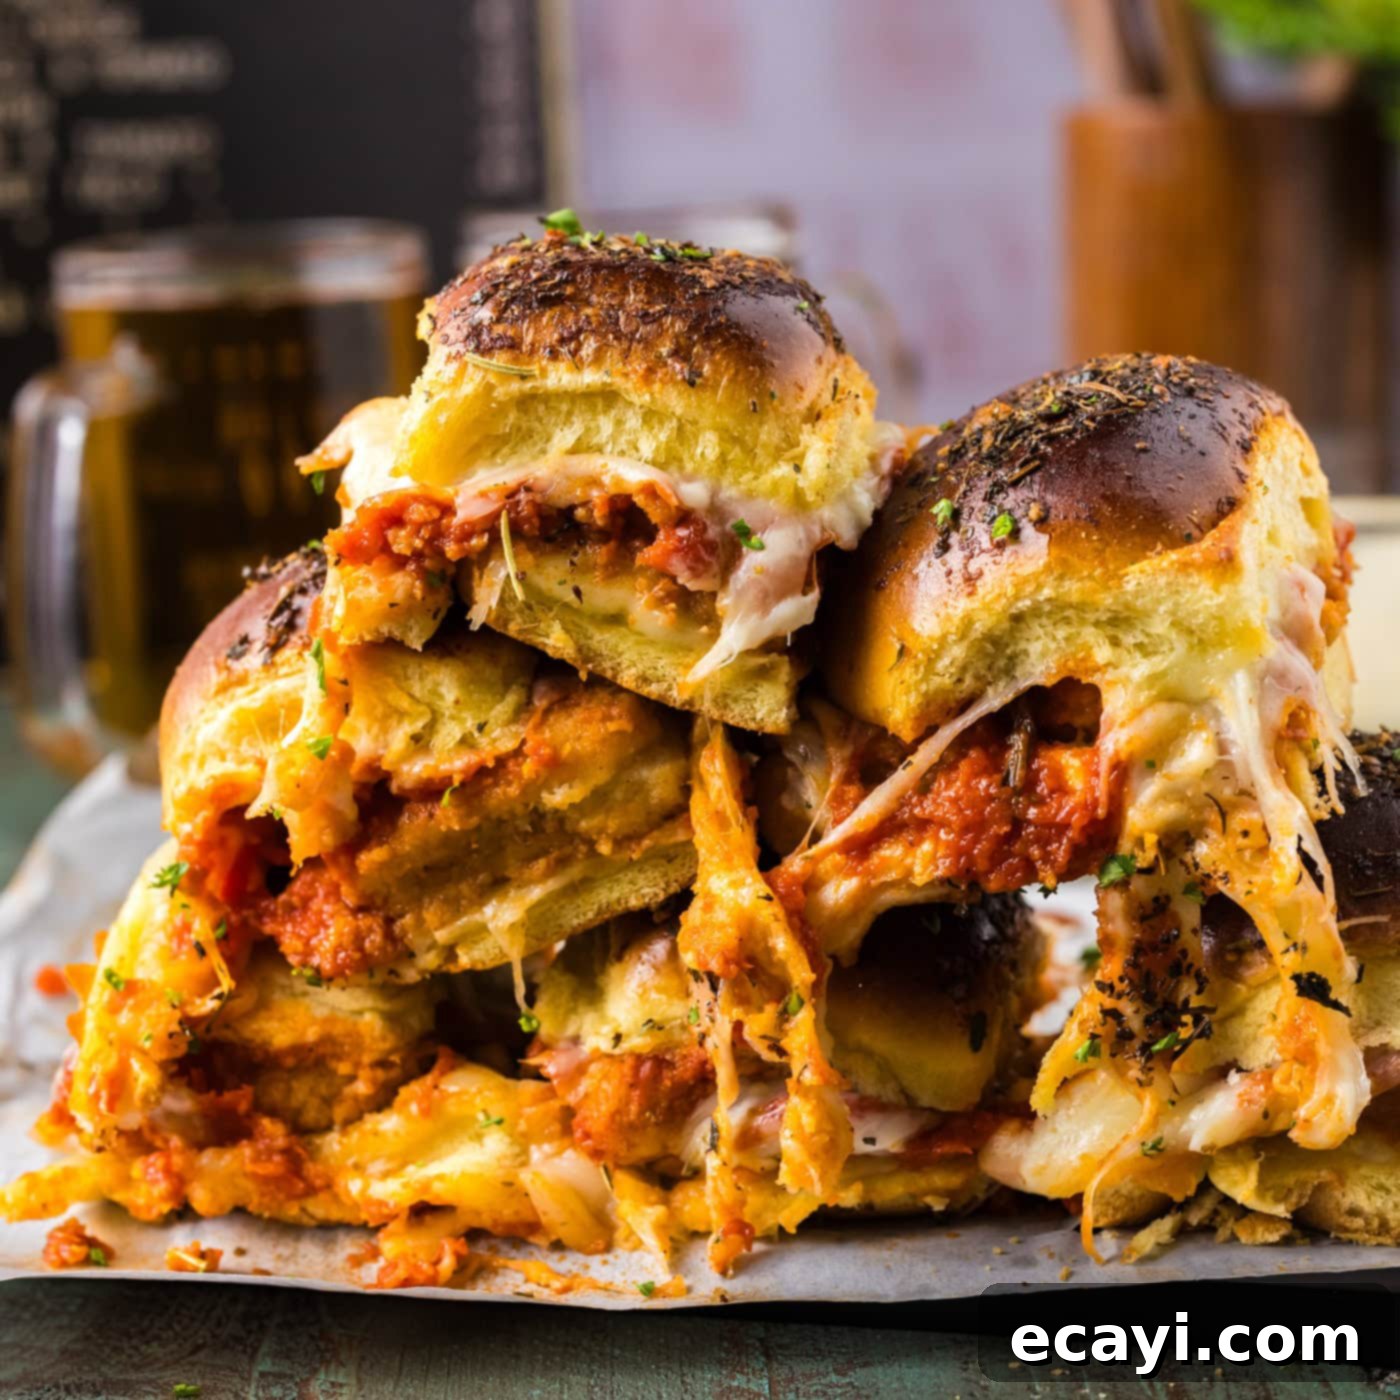
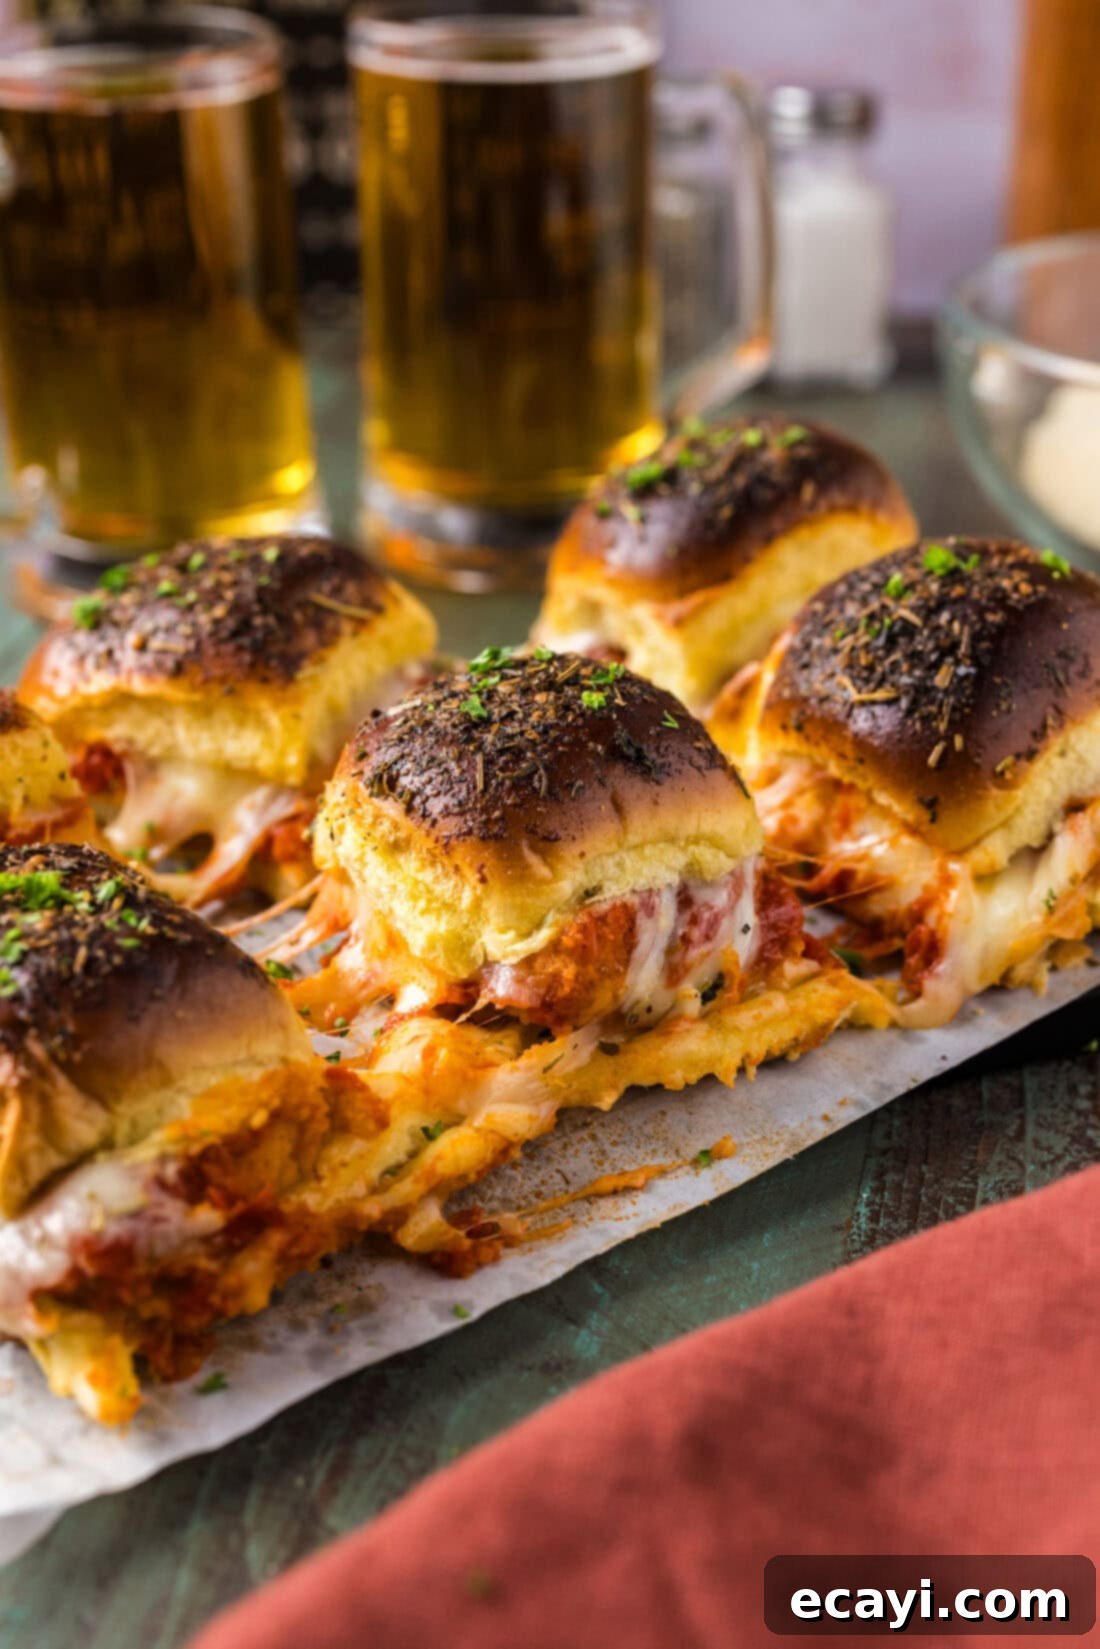
Prepare for a sensationally simple yet incredibly satisfying dish: these chicken parmesan sliders! Crafted with layers of gooey melted cheese, rich marinara sauce, and perfectly crispy chicken nuggets, all nestled between soft, toasted mini buns, they’re an undeniable crowd-pleaser. Whether you’re hosting a lively gathering, planning a game-day feast, or simply need a speedy weeknight dinner, these sliders deliver big on flavor with minimal effort.
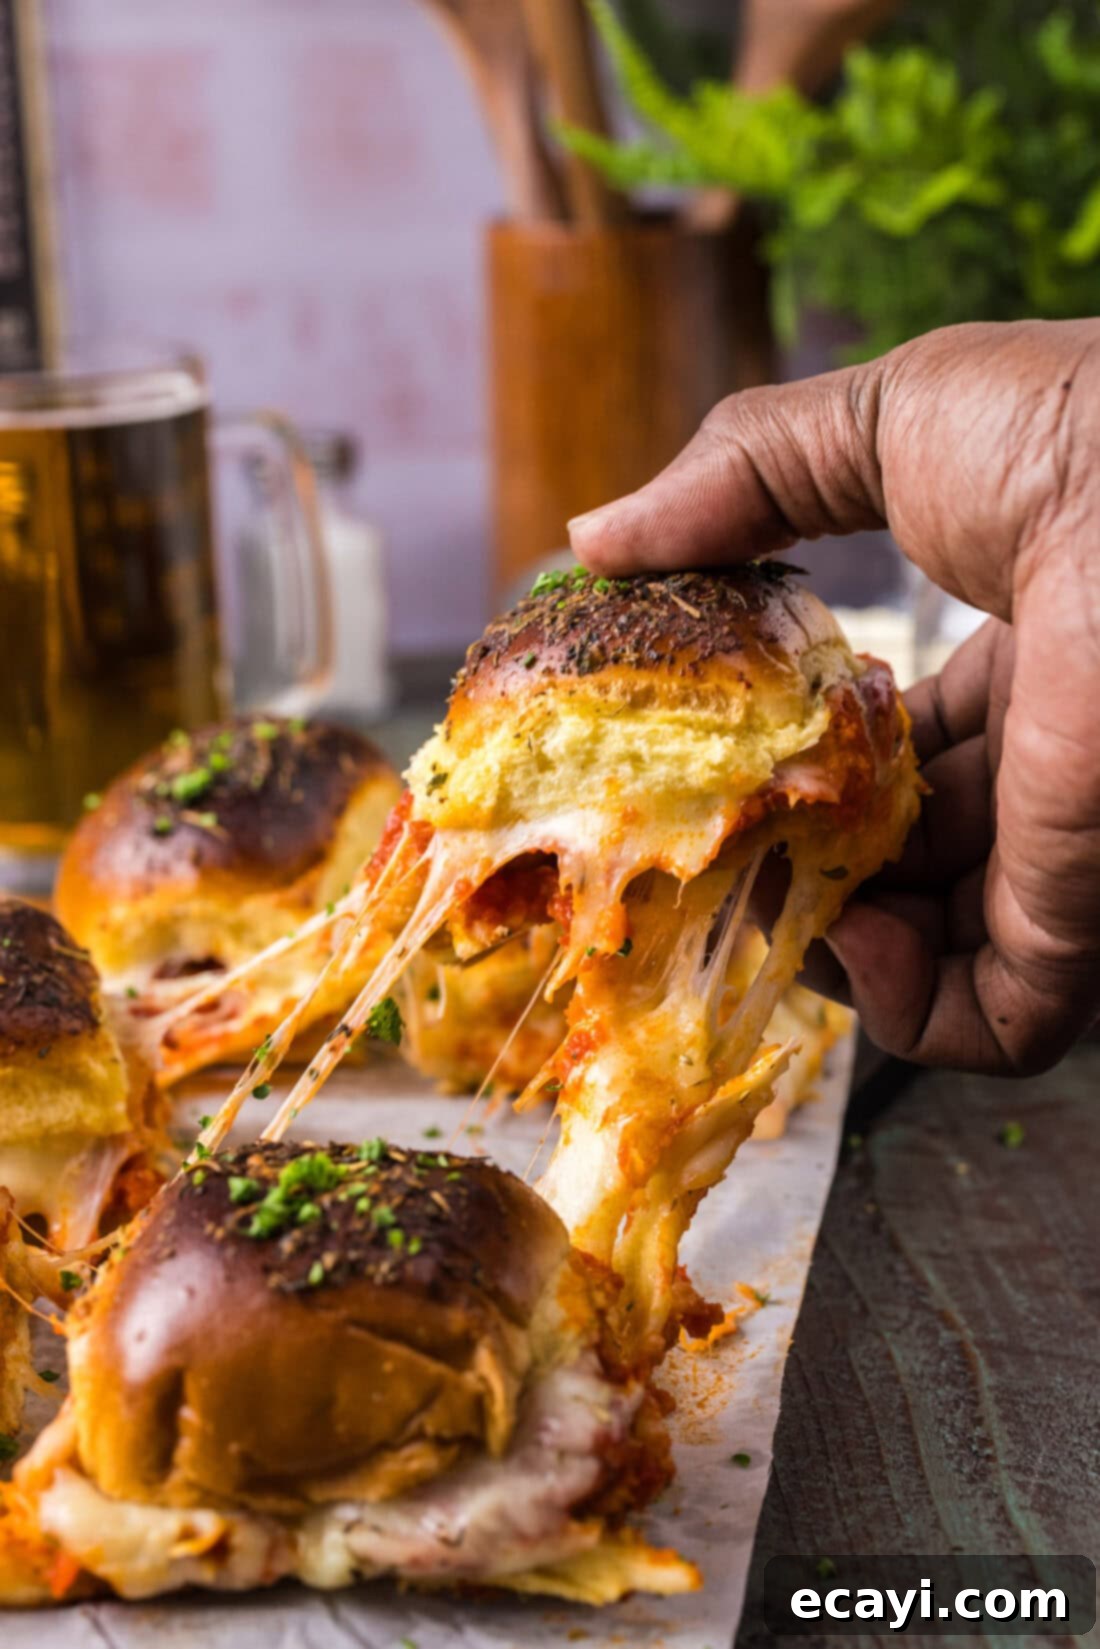
Why These Chicken Parmesan Sliders Are a Must-Try
When we say “easy,” we truly mean it. This recipe is designed for maximum flavor with minimum fuss, making it a lifesaver for busy households and a star attraction at any event. The secret to its incredible simplicity lies in a few smart choices that save you time and effort without compromising on taste.
Our chicken parmesan sliders begin and end with easily accessible ingredients, ensuring that your prep time is kept to a minimum. The cornerstone of this recipe is the humble, yet incredibly versatile, store-bought chicken nugget. That’s right – no messy breading or frying raw chicken from scratch! Using pre-cooked chicken nuggets means you can skip the tedious dredging and pan-frying steps, making this recipe perfect for those nights when you need a delicious meal on the table in a flash. Simply bake your nuggets according to package directions, and they’re ready to become the star of your sliders.
Beyond the chicken, you only need a handful of other staples: soft slider buns, your favorite marinara sauce, and an abundance of melty cheese. This straightforward ingredient list means less time shopping and more time enjoying. Chicken parmesan sliders are the quintessential shareable, making them ideal for all sorts of parties, family get-togethers, or even as a fun and quick weeknight dinner that everyone, from kids to adults, will eagerly devour. Who could resist the irresistible combination of crispy chicken, savory sauce, and gooey cheese on a toasted bun?
Essential Ingredients for Your Chicken Parm Sliders
To whip up these delightful sliders, you’ll need just a few key components. Find all precise measurements, ingredient details, and comprehensive instructions in the printable recipe card located at the conclusion of this post.
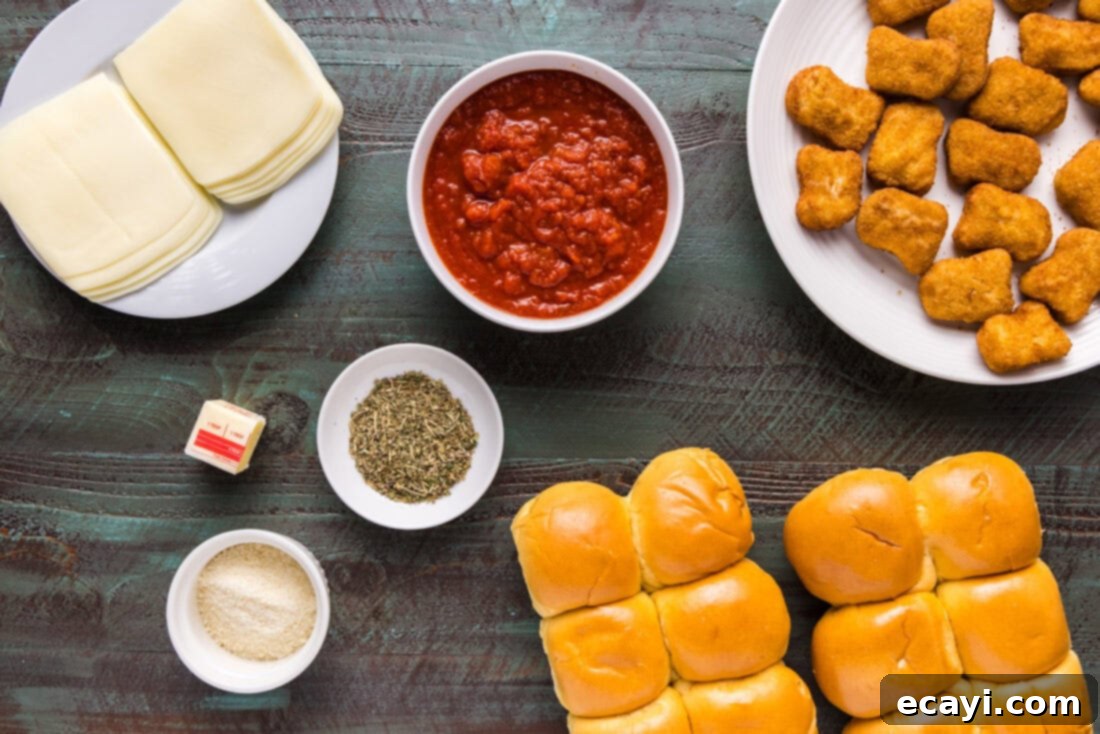
Ingredient Spotlight & Customization Ideas
Let’s dive deeper into the ingredients and explore how you can tailor this recipe to your preferences:
CHICKEN: The beauty of this recipe is its flexibility. While frozen chicken nuggets are our go-to for ultimate convenience, feel free to use your favorite brand. For a slightly more gourmet touch, or if you prefer a different texture, cooked chicken tenders can be substituted. Simply prepare them according to package instructions, then slice them into pieces small enough to fit comfortably on your slider buns. If you’re feeling ambitious and have a bit more time, you could even make a batch of homemade chicken cutlets or air fryer chicken parmesan, slicing the cooked chicken into slider-sized portions. This offers a more traditional chicken parm experience, but the nuggets truly shine in their ease.
CHEESE: We recommend a combination of sliced mozzarella and shredded mozzarella for maximum melty goodness. The sliced cheese creates a smooth, even layer, while the shredded variety adds extra cheesiness and a beautiful bubbly crust on top. If you’re a true cheese enthusiast, you can absolutely add more shredded mozzarella. Alternatively, for a slightly less indulgent option, you can omit the shredded mozzarella altogether; the slices alone provide plenty of cheesy flavor. Consider adding a slice of provolone for an extra layer of flavor, or even a sprinkle of grated Parmesan between the layers for that classic Italian touch.
MARINARA SAUCE: Keeping with the theme of ease, store-bought marinara sauce is your best friend here. There’s a wide range of quality options available, so pick your favorite. For those who enjoy a homemade touch, preparing your own marinara from scratch is always an option, though it will add to your prep time. You can also easily elevate store-bought sauce by stirring in a pinch of dried oregano, a clove of minced garlic, or a spoonful of fresh basil before spreading it over the chicken. This simple step can add a burst of fresh flavor.
BUNS: Standard store-bought slider buns are perfect for this recipe. Their small size makes them ideal for individual servings and ensures they absorb just the right amount of sauce without becoming soggy too quickly. For a hint of sweetness and an extra soft texture, Kings Hawaiian slider buns or Hawaiian rolls are fantastic choices. You could also try potato rolls or brioche slider buns for a richer flavor. If you’re feeling adventurous in the kitchen, making homemade Hawaiian rolls would make these sliders truly exceptional and impress your guests!
Step-by-Step Guide: Crafting Your Chicken Parmesan Sliders
These step-by-step photos and detailed instructions are provided to help you visualize each stage of making this delicious recipe. For a convenient printable version of this recipe, complete with all measurements and instructions, simply Jump to Recipe at the bottom of the page.
- Preheat your oven to 375°F (190°C). This ensures your oven is perfectly ready for baking, allowing for even cooking and melting.
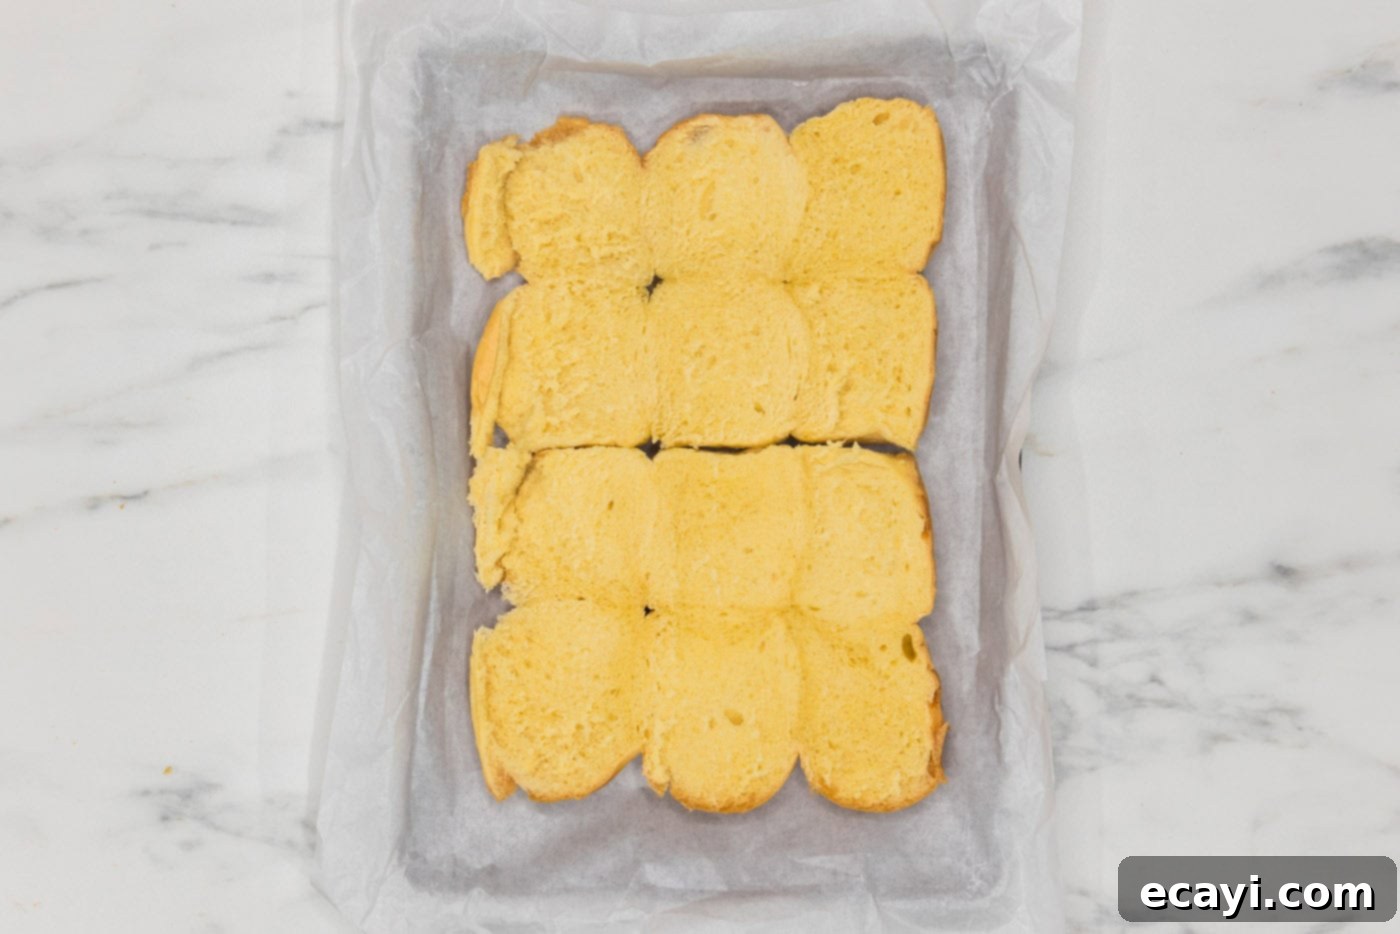
- Line a 13×9 baking dish with parchment paper. Make sure to leave some excess parchment hanging over the sides; these will act as convenient handles to lift the sliders out later.
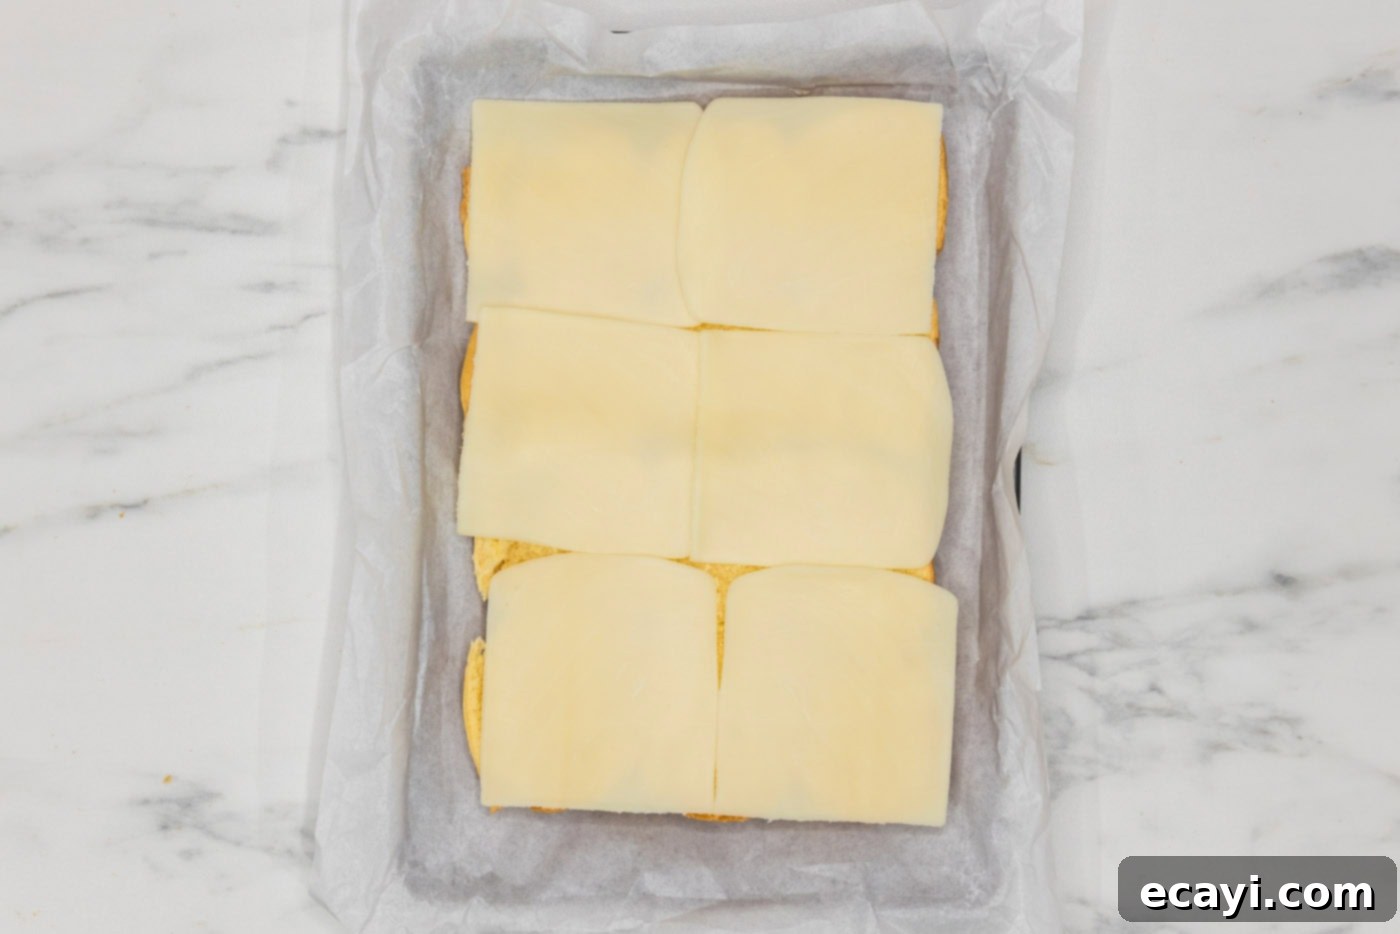
- Carefully separate the slider buns and place the bottom halves into the prepared baking dish. Arrange them snugly. Top these bottom buns with 6 slices of mozzarella cheese, ensuring each bun half gets a good cheesy base.


- Bake the buns with cheese in the preheated oven for 3-5 minutes, just until the cheese is beautifully melted and slightly bubbly. This step helps create a protective layer for the buns and adds an initial burst of cheesy flavor.
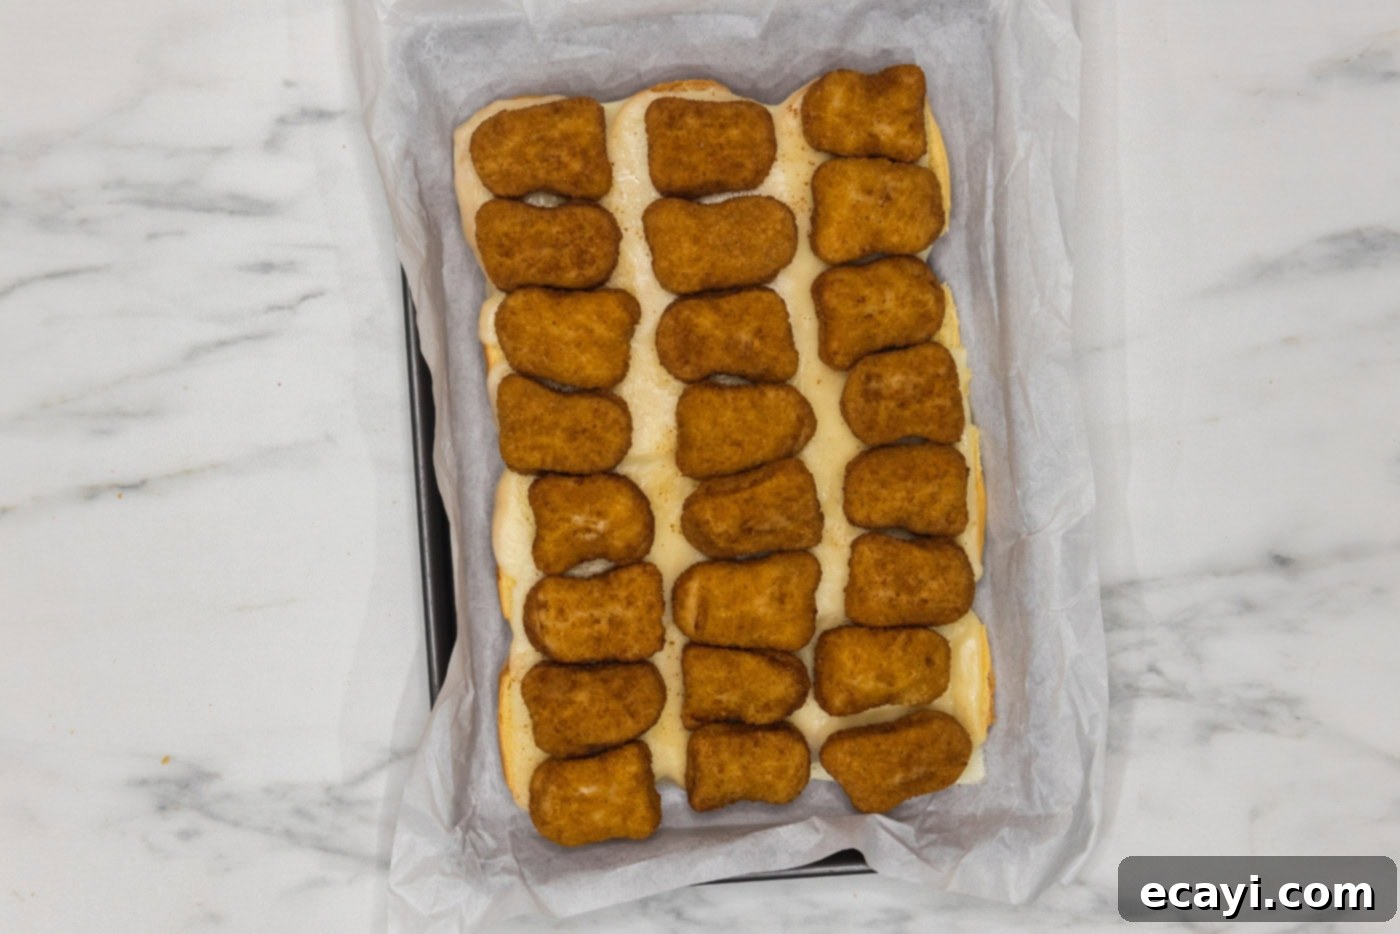
- Retrieve the dish from the oven. Place two cooked chicken nuggets on top of each cheesy bottom bun. Ensure they are evenly distributed.

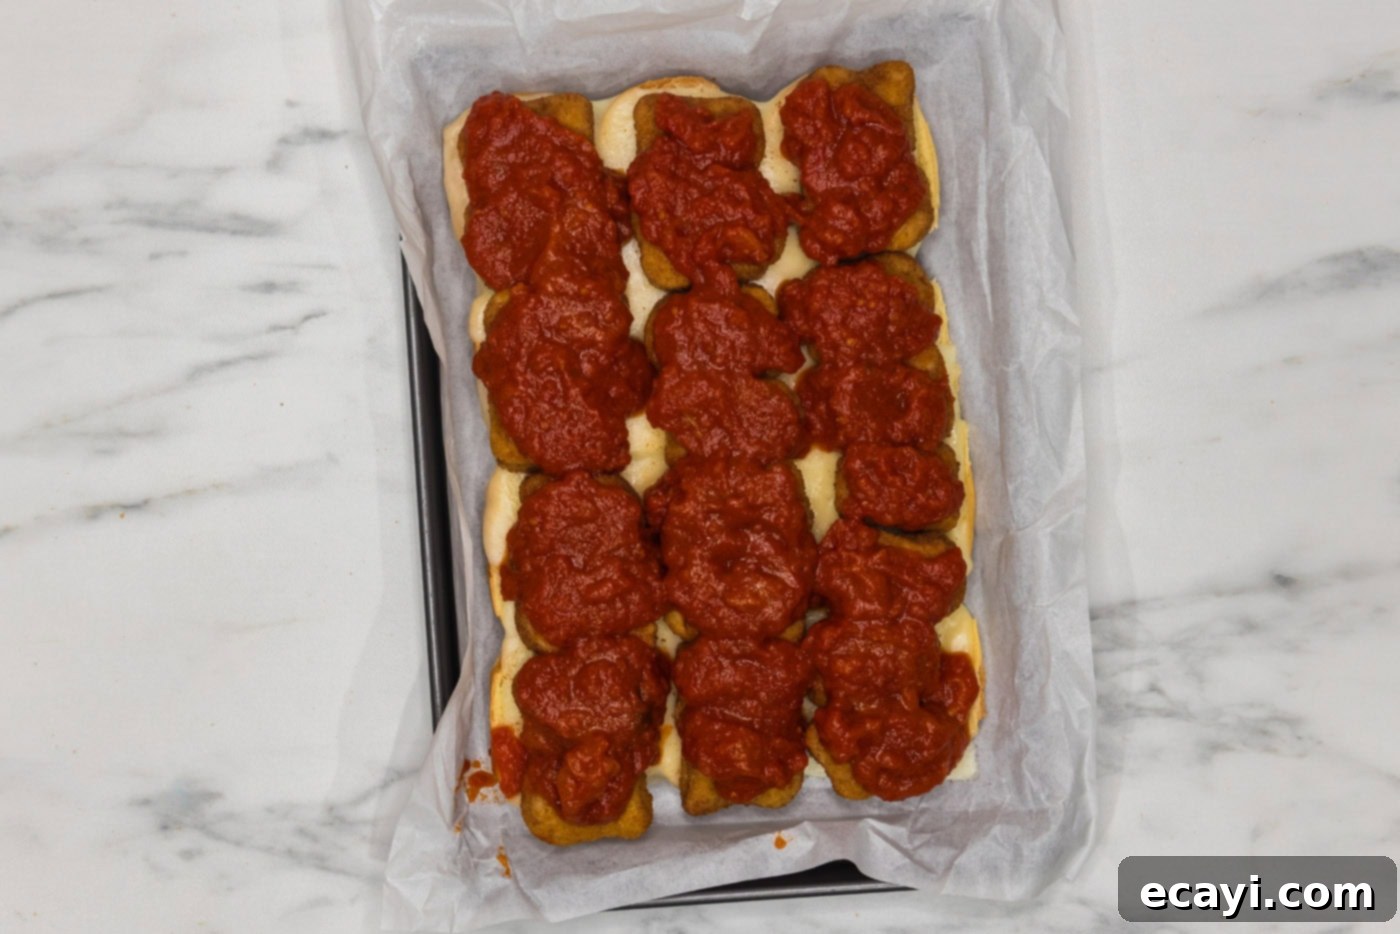
- Spoon a generous amount of marinara sauce over the chicken nuggets, ensuring each slider is well-coated. Don’t be shy – this is where much of the classic chicken parm flavor comes from!

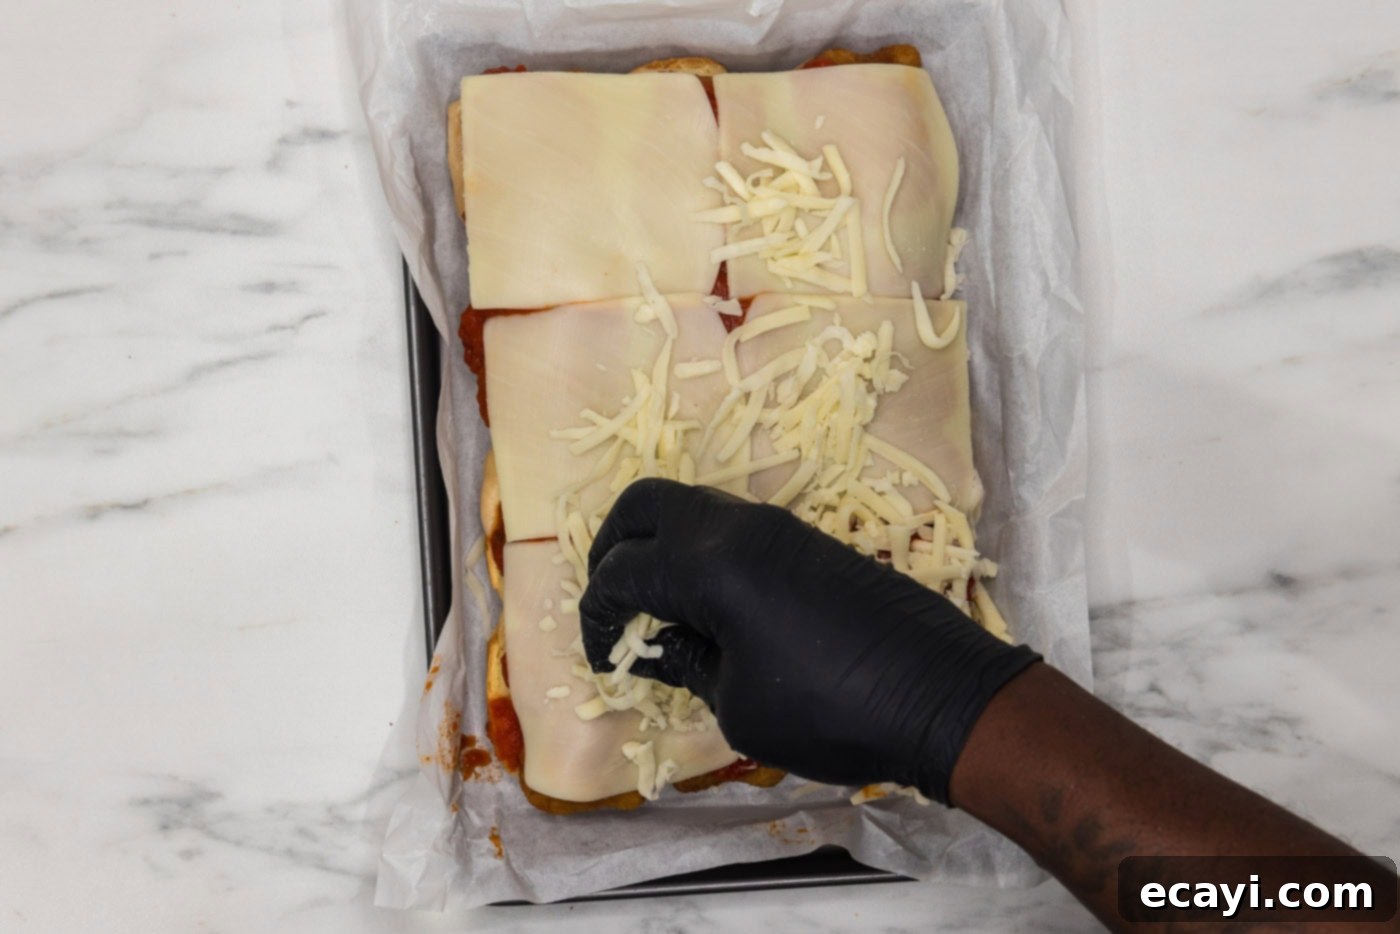
- Layer the remaining cheese slices over the marinara-covered nuggets. Then, for an extra burst of cheesiness, sprinkle generously with shredded mozzarella cheese. This will create that irresistible golden, bubbly top.

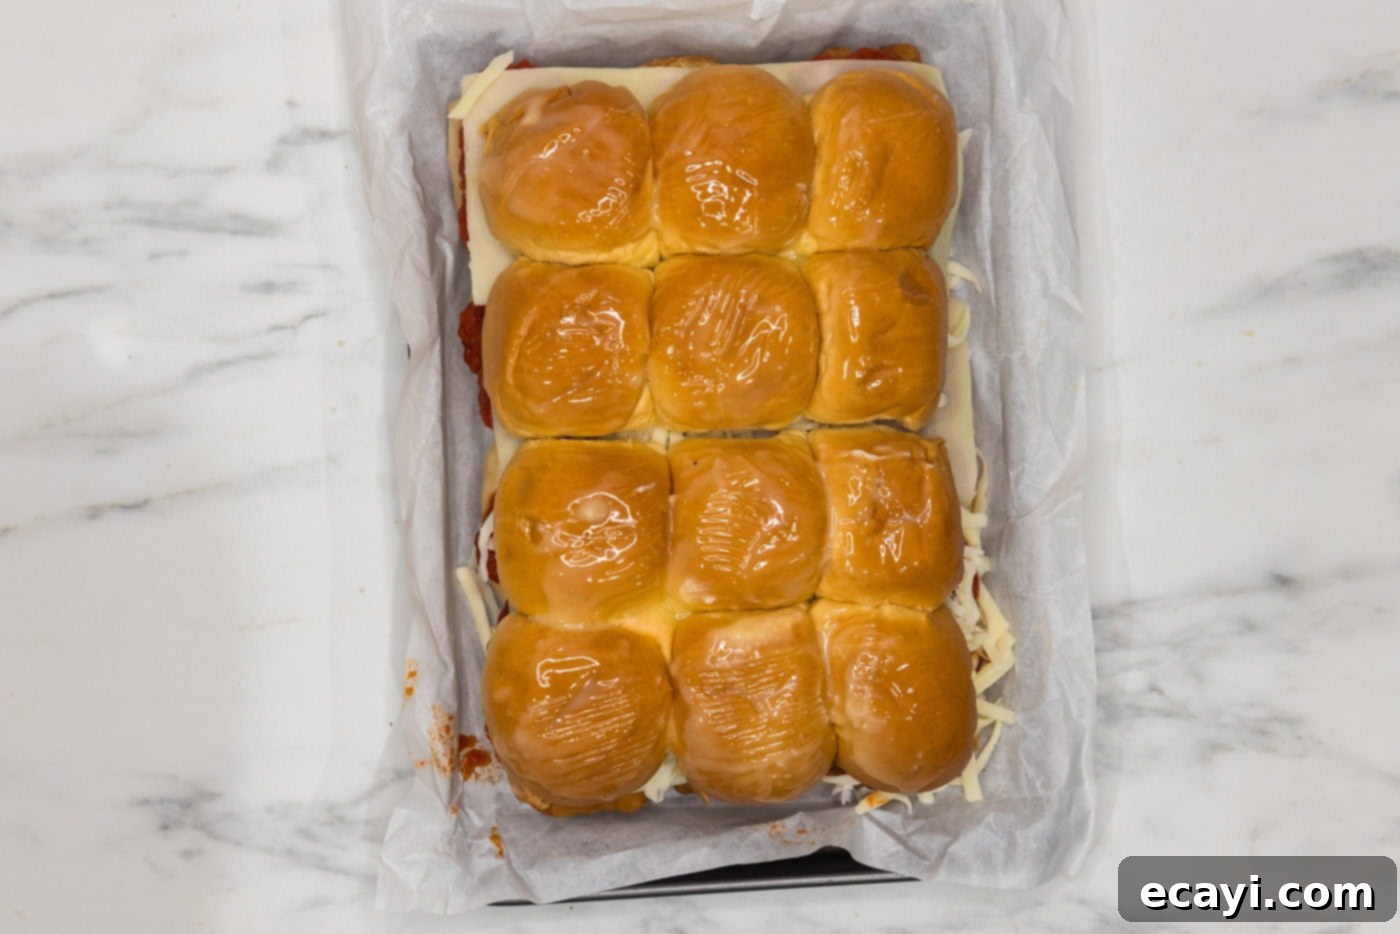
- Place the top halves of the slider buns back onto their respective bottoms. Brush the tops of all the buns generously with melted butter. This butter layer will help them achieve a beautiful golden-brown crust.

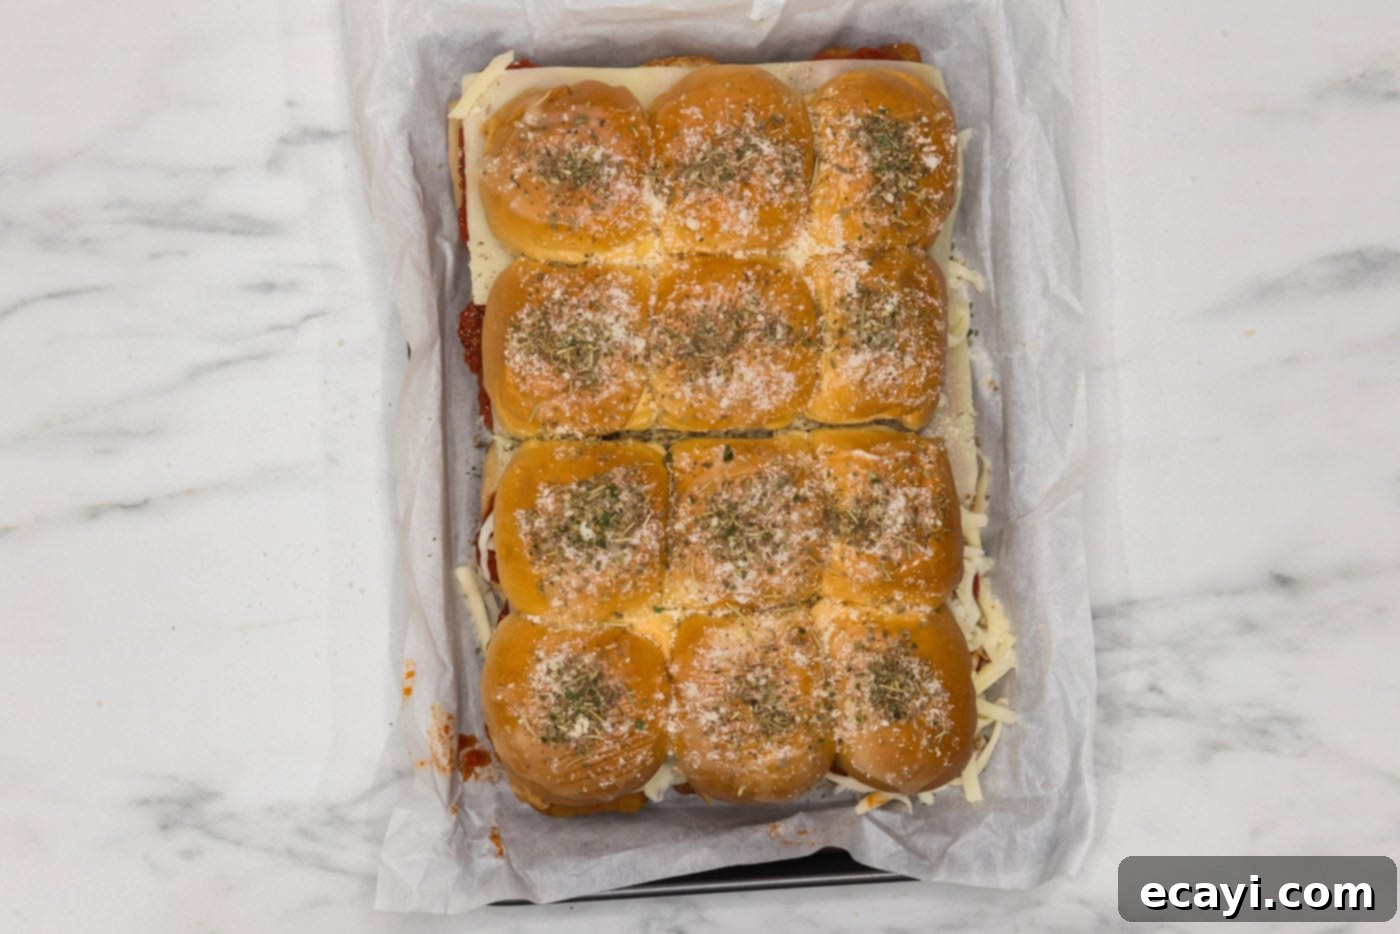
- For an extra layer of savory flavor, sprinkle the buttered tops with grated Parmesan cheese and a dash of Italian seasoning. This adds aromatic depth and a lovely finish.

- Return the baking dish to the oven, uncovered, and bake for an additional 20-25 minutes. Continue baking until the cheese is completely melted and bubbly, the marinara sauce is simmering, and the tops of the buns are beautifully browned and slightly crispy.
Frequently Asked Questions & Expert Tips for Perfect Sliders
While the assembly process for these sliders is incredibly quick, we generally wouldn’t recommend fully assembling them too far in advance, especially due to the marinara sauce. If the sliders sit for an extended period in the refrigerator, the marinara will soak into the buns and chicken, potentially causing them to become soggy. However, you can definitely prep components ahead: cook your chicken nuggets, slice your cheese, and have your marinara ready. Then, just before your gathering, assemble and bake! This approach keeps everything fresh and delicious.
Store any leftover sliders in an airtight container in the refrigerator for 2-3 days. Be aware that the buns may soften a bit more as they absorb the marinara sauce over time. To reheat, place the sliders in a 350°F (175°C) oven for approximately 10 minutes, or until they are warmed through and the cheese is melted again. If needed, you can always add a little extra marinara sauce when reheating to restore moisture and flavor.
Absolutely! Chicken tenders make a fantastic substitute for chicken nuggets. Simply cook them according to their package instructions, just as you would with nuggets. Once cooked, slice the tenders into portions small enough to fit neatly onto each slider bun. If your tenders are already quite small, you might be able to layer them directly onto the buns and then slice them after baking, before serving. Continue with the rest of the recipe steps as directed for a delicious variation.
For an even crispier top bun, you can briefly toast the top halves of the slider buns under the broiler for 1-2 minutes after brushing them with butter and seasoning, but *before* placing them on the bottom halves for the final bake. This adds an extra layer of texture. Just watch them carefully to prevent burning!
Remember those parchment paper “handles” you left hanging over the sides? Once your sliders are baked to golden perfection, simply use these handles to easily lift the entire slab of sliders out of the pan and onto a cutting board or cooling rack. This makes slicing and serving a breeze!
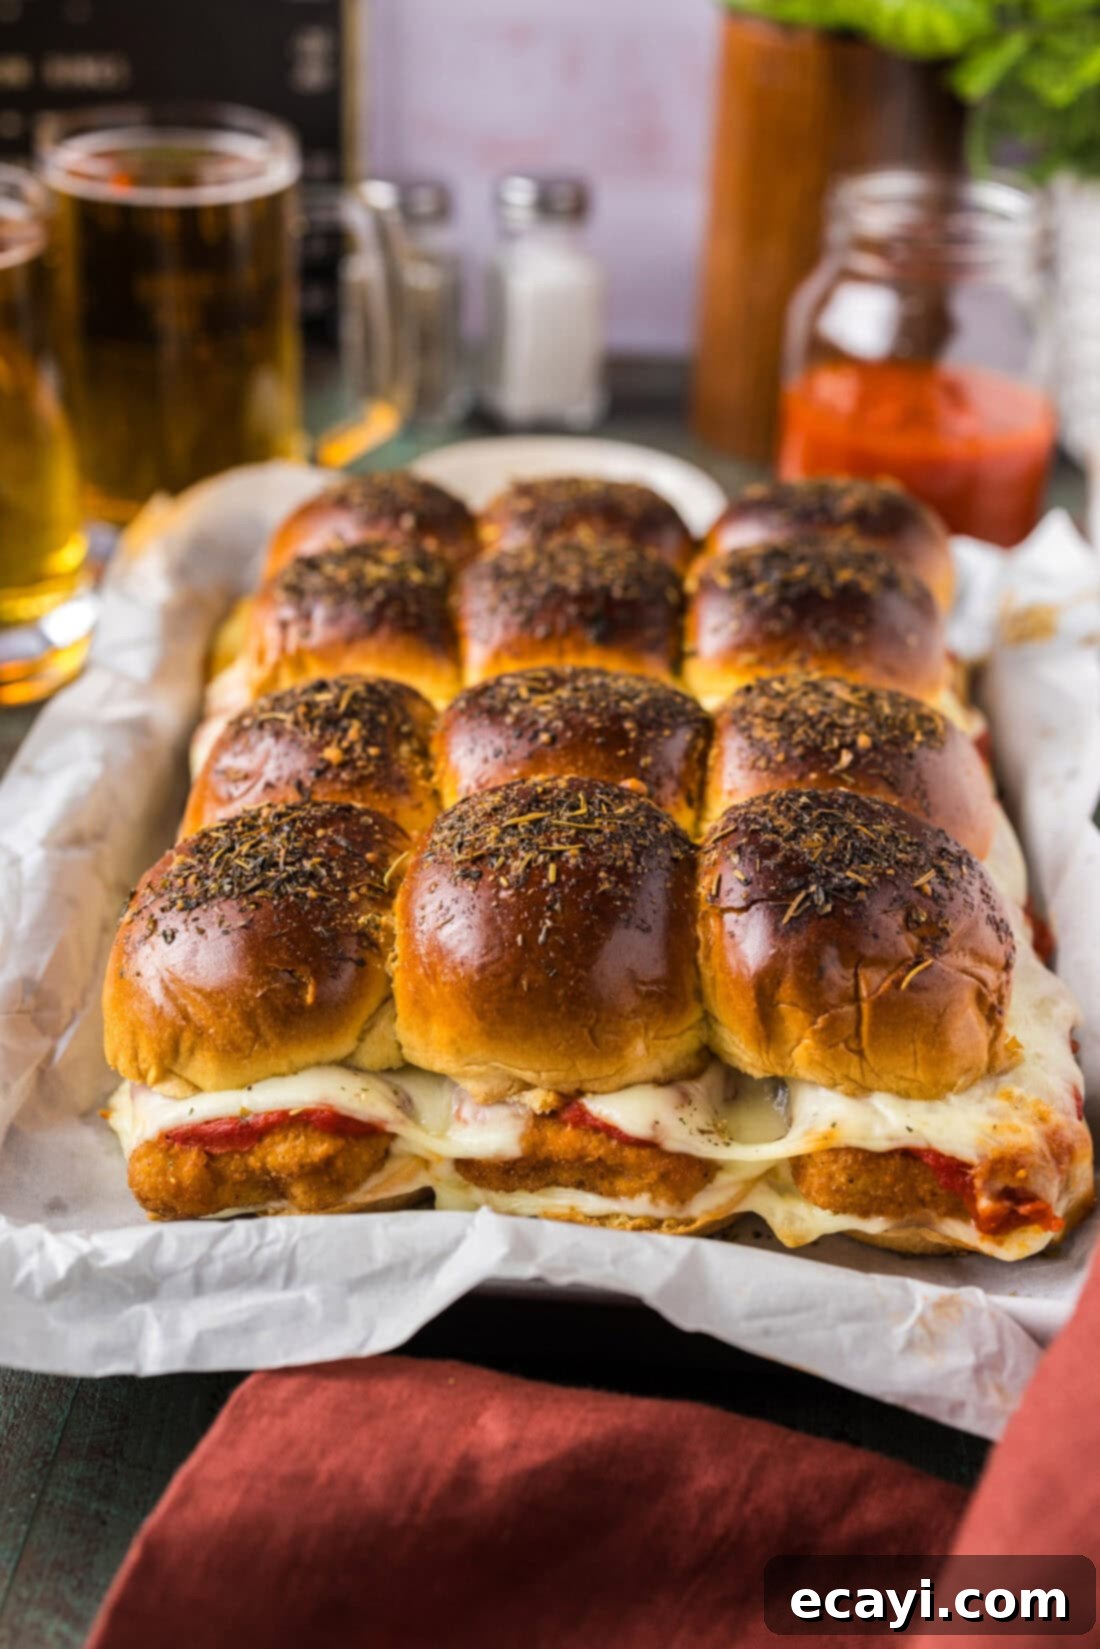
Delectable Serving Suggestions for Your Sliders
These chicken parmesan sliders have proven to be an absolute hit on countless occasions, from our boisterous football parties to more intimate board game nights. Their undeniable popularity and ease of preparation make them a fantastic choice not just for entertaining, but also as a delightful and effortless everyday dinner.
Pair your savory sliders with classic accompaniments like crispy french fries, golden tater tots, or even some homemade onion rings for a satisfying meal. If you’re looking for something a bit lighter and fresher, a vibrant side salad with a zesty vinaigrette, a medley of roasted vegetables (like broccoli, asparagus, or bell peppers), or a fresh pasta salad would complement the rich flavors beautifully. Another great option is to serve them alongside a bowl of extra marinara for dipping, or some mozzarella sticks for an even cheesier experience. No matter how you serve them, these sliders are guaranteed to be a hit!
Discover More Irresistible Slider Recipes
If you’ve fallen in love with the convenience and deliciousness of sliders, you’re in luck! We have a fantastic collection of other easy-to-make slider recipes that are perfect for any occasion. Explore these crowd-pleasing options:
- Pizza Sliders: All the flavors of your favorite pizza in a bite-sized bun!
- Cheeseburger Sliders: Classic cheeseburgers, made miniature and perfect for sharing.
- Ham and Cheese Sliders: A timeless combination that’s warm, buttery, and utterly delicious.
- Mississippi Pot Roast Sliders: Tender, flavorful shredded pot roast packed into mini buns – a true comfort food.
I absolutely adore cooking and baking, and there’s nothing I love more than sharing my culinary adventures with all of you! Remembering to check back for new recipes every day can be a challenge, which is why I offer a convenient newsletter delivered right to your inbox each time a fresh recipe posts. Simply subscribe today and start receiving your free daily recipes, making it easier than ever to discover your next favorite meal!
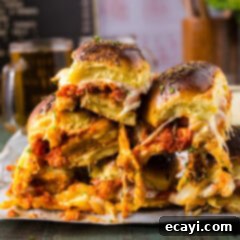
Chicken Parmesan Sliders
IMPORTANT – There are often Frequently Asked Questions within the blog post that you may find helpful. Simply scroll back up to read them!
Print It
Pin It
Rate It
Save It
Saved!
Course: Dinner
Cuisine: American
Ingredients
- 12 slider buns
- 12 slices mozzarella cheese divided
- 24 frozen chicken nuggets cooked according to package instructions
- 1 ½ cups marinara sauce
- 4 ounces shredded mozzarella cheese
- 2 Tablespoons butter melted
- grated parmesan cheese for garnish
- Italian seasoning for garnish
Things You’ll Need
-
13×9 baking dish
-
Parchment paper
-
Basting brush
Before You Begin
- The nutrition facts listed are approximate values. For the most accurate calculations, please refer to the specific brands of chicken nuggets and marinara sauce you use.
- If you prefer a less cheesy slider, you can choose to omit the shredded mozzarella cheese. The sliced cheese alone provides ample flavor and melt.
- For a slight variation, feel free to substitute the chicken nuggets with chicken tenders. Cook them according to their package instructions, then slice into slider-appropriate portions. If the tenders are very small, you can arrange them whole on the buns and slice them just before serving.
- Utilize the parchment paper “handles” that extend over the sides of the baking dish to effortlessly lift the entire block of sliders from the pan onto a cutting board for easy slicing.
Instructions
-
Preheat oven to 375°F (190°C).
-
Line a 13×9 baking dish with parchment paper, allowing excess to hang over the sides.
-
Place bottoms of slider buns into the pan and top with 6 of the mozzarella cheese slices.
-
Bake in the oven for 3-5 minutes, just long enough to melt the cheese.
-
Add 2 cooked chicken nuggets to each bottom bun.
-
Top the nuggets with marinara sauce.
-
Add remaining cheese slices then sprinkle with shredded mozzarella.
-
Place top buns on and brush with the melted butter.
-
Sprinkle with grated Parmesan and Italian seasoning.
-
Bake, uncovered, for 20-25 minutes, or until cheese is melted, sauce is bubbly, and tops of buns are nicely browned.
Expert Tips & FAQs
- Store any leftovers in an airtight container in the refrigerator for 2-3 days. Please note that over time, the buns may absorb more of the marinara sauce and become softer. Reheat the sliders in a 350°F (175°C) oven until thoroughly warmed, which usually takes about 10 minutes. If desired, you can add extra marinara when reheating.
- For even crispier tops, consider lightly toasting the top bun halves separately after buttering and seasoning, before their final assembly and bake.
- To customize flavors, try adding a pinch of garlic powder to your melted butter for brushing the buns, or a sprinkle of red pepper flakes to the marinara for a little heat.
Nutrition
Tried this Recipe? Pin it for Later!Follow on Pinterest @AmandasCookin or tag #AmandasCookin!
The recipes on this blog are tested with a conventional gas oven and gas stovetop. It’s important to note that some ovens, especially as they age, can cook and bake inconsistently. Using an inexpensive oven thermometer can assure you that your oven is truly heating to the proper temperature. If you use a toaster oven or countertop oven, please keep in mind that they may not distribute heat the same as a conventional full sized oven and you may need to adjust your cooking/baking times. In the case of recipes made with a pressure cooker, air fryer, slow cooker, or other appliance, a link to the appliances we use is listed within each respective recipe. For baking recipes where measurements are given by weight, please note that results may not be the same if cups are used instead, and we can’t guarantee success with that method.
