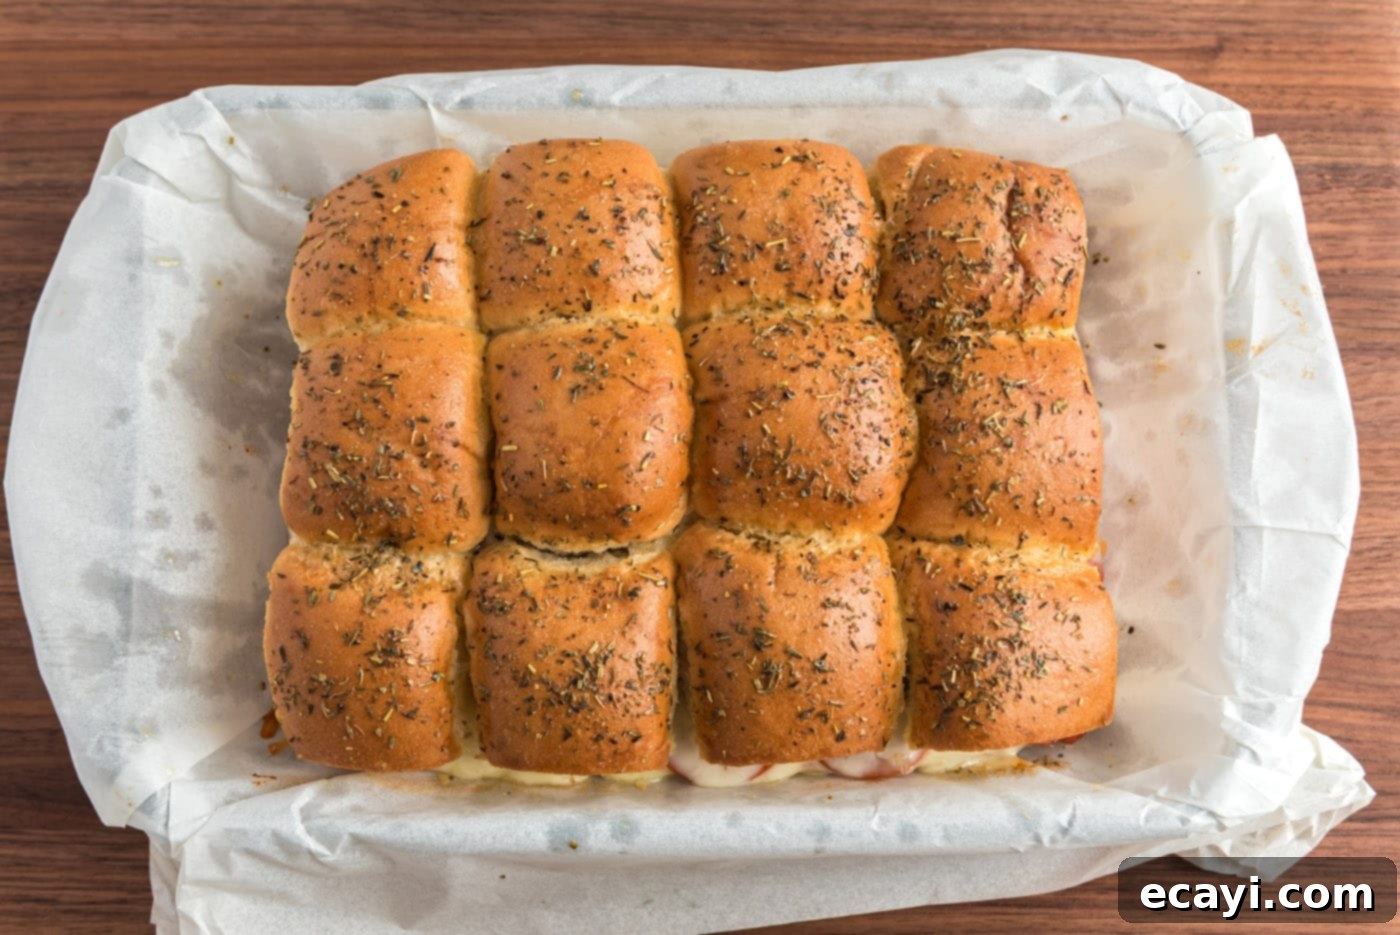
Easy Pizza Sliders: The Ultimate Party Appetizer and Game Day Treat
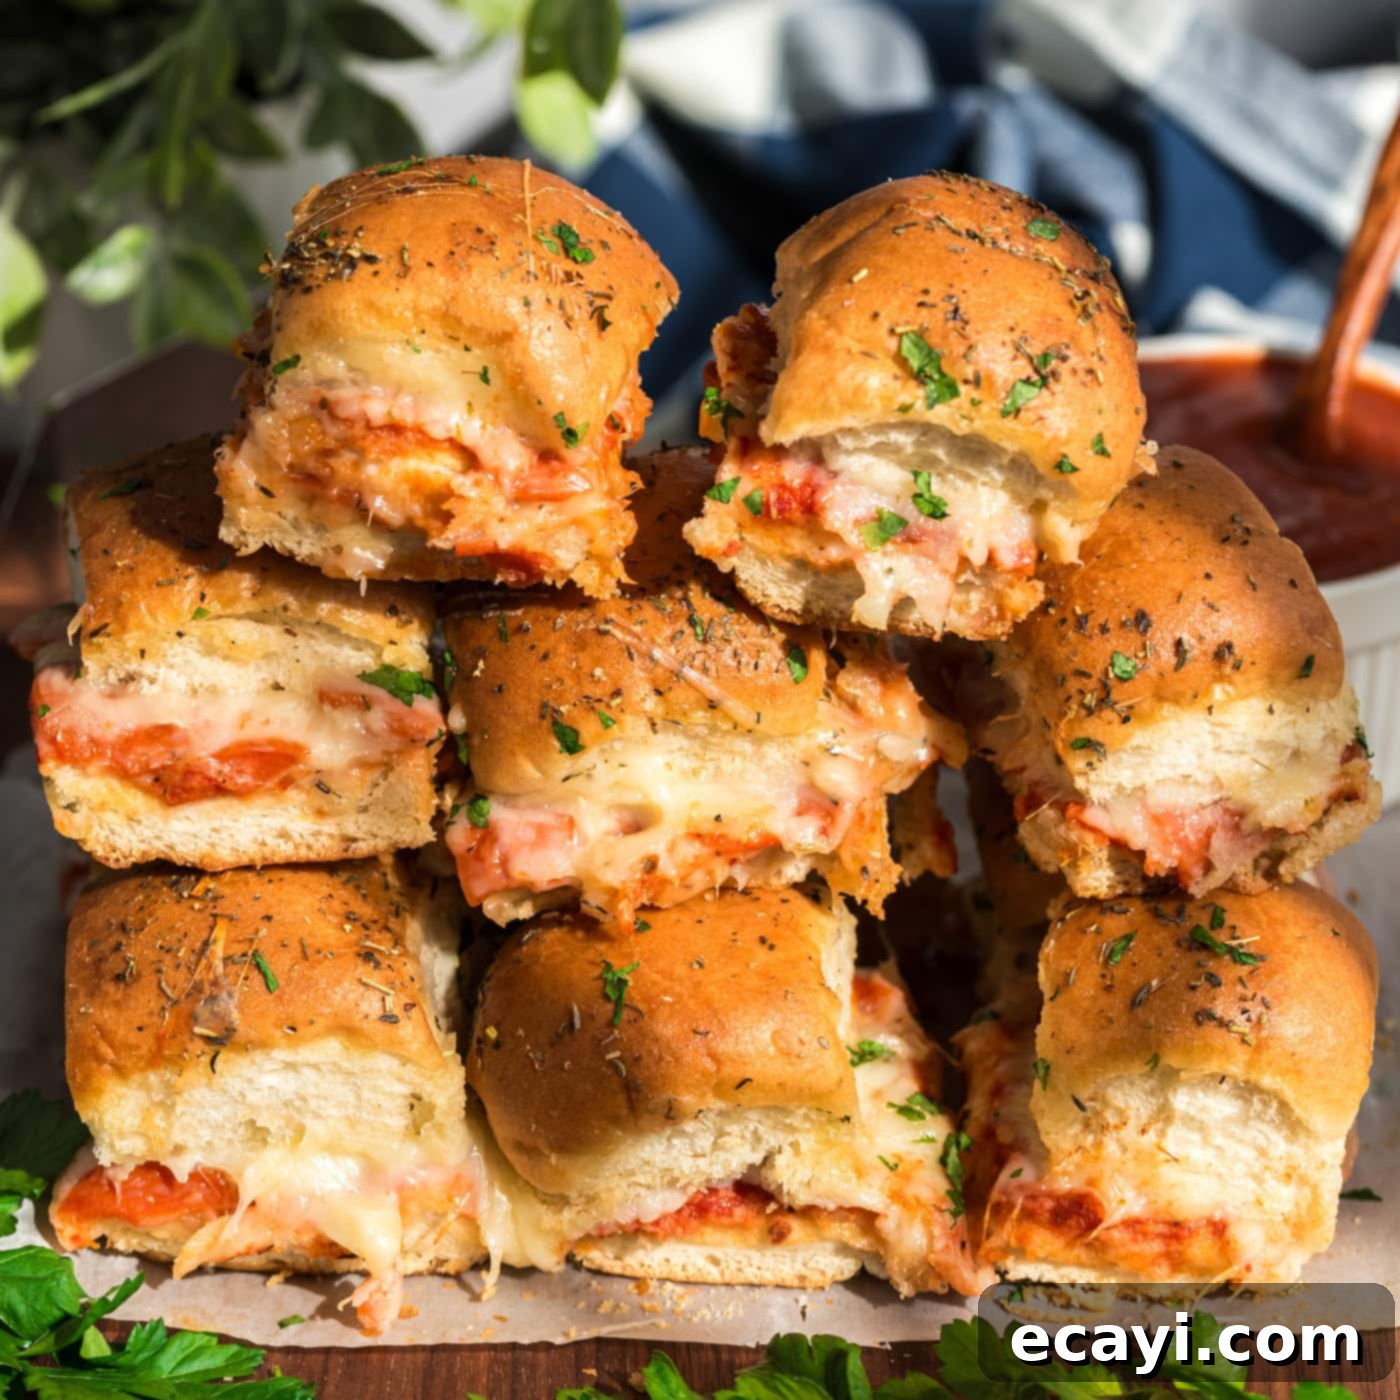
Transform ordinary dinner rolls into an extraordinary snack with these incredibly delicious and easy-to-make pizza sliders! Imagine soft, warm buns bursting with savory pizza sauce, your favorite toppings, and a generous layer of gooey, melted mozzarella cheese. These bite-sized delights are a massive hit for every occasion, from lively game day gatherings and casual weeknight dinners to festive holiday parties and potlucks. They offer all the beloved flavors of pizza in a convenient, handheld format that guests of all ages will adore. Get ready to elevate your appetizer game with this crowd-pleasing recipe!
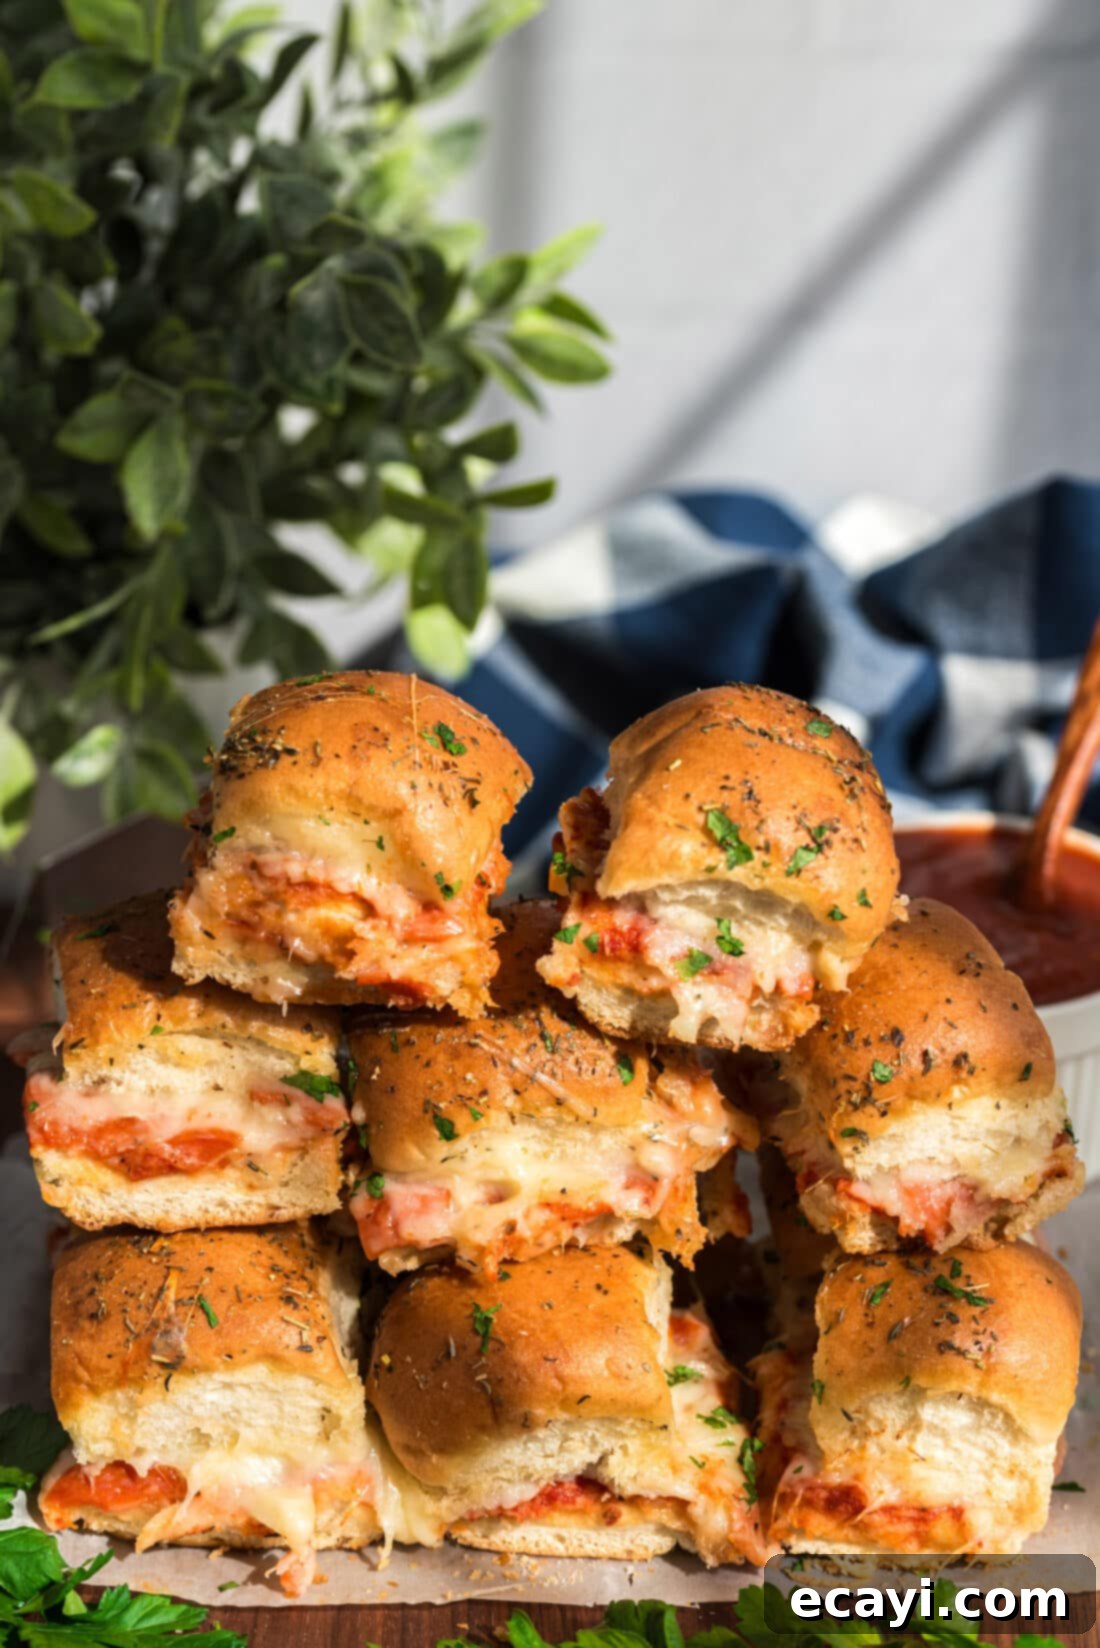
Why These Pizza Sliders Will Be Your New Favorite
If you’re searching for a hot appetizer that combines speed, simplicity, and undeniable flavor, look no further than these fantastic pizza sliders. This recipe is a true winner because it delivers a satisfying pizza experience with minimal effort, making it ideal for busy hosts or anyone with a sudden pizza craving. Here’s why these sliders are an absolute must-try:
- Effortlessly Quick: From prep to plate, these sliders come together in under 30 minutes, making them perfect for last-minute gatherings or spontaneous snack attacks.
- Simple Ingredients: You’ll only need a handful of readily available ingredients, most of which you likely already have in your pantry or refrigerator. No fancy techniques or obscure items required!
- Highly Customizable: The beauty of pizza is its versatility, and these sliders are no exception. Easily swap out pepperoni for sausage, add your favorite veggies, or mix different cheeses to create a personalized flavor profile every time.
- Crowd-Pleasing Perfection: Who doesn’t love pizza? These miniature, cheesy buns are universally appealing and always disappear quickly at parties, proving their popularity time and time again. They’re a guaranteed hit with kids and adults alike.
- Portable & Handheld: Designed to be eaten with ease, pizza sliders are the ultimate grab-and-go snack, perfect for mingling at parties or cheering on your favorite team without needing cutlery.
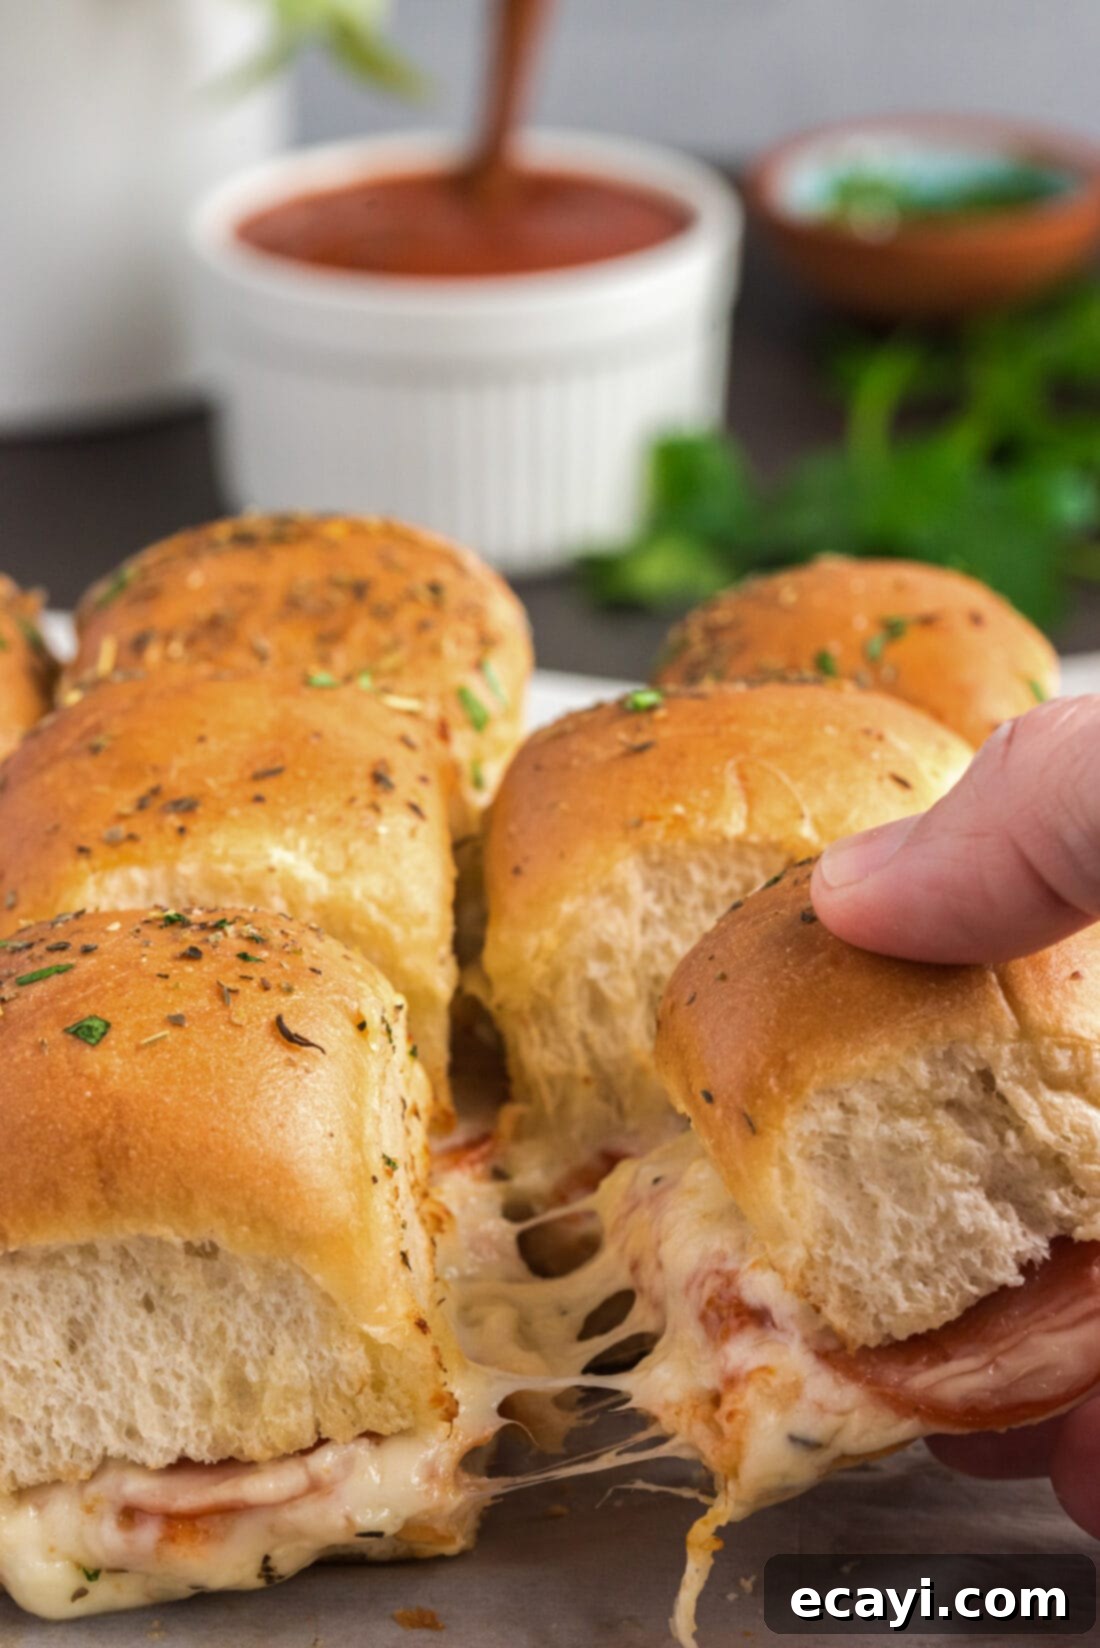
- Baked to Golden Perfection: A quick brush with melted butter ensures the tops of the rolls become wonderfully golden and slightly crispy, adding an irresistible texture contrast to the soft interior and melty cheese.
The process is incredibly straightforward: slice the buns, layer with sauce, cheese, and toppings, brush with butter, then bake until the cheese is bubbling and the rolls are golden. That’s all there is to it! Prepare to impress your guests and satisfy your cravings with these delightful pizza sliders. Let’s dive into how to create this deliciousness.
Gather Your Ingredients for Delicious Pizza Sliders
Crafting the perfect batch of pizza sliders starts with selecting fresh, high-quality ingredients. While the basic components remain consistent, there’s plenty of room for creativity and customization. You’ll find a detailed list of all measurements, specific ingredients, and step-by-step instructions in the printable recipe card located at the very end of this post. For now, let’s explore the essential items you’ll need to create these irresistible treats:
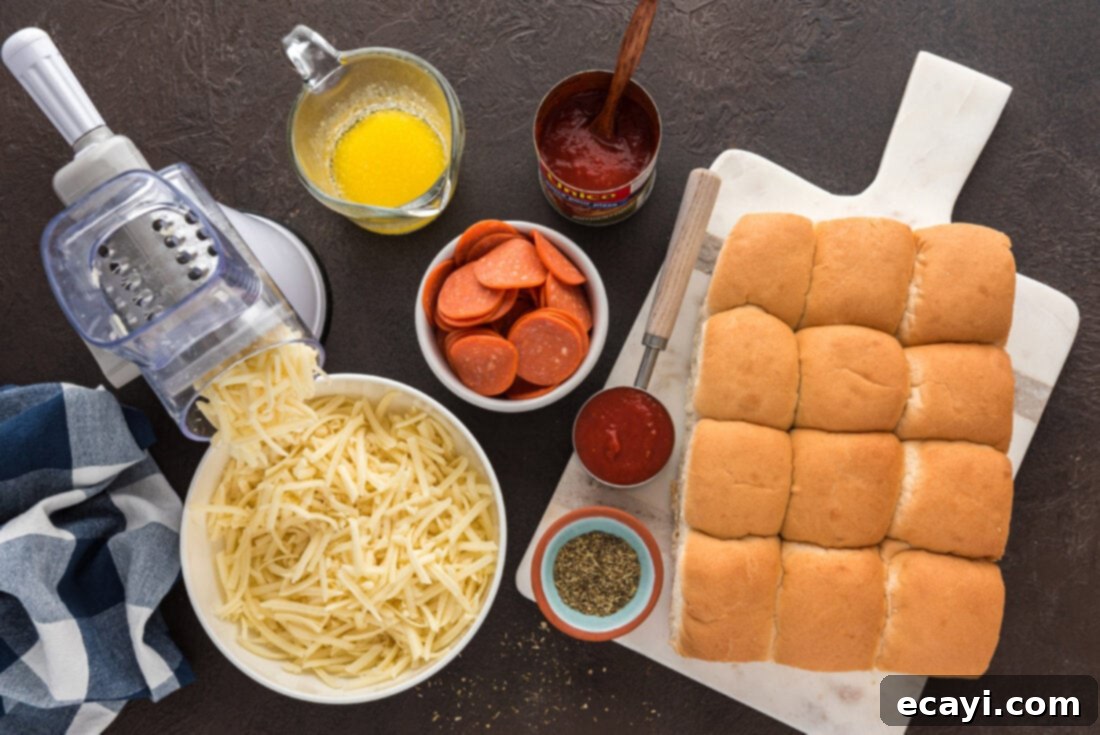
Ingredient Spotlight & Customization Ideas
Understanding each ingredient and its potential alternatives can help you tailor these pizza sliders to your exact preferences or dietary needs. Here’s a closer look at the key components and some excellent substitution suggestions:
SLIDERS (Buns) – The foundation of your pizza sliders! For the ultimate soft and slightly sweet base, we highly recommend using Hawaiian rolls. Their delicate sweetness perfectly complements the savory pizza flavors, creating a harmonious bite. Regular slider buns are also an excellent choice, offering a more classic bread taste. If you’re feeling ambitious and want to truly elevate your sliders, consider baking a batch of homemade Hawaiian rolls – the fresh aroma and unparalleled texture are worth the extra effort! Other options include brioche slider buns for a richer, buttery flavor, or even small ciabatta rolls sliced in half for a chewier texture. Whichever you choose, ensure they are fresh for the best results.
SAUCE – The heart of any good pizza is its sauce. While we’re absolutely partial to the vibrant, robust flavors of homemade pizza sauce, we understand that time is often a luxury. If you’re looking to save a little extra time without sacrificing taste, any high-quality store-bought pizza sauce or marinara sauce will do the trick. Look for brands with natural ingredients and a balanced flavor profile. For a unique twist, consider a garlic-herb sauce, a slightly spicy arrabiata, or even a pesto base for a different kind of pizza slider experience.
CHEESE – The gooey, melty magic that brings everything together! Mozzarella cheese is the classic choice for a reason – its excellent melting properties create those desirable cheese pulls and a creamy texture. Both shredded or sliced mozzarella cheese work beautifully for this recipe. However, for that extra melty, incredibly delicious result, your absolute best bet is to shred the cheese straight from a block yourself. Pre-shredded cheeses often contain anti-caking agents that can hinder smooth melting. Feel free to experiment with a blend of cheeses; provolone adds a sharper tang, while a sprinkle of freshly grated Parmesan on top can enhance the savory notes. Cheddar or a Monterey Jack blend can also add a delightful creaminess.
ADDITIONS (Toppings) – This is where your creativity truly shines! While pepperoni is a timeless favorite, the possibilities for customizing your pizza sliders are virtually endless. Instead of just pepperoni, or in addition to it, you can easily incorporate other delicious meats like pizza sausage (crumbled and cooked), cooked bacon bits, shredded cooked chicken, or even thinly sliced ham for a Hawaiian-style slider. For vegetables, consider thinly sliced green peppers, sautéed mushrooms, finely diced onions (caramelized for extra flavor!), black olives, jalapeños for a kick, or even a sprinkle of fresh basil. If you plan on adding vegetables, we highly recommend quickly sautéing them before adding them to the sliders. This ensures they cook through properly in the oven, preventing a raw or overly crunchy texture. The same principle applies to sausage and other raw meats: crumble and cook them partially or fully before adding them to ensure they are done when your sliders come out of the oven. This pre-cooking step also helps to release excess moisture, preventing your buns from becoming soggy.
How to Make Delicious Pizza Sliders: A Step-by-Step Guide
These step-by-step photos and detailed instructions are here to help you visualize exactly how to make this incredibly easy and delicious recipe. For the printable version, complete with all measurements and full instructions, simply Jump to Recipe at the bottom of this post.
- Prepare Your Baking Dish and Oven: Begin by preheating your oven to 350°F (175°C) to ensure it reaches the ideal temperature for even baking. Lightly grease a 13×9 inch baking dish with cooking spray or butter; this prevents the sliders from sticking and ensures a golden-brown bottom crust.
- Melt the Butter: Melt the unsalted butter in a small saucepan over medium heat on your stovetop, or simply pop it into the microwave in a microwave-safe bowl until fully melted. This butter will be used to baste the tops of your sliders, contributing to their golden finish.
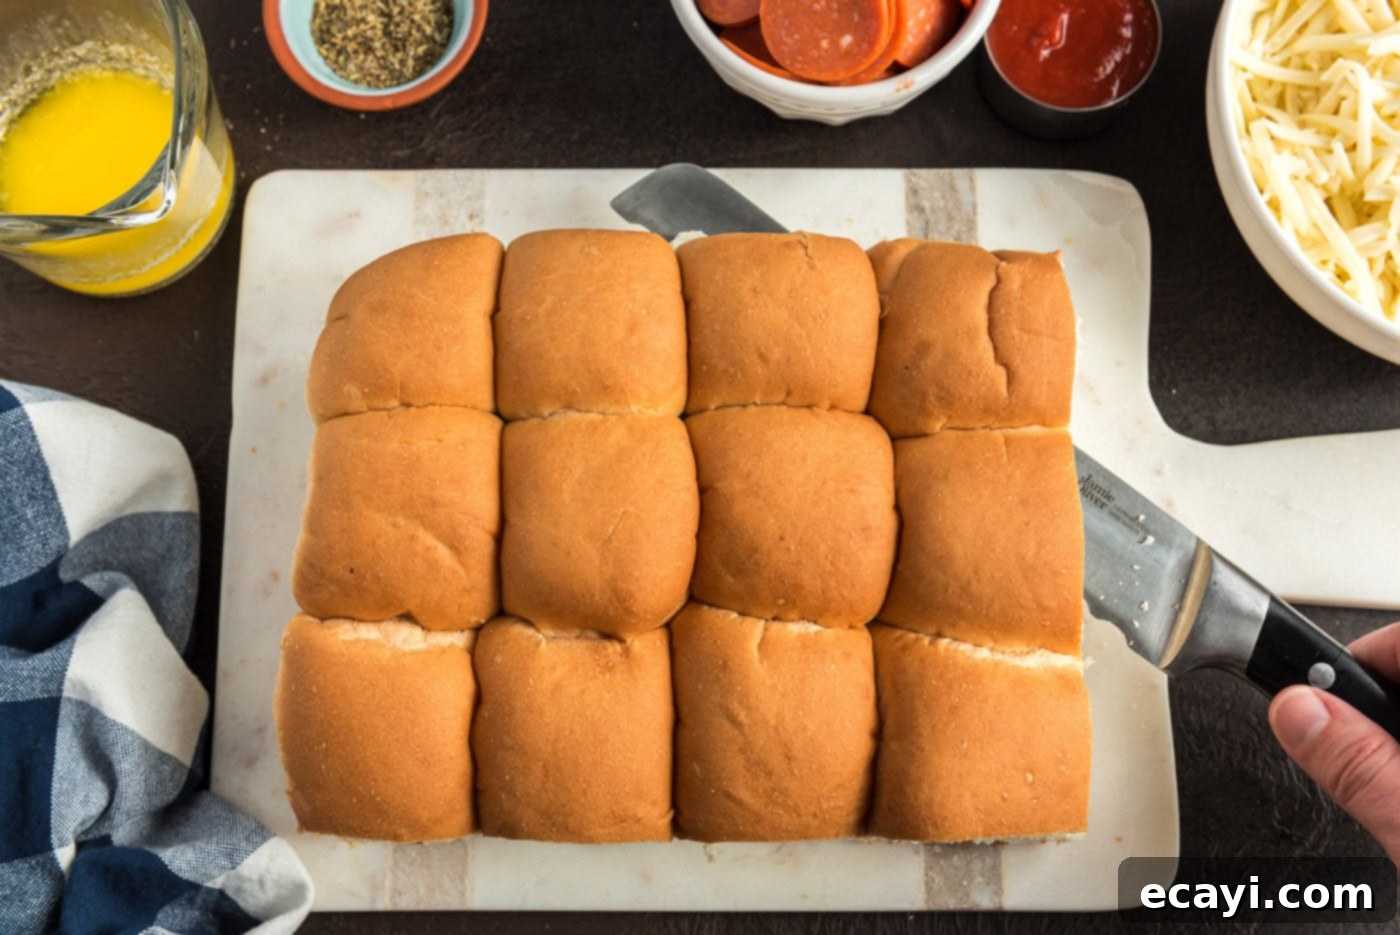
- Slice the Buns: Carefully slice the entire block of slider buns horizontally across the middle, separating the tops from the bottoms. Keep them connected to maintain their structure, then gently set the top section aside while you prepare the bottom layer.

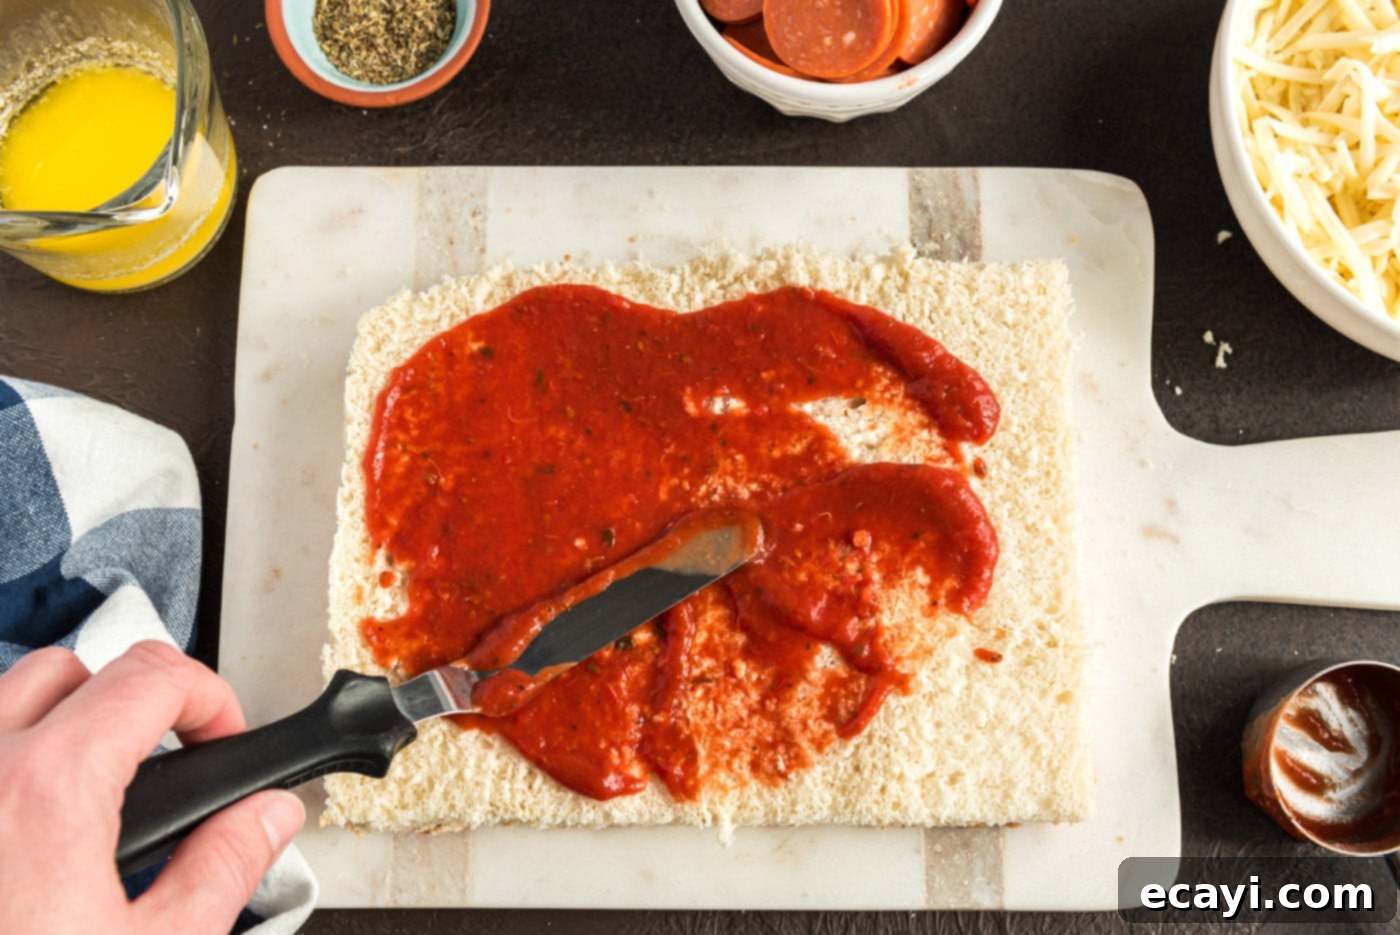
- Apply Pizza Sauce: Place the bottom sections of the buns into your prepared baking dish. Evenly spread the pizza sauce over the entire surface of the bottom buns. Ensure a good, consistent layer, but avoid saturating the bread to prevent sogginess.

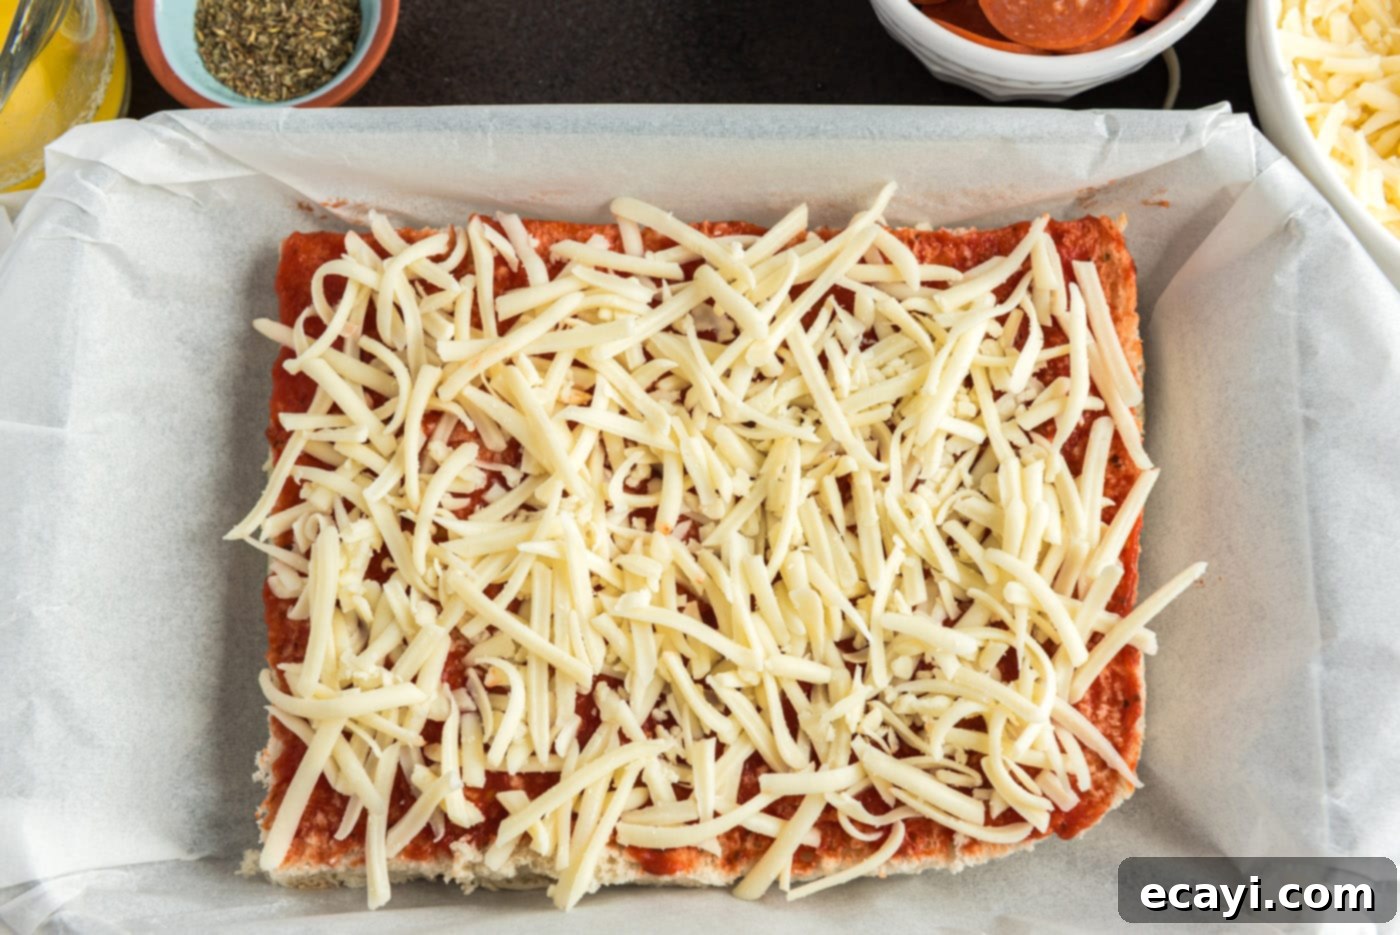
- First Cheese Layer: Sprinkle one cup of your mozzarella cheese evenly over the top of the pizza sauce layer. This initial layer of cheese acts as a barrier, further protecting the buns from the sauce and ensuring maximum meltiness.

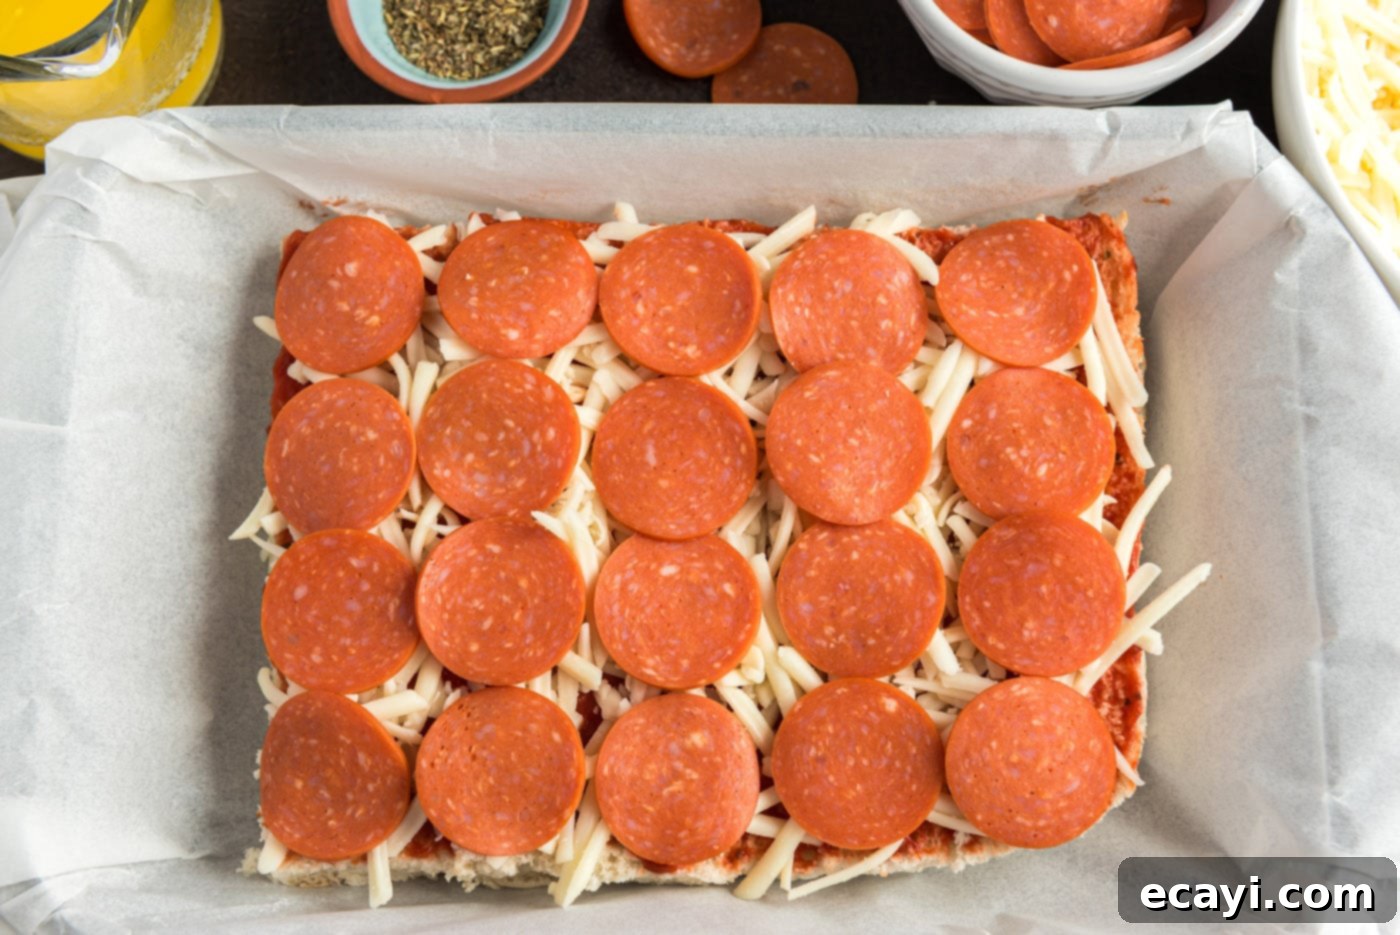
- Add Pepperoni: Arrange the pepperoni slices in a single, even layer over the cheese. Ensure good coverage so every slider gets a tasty bite of pepperoni. If using other toppings, layer them over the cheese now.

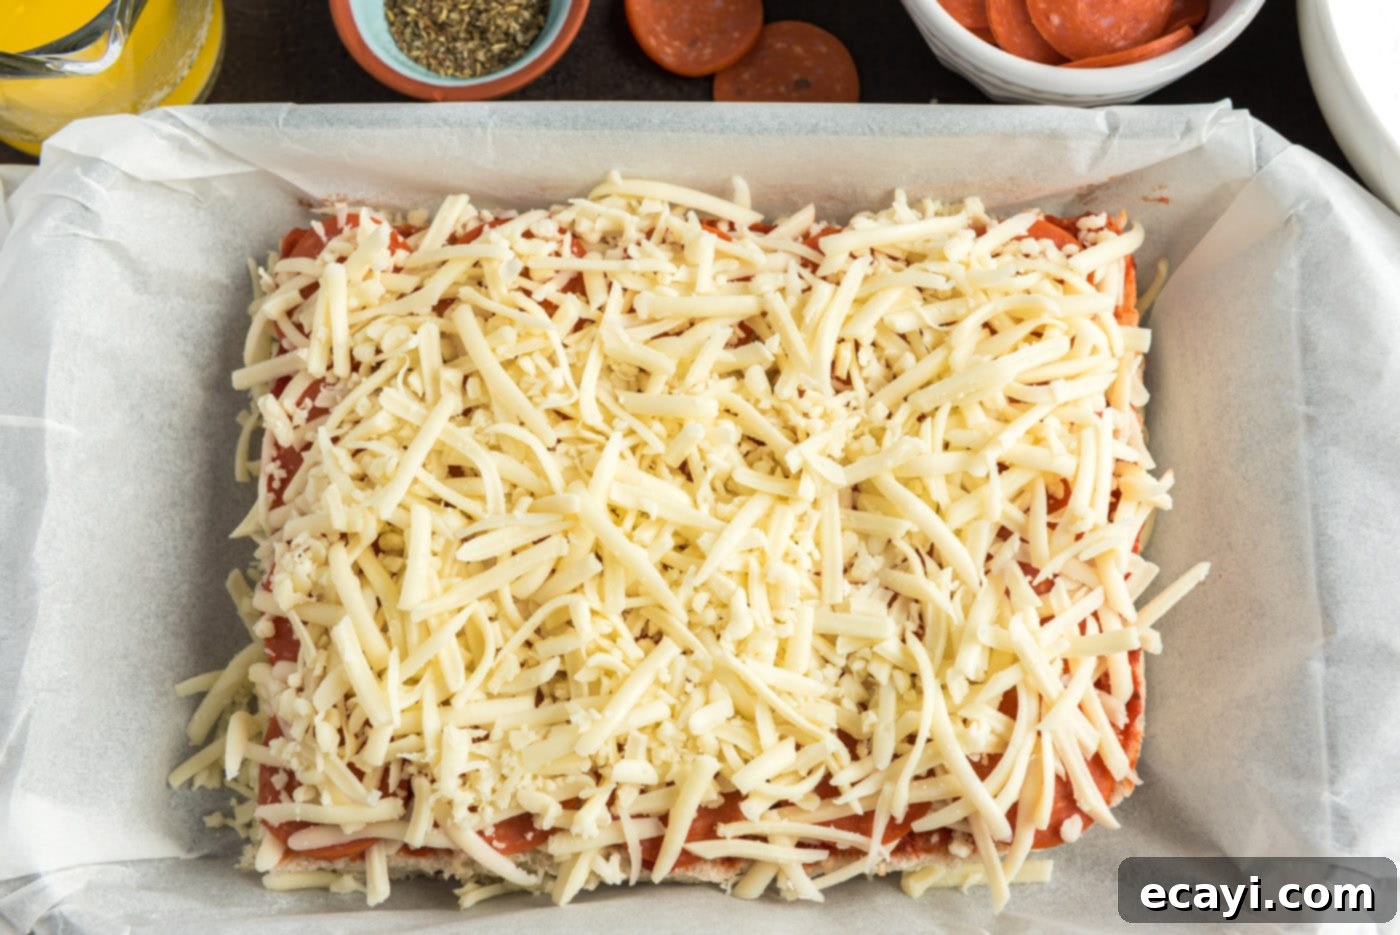
- Second Cheese Layer: Sprinkle the remaining one cup of mozzarella cheese over the pepperoni and any other toppings. This second layer ensures a rich, cheesy experience and helps to bind all the delicious fillings together.

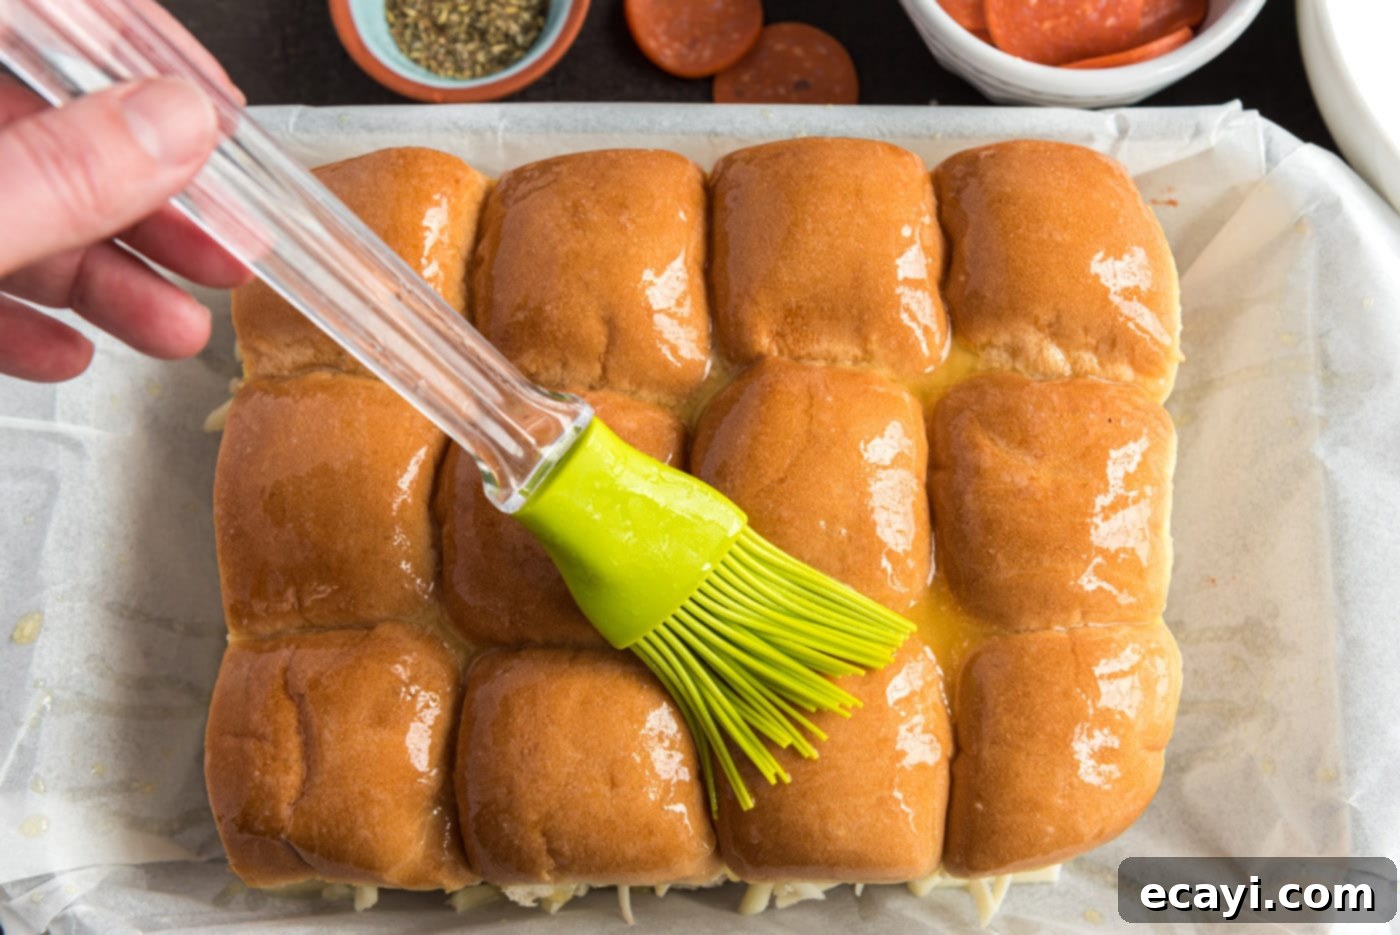
- Replace Tops and Baste: Carefully place the top sections of the rolls back onto their respective bottoms, aligning them neatly. Using a pastry brush, generously baste the entire top surface of the rolls with the melted butter. This butter bath will help them turn beautifully golden and add rich flavor.

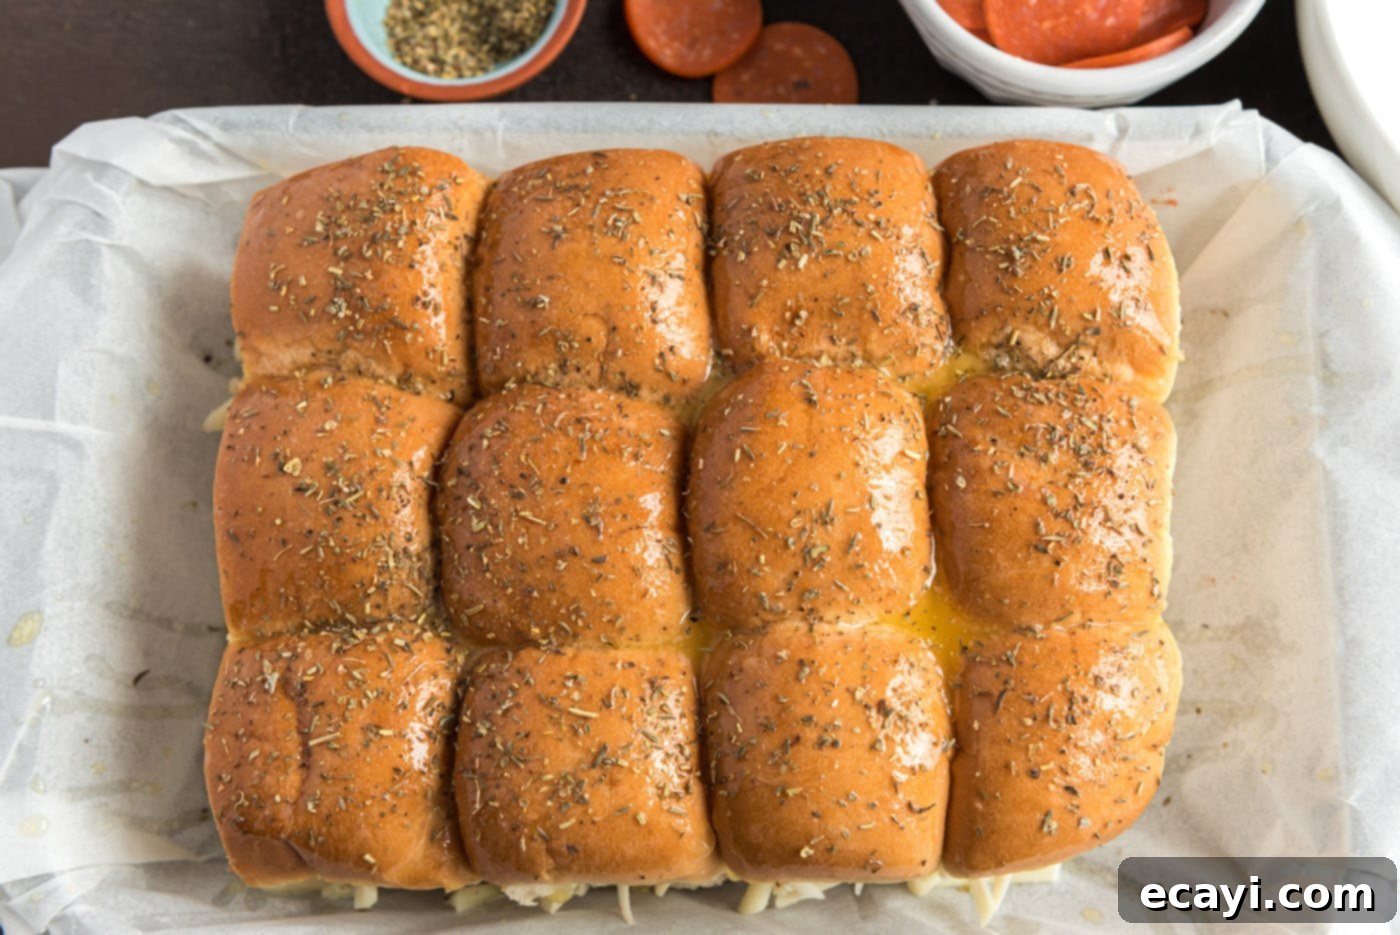
- Season and Cover: Sprinkle the tops of the buttered rolls with oregano or Italian seasoning. This adds that classic pizza aroma and flavor. Cover the baking dish tightly with aluminum foil to trap the heat and moisture, which helps the cheese melt evenly and prevents the buns from drying out.

- Bake Until Golden: Bake the sandwiches in the preheated oven for approximately 20 minutes. At this point, the cheese should be fully melted and gooey, and the butter should have been absorbed into the rolls, giving them a delightful golden-brown color and a slightly crisp top. Remove the foil for the last 5 minutes of baking if you desire a crispier top crust.

Frequently Asked Questions & Expert Tips for Pizza Sliders
While pizza sliders are undeniably at their best when enjoyed fresh out of the oven, any leftovers can be stored for later. Allow them to cool completely before transferring them to an air-tight container. They will keep well in the refrigerator for up to 3 days. To reheat, place the sliders back into a 350°F (175°C) oven, covered with aluminum foil, until they are heated through and the cheese is melted again. For a quicker option, you can also pop them into an air fryer using the reheat function for a few minutes until warmed and slightly crispy.
Yes, you can certainly prepare pizza sliders in advance, but there are a few considerations to keep in mind to maintain their quality. You can assemble the sliders up to an hour or two before baking. Any longer than that, and you risk the buns becoming soggy from the pizza sauce. If you plan to make them the morning of your event, a smart trick is to first layer the bottom buns with pepperoni or a thin layer of cheese before adding the sauce. This creates a protective barrier that helps prevent the bread from absorbing too much moisture. Another excellent option for longer prep is to assemble the sliders without any pizza sauce at all, and instead, serve the sauce on the side for dipping after they are baked. If prepping ahead, complete the slider assembly up until step 8 (before basting with butter) and refrigerate. When ready to bake, proceed with basting, seasoning, and baking as directed, adding a few extra minutes to the baking time if starting from cold.
Soggy buns are a common concern when making sliders with moist fillings. The primary culprits are often too much pizza sauce or allowing the assembled sliders to sit for too long before baking. To effectively avoid this, consider these expert tips: 1. Use a Cheese or Pepperoni Barrier: As mentioned, place a layer of shredded cheese or pepperoni slices directly onto the bottom buns before adding the pizza sauce. This physical barrier prevents direct contact between the sauce and the bread. 2. Moderate Sauce Application: Be mindful of how much sauce you spread. A thin, even layer is usually sufficient to impart flavor without oversaturating the buns. 3. Don’t Over-Prep: Try to assemble and bake your sliders within an hour or two. The longer they sit, the more time the moisture has to penetrate the bread. 4. Lightly Toast Buns: For an extra layer of protection and a slightly crispier base, you can lightly toast the cut sides of the bottom buns in a dry skillet or under the broiler for a minute or two before assembling. This creates a less porous surface.
Serving Suggestions for Your Pizza Sliders
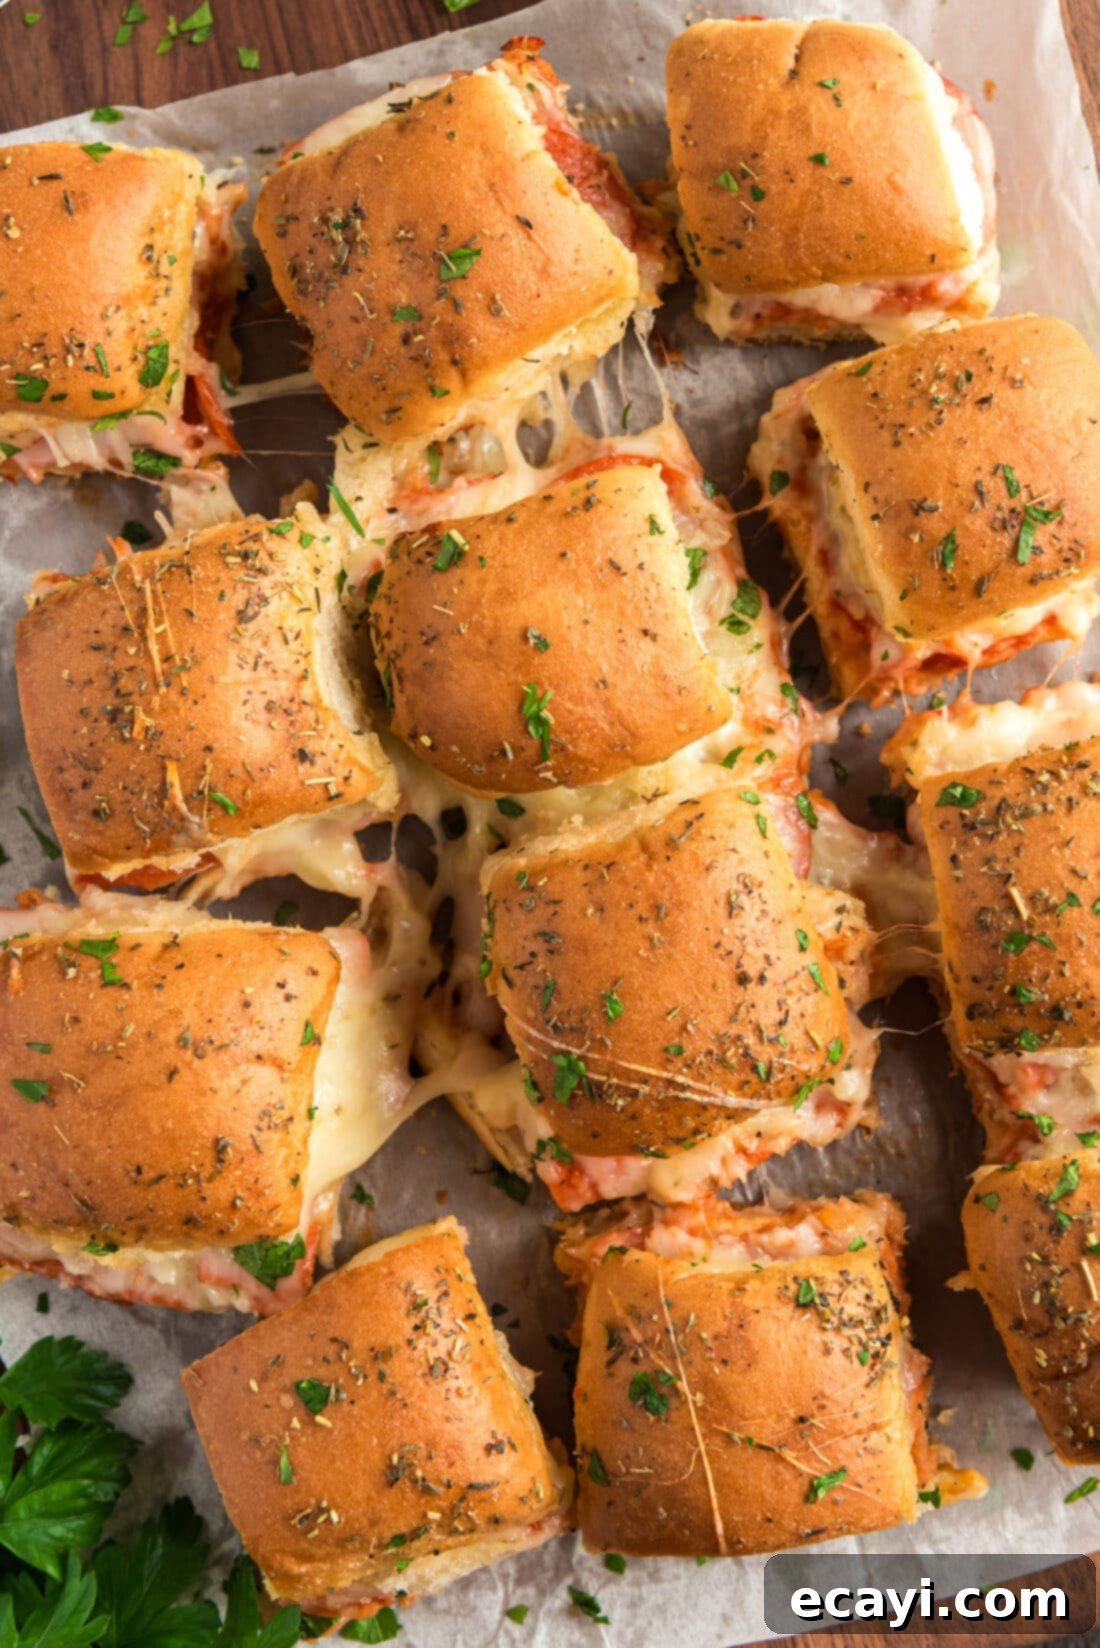
These versatile pizza sliders can be served as a delightful main course for a casual family meal or as an incredibly popular appetizer for any party, game day, or get-together. They are hearty enough to satisfy as a light meal but perfectly bite-sized for snacking. To enhance the experience, consider serving the sliders with a variety of dipping sauces on the side. Classic options like extra pizza sauce or warm marinara are always a hit, but don’t shy away from creamy ranch dressing or a zesty garlic butter for an added layer of flavor. For an extra touch of gourmet, you can optionally garnish the top of the buns with a sprinkle of freshly grated Parmesan cheese or a scattering of fresh chopped parsley or basil immediately after baking.
Complement your pizza sliders with a simple side salad for a balanced meal, or pair them with a bowl of crispy potato chips or a fresh vegetable platter for a complete party spread. These easy pizza sliders truly are a fantastic last-minute option when you need to bring something delicious to an event or simply want a fuss-free snack. They’re consistently a smashing success for football nights, movie marathons, or any time you’re craving comforting, cheesy goodness. Enjoy creating and devouring these amazing pizza sliders!
Discover More Irresistible Slider Recipes
If you loved the ease and flavor of these pizza sliders, you’re in for a treat! Sliders are incredibly versatile and can be adapted to countless flavor combinations. Here are some more of our favorite slider recipes that are sure to become new household staples:
- Italian Sliders: Packed with deli meats and Italian seasonings, these are a savory delight.
- Roast Beef Sliders: Featuring tender roast beef and melted cheese, perfect for a hearty snack.
- Cheeseburger Sliders: All the classic flavors of a cheeseburger in a fun, mini bun.
- Mississippi Pot Roast Sliders: Slow-cooked, tender pot roast makes these sliders incredibly flavorful.
- Chicken Parmesan Sliders: A miniature take on the beloved Italian-American classic.
I love to bake and cook and share my kitchen experience with all of you! Remembering to come back each day can be tough, that’s why I offer a convenient newsletter every time a new recipe posts. Simply subscribe and start receiving your free daily recipes!
Pizza Sliders
IMPORTANT – There are often Frequently Asked Questions within the blog post that you may find helpful. Simply scroll back up to read them!
Print It
Rate It
Save ItSaved!
Ingredients
- 12 slider buns or Hawaiian rolls
- 2 cups mozzarella cheese
- 7 ounces pepperoni slices
- ¼ cup pizza sauce
- ¼ cup unsalted butter melted
- 2 teaspoons Italian seasoning or oregano
Things You’ll Need
-
13×9 baking dish
-
Saucepan
-
Aluminum foil
Before You Begin
- We’re partial to homemade pizza sauce around here, but any store-bought sauce will do the trick if you want to save a little extra time.
- Both shredded or sliced mozzarella cheese work for this recipe. Shredding the cheese straight from the block is your best bet to make it extra melty and delicious.
- Instead of pepperoni, or in addition to, you can easily use pizza sausage. Green peppers, mushrooms, onions, olives, or just about any of your favorite pizza toppings can also be incorporated! If you plan on adding vegetables I would recommend quickly sauteeing them before adding them to the sliders to be sure they are cooked through when coming out of the oven. The same goes for the sausage, crumble and cook partially before adding to ensure doneness.
Instructions
-
Preheat oven to 350F and grease a 13×9 baking dish.
-
Melt the butter in a saucepan over medium heat or in the microwave.
-
Slice the buns across the middle and set the tops to the side.
-
Spread the pizza sauce over the bottom sections of the buns and place into the baking dish.
-
Spread 1 cup of mozzarella cheese over the top of the sauce.
-
Layer the pepperoni slices to make one full layer over the top of the cheese.
-
Sprinkle with remaining 1 cup mozzarella cheese.
-
Place tops of rolls back on and baste with melted butter.
-
Sprinkle on oregano or Italian seasoning and cover with aluminum foil.
-
Bake sandwiches for 20 minutes until cheese is melted and butter has been fully absorbed, resulting in golden sandwich tops.
Expert Tips & FAQs
- Pizza sliders are best enjoyed right away, however, they can be stored in an air-tight container kept in the refrigerator for up to 3 days. Reheat in a 350F oven covered with aluminum foil until heated through. You can also pop them into the air fryer using the reheat function.
- Make Ahead – You can prepare the pizza sliders an hour or two in advance, but any longer and you risk the buns becoming soggy. If you want to make them the morning of I would suggest first layering with pepperoni or cheese to create a barrier between the sauce and buns so that it doesn’t soak into the bread after sitting. Another option is to not add pizza sauce to the sliders at all and instead, serve it on the side for dipping. Prepare the sliders up until step 8 and refrigerate if prepping ahead. Bake as directed.
Nutrition
The recipes on this blog are tested with a conventional gas oven and gas stovetop. It’s important to note that some ovens, especially as they age, can cook and bake inconsistently. Using an inexpensive oven thermometer can assure you that your oven is truly heating to the proper temperature. If you use a toaster oven or countertop oven, please keep in mind that they may not distribute heat the same as a conventional full sized oven and you may need to adjust your cooking/baking times. In the case of recipes made with a pressure cooker, air fryer, slow cooker, or other appliance, a link to the appliances we use is listed within each respective recipe. For baking recipes where measurements are given by weight, please note that results may not be the same if cups are used instead, and we can’t guarantee success with that method.
This post originally appeared here on Jun 29, 2016 and has since been updated with new photos and expert tips.
