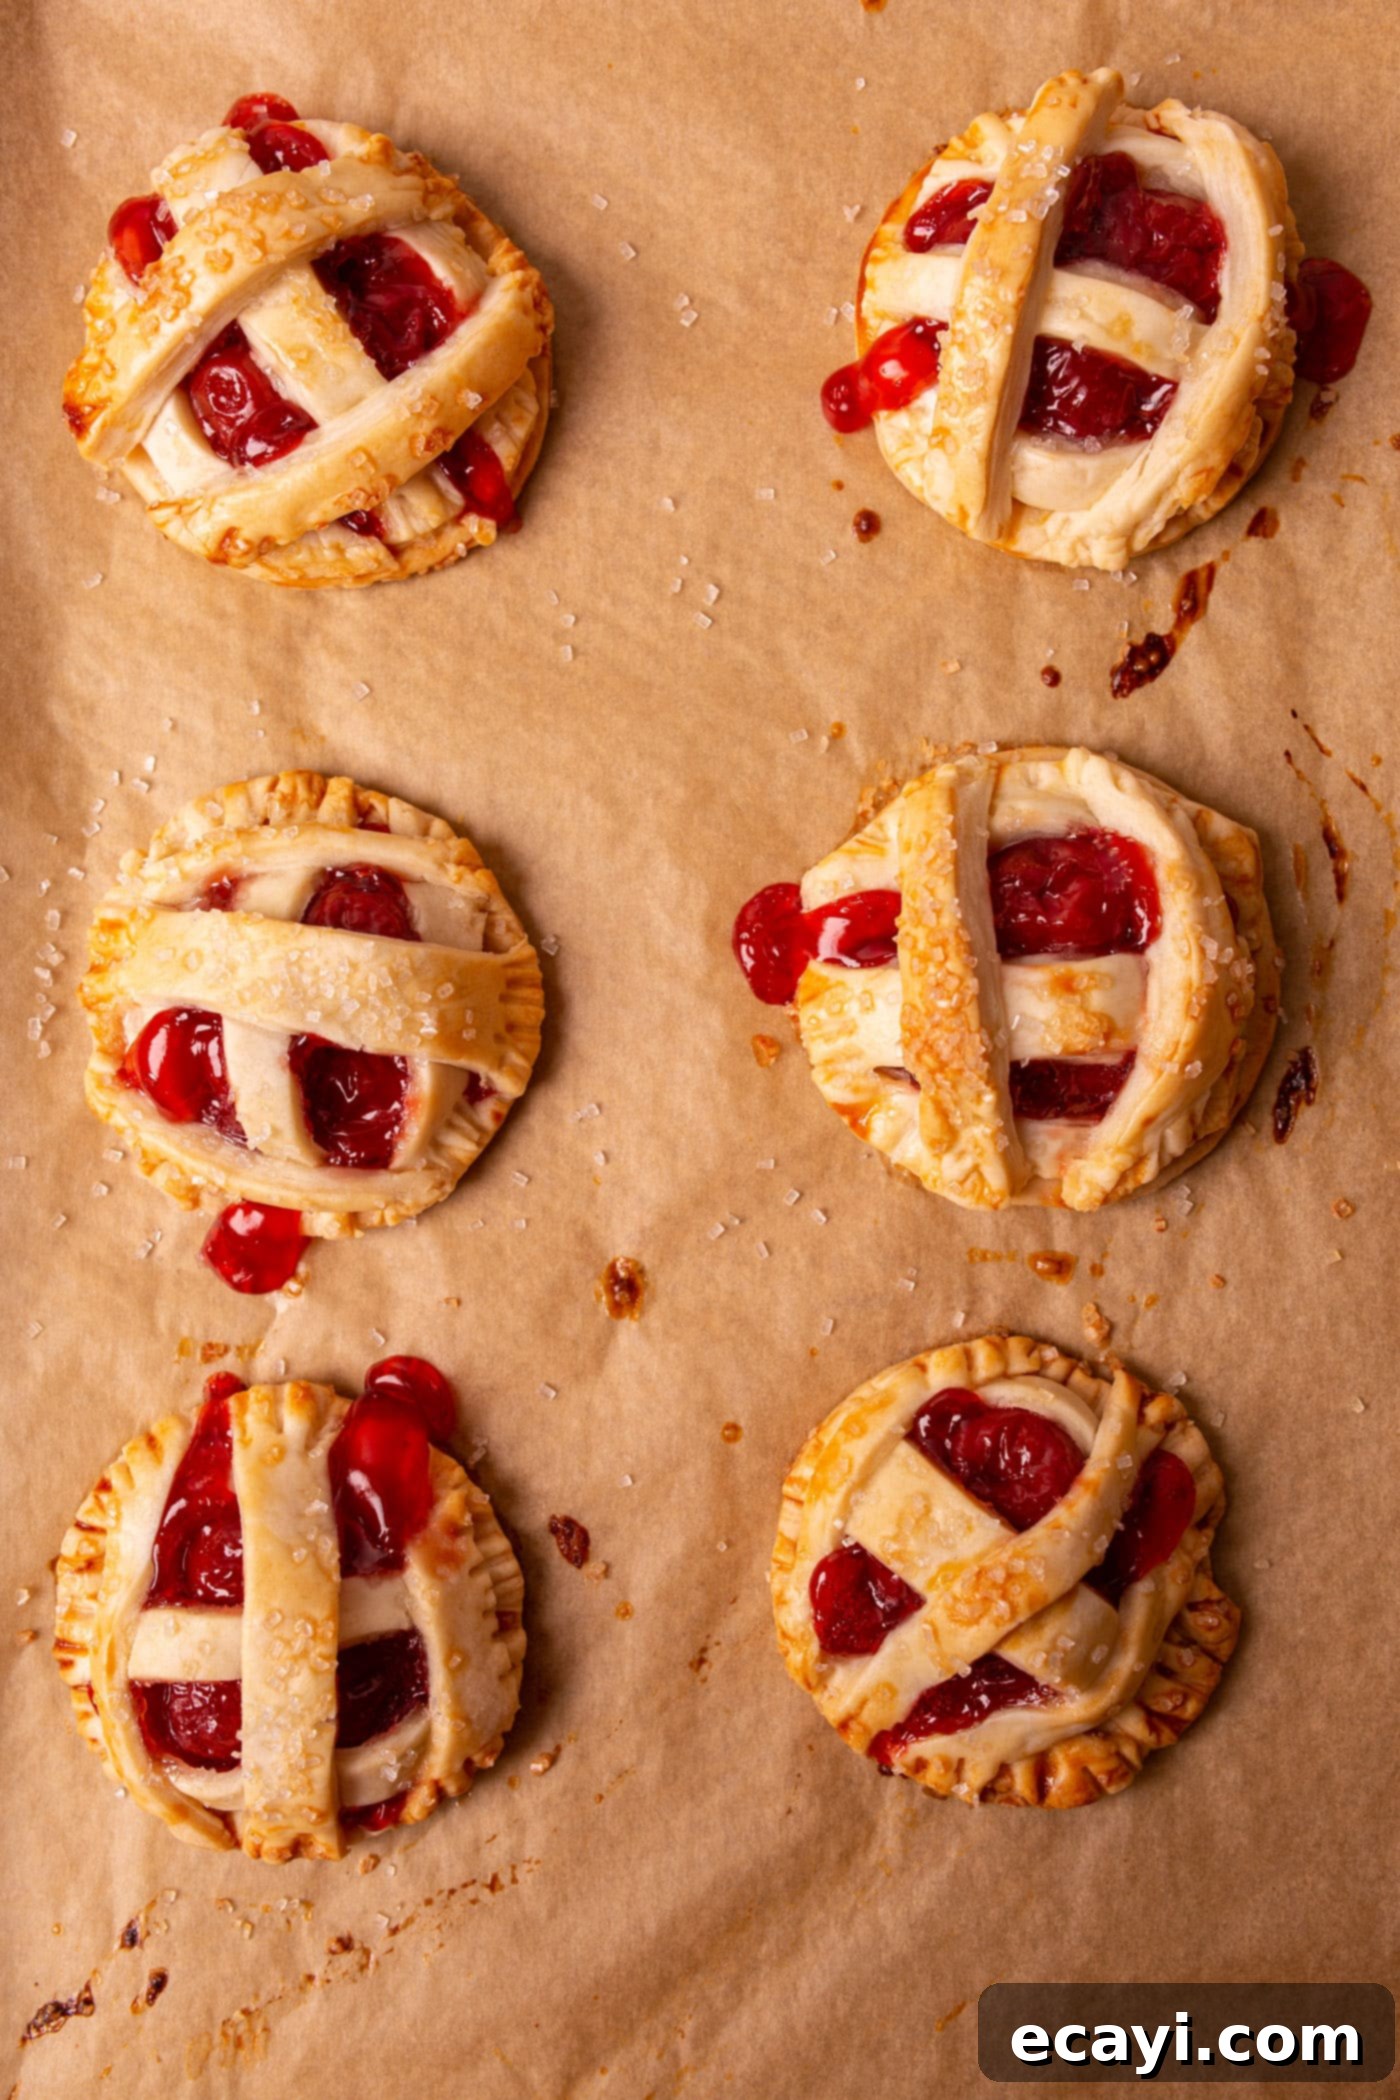
Easy Cherry Pie Cookies: Quick & Simple Mini Desserts with a Lattice Top
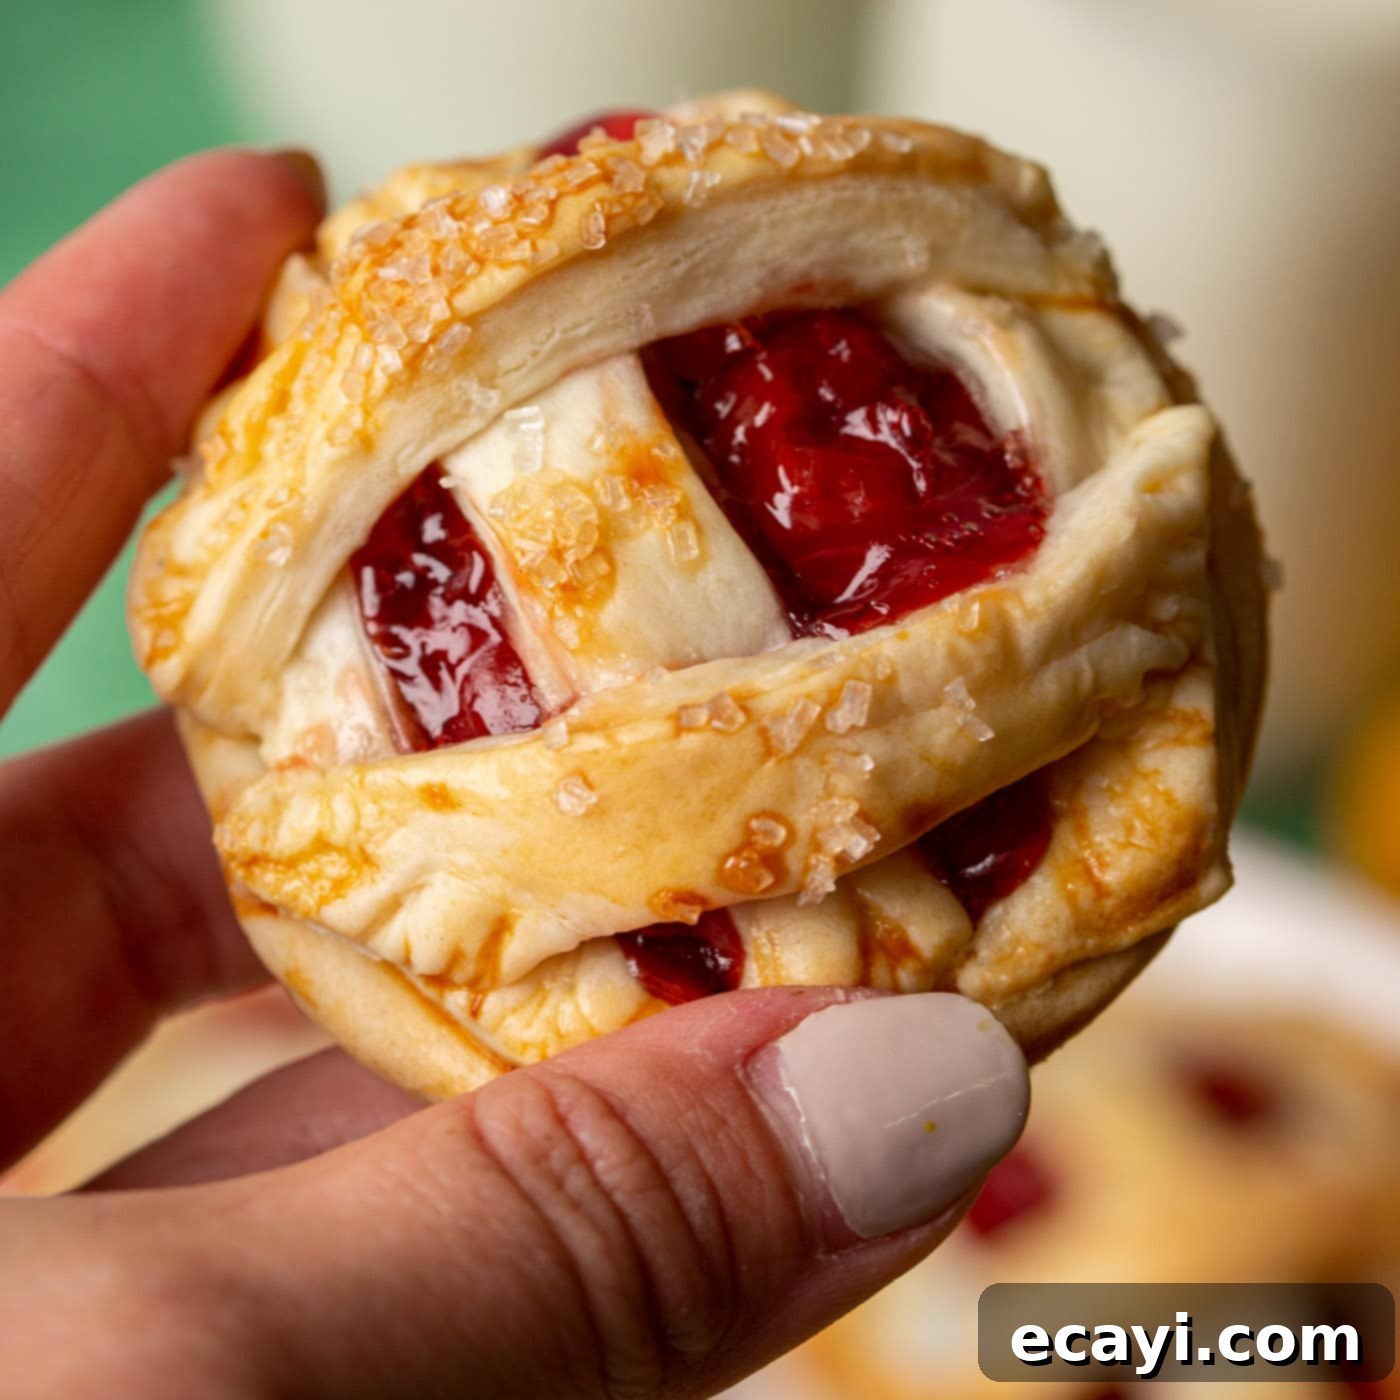
Prepare to delight your taste buds and impress your guests with these adorable, bite-sized cherry pie cookies. Perfectly sized to fit in your hand, these charming treats are designed to melt hearts, offering all the delightful flavor of a traditional cherry pie in a convenient, individual serving. Crafted with just a handful of simple ingredients, they come dressed to impress with an elegant, yet surprisingly easy-to-create, lattice design that elevates their visual appeal. Whether you’re a seasoned baker or just starting, this recipe offers a straightforward path to creating stunning and delicious mini cherry pies that are perfect for any occasion, from casual gatherings to festive holiday celebrations.
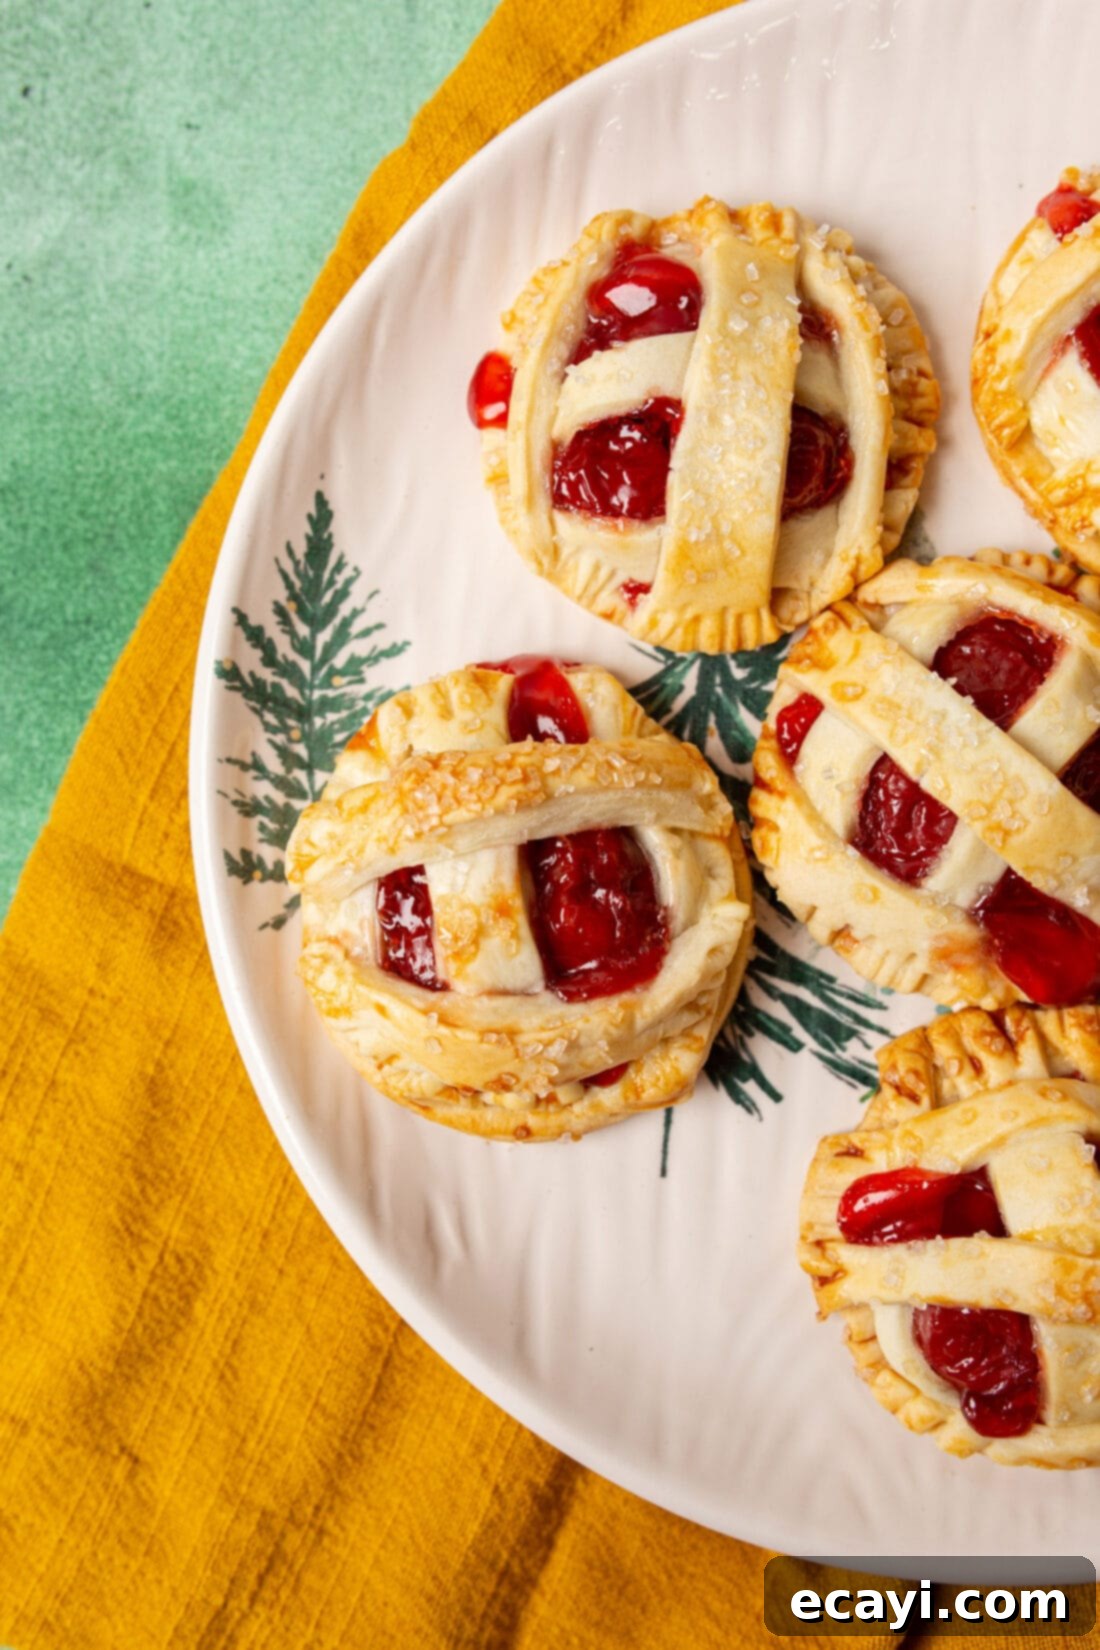
Why This Recipe Is a Must-Try for Easy & Delicious Baking
Last year, our apple pie cookies were such a phenomenal hit, we knew we had to expand our repertoire to include other beloved fruit variations. That’s where these delightful cherry pie cookies come into play. This recipe stands out for its incredible ease and efficiency, making it accessible to even the most novice bakers. By leveraging frozen pre-made pie dough and a can of delicious cherry pie filling, you eliminate much of the time-consuming effort typically associated with pie baking. A simple egg wash provides a beautiful golden sheen, while a sprinkle of sparkling sugar adds an irresistible crunch and visual sparkle.
Imagine enjoying all the nostalgic flavors of a classic cherry pie, but in a perfectly portioned, individual cookie form. These mini treats offer significantly less mess and stress compared to baking a large, traditional pie from scratch. This is particularly advantageous during busy periods like the holidays, when time is precious and you want to impress without being overwhelmed. They are wonderfully portable, easy to serve, and maintain their charming appearance, making them ideal for potlucks, party favors, or simply a cozy evening dessert. This recipe truly simplifies the art of pie-making, bringing joy and deliciousness to your table with minimal fuss and maximum flavor.
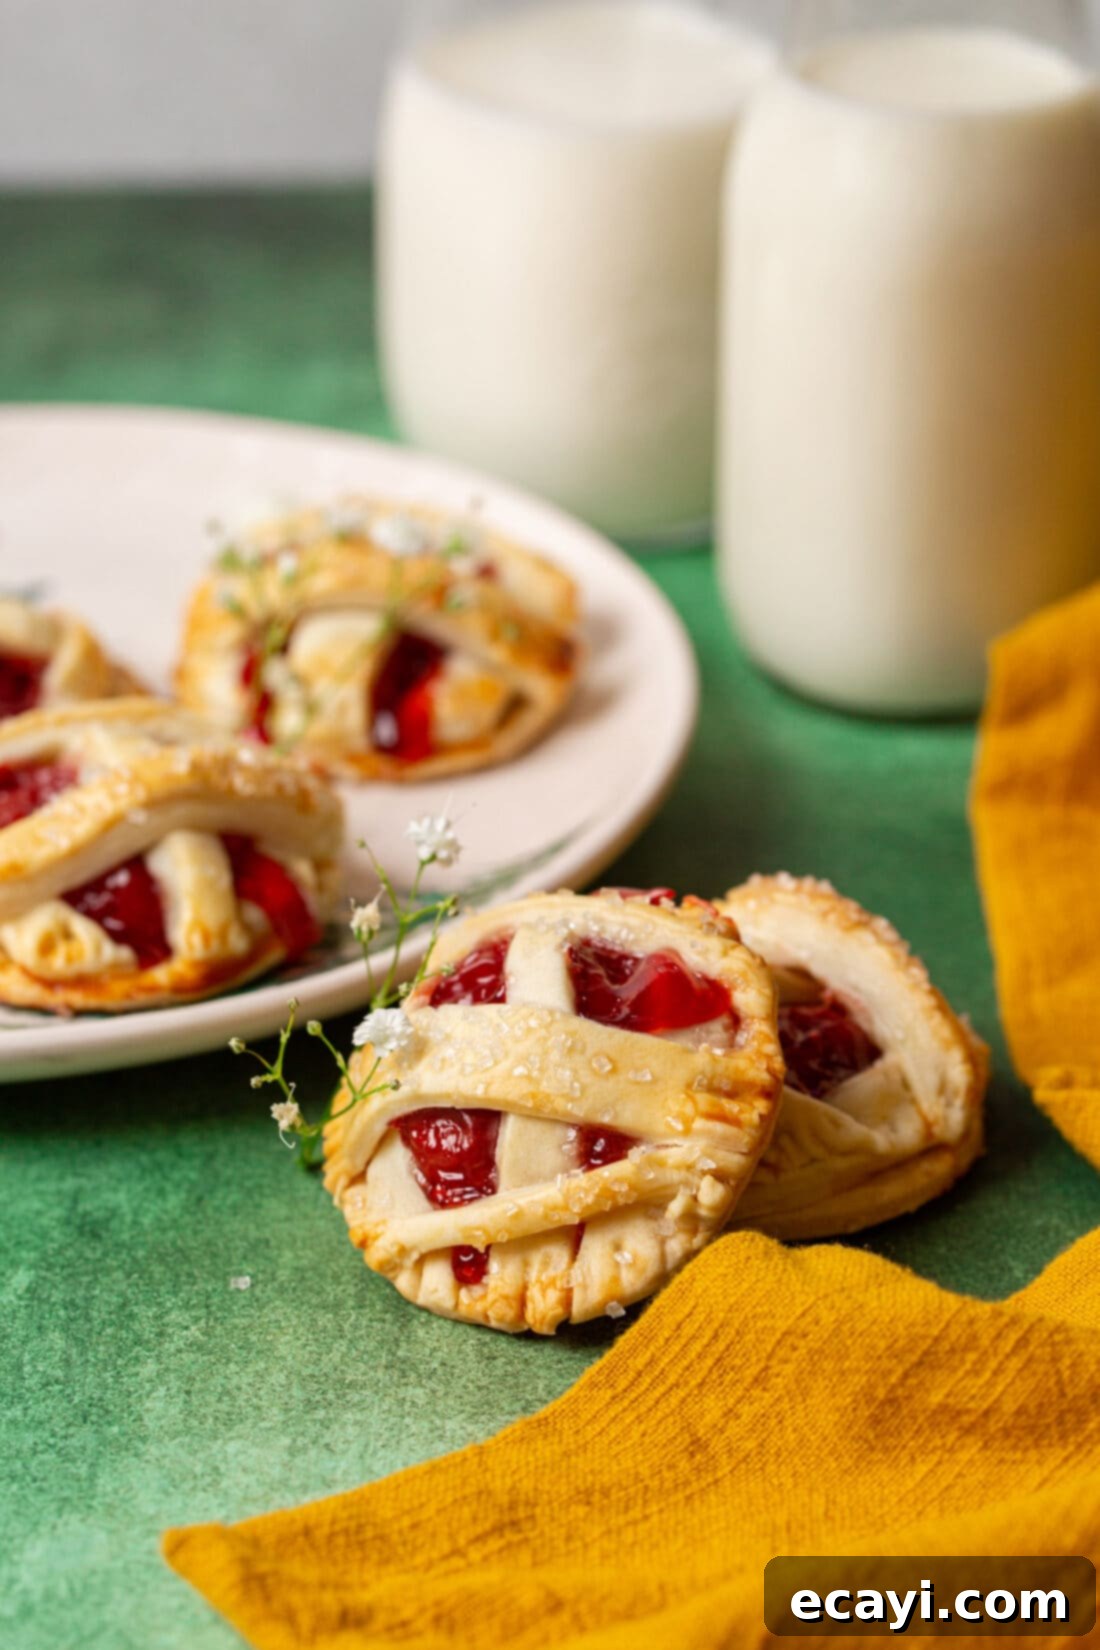
Essential Ingredients for Your Cherry Pie Cookies
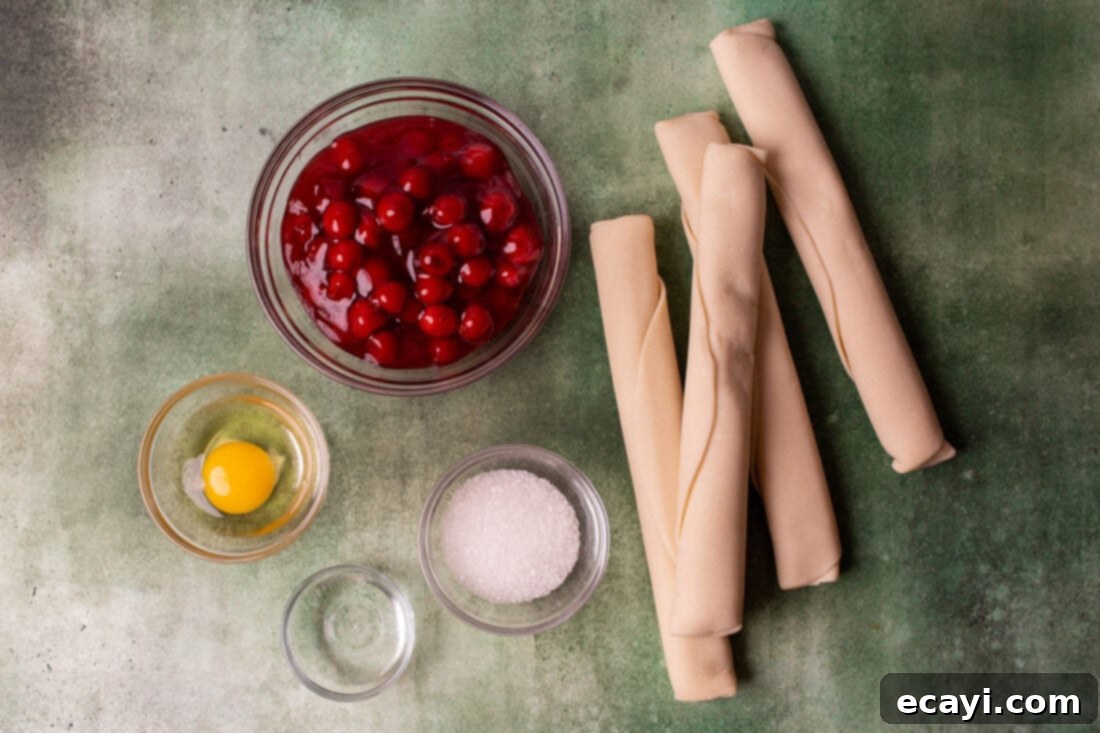
Crafting these delectable cherry pie cookies requires only a few key ingredients, most of which you likely already have on hand or can easily find at your local grocery store. Each component plays a vital role in creating the perfect blend of flaky crust and sweet, tangy filling. For precise measurements, comprehensive instructions, and a printer-friendly version of this recipe, please refer to the detailed recipe card conveniently located at the end of this post.
Ingredient Spotlight & Smart Substitutions
To ensure your cherry pie cookies turn out perfectly every time, here’s a closer look at the ingredients and some helpful tips for substitutions:
PIE DOUGH: You will need two boxes of pre-made pie dough, which typically amounts to four individual pie crusts or sheets. These are readily available in the refrigerated section of most supermarkets. Using pre-made dough significantly cuts down on preparation time, making this recipe incredibly convenient. If you opt for frozen pie dough, remember to allow ample time for it to thaw completely according to the package directions before you begin. Thawed dough is much easier to work with, more pliable, and less prone to cracking. For those feeling ambitious or who prefer a truly homemade touch, feel free to use your favorite homemade pie crust recipe. Just ensure it’s rolled out to a consistent 1/8-inch thickness for best results, mimicking the store-bought sheets.
CHERRY PIE FILLING: A 21 oz can of quality cherry pie filling is the star of these cookies. It provides that classic sweet and tart cherry flavor without any extra fuss, offering a consistent and reliable taste. While canned filling offers incredible convenience and saves precious time, if you have a cherished homemade cherry pie filling recipe, this is an excellent opportunity to use it! The fresh flavor of homemade filling can elevate these cookies to an even higher level of gourmet delight. You can also experiment with other fruit pie fillings like apple, blueberry, peach, or even mixed berry for delicious variations, making these cookies incredibly versatile for any season or preference.
LARGE EGG: One large egg is essential for creating the egg wash. This simple yet magical mixture is brushed over the top of the cookies before baking, serving multiple crucial purposes. It gives the crust a beautiful, glossy, golden-brown finish, enhances the overall baked color, and most importantly, helps the sparkling sugar adhere securely to the dough, preventing it from falling off during baking and handling. If you don’t have an egg, a small amount of milk or cream can be used for a similar, though slightly less vibrant and less adhesive, effect.
WATER: A single teaspoon of water is whisked with the egg to thin it out slightly. This minor addition makes the egg wash easier to brush evenly over the delicate lattice crust without clumping or creating thick, uneven patches. The result is a smooth, consistent coating that ensures uniform browning and a professional-looking finish.
SPARKLING SUGAR: This ingredient is primarily for visual appeal and adds a lovely textural crunch to the top of the cookies, creating a delightful contrast with the soft filling and flaky crust. Its larger, iridescent crystals catch the light beautifully, giving your mini pies an artisanal, gourmet look. If you don’t have sparkling sugar, regular granulated sugar can be used for sweetness, or for a coarser texture and slightly richer flavor, turbinado sugar (raw sugar) works wonderfully. For a warm, inviting spice note, a sprinkle of cinnamon sugar would also be a delicious alternative.
FLOUR: A small amount of all-purpose flour is needed for lightly dusting your work surface when handling and re-rolling pie dough scraps. This fine coating prevents the dough from sticking to your counter or rolling pin, allowing for smooth, even rolling and making it easier to cut and shape. It ensures you can efficiently use all your dough to maximize your cookie yield.
Mastering the Art of Cherry Pie Cookies: Step-by-Step Guide
These step-by-step photos and detailed instructions are designed to visually guide you through the process of making this delightful recipe. For a convenient, printable version complete with all measurements and instructions, simply Jump to Recipe at the bottom of this post.
- Prepare Your Workspace and Oven: Begin by preheating your oven to 350°F (175°C). While the oven heats, prepare your baking surfaces. Line two large baking sheets with parchment paper. This essential step prevents the cookies from sticking to the pan, ensures even baking, and makes cleanup incredibly easy.
- Thaw the Pie Dough: If using frozen pie dough, remove it from the freezer and allow it to thaw completely according to the package directions. This usually takes about 15-20 minutes at room temperature, or a bit longer if refrigerated. The dough should be pliable and easy to unroll without tearing, but still cool to the touch.
- Prepare the Cherry Filling: Open the can of cherry pie filling and empty its contents into a medium-sized bowl. This makes it much easier to spoon out individual cherries for the cookies, ensuring an even distribution. If using homemade filling, ensure it’s cooled to room temperature before use to prevent the dough from becoming soft and difficult to handle.
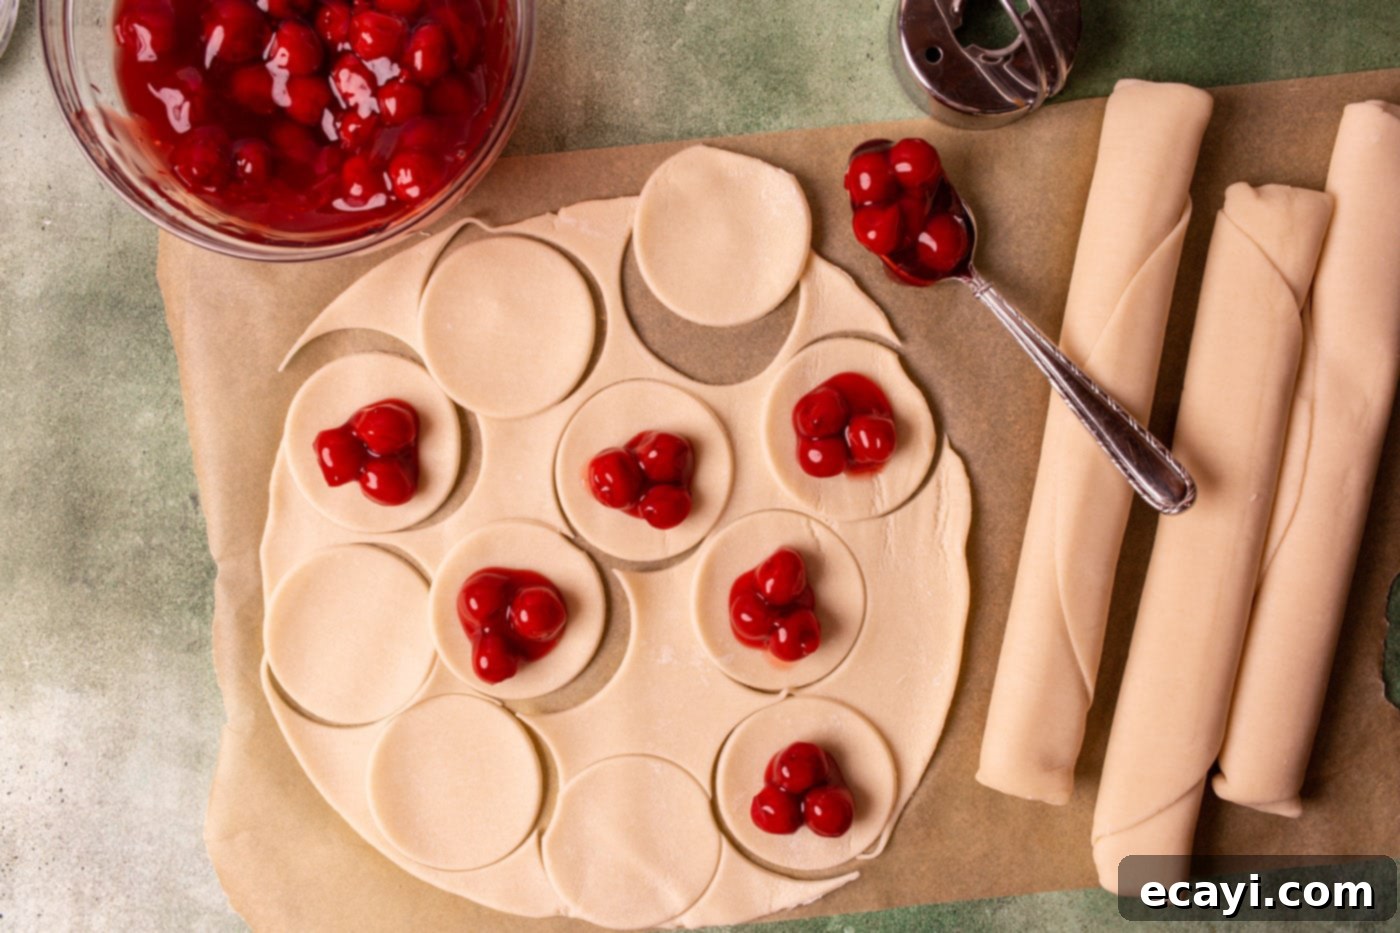
- Cut the Cookie Bases: Unroll two of your pie dough sheets onto a lightly floured surface. Gently smooth out any small cracks that may have formed in the dough. Using a 2-inch round biscuit cutter or a cookie cutter of similar size, cut out as many circular bases as possible. Carefully transfer these dough circles to your prepared baking sheets, leaving about an inch of space between each cookie to allow for proper airflow and expansion during baking. This 2-inch size is ideal for a perfect two-bite cookie.
- Reroll Scraps: Gather all the remaining dough scraps from the first two sheets. Gently press them together into a cohesive ball, being careful not to overwork the dough. Lightly flour your work surface again and re-roll the dough to approximately 1/8-inch thickness, matching the original pie dough. Cut out more circles from these rerolled scraps until you’ve used as much dough as possible, maximizing your cookie yield.
- Add the Filling: For each dough circle on the baking sheet, use a small spoon or fork to carefully place 2-3 whole cherries (and a minimal amount of the accompanying syrup) directly in the center of the base. It’s crucial not to overfill, as too much filling can cause the cookies to burst during baking, leading to a messy cookie and potential burning on the baking sheet. The goal is a small, neat mound of fruit.

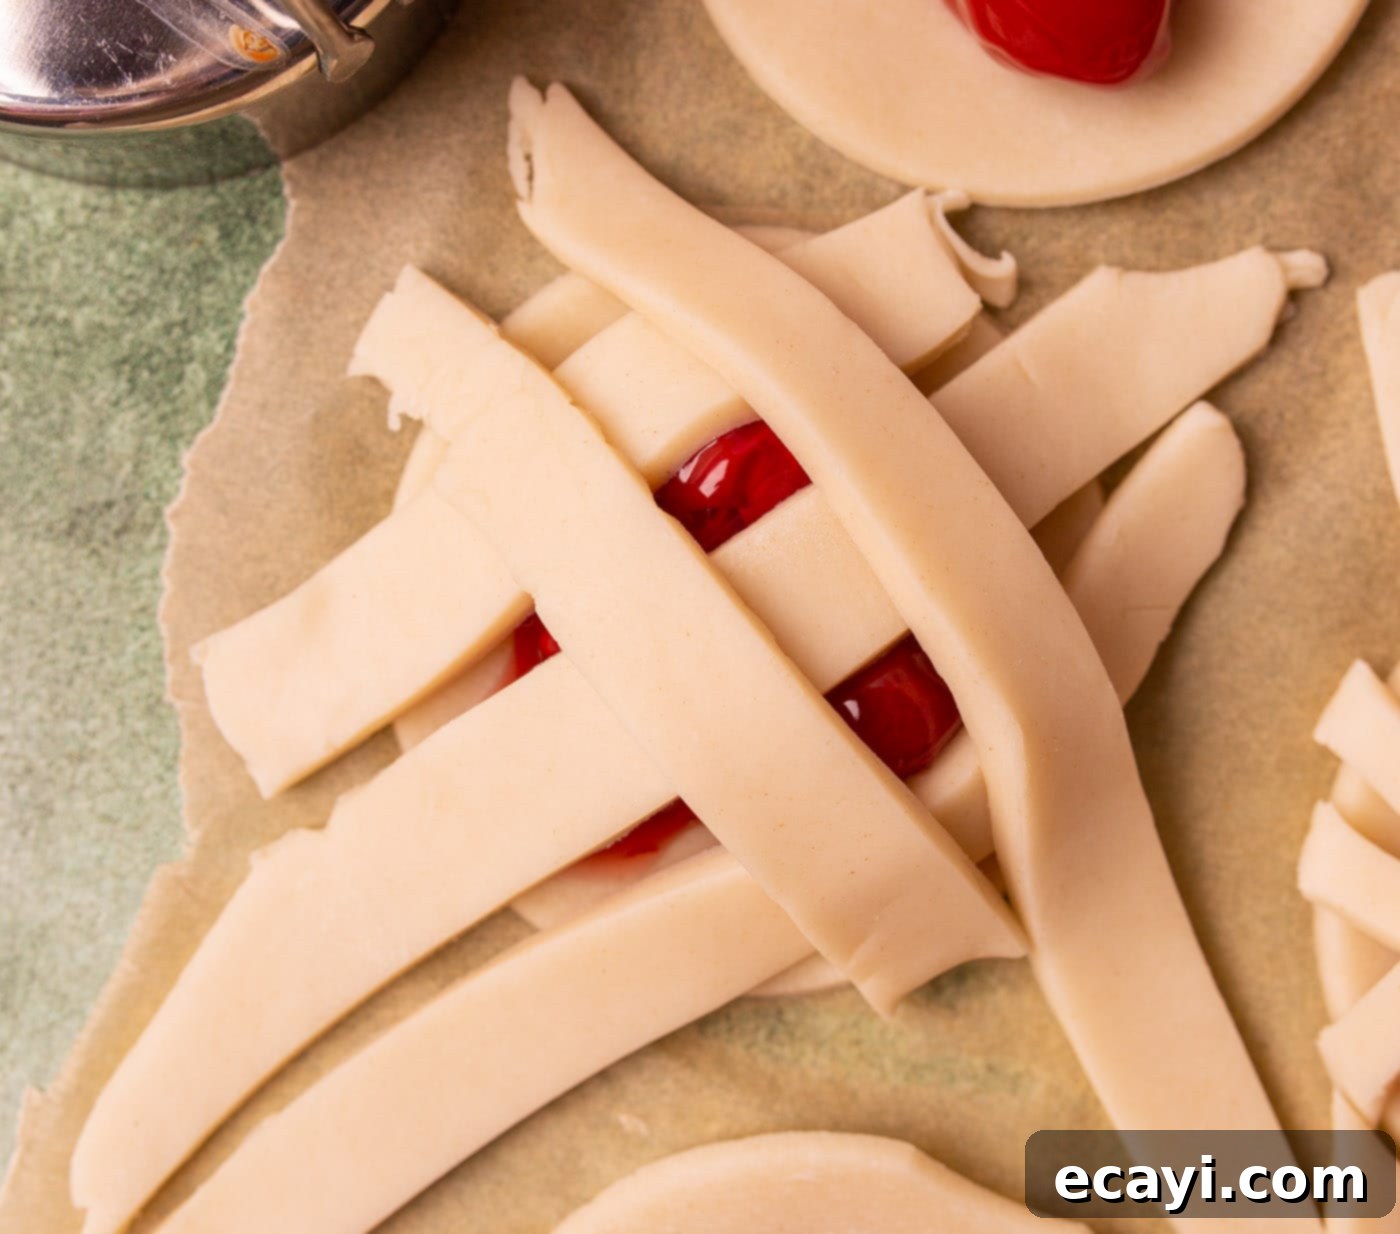
A close-up view of the cherry pie filling perfectly nestled in the center of the pie dough bases. - Create the Lattice Topping: Now for the artistic touch! Unroll the remaining two pie dough sheets onto your lightly floured surface. Using a sharp knife, a pizza cutter, or a pastry wheel, cut uniform strips, roughly 1/4 to 1/2 inch wide, from these dough sheets. Carefully lay these strips over the cherry filling on each cookie, creating a beautiful lattice pattern. You can create a simple crosshatch by placing strips parallel in one direction, then weaving others perpendicularly over and under, or go for a more elaborate woven design. Once the lattice is in place, use a fork to gently press the ends of the dough strips into the base of the cookie, effectively sealing the edges much like you would a full pie crust. Then, use your 2-inch circle cutter to go back over each assembled pie cookie, trimming away any excess dough and ensuring a perfectly round, neat edge for each mini pie.

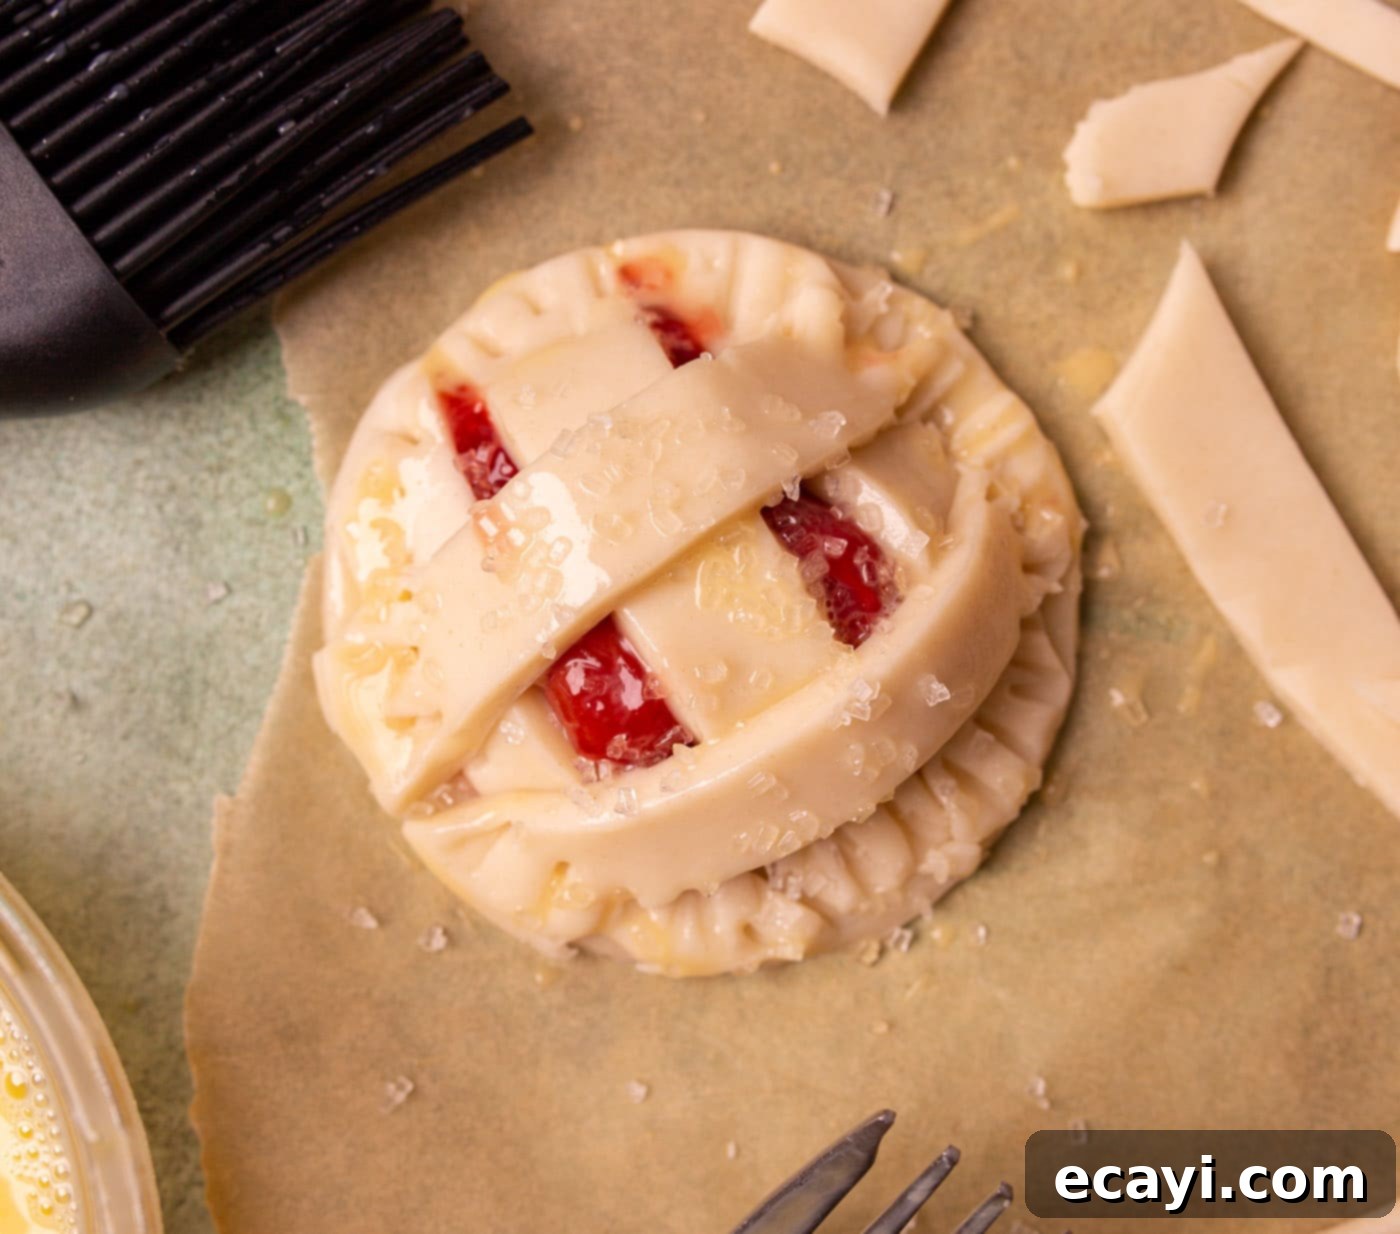
The delicate lattice crust being formed over the cherry filling, creating a beautiful top for the mini pies. - Apply Egg Wash and Sugar: In a small bowl, whisk together the large egg and 1 teaspoon of water until well combined and slightly frothy. This creates your egg wash. Using a pastry brush, gently spread this egg mixture evenly over the entire top surface of each cookie, including all the lattice strips. Immediately after applying the wash, sprinkle a generous amount of sparkling sugar over the wet egg wash. This will give your cookies a gorgeous golden shine, enhance their visual appeal, and provide a delightful sweet, crunchy topping.

Each cherry pie cookie meticulously prepared with an egg wash and sparkling sugar, poised for the oven. - Bake to Golden Perfection: Carefully place the baking sheets in your preheated oven. Bake for 25-30 minutes, or until the cookie crusts are beautifully golden brown and the cherry filling is visibly bubbly. Keep a close eye on them towards the end of the baking time to prevent over-browning. Once baked, remove the cookies from the oven and allow them to cool completely on the baking sheet before attempting to transfer them. This crucial cooling period helps them firm up, preventing them from breaking and ensuring they hold their charming individual shape.

The irresistible sight of freshly baked cherry pie cookies, cooling to perfection on a baking sheet.
Expert Tips for Perfect Cherry Pie Cookies & Frequently Asked Questions
Achieving bakery-quality results with these mini pie cookies is easier than you think. Here are some pro tips and answers to frequently asked questions to ensure your success and make your baking experience even more enjoyable:
Working with cold pie dough is absolutely key to success. If your dough becomes too warm and sticky from handling, it will be difficult to cut, transfer, and create the lattice design. If you notice it becoming soft, simply place it back in the refrigerator for 10-15 minutes to chill before continuing. When unrolling, do so gently to prevent tearing. If small cracks appear in the dough, especially near the edges, simply use your fingers to gently press them back together. A lightly floured surface is your best friend when re-rolling scraps to prevent sticking and ensure a smooth, even texture.
While it’s incredibly tempting to load up on delicious cherry filling, resist the urge to overfill your cookie bases. Using just 2-3 cherries per cookie ensures that the filling remains perfectly contained within the crust during baking. Too much filling will bubble out of the lattice, potentially burning on the baking sheet, creating a messy cookie, and making them harder to serve. Less is definitely more for structural integrity and a clean appearance.
For a perfectly neat and professional-looking lattice, consider investing in a pastry wheel with fluted edges to cut your dough strips – this adds a pretty crimped detail that elevates the presentation. If your dough strips are difficult to handle, perhaps stretching or breaking, briefly chill the rolled-out dough for 5-10 minutes before cutting. This makes them firmer and much easier to transfer and weave without distortion. You can also experiment with different lattice patterns, from simple parallel lines for a minimalist look to a more complex basketweave for an intricate design, depending on your skill level and desired aesthetic.
Oven temperatures can vary significantly, even within the same kitchen. For consistent baking and perfectly golden-brown cookies, it’s a good practice to rotate your baking sheets halfway through the baking time. This helps all the cookies brown evenly and prevents some from over-baking while others are undercooked. An inexpensive oven thermometer is also a great tool to ensure your oven is truly heating to the proper temperature, eliminating guesswork and improving baking consistency.
For optimal freshness and to prevent them from drying out, you can store these cookies overnight on the counter, loosely tented with foil or plastic wrap. This is generally sufficient for short-term storage. To extend their shelf life beyond a day, refrigerate them in an airtight container for up to 4 days. Always allow them to come to room temperature or gently warm them in a low oven (around 250°F / 120°C for 5-10 minutes) before serving for the best flavor and texture, as refrigeration can sometimes dull the taste and firm the crust.
Absolutely! These cherry pie cookies freeze beautifully, making them an excellent make-ahead treat for future indulgence or unexpected guests. Once they have completely cooled to room temperature after baking, arrange the cookies in a single layer on a baking sheet and freeze for 2-3 hours, or until solid. This “flash freezing” step prevents them from sticking together. Once fully frozen, wrap individual cookies tightly in plastic wrap, then place them in an airtight freezer-safe container or a heavy-duty freezer bag. They will keep well for up to 3 months. To enjoy, thaw them at room temperature for a couple of hours or rewarm gently in a low oven (around 300°F / 150°C) for 10-15 minutes for a warm, comforting dessert that tastes freshly baked.
Yes, this recipe is incredibly adaptable and encourages creativity! While cherry is a beloved classic, feel free to experiment with other canned pie fillings like apple, blueberry, peach, or even a mixed berry blend. The beauty of pre-made fillings is their consistent texture and sweetness. The cooking time and method will remain largely the same, making it easy to customize to your favorite fruit flavors or what you have on hand. Just ensure the filling is not excessively watery, as this can make the crust soggy and impact the overall texture.
A 2-inch round cookie cutter or biscuit cutter is ideal for this recipe, creating the perfect bite-sized mini pie. However, don’t limit yourself to just circles! For special occasions, you can use cookie cutters in seasonal shapes like hearts for Valentine’s Day, stars for patriotic holidays, or festive shapes for Christmas. Just ensure your chosen cutter is about 2-3 inches in size to accommodate enough filling and allow space for the lattice topping. Fluted edge cutters also add a lovely decorative touch to the base.
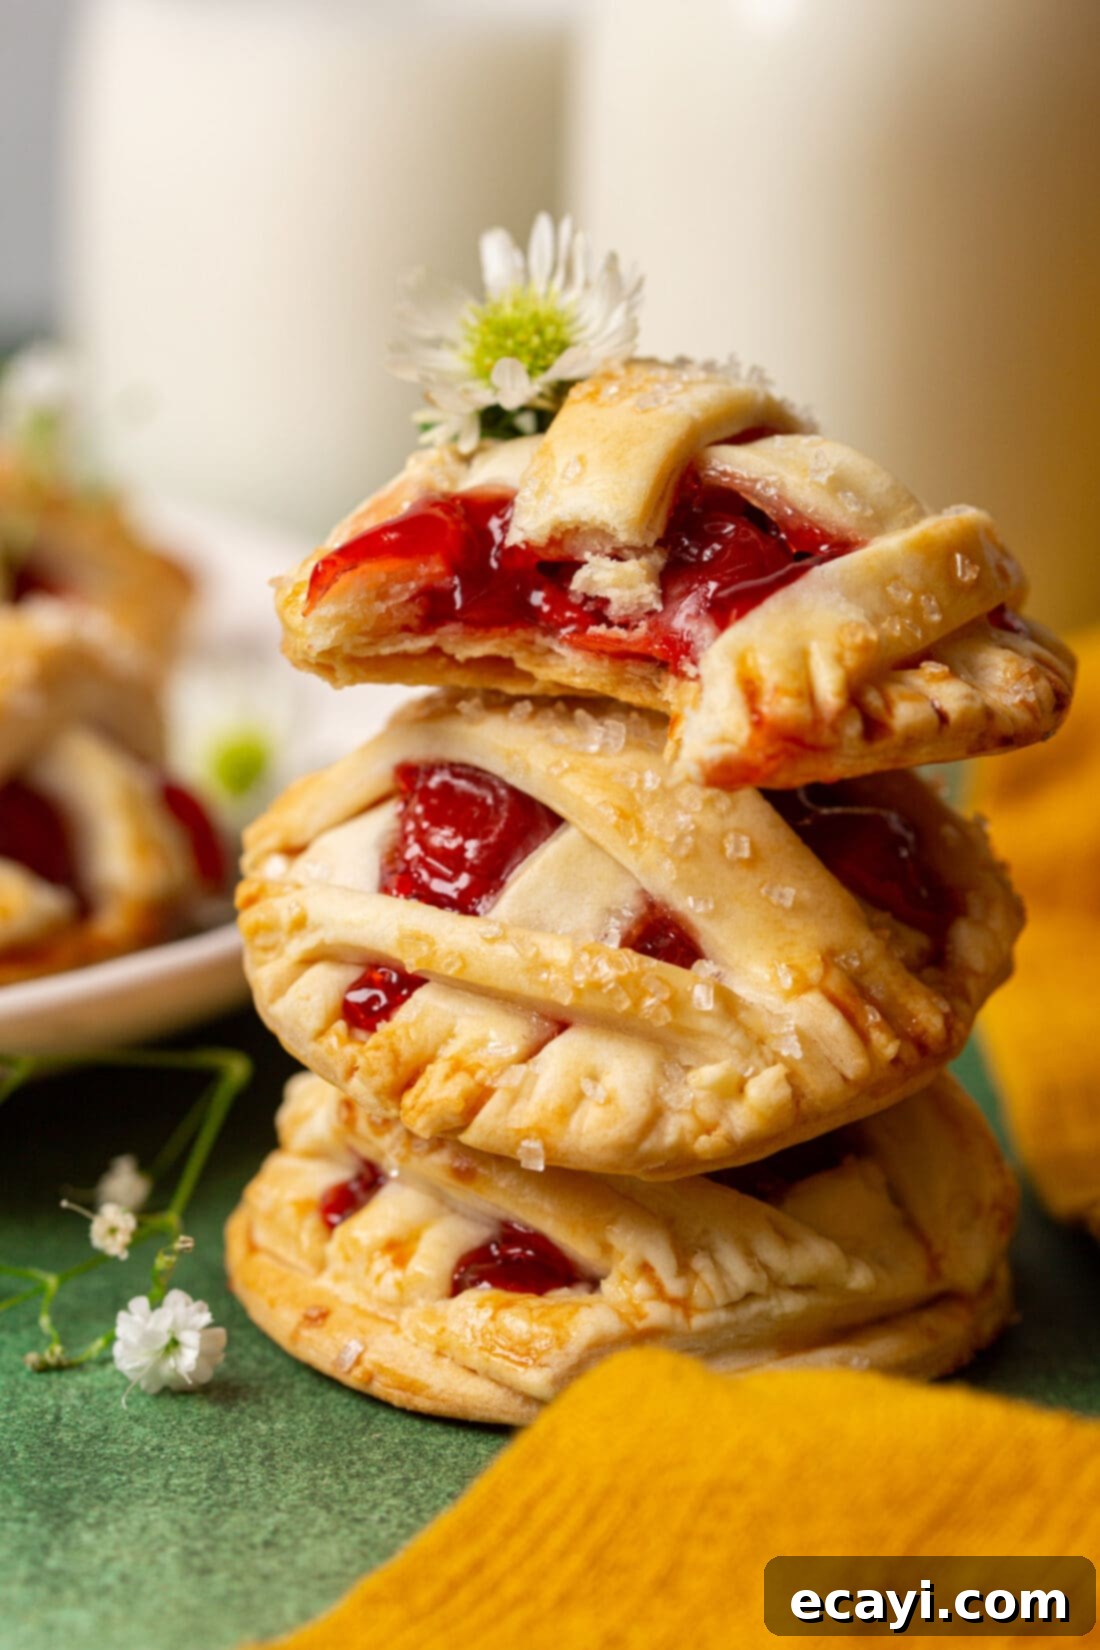
Delightful Serving Suggestions for Your Mini Pies
These cherry pie cookies are more than just a dessert; they’re a charming statement that brings a smile to anyone’s face. They are the kind of treats that effortlessly impress your guests, who will be none the wiser as to how incredibly simple they were to make. Their individual size makes them perfect for a variety of serving scenarios and occasions.
For gift-giving, I personally love to place these cookies in sealable cellophane bags, perhaps tied with a festive ribbon or a custom tag. They make thoughtful, homemade gifts for neighbors, teachers, colleagues, or holiday hosts, showing a personal touch. While these cookies are a beloved part of our “12 Days of Christmas Cookies Countdown,” their timeless appeal and delightful flavor make them truly all-season cookies, perfect for any time of the year. Enjoy them warm with a scoop of creamy vanilla bean ice cream or a dollop of freshly whipped cream for an indulgent experience that contrasts beautifully with the warm fruit filling and crisp crust. They also pair wonderfully with a hot cup of coffee, an herbal tea, or a glass of cold milk for an afternoon treat or a comforting evening snack. For an extra touch of elegance, a light dusting of powdered sugar or a simple lemon glaze drizzled over the top before serving can add another layer of flavor and visual appeal.
Creative Variations for Your Cherry Pie Cookies
This basic recipe provides a fantastic canvas for culinary creativity. Don’t hesitate to put your own spin on these delightful mini pies to match your preferences or the occasion:
- Alternative Fruit Fillings: As mentioned, virtually any canned pie filling can be swapped in. Think juicy blueberry, sweet peach, crisp apple, or even a vibrant tropical pineapple filling for a unique twist. You can also mix two different fruit fillings for a custom blend.
- Flavor Boosters: Elevate the taste of your cherry pie filling with a few simple additions. Add a 1/4 teaspoon of almond extract to your cherry pie filling for an enhanced, more complex cherry flavor, or a pinch of ground cinnamon or nutmeg for warmth and spice. A touch of fresh lemon zest in the filling can brighten the overall taste and add a fragrant citrus note.
- Crust Enhancements: Before baking, sprinkle the tops with a mixture of cinnamon and sugar instead of just sparkling sugar for a spiced crust, perfect for autumn or holiday baking. For a richer flavor and even deeper golden color, consider lightly brushing the lattice with a small amount of melted butter before applying the egg wash.
- Shaped for the Season: Beyond simple circles, unleash your creativity by using different cookie cutters. Opt for heart shapes for Valentine’s Day, stars for patriotic holidays, leaves for Thanksgiving, or festive shapes like bells or trees for Christmas. Just ensure your chosen cutter is approximately 2-3 inches in size to accommodate a sufficient amount of filling.
- Glaze Finishes: Once the cookies have cooled completely, drizzle them with a simple powdered sugar glaze (made by mixing powdered sugar with a tiny bit of milk, water, or lemon juice) for an extra layer of sweetness and a beautiful decorative touch. A dark or white chocolate drizzle would also be a decadent addition for a more indulgent dessert.
More Irresistible Cookie Recipes to Explore
If you’ve enjoyed making these delightful cherry pie cookies, you’ll love exploring other fantastic cookie recipes from our extensive collection. Expand your baking repertoire with these tried-and-true favorites, perfect for any occasion or craving:
- Classic Shortbread Cookies
- Festive Peppermint Cookies
- Sweet Thumbprint Cookies
- Charming Christmas Kiss Cookies
- Zesty Orange Crinkle Cookies
- Rich Chocolate Peanut Butter Cookies
- Whimsical Melted Snowman Cookies
- Decadent Fluffernutter Cookies
I absolutely adore baking and cooking, and it brings me immense joy to share my kitchen experiences and culinary creations with all of you! Remembering to check back for new recipes can sometimes be a challenge, which is why I offer a convenient newsletter delivered directly to your inbox every time a new recipe is posted. Simply subscribe today and start receiving your free daily recipes to inspire your next delicious adventure!

Cherry Pie Cookies
IMPORTANT – Don’t forget to scroll up and read the “Expert Tips” and “Frequently Asked Questions” sections within the blog post for invaluable advice and common troubleshooting!
Print It
Pin It
Rate It
Save ItSaved!
Ingredients
- 28 oz refrigerated pie crusts 2 boxes, 4 sheets total
- 21 oz cherry pie filling
- 1 large egg
- 1 tsp water
- 3 Tbsp sparkling sugar
- flour as needed, for rerolling pie dough
Things You’ll Need
-
2 inch round cookie cutter
-
Pastry brush
-
Rolling pin
Before You Begin
- Be careful not to place too much pie filling in the center of the dough. If you add too much, your cookies will be exploding with pie filling after you take them out of the oven.
- Ensure your pie dough is pliable but still cool for easier handling. If it gets too warm, chill it in the fridge briefly.
- For a uniform look, strive for consistent dough thickness when rolling and re-rolling.
Instructions
-
Preheat the oven to 350F (175°C) and line baking sheets with parchment paper.
-
Thaw pie dough according to package directions until pliable.
-
Empty the can of cherry pie filling into a bowl.
-
Unroll 2 of the pie doughs, smooth any cracks, and use a 2-inch cookie cutter to cut circle bases. Place them on the baking sheets.
-
Gather dough scraps, re-roll on a lightly floured surface, and cut out more circles.
-
Place 2-3 cherries in the center of each cookie base. Cut 1/4 – 1/2 inch strips from remaining dough (from the other 2 sheets or rerolled scraps) and create a lattice design over the cherries. Press strip ends into the base with a fork, then use the circle cutter to trim excess dough for neat edges.
-
Whisk egg and water in a small bowl. Use a pastry brush to spread the egg mixture over the cookies, then top with sparkling sugar.
-
Bake for 25-30 minutes, or until golden brown. Allow to cool completely on the baking sheet.
Nutrition
The recipes on this blog are tested with a conventional gas oven and gas stovetop. It’s important to note that some ovens, especially as they age, can cook and bake inconsistently. Using an inexpensive oven thermometer can assure you that your oven is truly heating to the proper temperature. If you use a toaster oven or countertop oven, please keep in mind that they may not distribute heat the same as a conventional full sized oven and you may need to adjust your cooking/baking times. In the case of recipes made with a pressure cooker, air fryer, slow cooker, or other appliance, a link to the appliances we use is listed within each respective recipe. For baking recipes where measurements are given by weight, please note that results may not be the same if cups are used instead, and we can’t guarantee success with that method.
