Crispy Chicken Chimichangas: Your Ultimate Guide to a Flavorful Deep-Fried Fiesta
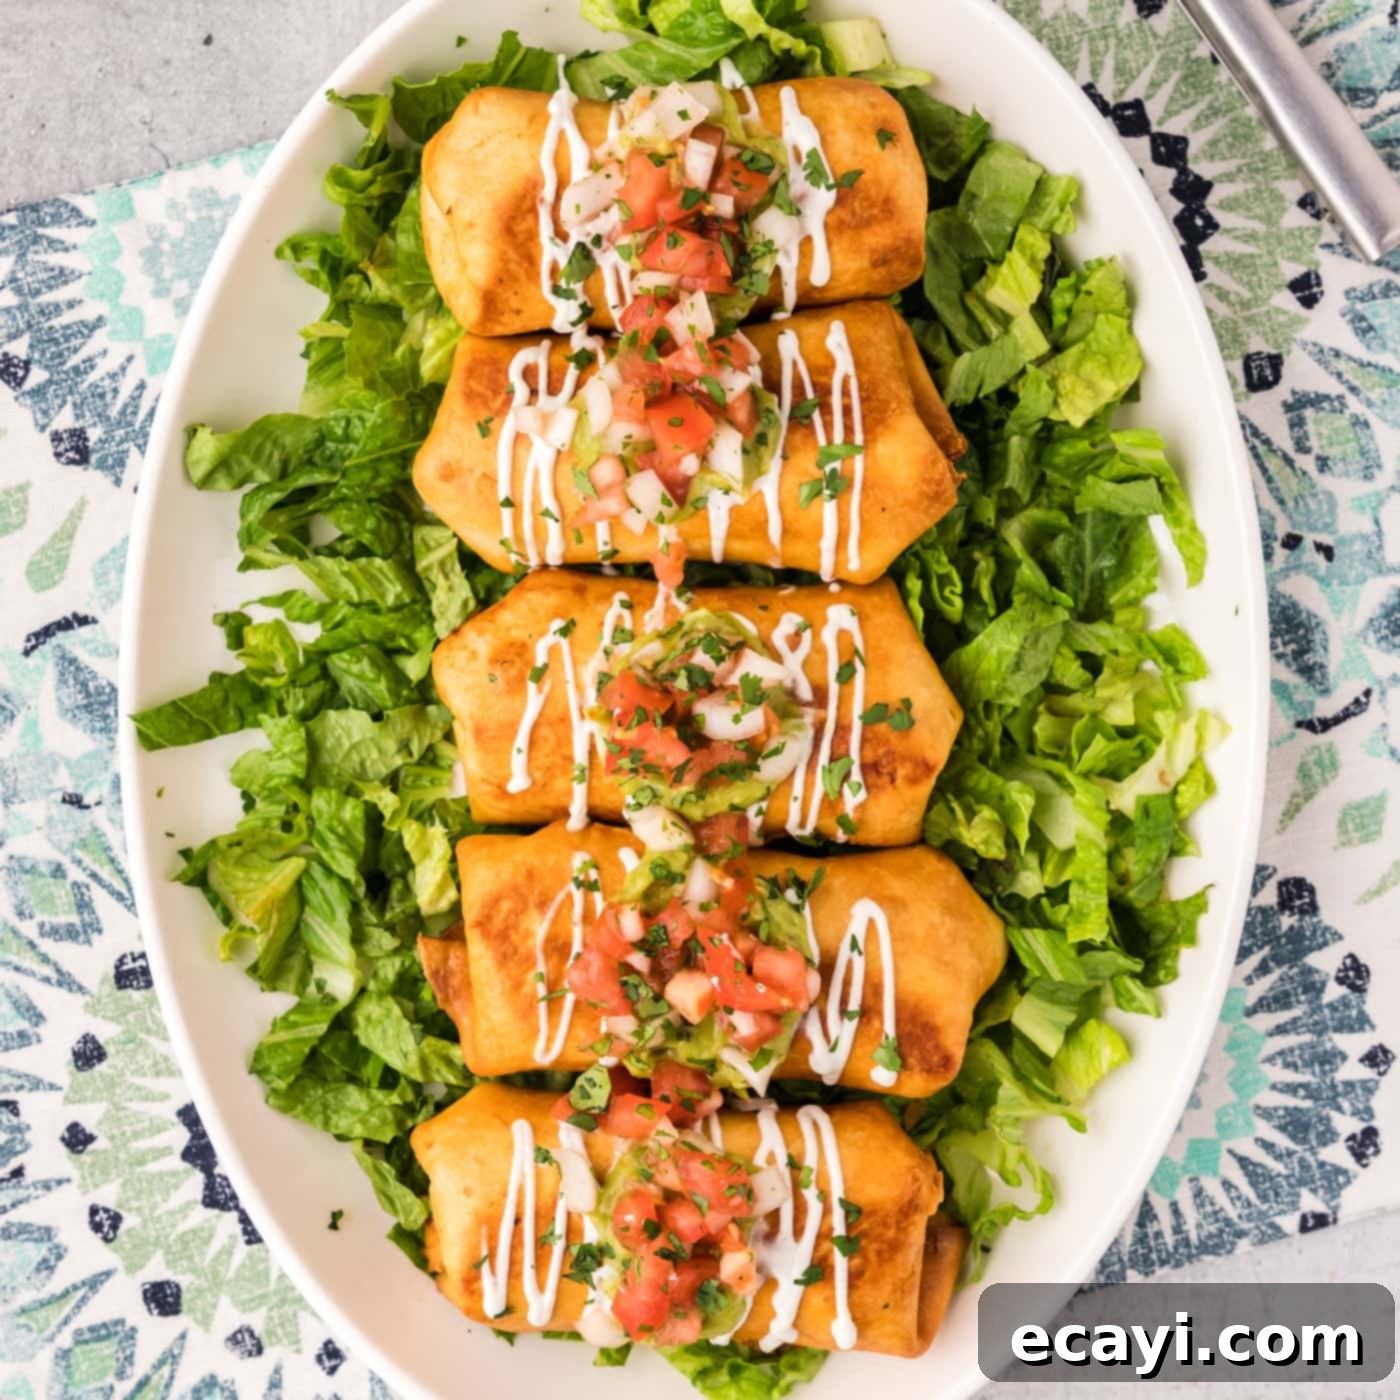
Get ready to dive into a world of flavor with our incredible homemade chicken chimichangas! Imagine perfectly seasoned chicken, vibrant bell peppers, savory onions, creamy refried beans, and melty cheese, all generously wrapped in soft flour tortillas. These delightful bundles are then deep-fried to achieve an irresistibly crispy, golden-brown shell that cracks with every bite. This recipe isn’t just about making a meal; it’s about creating a memorable experience right in your kitchen.
Chimichangas are a beloved Mexican-American dish, offering a wonderful twist on the classic burrito. They’re perfect for a family dinner, a fun gathering with friends, or simply when you’re craving something hearty, satisfying, and bursting with authentic taste. We’ll guide you through every step to ensure your chimichangas are nothing short of spectacular, bringing that restaurant-quality taste right to your dining table.
Why This Homemade Chimichanga Recipe Is a Must-Try
If you love the hearty goodness of a burrito but crave an extra layer of texture and indulgence, then homemade chimichangas are calling your name! The fundamental difference between a chimichanga and a burrito lies in the cooking method: while burritos are typically served soft, chimichangas are expertly deep-fried until golden and incredibly crispy. This frying process transforms the flour tortilla into a crunchy, satisfying shell that beautifully encases the warm, tender fillings, creating a textural sensation that’s truly unique.
Our recipe stands out because it combines classic flavors with fantastic versatility. We’ve chosen a delicious base of tender chicken, creamy refried beans, savory bell peppers, sweet onions, and a generous amount of melted cheese. This combination creates a balanced and incredibly flavorful core for your chimichangas, offering a comforting and familiar taste profile that everyone loves. But the true beauty of this recipe is its adaptability. Feel free to make it your own by swapping out proteins, adding your favorite vegetables, or adjusting the spice level to perfectly match your palate.
Whether you’re new to Mexican cooking or a seasoned enthusiast, our step-by-step instructions ensure a perfect result every time. The simplicity of the ingredients, combined with the straightforward cooking process, makes this dish approachable and rewarding for cooks of all skill levels. Plus, the ability to prepare these crispy chicken chimichangas ahead of time or freeze them for later makes them an ideal choice for busy weeknights, meal prepping, or satisfying those spontaneous cravings for authentic Mexican-American comfort food. Get ready to impress your family and friends with this irresistible dish!
Essential Ingredients for Your Delicious Chimichangas
Crafting the perfect batch of chicken chimichangas begins with a selection of fresh, high-quality ingredients. Our recipe focuses on a balanced blend of flavors and textures that are both comforting and exciting, promising a satisfying meal with every bite. You’ll find the full, detailed list of ingredients with exact measurements and step-by-step instructions in the convenient printable recipe card located at the very end of this article. For now, let’s explore the key components that bring these incredible deep-fried delights to life in your kitchen.
Ingredient Spotlight & Creative Substitutions
One of the best aspects of this chimichanga recipe is its flexibility. While our suggested ingredients create a classic and incredibly tasty dish, feel free to adapt them to suit your preferences or what you have on hand. Here’s a closer look at the core components and ideas for delicious variations:
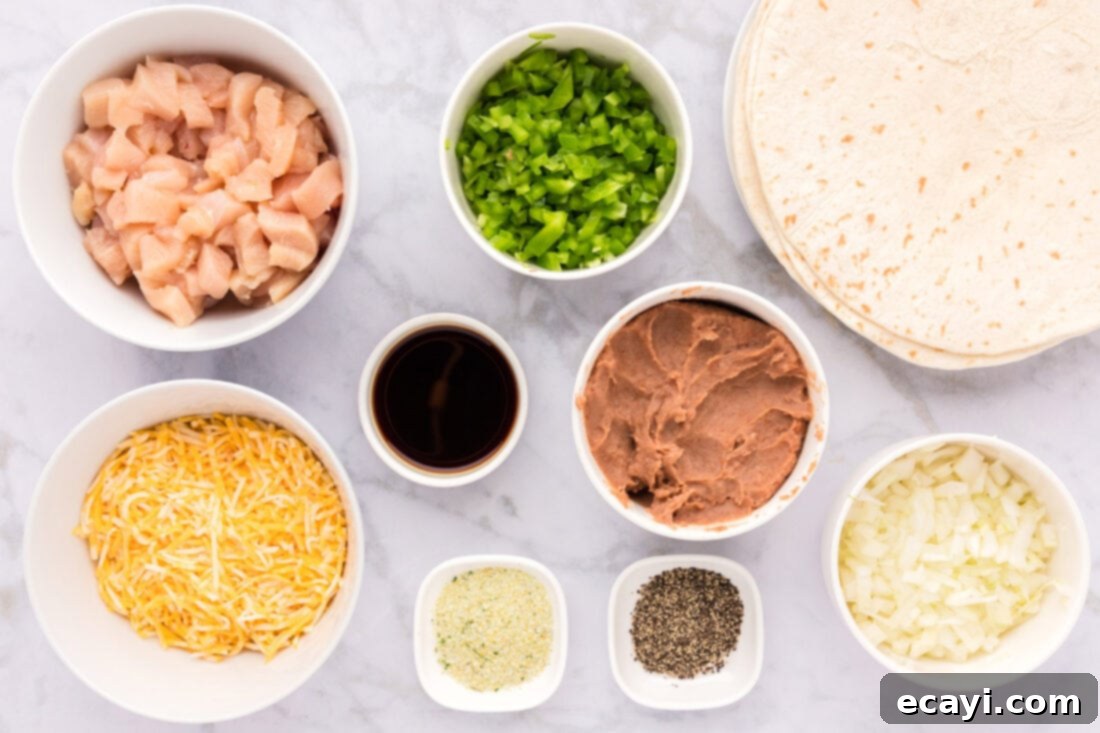
MEAT: For this recipe, we’ve chosen tender boneless, skinless chicken breasts, cubed into small, bite-sized pieces for easy cooking and an even distribution of flavor within each chimichanga. This ensures that every bite is packed with juicy chicken. If you prefer a different texture or are looking to use up leftover cooked chicken, shredding it works wonderfully too and can offer a different mouthfeel. Beyond chicken, the possibilities are vast for these savory fried burritos. Consider using slow-cooked beef barbacoa for a rich, melt-in-your-mouth experience, flavorful carne asada for a bold steak flavor, or even seasoned ground beef or tender pulled pork. Each protein option brings its unique profile, ensuring a delicious and customizable outcome.
TORTILLAS: The foundation of any great chimichanga is the tortilla. We recommend using 7-inch flour taco tortillas for this recipe. The size is crucial – it’s large enough to hold a generous amount of filling without being too difficult to roll and deep-fry, yet small enough to create individual, manageable servings. A key tip for success is to ensure your tortillas are at room temperature. Cold tortillas tend to be stiffer, less pliable, and more prone to cracking when folded, making them much harder to handle and roll tightly without tearing. Bringing them to room temperature will increase their flexibility, allowing you to create perfectly sealed chimichangas that won’t burst open during the frying process. Remember, resist the temptation to overstuff them; a moderately filled tortilla is not only easier to manage but also fries more evenly for that desired golden crisp.
ADDITIONS: Our core veggie and bean blend includes vibrant green bell pepper and aromatic onion, which are sautéed with the chicken to build a foundational layer of savory flavor. Creamy refried beans add a comforting texture and classic Mexican taste, providing a wonderful counterpoint to the crispy shell, but these can easily be swapped for black beans or pinto beans, either whole or mashed, depending on your preference for texture and flavor. For the cheese, a blend of shredded cheddar or Colby Jack offers excellent meltability and a familiar, savory kick that binds the filling together beautifully. Don’t hesitate to experiment with other cheeses like Monterey Jack, pepper jack for a bit of spice, or a Mexican blend. For those who enjoy a little heat, consider incorporating finely diced jalapeños or mild green chiles directly into your filling mixture. And while we prefer to serve Spanish rice on the side, it can certainly be added directly into the chimichanga for an even heartier meal, just be mindful of not overfilling to ensure proper rolling and frying.
Crafting Your Crispy Chicken Chimichangas: Step-by-Step Instructions
Creating these delightful deep-fried chicken chimichangas is a straightforward process, and we’re here to guide you with clear, easy-to-follow steps. For a visual reference, you’ll find helpful photos accompanying each stage. Remember, the complete, printable version of this recipe, including precise measurements for all ingredients, is available in the convenient recipe card at the bottom of this page. You can Jump to Recipe now if you prefer.
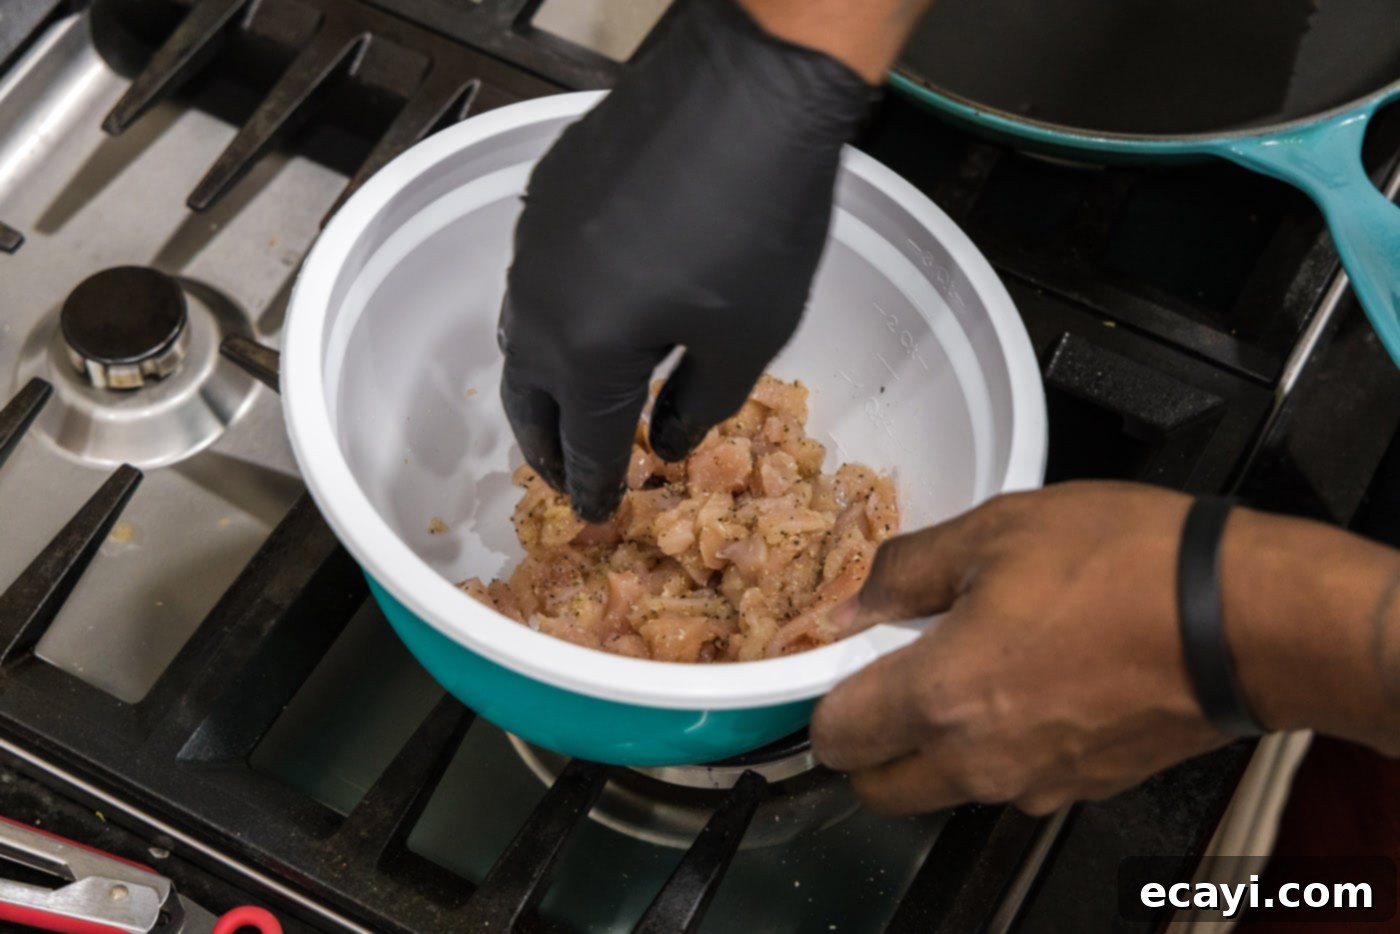
- Prepare the Chicken: Begin your chimichanga journey by seasoning your chicken breast chunks. Toss them thoroughly in a bowl with half of the allocated garlic salt and half of the black pepper. This initial seasoning ensures the chicken is flavorful from the inside out, laying a strong foundation for the entire dish. Once seasoned, set the chicken aside to allow the flavors to meld while you prepare other components.

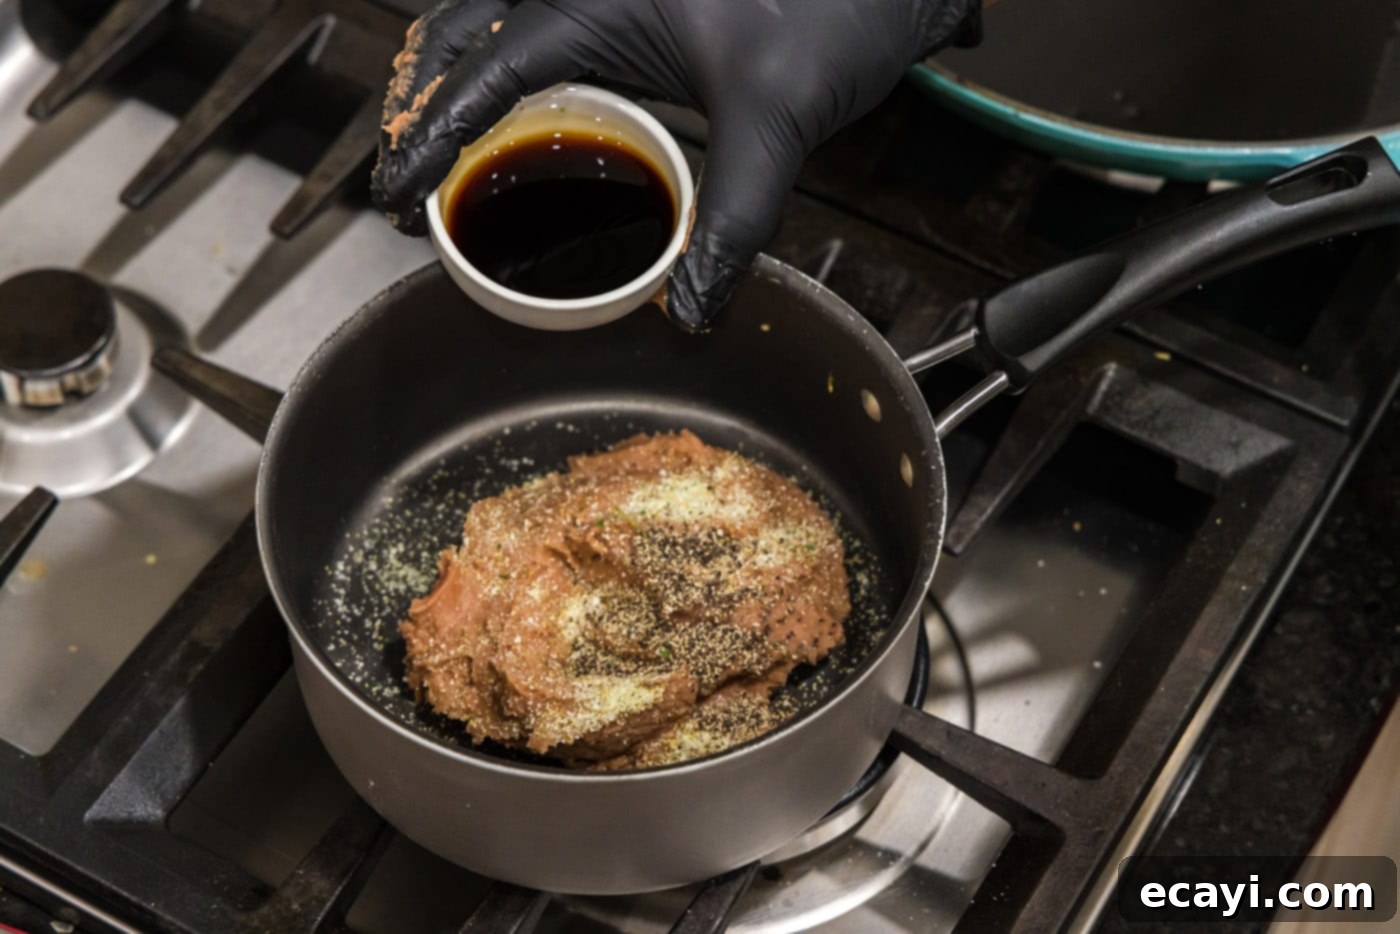
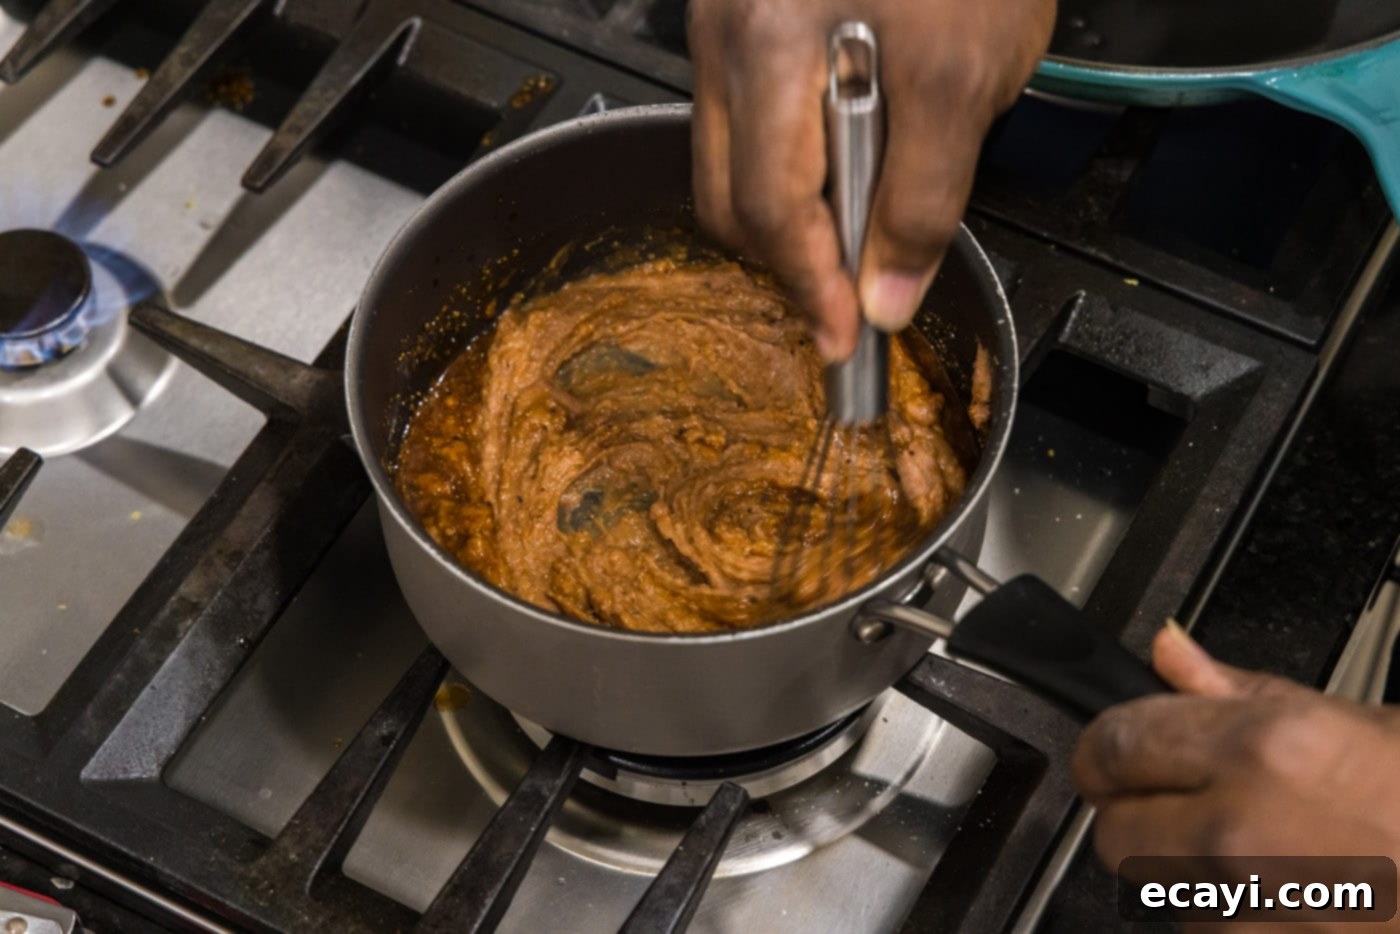
- Warm the Refried Beans: In a medium saucepan, combine your refried beans with the remaining garlic salt and black pepper. Don’t forget to add the soy sauce, which introduces a subtle umami depth that perfectly complements the other flavors. Stir or whisk these ingredients together thoroughly and heat the mixture over medium-high heat for a few minutes, just until the beans loosen up and become smooth and easily spreadable. This step is crucial for achieving a creamy, even layer inside your tortillas. Once warmed, set the beans aside.


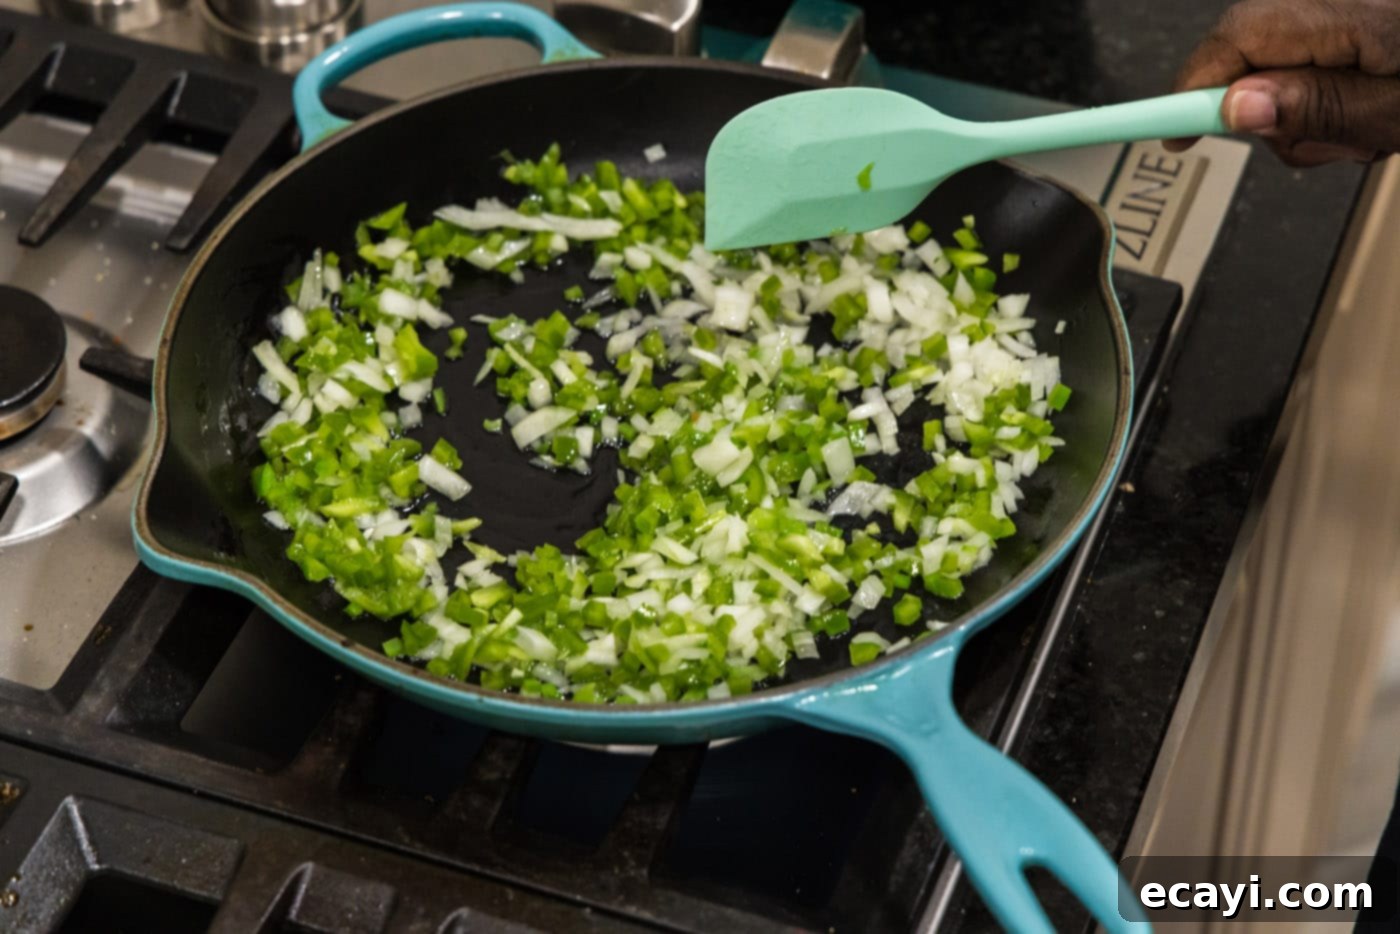
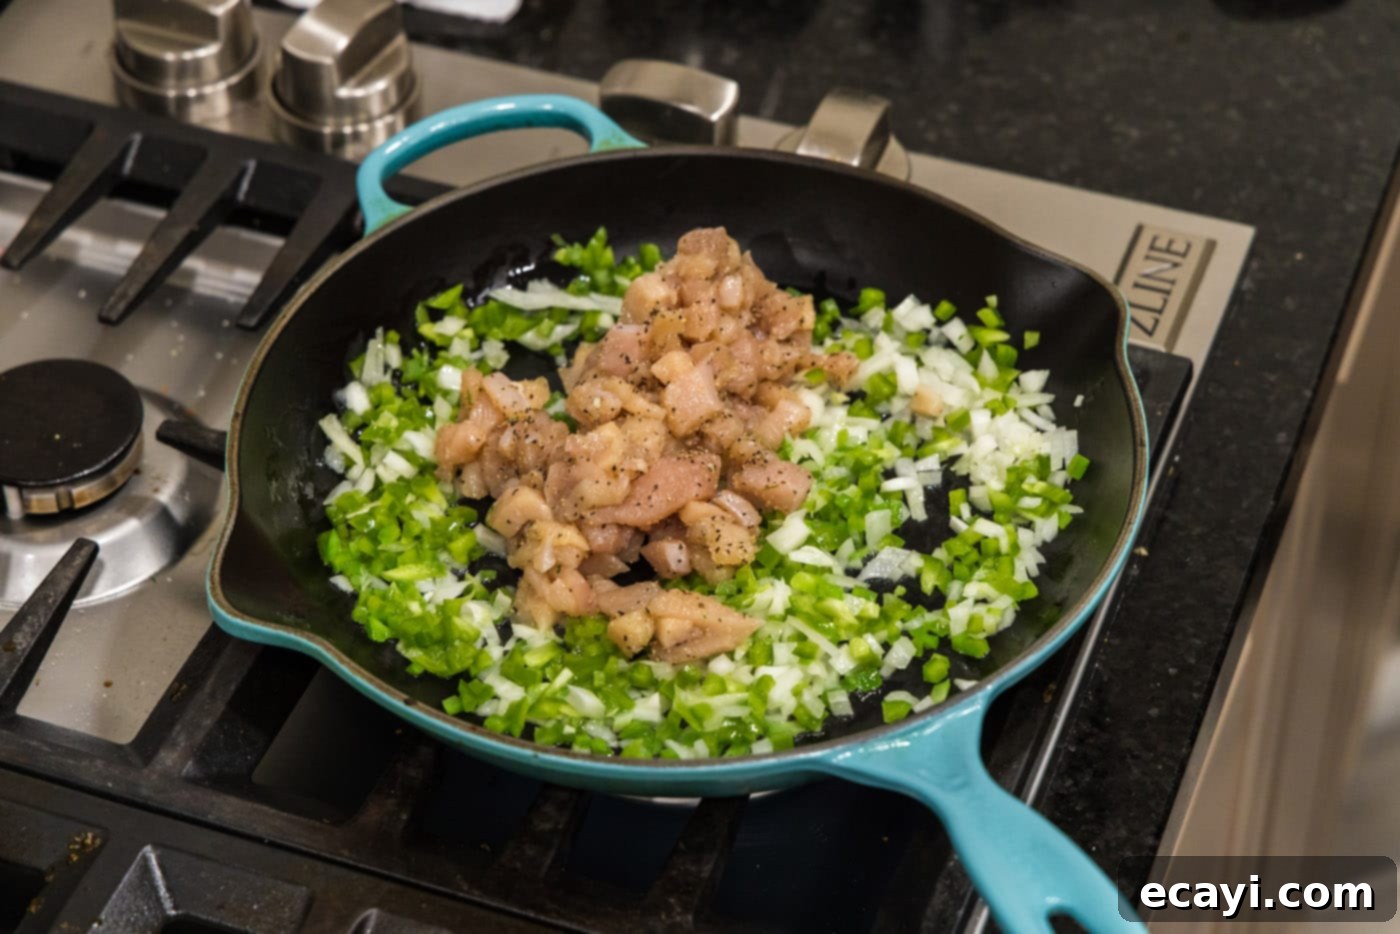
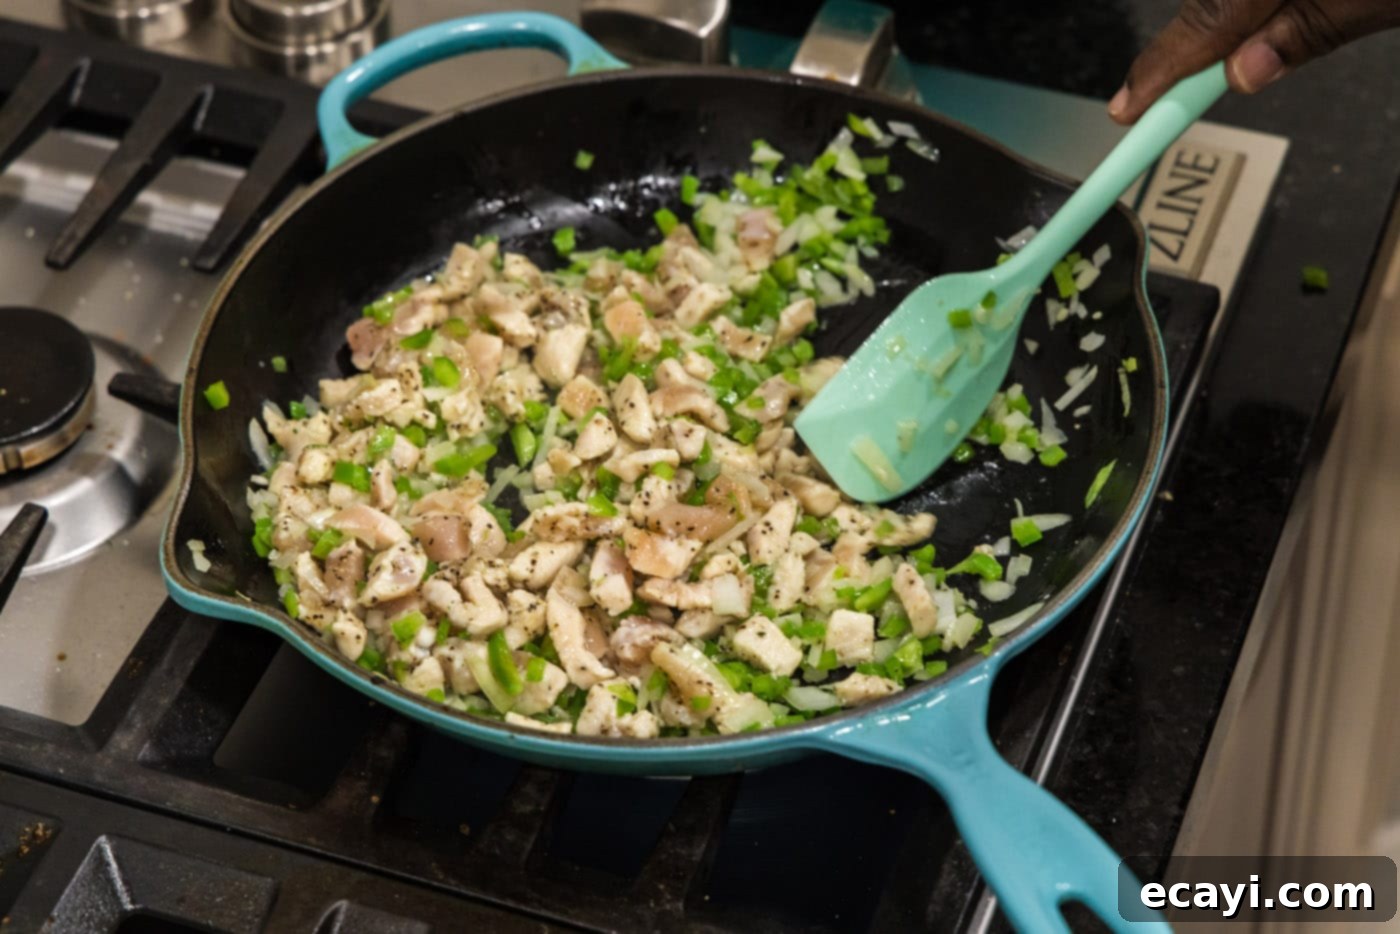
- Sauté the Filling: Heat the olive oil in a large skillet over medium-high heat. Once the oil is shimmering, add your chopped onions and green bell pepper. Sauté these vegetables for a few minutes until the onions become translucent and fragrant, releasing their sweet aromas. Then, add the seasoned chicken chunks to the skillet. Continue to cook, stirring occasionally, until the chicken is no longer pink and is fully cooked through. This ensures all your filling ingredients are tender, juicy, and flavorful before being wrapped. Remove the skillet from heat.


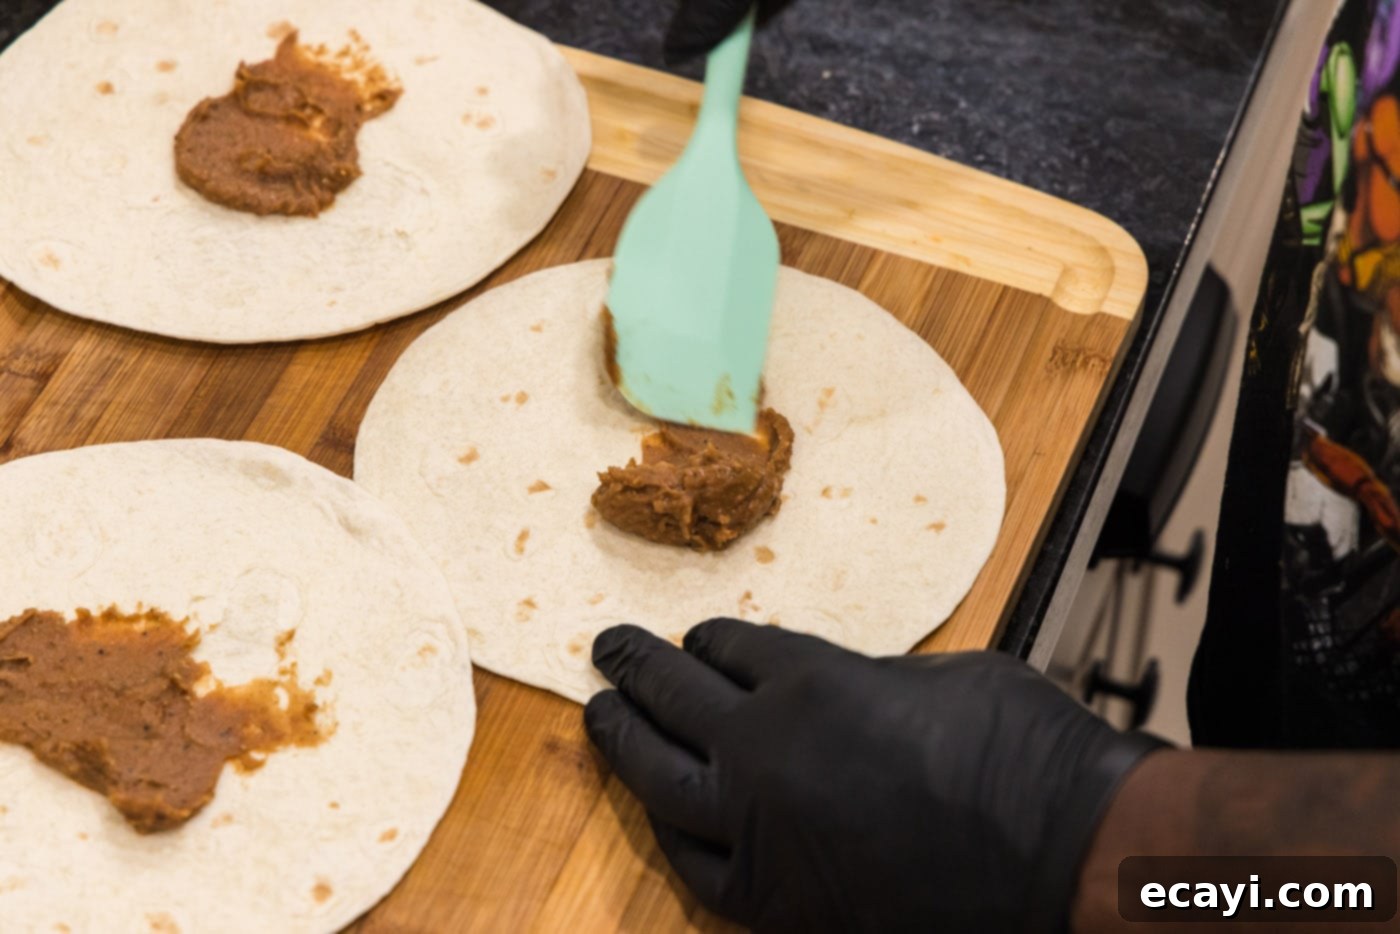
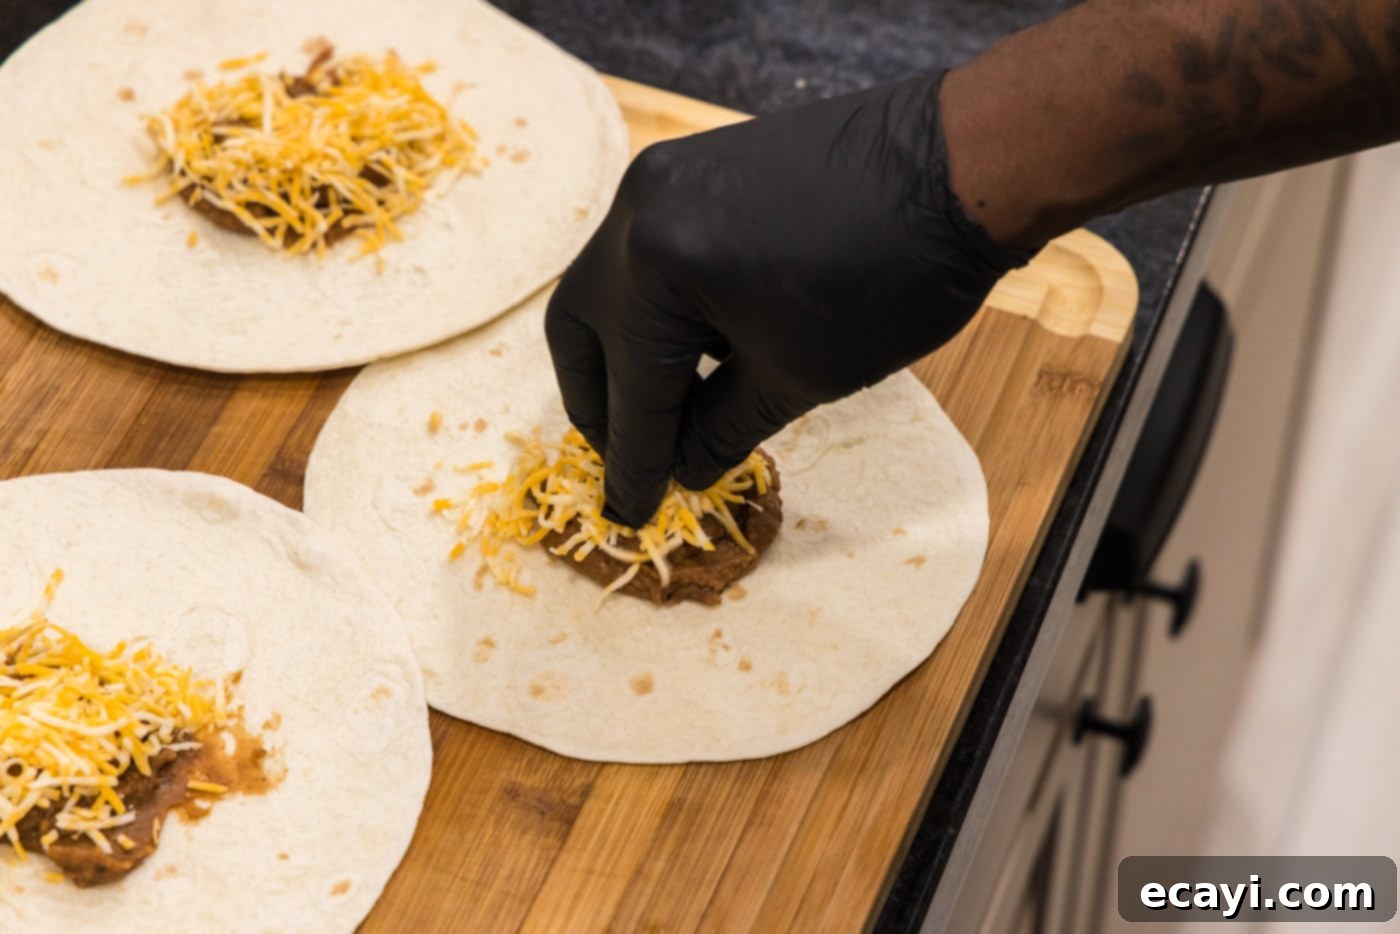
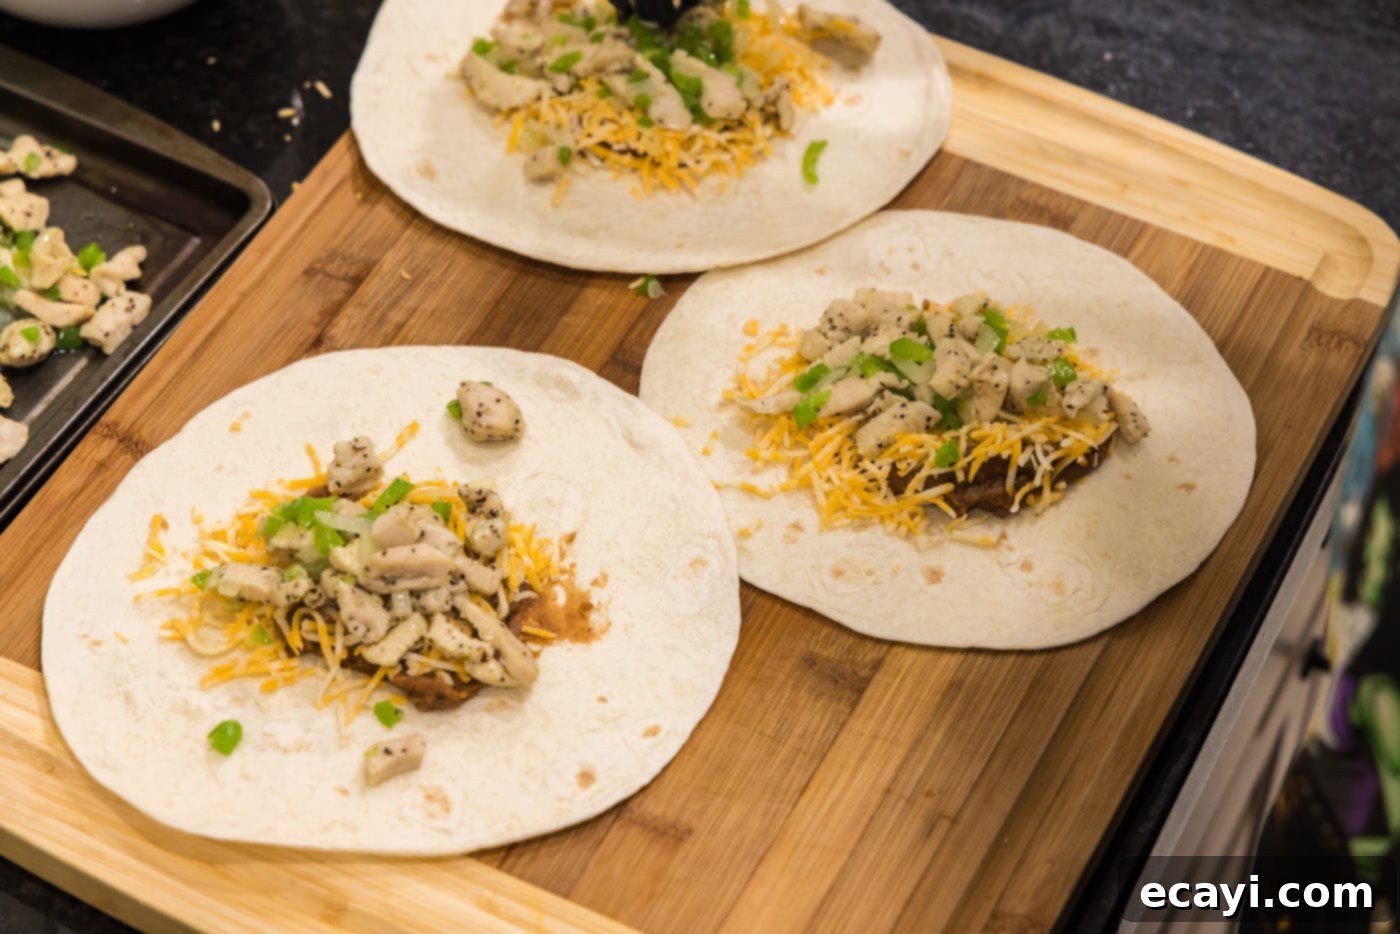
- Assemble the Chimichangas: Lay a 7-inch flour tortilla flat on a clean surface. Spread a generous layer of the refried bean mixture evenly onto the center, leaving a clear border around the edges. Next, sprinkle a portion of the shredded cheese over the beans, allowing it to melt beautifully as the chimichanga fries. Finally, top with a handful of the cooked chicken and vegetable mixture. Be mindful not to overstuff your tortillas; this is a common mistake that makes rolling difficult and can lead to breakage during frying, compromising your crispy shell.


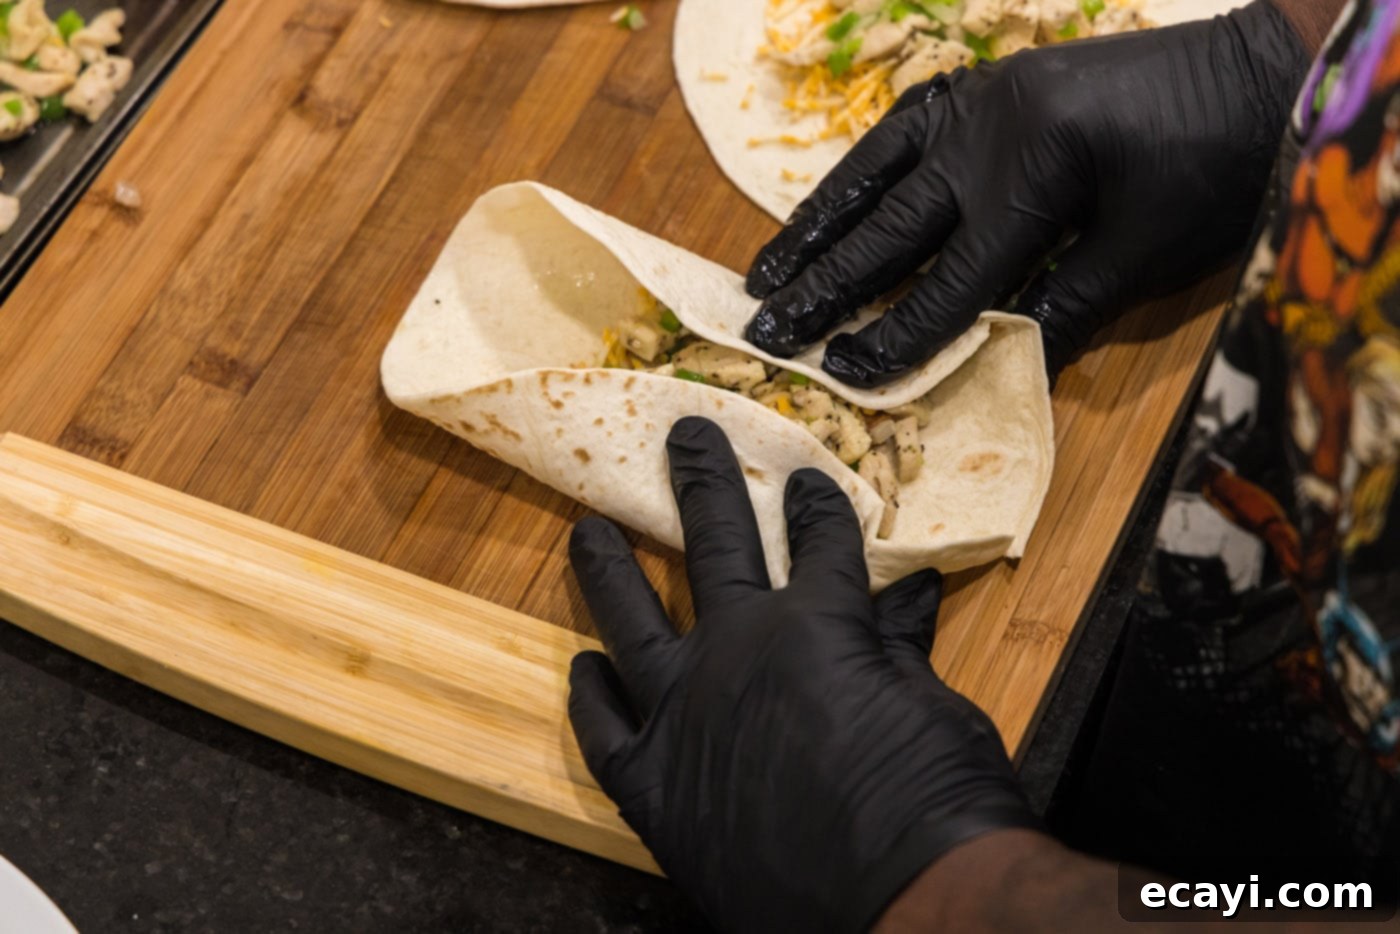
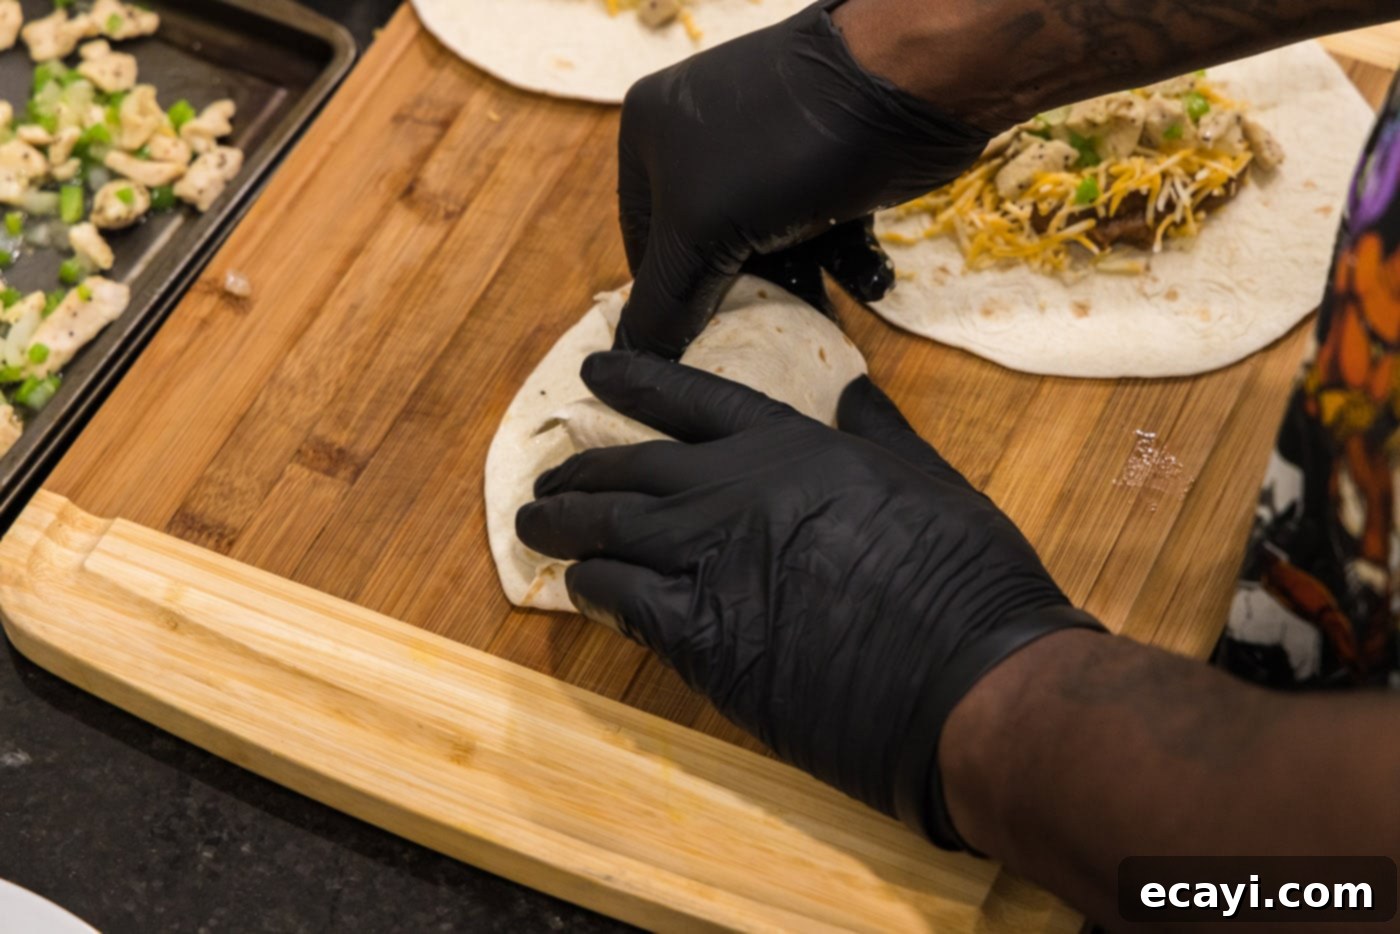
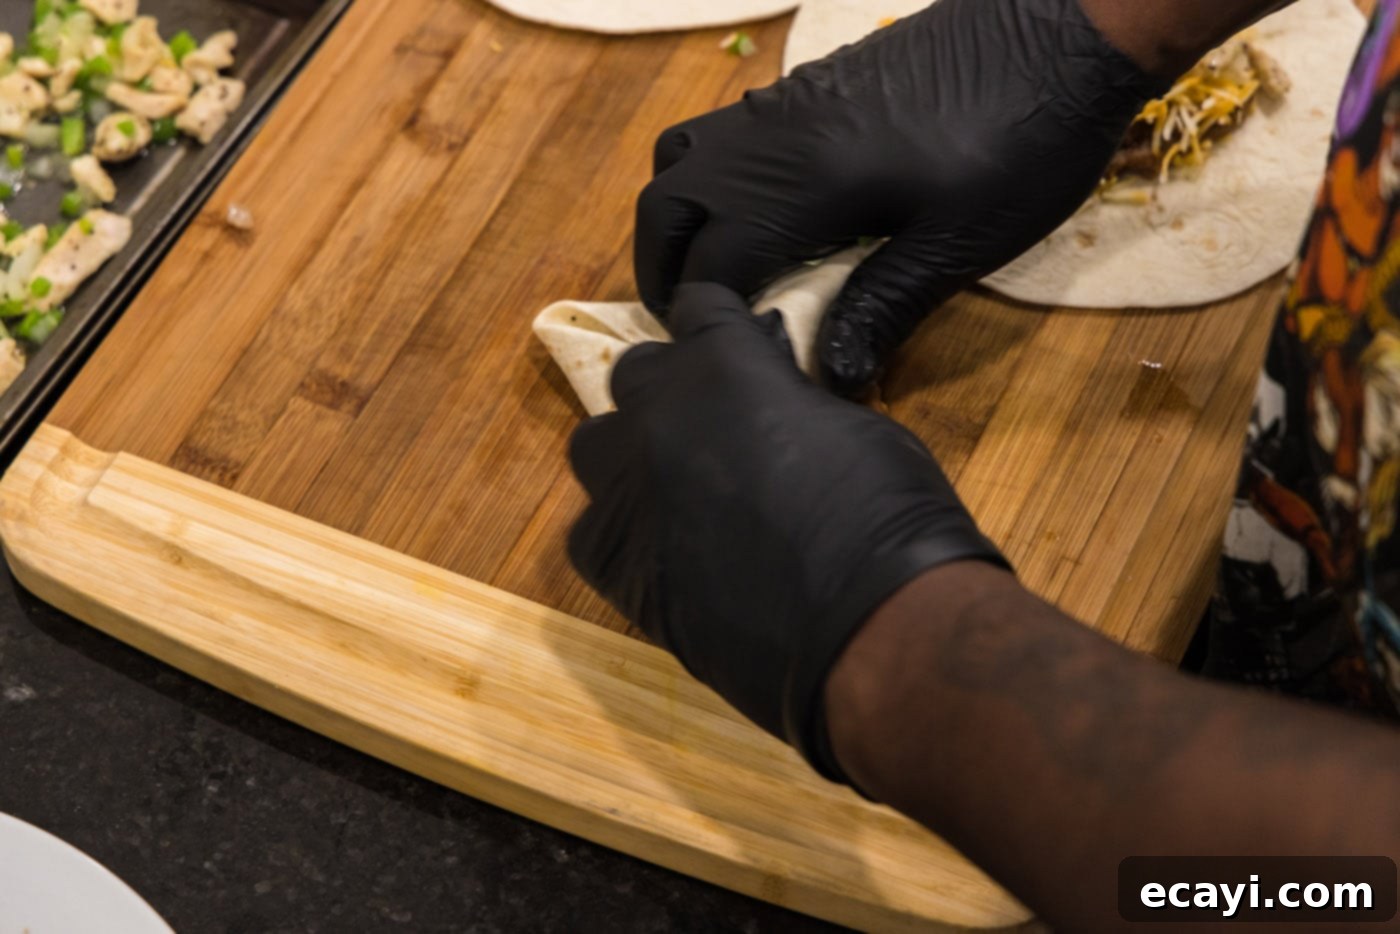
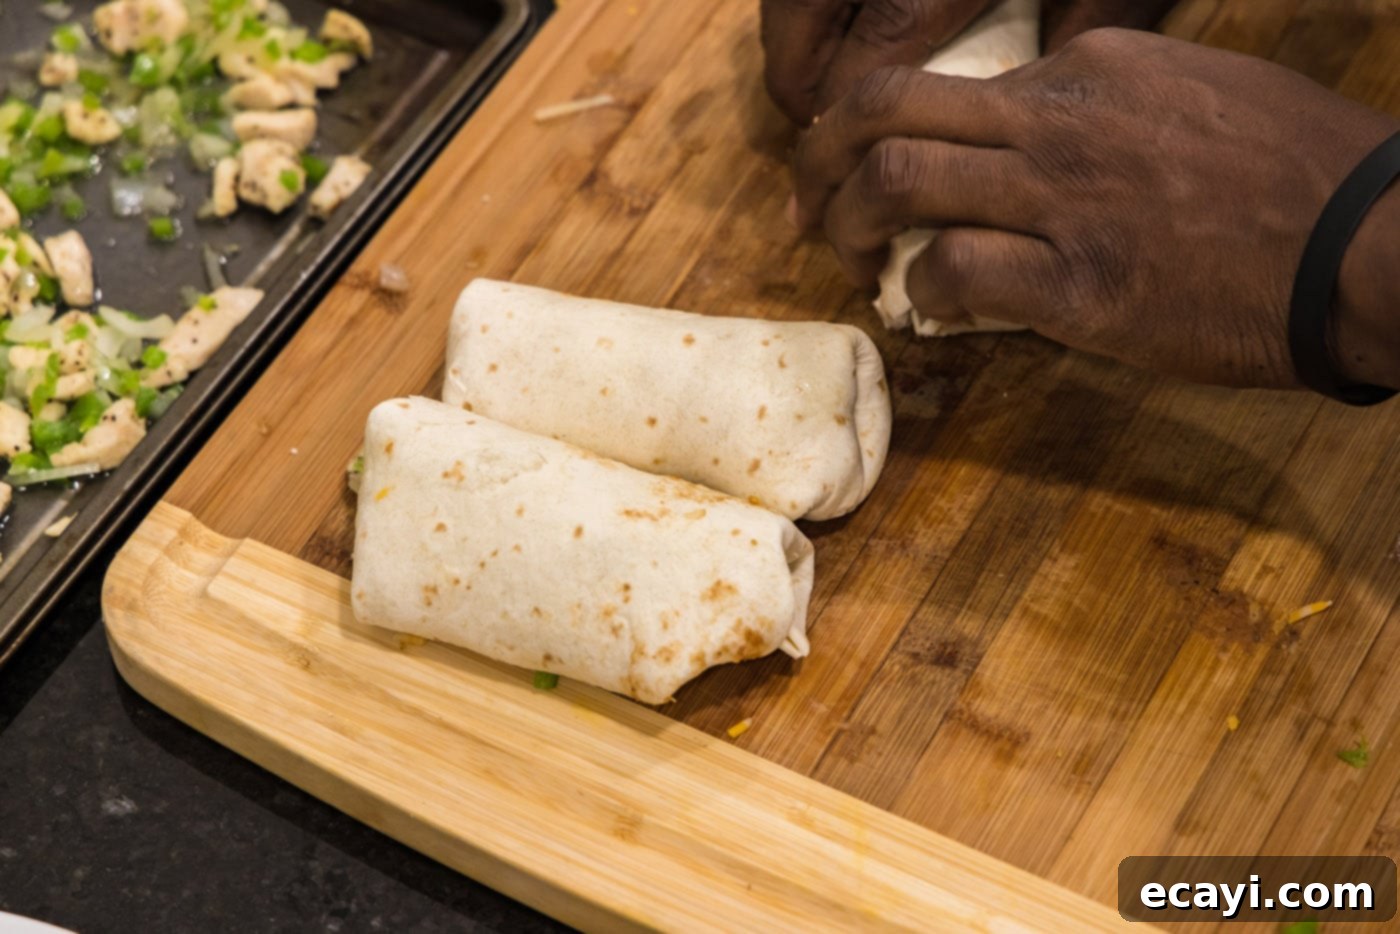
- Roll the Tortillas: This step is key for a successful fry and a perfectly sealed chimichanga. First, lift and fold the opposing sides of the tortilla in towards the center, neatly covering the filling. Keep these side folds secure and tight. Then, fold the bottom edge of the tortilla up and tightly over the folded sides and the filling. Continue to roll the tortilla upwards towards the top until it is completely closed, ensuring the seam is positioned at the bottom. A tight, compact roll is essential to prevent oil from seeping in during frying and for the chimichanga to hold its shape, creating that perfect crispy exterior.


- Heat the Oil: In a large heavy-bottomed skillet (essential for even heat distribution), pour enough vegetable oil to reach approximately 1 inch up the sides of the pan. Heat the oil over medium-high heat until it is hot enough for frying, but not smoking. A good test is to flick a tiny drop of water into the oil; if it sizzles immediately and vigorously, it’s ready. Maintaining the correct oil temperature is vital for achieving a perfectly crispy crust without overcooking the inside or making it greasy.
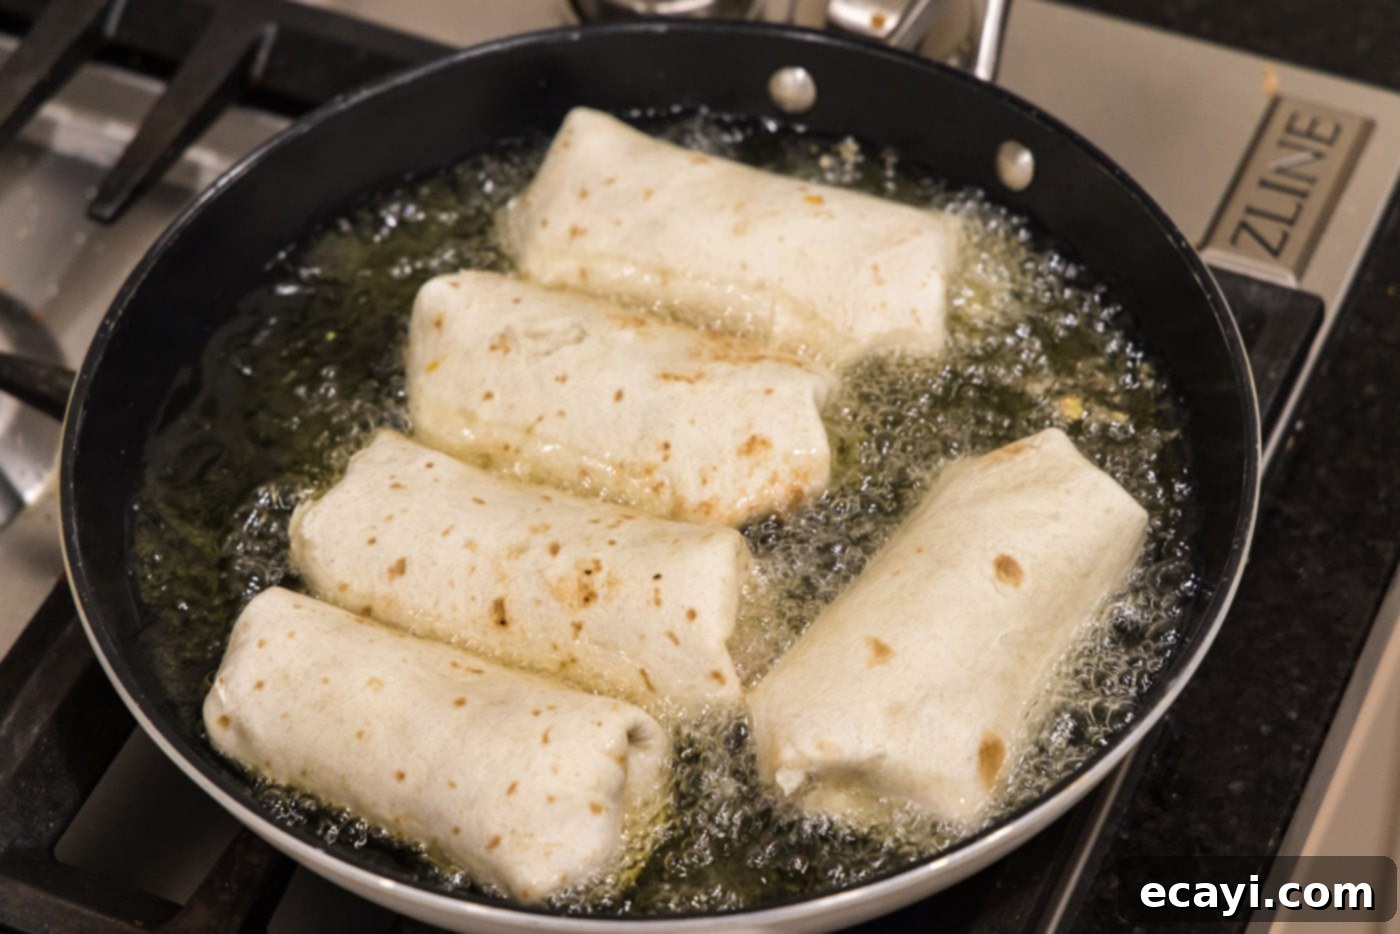
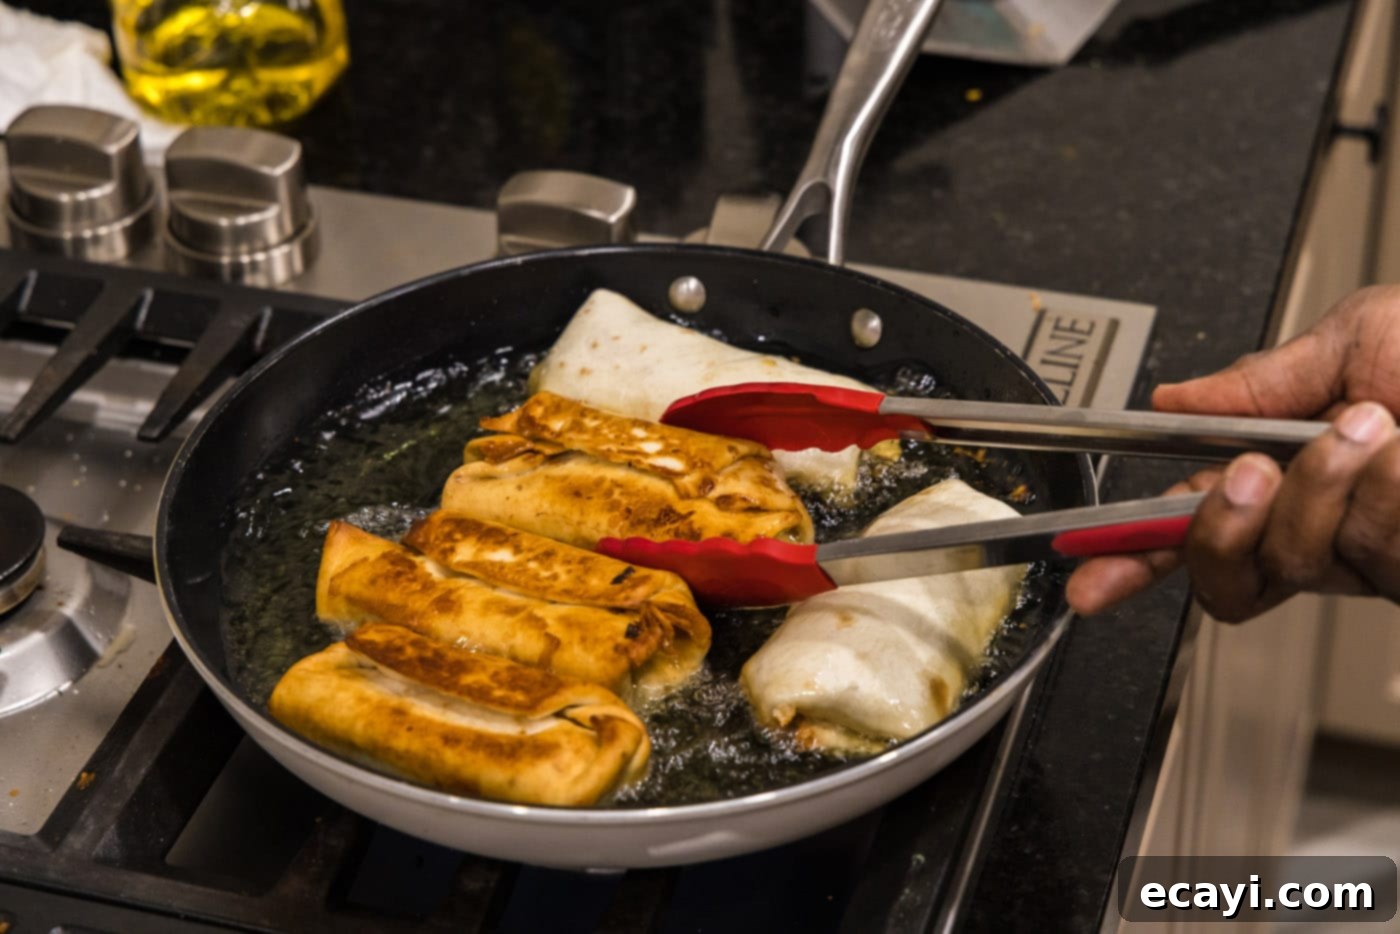
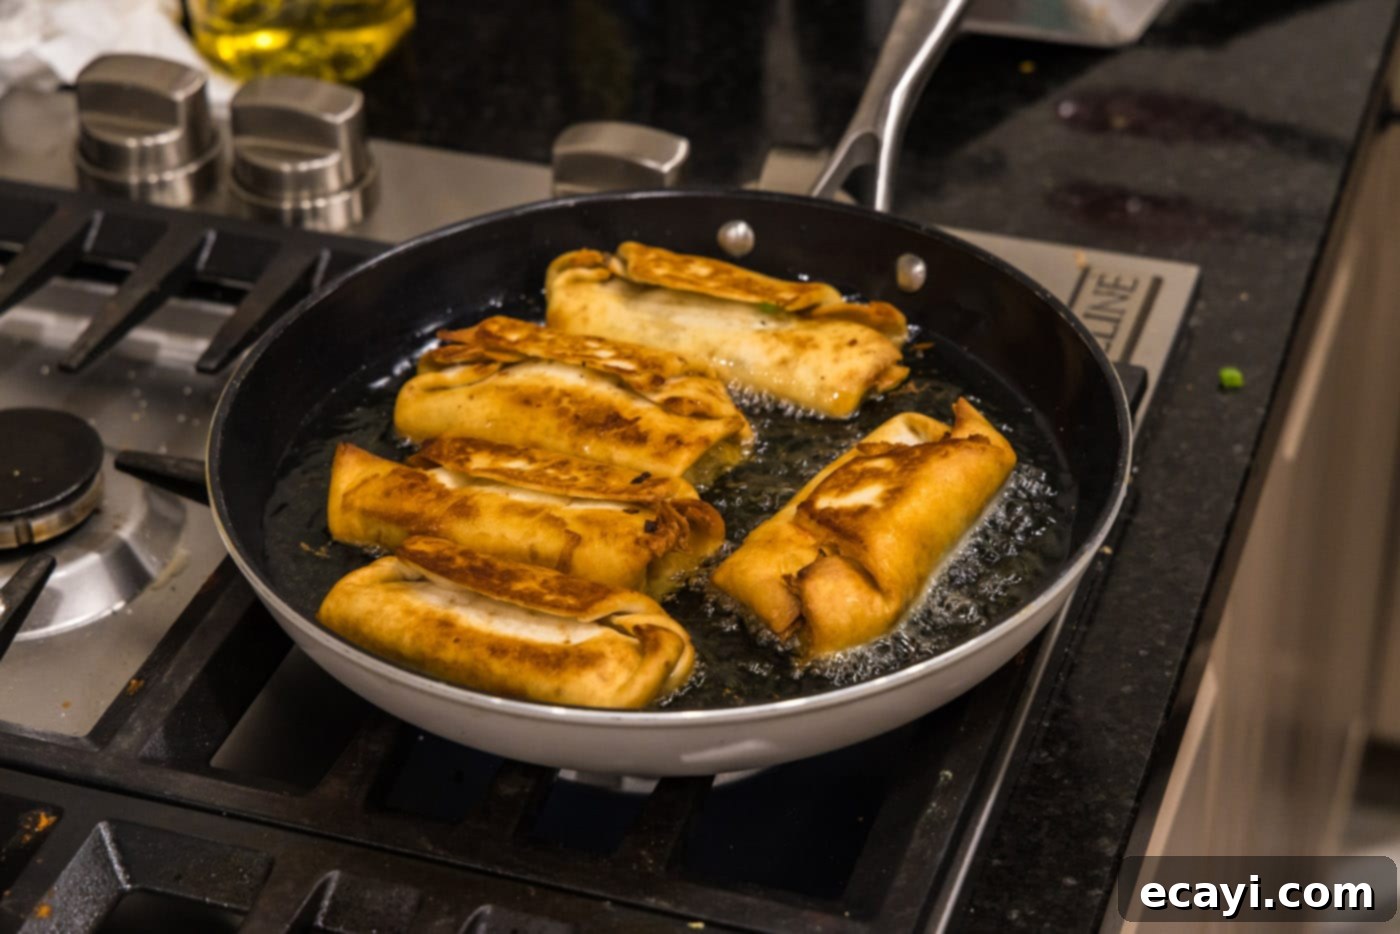
- Deep-Fry to Golden Perfection: Using a spatula, carefully lower each rolled tortilla, seam side down, into the hot oil. Cook for about 2 minutes, or until the bottom side is beautifully browned and incredibly crispy. Then, using tongs, gently turn the chimichangas over and cook for another 2 minutes until the other side is equally golden and crisp. Work in batches if necessary to avoid overcrowding the pan, which can significantly lower the oil temperature and result in soggy, rather than crispy, chimichangas.


- Drain and Serve: Once golden and crispy on all sides, remove the chimichangas from the hot oil using tongs and place them on a plate generously lined with paper towels. This crucial step is essential for draining any excess oil, ensuring their delightful crispiness remains intact and they aren’t greasy.
Expert Tips for Perfect Chimichangas & FAQs
Achieving restaurant-quality homemade chimichangas is easier than you think with a few insider tips and answers to common questions. From ensuring the crispiest shell to smart storage solutions, these pointers will elevate your chimichanga-making game and help you master this delicious dish.
For best results, allow any leftover chicken chimichangas to cool completely before storing. Once cooled, place them in an air-tight container or individually wrap them tightly with aluminum foil to prevent them from drying out. They will keep fresh in the refrigerator for 3-4 days. When ready to enjoy again, reheat them in a preheated 350°F (175°C) oven for about 15 minutes, or until thoroughly warmed through and their shell regains its crispy texture. An air fryer is also an excellent option for reheating, using its reheat function to restore that perfect crunch in less time.
Absolutely! Homemade chimichangas freeze beautifully, making them an ideal make-ahead meal for busy days or unexpected cravings. To freeze, ensure the cooked chimichangas have cooled entirely to prevent ice crystals from forming. Wrap each chimichanga first in several layers of plastic wrap, followed by a layer of aluminum foil. This double wrapping helps prevent freezer burn and maintains freshness. Place the wrapped chimichangas into a large freezer-safe zip-top bag, making sure to label it with the date. They can be frozen for up to 3 months. When you’re ready to cook, thaw them overnight in the refrigerator, then reheat them in an air fryer using its reheat function, or in a 350°F (175°C) oven for approximately 15 minutes, or until heated through and wonderfully crispy.
Maintain Oil Temperature: The secret to truly crispy chimichangas is consistent oil temperature. If the oil isn’t hot enough, the tortillas will absorb too much oil and become greasy and soggy. If it’s too hot, they’ll brown too quickly on the outside before the inside is properly warmed, and the cheese might not melt perfectly. Aim for a consistent medium-high heat, typically around 350-375°F (175-190°C). Using a kitchen thermometer can be very helpful for accuracy. Do not overcrowd the pan; fry in batches to keep the oil temperature stable and ensure each chimichanga fries evenly.
Roll Tightly: As emphasized in the instructions, a tight roll is critical for a successful chimichanga. Any loose folds or gaps can allow hot oil to seep into the filling, making your chimichanga less enjoyable and potentially causing the filling to spill out. Practice makes perfect, but ensuring the tortilla is at room temperature will greatly assist in creating a snug, secure wrap that holds up to frying.
Delightful Serving Suggestions for Your Chimichangas
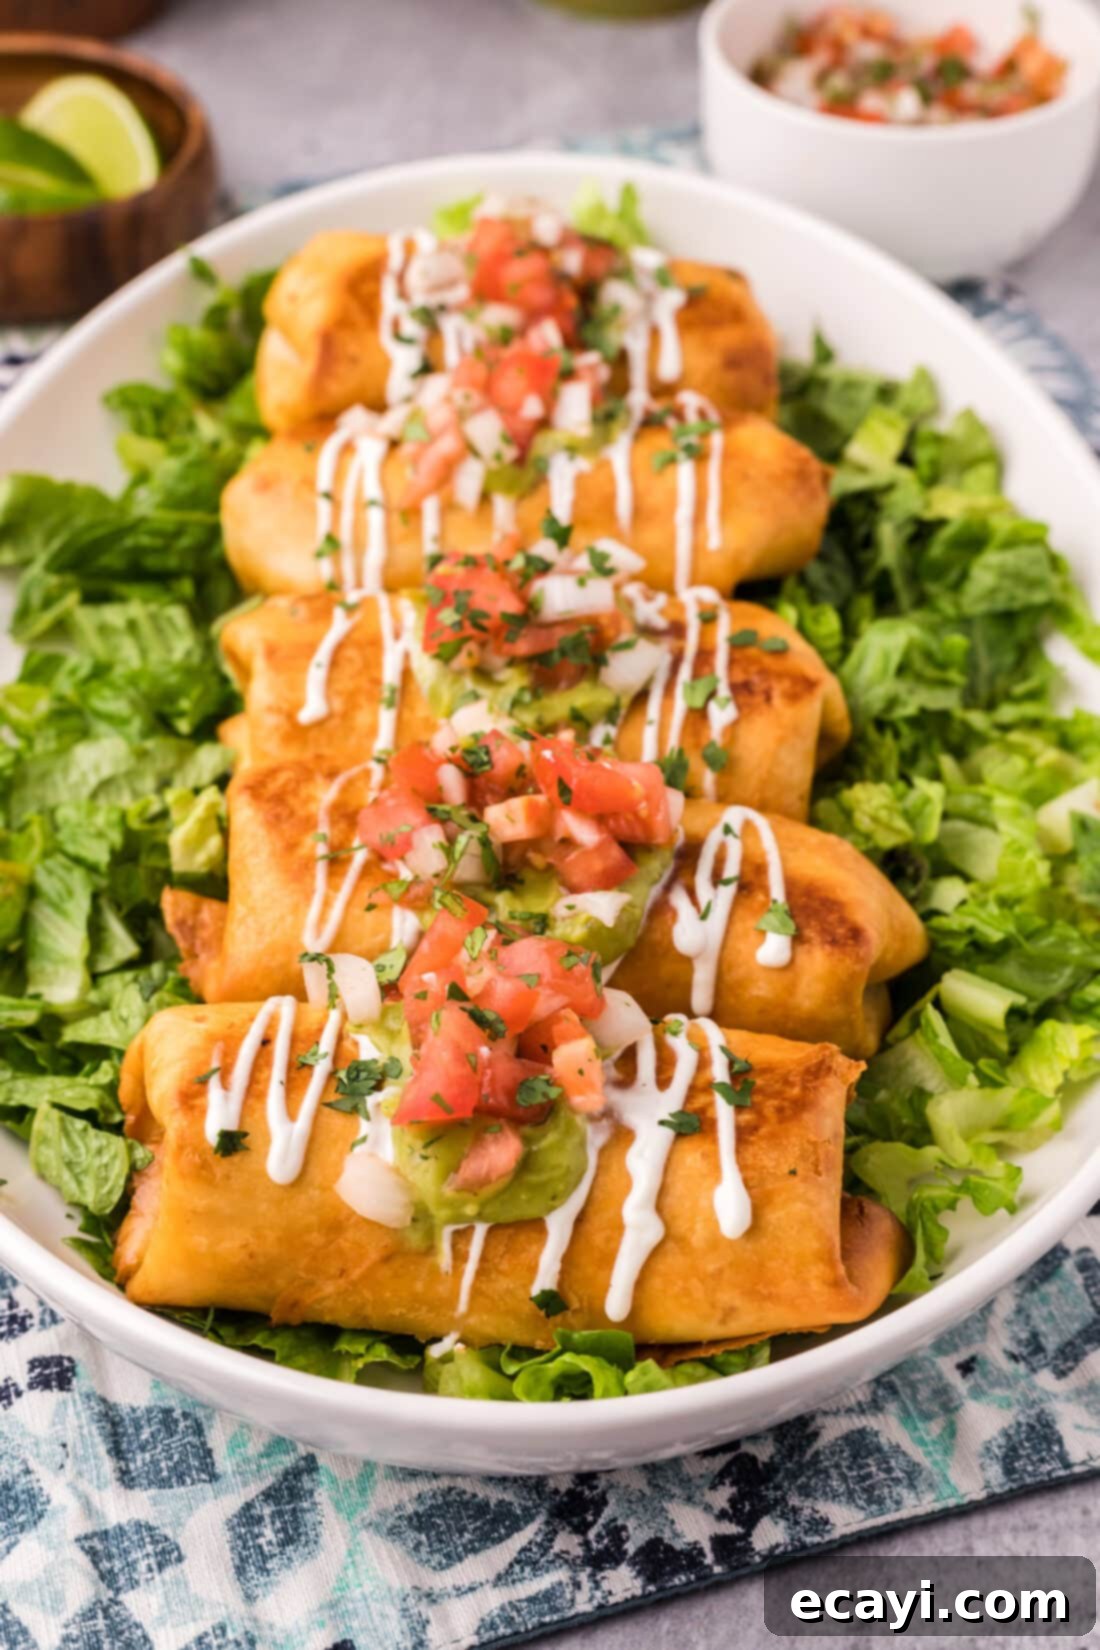
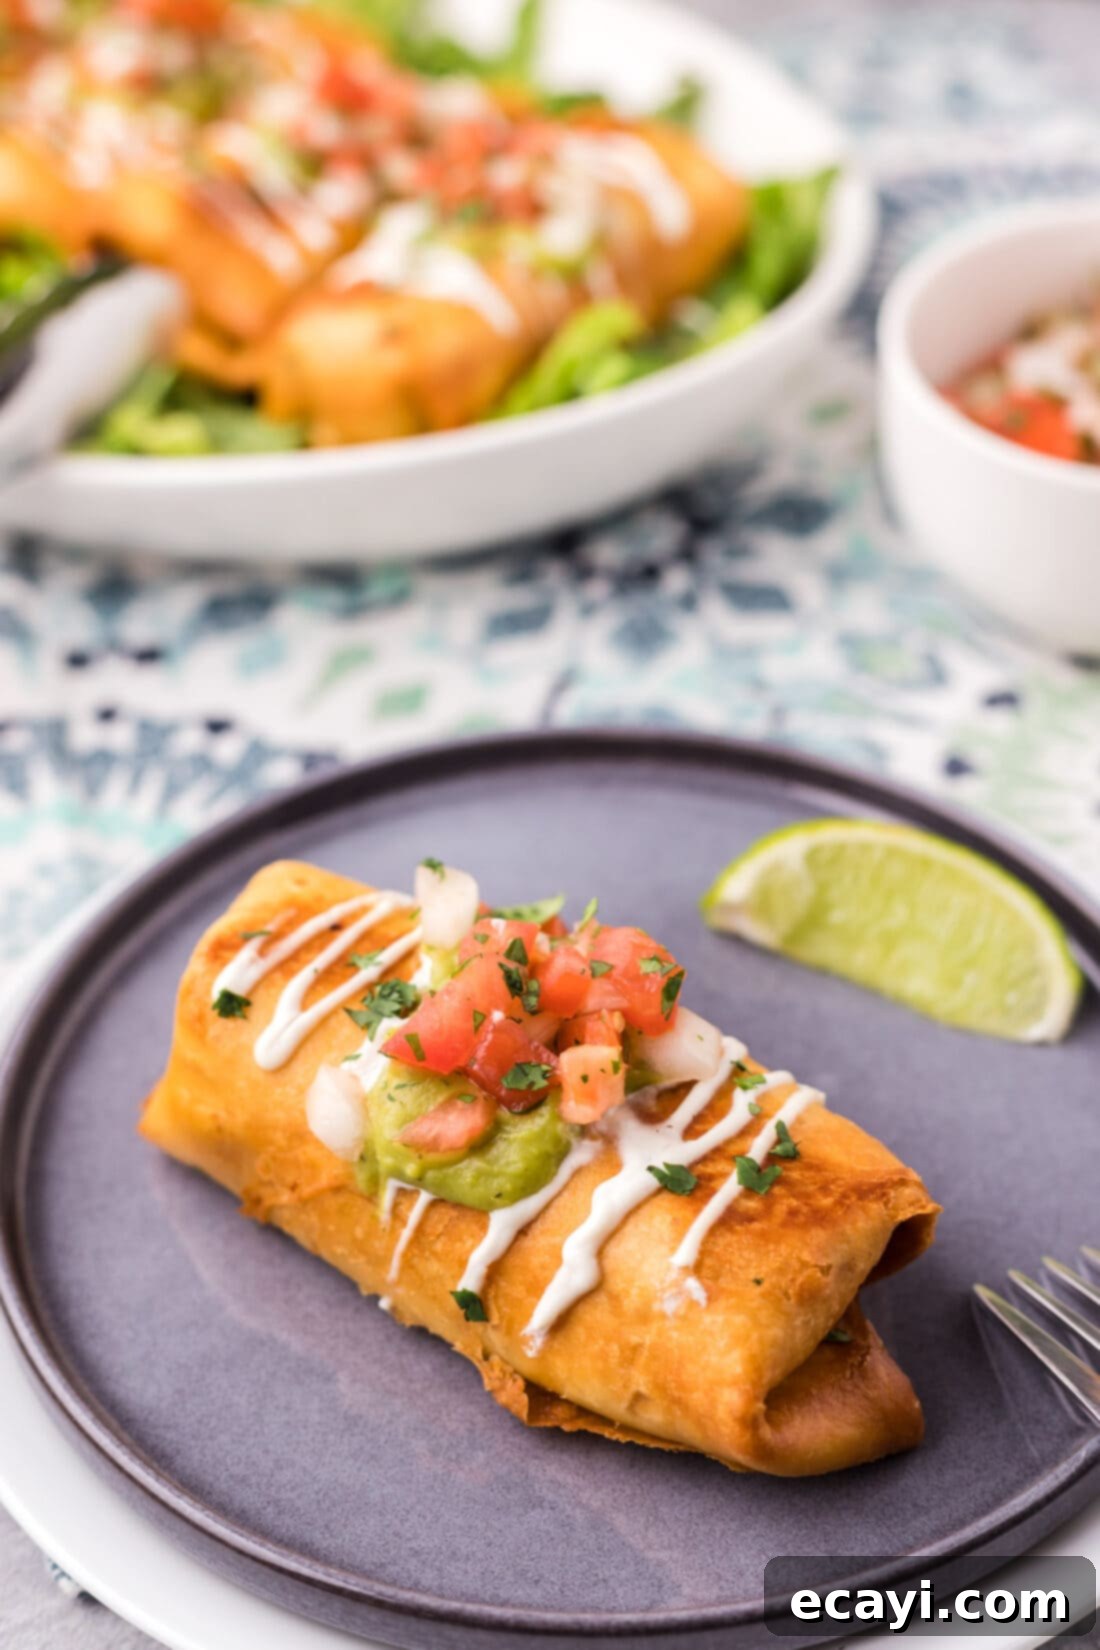
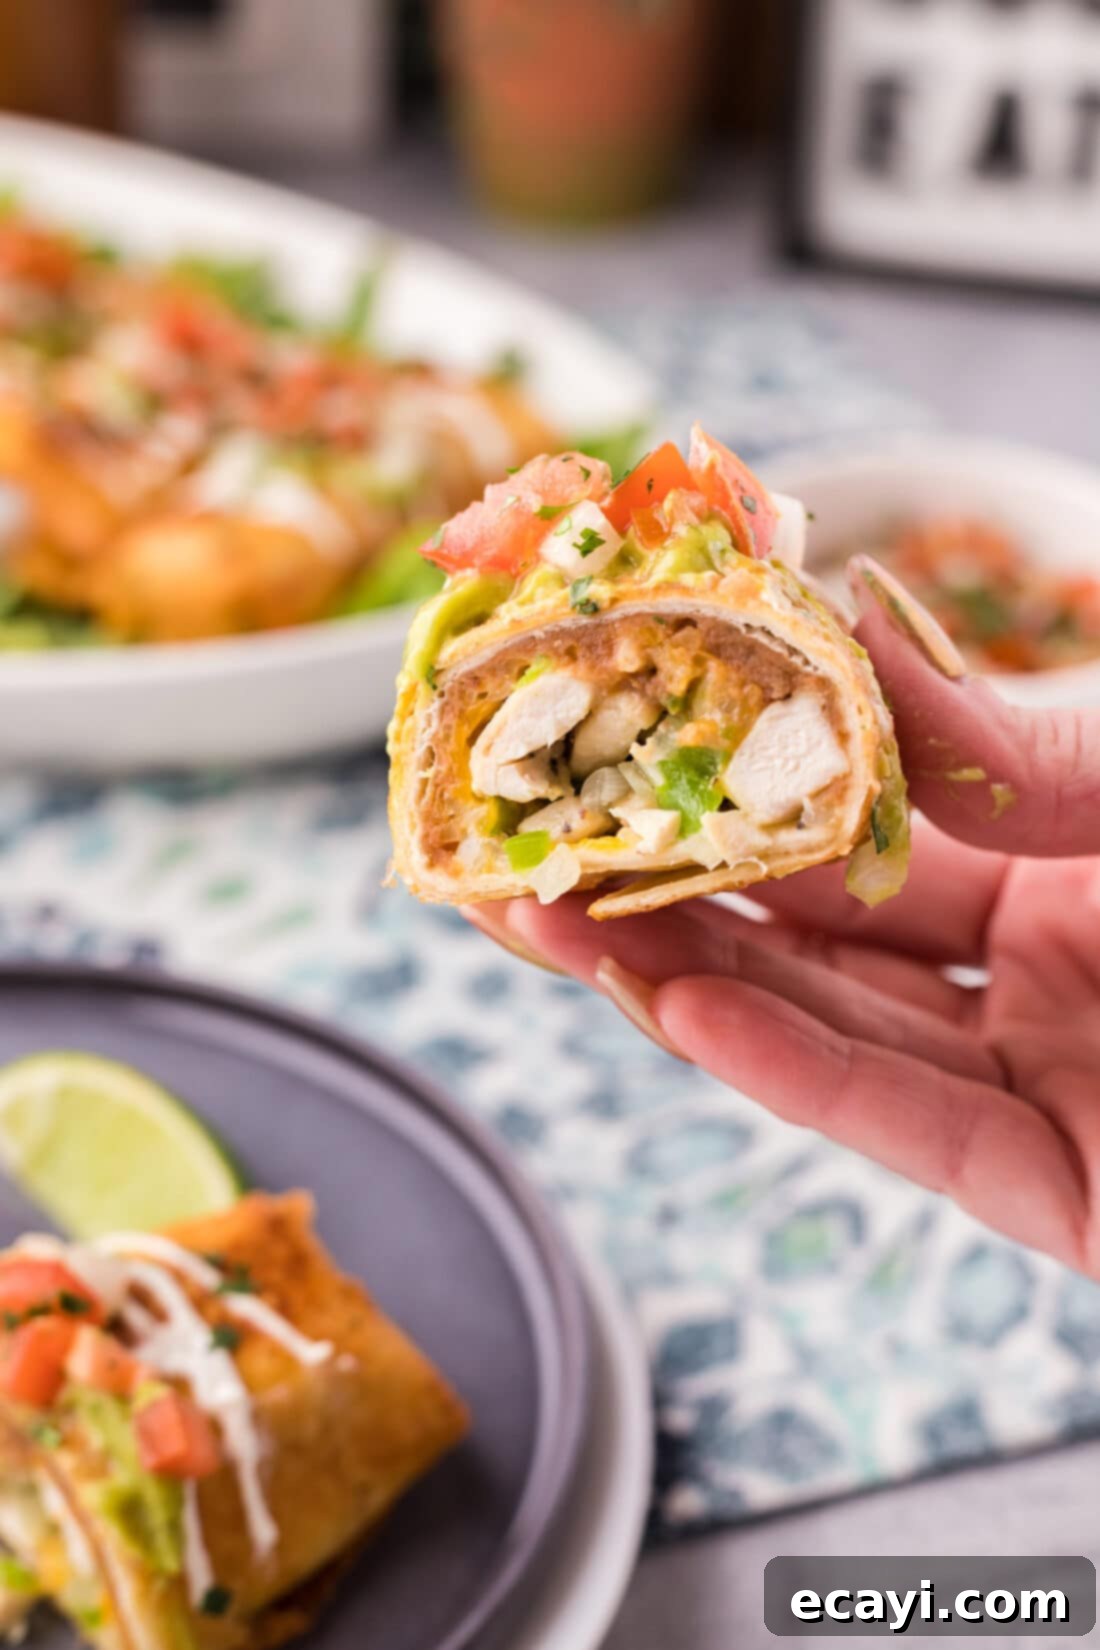
Once your crispy chicken chimichangas are perfectly golden and drained, it’s time to elevate them with an array of delicious accompaniments. These versatile fried delights pair wonderfully with a variety of fresh and creamy toppings that complement their rich flavors and crunchy texture, transforming them into a true fiesta for your taste buds. A classic drizzle of tangy salsa verde or a dollop of cool sour cream is always a hit, adding a refreshing contrast to the warmth of the chimichanga.
For an added layer of richness and flavor, don’t forget a generous scoop of homemade guacamole, bursting with fresh avocado goodness. You can also opt for salsa fresca (pico de gallo) for a vibrant burst of fresh tomato, onion, and cilantro flavor. To make it a complete and satisfying meal, serve your chimichangas alongside traditional Mexican rice and a side of your favorite beans (black or pinto). For a refreshing contrast and added crunch, top your chimichangas with a sprinkle of shredded lettuce, a scattering of fresh cilantro, a squeeze of fresh lime juice, or a dusting of cotija cheese. Enjoy them warm for the ultimate taste experience!
Discover More Delicious Mexican-Inspired Recipes
If you loved making these homemade chicken chimichangas, you’ll be thrilled to explore other incredible recipes that bring the vibrant flavors of Mexican cuisine to your home kitchen. From satisfying bowls to sizzling fajitas, there’s a world of culinary adventure awaiting you. Here are some of our top recommendations to continue your delicious journey:
- Hearty Burrito Bowl
- Sizzling Shrimp Fajitas
- Authentic Beef Enchiladas
- Perfect Grilled Chicken Quesadillas
- Flavorful Enchilada Stuffed Peppers
I truly enjoy the process of creating and sharing delicious recipes like these homemade chicken chimichangas with our wonderful community! My goal is to make your culinary journey enjoyable and inspiring. To ensure you never miss out on new and exciting dishes, I invite you to simply subscribe to our convenient newsletter. You’ll receive free daily recipes delivered straight to your inbox, helping you discover fresh ideas and expand your kitchen repertoire. Join us and let’s keep cooking up amazing meals together!
Chimichangas
IMPORTANT – There are often Frequently Asked Questions within the blog post that you may find helpful. Simply scroll back up to read them!
Print It
Pin It
Rate It
Save ItSaved!
Ingredients
- 2 boneless skinless chicken breasts cut into small bite-sized pieces
- 1 Tablespoon garlic salt divided
- 2 teaspoons black pepper divided
- ½ cup refried beans
- 2 Tablespoons soy sauce
- 1 Tablespoon olive oil
- ¼ cup chopped onions
- ¼ cup chopped green pepper
- 7 flour taco tortillas 7-inch diameter
- ¾ cup shredded cheddar cheese or Colby Jack
- vegetable oil for frying
Things You’ll Need
-
Large heavy bottomed skillet
-
Rubber spatula
-
Tongs
-
Saucepan
-
Vinyl gloves
Before You Begin
- Having the tortillas at room temperature will make them easier to handle, fold, and roll.
- We opted to cube our chicken, but you can shed it if that’s what you prefer. You can easily substitute the kind of meat you use in this recipe. Beef barbacoa, carne asada, or pork are equally as delicious.
- Store leftover chimichangas in an air-tight container or wrapped with aluminum foil in the refrigerator for 3-4 days. Reheat in a 350F oven for 15 minutes or until warmed through. You can also use the reheat function on the air fryer.
- To freeze, wrap the cooled chimichangas a few times in plastic wrap followed by a layer of aluminum foil then place them in a large ziptop bag labeled with the date. Freeze for up to 3 months. Thaw in the refrigerator overnight and reheat in the air fryer (using the reheat function) or in the oven set to 350F for around 15 minutes or until warmed through.
Instructions
-
Season chicken breast chunks with half of the garlic salt and half of the black pepper. Set aside.
-
Add refried beans to a medium saucepan and season with remaining garlic salt and black pepper. Add soy sauce. Stir or whisk together and heat over medium-high for a few minutes, just to loosen up the beans. Set aside.
-
Heat olive oil in a large skillet over medium-high heat until shimmering. Add chopped onions and green pepper, stirring together, add chicken chunks. Saute until onion is translucent and chicken is no longer pink. Remove from heat.
-
For each tortilla, spread refried bean mixture onto the center then sprinkle with shredded cheese and top with a handful of the chicken mixture.
Do not overstuff the tortillas or you won’t be able to roll them properly.
-
Lift and fold the sides of the tortilla in toward the center. Holding those folds in place, fold the bottom of the tortilla up and over the sides. Roll toward the top of the tortilla until completely closed, keeping seam at the bottom.
Try to roll the tortilla as tight as possible so oil doesn’t get inside when it fries.
-
In a large heavy bottomed skillet, heat enough vegetable oil to come about 1-inch or so up the sides of the pan. Heat oil over medium-high heat until hot, but not smoking.
-
Using a spatula, carefully lower each rolled tortilla, seam side down, into the hot oil. Allow to cook for 2 minutes, or until nicely browned. Using tongs, carefully turn tortillas over and cook another 2 minutes or until nicely browned.
-
Remove to paper towel lined plate to drain.
Nutrition
The recipes on this blog are tested with a conventional gas oven and gas stovetop. It’s important to note that some ovens, especially as they age, can cook and bake inconsistently. Using an inexpensive oven thermometer can assure you that your oven is truly heating to the proper temperature. If you use a toaster oven or countertop oven, please keep in mind that they may not distribute heat the same as a conventional full sized oven and you may need to adjust your cooking/baking times. In the case of recipes made with a pressure cooker, air fryer, slow cooker, or other appliance, a link to the appliances we use is listed within each respective recipe. For baking recipes where measurements are given by weight, please note that results may not be the same if cups are used instead, and we can’t guarantee success with that method.
