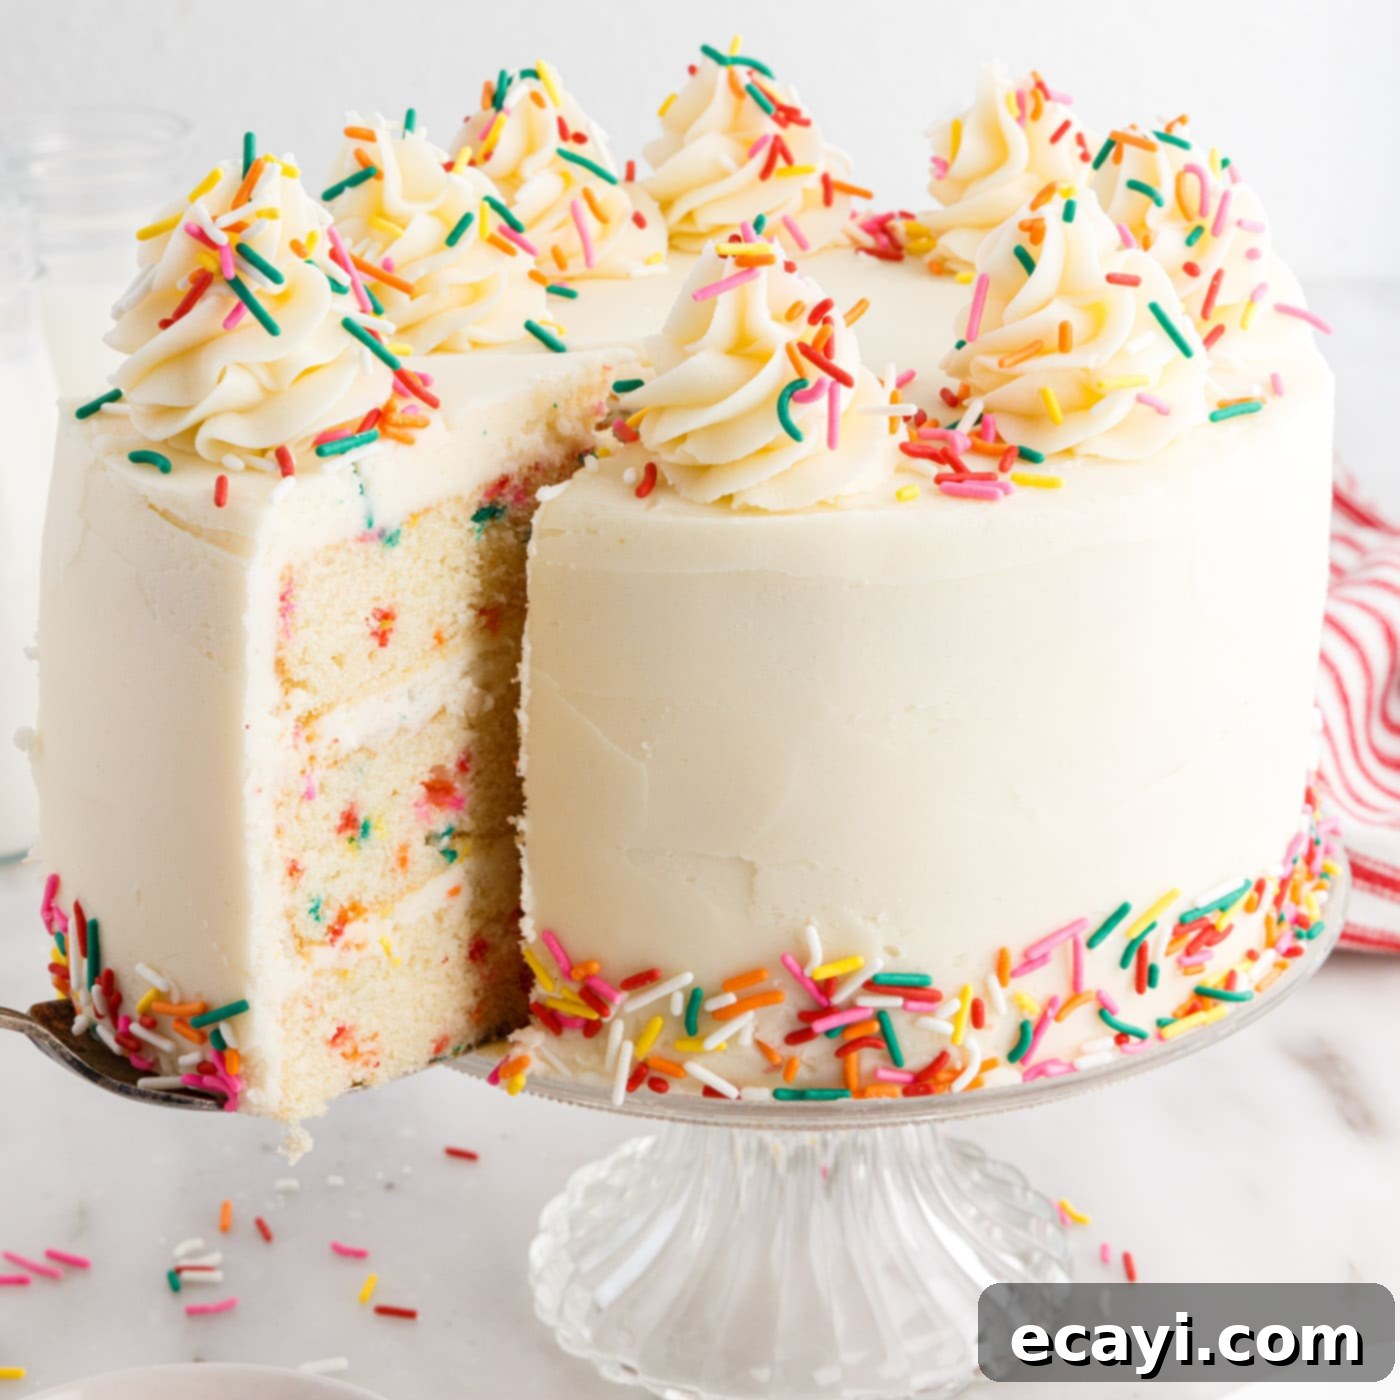
Ultimate Homemade Funfetti Cake: The Perfect Recipe for Joyful Celebrations
There’s nothing quite like a classic funfetti cake to bring a smile to everyone’s face, whether it’s for a birthday party, an anniversary, or simply to celebrate a special moment. This recipe delivers a truly phenomenal, buttery vanilla cake, generously studded with a vibrant rainbow of colorful sprinkles, all made completely from scratch. With its moist, tender crumb and delightful frosting, this tiered funfetti cake isn’t just a dessert; it’s the very essence of a perfect celebration, promising joy in every single bite.
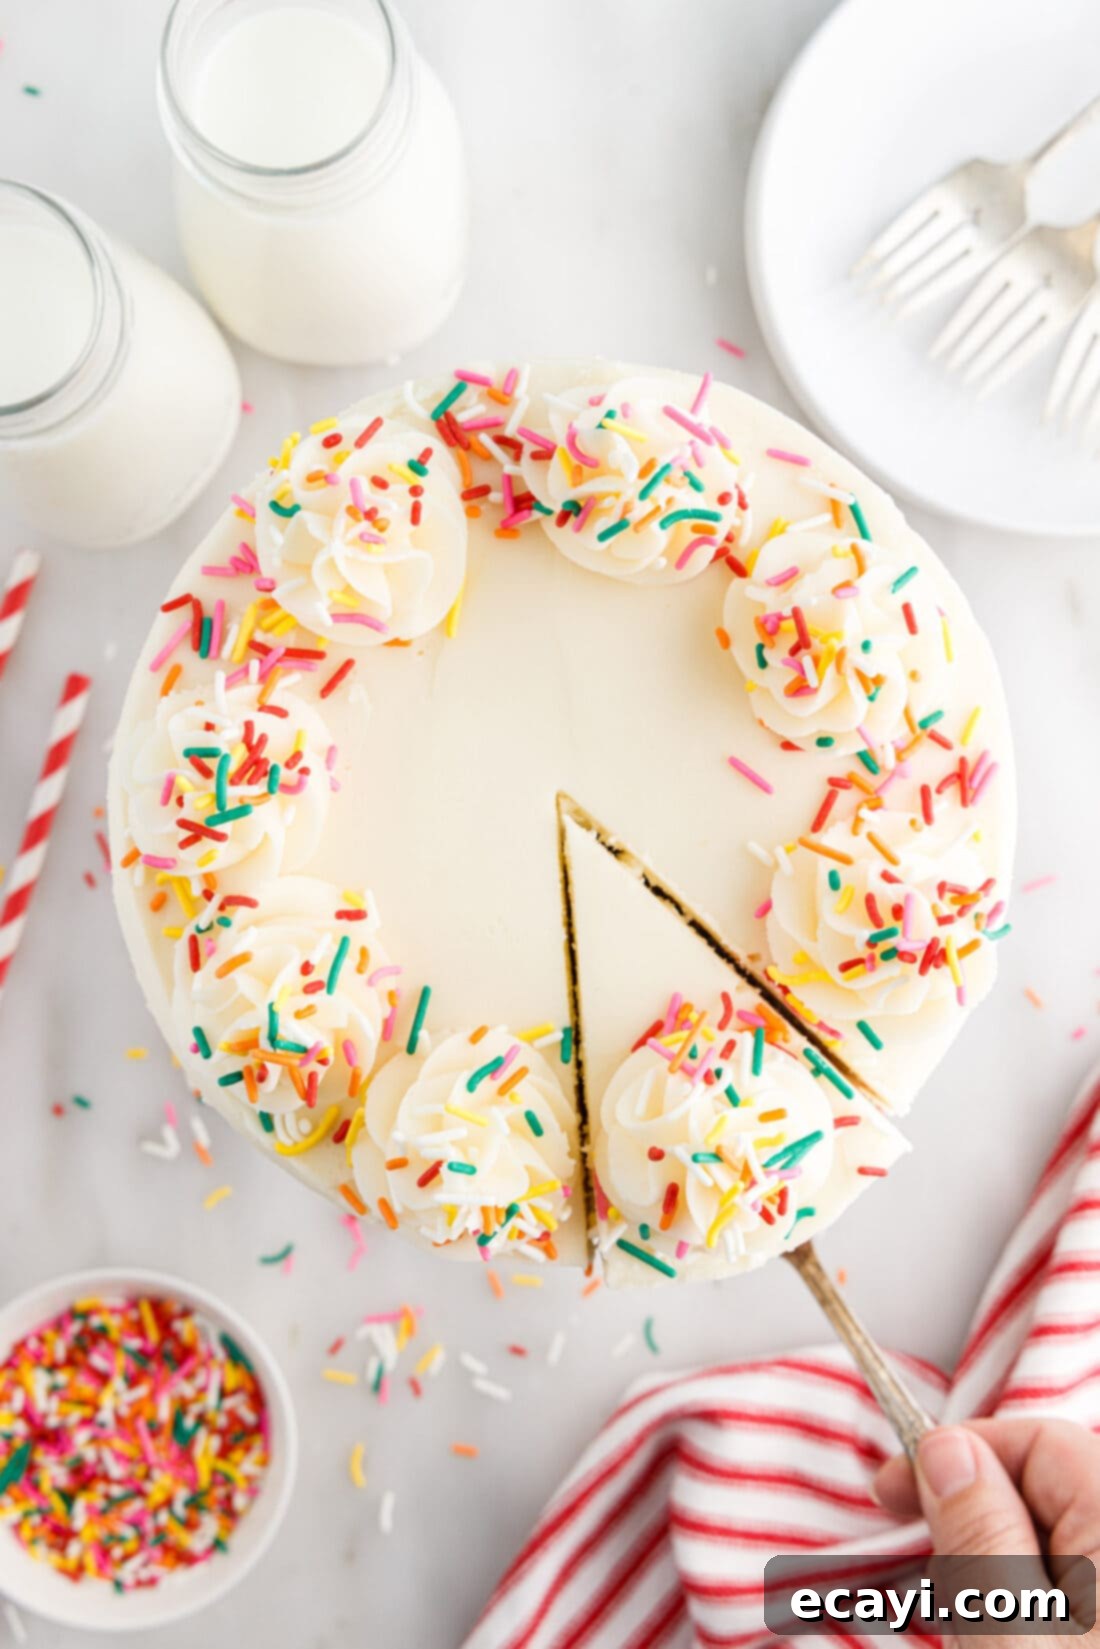
Why This Funfetti Cake Recipe Stands Out
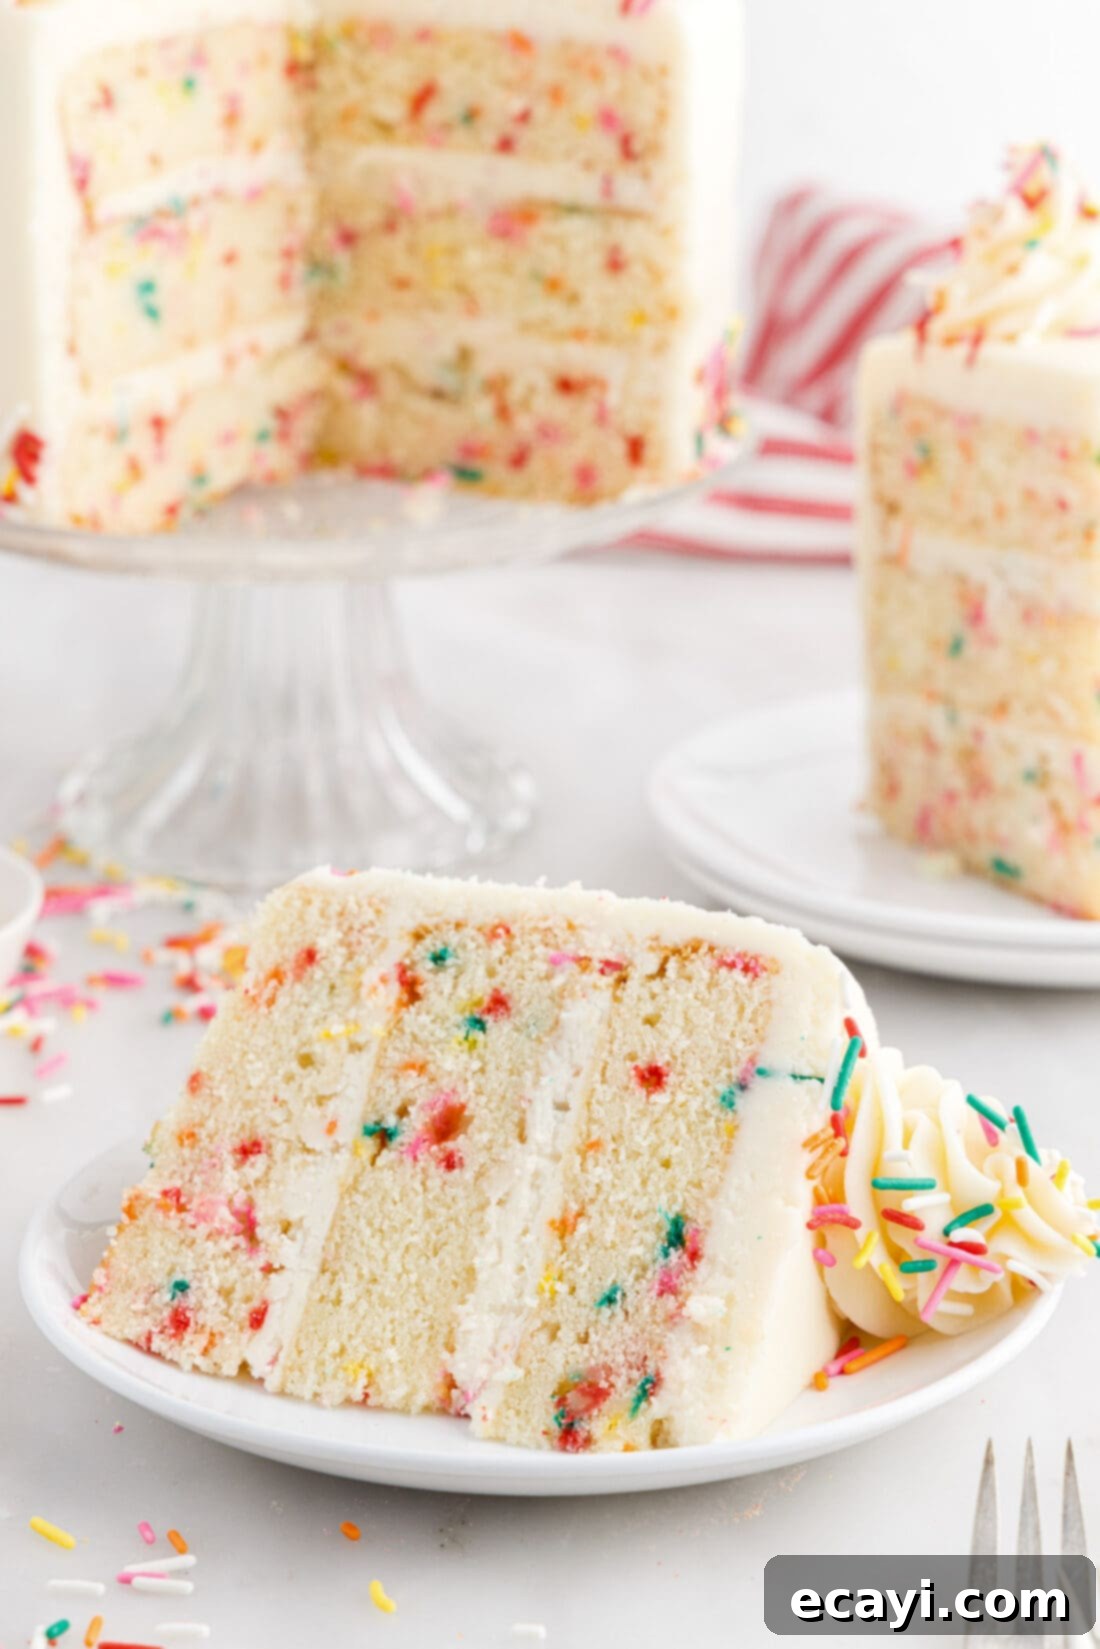
Nothing evokes the spirit of birthdays and festive gatherings quite like a funfetti cake, and this particular recipe truly captures that magic. It features a magnificent three-tiered vanilla cake that boasts an incredibly soft yet dense crumb, creating a satisfying texture that melts in your mouth. Each forkful is an explosion of colorful, sugary sprinkles, perfectly complemented by a rich and fluffy buttercream frosting. This isn’t just any cake; it’s a meticulously developed recipe designed to ensure consistently perfect results, making you feel like a master baker.
The secret lies in the balance of ingredients and precise techniques. Using room temperature butter and eggs ensures a smooth, emulsified batter, resulting in a fine, even crumb. The combination of both vanilla and almond extracts provides a depth of classic funfetti flavor that is truly irresistible. We’ve also perfected the frosting to be incredibly light and airy, yet sturdy enough to hold its shape beautifully for a stunning presentation. If you’re looking to elevate your dessert table even further and truly lean into the funfetti theme, consider pairing a slice of this cake with our easy no-churn birthday cake ice cream or birthday cake rolled ice cream for an unforgettable treat.
Essential Ingredients for Your Funfetti Masterpiece
Crafting this delightful funfetti cake requires a selection of fresh, high-quality ingredients. Most are pantry staples, but paying attention to specific types and temperatures will make a significant difference in the final outcome. For exact measurements, a comprehensive ingredient list, and detailed instructions, please refer to the printable recipe card available at the conclusion of this post.
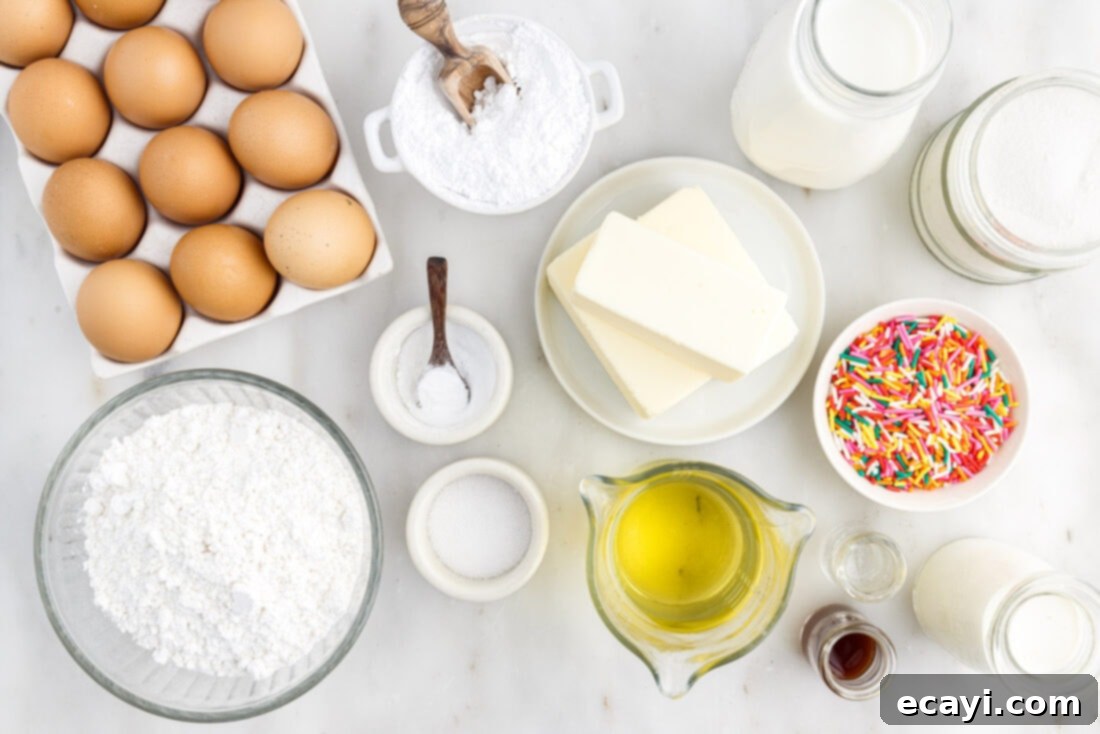
Ingredient Information and Expert Substitution Advice
Understanding the role of each ingredient and knowing when and how to make substitutions can elevate your baking experience. Here’s a detailed look at the key components of this funfetti cake:
SPRINKLES – The type of sprinkles you choose is crucial for an authentic funfetti cake. For the best results, you’ll want to use rainbow Jimmies. These rod-shaped sprinkles are specifically designed to retain their vibrant color and shape, preventing them from bleeding into your cake batter during mixing and baking. This ensures that distinct, colorful speckle effect that funfetti is known for. Confetti sprinkles, which are small, disc-shaped sprinkles, are another excellent option and will also hold their color well. However, we strongly advise against using nonpareils. Nonpareils, while visually appealing on the outside of a cake, tend to dissolve and bleed their color into the batter when baked, which can unfortunately tint your beautiful vanilla cake a muddy or unappealing color.
CAKE – Our funfetti cake recipe is engineered to produce a delightfully soft and dense crumb, offering a satisfying texture without being heavy. The flavor profile is enhanced by a harmonious blend of almond and vanilla extracts, which together create that quintessential, nostalgic funfetti taste. While we highly recommend this combination for its boosted flavor, you certainly have the option to use either just vanilla extract or just almond extract if you prefer. For the best cake texture, ensure your butter and eggs are at room temperature before mixing. This allows them to emulsify properly, creating a smooth batter that traps air for a lighter, fluffier cake. The vegetable oil also plays a key role in adding moisture and tenderness to the cake, keeping it delicious for days.
FROSTING – This recipe provides a generous amount of frosting, enough for a thick, luxurious filling between layers and plenty left over to beautifully frost and decorate the entire cake. If you prefer a simpler cake with less frosting, you can easily halve the frosting recipe. Our classic buttercream, made with real butter and vanilla extract, will naturally have a lovely cream-colored hue. If your goal is a strikingly white frosting for a more vibrant contrast with the sprinkles, you can opt for a clear vanilla extract. Alternatively, you can substitute some or all of the butter with white shortening, but be mindful that this may slightly compromise the rich, buttery flavor that makes this frosting so delicious.
Step-by-Step Guide: How to Make Funfetti Cake
These step-by-step photos and detailed instructions are provided to help you visualize each stage of making this incredible funfetti cake. For your convenience, you can Jump to the Full Recipe Card to find the printable version, complete with precise measurements and comprehensive instructions at the bottom of this page.
- Prepare Your Pans and Preheat Oven: Begin by preheating your oven to 325°F (160°C). Prepare three 7-inch round cake pans by generously spraying them with non-stick baking spray. To ensure easy removal and prevent sticking, line the bottoms of each pan with parchment paper circles.
- Cream Butter and Sugar: In a large mixing bowl, combine the softened unsalted butter and granulated sugar. Using a hand mixer (or a stand mixer with the paddle attachment), beat these ingredients together on medium-high speed until the mixture becomes visibly light, fluffy, and pale in color. This process typically takes about 3-5 minutes and is crucial for incorporating air into the batter, contributing to the cake’s light texture.
- Add Eggs Gradually: With the mixer still running, add the large eggs one at a time. After each egg addition, beat well until it is fully incorporated into the mixture before adding the next. This prevents the batter from curdling and ensures a smooth consistency.
- Incorporate Liquids and Flavorings: Next, add the vanilla extract, almond extract, and vegetable oil to the butter-sugar-egg mixture. Beat again until these liquids are thoroughly combined, ensuring the flavorings are evenly distributed throughout the batter.
- Prepare Dry Ingredients: In a separate, medium-sized bowl, whisk together the all-purpose flour, baking powder, and salt. Whisking ensures these dry ingredients are well combined and evenly distributed, preventing pockets of leavening agents or salt in the finished cake.
- Combine Wet and Dry Ingredients: Begin by adding half of the dry flour mixture to the wet butter mixture. Beat on low speed just until combined. Then, add half of the milk and mix gently. Follow this with the remaining flour mixture, beating until almost combined, and finally, add the rest of the milk. Continue to beat on low speed until just fully combined. Be careful not to overmix, as overmixing can lead to a tough cake by developing too much gluten.
- Fold in the Sprinkles: Gently fold in 1⁄2 cup of rainbow Jimmies into the batter using a spatula. Fold just until the sprinkles are evenly distributed; excessive stirring can cause the sprinkles to bleed color.
- Divide and Bake Cake Layers: Divide the prepared cake batter evenly among the three lined and sprayed 7-inch round cake pans. Spread the batter gently to ensure an even layer.
- Bake Until Golden: Transfer the cake pans to the preheated oven and bake for 35-40 minutes. The cakes are done when a toothpick inserted into the center of a cake layer comes out with only a few moist crumbs attached, or completely clean.
- Cool the Cakes: Once baked, remove the cakes from the oven and let them cool in their pans on a cooling rack for 10-15 minutes. This allows them to set slightly. After this initial cooling, carefully invert the cakes onto the cooling rack to cool completely. Ensuring they are fully cooled before frosting is critical to prevent the frosting from melting.
- Prepare the Frosting – Cream Butter: While the cakes are cooling, begin preparing the frosting. In a standing mixer fitted with the paddle attachment (or using a hand mixer in a large bowl), beat the softened butter on high speed until it becomes very light, pale, and fluffy. This can take several minutes and is essential for a light buttercream.
- Gradually Add Powdered Sugar: With the mixer on low speed, gradually add the powdered sugar, one cup at a time, until it is all incorporated. Once all the sugar is added, increase the speed to medium-high and beat until smooth and combined.
- Add Extracts and Cream for Consistency: Beat in the vanilla and almond extracts until well blended. With the mixer running on low, slowly pour in the heavy cream until the frosting reaches your desired light, fluffy, and spreadable consistency. You may not need all the cream, or you might need a tiny bit more; adjust to your preference.
- Create Funfetti Frosting (Optional): If you wish to have a funfetti filling between your cake layers, set aside about 1 cup of the prepared frosting. Gently mix in 2 tablespoons of rainbow sprinkles into this reserved frosting.
- Assemble the Cake – First Layer: Place the first cooled cake layer on your chosen cake stand or serving platter. Dollop about 1/2 cup of frosting (either plain or funfetti, if using) onto the top and carefully spread it evenly to the edges.
- Stack and Frost Remaining Layers: Gently place the second cake layer on top of the first, aligning it carefully. Add another layer of frosting on top, spreading it to the edges. Finally, carefully place the third cake layer on top.
- Final Frosting and Decoration: Use the remaining frosting to fully cover the top and sides of the assembled cake, creating a smooth finish or a textured look as desired. Decorate with additional sprinkles. We love to pipe a few elegant swirls on the top of the cake and add sprinkles to both the top and around the bottom perimeter for a festive touch.
Frequently Asked Questions & Expert Tips for Your Funfetti Cake
Absolutely! While this recipe is optimized for three 7-inch round cake pans to create a beautiful tiered cake, you can certainly adapt it. For instance, you can bake a 2-layer cake using 8-inch or 9-inch round cake pans. Keep in mind that when changing pan sizes, the baking time will need to be adjusted. Larger pans will typically require a slightly longer bake time, so start checking for doneness with the toothpick method approximately 10-15 minutes earlier than the stated time. This batter can also be used to make festive cupcakes! We haven’t extensively tested the exact bake time or precise yield for cupcakes, but a good starting point would be to bake for 18-22 minutes at 350°F (175°C). We’d love to hear in the comments below if you try this and discover the perfect timing or yield!
To maintain its freshness and delightful moisture, store your homemade funfetti cake properly. If it’s a whole cake, cover it with an airtight lid – a cake carrier is ideal for this purpose – and refrigerate for up to 5 days. For cut slices or if you don’t have a cake carrier, once the cake has been cut, it’s crucial to cover the exposed areas with plastic wrap to prevent the cake from drying out. This keeps the crumb soft and the frosting fresh.
Yes, this funfetti cake freezes beautifully! For optimal results, we recommend freezing the individual cake layers *before* frosting them. Once your cake layers are completely cooled, wrap each layer individually and tightly in Press N Seal or several layers of plastic wrap. Follow this with an additional layer of aluminum foil to provide extra protection against freezer burn. Place the securely wrapped layers in a large ziptop freezer bag or an airtight container and freeze for up to 3 months. When you’re ready to use them, thaw the wrapped layers in the refrigerator overnight. It’s truly best to wait until just before serving (or the night before) to frost and decorate the thawed cake. This approach prevents any potential cracking or smushing of your meticulously decorated frosting during the freezing and thawing process. You can also freeze leftover frosted slices of cake using the same wrapping method, but be aware that the frosting might not look as pristine after thawing due to potential bumps and shifts.
Creative Serving and Decorating Suggestions
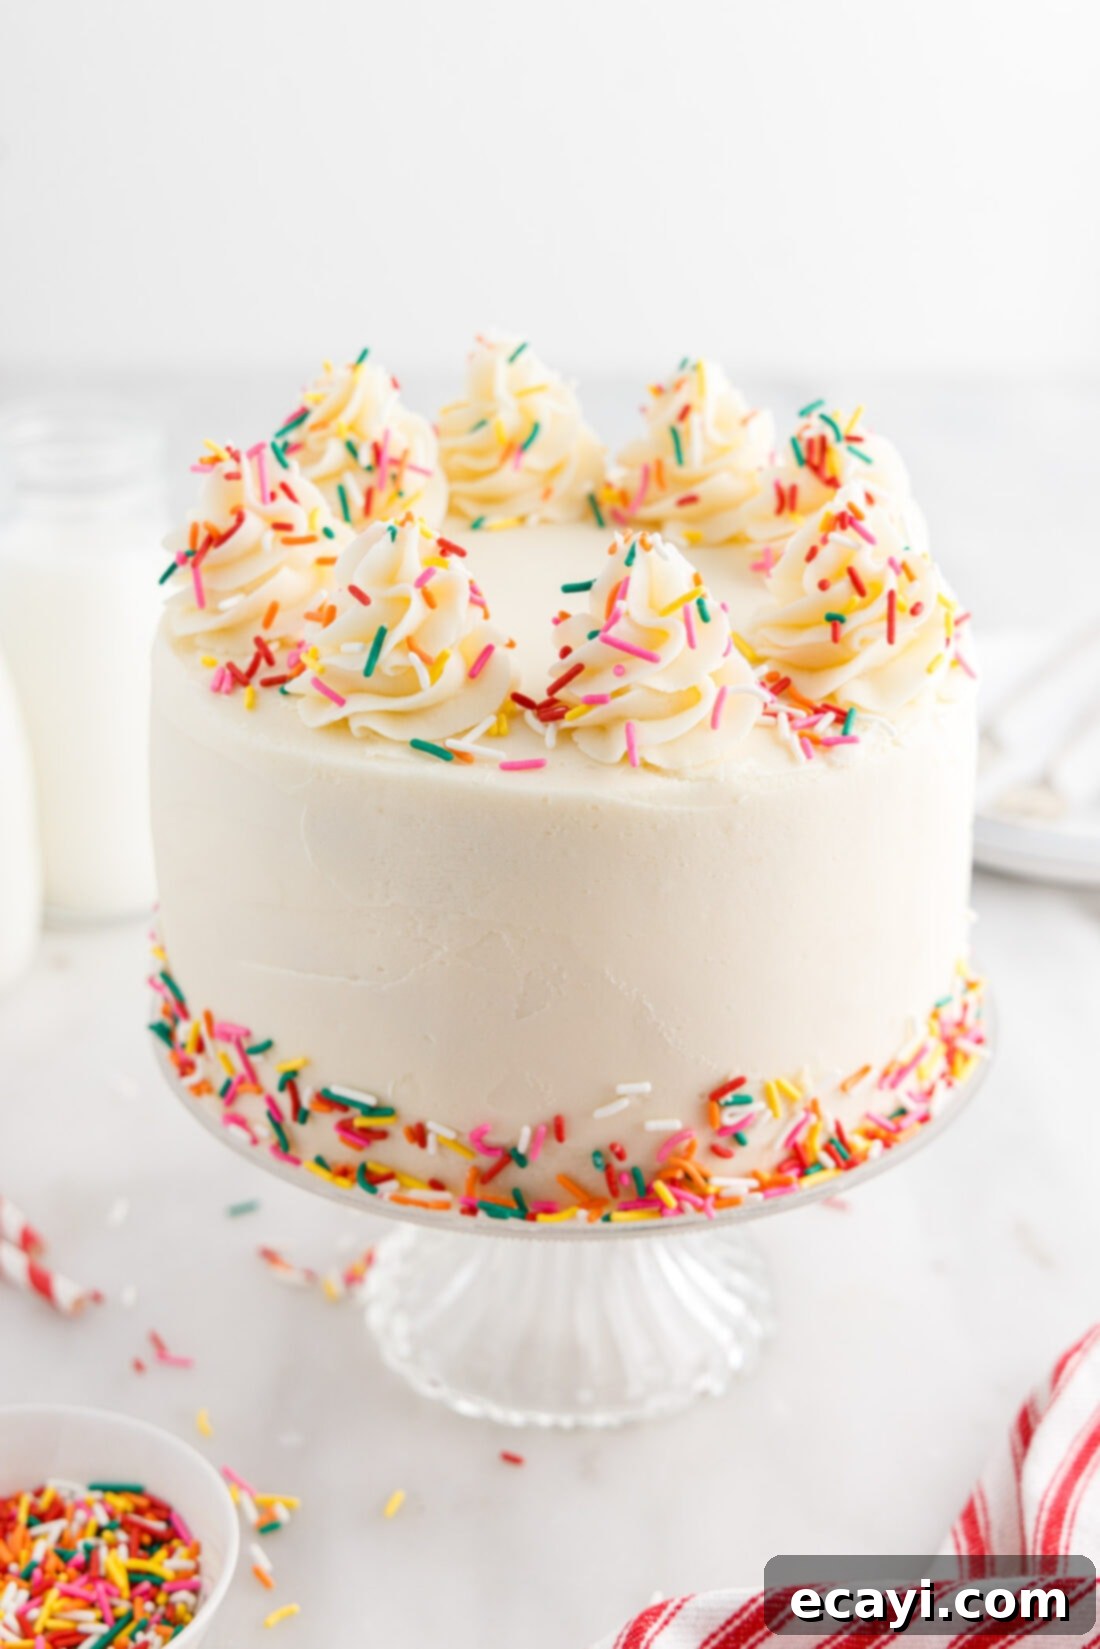
The beauty of a funfetti cake is not just in its taste but also in its vibrant, celebratory appearance. There are endless possibilities when it comes to decorating and serving this delightful dessert, allowing you to personalize it for any occasion. Our recipe guides you through frosting the outside of the cake to a smooth finish, and then we piped a few elegant swirls on top using a star tip, adding a sprinkle of extra color. Feel free to unleash your creativity! You can experiment with different piping techniques, create elaborate designs, or simply cover it in a cascade of sprinkles for a whimsical look.
For an added touch of personal flair, consider incorporating a small amount of gel food coloring into your buttercream frosting. This can dramatically change the color of the frosting, allowing you to match a party theme or simply add an extra pop of pizazz. A light blue or pink frosting can truly make the rainbow sprinkles stand out even more! If you adore the playful joy of funfetti as much as we do, be sure to explore our other fantastic funfetti-inspired recipes, including our easy instant pot funfetti cheesecake and the refreshing funfetti icebox cake, perfect for warmer days.
Explore More Delicious Cake Recipes
If you’ve enjoyed baking and tasting this funfetti creation, you’ll be thrilled to discover our other tempting cake recipes. Each one is crafted with care to bring delightful flavors to your table:
- Zesty Lemon Cake: A bright and refreshing cake, perfect for spring and summer gatherings.
- Elegant Chantilly Cake: A showstopper with berries and a luscious cream cheese frosting.
- Classic Red Velvet Cake: A timeless favorite with its signature color and rich cream cheese frosting.
- Timeless Classic White Cake: The quintessential cake for any celebration, known for its delicate flavor and moist crumb.
- Sweet Blueberry Bundt Cake: A beautiful and simple bundt cake bursting with fresh blueberries.
I absolutely love to bake, cook, and share all my kitchen experiences and culinary tips with each and every one of you! Remembering to come back and check for new recipes every day can be a challenge, which is why I offer a convenient newsletter. Each time a new, delicious recipe is posted, you’ll receive it directly in your inbox. Simply subscribe here and start receiving your free daily recipes!
Homemade Funfetti Celebration Cake
IMPORTANT – There are often Frequently Asked Questions within the blog post that you may find helpful. Simply scroll back up to read them!
Print It
Pin It
Rate It
Save ItSaved!
Ingredients
For the Cake Layers
- 1 cup unsalted butter softened, at room temperature
- 1 ½ cups granulated sugar
- 3 large eggs at room temperature
- 1 teaspoon almond extract
- 2 teaspoons vanilla extract
- ¼ cup vegetable oil
- 2 cups all-purpose flour
- 2 teaspoons baking powder
- ½ teaspoon salt
- ¾ cup milk at room temperature
- ½ cup rainbow jimmies for batter
For the Fluffy Buttercream Frosting
- 2 cups unsalted butter softened, at room temperature
- 8 cups powdered sugar sifted, if lumpy
- 2 teaspoons vanilla extract (use clear for whiter frosting)
- ½ teaspoon almond extract
- 1 cup heavy whipping cream cold
- rainbow sprinkles for decorating (Jimmies preferred)
Kitchen Equipment You’ll Need
-
3 7-inch round cake pans
-
Mixing bowls (large and medium)
-
Hand mixer or stand mixer (with paddle attachment)
-
Wire cooling rack
-
Parchment paper
-
Spatula
Helpful Tips Before You Begin
- For the best cake texture and flavor, ensure all cold ingredients like butter, eggs, and milk are at room temperature before you start mixing. This promotes better emulsification and a smoother batter.
- Freezing the fully cooled cake layers for 1-2 hours (or even up to 3 days, properly wrapped) is an excellent tip! It helps to lock in moisture, makes the layers less fragile, and significantly eases the process of assembling and frosting the cake.
- This recipe yields a generous amount of frosting, perfect for both a thick, delicious filling and ample frosting to fully cover and decorate your tiered cake. If you prefer a lighter frosted cake, you can easily halve the frosting recipe.
- The natural butter and vanilla extracts in the frosting will give it a beautiful, creamy off-white color. If you’re aiming for a starker, truer white frosting to make your sprinkles truly pop, consider using clear vanilla extract. You can also substitute some or all of the butter with white shortening, but be aware that this might subtly alter the rich flavor profile of the buttercream.
- As mentioned in our FAQs, this recipe can be adapted for different pan sizes. You can use 8-inch or 9-inch round cake pans for a 2-layer cake. Always use the toothpick method to check for doneness, and adjust baking times accordingly.
- Proper storage is key to enjoying your funfetti cake for days. Store your cake, covered with an airtight lid (like a cake carrier), in the refrigerator for up to 5 days. Once cut, any exposed cake should be covered with plastic wrap to prevent it from drying out and maintain its wonderful moisture.
- Always measure your ingredients accurately. For baking recipes, especially, precise measurements lead to consistent and successful results.
Instructions
Preparing the Cake Layers
-
Preheat your oven to 325°F (160°C). Spray three 7-inch round cake pans with non-stick baking spray and line the bottoms with parchment paper.
-
In a large mixing bowl, using a hand mixer or stand mixer, beat the softened butter and granulated sugar together until the mixture is light, creamy, and pale, about 3-5 minutes. Add one large egg at a time, beating well after each addition until fully incorporated.
-
Stir in the vanilla extract, almond extract, and vegetable oil, beating until well combined and smooth.
-
In a separate medium bowl, whisk together the all-purpose flour, baking powder, and salt until thoroughly combined.
-
Add half of the dry flour mixture to the wet butter mixture and beat on low speed until just combined. Then, add half of the milk. Follow with the remaining flour mixture, then the rest of the milk. Beat just until the batter is fully combined and smooth, taking care not to overmix.
-
Gently fold in 1⁄2 cup of rainbow Jimmies with a spatula until evenly distributed throughout the batter.
-
Divide the batter evenly between the three prepared cake pans, spreading it gently to level the tops.
-
Bake for 35-40 minutes, or until a toothpick inserted into the center of a cake layer comes out with only a few moist crumbs attached.
-
Cool the baked cakes in their pans on a wire cooling rack for 10-15 minutes, then carefully invert them from the pans onto the rack to cool completely.
Making the Fluffy Buttercream Frosting
-
To make the frosting, beat the softened butter in a standing mixer (or large bowl with a hand mixer) on high speed until it’s lightened in color and incredibly fluffy, about 5 minutes. Gradually add the powdered sugar, a cup at a time, beating on low speed until fully incorporated, then increase speed to medium-high.
-
Beat in both vanilla and almond extracts. With the mixer running on low, slowly pour in the cold heavy cream until the frosting becomes light, fluffy, and reaches your desired spreadable consistency. Adjust cream as needed.
-
If you’d like to include a funfetti frosting filling, set aside about 1 cup of frosting and gently mix in 2 tablespoons of rainbow sprinkles.
Assembling and Decorating the Cake
-
Place the first cooled cake layer onto a cake stand or serving platter. Spread about 1⁄2 cup of frosting (plain or funfetti) evenly over the top surface, extending it to the edges.
-
Carefully stack the second cake layer on top, aligning it. Apply another layer of frosting over this second layer. Finally, gently place the third cake layer on top to complete the stack.
-
Use the remaining frosting to fully frost the top and sides of the entire cake. Decorate as desired with additional rainbow sprinkles. We recommend piping a few swirls on top and adding sprinkles to the tops and around the bottom perimeter for a festive finish.
Nutrition Information (Per Serving)
The recipes on this blog are meticulously tested with a conventional gas oven and gas stovetop to ensure accuracy. It’s important to note that oven performance can vary significantly, especially with older models, leading to inconsistent cooking and baking. We highly recommend using an inexpensive oven thermometer to confirm your oven is consistently heating to the correct temperature. If you are using a toaster oven or a countertop oven, please be aware that heat distribution may differ from a full-sized conventional oven, and you might need to adjust your cooking or baking times accordingly. For recipes prepared with specialized appliances like pressure cookers, air fryers, or slow cookers, a direct link to the specific appliances we use is typically provided within each respective recipe. For all baking recipes where measurements are given by weight, please be advised that substituting with cup measurements may yield different results, and we cannot guarantee success if this method is used.
