Mastering Classic Gougères: A Step-by-Step Guide to Irresistible French Cheese Puffs and Flavorful Variations
Discover the secrets to baking perfect classic gougères, the elegant French cheese puffs that make an exquisite finger food! This comprehensive guide provides detailed step-by-step instructions with accompanying pictures, along with 15 creative flavor variations to inspire your culinary adventures.

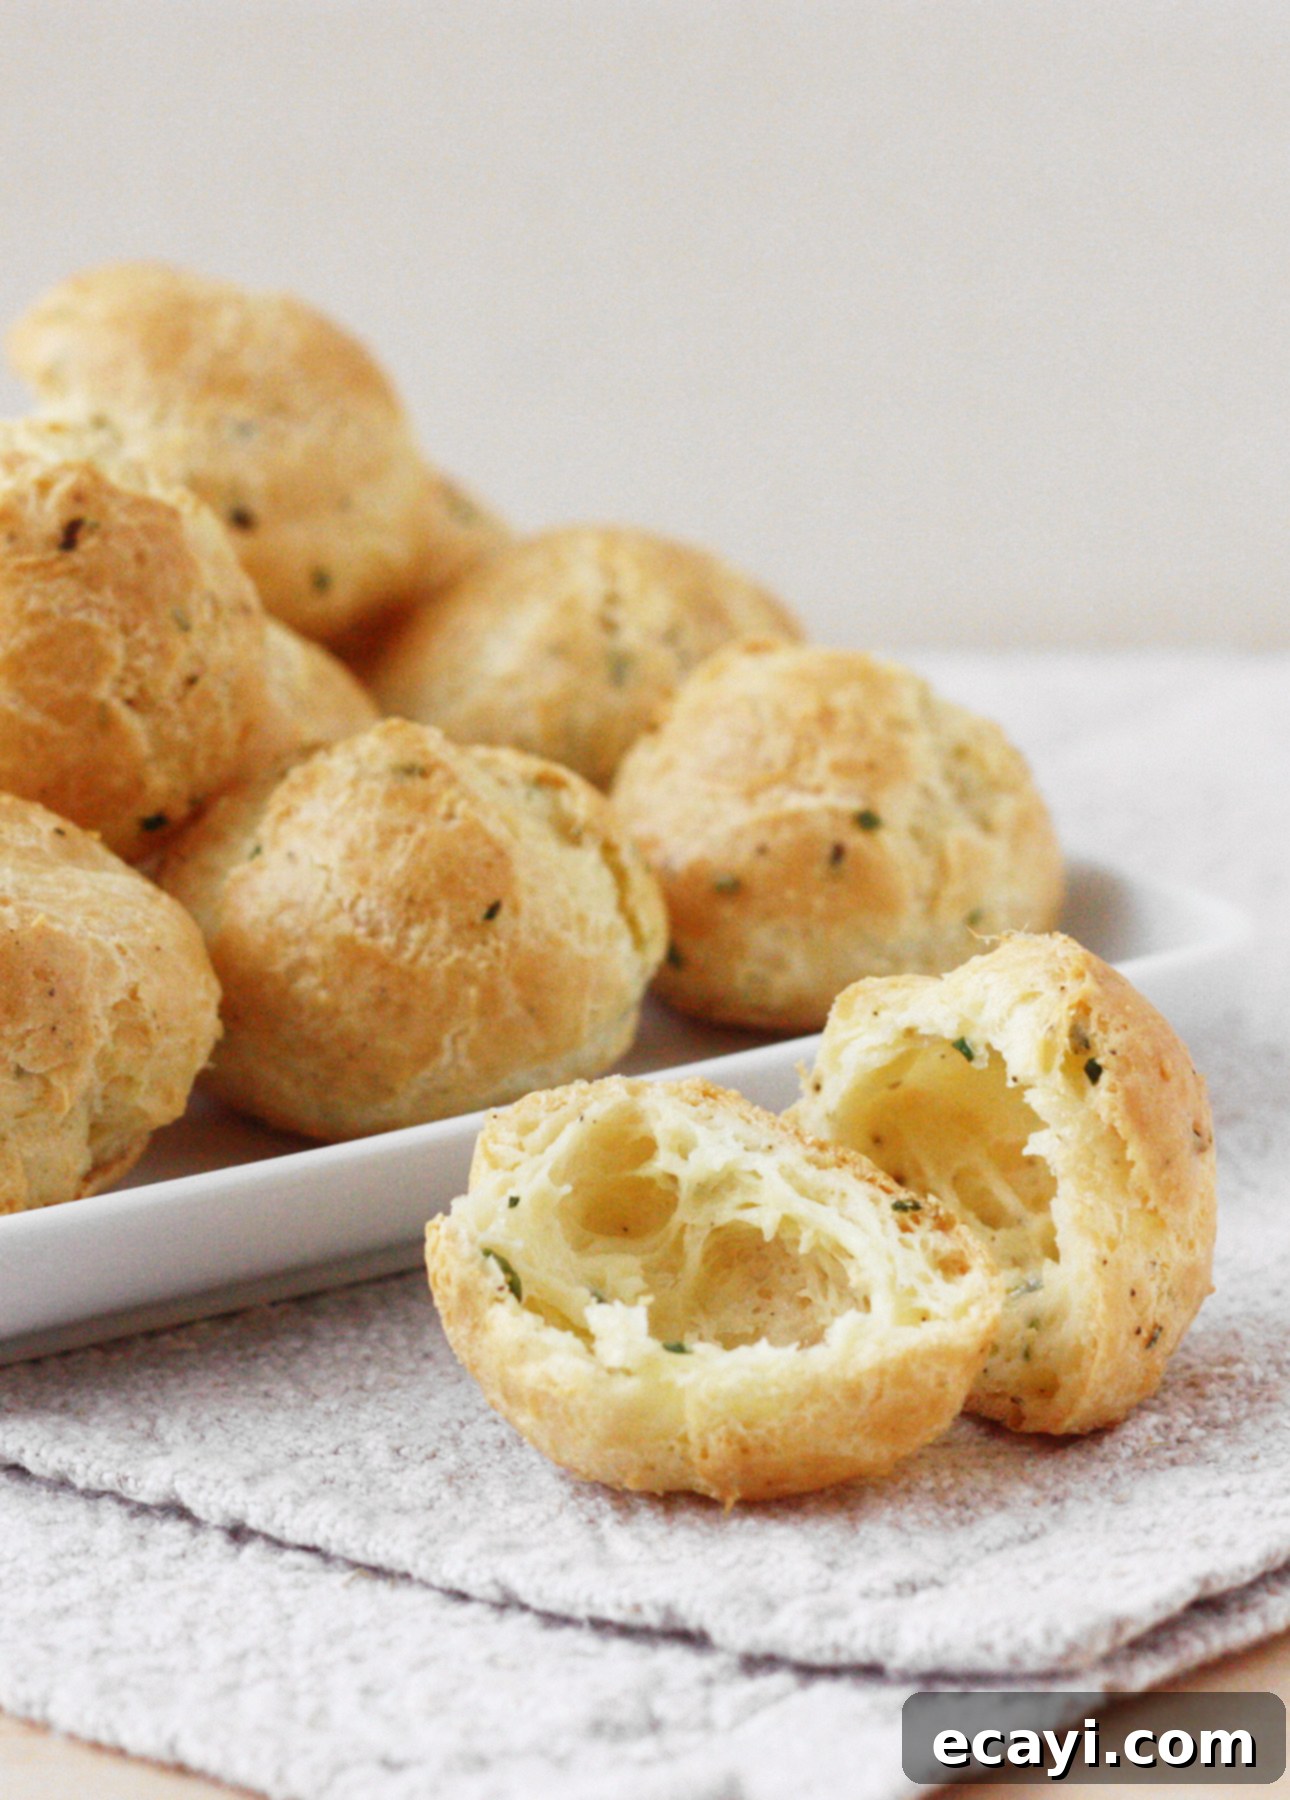
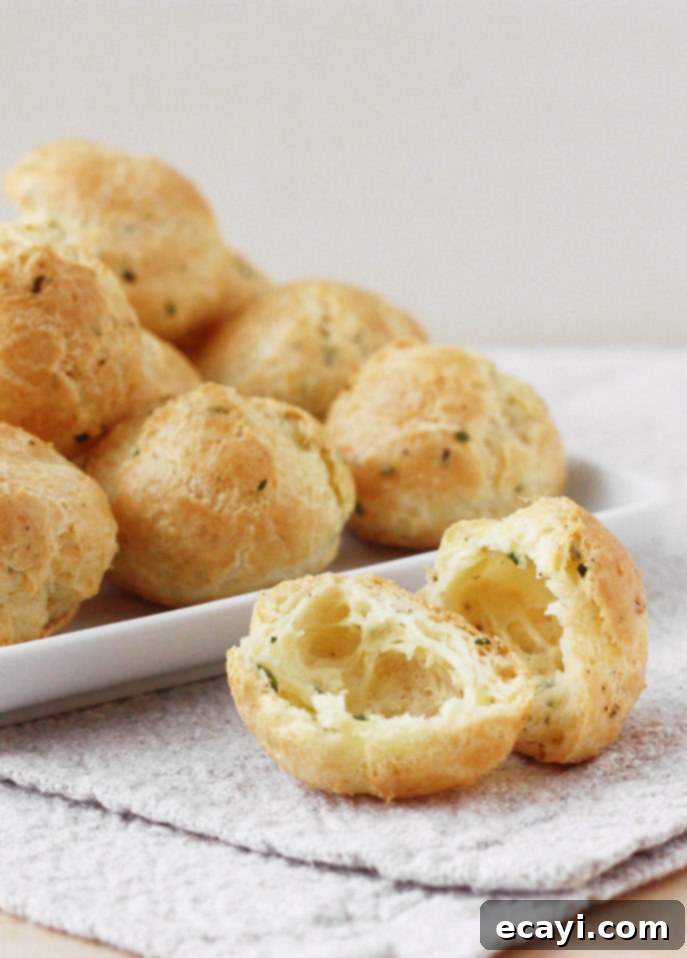
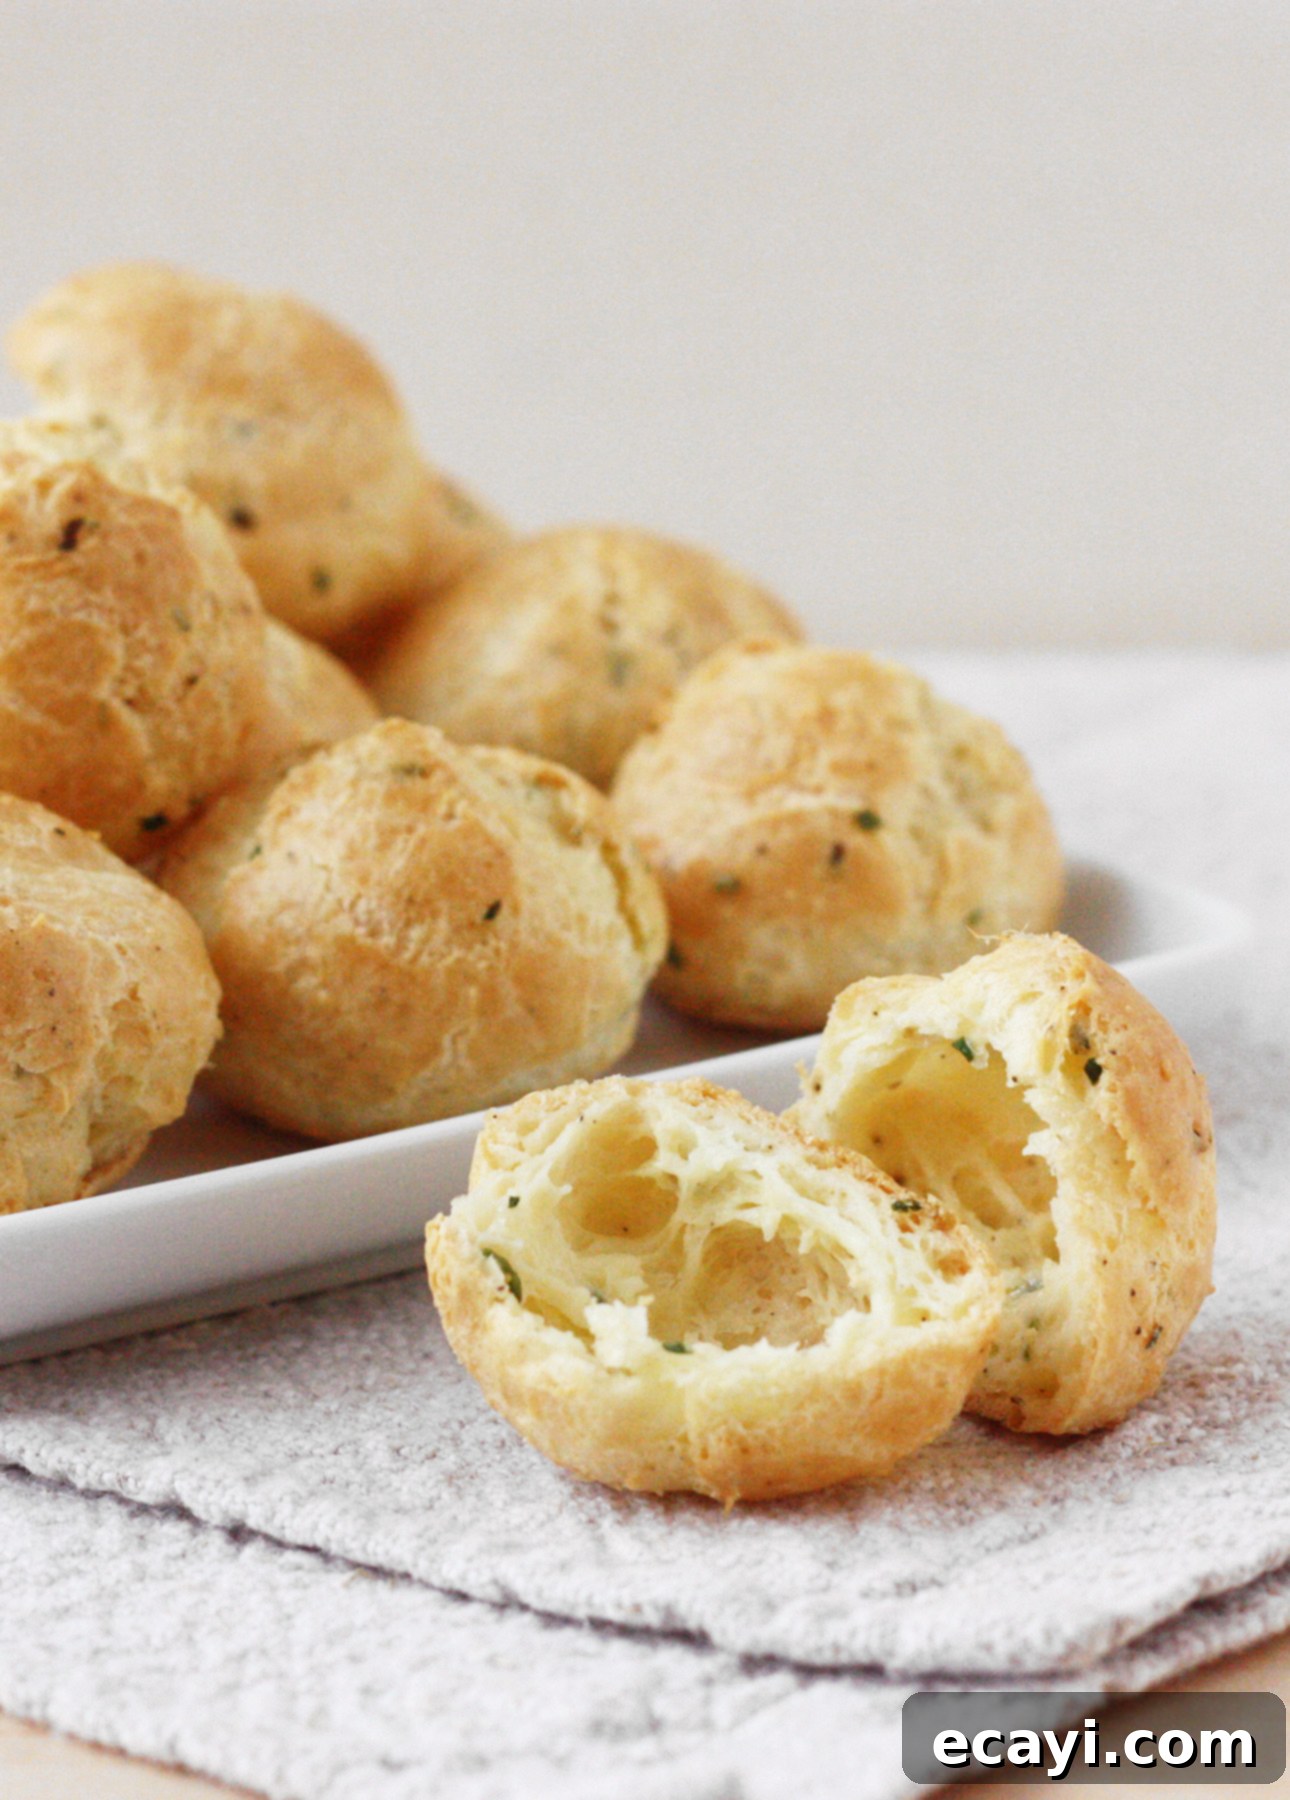
For years, I’ve been captivated by the sheer delight of gougères. These savory, choux-like confections are truly in a league of their own. Light as air with an impossibly delicate crunch on the outside, they reveal a moist, tender, and intensely cheesy interior. Imagine the sophisticated cousin of a humble cheese puff, far surpassing your favorite cheese crackers in flavor and texture. They are, without a doubt, the perfect finger food, guaranteed to impress guests at any gathering, from casual soirées to elegant celebrations. Despite their impressive appearance, classic gougères are surprisingly simple to master once you understand the foundational choux pastry technique.
It was only recently that I delved into the rich history of these delectable French cheese puffs, learning they originate from the illustrious Burgundy region of France. Here, gougères are consistently celebrated as a must-try regional specialty. While I regrettably missed the opportunity to indulge during my recent day trip to Dijon, the thought of these delightful savory treats lingered in my mind throughout my time in Paris. I returned home determined to recreate the authentic gougères experience in my own kitchen.
In France, classic gougères are not just snacks; they are frequently served at sophisticated wine tastings, a tradition that makes perfect sense given their birthplace in one of France’s most renowned winemaking regions. The traditional pairing for gougères is Chablis, a dry white wine crafted from Chardonnay grapes, celebrated for its crisp acidity. This acidity provides a magnificent contrast to the rich, savory flavor and delicate texture of classic gougères. And, of course, they are absolutely fantastic with Champagne! (But then again, what isn’t?)
A common concern for first-time bakers of gougères is encountering deflated puffs after they emerge from the oven. Achieving perfectly round, wonderfully airy gougères hinges on two critical techniques: incorporating the flour all at once, and adding the eggs one by one, ensuring each is fully absorbed before the next is added. By diligently following these tips, you are set for success, and the resulting light, golden puffs will fill you with immense pride. The basic choux pastry (pâte à choux) technique required for gougères is identical to that used for making beloved sweet treats like profiteroles or éclairs. This means that by mastering classic gougères, you simultaneously unlock the ability to bake a whole array of impressive sweet variations.
Traditionally, classic gougères are baked as individual, bite-sized round puffs, ideal for snacking or appetizers. However, they can also be formed into larger rings, which are often sliced into wedges and sometimes filled with rich savory concoctions. While the smaller puffs can certainly be piped with a mousse or a thick béchamel using a pastry bag, the truth is, they are utterly spectacular on their own, especially when served warm, straight from the oven.
Unlock the Art of Choux Pastry: Video Class Available!
Are you new to making pâte à choux? Or perhaps you’ve tried before and want to perfect your technique? In my detailed video class, you’ll embark on a journey to master the foundational pâte à choux dough. From this single, versatile dough, you will then learn to create an incredible array of puffed treats, including crispy chouquettes, delicate cream puffs, decadent profiteroles, elegant éclairs, and, of course, savory cheese puffs like gougères. Throughout the class, I provide invaluable tips and tricks to ensure your success, even on your very first attempt, and demonstrate a wealth of inspiring variation ideas. This engaging and fun class will empower you to quickly acquire a new skill, enabling you to consistently create impressive and delicious puffed pastries for any occasion. Start watching now and transform your baking skills!
Classic Gougères: A Step-by-Step Visual Guide
{JUMP TO PRINTABLE RECIPE}
This recipe yields approximately 24 delightful 1½-inch [3.8-cm] gougères.
Ingredients:
1 cup (250 ml) water
3 tbsp (45 ml) unsalted butter, diced
1 tsp (5 ml) salt
1 cup (250 ml) all-purpose flour
4 large eggs, chilled
For the Classic Gruyère Flavoring:
1 cup (4 oz / 113 g) grated Gruyère cheese
1/4 tsp (1 ml) freshly ground black pepper
Don’t forget to explore even more exciting flavor variation ideas towards the end of this post!
Step 1: Prepare Your Oven and Baking Sheets
Begin by positioning one oven rack in the top third of your oven and another in the bottom third. Preheat your oven to a steady 400°F (200°C). Line two large baking sheets with parchment paper to prevent sticking and ensure easy cleanup.
Step 2: Prepare the Base for Your Choux Pastry
In a medium-sized saucepan, combine the water, diced unsalted butter, and salt. Place the saucepan over medium heat and bring the mixture to a gentle simmer, whisking continuously until the butter is completely melted. It’s not necessary for the mixture to come to a full, rolling boil at this stage. Once the butter is melted, remove the saucepan from the heat temporarily.
Step 3: Incorporate the Flour – The First Key Technique
Add all of the all-purpose flour to the liquid in the saucepan at once. Immediately stir vigorously with a sturdy wooden spoon. Continue stirring quickly until the flour fully absorbs all the liquid, and the dough comes together to form a cohesive ball, cleanly pulling away from the sides of the pan. This crucial step typically takes between 30 seconds to a minute. Return the pan to the heat and continue stirring vigorously for another 1 to 2 minutes. This additional stirring helps to dry out the dough slightly, creating a thin film on the bottom of the pan and ensuring the dough is no longer sticky. This process is essential for achieving the right texture and helping the gougères puff up beautifully.
Step 4: Cool the Dough Slightly
Remove the pan from the heat and allow the dough to cool slightly in the pan for 2 to 3 minutes. This brief cooling period is important before adding the eggs, preventing them from scrambling.
Step 5: Add Eggs One by One – The Second Key Technique
Now comes the truly important, and somewhat dramatic, part of making choux pastry: beating in the eggs one at a time. As you add each egg, the mixture will initially appear to separate into a glossy, curdled mess. Do not despair! Continue beating vigorously, and you will see it magically come back together into a smooth, thick dough. It is absolutely crucial to ensure each egg is completely incorporated and absorbed by the dough before adding the next one. This process ensures the correct emulsion and consistency for the perfect puff.
Here’s what the mixture looks like shortly after adding egg #1, initially appearing curdled:
After beating for a couple of minutes more, the dough has absorbed the first egg, becoming matte again. At this point, there isn’t quite enough liquid for the dough to fully come together smoothly, which is perfectly normal. Continue this process with the remaining eggs.
After incorporating egg #2:
After incorporating egg #3:
After incorporating the fourth and final egg, the dough should now be thick, smooth, and creamy, falling slowly from the spoon but still holding its shape.
Step 6: Fold in the Flavorings
At this point, the choux dough should be perfectly thick and creamy. Gently fold in the grated Gruyère cheese and freshly ground black pepper (or your chosen cheese and flavor combination from the variations below) using a spatula. Ensure the flavorings are evenly distributed throughout the dough.
Step 7: Shape the Gougères
While professional chefs often utilize a pastry bag to pipe individual puffs, I find it significantly easier and more consistent to use a small 0.75-ounce (1.5-tablespoon) ice cream scoop. This method consistently produces perfectly round shapes. If you don’t have a small ice cream scoop, you can also drop the dough by heaping tablespoonfuls onto the parchment-lined baking sheets. Remember to space each puff about 3 inches (7 cm) apart, as they will expand considerably in the oven. The dough should be robust enough to retain its rounded form.
Using damp fingertips, gently press down any small peaks of dough created by the scoop to ensure each puff is beautifully round and smooth. As you can see in the image below, the first row has been smoothed, while the rest still display the peaks. While you could certainly leave them as they are, a quick touch with damp fingertips creates that perfect, polished look.
Step 8: Bake to Golden Perfection
Bake the gougères until they are beautifully golden brown and fully puffed, which typically takes about 30 minutes. To ensure even baking, remember to switch the position of the baking sheets halfway through the baking time. To check for doneness, carefully pry open one gougère with a small paring knife: the center should be slightly eggy and moist, not wet or pasty. If it’s too wet, continue baking for a few more minutes.
Step 9: Serve and Enjoy!
Serve your classic gougères hot or warm for the best taste and texture. They are truly at their peak when fresh from the oven, offering a delightful contrast of crispiness and tenderness. Gougères are also an excellent make-ahead appetizer. Once baked, let them cool completely on a wire rack, then store them at room temperature in an airtight container. Before serving, simply rewarm them in a 350°F (175°C) oven for 5 to 10 minutes until heated through and slightly crispy again.
Exciting Flavor Variation Ideas for Classic Gougères
The beauty of gougères lies not only in their exquisite texture but also in their adaptability. Once you’ve mastered the classic recipe, feel free to unleash your creativity with these inspiring flavor variations. You can use one idea, or combine several to craft your own signature gougères!
- Cheese Swaps: Experiment with different cheeses! Replace all of the Gruyère with sharp cheddar, Swiss, the nutty Comté, creamy Emmental, or substitute a portion of the total cheese quantity with finely grated Parmigiano-Reggiano cheese for an extra savory kick.
- Fresh Herb Infusion: Add 1 tablespoon [15 ml] of finely chopped fresh chives or vibrant green onions for a delicate oniony note. Alternatively, incorporate finely chopped fresh herbs such as aromatic thyme or bright parsley into the dough for an herbaceous twist.
- Bold Black Pepper: For those who love a bit of heat, increase the freshly ground black pepper up to 1 teaspoon [5 ml] to create truly peppery gougères.
- Citrus Zest: The finely grated zest of one lemon can add a surprising burst of fresh, bright flavor that beautifully complements the richness of the cheese.
- Luxurious Truffle: For an indulgent treat, incorporate shaved fresh truffle, a spoonful of rich truffle puree, or 1 teaspoon [5 ml] of truffle-flavored olive oil. This variation elevates your gougères to a gourmet level of decadence!
- Spice and Warmth: Introduce ½ teaspoon [2.5 ml] of crushed fennel or cumin seeds for an intriguing aroma and depth of flavor.
- Savory Bacon or Pancetta: Fold in ¼ cup [60 ml] of finely diced and sautéed crispy bacon or savory pancetta for a truly irresistible, smoky addition.
- Mediterranean Olives: Add ¼ cup [60 ml] of finely chopped pitted green or black olives (or a delicious mix of both) for a briny, Mediterranean flair.
- Nutty Crunch: Incorporate ¼ cup [60 ml] of finely chopped toasted walnuts to add a pleasant texture and earthy note.
- Spicy Mustard Kick: Combine a pinch of fiery cayenne pepper with 1 teaspoon [5 ml] of Dijon mustard for a warm, piquant flavor that pairs exceptionally well with ham-based fillings.
- Ham and Cheese Delight: Reduce the cheese quantity to ¾ cup [180 ml] and add ½ cup [125 ml] of finely ground ham. Enhance the flavor with a dash of cayenne pepper and Dijon mustard for a classic French pairing.
- Extra Cheesy Topping: For an extra layer of cheesy goodness, sprinkle more grated cheese over the puffs just before baking.
- Gourmet Salt Finish: Before baking, sprinkle the gougères with flaky sea salt for a delightful crunch and enhanced flavor, or explore exotic salts like pink Himalayan salt or black lava salt for visual appeal and unique mineral notes.
- Whipped Goat’s Cheese Filling: After baking, let the gougères cool slightly and then fill them with a creamy, whipped goat’s cheese for a tangy and luxurious center.

Pin Recipe
Classic Gougères (French Cheese Puffs)
Ingredients
- 1 cup water
- 3 tbsp unsalted butter, diced
- 1 tsp kosher salt, or fine sea salt
- 1 cup all-purpose flour
- 4 large eggs, cold
Flavorings
- 4 oz grated Gruyère cheese (about 1 cup)
- ¼ tsp freshly ground black pepper
Instructions
Please find inspiring flavor variation ideas at the bottom of the recipe card!
-
Preheat your oven to 400°F (200°C) and arrange one rack in the top third and another in the bottom. Line two large baking sheets with parchment paper for easy release.
-
In a medium saucepan over medium heat, combine the water, butter, and salt. Whisk until the butter is completely melted and the mixture reaches a simmer (a full boil is not necessary). Add all the flour at once and stir vigorously with a wooden spoon until the flour absorbs all the liquid, forming a cohesive ball that pulls away from the pan sides (approximately 30-60 seconds). Continue stirring actively over the heat for 1-2 minutes longer, until a thin film forms on the pan bottom and the dough is no longer sticky. This process dries out the dough, crucial for proper puffing.
-
Remove the pan from the heat and allow the dough to cool slightly in the pan for 2 to 3 minutes before proceeding.
-
This is a critical step: Beat in the cold eggs one at a time. Each time an egg is added, the mixture will initially appear glossy and curdled. Continue beating until the egg is fully incorporated and the dough returns to a smooth, cohesive state before adding the next egg. Patience here is key for the final texture.
-
After each egg is fully absorbed and you’ve beaten the dough for a couple of minutes, the mixture will become matte again. It may still appear somewhat separated before all eggs are added, which is normal. The consistency will build with each addition.
-
Once the fourth and final egg has been thoroughly incorporated, the dough should be thick, smooth, and creamy. Gently fold in your chosen grated cheese (such as Gruyère) and black pepper, or any other flavorings you desire, using a spatula until evenly distributed.
-
To form the puffs, a small 0.75-oz (1.5 tbsp) ice cream scoop is highly recommended for creating perfectly round shapes. Alternatively, you can drop heaping tablespoonfuls of dough onto the prepared parchment paper. Ensure each puff is spaced about 3 inches (7.5 cm) apart, as they will expand during baking. The dough’s thick consistency should allow it to hold its rounded shape well.
-
For perfectly smooth gougères, use damp fingertips to gently press down any small peaks that may have formed from the scoop or spoon. While not strictly necessary, this step ensures a more uniform and aesthetically pleasing result.
-
Bake the gougères for approximately 30 minutes, or until they are puffed and beautifully golden brown. Midway through baking, switch the position of your baking sheets (top to bottom, and rotate) to ensure even cooking. To confirm doneness, carefully cut open one gougère with a small paring knife; the center should be moist and slightly eggy, not raw or too wet.
-
SERVING SUGGESTIONS: Serve your classic gougères hot or warm for the most enjoyable experience, when their exterior is crisp and interior is tender.
-
STORAGE & MAKE-AHEAD TIPS: Gougères are excellent for preparing in advance. Once baked and completely cooled on a rack, store them in an airtight container in the refrigerator for up to 2 days. To serve, rewarm in a 325°F (160°C) oven for 5 to 8 minutes. Let them cool on a rack for 5 minutes before serving.
-
FREEZING TIPS: For longer storage, bake and cool your classic gougères as directed. Then, transfer them to an airtight freezer-safe container or bag and freeze for up to 1 month. When ready to serve, simply rewarm the frozen gougères in a 325°F (160°C) oven for about 10 minutes (no need to thaw!). Let cool on a rack for 5 minutes, then serve.
Did you make this?
Tell me how you liked it! Leave a comment or take a picture and tag it with @foodnouveau on Instagram.
