Hearty & Easy Homemade Chili Recipe: Your Ultimate Comfort Food Guide (Stovetop & Slow Cooker)
There’s nothing quite like a warm bowl of homemade chili to chase away the chill of fall and winter evenings. This classic comfort food is a beloved staple for a reason: it’s incredibly satisfying, deeply flavorful, and wonderfully versatile. My recipe provides a fantastic foundation that you can enjoy as is, or personalize with your favorite spices, a kick of hot peppers, or any creative additions you can imagine. It’s designed to be both delicious and remarkably easy to prepare, even featuring a convenient homemade chili seasoning mix that you can keep on hand.

The Secret to Amanda’s Signature Homemade Chili: Ditching the Packets
For many years, my kitchen, like so many others, relied on pre-packaged chili seasoning mixes from the grocery store. However, I discovered the magic of homemade seasoning long ago when I stumbled upon an old master mix cookbook from the library. This gem was so old it predated Amazon’s extensive catalog! Making your own seasoning isn’t just a fun kitchen project; it gives you complete control over the flavor profile and allows you to avoid unwanted additives and excessive sodium often found in commercial blends. The result is a fresher, more vibrant chili that truly stands out.
I adore this chili recipe exactly as it is – perfectly balanced and deeply satisfying. Yet, its true beauty lies in its adaptability. If you prefer more heat, don’t hesitate to dial up the spice. Over the years, I’ve learned to keep the spice level relatively mild to cater to my children’s palates, ensuring it remains a family-friendly meal. However, for those who crave a bolder flavor, tasty additions like diced green bell peppers for a subtle sweetness and crunch, or freshly sliced jalapeños for an authentic fiery kick, can elevate this dish significantly. It’s truly a choose-your-own-adventure chili!
This recipe is generously portioned to serve 3-5 people, making it an ideal meal for a family dinner. For those who love leftovers (and who doesn’t love chili leftovers?), or if you’re feeding a larger crowd, I frequently double the recipe. It reheats beautifully, often tasting even better the next day as the flavors have more time to meld and deepen, providing another effortless meal for a busy week.
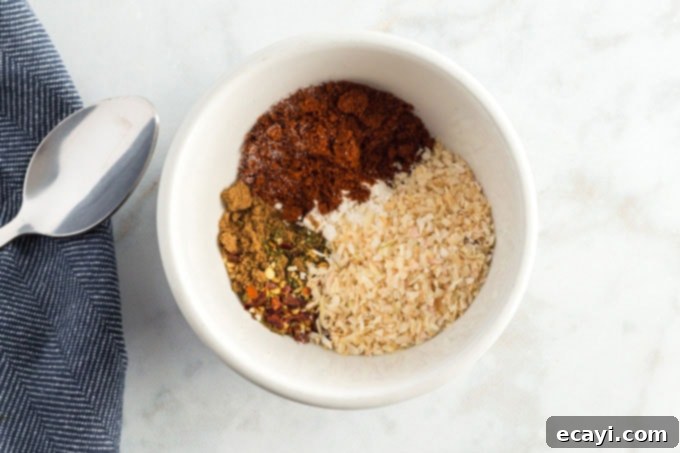
Essential Ingredients for the Best Homemade Chili: A Detailed Look
Crafting the perfect chili starts with understanding the role each ingredient plays. Here’s a breakdown of what you’ll need and why:
- Flour: A small amount of all-purpose flour is incorporated into our seasoning mix primarily for thickening. It helps create that desirable rich, hearty texture, ensuring your chili isn’t watery but wonderfully robust.
- Salt: Essential for flavor enhancement, salt brings out the natural tastes of all the other ingredients, balancing the spices and the acidity from the tomatoes. I recommend a good quality table salt or fine sea salt.
- Dried Minced Onion and Dried Minced Garlic: These dried forms are chosen for the homemade chili seasoning mix because they offer incredible convenience. They allow the seasoning to be prepared in advance and stored in your pantry, ready whenever a chili craving strikes. When rehydrated in the pot, they contribute a deep, savory allium flavor without the need for fresh chopping.
- Chili Powder: The cornerstone of any chili, chili powder provides that characteristic earthy, smoky, and mildly spicy flavor. It also contributes to the vibrant red-brown color of the dish.
- Crushed Red Pepper: For those who appreciate a touch of warmth and a gentle lingering heat, crushed red pepper flakes are key. You can adjust the amount to suit your personal preference for spice.
- Granulated White Sugar: This might seem surprising, but sugar plays a vital role in balancing the acidity of the canned tomatoes. It rounds out the flavors, preventing the chili from tasting too sharp or sour, creating a more harmonious blend.
- Ground Cumin: Aromatic and distinctly savory, ground cumin is a crucial spice in chili. It adds a warm, earthy depth that is irreplaceable, contributing significantly to the authentic chili flavor profile.
- Fairly Lean Ground Beef (85-90%): I find that ground beef with an 85-90% lean-to-fat ratio is ideal. It provides enough flavor from the fat without making the chili greasy, ensuring a rich taste and pleasant texture after draining.
- Canned Dark Red Kidney Beans: These beans are a classic chili component, offering a hearty texture and slightly sweet, earthy flavor. While I prefer dark red, regular red kidney beans work just as wonderfully. Remember to drain and rinse them thoroughly before adding to the pot.
- Canned Tomatoes (Fire Roasted Diced): Tomatoes are the base of the chili’s sauce. I specifically choose fire-roasted diced tomatoes because they impart a subtle smoky depth that elevates the entire dish, adding another layer of complex flavor beyond plain diced tomatoes.
- Water: Essential for creating the chili’s saucy consistency and allowing all the flavors to meld together as it simmers.
Helpful kitchen tools for effortless chili making:
- Skillet: A large, heavy-bottomed skillet is perfect for browning the ground beef evenly and provides ample space for simmering the chili.
- Measuring cups and spoons: Accuracy in measurements, especially for the seasoning, ensures consistent and delicious results every time.
- Wooden spoon: Ideal for stirring, scraping the bottom of the pan to prevent sticking, and breaking up the ground beef as it browns.
- Chili/soup bowls: Because presentation enhances the dining experience! A sturdy, comforting bowl makes your homemade chili feel even more special.
Crafting the Perfect Bowl: How to Make Homemade Chili on the Stovetop
Follow these simple steps for a comforting pot of chili that’s ready in no time:
- **Brown the Ground Beef:** Begin by placing your lean ground beef in a large skillet over medium-high heat. Break it apart with your wooden spoon and cook until it’s completely browned and no pink remains. This crucial step develops deep, savory flavors. Once browned, carefully drain off any excess fat from the skillet. This prevents your chili from becoming greasy and ensures a cleaner, richer taste.
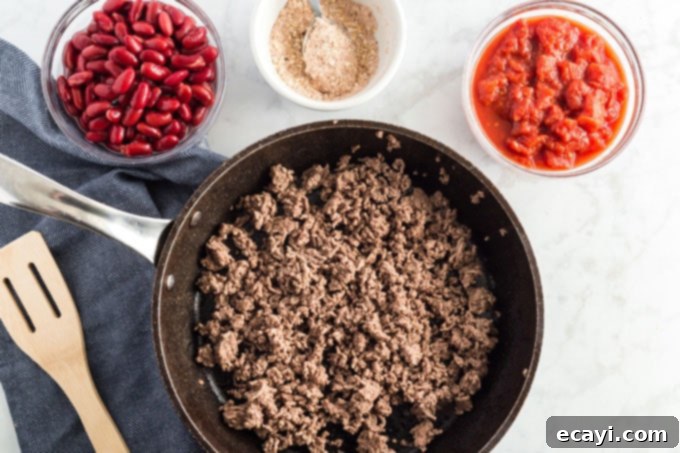
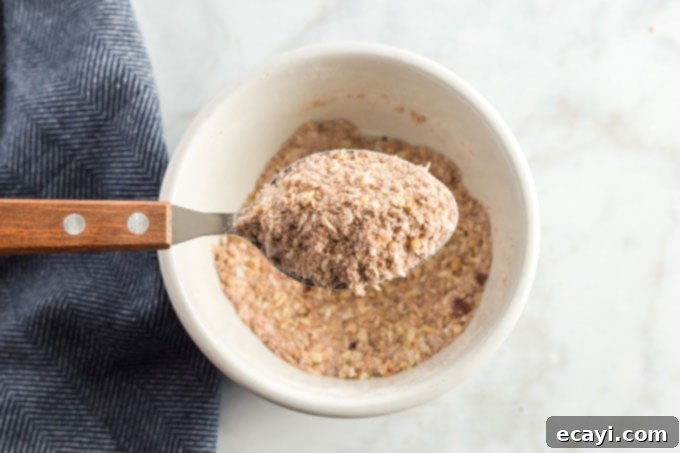
- **Prepare the Seasoning Blend:** While the beef is browning, combine all the seasoning ingredients – flour, dried minced onion, chili powder, salt, crushed red pepper, dried minced garlic, sugar, and ground cumin – in a small bowl. Whisk them together thoroughly to ensure all the spices are evenly distributed. This pre-mixing prevents clumps and ensures a balanced flavor throughout your chili.
- **Combine All Ingredients:** Return the drained, browned beef to the skillet. Sprinkle the homemade seasoning mix over the beef, stirring to coat. Then, add the water, canned dark red kidney beans (drained and rinsed), and the fire-roasted diced tomatoes (undrained or with their juices for extra flavor). This is the perfect moment to personalize your chili! Feel free to stir in any additional ingredients you love, such as diced bell peppers, a dash of hot sauce, or extra fresh jalapeños for more heat.
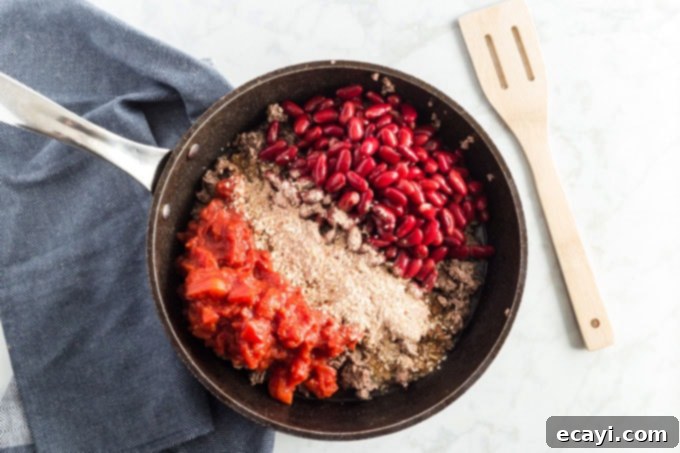
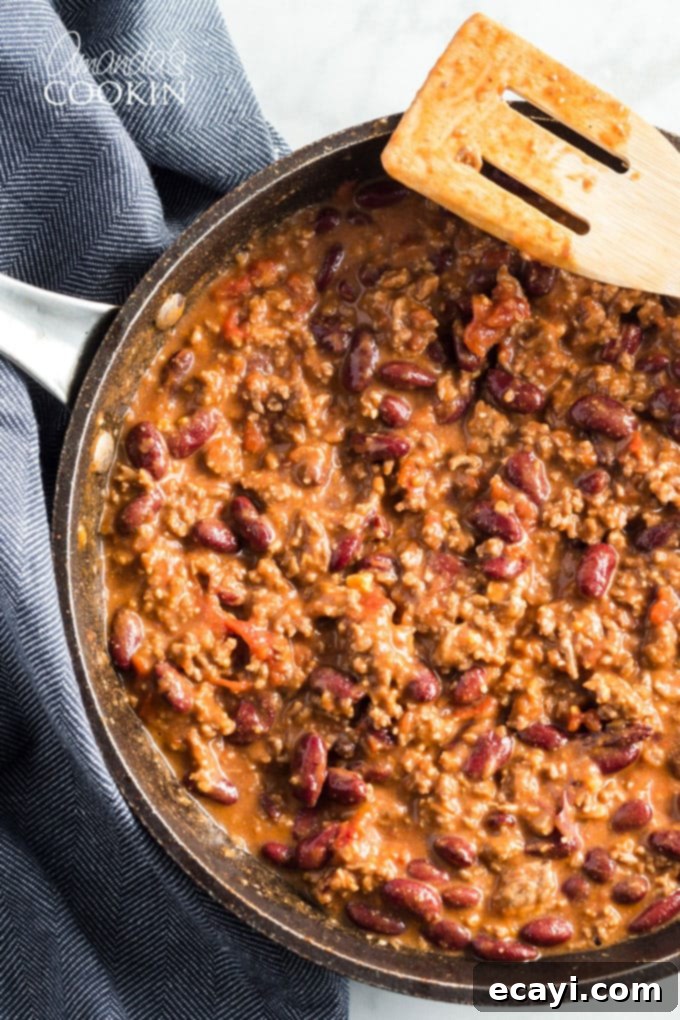
- **Simmer to Perfection:** Bring the chili mixture to a gentle boil over medium-high heat. Once boiling, reduce the heat to low, cover the skillet, and let it simmer for at least 30 minutes. Stir occasionally to prevent sticking and allow the flavors to truly meld and deepen. Simmering longer, up to an hour, will only improve the taste and texture as the spices bloom and the chili thickens to a rich consistency.
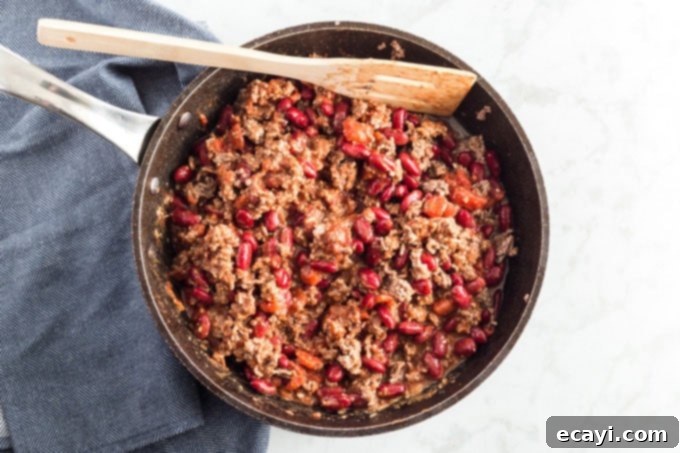
Can I make this chili in the crockpot for hands-off cooking?
Absolutely! The slow cooker is an excellent way to prepare this chili, allowing the flavors to develop slowly and deeply with minimal effort. The process is almost identical to the stovetop method, with a few key adjustments for your slow cooker:
- **Brown and Drain Beef:** Just like with the stovetop version, begin by browning the ground beef in a large skillet over medium-high heat. This step is crucial for developing rich flavor and texture that you can’t achieve by simply adding raw beef to the slow cooker. Once thoroughly browned, drain off any fat completely.
- **Prepare Seasoning:** In a separate bowl, combine all the dry seasoning ingredients as described in the stovetop instructions. Mix them together well to ensure an even distribution of flavor.
- **Transfer to Slow Cooker:** Add the browned and drained ground beef to your slow cooker. Sprinkle the prepared seasoning mix evenly over the meat, giving it a quick stir to coat.
- **Add Remaining Ingredients:** Pour in the water, add the drained kidney beans, and the canned tomatoes (fire-roasted diced work best for flavor). Stir everything gently to combine all the ingredients thoroughly within the slow cooker pot.
- **Cook to Perfection:** Cover your crockpot and cook on the LOW setting for 4 to 6 hours, or on the HIGH setting for 2 to 3 hours. For best results and to prevent sticking, give the chili a stir occasionally if possible. If you happen to have a slow cooker with a built-in stirring function, like my iStir crockpot, you can truly set it and forget it, as it handles the stirring for you! The slow cooking process allows the spices to meld beautifully, creating a tender, flavorful chili with minimal fuss.
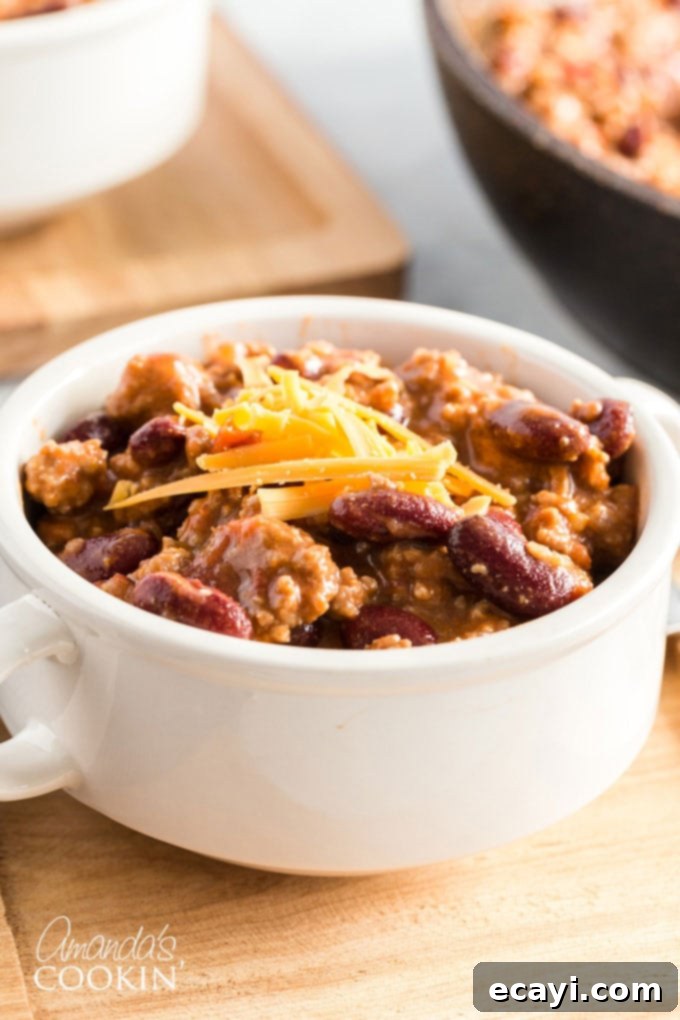
Creative Topping Ideas for Your Homemade Chili
Chili isn’t just about the bowl; it’s about the toppings! Elevate your chili experience with these delicious additions:
- **Shredded Cheddar Cheese:** A classic for a reason! We particularly love sharp cheddar for its robust flavor that melts beautifully into the hot chili.
- **Sliced Green Onions (Scallions):** These add a fresh, mild oniony bite and a vibrant pop of color, contrasting nicely with the rich chili.
- **Fresh Jalapeños:** For those who crave extra heat and a fresh, spicy crunch, thinly sliced fresh jalapeños are an excellent choice.
- **Chopped Bell Peppers:** Fresh red, yellow, or green bell peppers, finely chopped, add a sweet crispness and a burst of fresh flavor.
- **Tortilla Chips or Fritos Corn Chips:** A crunchy counterpoint to the soft chili. Crushed tortilla chips or Fritos corn chips (my son’s favorite!) are perfect for scooping up chili or sprinkling on top for texture.
- **Crispy Bacon Crumbles:** For an indulgent touch, crispy bacon crumbled over the top adds a smoky, salty, and utterly delicious element.
- **Fresh Cilantro:** While fresh parsley offers visual appeal, fresh cilantro introduces a bright, herbaceous, and slightly citrusy flavor that truly enhances the chili.
- **Sour Cream or Greek Yogurt:** A dollop of cool, creamy sour cream or Greek yogurt provides a lovely contrast to the chili’s heat and richness.
- **Avocado Slices or Guacamole:** Creamy avocado adds a healthy fat and a smooth texture that complements the robust flavors.
Beyond the Bowl: What to Serve with Your Chili
While a bowl of chili is satisfying on its own, pairing it with complementary sides makes for a complete and memorable meal:
- **Sweet Cornbread:** There’s no more iconic pairing than chili and sweet cornbread. Its slight sweetness and crumbly texture are perfect for soaking up all the savory chili juices.
- **Chili Mac:** For a hearty, kid-friendly twist, stir in some cooked elbow macaroni directly into your chili to create chili mac – my son’s absolute favorite!
- **Gooey Garlic Cheese Rolls:** If you’re feeling ambitious and want to impress, homemade gooey garlic cheese rolls are an incredible indulgence, perfect for dipping.
- **Green Salad:** A crisp green salad with a light vinaigrette offers a refreshing contrast and balances the richness of the chili.
- **Rice:** Serve your chili over a bed of fluffy white or brown rice for an extra filling meal.
- **Crusty Bread:** A warm, crusty baguette or sourdough loaf is excellent for dipping and wiping the bowl clean.

When and How to Enjoy Your Delicious Homemade Chili
Chili is incredibly versatile, fitting into almost any occasion or mealtime:
- **Game Day Gatherings:** Chili is the quintessential football party food! Set up a large pot on your appetizer table, perhaps with a slow cooker to keep it warm, and let guests serve themselves. It’s also fantastic for tailgating events.
- **Easy Weeknight Dinners:** Especially during the colder months, chili makes for a comforting and relatively quick weeknight meal. It’s often even better reheated, making it great for meal prepping.
- **Classic Chili Dogs:** Take your hot dogs to the next level by smothering them with a generous topping of your homemade chili. My recipe is perfect for creating tasty chili dogs.
- **Nacho Bar Star:** Host a fun party and create a nacho bar! Offer tortilla chips, cheese, jalapeños, and your homemade chili as the star topping. Watch as guests enthusiastically pile it on for a delicious, interactive meal.
- **Loaded Baked Potatoes:** Transform a simple baked potato into a hearty meal by topping it with a scoop of hot chili, shredded cheese, and perhaps a dollop of sour cream and some green onions.
Don’t forget to also try my 3 Bean Chili for another fantastic variation!
Explore More Delicious Chili Recipes
If you’ve enjoyed this recipe and are looking to expand your chili repertoire, here are some other fantastic variations and related dishes:
- Chili and Cornbread Stuffed Peppers: A creative way to combine two comfort food favorites into one delightful dish.
- Chili Mac: The ultimate comfort food fusion, combining hearty chili with macaroni for a satisfying meal.
- Make Your Own Homemade Chili Seasoning: Dive deeper into creating your perfect spice blend with this dedicated seasoning recipe.
- Chicken Chili with Black Beans & Corn: A lighter, yet equally flavorful alternative to traditional beef chili, packed with vibrant ingredients.
- Instant Pot Chili: For those who love speed and convenience, this recipe shows you how to get delicious chili on the table even faster.
- Crockpot Chili: Another dedicated slow cooker recipe for a hands-off, all-day simmer that results in incredibly tender and flavorful chili.

Homemade Chili
IMPORTANT – There are often Frequently Asked Questions within the blog post that you may find helpful. Simply scroll back up to read them!
Print It
Rate It
Save ItSaved!
Ingredients
for the seasoning:
- 1 tablespoon all-purpose flour
- 2 tablespoon dried minced onion
- 1 ½ teaspoon chili powder
- 1 teaspoon salt
- ½ teaspoon crushed red pepper
- ½ teaspoon dried minced garlic
- ½ teaspoon granulated sugar
- ½ teaspoon ground cumin
you will also need:
- 1 pound lean ground beef (85-90% lean recommended)
- 15 oz dark red kidney beans canned, drained and rinsed
- 14 oz fire-roasted diced tomatoes canned, with liquid
- ¼ cup water
Instructions
-
In a large skillet, brown the ground beef over medium-high heat, breaking it up as it cooks until no pink remains. Drain off any accumulated fat and return the beef to the pan.
-
While the beef is cooking, combine all of the seasoning ingredients (flour, dried minced onion, chili powder, salt, crushed red pepper, dried minced garlic, sugar, and ground cumin) in a small bowl and mix them together thoroughly.
-
To the drained ground beef in the skillet, add the prepared seasoning mix, water, drained and rinsed kidney beans, and canned diced tomatoes (with their liquid). Stir well to combine all ingredients. This is a great time to add any extra vegetables or spices you wish to personalize the flavor.
-
Bring the chili to a boil over medium-high heat. Once boiling, reduce the heat to low, cover the skillet, and let it simmer for at least 30 minutes, stirring occasionally. Simmering longer allows the flavors to deepen even further.
Nutrition
The recipes on this blog are tested with a conventional gas oven and gas stovetop. It’s important to note that some ovens, especially as they age, can cook and bake inconsistently. Using an inexpensive oven thermometer can assure you that your oven is truly heating to the proper temperature. If you use a toaster oven or countertop oven, please keep in mind that they may not distribute heat the same as a conventional full sized oven and you may need to adjust your cooking/baking times. In the case of recipes made with a pressure cooker, air fryer, slow cooker, or other appliance, a link to the appliances we use is listed within each respective recipe. For baking recipes where measurements are given by weight, please note that results may not be the same if cups are used instead, and we can’t guarantee success with that method.
This post originally appeared here on Sep 27, 2008.
