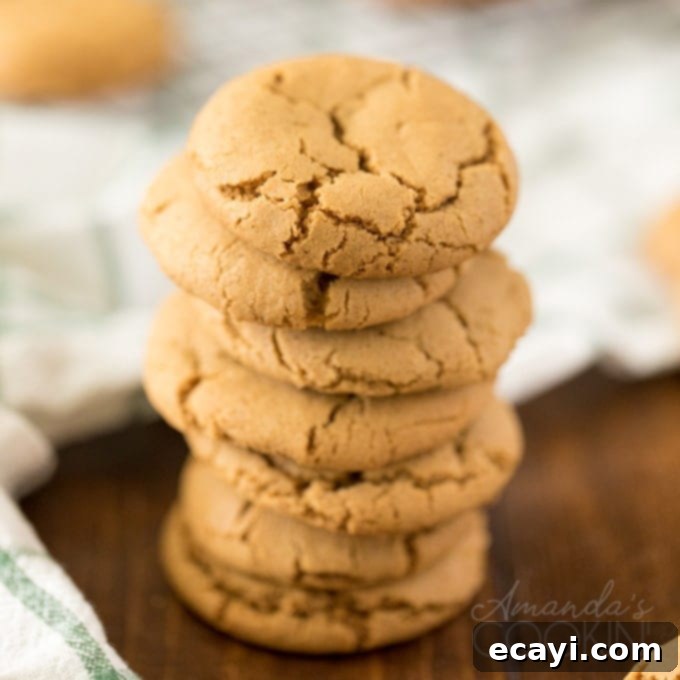
Deliciously Chewy Gingersnap Cookies: Your Ultimate Guide to Spice-Filled Perfection
There’s something truly magical about the aroma of freshly baked cookies filling your home, especially during the colder months or holiday season. Among the myriad of classic cookie recipes, gingersnap cookies stand out with their distinctive warm spices and irresistible texture. These firm yet delightfully chewy cookies are packed with the vibrant flavors of ginger, cinnamon, and allspice, making them an absolute favorite for cookie exchanges, festive gatherings, or simply to enjoy with your family. They are incredibly comforting when warm, fresh from the oven, but also wonderfully flavorful at room temperature. For many, including myself, baking these homemade gingersnaps alongside beloved Snickerdoodles has become a cherished Christmastime tradition, creating memories as sweet as the cookies themselves.
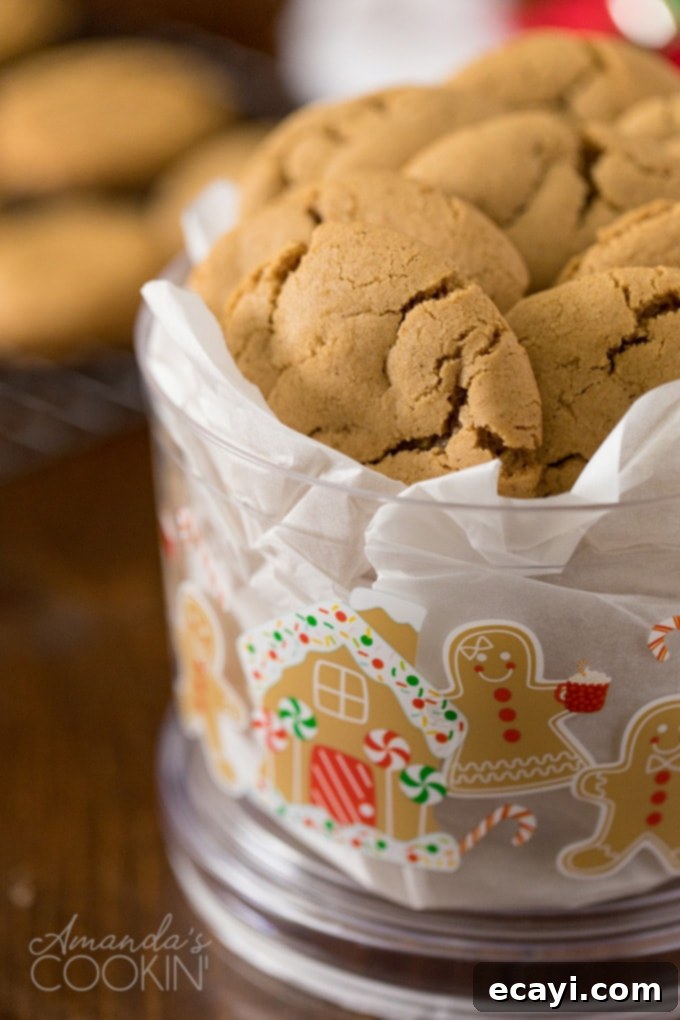
The Irresistible Allure of Homemade Gingersnap Cookies
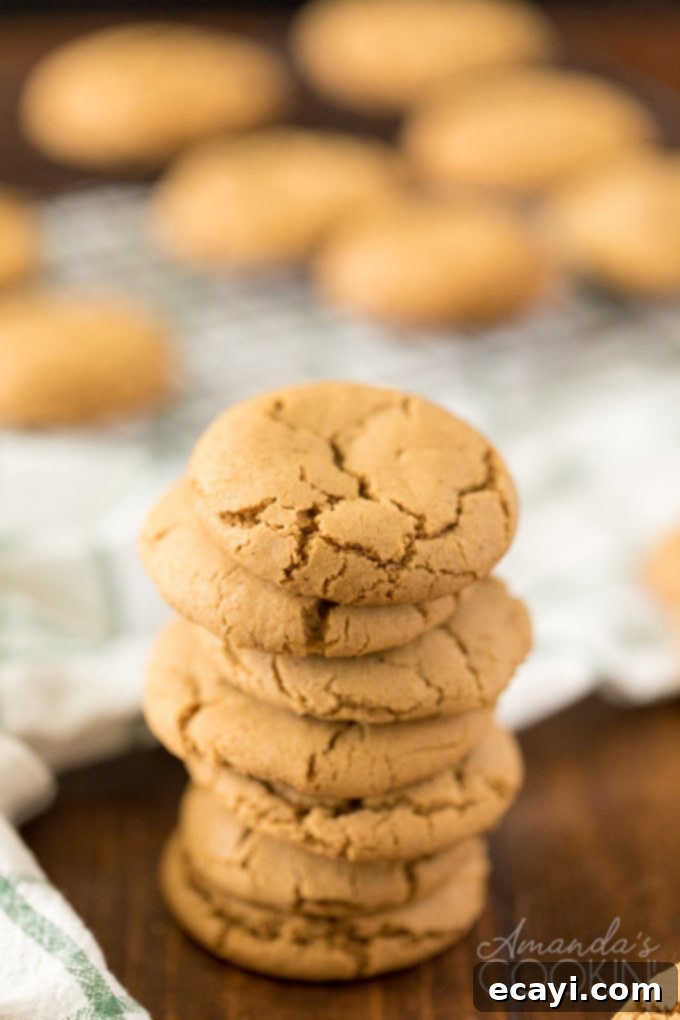
For me, the perfect gingersnap cookie is a harmonious balance of intense spice and a beautifully chewy, slightly soft center. I’ve always preferred the more tender variations over the traditionally hard, brittle gingersnaps often found in a box at the grocery store. This recipe delivers precisely that – a softer, more inviting cookie that truly melts in your mouth while still offering that satisfying crisp edge. Bursting with aromatic spices, these ginger cookies are not only a treat for your taste buds but also a feast for the senses, especially when paired with a tall, cold glass of milk. They embody the essence of comfort and joy, making them an ideal addition to your holiday baking repertoire or any time you crave a comforting, spicy treat.
Essential Ingredients for Perfect Chewy Gingersnap Cookies
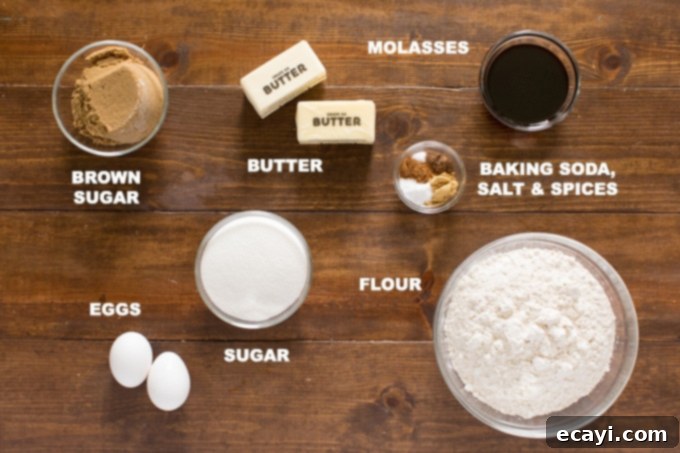
Crafting these delectable gingersnaps requires a thoughtful selection of both dry and wet ingredients, alongside a generous blend of warm spices. Each component plays a crucial role in achieving the signature flavor and texture that makes these cookies so beloved. From the foundational flours to the rich molasses and aromatic ground spices, here’s what you’ll need to gather:
- Dry Ingredients: Essential for structure and lift.
- All-purpose flour: The base of our cookie dough, providing structure.
- Baking soda: Acts as a leavening agent, contributing to the cookie’s rise and chewiness.
- Salt: Balances the sweetness and enhances all the spice flavors.
- Spices: The heart and soul of any gingersnap.
- Ground ginger: The star of the show, delivering that distinctive zing.
- Ground cinnamon: Adds warmth and a touch of sweetness, complementing the ginger.
- Ground allspice: Brings a complex, aromatic note, reminiscent of cloves, nutmeg, and cinnamon.
- Wet Ingredients: For flavor, moisture, and binding.
- Granulated sugar: Provides sweetness and helps create a crisp exterior.
- Light brown sugar (packed): Contributes to the chewy texture and adds a subtle caramel note.
- Unsalted butter: Adds richness and tenderness to the cookies. Ensure it’s softened for optimal creaming.
- Eggs: Bind the ingredients together and add moisture, leading to a softer cookie.
- Dark molasses: A key ingredient that gives gingersnaps their deep color, unique flavor, and characteristic chewiness. Do not substitute with blackstrap molasses, as it can be too bitter.
Mastering Your Bake: Expert Gingersnap Cookie Baking Tips
Baking perfect gingersnap cookies isn’t just about the ingredients; it’s also about understanding a few key techniques and tips that can elevate your results from good to absolutely outstanding. Pay close attention to these baking insights to ensure your gingersnaps are always soft, chewy, and spiced to perfection.
- Temperature Matters: Softened Butter & Eggs: Softened butter doesn’t mean melted butter. For ideal creaminess, take your unsalted butter out of the refrigerator about 20-30 minutes before you plan to use it. It should be pliable but still cool to the touch, leaving a slight indentation when pressed gently. Butter that is too soft or melted can lead to greasy, flat cookies. Similarly, bringing your eggs to room temperature at the same time as your butter helps them incorporate more evenly into the mixture, creating a smoother, more emulsified batter. This leads to a better texture in your finished cookies.
- Baking Sheets for Success: While any good quality cookie sheets will work, insulated baking sheets are my personal favorite for achieving consistent, even baking and preventing overly browned bottoms. If you don’t have insulated sheets, simply line your regular cookie sheets with parchment paper or a silicone baking mat. This not only prevents sticking but also helps regulate heat distribution, contributing to that perfect golden-brown finish and soft interior.
- Accurate Measuring: Baking is a science, and precise measurements are key. Use proper measuring cups and spoons, leveling off dry ingredients like flour and sugar. For brown sugar, make sure to pack it firmly into the measuring cup.
- Don’t Overmix: Once you add the dry ingredients to the wet, mix just until combined. Overmixing can develop the gluten in the flour, resulting in tough cookies instead of tender ones.
- Cooling is Crucial: While it’s tempting to move them immediately, allowing the cookies to cool on the baking sheet for a few minutes after baking helps them set and prevents them from breaking when transferred to a cooling rack.
12 DAYS OF CHRISTMAS COOKIES
12 Christmas cookies you will love, PLUS bonus baking tips and TWO extra recipes you will not find on this blog! See ALL my cookbooks here!
Get the Christmas cookies cookbook! ONLY $9.97!!
Helpful Kitchen Tools for Cookie Success
Having the right tools at your disposal can make the baking process much smoother and more enjoyable. These aren’t just gadgets; they’re investments in your baking journey, ensuring consistent results and making every step a breeze. Here are a few essential kitchen tools that will come in handy for this gingersnap cookie recipe:
- Stand mixer: Indispensable for creaming butter and sugar, and mixing dough efficiently. A good stand mixer saves you arm ache and ensures ingredients are properly combined.
- Measuring cups and spoons: Accuracy is key in baking, and a reliable set of measuring tools ensures your ingredient ratios are spot on.
- Insulated baking sheets: As mentioned in our tips, these help distribute heat evenly, preventing burnt bottoms and promoting a uniform golden-brown bake.
- Silicone baking mat: A reusable, non-stick surface that provides excellent heat distribution and makes clean-up a cinch. It’s a fantastic alternative to parchment paper.
- Cookie scoop: For uniformly sized cookies, ensuring they all bake evenly. This also makes the process much faster and less messy.
How to Make Irresistibly Chewy Gingersnap Cookies: Step-by-Step Guide
Now that you have all your ingredients and tools ready, let’s dive into the simple yet rewarding process of baking these amazing gingersnap cookies. The key to their signature texture lies in careful mixing and precise baking times. Follow these steps for gingersnap perfection.
Begin by preparing your oven and baking sheets. Preheat your oven to 350 degrees F (175°C). Line a couple of insulated baking sheets with parchment paper or your trusty silicone baking mats. This crucial first step ensures your cookies don’t stick and bake evenly.
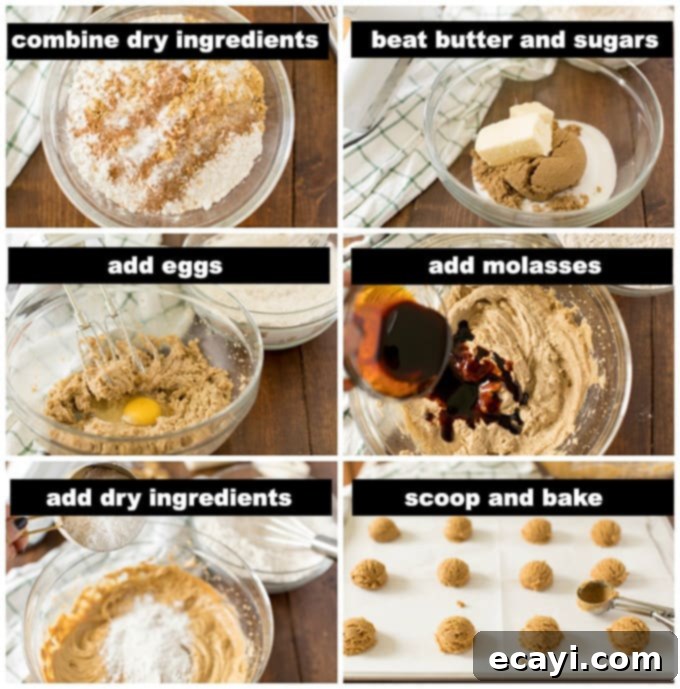
- Combine Dry Ingredients: In a medium-sized bowl, whisk together the all-purpose flour, baking soda, and salt. Then, add the fragrant ground ginger, ground cinnamon, and ground allspice. Whisk well to ensure all the spices are evenly distributed throughout the flour mixture. Set this bowl aside for later.
- Cream Sugars and Butter: In the bowl of your stand mixer (or a large bowl with a hand mixer), combine both the granulated sugar and the packed light brown sugar with the softened unsalted butter. Start on low speed for about 15-20 seconds to initially blend the ingredients without splattering. Then, increase the speed to medium-high and beat until the mixture becomes light, fluffy, and noticeably pale in color. This creaming process incorporates air, which contributes to the cookies’ texture.
- Add Eggs and Molasses: Reduce the mixer speed to low. Add the large eggs, one at a time, making sure to beat well after each addition until fully incorporated. Scrape down the sides of the bowl as needed. Next, pour in the dark molasses. Continue to beat until the molasses is thoroughly combined, and the entire batter takes on a smooth, silky consistency and a rich, deep brown hue.
- Incorporate Dry into Wet: With the mixer on low speed, gradually add the reserved flour mixture (from step 1) to the wet ingredients. Mix just until a fairly stiff dough forms. Be careful not to overmix at this stage; overworking the dough can lead to tough cookies.
- Shape and Prepare for Baking: Using a cookie scoop (a 1-inch scoop is ideal for consistent sizing), portion out balls of dough. Place these dough balls onto your prepared baking sheets, ensuring they are spaced about 1 1/2 inches apart to allow for spreading during baking.
- Bake to Perfection: Transfer the baking sheets to your preheated oven. Bake for 10-11 minutes if you prefer softer, chewier cookies. For a slightly crisper gingersnap with still chewy centers, bake for 13-14 minutes. Keep an eye on them, as oven temperatures can vary.
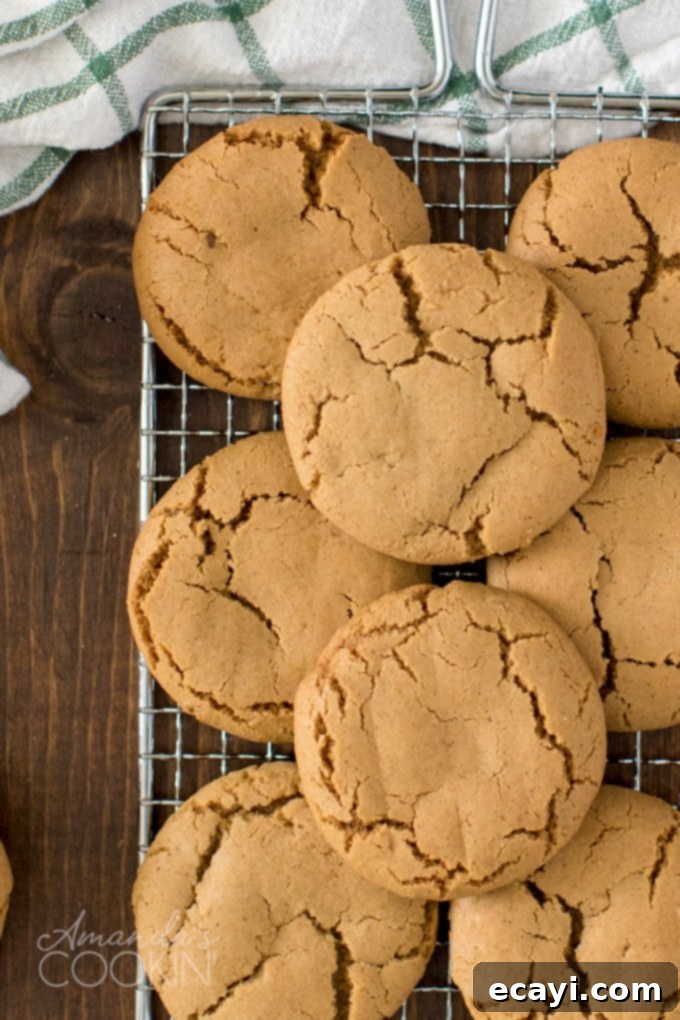
- Cool and Enjoy: Once baked, remove the cookie sheets from the oven. The cookies will appear puffed up; don’t worry, they will settle and flatten slightly as they cool. Leave the cookies on the hot baking sheets for 4-5 minutes to allow them to set and firm up before attempting to move them. This prevents breakage. After this initial cooling, carefully transfer the gingersnaps to wire cooling racks to cool completely.
Once cooled, your delicious homemade gingersnap cookies are ready to be devoured! I truly hope you and your loved ones enjoy these spiced, chewy treats as much as we do. Happy Holidays and happy baking!
Storage and Serving Suggestions for Your Gingersnaps
To keep your gingersnap cookies fresh and delicious, store them in an airtight container at room temperature for up to 5-7 days. For longer storage, they can also be frozen. Place cooled cookies in a single layer on a baking sheet to freeze, then transfer them to a freezer-safe bag or container for up to 2-3 months. Thaw at room temperature before serving. These cookies are fantastic on their own, but they also pair beautifully with a variety of beverages like a glass of cold milk, a warm cup of coffee, or a comforting mug of hot apple cider. They make a wonderful addition to a holiday dessert platter or a thoughtful homemade gift.
Explore More Delightful Cookie Recipes
If you’ve enjoyed baking these gingersnap cookies and are looking for more delicious treats to add to your collection, you’re in luck! Here are some other fantastic cookie recipes from our kitchen that are sure to become new favorites:
- Classic Sugar Cookies: Simple, versatile, and perfect for decorating for any occasion.
- Zesty Orange Crinkle Cookies: Bright and citrusy, with a fun crackled finish.
- Soft and Chewy Peanut Butter Cookies: A timeless favorite for peanut butter lovers.
- Sugar Topped Molasses Spice Cookies: Another wonderful spiced cookie, similar to gingersnaps but with its own unique twist.
- Cinnamon Chocolate Chip Cookies: A comforting twist on the classic chocolate chip cookie.
- Whimsical Melted Snowman Cookies: A fun and festive cookie, perfect for holiday gatherings with kids.
- Hearty Oatmeal Raisin Cookies: A wholesome and chewy classic, full of texture and flavor.
Homemade Chewy Gingersnap Cookies Recipe
IMPORTANT – There are often Frequently Asked Questions within the blog post that you may find helpful. Simply scroll back up to read them!
Print It
Rate It
Save ItSaved!
Ingredients
- 3 ¾ cups unbleached all purpose flour
- 1 ½ teaspoons baking soda
- ¼ teaspoon salt
- 3 teaspoons ground ginger
- ¾ teaspoon ground cinnamon
- ¼ teaspoon ground allspice
- 1 cup granulated sugar
- 1 cup packed light brown sugar
- ¾ cup unsalted butter softened
- 2 large eggs
- ½ cup dark molasses
Things You’ll Need
-
Stand mixer
-
Measuring cups and spoons
-
Insulated baking sheets
-
Silicone baking mat
Before You Begin
- Softened butter means you should take it out of the fridge about 20 minutes before using it. You don’t want it too soft; it should be pliable but still hold its shape slightly.
- For best baking results and smoother batter, bring the eggs out at the same time as the butter so they can reach room temperature together.
- Insulated baking sheets are highly recommended for even baking, but any good quality cookie sheets lined with parchment paper or a silicone mat will work perfectly.
Instructions
-
Preheat your oven to 350 F (175°C). Line two insulated baking sheets with parchment paper or silicone baking mats.
-
In a medium bowl, whisk together the flour, baking soda, salt, ground ginger, ground cinnamon, and ground allspice. Ensure spices are well distributed, then set the mixture aside.
-
In the bowl of a stand mixer fitted with the paddle attachment (or using a hand mixer), combine both granulated sugar and packed light brown sugar with the softened unsalted butter. Beat on low speed for 15-20 seconds to combine, then increase to medium-high speed and beat until the mixture is light and fluffy, about 2-3 minutes. Add the eggs, one at a time, beating well after each addition until fully incorporated. Pour in the dark molasses and beat until the batter is smooth and silky.
-
Gradually add the prepared dry flour mixture to the wet ingredients, mixing on low speed until a fairly stiff dough forms. Be careful not to overmix. Using a 1-inch cookie scoop, place dough balls on the prepared baking sheets, spacing them about 1 1/2 inches apart. Bake for 10-11 minutes for soft, chewy cookies, or 13-14 minutes for a slightly crisper texture.
-
Remove the cookies from the oven. They will look slightly puffed but will settle as they cool. Allow them to cool on the baking sheets for 4-5 minutes to set before carefully transferring them to wire racks to cool completely.
Nutrition Information (per cookie)
The recipes on this blog are tested with a conventional gas oven and gas stovetop. It’s important to note that some ovens, especially as they age, can cook and bake inconsistently. Using an inexpensive oven thermometer can assure you that your oven is truly heating to the proper temperature. If you use a toaster oven or countertop oven, please keep in mind that they may not distribute heat the same as a conventional full sized oven and you may need to adjust your cooking/baking times. In the case of recipes made with a pressure cooker, air fryer, slow cooker, or other appliance, a link to the appliances we use is listed within each respective recipe. For baking recipes where measurements are given by weight, please note that results may not be the same if cups are used instead, and we can’t guarantee success with that method.
This post originally appeared here on Dec 19, 2013, and has been updated with expanded tips and details for an even better baking experience.
