Authentic Key Lime Pie: Your Ultimate Guide to a Tangy, Creamy Florida Classic
The very mention of Key Lime Pie instantly transports most people to the sun-drenched shores of Key West, Florida. This iconic dessert, renowned for its distinctive sweet-tart flavor and velvety smooth texture, didn’t just become famous in the Keys—it originated there, thanks to the abundant supply of tiny, aromatic Key limes. While a trip to the southernmost point of the continental U.S. might be on your bucket list, you don’t need to travel that far to experience this exquisite treat. We’re about to unveil the secrets to crafting a luscious, creamy, and undeniably authentic Key Lime Pie right in the comfort of your own kitchen.
The Enduring Legacy of Key Lime Pie: A Taste of Florida’s History
This recipe isn’t just about baking; it’s about connecting with a rich culinary history deeply rooted in the Florida Keys. The story of how this beloved sweet-tart cream pie came to be is as fascinating as its flavor profile. One of the most cherished theories traces its origins back to the 1800s, intertwining with the tale of Bill Curry, a prominent figure often cited as Florida’s first self-made millionaire. Legend has it that Bill’s beloved “Aunt Sally” regularly delighted him with this unique pie. However, many food historians believe that Sally didn’t invent the recipe herself but rather perfected an existing one, adapting a creation by the local sponge fishermen. These early inhabitants of the Keys, living in relative isolation, were incredibly resourceful, making do with the ingredients readily available to them.
The true genius of Key Lime Pie, and a key reason this recipe works so well, is its reliance on sweetened condensed milk. Before the construction of the Overseas Highway in 1930, the remote Florida Keys lacked refrigeration. This meant fresh milk was a luxury that simply couldn’t be stored. Necessity, as they say, is the mother of invention, and cooks in the Keys turned to canned sweetened condensed milk as a shelf-stable alternative for many of their dairy-dependent dishes. And yes, you guessed it – this included the creamy, tangy pie that would eventually become world-famous as Key Lime Pie. The acidity of the Key lime juice reacts with the proteins in the condensed milk and egg yolks, causing the filling to thicken naturally without extensive baking, creating that signature silky texture.
A visit to Key West today reveals the pie’s pervasive popularity. Shops across town offer countless variations and spin-offs of this iconic dessert. During my own visit to Key West a few years ago, my kids and I made a mandatory stop at Kermit’s Key West Key Lime Shoppe. It’s an experience in itself, offering everything from classic pies and convenient pie bars to Key lime candies, jellies, and so much more. It’s a truly vibrant and essential attraction for anyone exploring the Keys. However, if a trip to Florida isn’t on your immediate agenda, there’s no need to despair! This recipe empowers you to bring that authentic Key West flavor directly into your home kitchen, allowing you to bypass the plane ticket and enjoy a slice of sunshine whenever the craving strikes.
RELATED: Extend your Key lime obsession! Be sure to try our Key Lime Pie Martini for a delightful adult beverage inspired by this classic dessert.
Essential Ingredients & Smart Substitutions for Perfect Key Lime Pie
To ensure your homemade Key Lime Pie is nothing short of spectacular, understanding each ingredient’s role is crucial. You’ll find all precise measurements, a complete list of ingredients, and detailed instructions in the printable recipe card located at the end of this post. Here’s a closer look at the components:
- GRAHAM CRACKER CRUMBS – The foundation of any great Key Lime Pie is a perfectly balanced graham cracker crust. You can easily make your own by grinding whole graham crackers in a food processor until fine, or by crushing them in a sturdy zipper plastic bag with a rolling pin. For ultimate convenience, pre-made graham cracker crumbs are readily available in most grocery stores and work wonderfully. The slight sweetness and crumbly texture of graham crackers provide an ideal contrast to the tart, creamy filling.
- BUTTER – Melted butter acts as the binding agent for your graham cracker crust, ensuring it holds its shape and develops a delightful golden-brown crispness when baked. Both salted and unsalted butter varieties are acceptable for this recipe; simply adjust any added salt in other parts of your meal if using salted butter.
- SWEETENED CONDENSED MILK – This is the heart of your Key Lime Pie filling. Sweetened condensed milk is a rich, thick, and pre-sweetened dairy product that is essential for achieving the pie’s signature creamy texture and balanced sweetness. Do not confuse it with evaporated milk, as they are not interchangeable in this recipe.
- LIME JUICE – The star of the show! For true Key Lime Pie, authentic Key lime juice is non-negotiable. You’ll need about a dozen Key limes to yield ½ cup of juice, as these small, golf-ball-sized limes are incredibly potent but don’t produce a lot of liquid. Key limes boast a distinct tartness and a more floral, aromatic flavor profile compared to their larger Persian lime counterparts. Using regular limes will result in a pie that tastes notably different and lacks the specific zest that defines this classic dessert. If fresh Key limes are difficult to source, bottled Key lime juice can be a convenient alternative; however, always check the label to ensure it’s 100% Key lime juice and not a blend.
- EGG YOLKS – Fresh egg yolks contribute to the rich custard-like consistency of the filling and help it set beautifully. They add a lovely golden hue and an extra layer of richness to the pie, ensuring a smooth and luxurious mouthfeel.
- GARNISH – A beautiful garnish elevates your Key Lime Pie from delicious to dazzling. Delicate lime peel strips are a classic and elegant choice; it’s often easiest to peel these strips using a vegetable peeler or microplane before juicing the limes. If you prefer, a simple sprinkle of fresh lime zest works just as well, adding both visual appeal and a burst of fresh citrus aroma. A dollop of freshly whipped cream is also a traditional and highly recommended addition, offering a lovely textural contrast.
Crafting Your Own Key Lime Masterpiece: Step-by-Step Guide
These step-by-step photos and detailed instructions are designed to help you visualize each stage of making this incredible recipe, ensuring success from start to finish. For a convenient printable version of this recipe, complete with precise measurements and comprehensive instructions, simply Jump to Recipe at the bottom of this post.
- First, begin by preheating your oven to 325 degrees F (160 degrees C) to ensure it’s at the perfect temperature when your crust is ready.
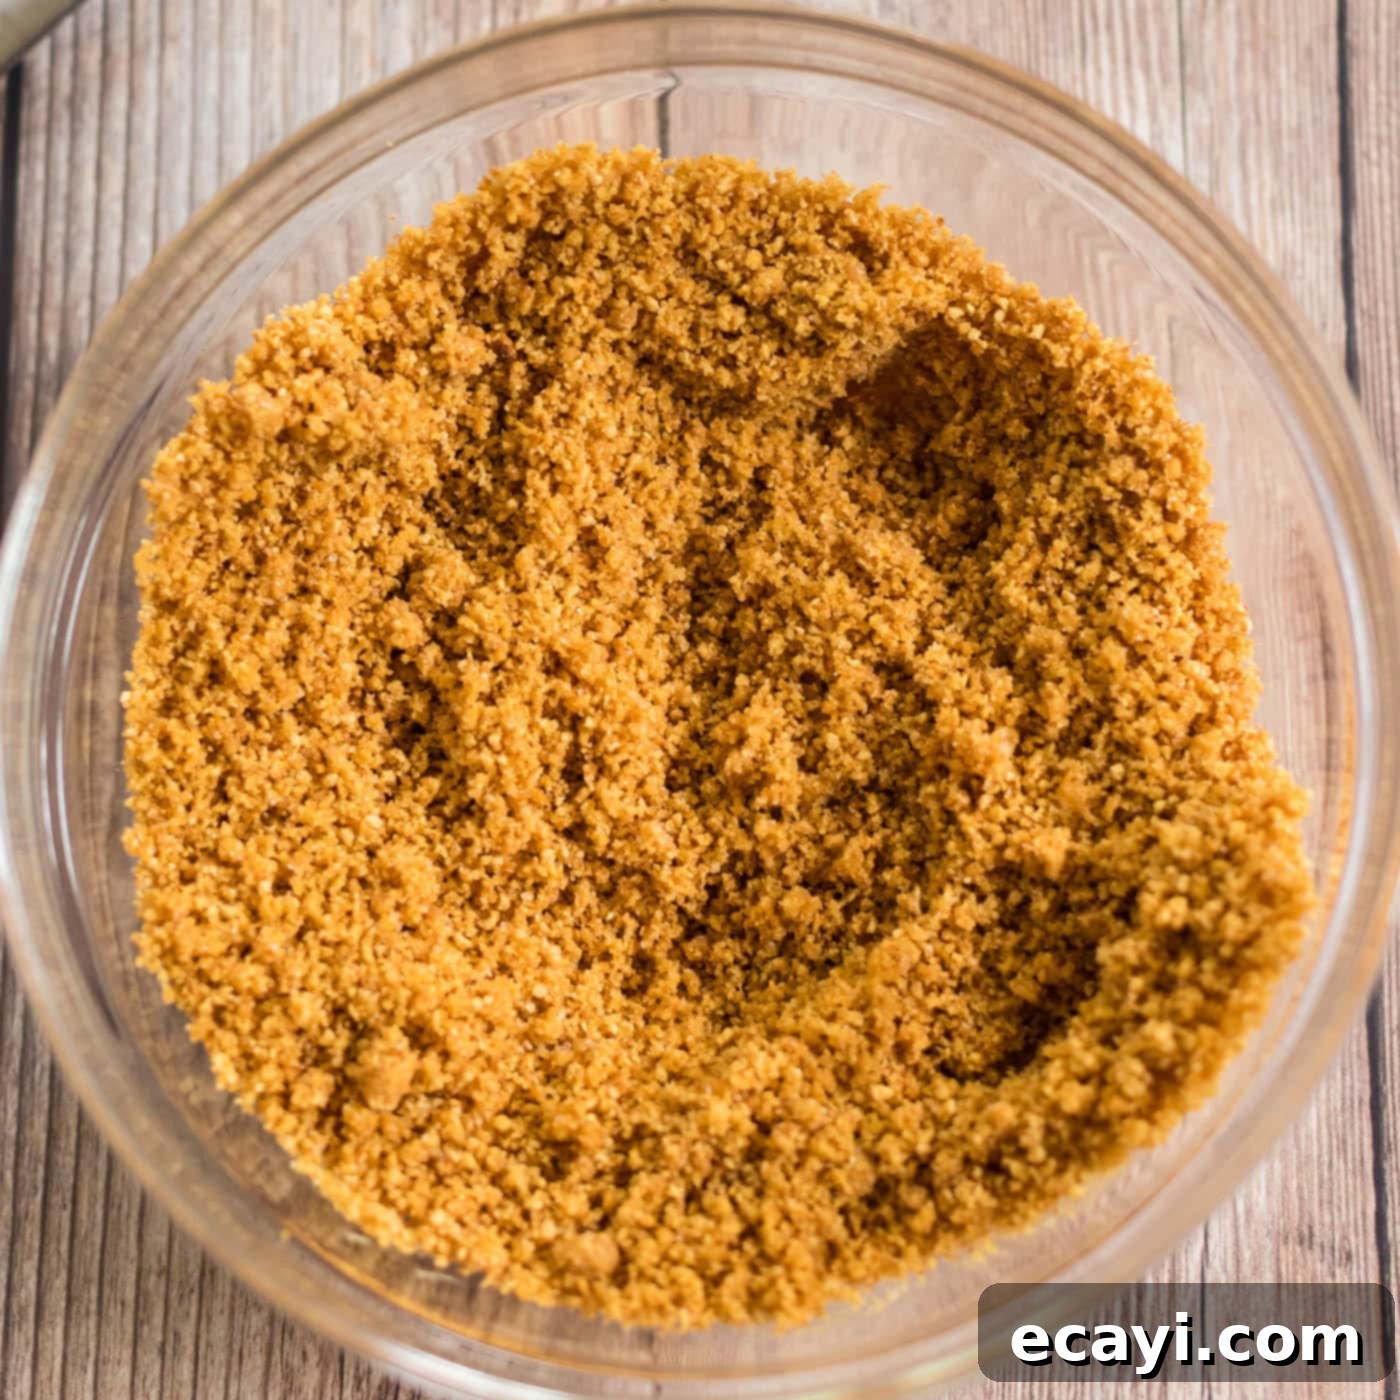
- In a medium-sized mixing bowl, combine all the graham cracker crust ingredients: graham cracker crumbs, sugar, and melted butter. Mix them thoroughly with a fork until the crumbs are evenly moistened and resemble wet sand.
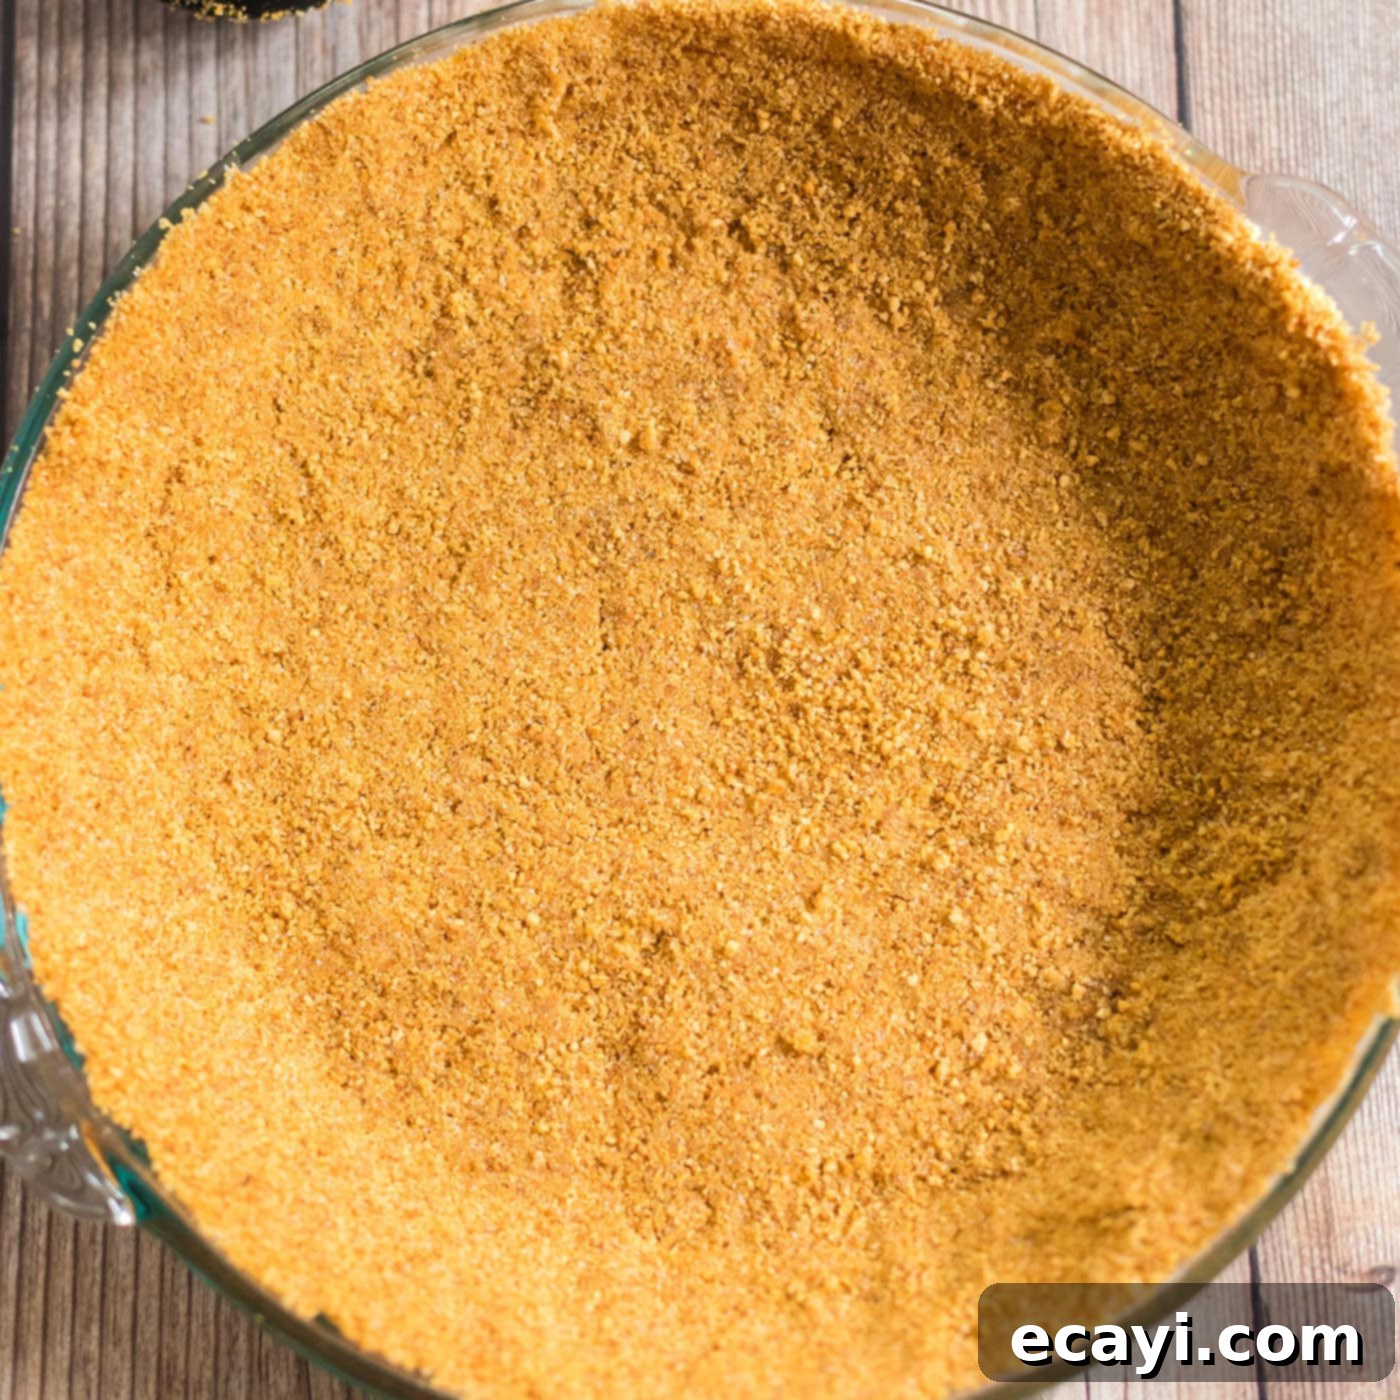
- Using the back of a measuring cup or your fingers, firmly press the crust mixture evenly into the bottom and up the sides of a 9-inch pie plate. Ensure it’s compact and forms a uniform layer.


- Bake the crust for 10 minutes. This helps to set it and makes it delightfully crisp. Once baked, remove it from the oven and cool completely on a wire rack while you prepare the filling.
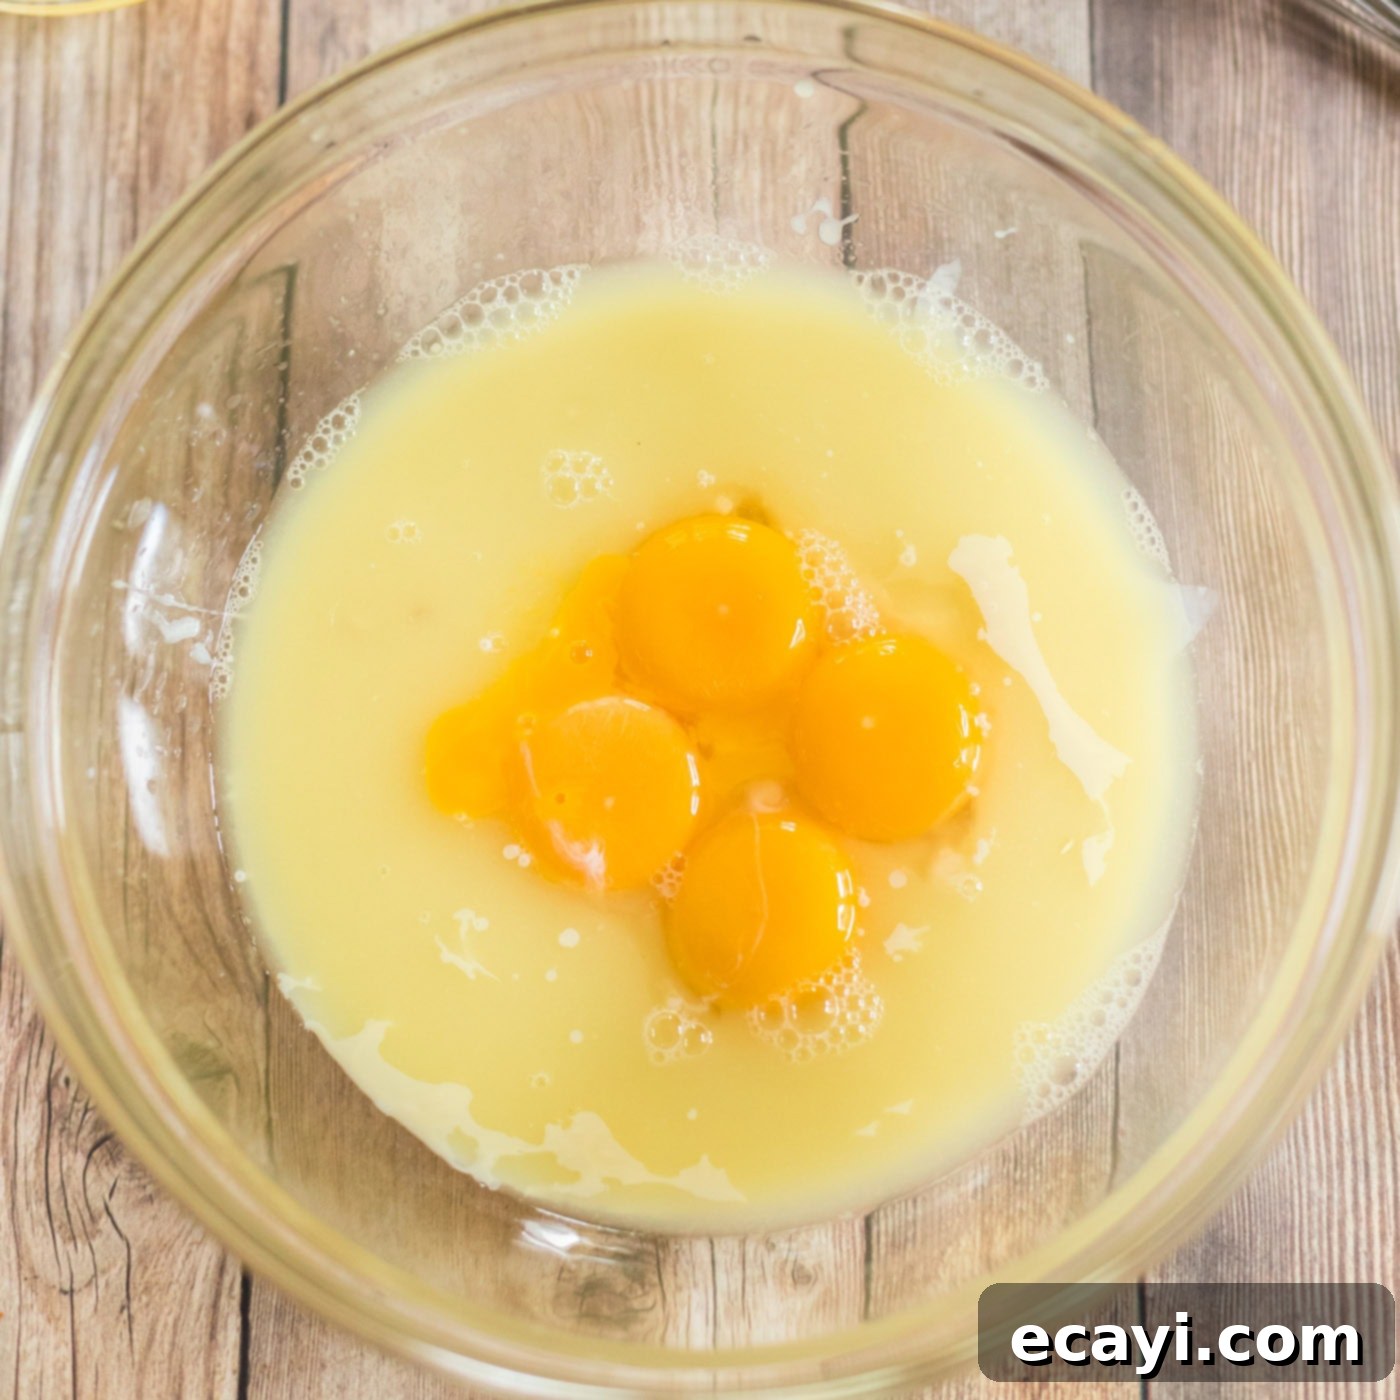
- In another medium bowl, whisk together the sweetened condensed milk, Key lime juice, and egg yolks. Continue whisking until the mixture becomes smooth, thoroughly combined, and visibly thickens. This thickening is a magical reaction between the lime juice and the milk proteins.

- Carefully pour the creamy Key lime filling into the cooled graham cracker crust. Note that authentic Key Lime Pie filling is naturally a pale yellow color, not green. If your pie is green, it’s likely due to food coloring, which is not traditional.
- Bake the pie until the center is just set, typically 15-17 minutes. The edges should be firm, but the very center will still jiggle slightly when gently nudged. This slight jiggle indicates perfect doneness, preventing overbaking.
- Remove the pie from the oven and let it cool completely on a wire rack at room temperature. This gradual cooling is essential for the pie to fully set.
- Once cooled, transfer the pie to the refrigerator. It needs to chill until thoroughly cold, which takes at least 4 hours, but ideally, you’ll refrigerate it for up to 24 hours for the best texture and flavor development.
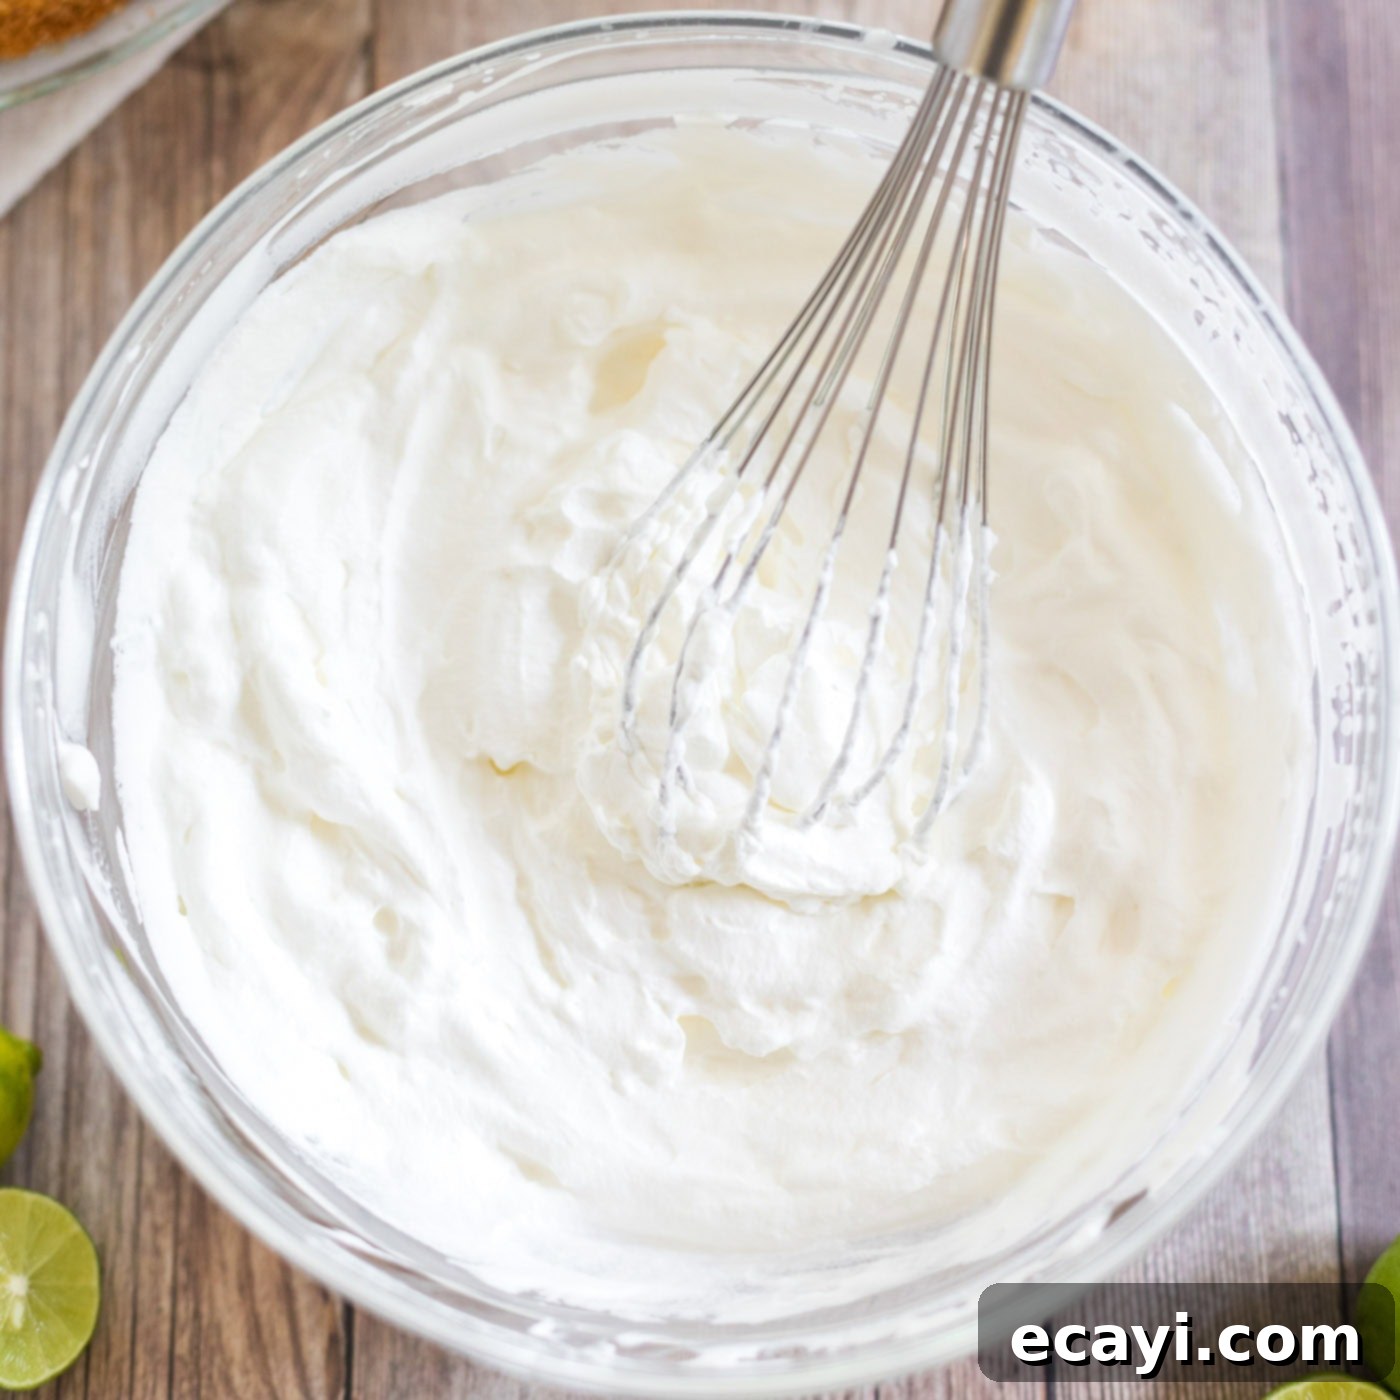
- Just before serving, prepare the luscious whipped cream topping. In a deep, chilled bowl, beat heavy whipping cream and powdered sugar together using an electric mixer. Continue beating until soft but firm peaks form. Be careful not to overbeat, or it will become grainy.

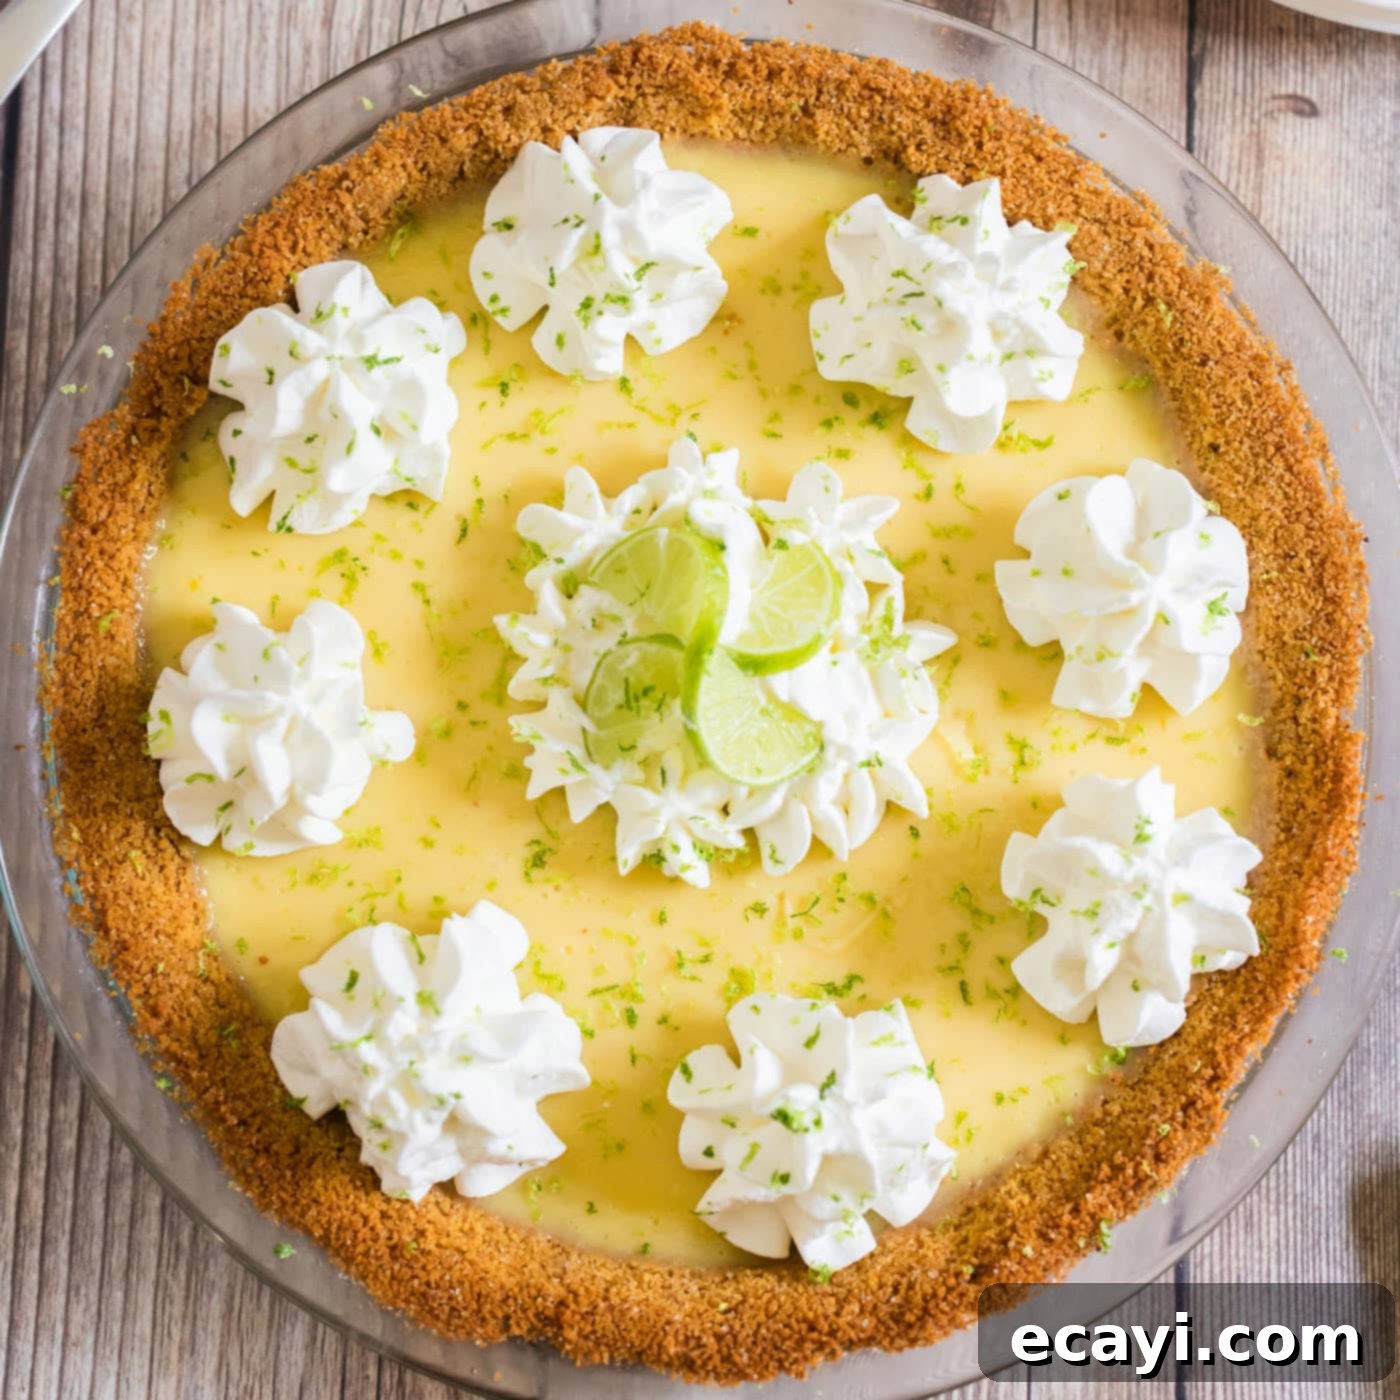
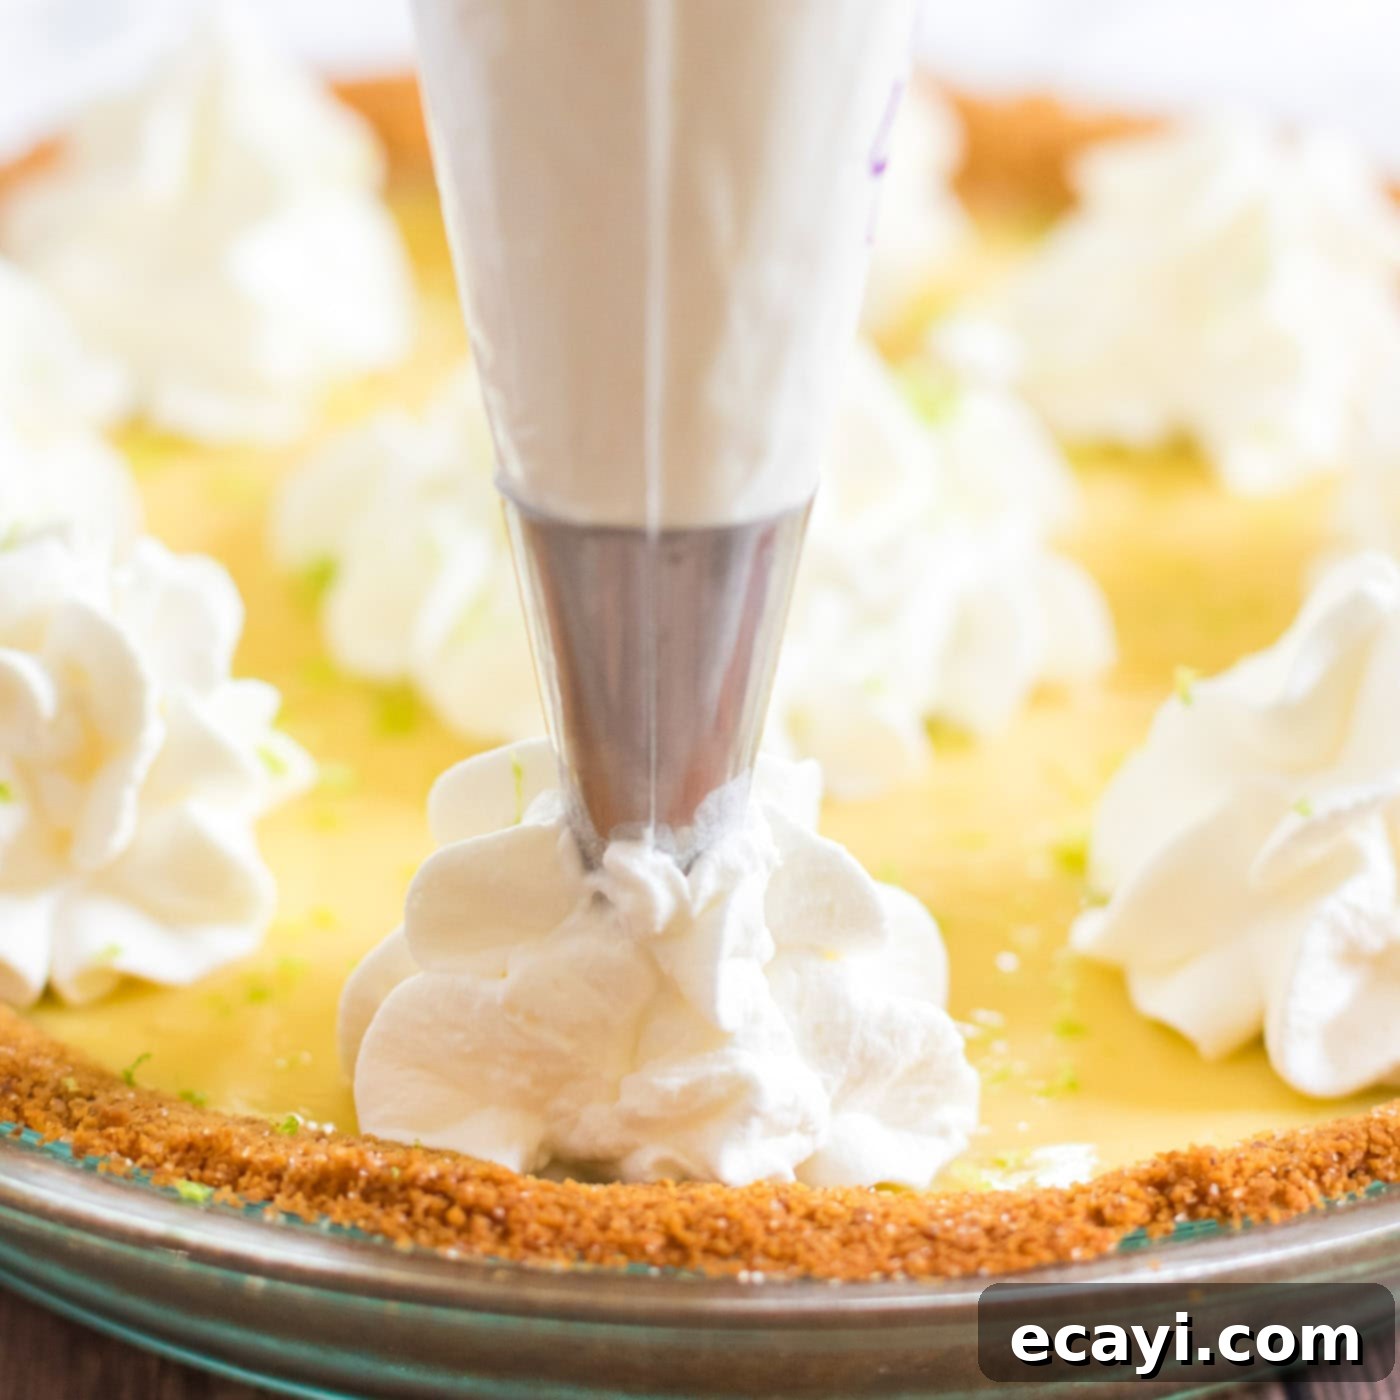
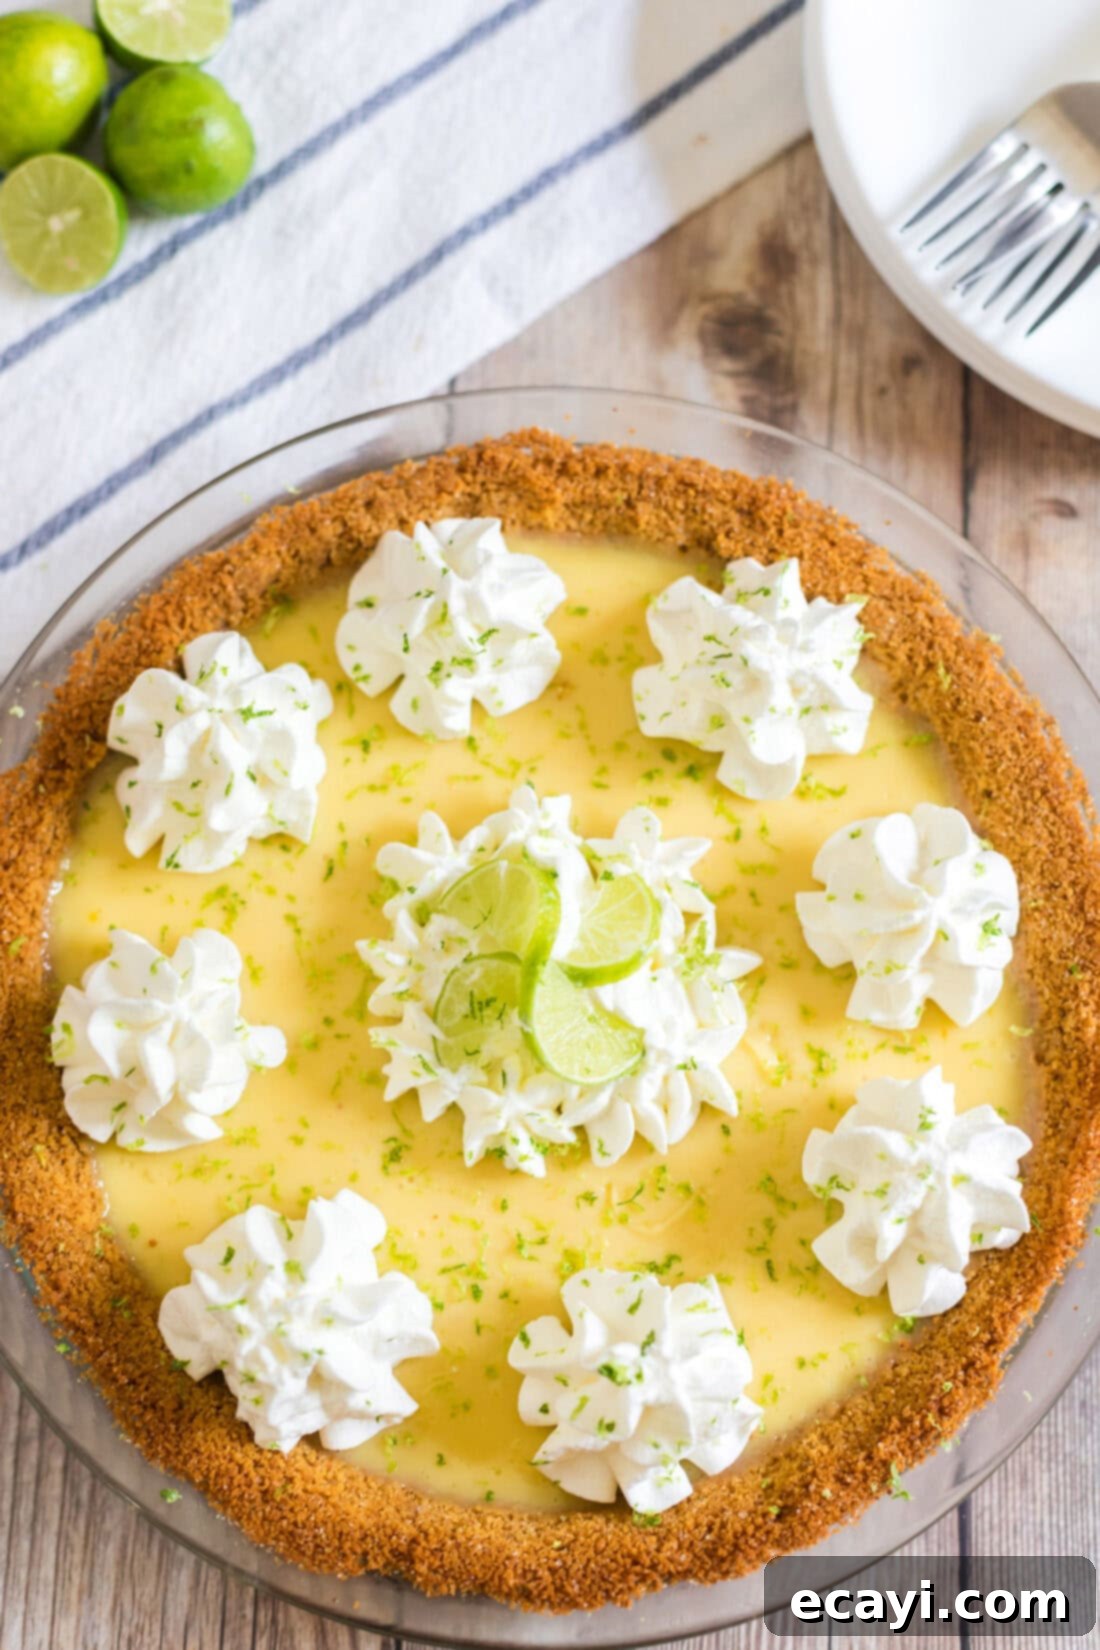
- Generously add dollops of whipped cream, or use a piping bag to create an elegant border around the outside edge of the pie. Finally, sprinkle with fresh lime peel strips or zest for a beautiful finish and an extra touch of citrus aroma.

Frequently Asked Questions & Expert Tips for Key Lime Pie Success
A runny Key Lime Pie is a common concern and usually stems from one of two issues: underbaking or insufficient chilling time. The filling needs to bake just enough for the egg yolks to fully emulsify and thicken with the sweetened condensed milk and lime juice. If it’s too jiggly when it comes out of the oven, it likely needs a few more minutes. More importantly, the pie requires a significant amount of refrigeration to fully set and achieve its signature firm, yet creamy, consistency. Always allow at least 4 hours of chilling, or even better, refrigerate it overnight (up to 24 hours) before attempting to slice. Resist the urge to cut into it too soon!
Absolutely! Key Lime Pie freezes beautifully, making it an excellent make-ahead dessert. To freeze, ensure the pie is completely cooled and set. For individual slices, wrap each piece tightly in plastic wrap, then an additional layer of aluminum foil to prevent freezer burn. For a whole pie, wrap it thoroughly in plastic wrap, then foil, or place it in an airtight freezer-safe container. Store in the freezer for up to 2 months. To serve, thaw the pie (or individual slices) in the refrigerator overnight. Add fresh whipped cream and garnishes just before serving, as whipped cream doesn’t freeze or thaw well.
Traditionally, authentic Key Lime Pie is NOT green. The natural color of Key lime juice mixed with egg yolks and sweetened condensed milk produces a pale yellow, almost ivory, filling. Many commercial versions add green food coloring to align with public perception, but for a truly authentic pie, embrace its natural, inviting yellow hue.
Key limes are small, so getting enough juice can be a bit of a task. To maximize juice extraction, first roll the limes firmly on your countertop for about 30 seconds. This helps break down the membranes inside. Then, slice them in half and use a citrus reamer or a small fork to press out the juice. You’ll likely need about 10-12 Key limes to get the required ½ cup of juice for this recipe. If you’re struggling, a small electric citrus juicer can be very helpful.
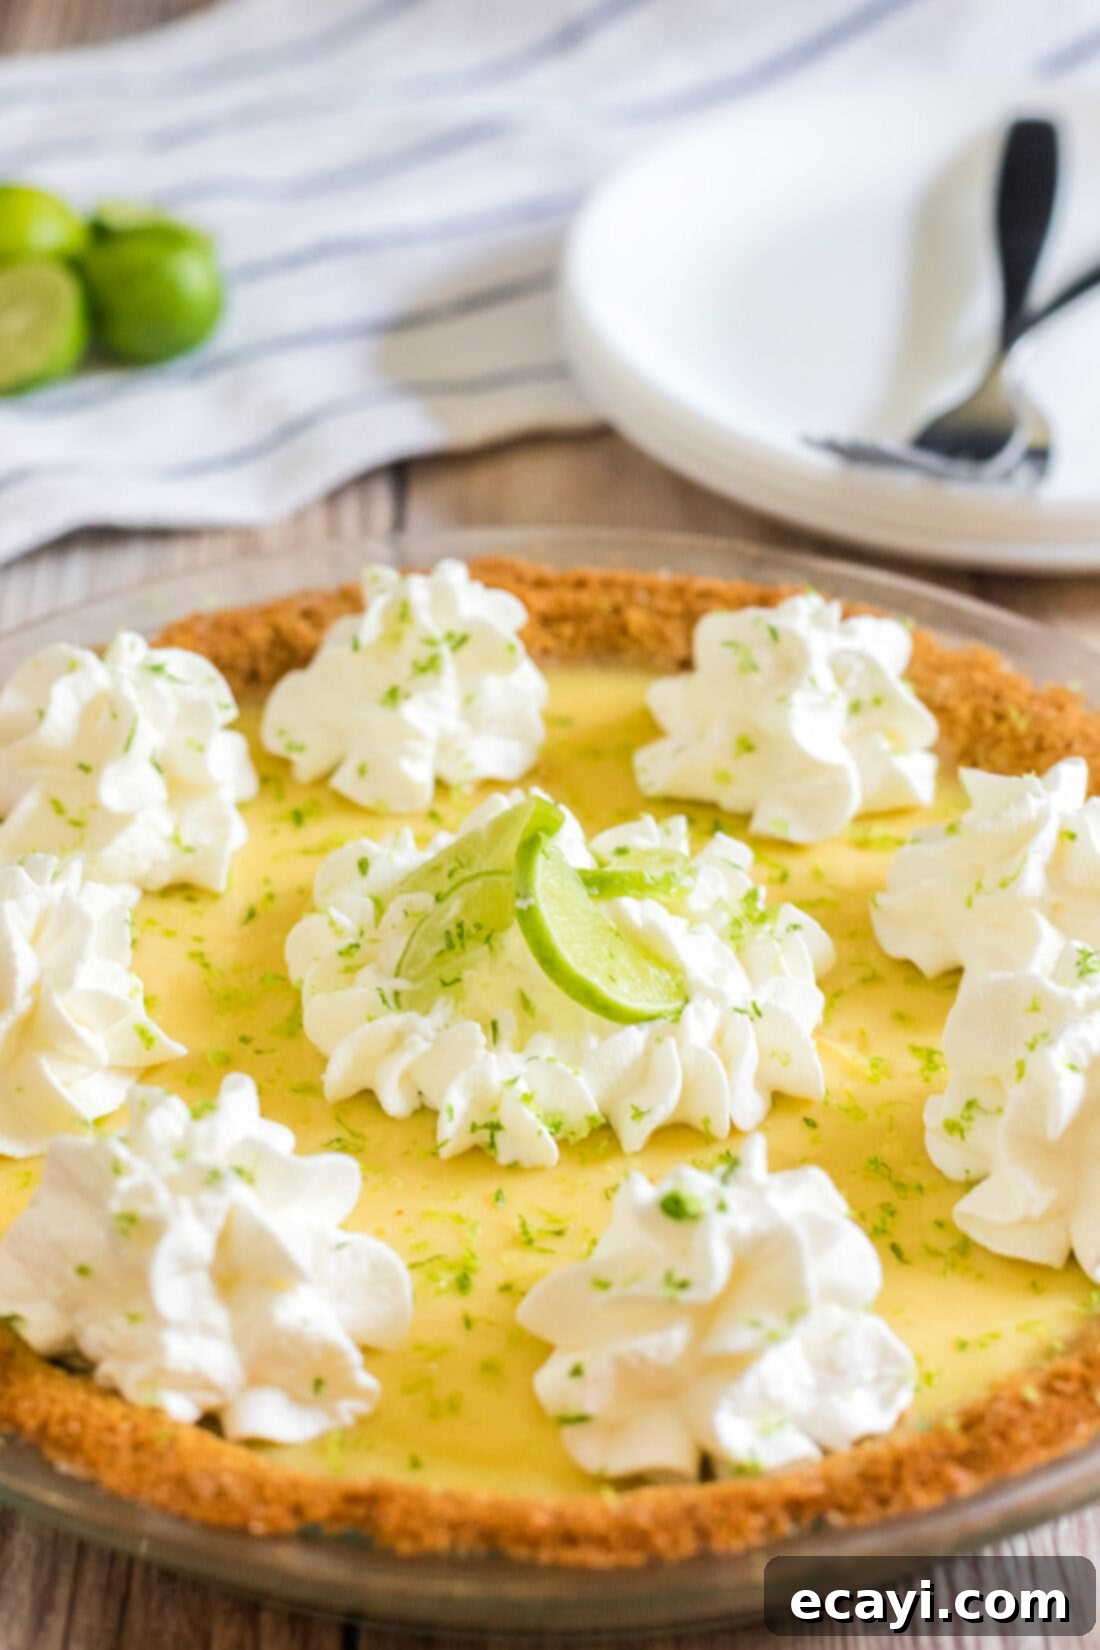
Serving Your Perfect Key Lime Pie
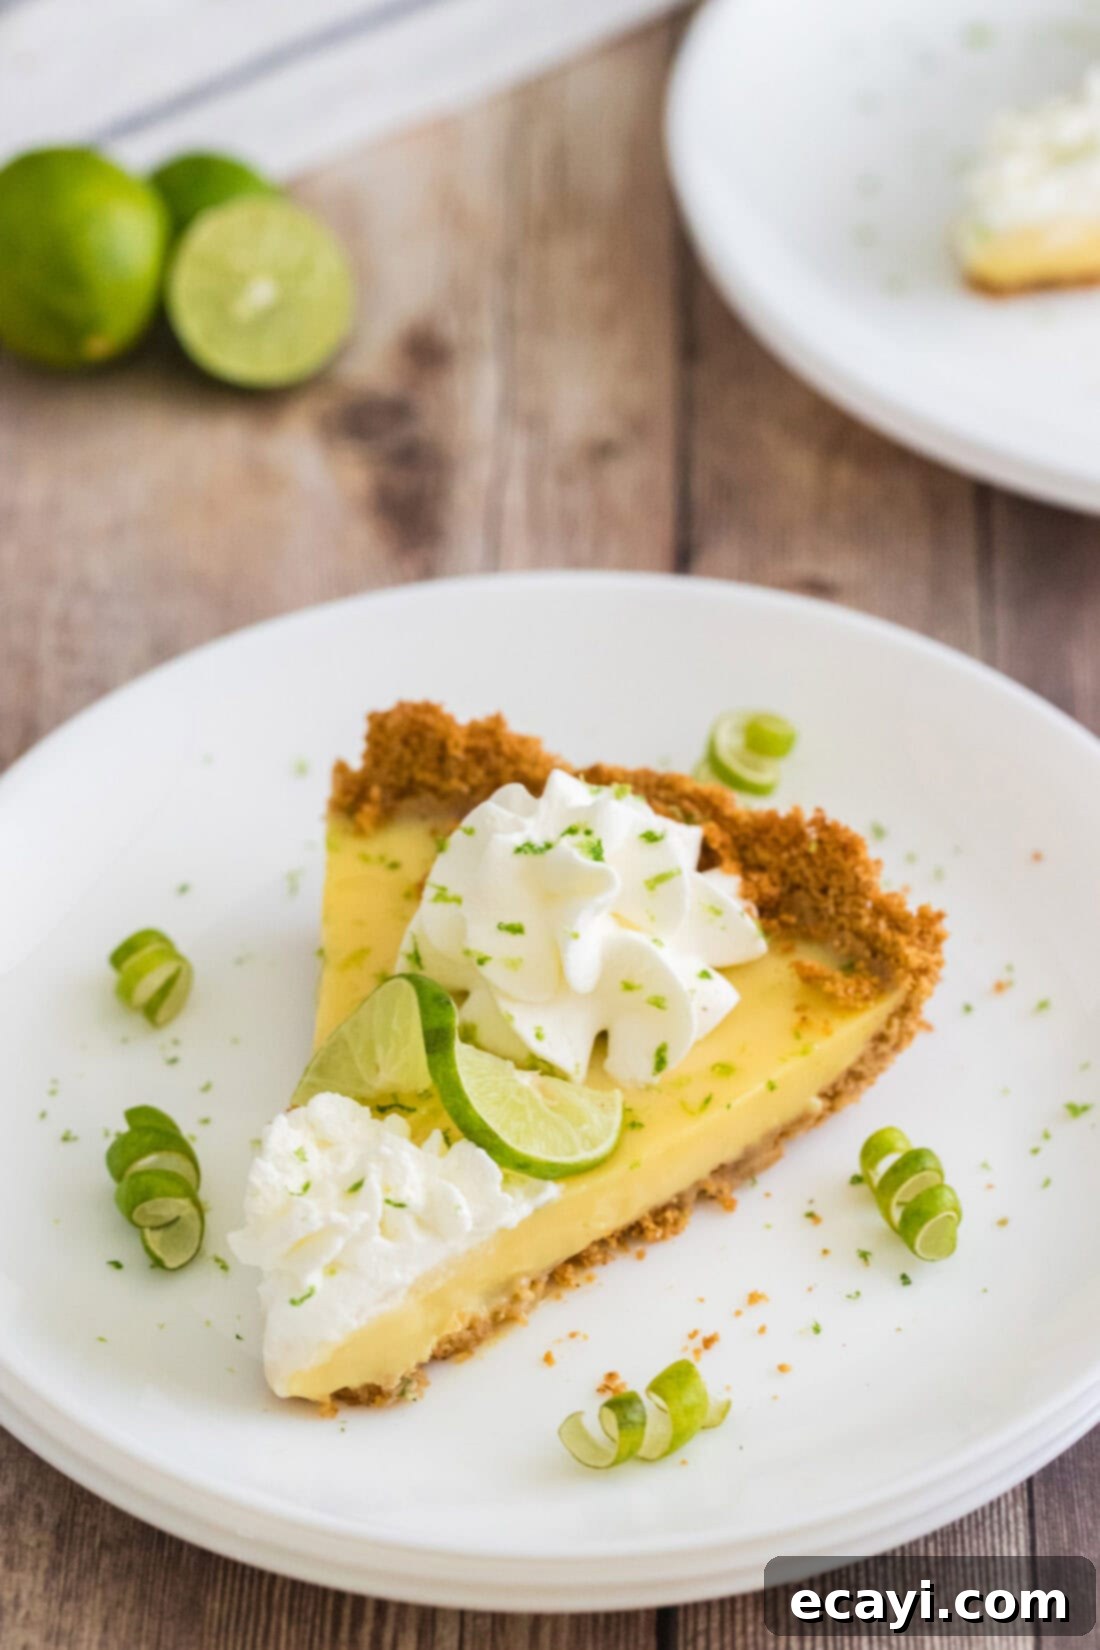
There, isn’t that simply beautiful? A homemade Key Lime Pie is a true culinary triumph – a vibrant, tangy, and exquisitely creamy treat that everyone should experience at least once. Its bright citrus notes and rich texture make it a refreshing dessert for any occasion, from casual family dinners to elegant gatherings. The impressive presentation, especially with a generous swirl of fresh whipped cream and a sprinkle of lime zest, is sure to captivate and impress your friends and guests.
Pies are inherently comforting and celebratory, making them ideal for holiday feasts, potlucks, or simply as a special weekend indulgence. This Key Lime Pie is particularly versatile; it pairs wonderfully with a cup of coffee, a light iced tea, or even a refreshing cocktail. For an extra touch of sophistication, consider serving it alongside a small bowl of fresh berries, like raspberries or blueberries, which offer a delightful color contrast and an additional layer of freshness. Whatever the setting, your homemade Key Lime Pie is guaranteed to be a memorable highlight.
Explore More Delicious Pie Recipes
If you have a passion for pie, we have plenty more delightful recipes to satisfy your cravings. Expand your baking repertoire with these other fantastic pie creations:
- French Silk Pie: Indulge in a rich, chocolatey classic.
- Blueberry Pie: A sweet and juicy taste of summer.
- Strawberry Pie: Fresh, vibrant, and bursting with berry flavor.
- Peanut Butter Pie: A creamy, no-bake dream for peanut butter lovers.
- Mini Key Lime Pies: All the flavor of the classic, in charming individual servings.
I absolutely adore sharing my passion for baking and cooking, along with all my kitchen experiences, with each and every one of you! Remembering to revisit the blog daily for new recipes can sometimes be a challenge, which is precisely why I offer a convenient newsletter delivered right to your inbox every time a new recipe is posted. Simply subscribe and start receiving your free daily recipes to keep your culinary inspiration flowing!

Classic Homemade Key Lime Pie
IMPORTANT – Be sure to scroll up and read the Frequently Asked Questions within the blog post; you may find them incredibly helpful for perfecting your pie!
Print It
Pin It
Rate It
Save It
Saved!
Prevent your screen from going dark
Course:
Desserts
Cuisine:
American
12
slices
4
hours
47
minutes
292
Amanda Davis
Ingredients
Crust
-
1 ½
cups
graham cracker crumbs -
2
Tablespoons
sugar -
5
Tablespoons
butter
melted
Filling
-
14
ounce
can sweetened condensed milk -
½
cup
lime juice
from Key limes – you could need about a dozen to get this much juice -
4
large
egg yolks
Topping
-
1
cup
heavy whipping cream -
1
Tablespoon
powdered sugar -
Lime peel strips
Things You’ll Need
-
Mixing bowls -
9 inch pie plate -
Wire cooling rack -
Piping bags
Instructions
Crust
-
Preheat oven to 325 F (160 C).
-
Combine graham cracker crumbs, sugar, and melted butter in a bowl with a fork until well mixed.1 1/2 cups graham cracker crumbs,
2 Tablespoons sugar,
5 Tablespoons butter -
Using the back of a measuring cup, press the crust mixture evenly into the bottom and up the sides of a 9-inch pie plate.
-
Bake for 10 minutes, then cool completely on a wire rack.
Filling
-
In a medium bowl, whisk together sweetened condensed milk, Key lime juice, and egg yolks until the mixture is smooth and thickens.14 ounce can sweetened condensed milk,
1/2 cup lime juice,
4 large egg yolks -
Pour the prepared filling into the cooled crust.
-
Bake until set, approximately 15-17 minutes. The center should jiggle slightly when gently nudged.
-
Cool completely on a wire rack.
-
Refrigerate for at least 4 hours, or ideally up to 24 hours, until thoroughly cold and firm.
Topping
-
Just before serving, beat heavy whipping cream and powdered sugar in a deep, chilled bowl until soft but firm peaks form.1 cup heavy whipping cream,
1 Tablespoon powdered sugar -
Add dollops or pipe the whipped cream around the outside edge of the pie and sprinkle with fresh lime peel strips for garnish.Lime peel strips
Nutrition
Serving:
1
slice
|
Calories:
292
cal
|
Carbohydrates:
30
g
|
Protein:
5
g
|
Fat:
18
g
|
Saturated Fat:
10
g
|
Cholesterol:
112
mg
|
Sodium:
163
mg
|
Potassium:
174
mg
|
Fiber:
1
g
|
Sugar:
23
g
|
Vitamin A:
610
IU
|
Vitamin C:
4
mg
|
Calcium:
125
mg
|
Iron:
0.6
mg
Tried this Recipe? Pin it for Later!
Follow on Pinterest @AmandasCookin or tag #AmandasCookin!
The recipes on this blog are tested with a conventional gas oven and gas stovetop. It’s important to note that some ovens, especially as they age, can cook and bake inconsistently. Using an inexpensive oven thermometer can assure you that your oven is truly heating to the proper temperature. If you use a toaster oven or countertop oven, please keep in mind that they may not distribute heat the same as a conventional full sized oven and you may need to adjust your cooking/baking times. In the case of recipes made with a pressure cooker, air fryer, slow cooker, or other appliance, a link to the appliances we use is listed within each respective recipe. For baking recipes where measurements are given by weight, please note that results may not be the same if cups are used instead, and we can’t guarantee success with that method.
This post was originally published here on July 9, 2019.
