Ultimate Shredded Beef Enchiladas with Creamy Green Chile Sauce
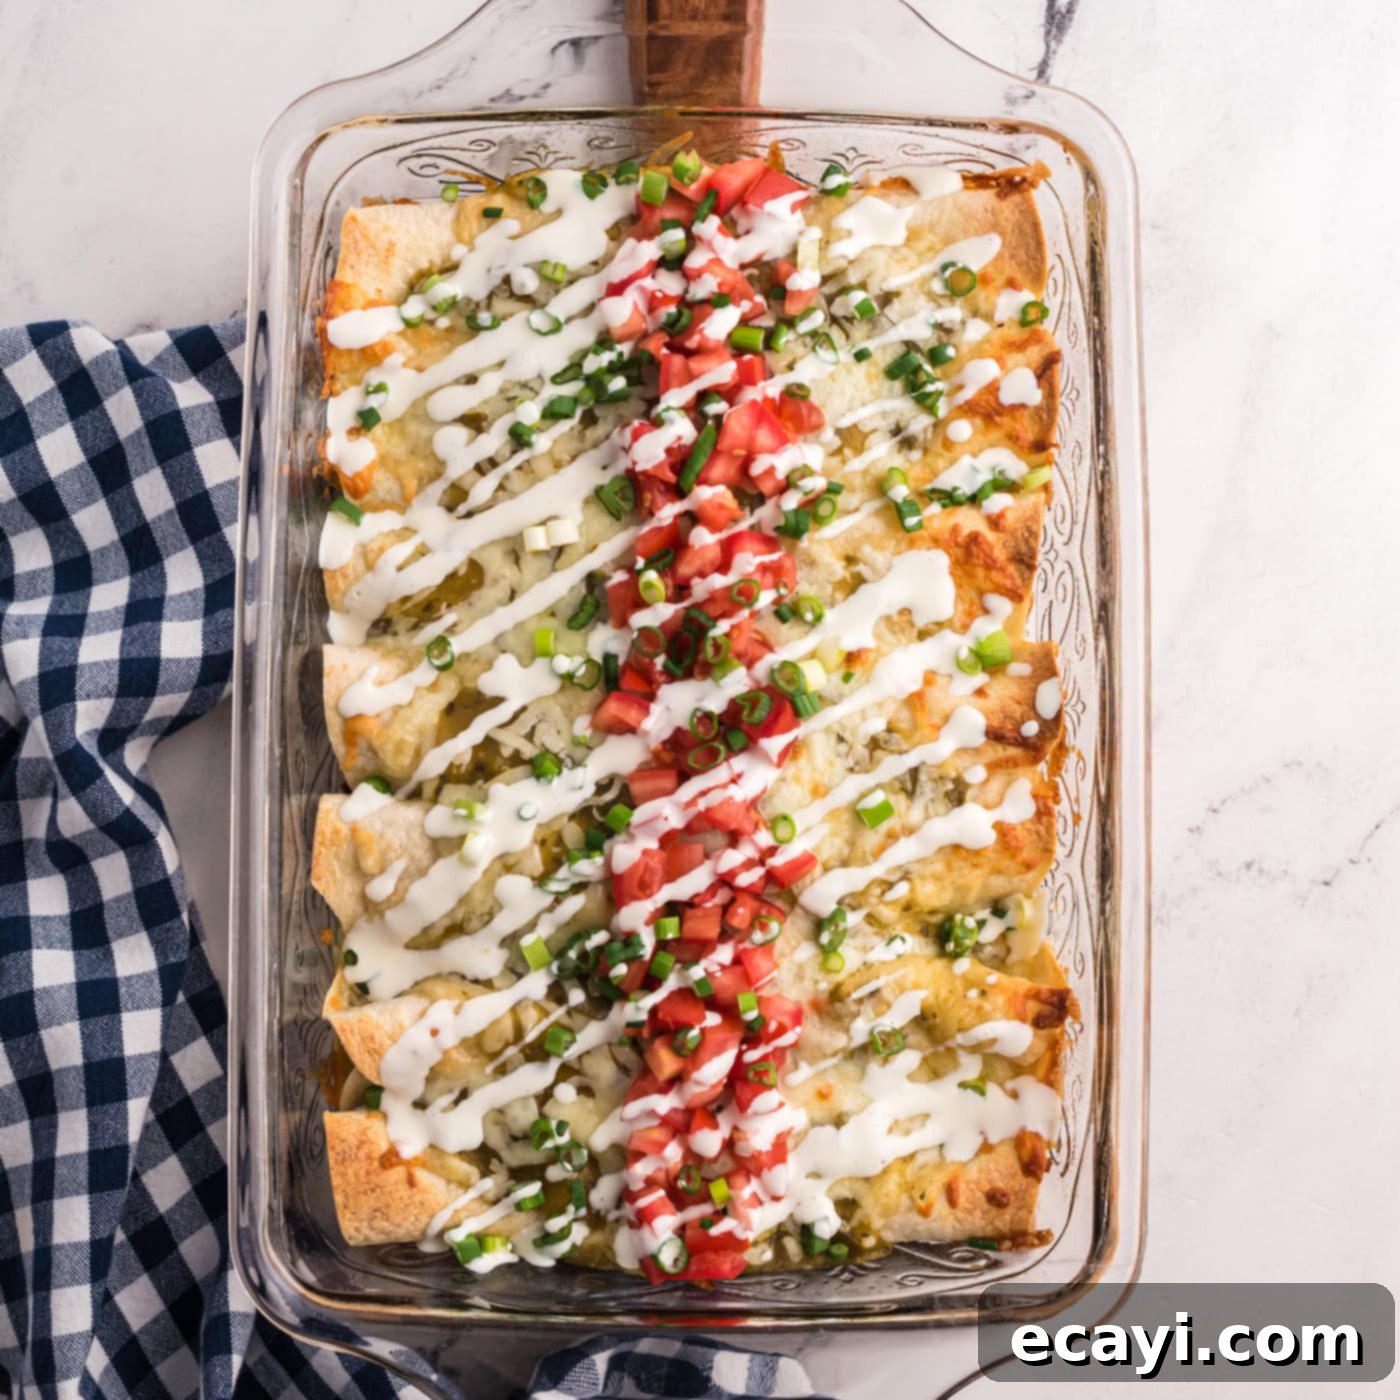
Prepare for a culinary journey with our ultimate shredded beef enchiladas! This recipe transforms humble chuck roast into an extraordinary meal, featuring incredibly tender, pull-apart beef infused with savory onions. Each soft tortilla is generously filled with this rich beef mixture, then enveloped in a luxurious green chile sour cream sauce, culminating in a dish that’s both comforting and bursting with authentic flavor. It’s a true family favorite, perfect for weeknight dinners or special gatherings, and guaranteed to earn rave reviews.
Why These Shredded Beef Enchiladas Are a Must-Try
Beef enchiladas have long been a beloved staple in many households, and this recipe elevates them to new heights. It’s a comforting casserole that consistently satisfies, even appealing to the most discerning palates. What makes our shredded beef enchiladas truly exceptional is the star ingredient: a whole chuck roast, slow-cooked to perfection until it’s fall-apart tender. The beef is then lovingly tossed with sautéed onions and bathed in a creamy, cheesy, and vibrant green chile sauce. This sauce not only adds a delightful tang and spice but also infuses every strand of beef with incredible moisture and flavor, preventing any dryness often associated with shredded meats.
Beyond its irresistible taste, a significant advantage of this enchilada recipe is its incredible versatility. It provides a robust and flavorful foundation that welcomes your creative additions and substitutions. Do you prefer a quicker meal prep? You can easily swap the chuck roast for seasoned ground beef, tender shredded chicken (perhaps from a rotisserie chicken for extra convenience), or even leftover brisket, making it a fantastic way to repurpose ingredients. Craving more texture and flavor in your filling? Incorporate ingredients like sweet corn kernels, diced jalapeños for an extra kick, or a variety of beans (black, pinto) to enhance the nutritional value and heartiness. And when it comes to the sauce, the choice is yours – a classic red enchilada sauce for deep, earthy notes, or our recommended green chile sour cream mixture for a brighter, tangy profile. This adaptability ensures that every batch of these shredded beef enchiladas can be uniquely tailored to your preferences, guaranteeing a delicious and satisfying experience every time.
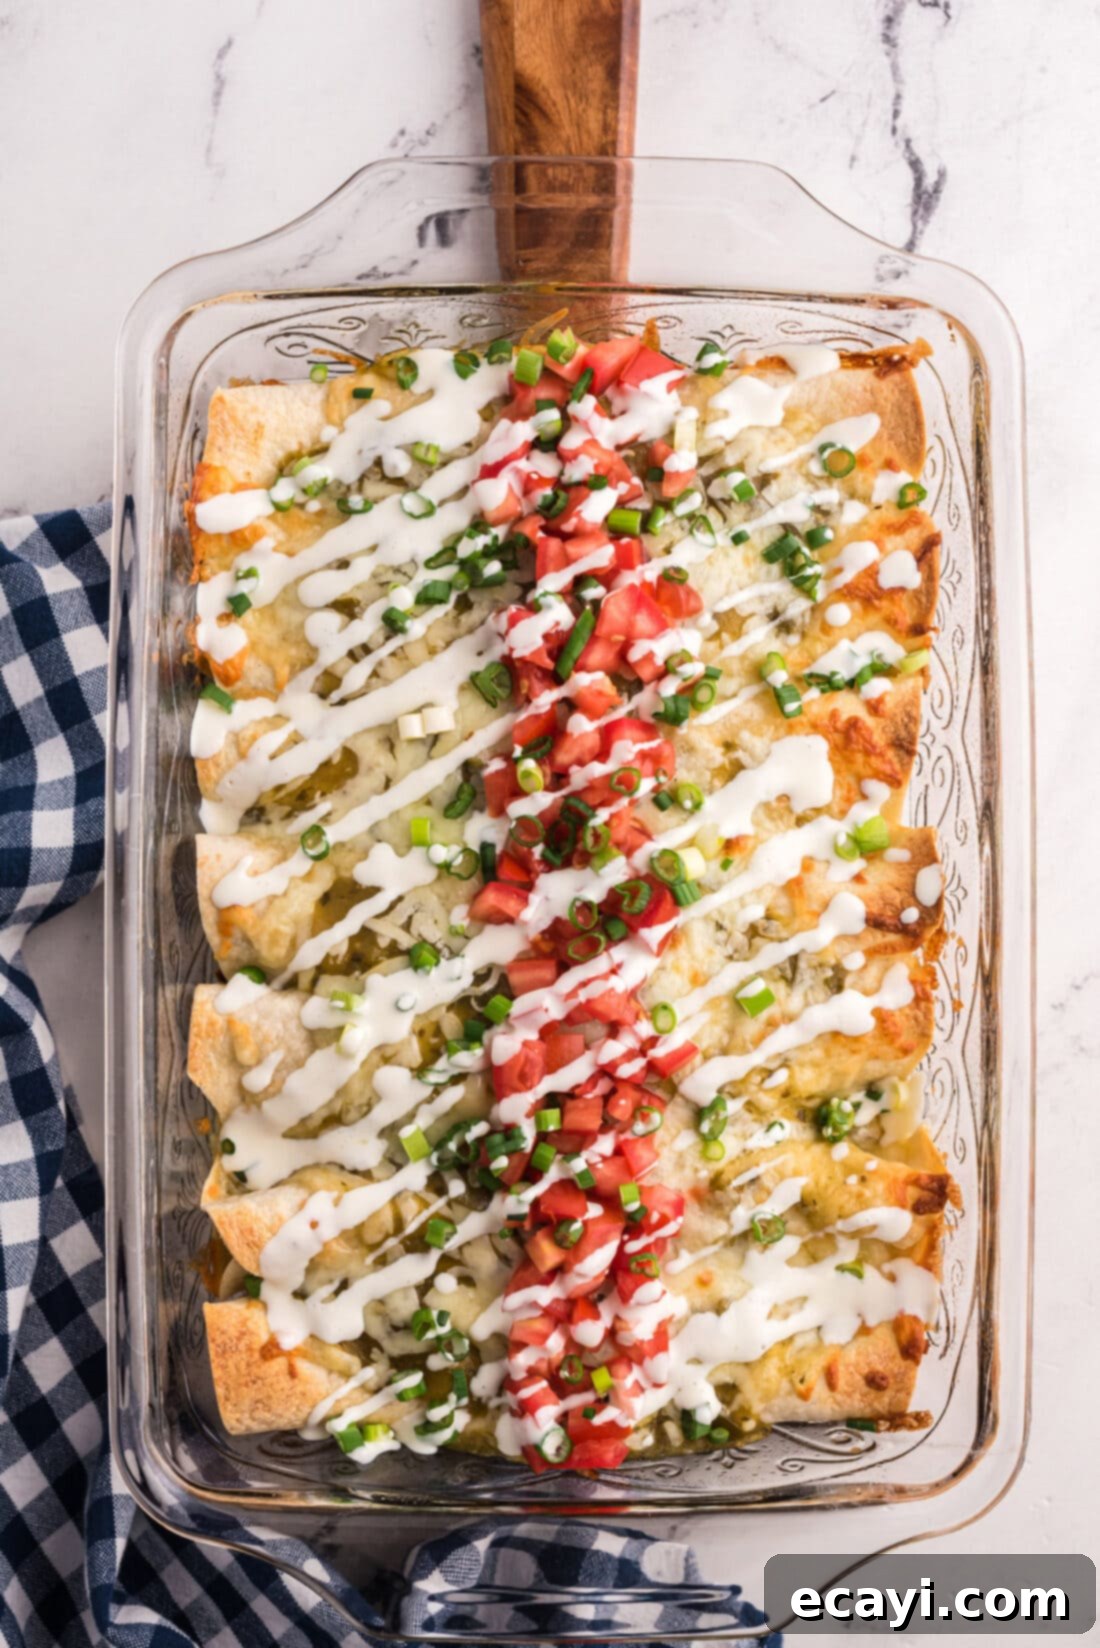
Essential Ingredients for Perfect Beef Enchiladas
To create these delightful shredded beef enchiladas, you’ll need a selection of fresh and flavorful ingredients. Gathering everything beforehand ensures a smooth and enjoyable cooking process. For a complete list of all measurements, specific ingredients, and detailed instructions, please refer to the printable recipe card available at the very end of this post.
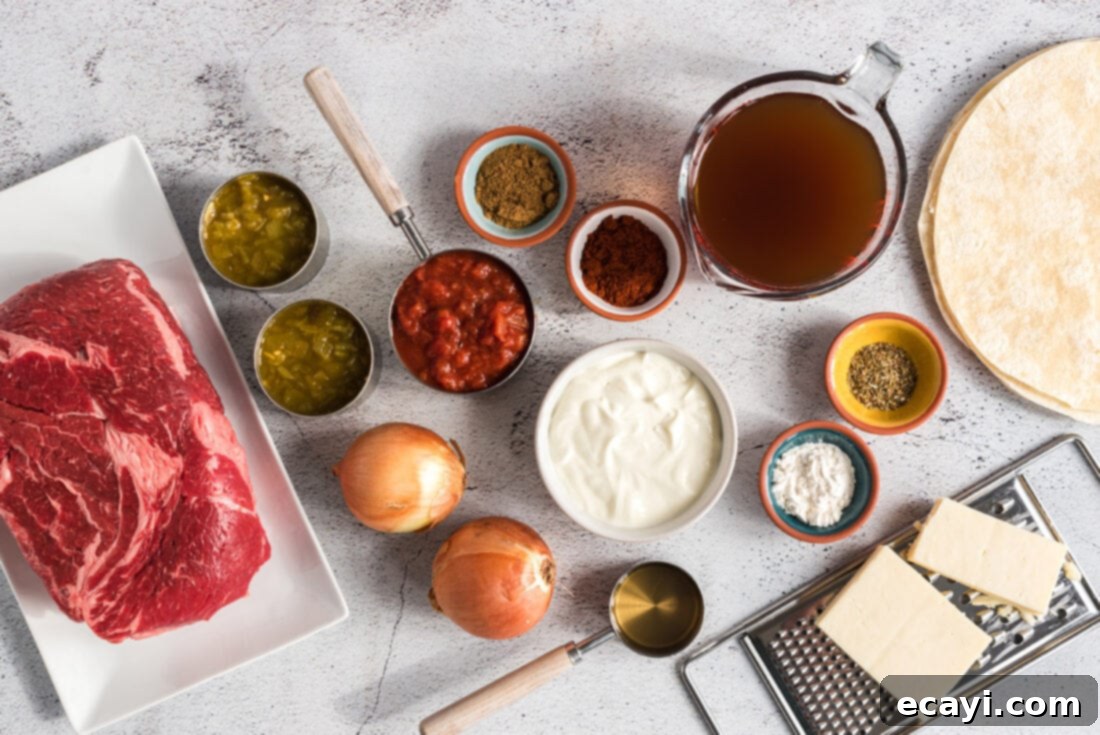
Ingredient Spotlight & Flexible Substitutions
Understanding your ingredients and knowing when to make smart substitutions can greatly enhance your cooking experience. Here’s a closer look at the key components of our shredded beef enchiladas:
BEEF – Our recipe proudly features a chuck roast, which is celebrated for its rich marbling and robust flavor. When slow-cooked, it breaks down beautifully, yielding incredibly tender, shreddable meat that absorbs seasonings wonderfully. While chuck roast is our top recommendation, you can certainly swap it with brisket, another cut known for its excellent slow-cooking properties and similar tender results. If you’re pressed for time or seeking a quicker preparation, feel free to substitute with ground beef (browned and seasoned with taco seasoning for extra flavor), or even pre-cooked, shredded rotisserie chicken for a lighter alternative. The beauty of enchiladas lies in their versatility, so don’t hesitate to use whatever tender, flavorful filling you prefer!
TORTILLAS – Traditionally, enchiladas are made with corn tortillas, which offer an authentic, earthy flavor. However, for this recipe, we’ve opted for soft flour tortillas. They are generally stronger and more pliable, making them easier to roll and less prone to tearing or falling apart when generously filled. This ensures your enchiladas hold their shape beautifully, capturing all the delicious ingredients inside. If you do prefer corn tortillas, gently warm them first to increase their flexibility and prevent breakage during rolling.
SAUCE – The sauce is a defining element of any enchilada dish. For ultimate convenience, a high-quality store-bought salsa verde works wonderfully. If you have a little extra time and want to truly impress, consider making your own homemade salsa verde for a fresh, vibrant, and tangy kick. Alternatively, our rich and savory homemade red enchilada sauce offers a deeper, more traditional flavor profile. Whichever you choose, ensure it complements the tender beef and creamy filling!
Crafting Your Homemade Shredded Beef Enchiladas
These step-by-step photos and detailed instructions are provided to guide you visually through the process of making this incredible recipe. For a convenient printable version, complete with all exact measurements and detailed instructions, simply Jump to Recipe at the bottom of this post.
- Preheat your oven to 325 F (160°C). Begin by carefully trimming any excess fat from your chuck roast. In a small bowl, combine 4 teaspoons of chili powder with the ground cumin and dried oregano. This aromatic spice blend will form the savory foundation for your beef.

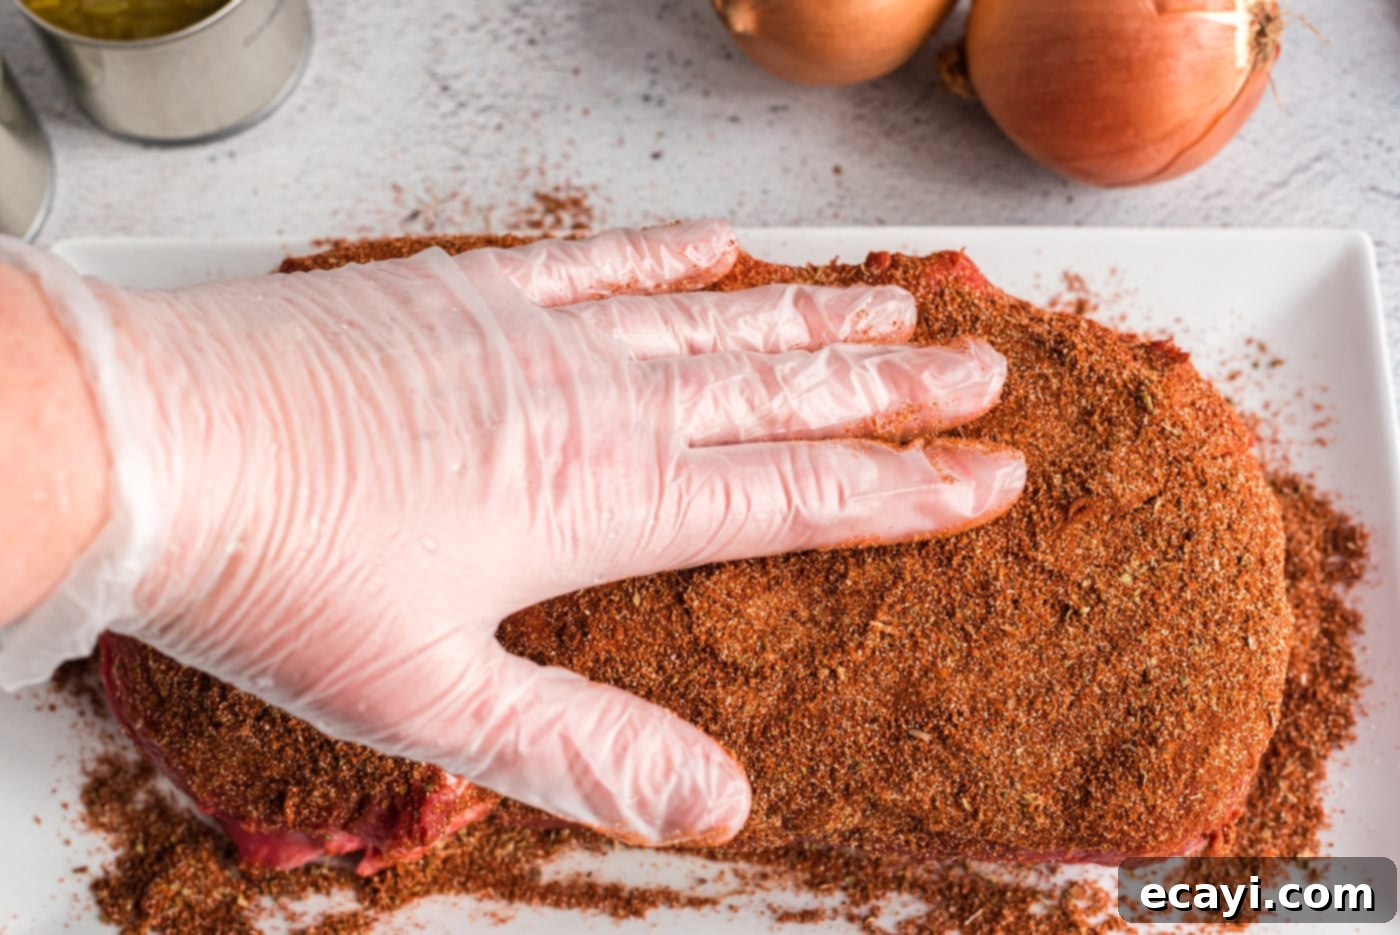
- Generously sprinkle this homemade spice mixture over all sides of the beef. Use your fingers to thoroughly rub the spices into the meat, ensuring an even coating for maximum flavor penetration.
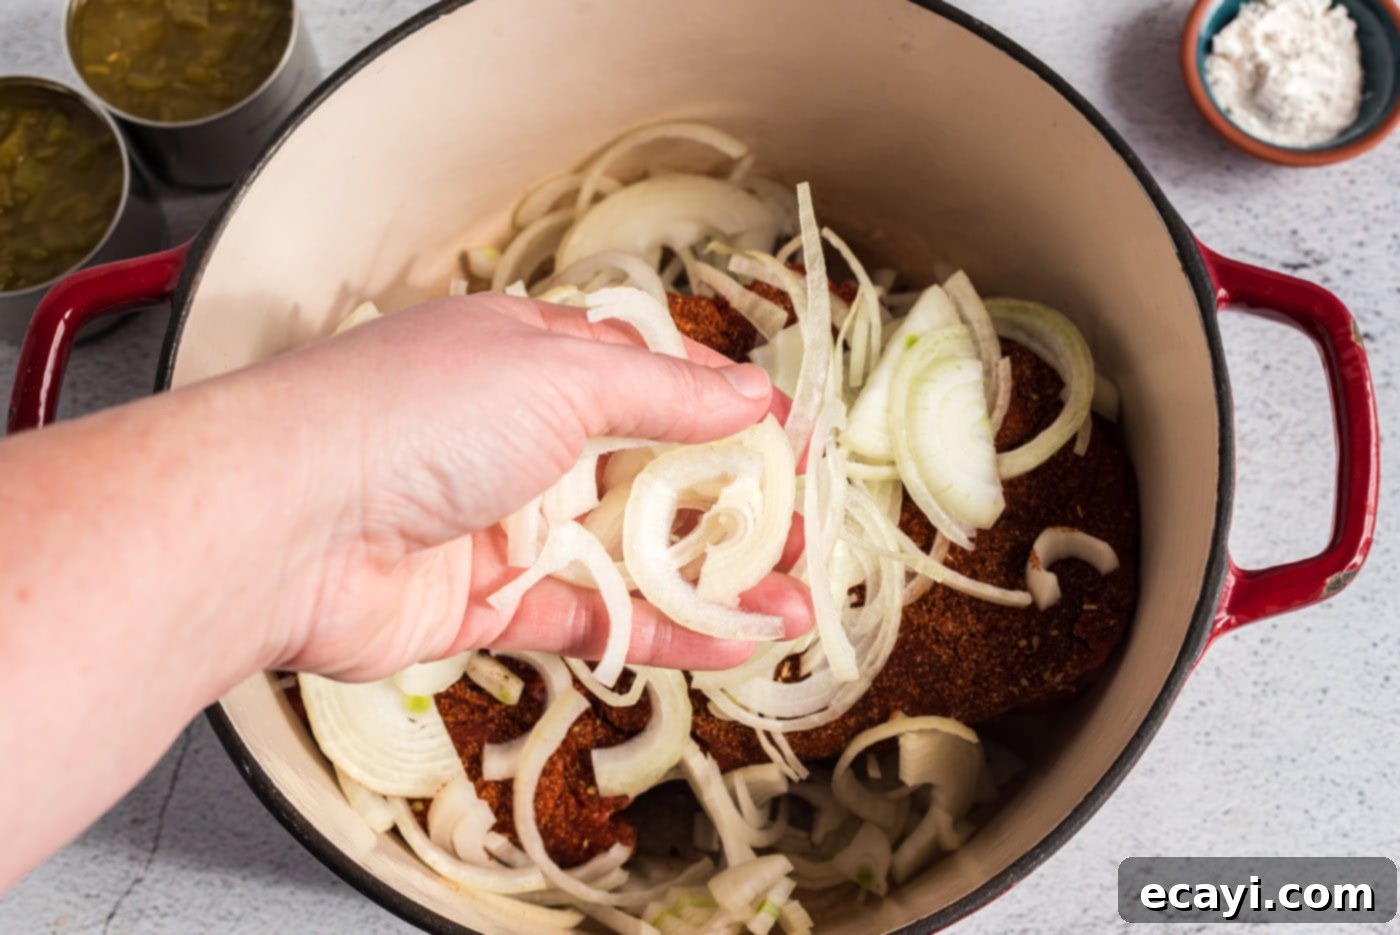
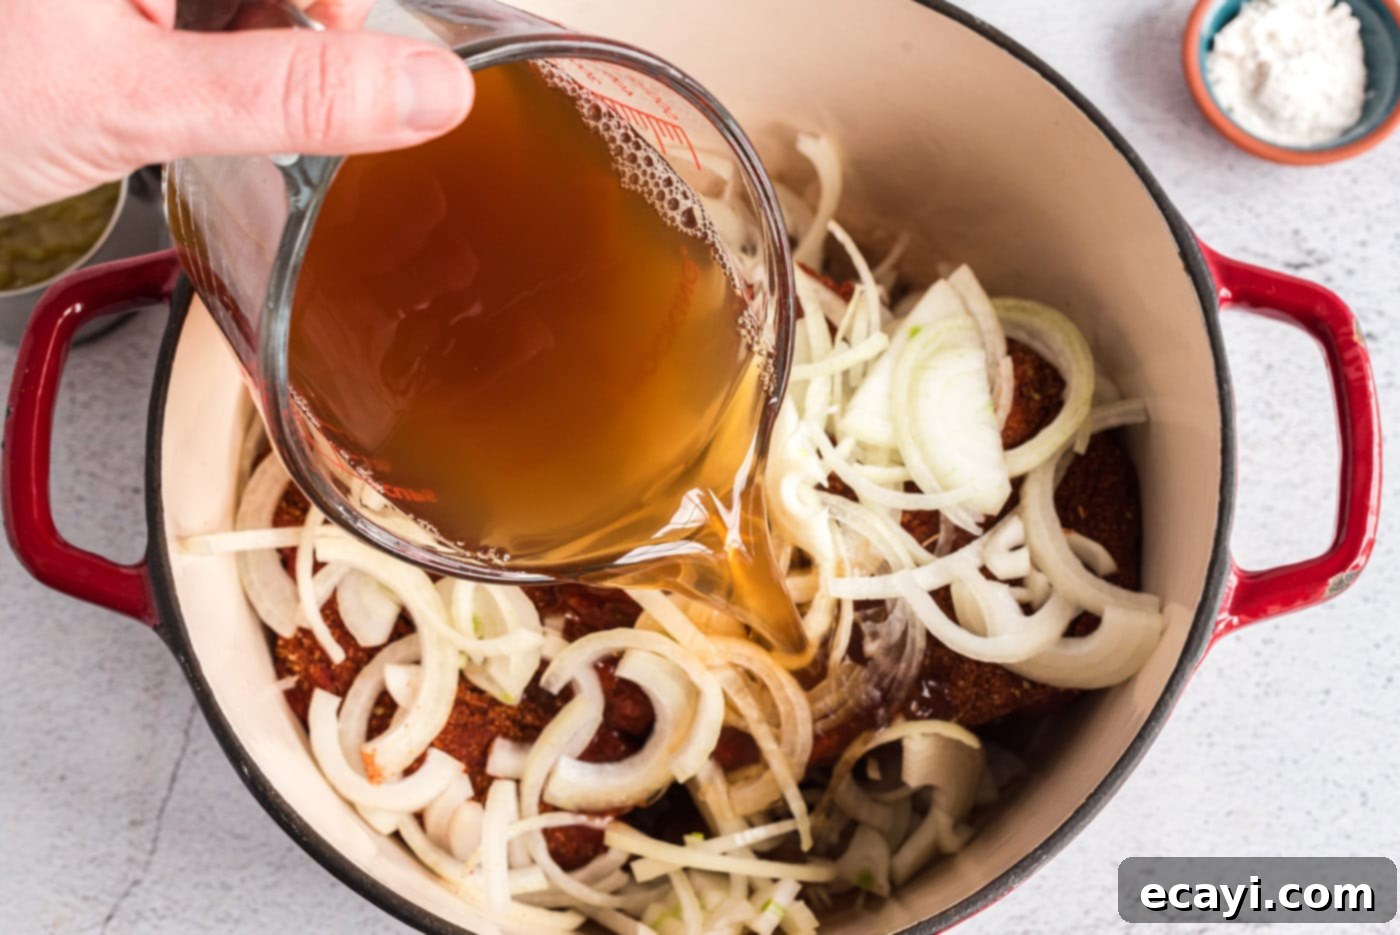
- Place the seasoned chuck roast into a shallow roasting pan or a heavy-bottomed Dutch oven. Arrange the thinly sliced onions over the top of the beef. Pour in the beef broth and white wine vinegar. These liquids will braise the meat, creating a tender and moist roast. Cover the pan tightly with a lid or foil and roast in the preheated oven for approximately 3 hours, or until the meat is incredibly fork-tender and easily pulls apart.


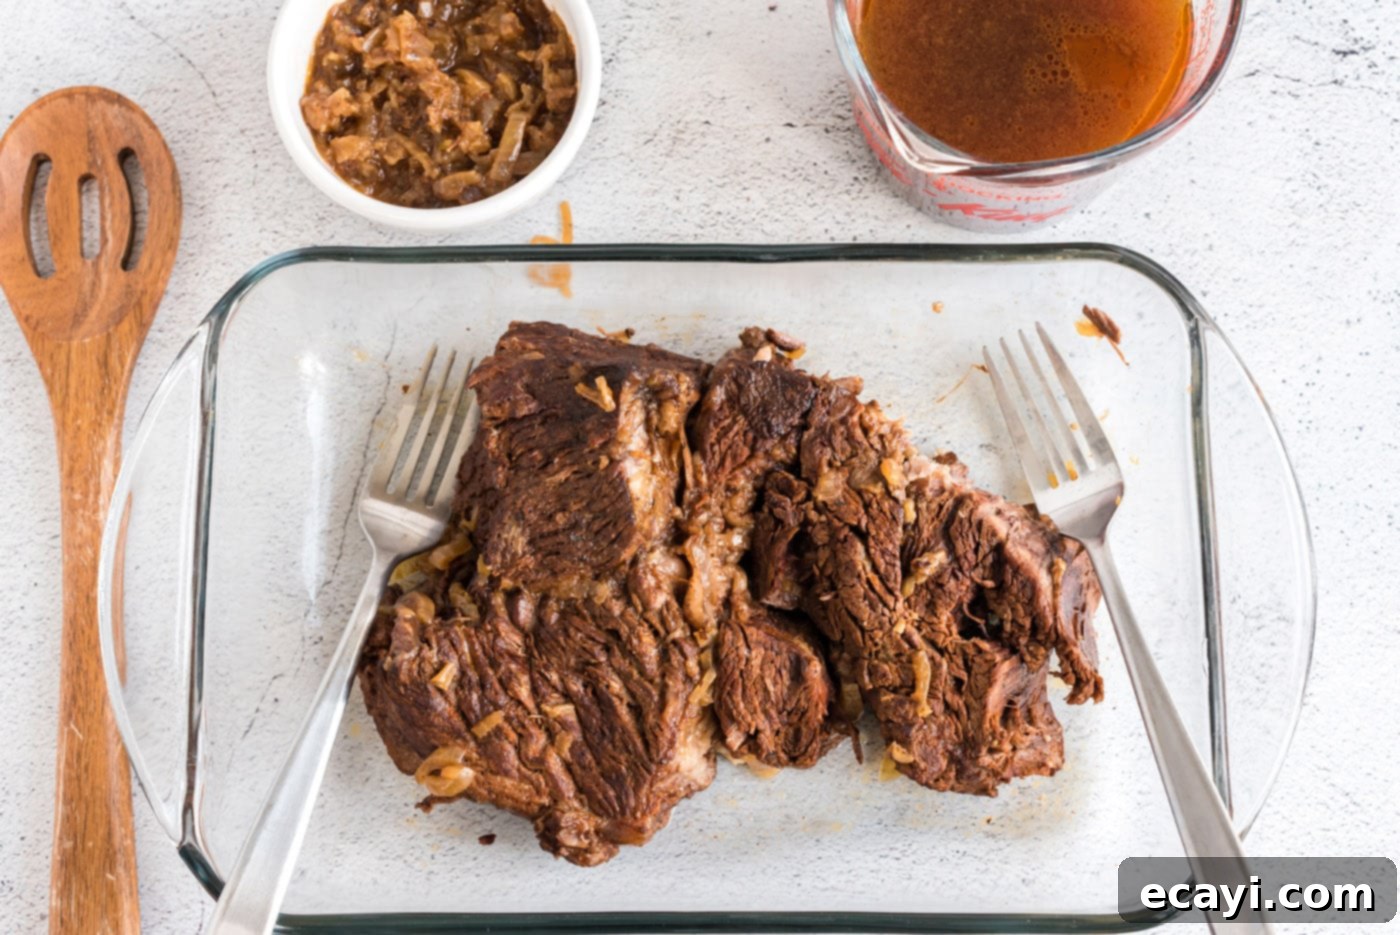
- Once cooked, remove the pan from the oven and let the meat stand in its rich pan juices for about 15 minutes. This allows the meat to cool slightly and reabsorb some of the flavorful liquids, making it even juicier and easier to handle.
- Carefully remove the meat from the pan. Using a slotted spoon, retrieve the cooked onions and set them aside. Reserve the pan juices, as these will be used to moisten the shredded beef.
EXPERT TIP – If you were diligent in trimming the fat from the meat initially, you shouldn’t have much fat floating on the surface of the juices. However, if a significant layer of fat is present, simply skim it off with a spoon or use a fat separator for cleaner results.
- Halve the tender meat crosswise, then use two forks to easily shred it into fine, flavorful strands. This creates the perfect texture for enchilada filling.

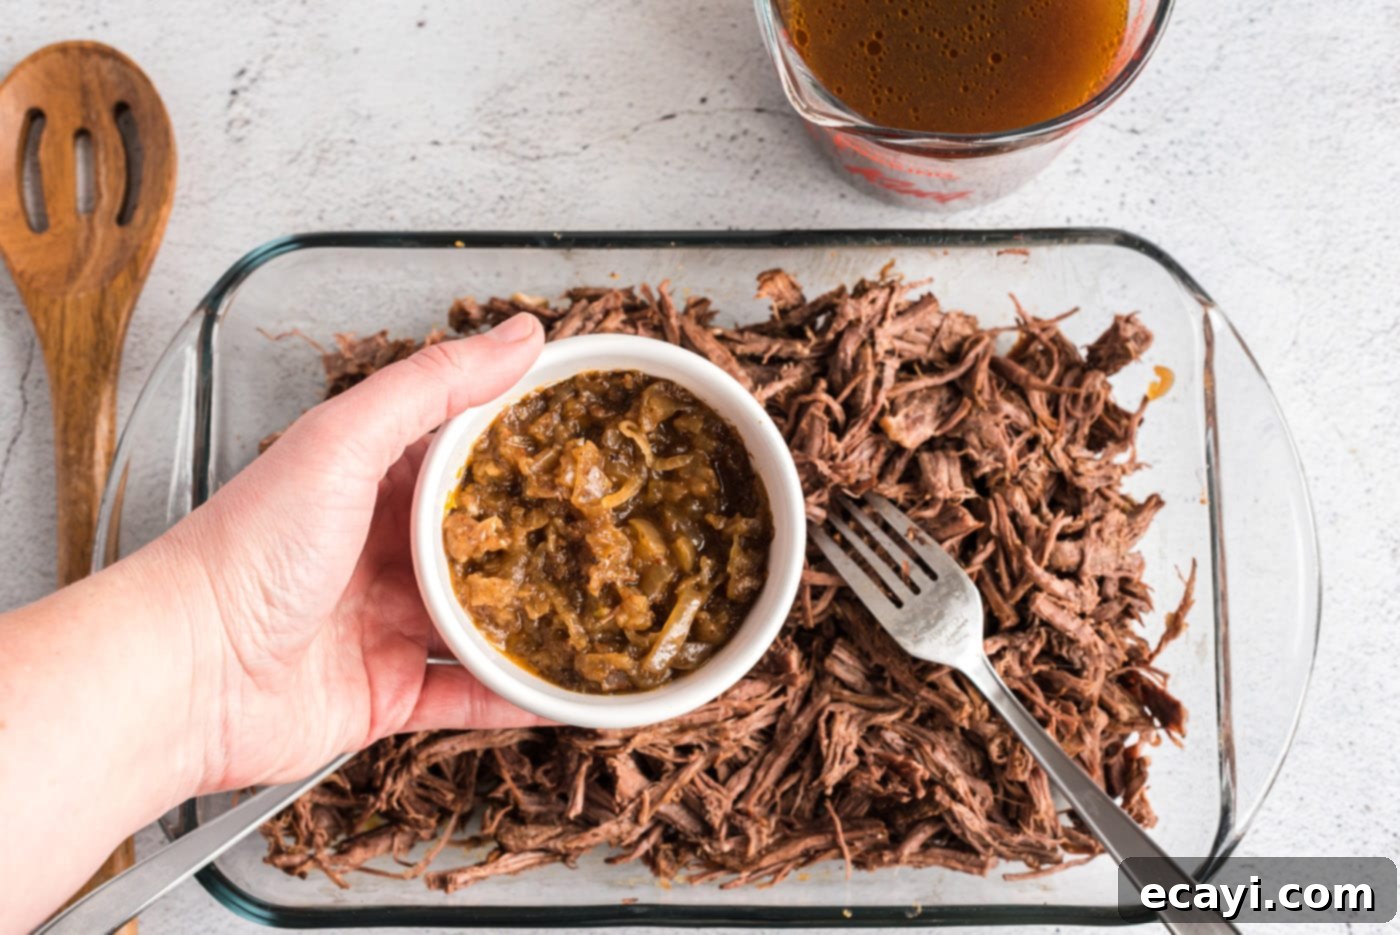
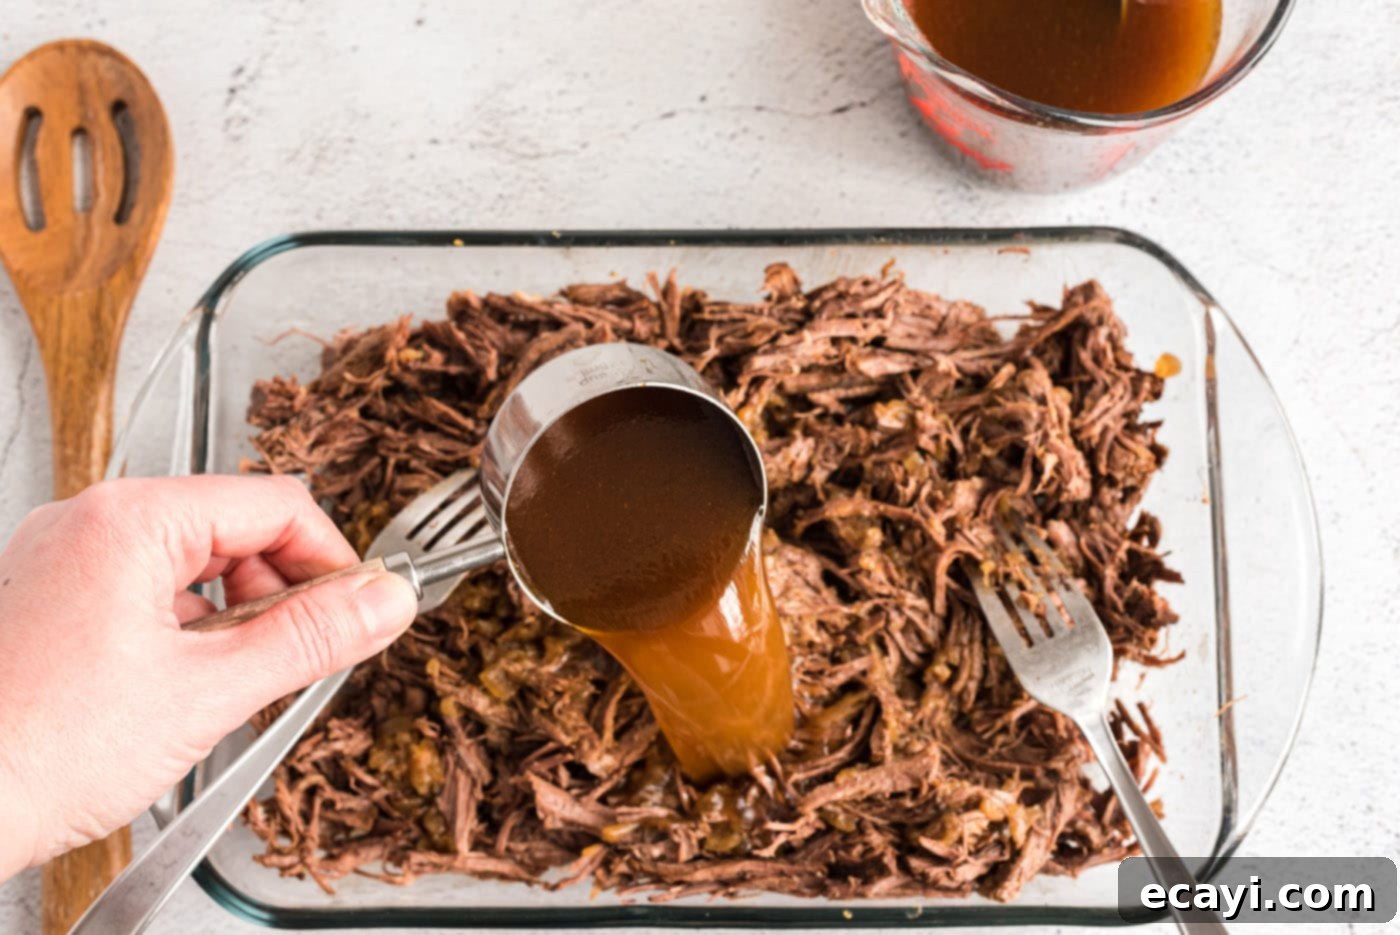
- Stir the reserved onions back into the shredded beef. Gradually add 1/2 to 1 cup of the reserved pan juices to moisten the meat mixture. The goal is to make it flavorful and succulent without being overly wet. Set this delicious meat mixture aside and discard any remaining pan juices.


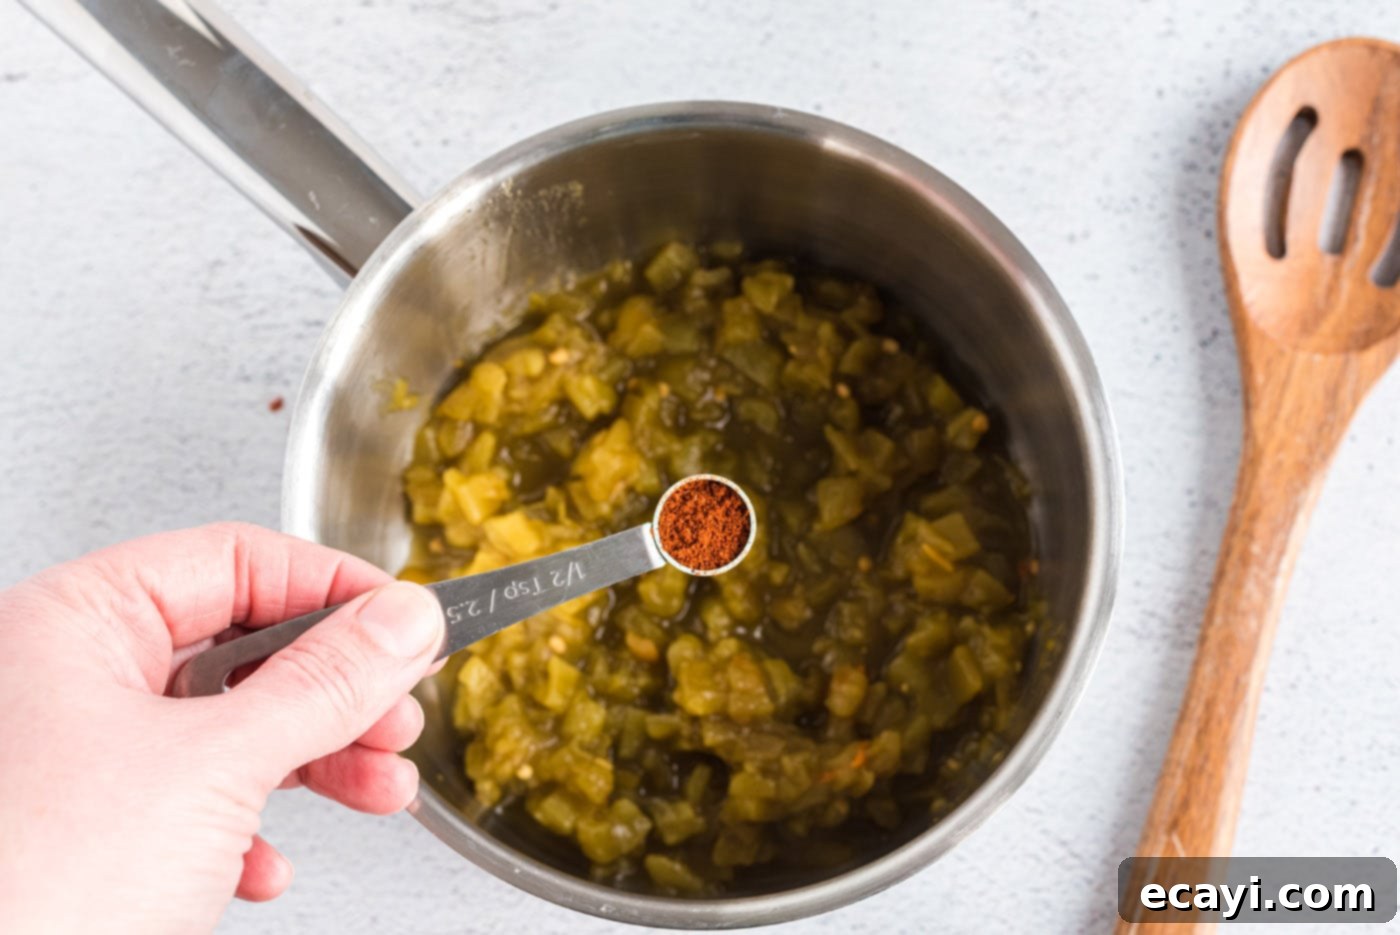
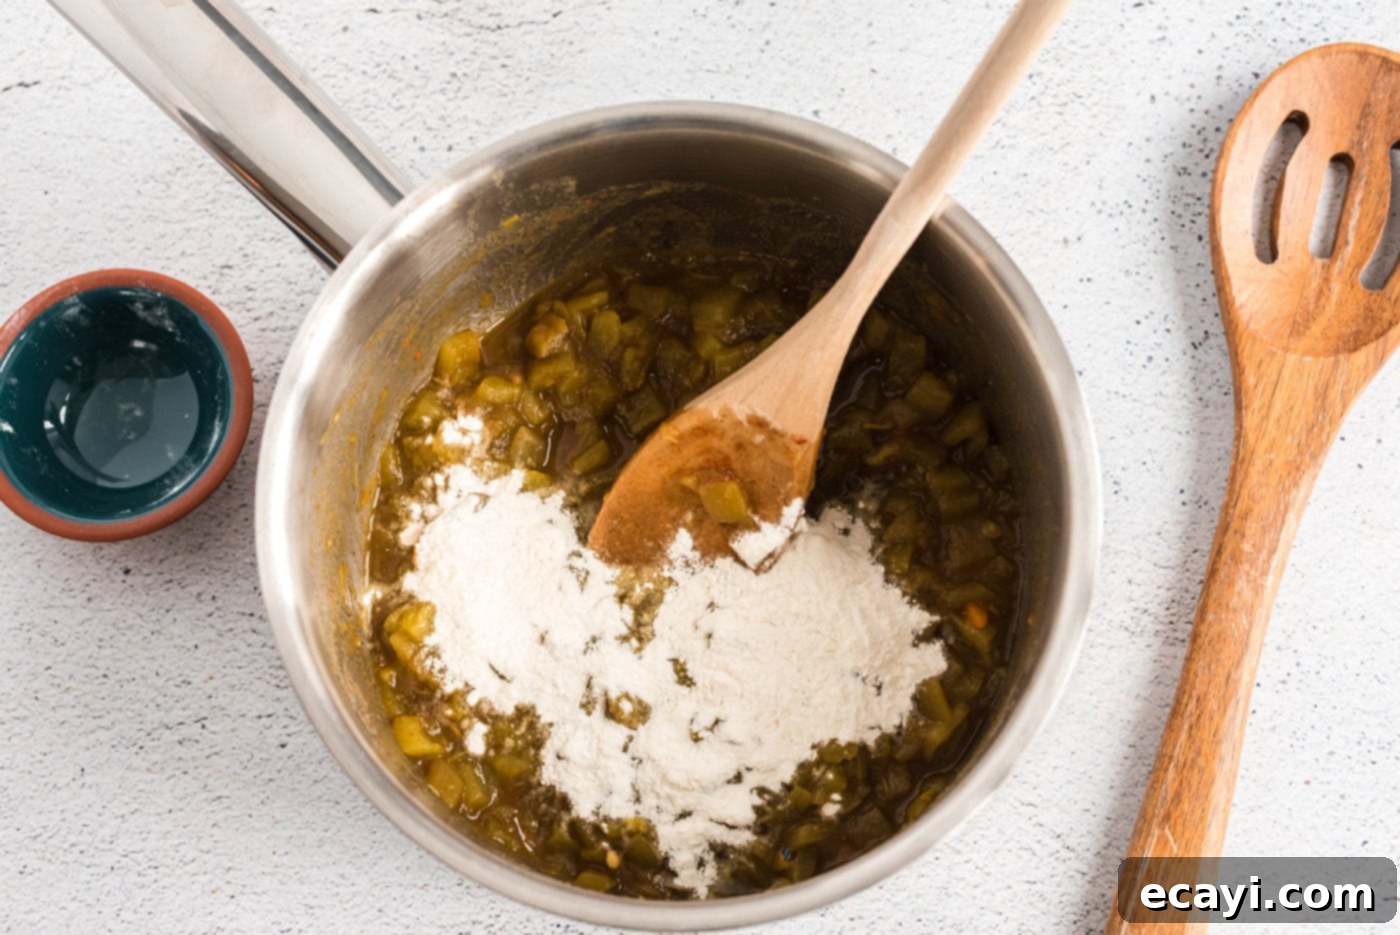
- For the creamy green chile sauce, combine the undrained diced green chile peppers and the remaining 1/2 teaspoon of chili powder in a medium saucepan. Cook over medium heat for about one minute, stirring constantly, until heated through and fragrant. Stir in the all-purpose flour and continue to cook and stir for another minute. This helps cook out the raw flour taste and thickens the sauce.


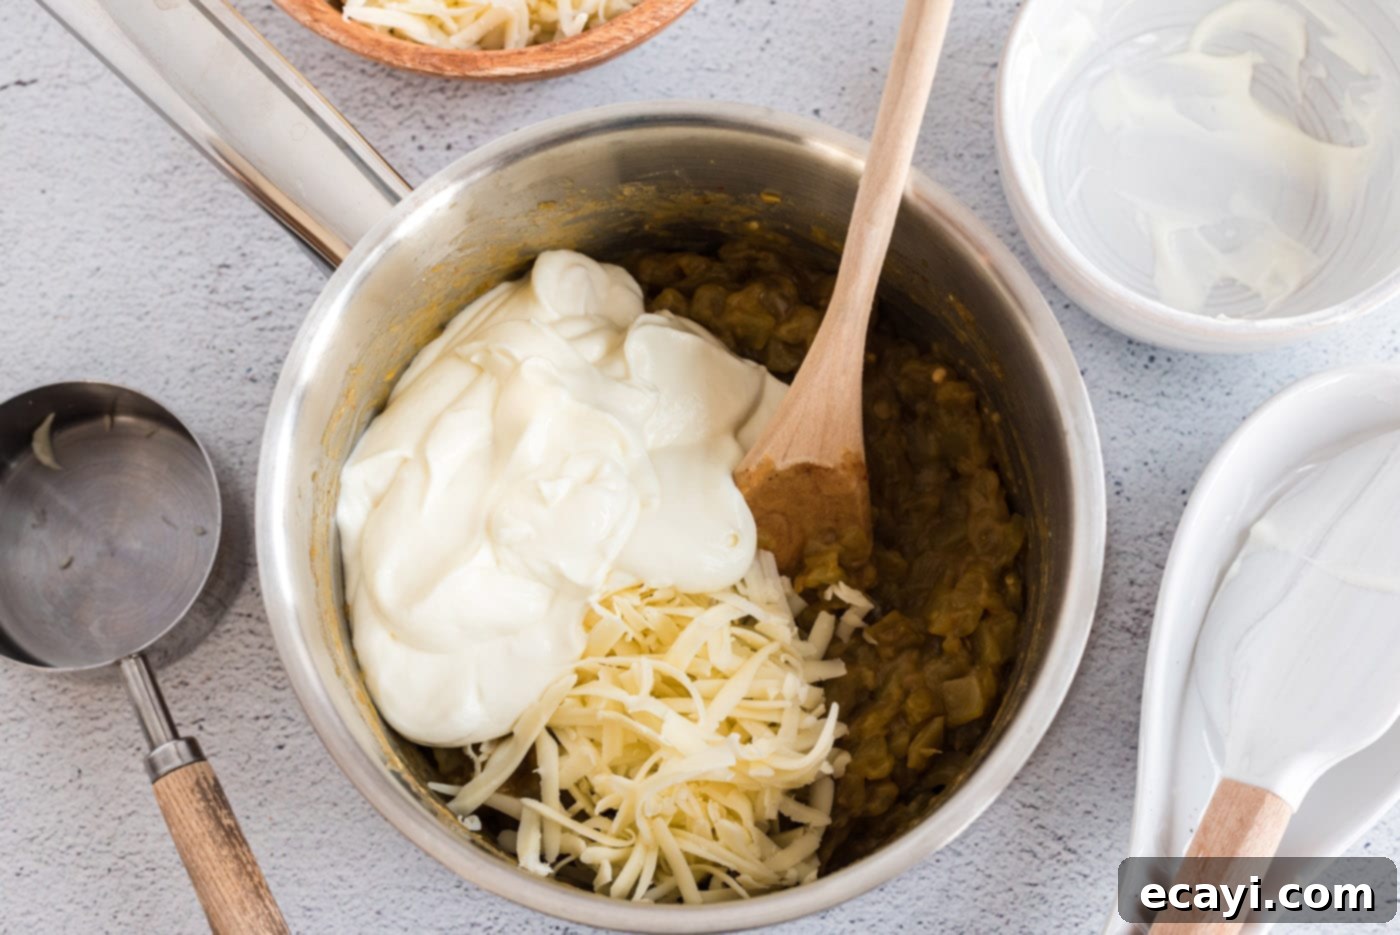
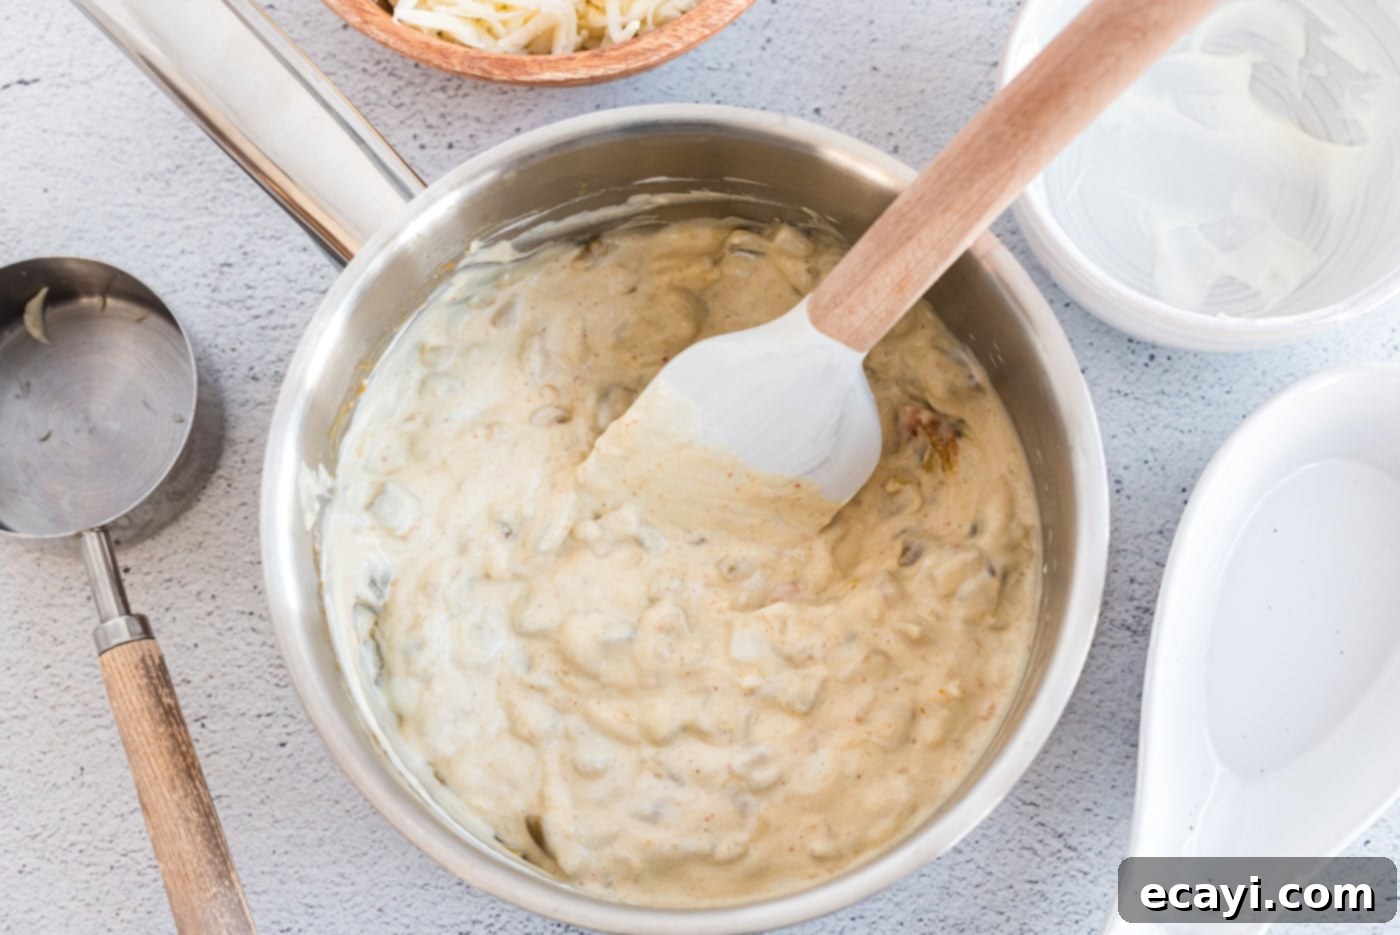
- Remove the saucepan from the heat. Stir in the sour cream until smooth and then fold in 1/2 cup of the shredded Monterey Jack cheese. This creates a rich, tangy, and incredibly creamy sauce that will perfectly complement the beef.


- Increase your oven temperature to 350 F (175°C). Lightly grease or spray a 13×9 inch baking dish and set it aside, ready for assembly.
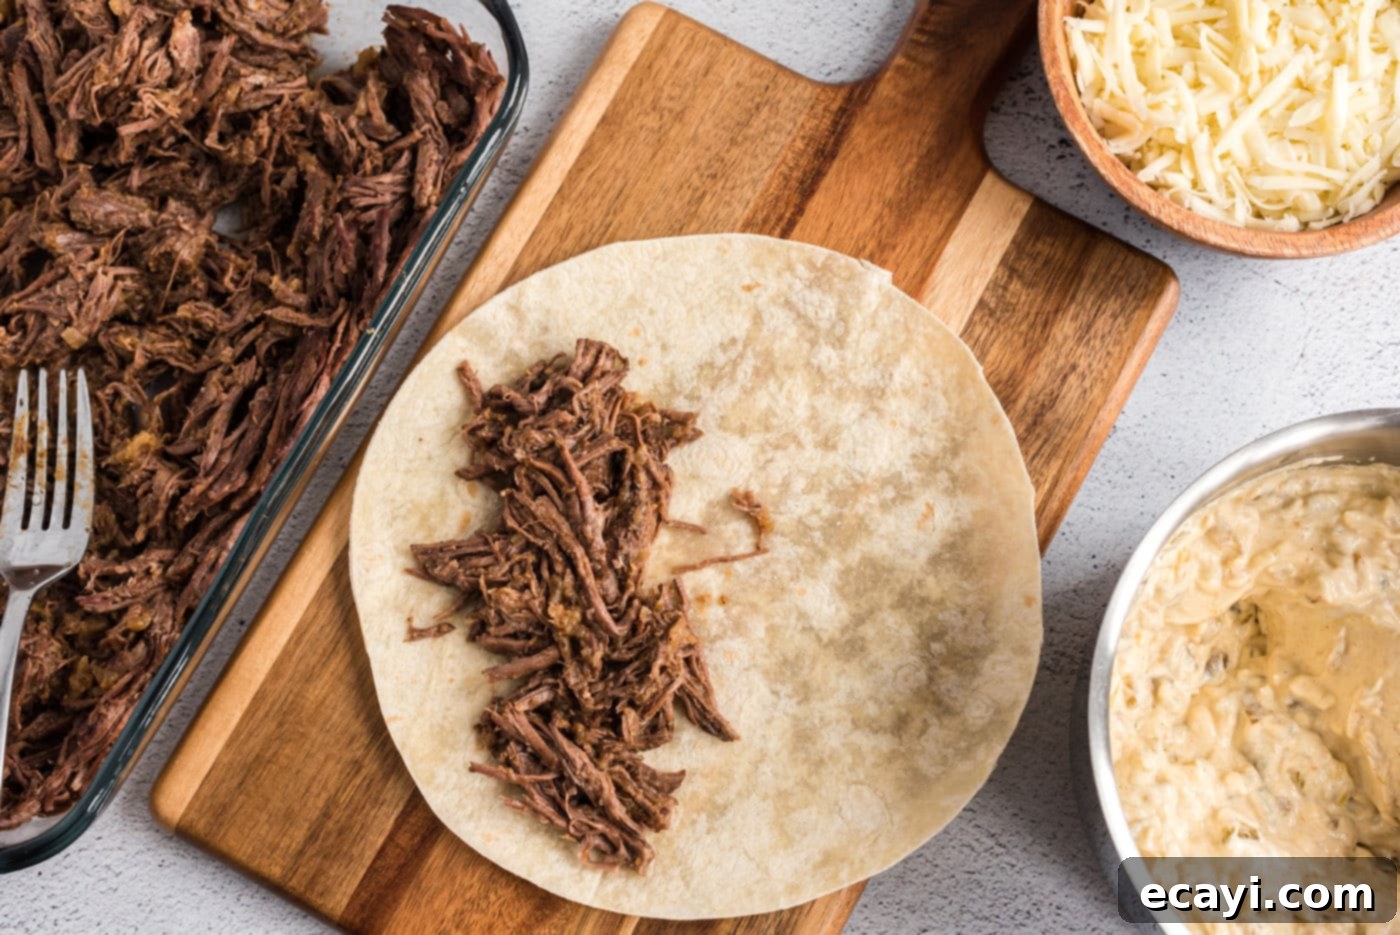
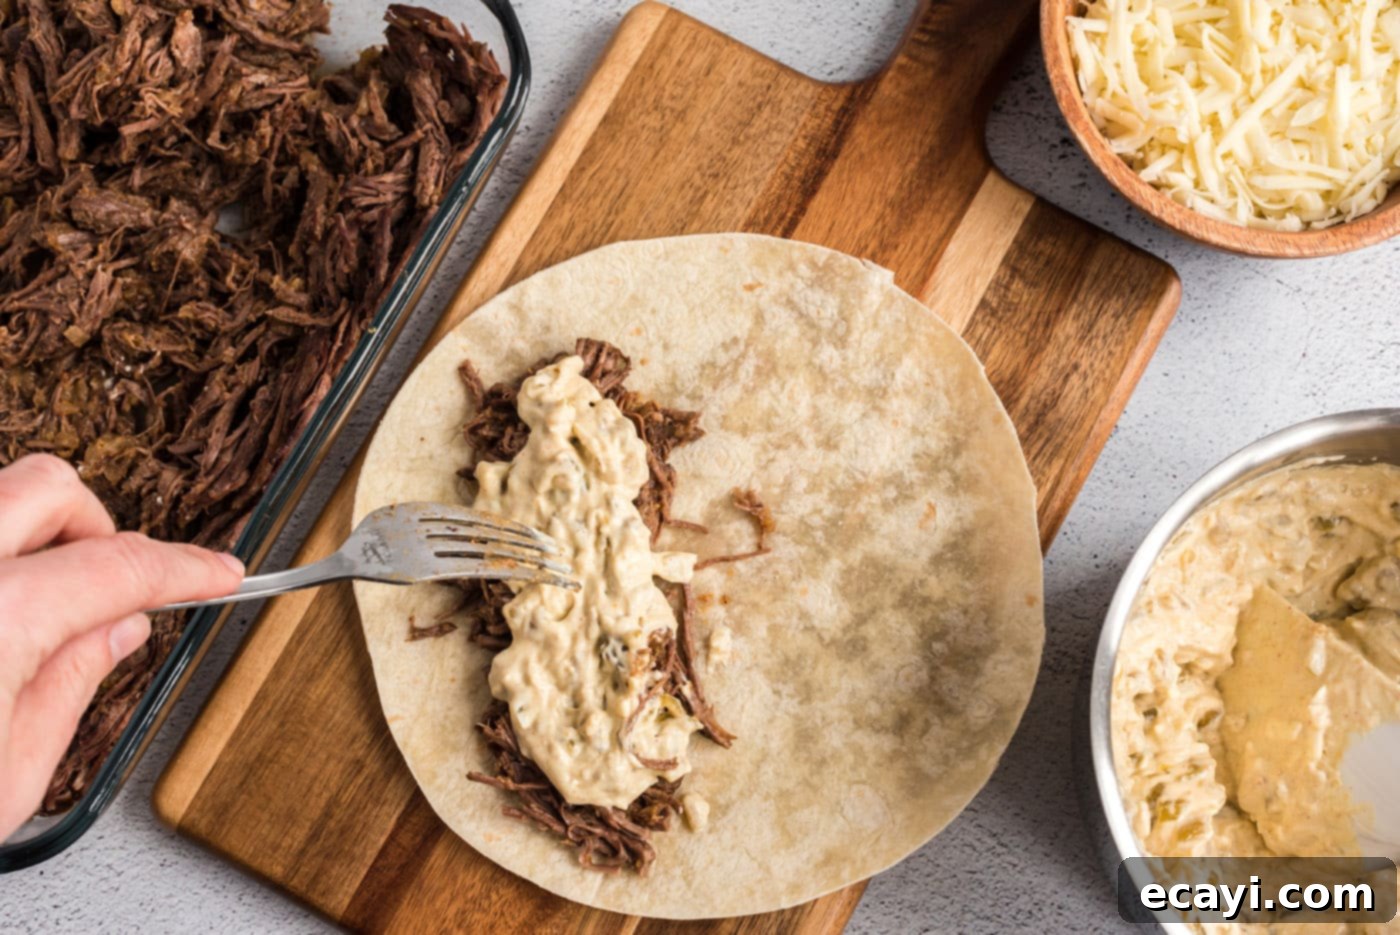
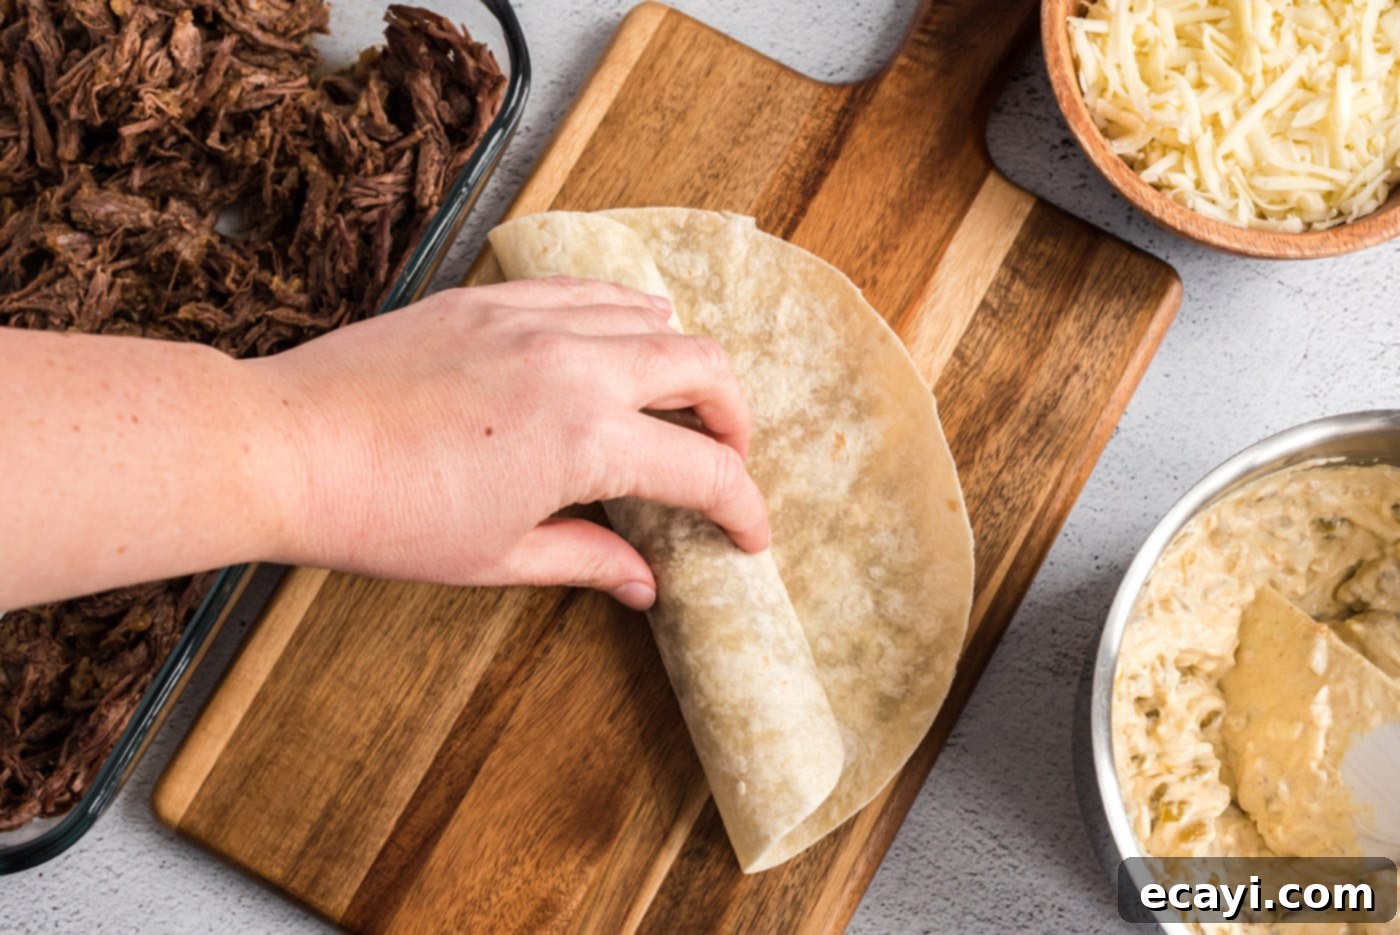
- Now for assembly! Divide the shredded meat mixture evenly among your flour tortillas, spooning the filling along one edge of each tortilla. Top the meat with a generous dollop of the creamy green chile sour cream mixture. Carefully roll up each tortilla, ensuring the filling is snug and secure (they will be quite full!).


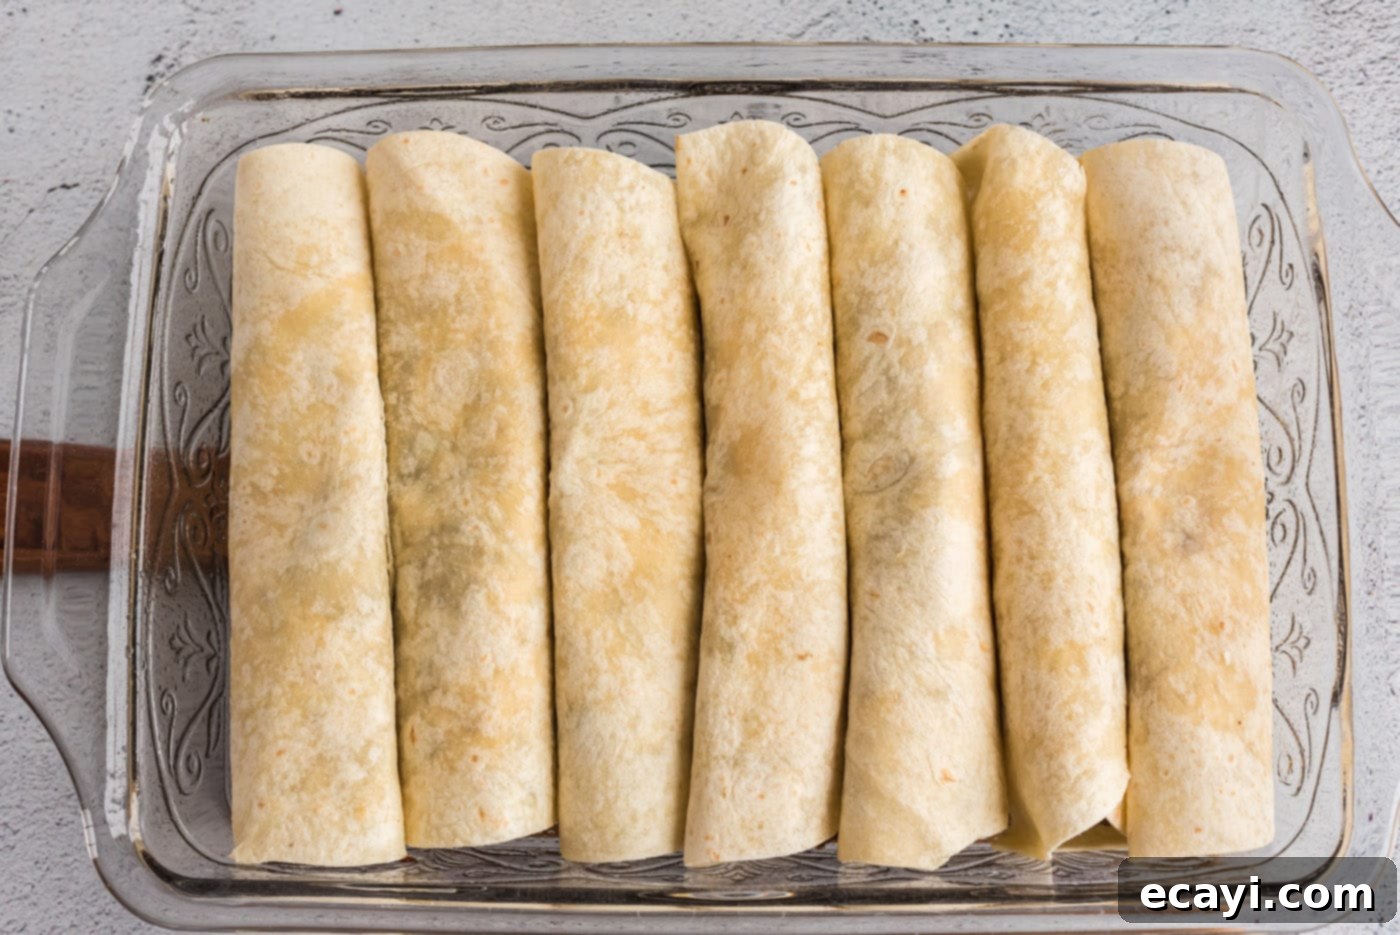
- Arrange the rolled enchiladas side-by-side in your prepared baking dish, with the seam side facing down to keep them from unrolling. Cover the dish tightly with foil and bake for 30 minutes. This allows the flavors to meld and the tortillas to soften.

- After 30 minutes, uncover the baking dish. Spoon your chosen salsa verde (or preferred enchilada sauce) evenly over the enchiladas, then generously sprinkle with the remaining 1 1/2 cups of Monterey Jack cheese. Return the dish to the oven, uncovered, and bake for another 10-15 minutes, or until the cheese is beautifully melted and bubbly, and the enchiladas are thoroughly heated through. Serve hot and enjoy every delicious bite!
Frequently Asked Questions & Expert Tips
Absolutely! Freezing enchiladas is a fantastic way to prepare meals ahead of time. For best results, we highly recommend freezing them *before* adding the final layer of salsa verde or any additional sauce on top. This prevents the tortillas from becoming soggy during the thawing process. Place the prepared enchiladas, whether cooked or uncooked, seam side down in an airtight container or a large freezer-safe ziptop bag. They can be frozen for up to 3 months. When you’re ready to enjoy them, allow the enchiladas to thaw completely in the refrigerator overnight. Then, bake them according to the recipe directions, adding a few extra minutes to the baking time if needed to ensure they are heated through and the cheese is melted and bubbly.
Storing leftovers properly ensures you can enjoy these savory enchiladas for days to come. Place any leftover enchiladas in an airtight container and keep them refrigerated. They will stay fresh and delicious for 3-4 days. To reheat, you can use a microwave for a quick warm-up, or for a crispier result, reheat them in the oven at 350 F (175°C) until warmed through. Covering them loosely with foil during oven reheating can help prevent them from drying out.
Yes, these enchiladas are excellent for meal prepping! You can assemble the enchiladas entirely (fill and roll them into the baking dish) up to one day in advance. Cover the baking dish tightly with plastic wrap or foil and refrigerate. When you’re ready to bake, remove them from the refrigerator about 30 minutes before baking to allow them to come closer to room temperature. Then, proceed with baking as directed in the recipe, adding about 5-10 extra minutes to the initial covered baking time since they will be starting from a colder temperature.
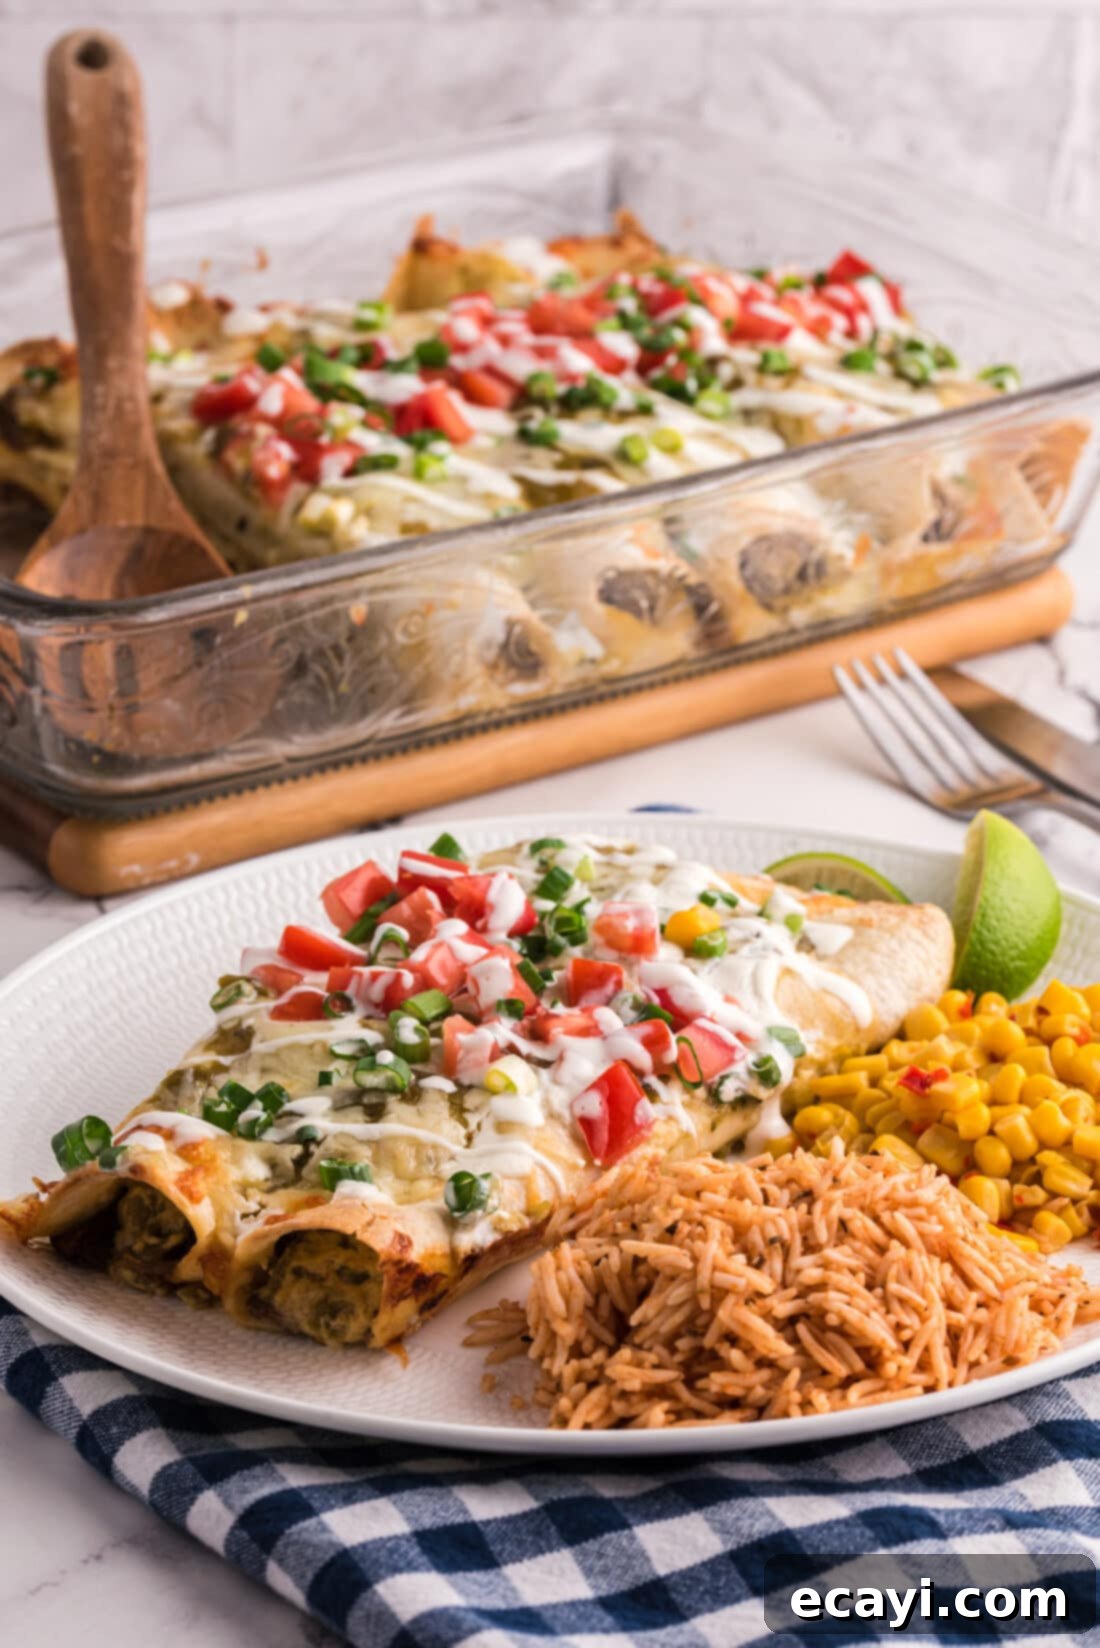
Perfect Serving Suggestions for Your Enchiladas
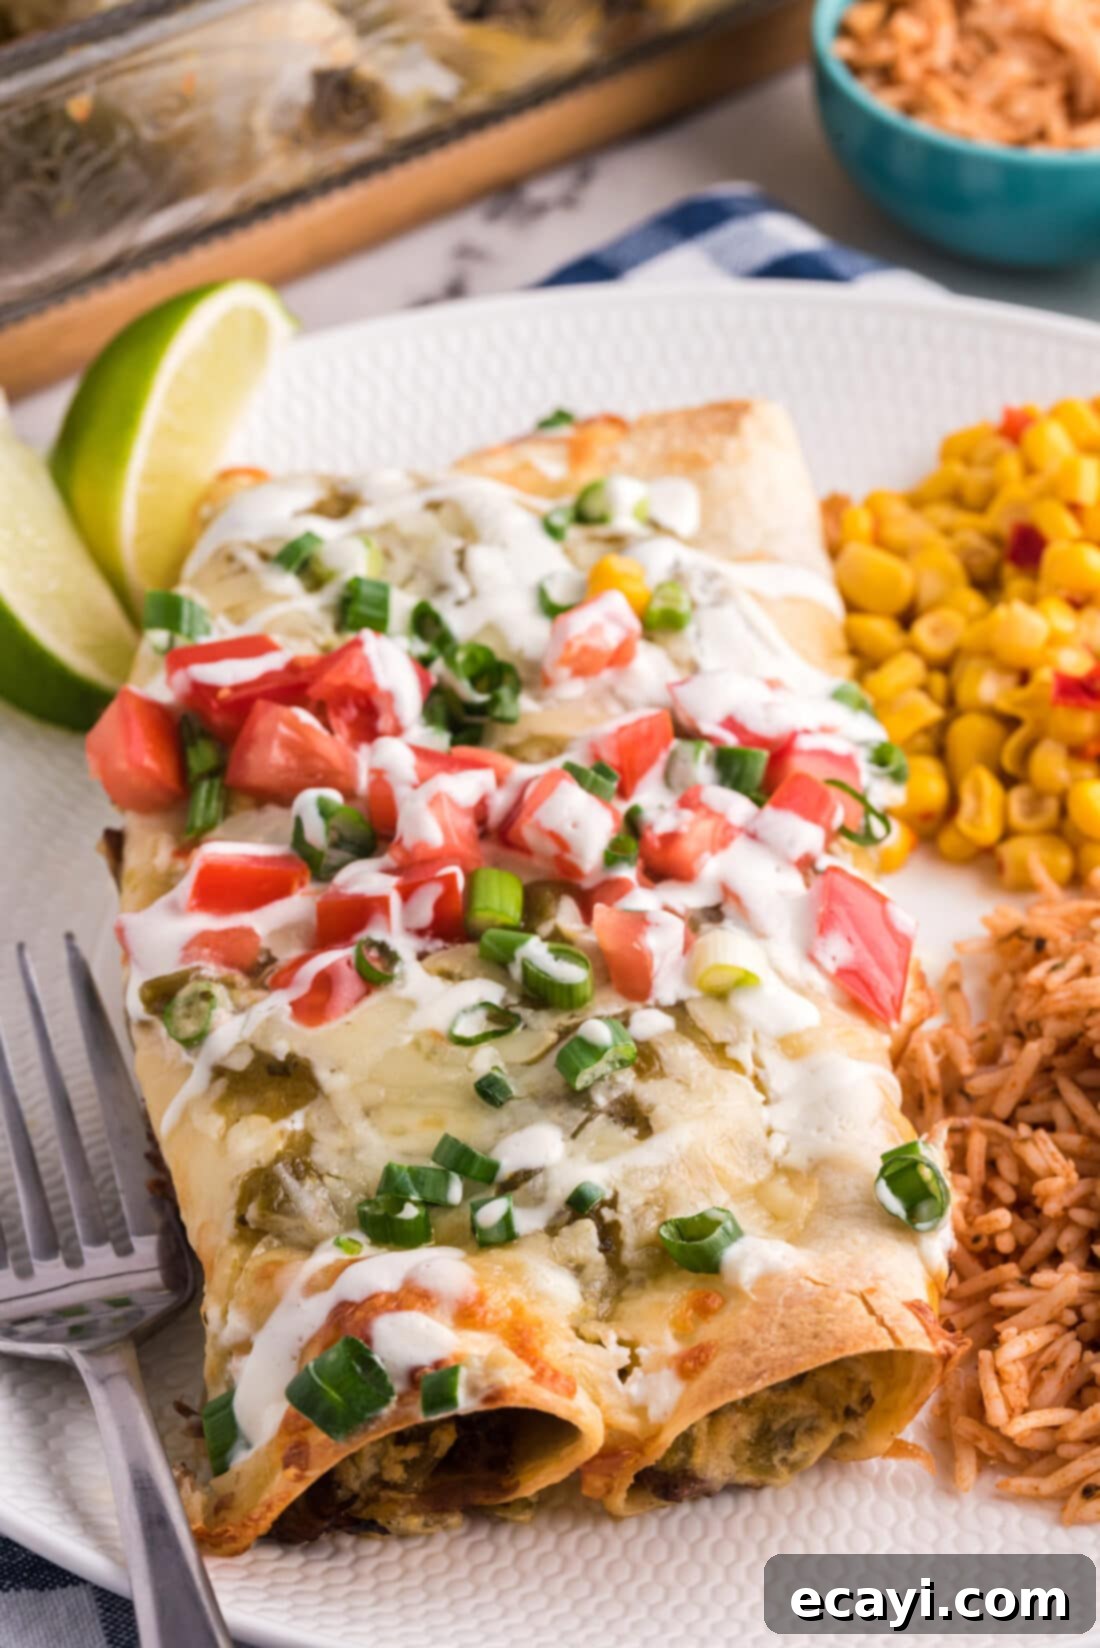
These hearty shredded beef enchiladas are a meal in themselves, but they pair beautifully with a variety of side dishes to complete your Mexican-inspired feast. A classic accompaniment like Spanish rice is always a hit, offering a flavorful and comforting contrast. You could also serve them with a simple side of black beans or pinto beans, or some vibrant roasted corn. To truly elevate the presentation and taste, we love to add a fresh lime wedge on the side for a burst of citrusy brightness. For an extra touch of gourmet, consider a drizzle of thinned sour cream (simply mix regular sour cream with a tiny bit of water in a bowl), a sprinkle of fresh chopped tomatoes, or thinly sliced green onions as a colorful and flavorful garnish. A dash of your favorite hot sauce can also add a delightful kick for those who enjoy more heat!
More Delicious Mexican-Inspired Recipes
If you loved these shredded beef enchiladas, you’ll be thrilled to explore more of our vibrant Mexican-inspired dishes. From cheesy appetizers to hearty main courses, we have something to satisfy every craving. Be sure to check out these other fantastic recipes:
- Cheesy Quesadillas
- Flavorful Quesados (Mexican Appetizer)
- Authentic Carne Asada
- Zesty Mexican Corn (Elote)
- Comforting Sopa de Fideos (Mexican Noodle Soup)
- Easy Crockpot Mexican Chicken
- Hearty Chicken Enchilada Casserole
- Tender Beef Barbacoa
I absolutely love to bake and cook, and sharing my kitchen experiences and delicious recipes with all of you brings me so much joy! Remembering to come back each day for new culinary inspiration can be tough, which is why I offer a convenient newsletter every time a fresh recipe posts. Simply subscribe here and start receiving your free daily recipes directly to your inbox!
Shredded Beef Enchiladas
IMPORTANT – Don’t forget to check out the Frequently Asked Questions (FAQ) and Expert Tips section within the blog post for additional helpful information. Simply scroll back up to read them!
Print It
Pin It
Rate It
Save ItSaved!
Ingredients
- 3 lb beef chuck roast (or brisket)
- 4 ½ tsp chili powder divided
- 1 Tbsp ground cumin
- 1 tsp dried oregano crushed
- 2 medium onions thinly sliced
- 14 oz beef broth 1 can or homemade beef stock
- ¼ cup white wine vinegar
- 8 oz diced green chile peppers undrained, two 4 oz cans
- 1 Tbsp all purpose flour
- 8 oz sour cream
- 2 cups shredded Monterey Jack cheese divided
- 12 flour tortillas 7-8 inches each
- 1 cup salsa verde or enchilada sauce
Things You’ll Need
-
13×9 baking dish
-
Roasting pan or Dutch oven
-
Measuring cups and spoons
-
Saucepan
Before You Begin
- This recipe yields 7-8 enchiladas. Feel free to easily double the recipe if you’re feeding a larger crowd or wish to freeze a batch for later convenience.
- To Freeze: For best results, assemble the enchiladas but do not add the final salsa verde topping. Place the prepared enchiladas (cooked or uncooked) seam side down in an airtight container or a large freezer-safe zip-top bag. Freeze for up to 3 months. When ready to bake, allow them to thaw overnight in the refrigerator, then bake according to the recipe directions, adding a few extra minutes if necessary.
- Storage: Store any leftover enchiladas in an airtight container in the refrigerator for 3-4 days. Reheat gently in the microwave or oven until warmed through.
Instructions
-
Preheat oven to 325 F (160°C). Trim any excess fat from your beef. In a small bowl, combine 4 teaspoons of the chili powder, the cumin, and oregano.
-
Sprinkle this spice mixture evenly over all sides of the beef, rubbing it in thoroughly with your fingers to ensure good coverage.
-
Place the seasoned beef in a shallow roasting pan or Dutch oven and top with the thinly sliced onions. Pour the beef broth and white wine vinegar over the meat. Roast in the oven, covered, for about 3 hours or until the meat is incredibly fork tender.
-
Let the meat stand in the pan juices for about 15 minutes or until it is cool enough to handle comfortably.
-
Remove the meat from the pan. Using a slotted spoon, remove the onions and reserve the pan juices. (If you trimmed the meat well, there shouldn’t be much fat, but if so, skim it off with a spoon or a fat separator.)
-
Halve the tender meat crosswise then shred it easily using two forks.
-
Stir the reserved onions into the shredded meat. Add enough of the reserved pan juices to moisten the mixture (about 1/2 to 1 cup). Set this meat mixture aside and discard any remaining pan juices.
-
In a medium saucepan, combine the undrained chile peppers and the remaining 1/2 teaspoon chili powder; cook for about one minute or until heated through and fragrant. Stir in the all-purpose flour. Cook and stir for one minute more to form a light roux.
-
Remove the saucepan from the heat. Stir in the sour cream until well combined, then fold in 1/2 cup of the shredded Monterey Jack cheese until melted and creamy.
-
Increase your oven temperature to 350 F (175°C). Grease or lightly spray a 13×9 inch baking dish and set it aside.
-
Divide the shredded meat mixture evenly among your tortillas, placing the meat along one edge. Top the meat with a generous portion of the sour cream mixture and roll up the tortillas tightly (they will be full).
-
Arrange the rolled enchiladas in the baking dish, seam side down to prevent unraveling. Bake, covered with foil, for 30 minutes.
-
Uncover the dish. Spoon your choice of salsa verde or enchilada sauce over the enchiladas, then sprinkle with the remaining 1 1/2 cups of shredded Monterey Jack cheese. Bake uncovered for an additional 10-15 minutes, or until the cheese is melted, golden, and bubbly, and the enchiladas are thoroughly heated through. Enjoy them hot!
Nutrition
The recipes on this blog are tested with a conventional gas oven and gas stovetop. It’s important to note that some ovens, especially as they age, can cook and bake inconsistently. Using an inexpensive oven thermometer can assure you that your oven is truly heating to the proper temperature. If you use a toaster oven or countertop oven, please keep in mind that they may not distribute heat the same as a conventional full sized oven and you may need to adjust your cooking/baking times. In the case of recipes made with a pressure cooker, air fryer, slow cooker, or other appliance, a link to the appliances we use is listed within each respective recipe. For baking recipes where measurements are given by weight, please note that results may not be the same if cups are used instead, and we can’t guarantee success with that method.
Adapted from Ultimate Mexican magazine. This recipe was originally published on this blog on August 30, 2010, and has since been thoughtfully updated with fresh new photos and enhanced expert tips to provide you with the best cooking experience.
