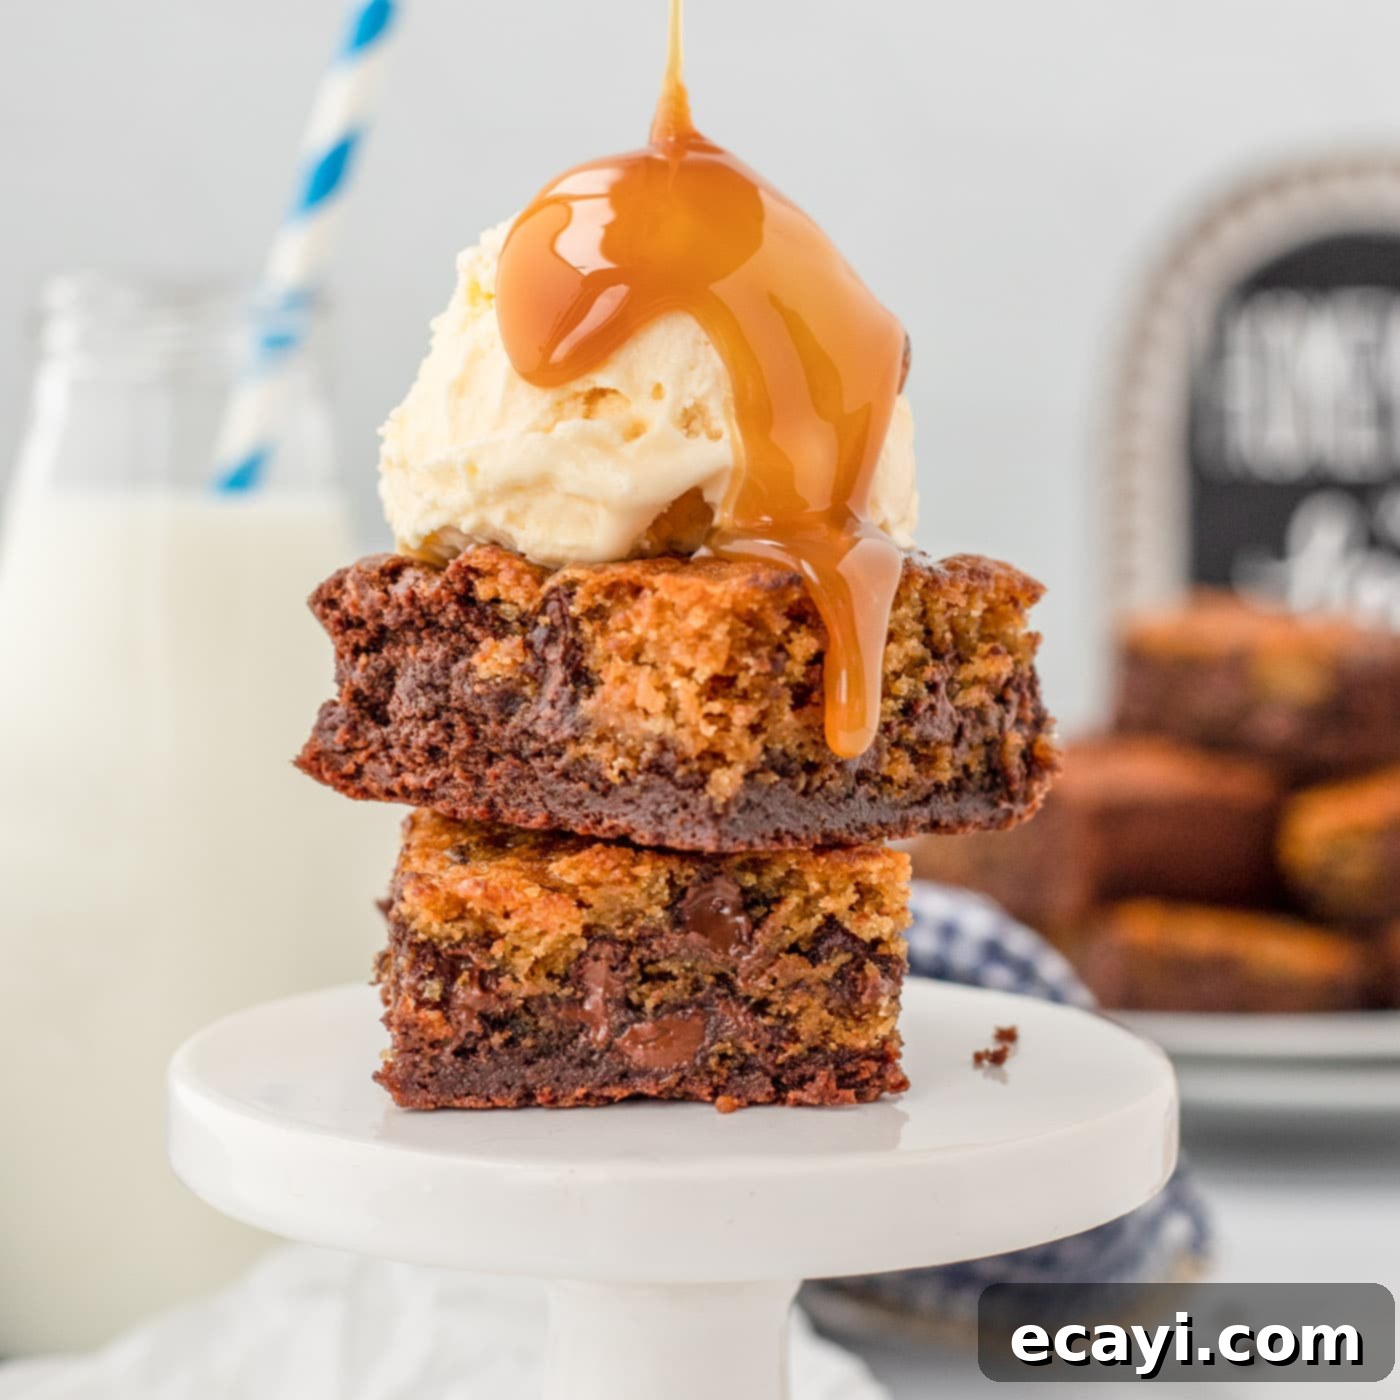
Decadent Brookies Recipe: The Ultimate Fusion of Fudgy Brownies & Chewy Chocolate Chip Cookies
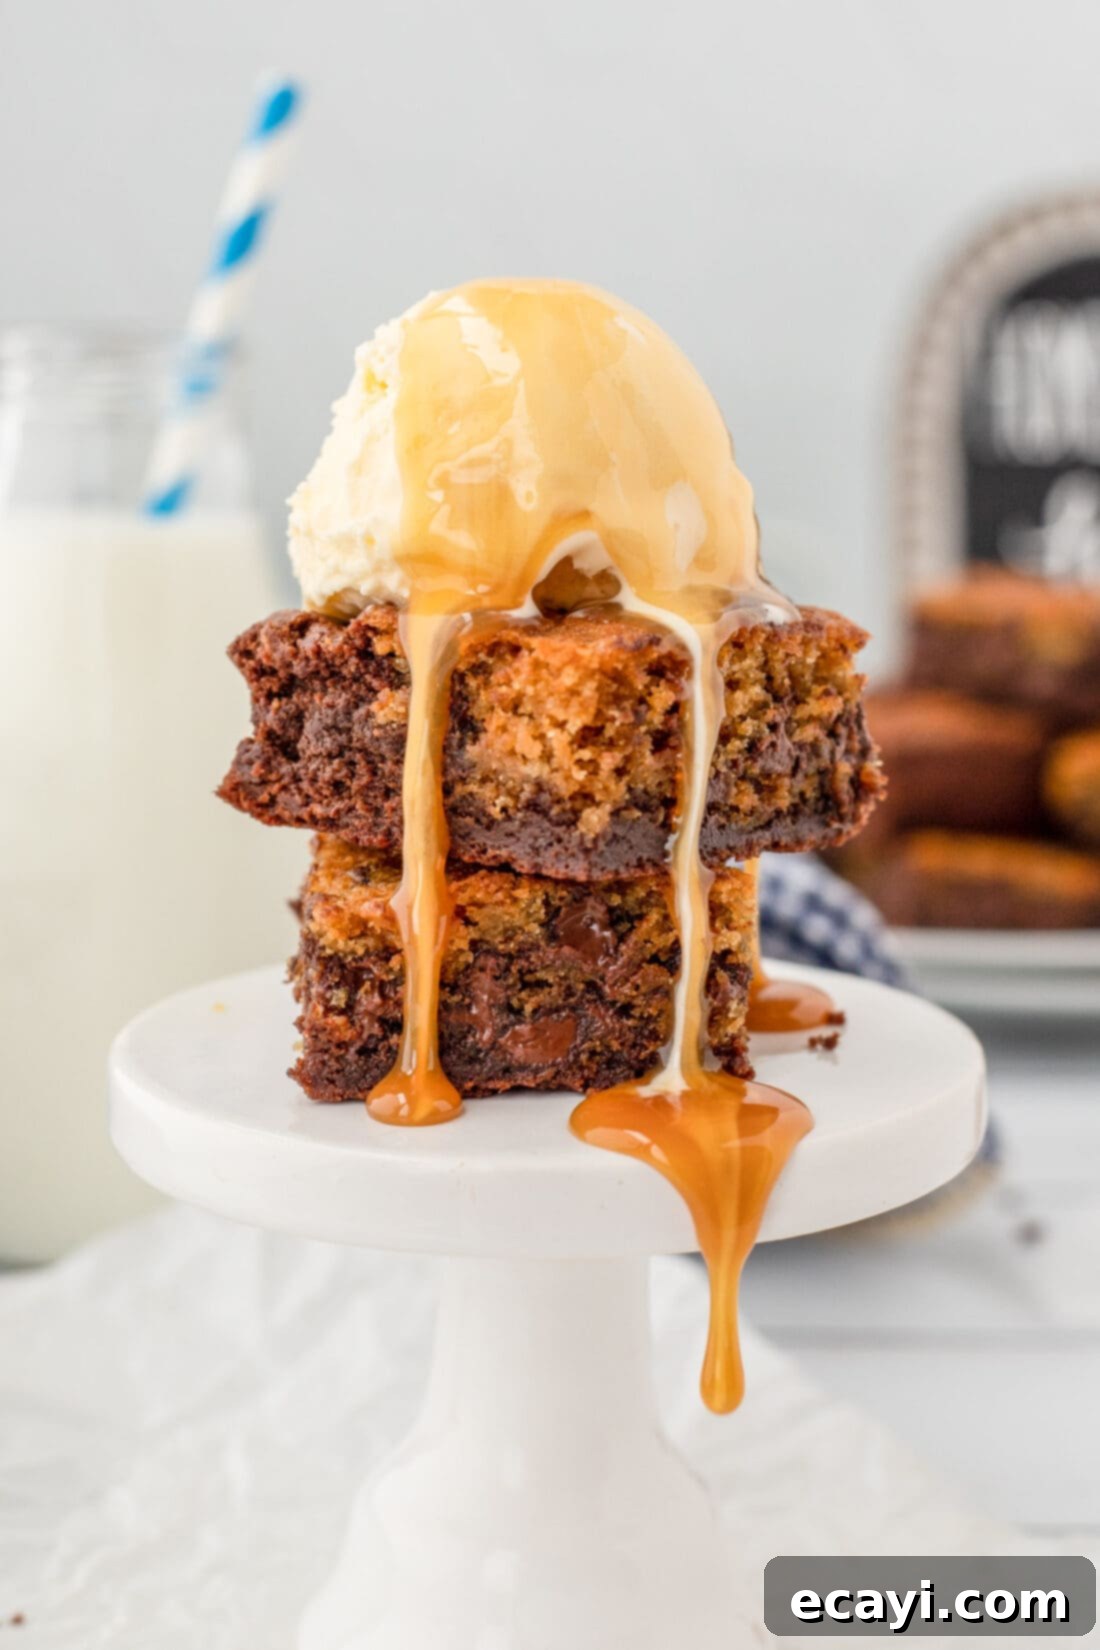
Brookies truly offer the best of both worlds, bringing together the rich, fudgy delight of brownies and the classic, chewy goodness of chocolate chip cookies into one absolutely irresistible dessert bar. This recipe ensures every bite is a perfect harmony of textures and flavors, making it an instant favorite for any occasion.
Why This Brookie Recipe Is a Must-Try
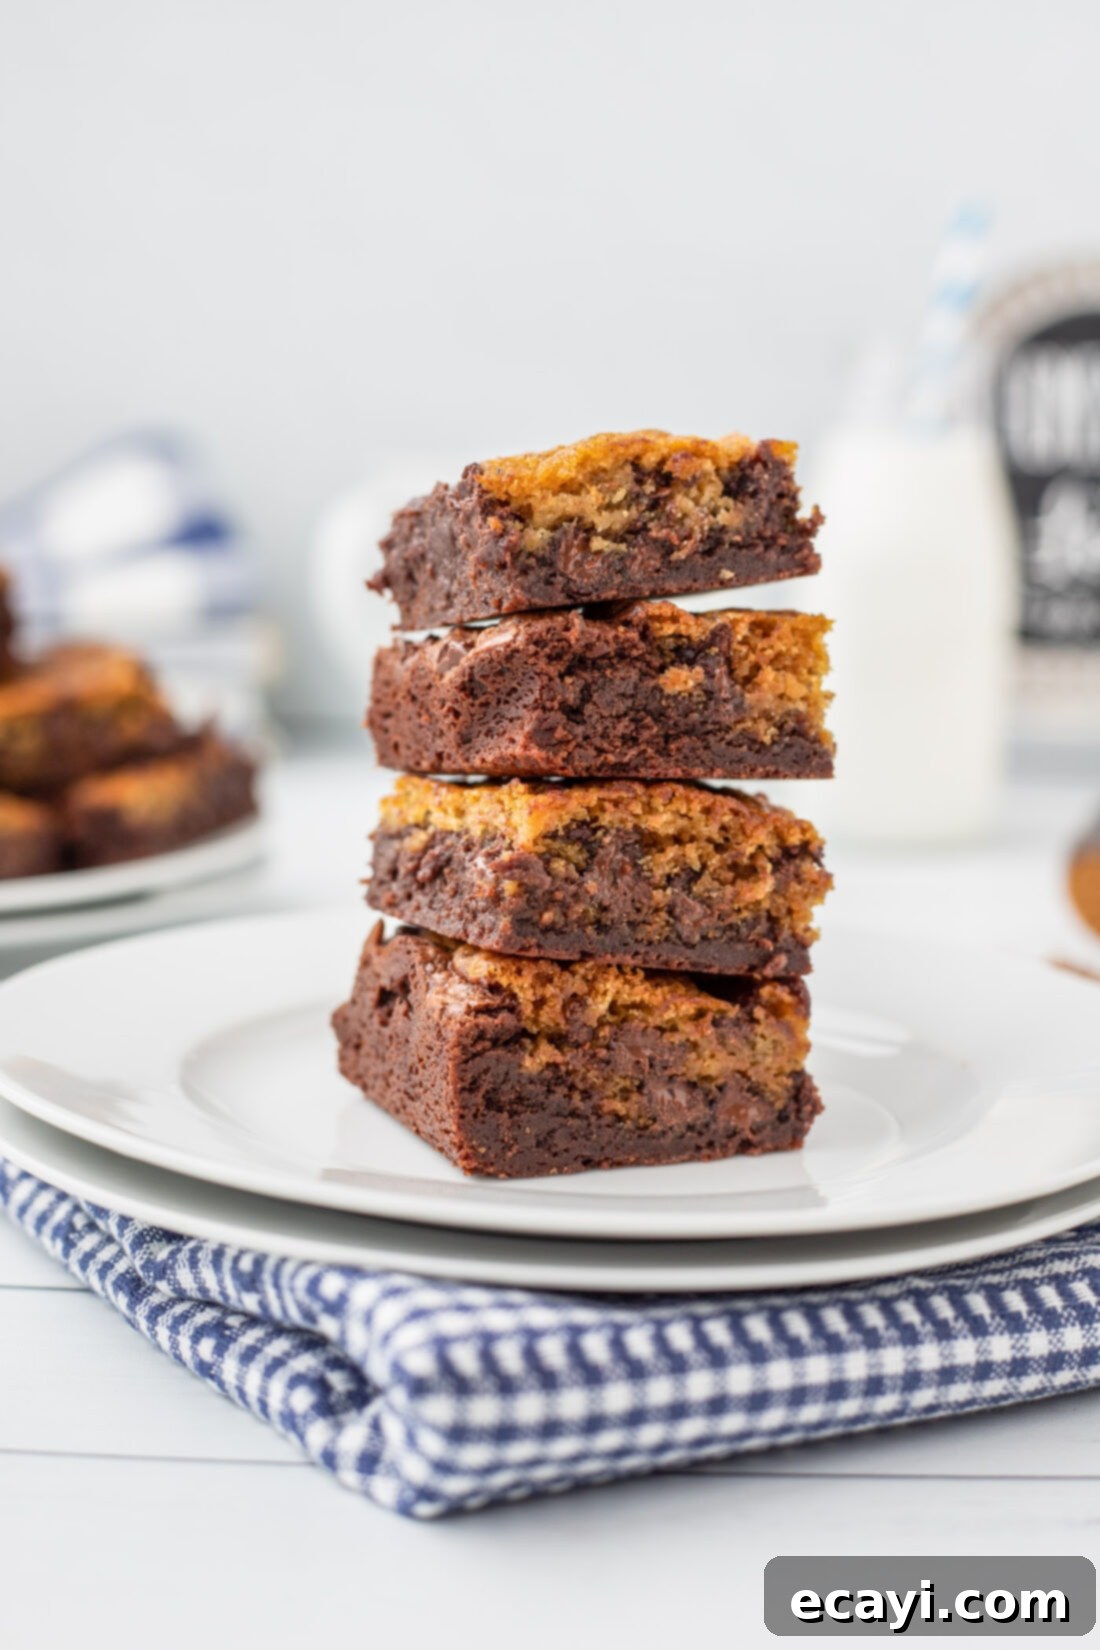
Imagine the deep, rich flavor of fudgy brownies perfectly complemented by the soft, warm embrace of chocolate chip cookies, all in a single, convenient bar. That’s precisely what you get with our incredible brookies recipe. While it involves preparing two distinct batters, we promise the minimal extra effort is profoundly rewarded. The result is a dessert that satisfies every craving, a perfect blend of gooey chocolate and tender cookie that will have everyone reaching for another piece. This recipe isn’t just about combining two desserts; it’s about crafting a harmonious treat where each element shines, creating a truly memorable experience. Each layer maintains its unique characteristics – the brownie remains wonderfully dense and chocolatey, while the cookie layer stays perfectly chewy with those delightful pockets of melted chocolate. It’s a testament to how two beloved desserts can elevate each other when brought together with care and precision.
Essential Ingredients for Perfect Brookie Bars
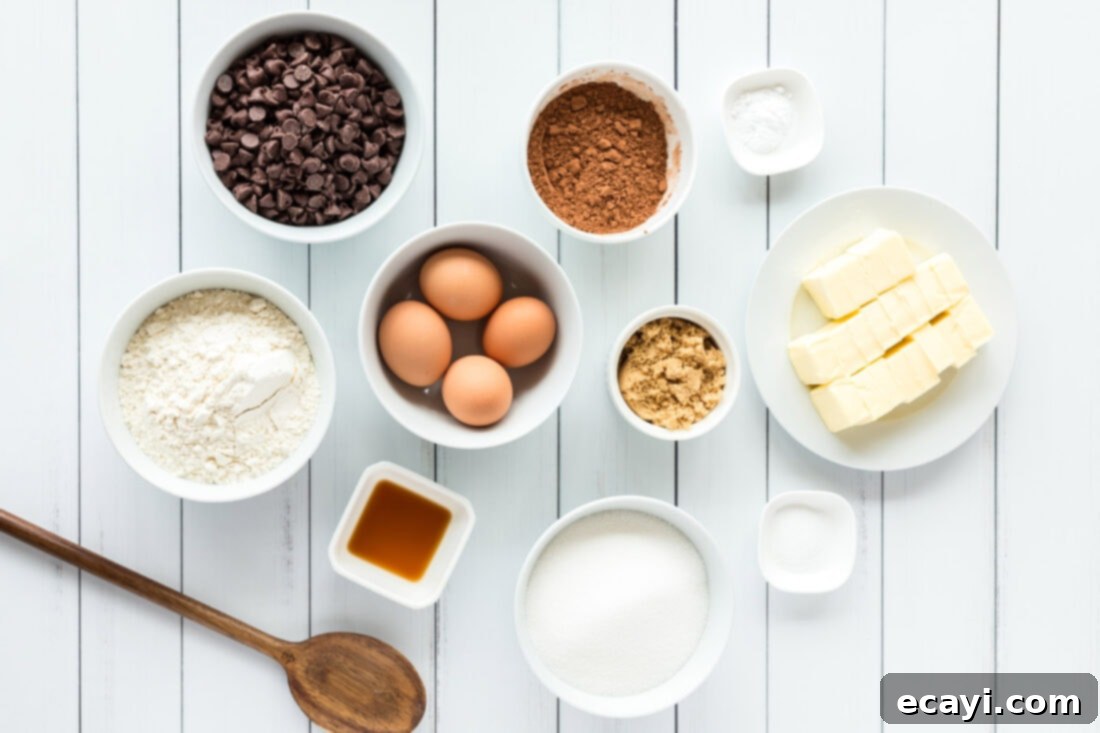
To create these show-stopping brookies, you’ll need a selection of common baking ingredients, divided thoughtfully between the brownie and cookie layers. Fresh, high-quality ingredients will always yield the best results, so let’s gather everything we need. You can find all precise measurements, ingredient lists, and detailed instructions in the printable recipe card located at the very end of this comprehensive guide.
Ingredient Insight and Smart Substitution Tips
Understanding your ingredients is key to successful baking. Here’s a deeper dive into the essential components of our brookies recipe, along with helpful tips and substitution suggestions to ensure your baking experience is smooth and delicious:
BUTTER – This recipe brilliantly utilizes butter at two different temperatures, which is crucial for achieving the distinct textures of each layer. For the fudgy brownie layer, you’ll need melted butter. Simply microwave it in short, 10-second bursts until it’s fully liquid, then allow it to cool slightly before combining with other ingredients. For the chewy chocolate chip cookie layer, softened butter is required. This means your butter should be at room temperature – soft enough to leave an indentation when gently pressed, but not melted or greasy. Using cold butter will make creaming it with sugar extremely difficult, resulting in a lumpy, uneven dough. To properly soften butter, cut it into smaller cubes and let it rest on the counter for about 20-30 minutes. If you’re short on time, you can microwave it very briefly (5-10 seconds) or gently beat it with a rolling pin while it’s still wrapped to speed up the process.
CHOCOLATE CHIPS – A generous amount of semi-sweet chocolate chips is vital for both layers, ensuring chocolatey goodness in every bite. You will need a full 12-ounce bag, which typically equates to about 2 cups of chocolate chips. This quantity is perfectly balanced for our recipe, with a portion folded into the cookie dough and the rest sprinkled on top for a beautiful finish. While semi-sweet is traditional and provides a balanced flavor, feel free to experiment with other varieties. For a richer, more intense chocolate flavor, opt for dark chocolate chips. If you prefer a sweeter profile, milk chocolate chips can be a delightful alternative. You could even mix in some white chocolate chips or mini chocolate chips for added visual appeal and textural variation.
EGGS – Eggs play a crucial role in both structure and richness. For the best results in both batters, ensure your eggs are at room temperature. Room temperature eggs emulsify more easily with other ingredients, creating a smoother, more uniform batter and a more consistent final product. To quickly bring eggs to room temperature, place them in a bowl of warm (not hot) water for 5-10 minutes before you begin baking.
FLOUR – All-purpose flour is the backbone of these brookies, providing structure to both the brownie and cookie layers. Proper measurement is essential. We recommend spooning the flour into your measuring cup and then leveling it off with a straight edge (like the back of a knife) rather than scooping directly from the bag. This prevents over-packing the flour, which can lead to dry, dense brookies. While all-purpose flour is standard, gluten-free all-purpose flour blends (containing xanthan gum) can often be substituted, though results may vary slightly.
SUGAR (Granulated & Brown) – This recipe uses both granulated white sugar and brown sugar. Granulated sugar provides sweetness and contributes to the crispness of the cookie edges, while brown sugar adds moisture, depth of flavor (thanks to its molasses content), and a lovely chewiness to the cookie layer. Always make sure to pack your brown sugar firmly into the measuring cup for accurate results.
UNSWEETENED COCOA POWDER – Essential for that deep, rich chocolate flavor in the brownie layer. Unsweetened cocoa powder allows you to control the sweetness of the brownies. For an even more intense chocolate flavor, you can use Dutch-processed cocoa powder, which is less acidic and creates a darker, milder-flavored brownie.
VANILLA EXTRACT – A touch of pure vanilla extract enhances all the chocolate flavors in both layers. Don’t underestimate its power; it rounds out the sweetness and adds a warm, inviting aroma. Use good quality vanilla for the best taste.
BAKING SODA & SALT – Baking soda acts as a leavening agent, helping the cookie layer rise and achieve its soft, chewy texture. Salt is crucial for balancing the sweetness and enhancing the overall flavor of both the brownies and cookies. Even in sweet recipes, salt is a flavor enhancer, so don’t skip it!
Crafting Your Homemade Brookies: Step-by-Step Guide
These step-by-step photos and detailed instructions are provided to help you visualize each stage of making this delightful recipe. For a convenient, printable version of this recipe, complete with precise measurements and full instructions, please Jump to Recipe at the bottom of this page.
- Begin by preheating your oven to 350°F (175°C). This ensures your oven is at the correct temperature for even baking from the moment your brookies go in.
- Prepare a 13×9 baking dish by lining it with parchment paper. Allow the parchment to hang over the sides slightly; these overhangs will act as convenient handles, making it easy to lift the baked brookies out of the pan later.
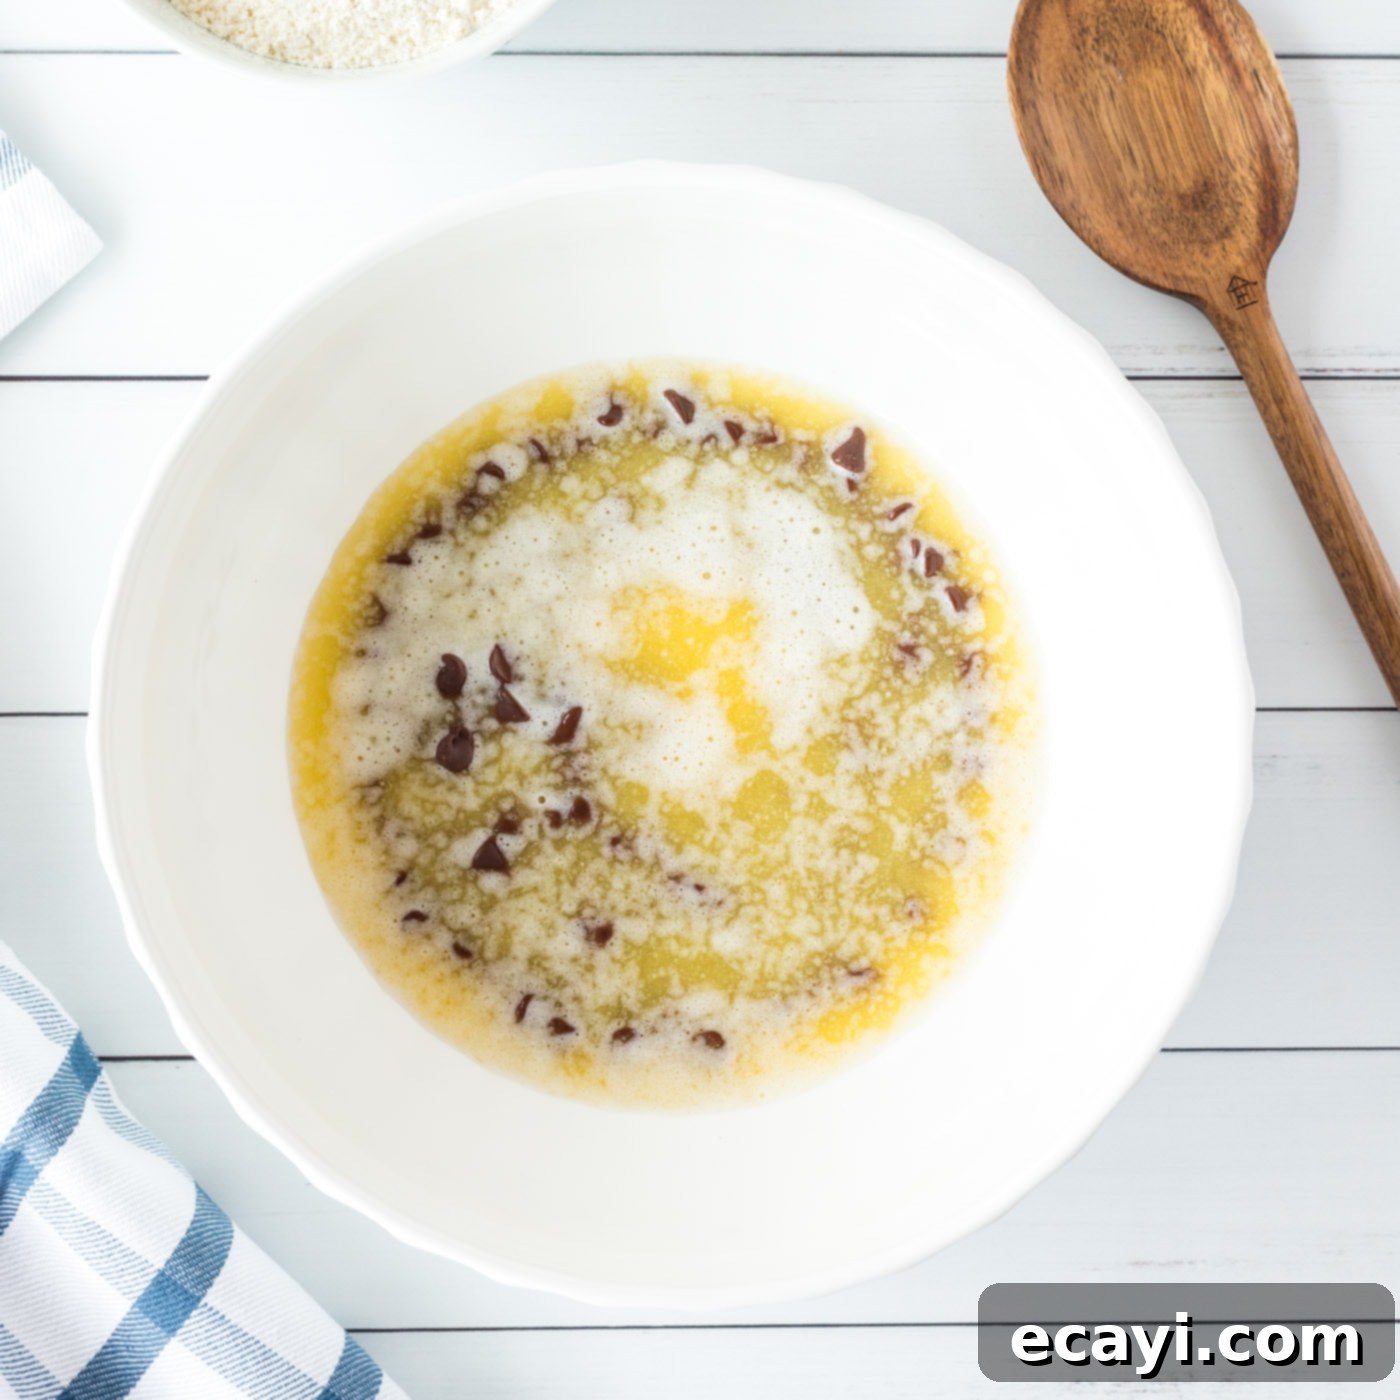
- **For the Brownie Layer:** In a large heatproof bowl, place the measured semi-sweet chocolate chips.
- Melt the butter completely. Carefully pour the hot melted butter over the chocolate chips. Let it sit undisturbed for about 1 minute to allow the chocolate chips to soften. Then, stir gently with a spatula or spoon until the mixture is smooth and glossy, with no lumps of chocolate remaining.


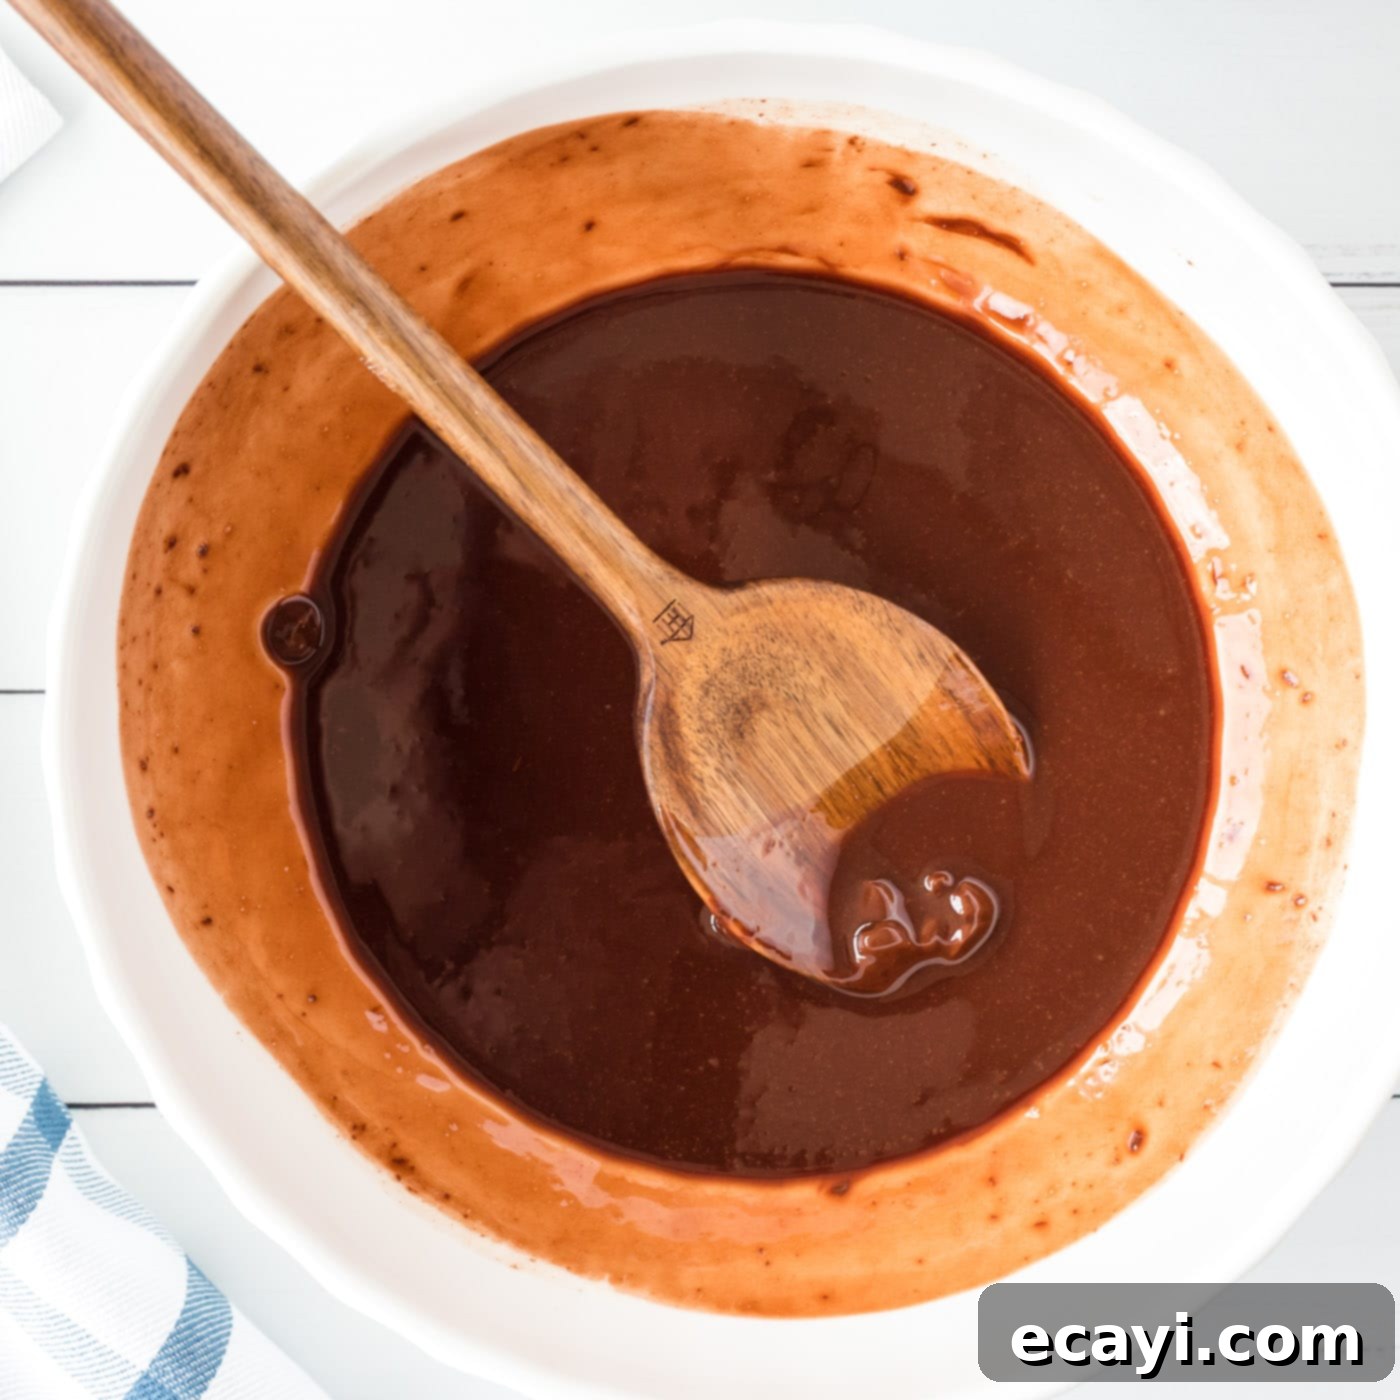
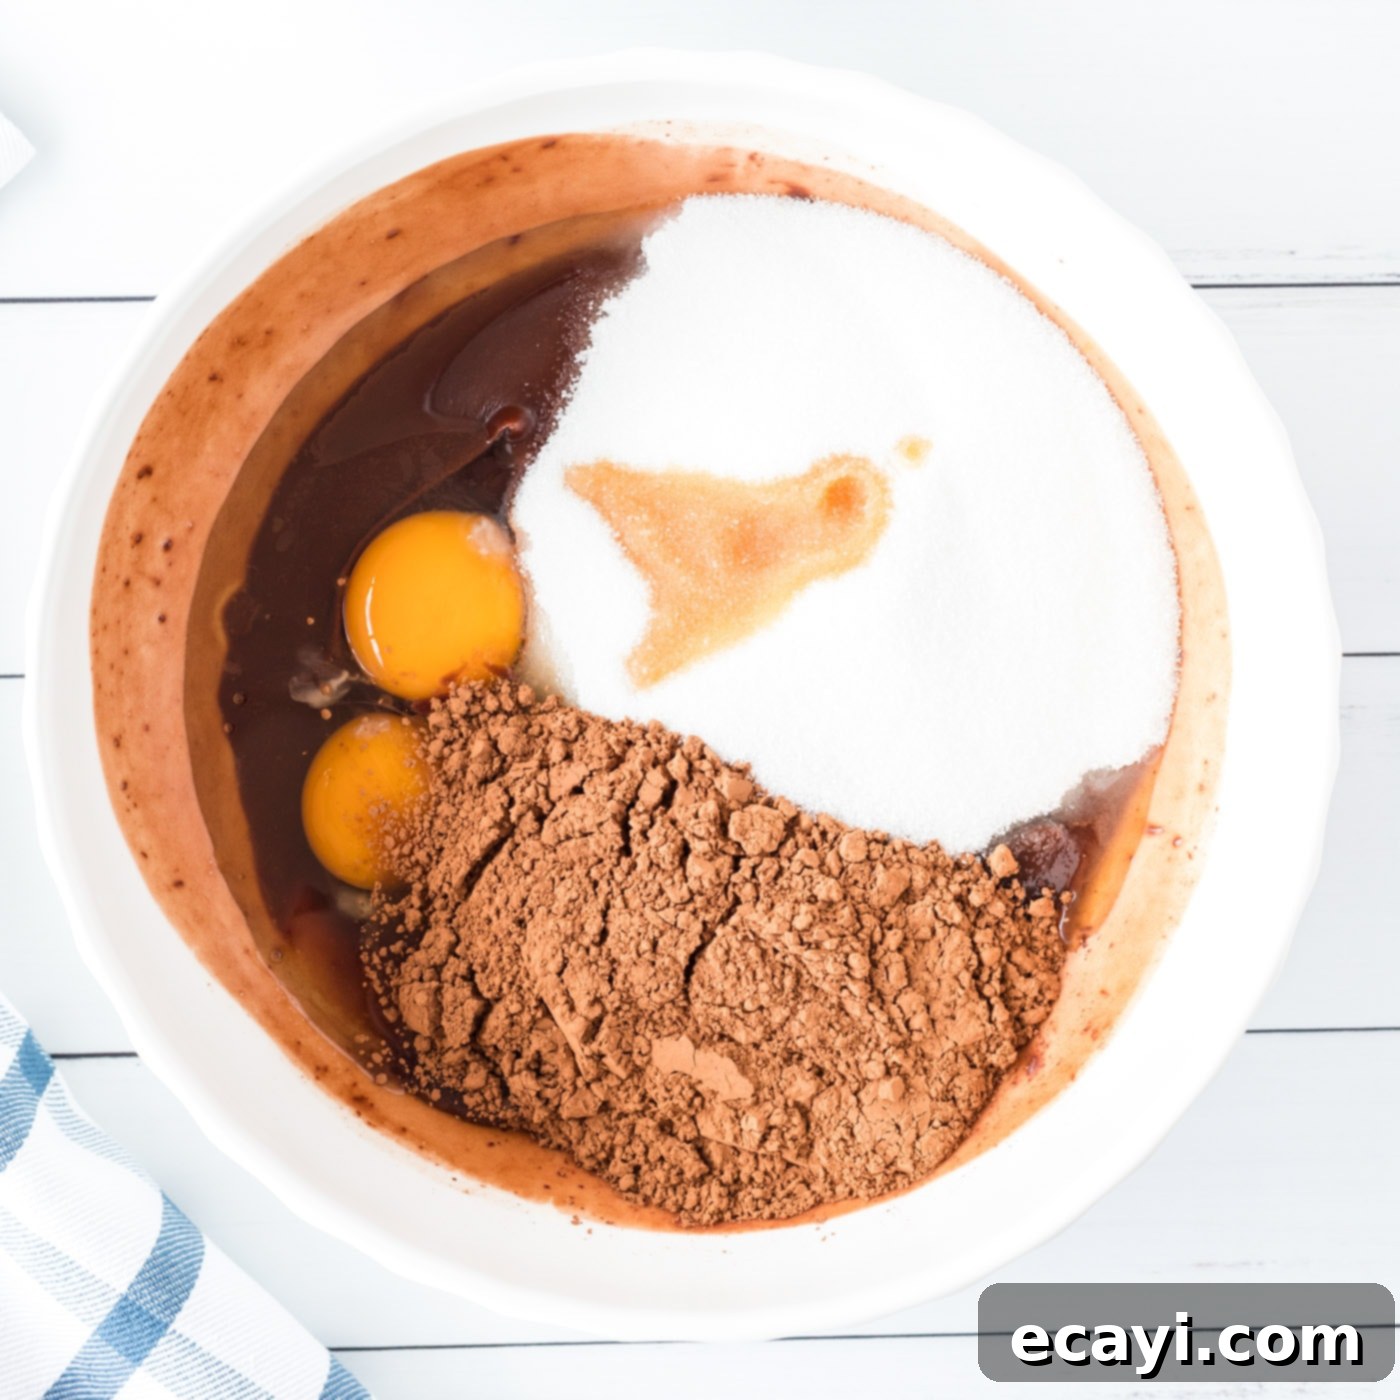
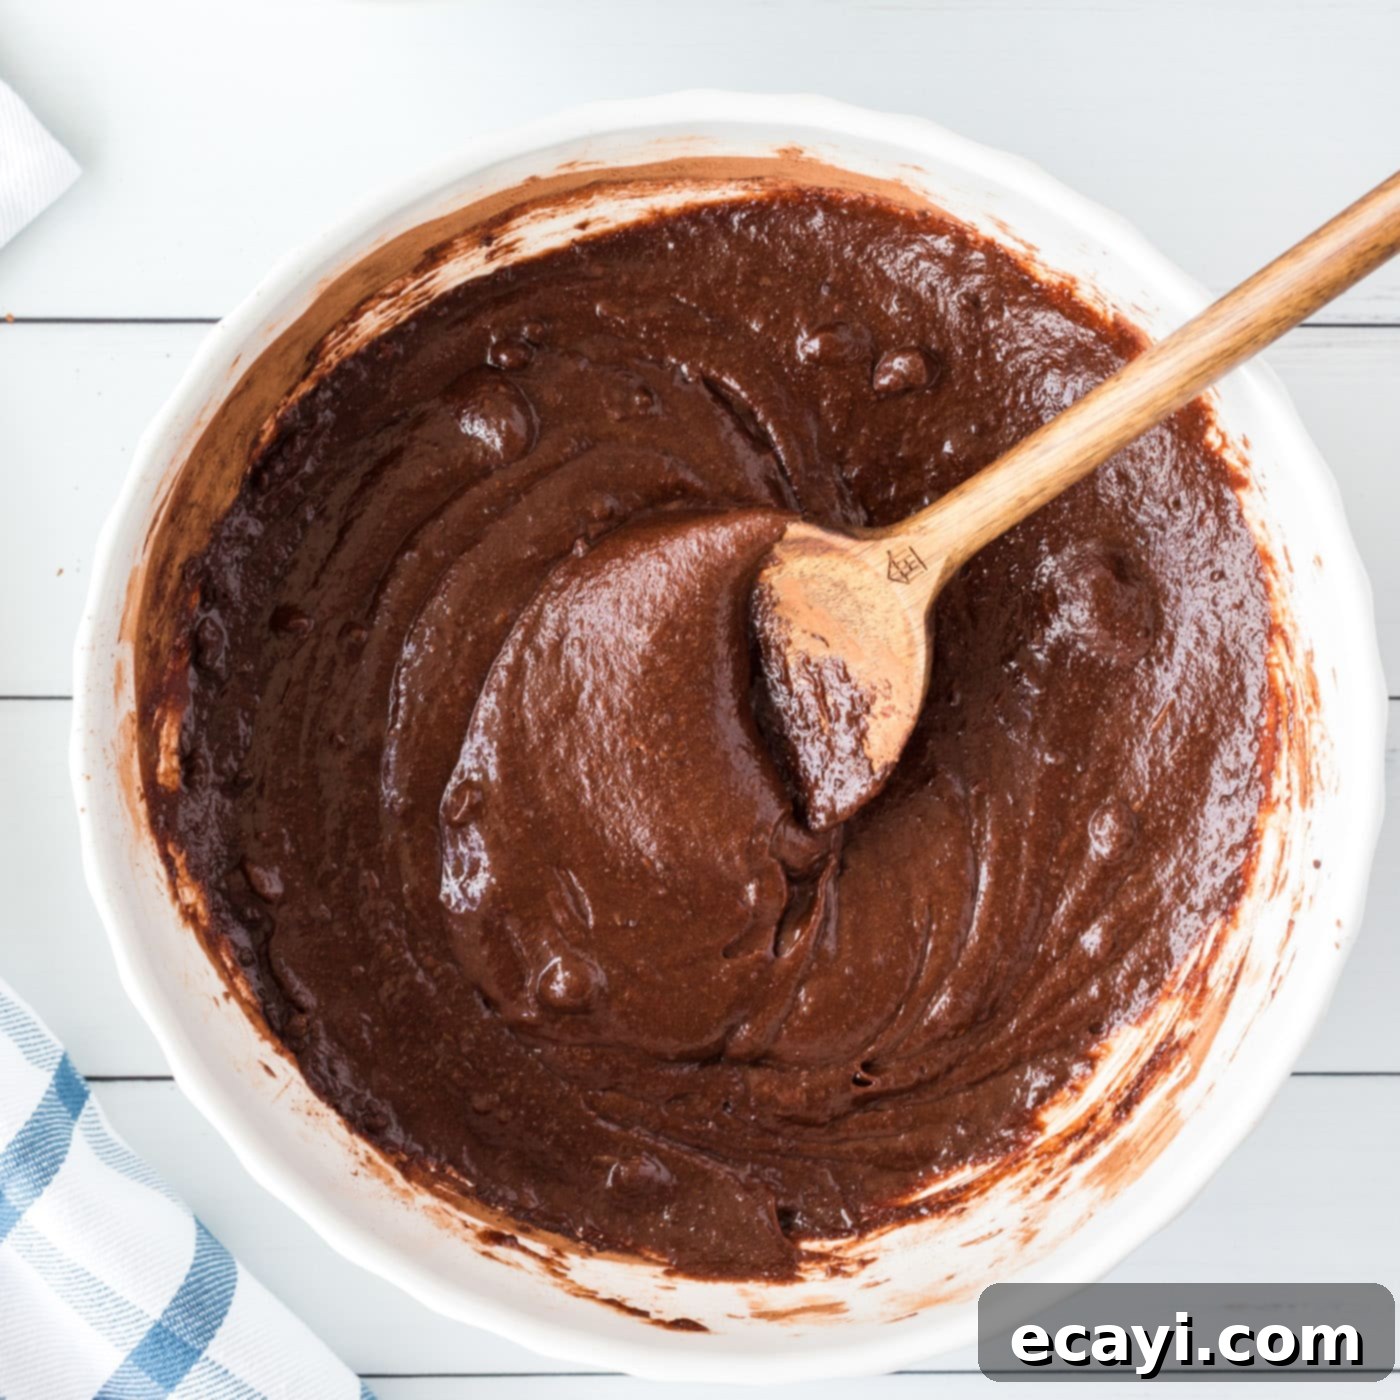
- To the melted chocolate mixture, add the large eggs, unsweetened cocoa powder, granulated sugar, and vanilla extract. Stir these ingredients thoroughly until they are well combined and the batter is uniform in color and consistency.
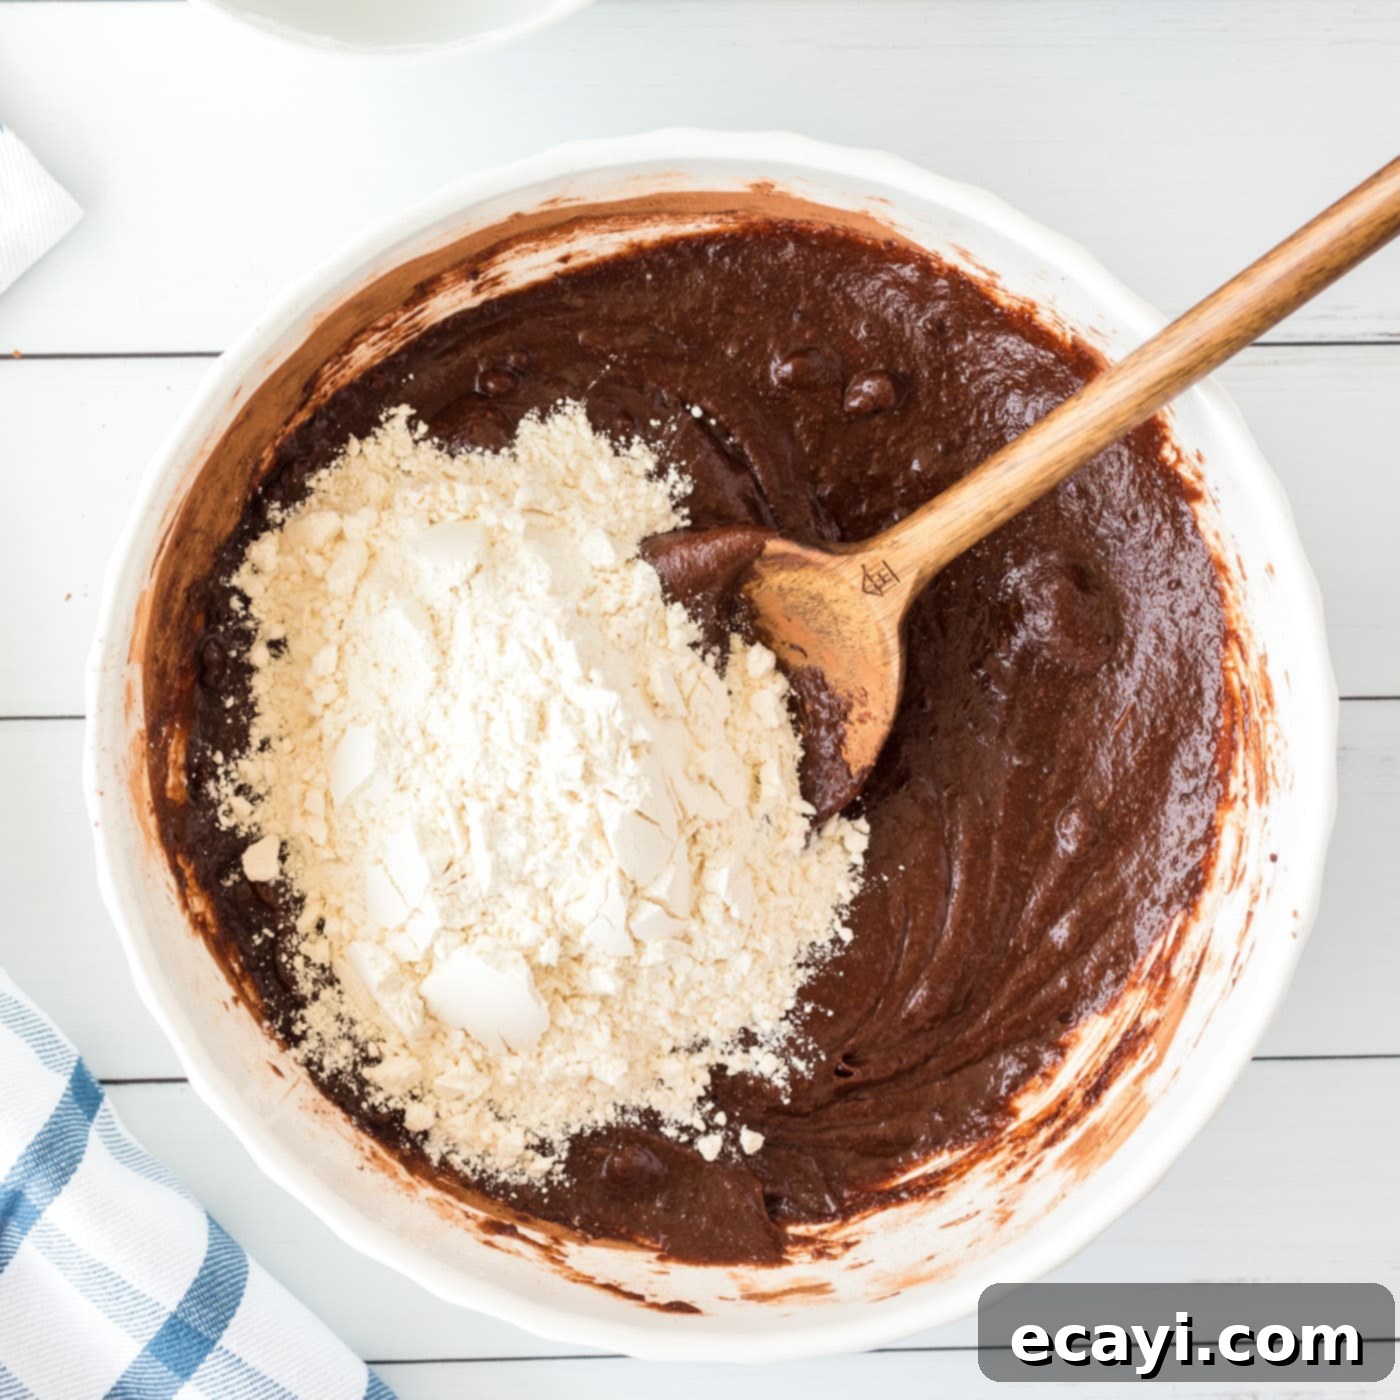
- Gently stir in the all-purpose flour. Mix just until no streaks of dry flour are visible. Be careful not to over-mix the batter, as this can lead to tough brownies.
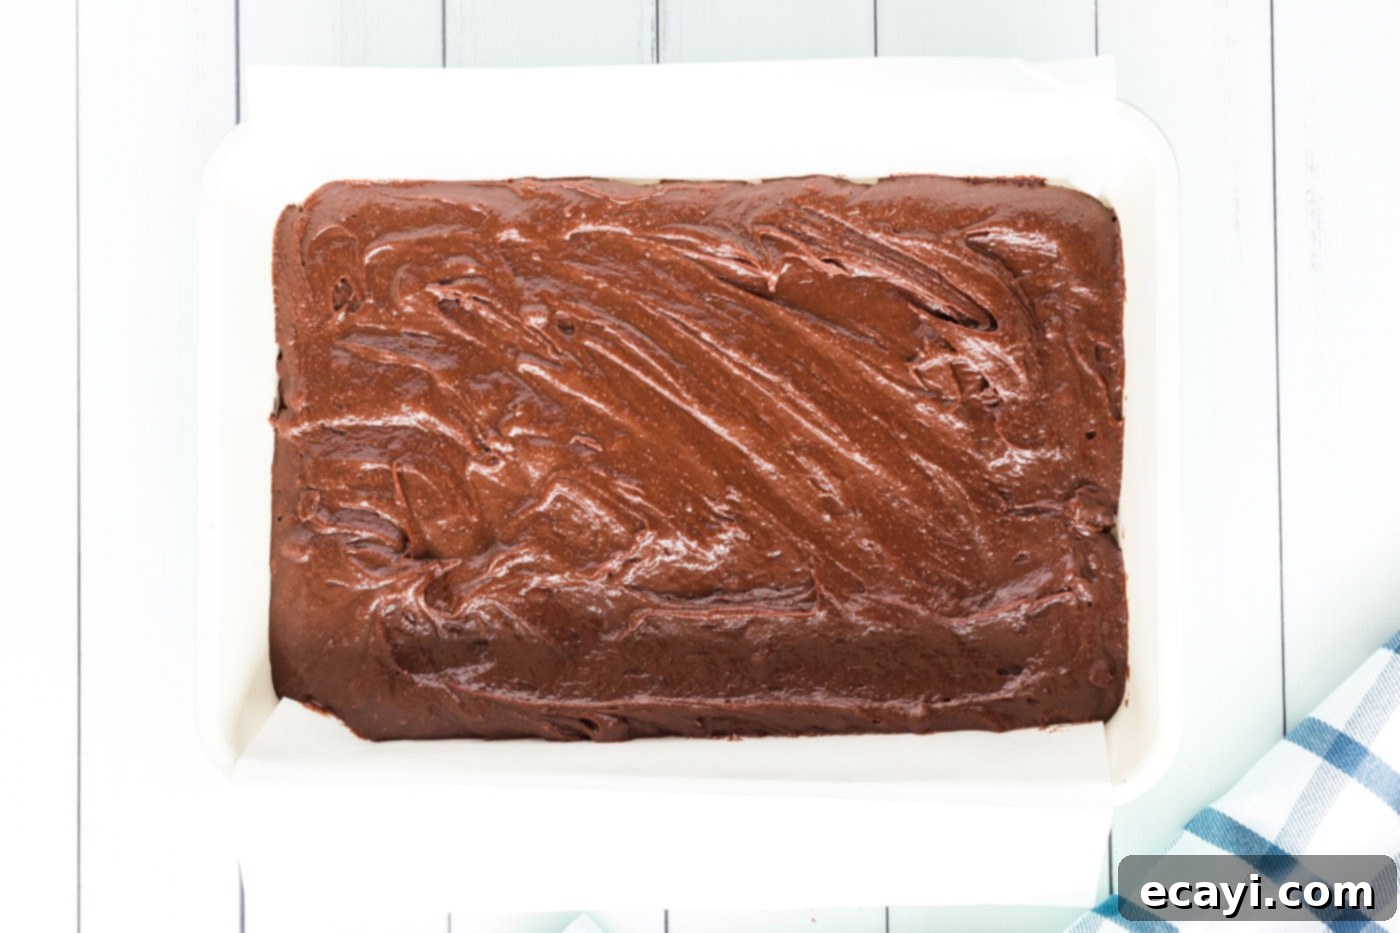
- Pour the prepared brownie batter evenly into your lined baking pan. Use a spatula to spread it gently into an even layer, then set it aside while you prepare the cookie dough.
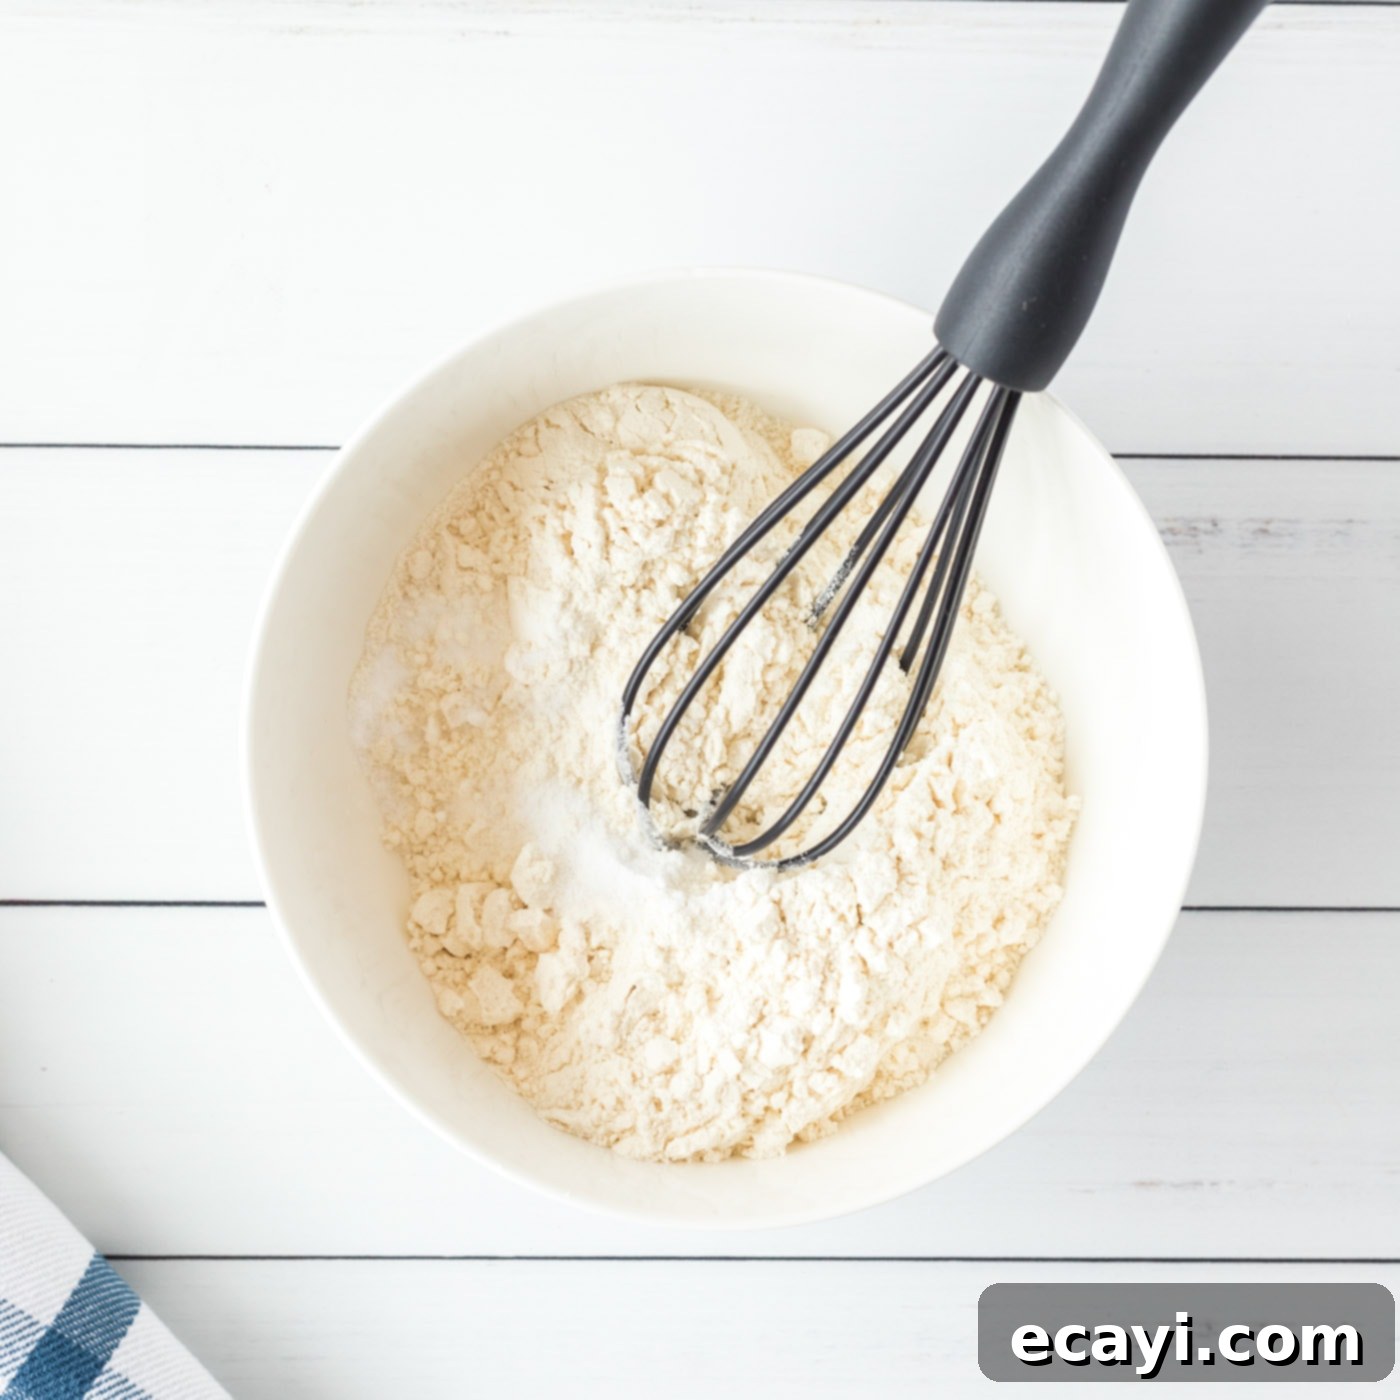
- **For the Cookie Layer:** In a separate medium-sized bowl, whisk together the all-purpose flour, baking soda, and salt until they are thoroughly combined. This dry mixture will be added later. Set this bowl aside.
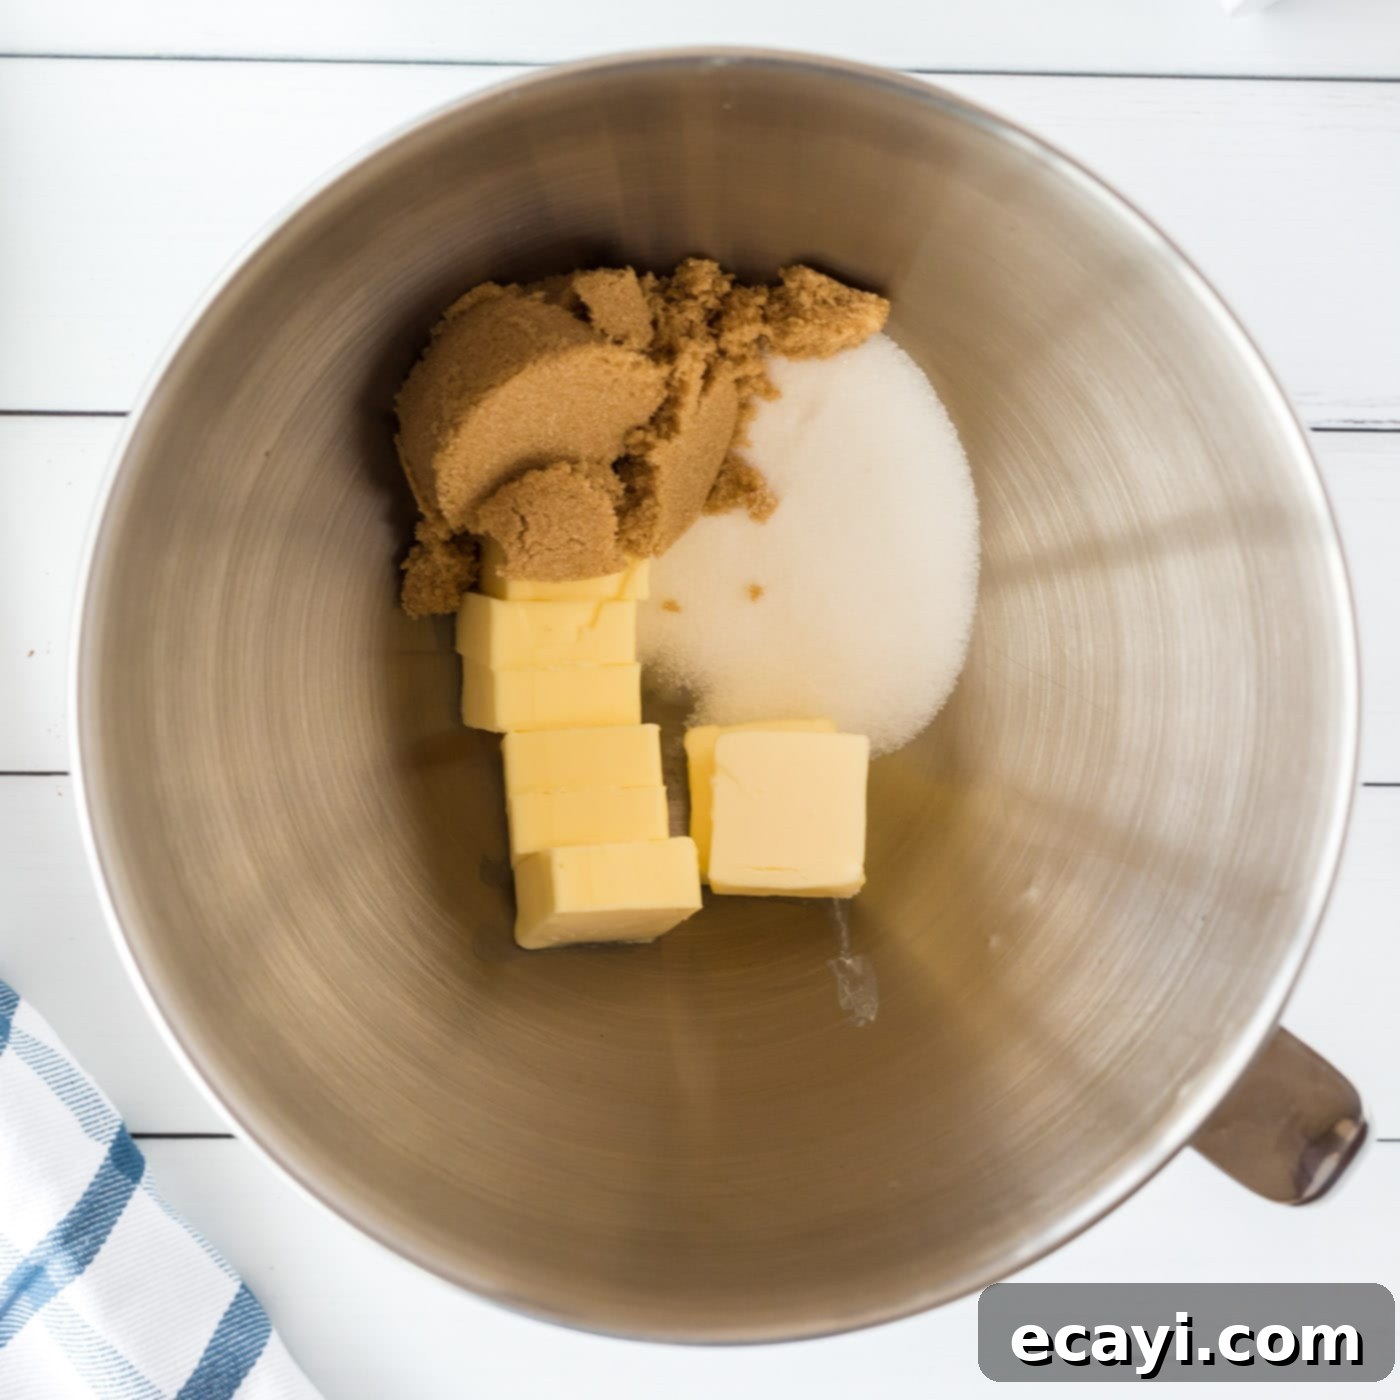
- In a large mixing bowl, using a stand mixer or hand mixer, cream together the softened unsalted butter and both the granulated white sugar and packed brown sugar. Beat on medium speed until the mixture is light, fluffy, and well combined, usually about 2-3 minutes.
- Add the large egg and vanilla extract to the creamed butter and sugar mixture. Mix again on medium speed until these wet ingredients are fully incorporated.
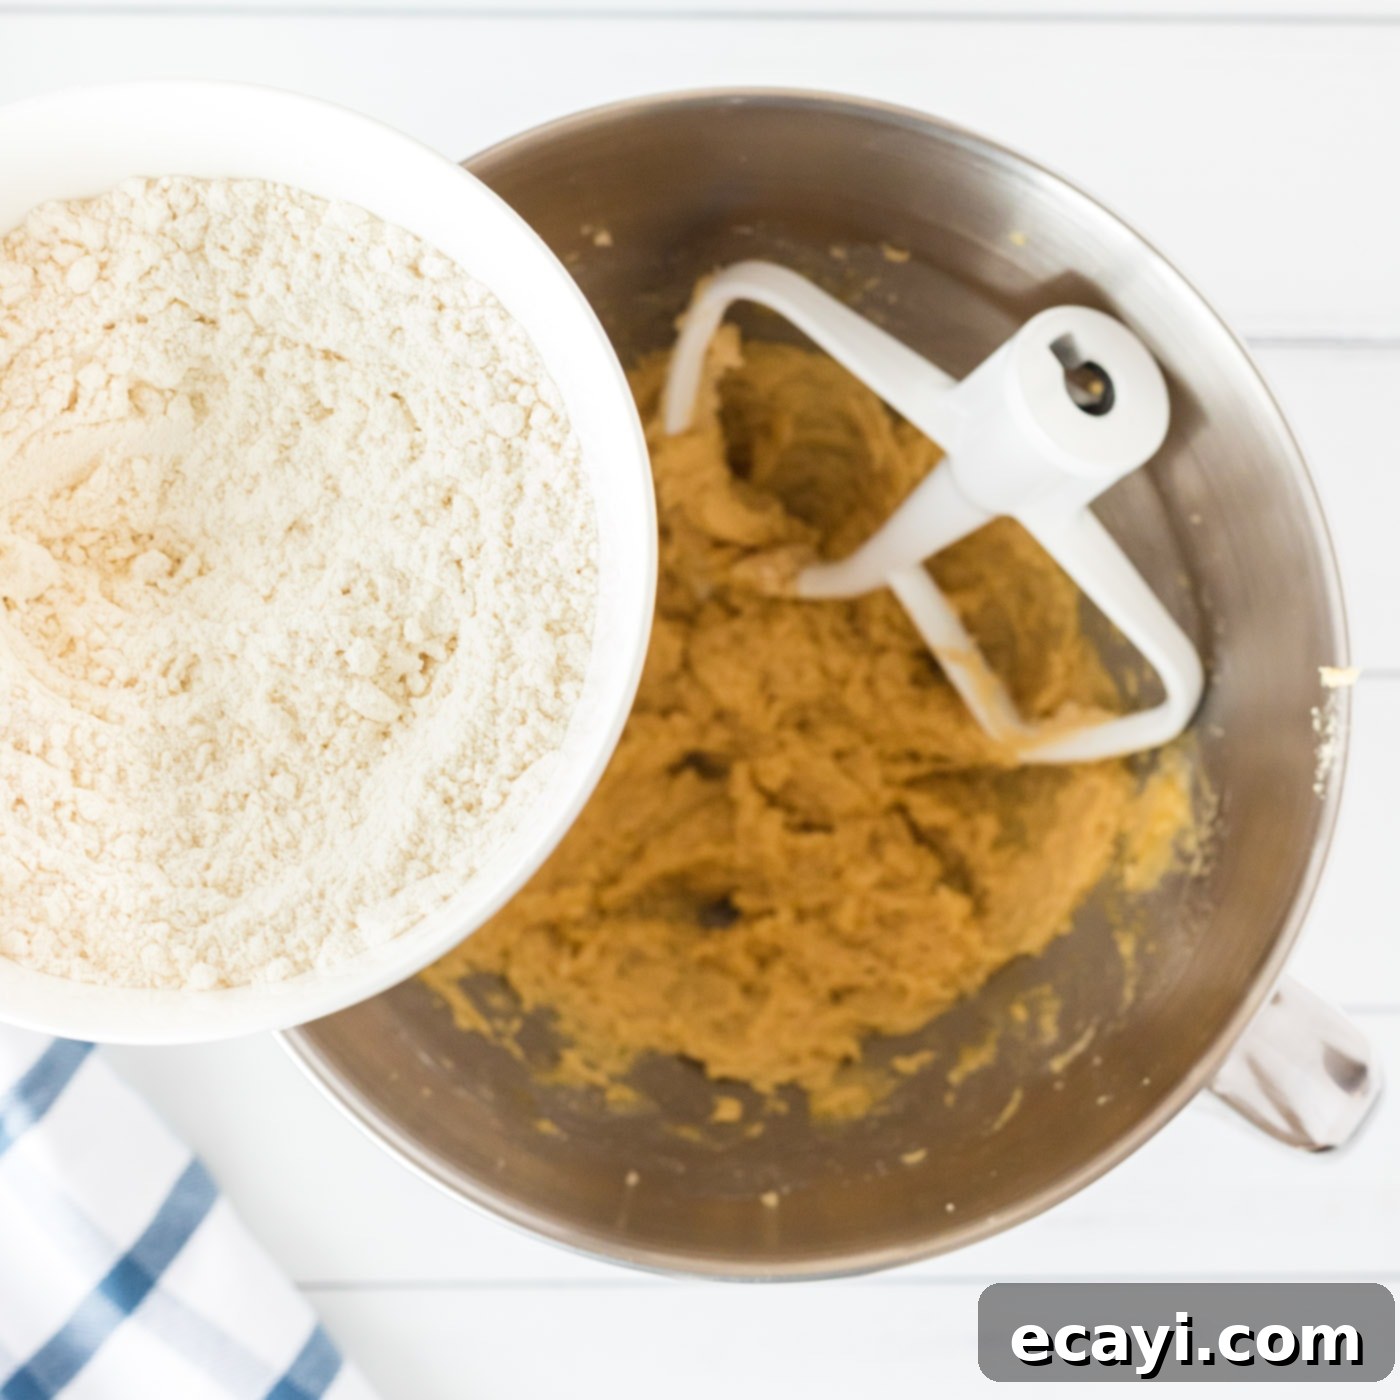
- Gradually add the reserved dry flour mixture to the wet ingredients. Mix on low speed just until no traces of dry flour remain in the dough. Again, avoid overmixing to keep the cookies tender.
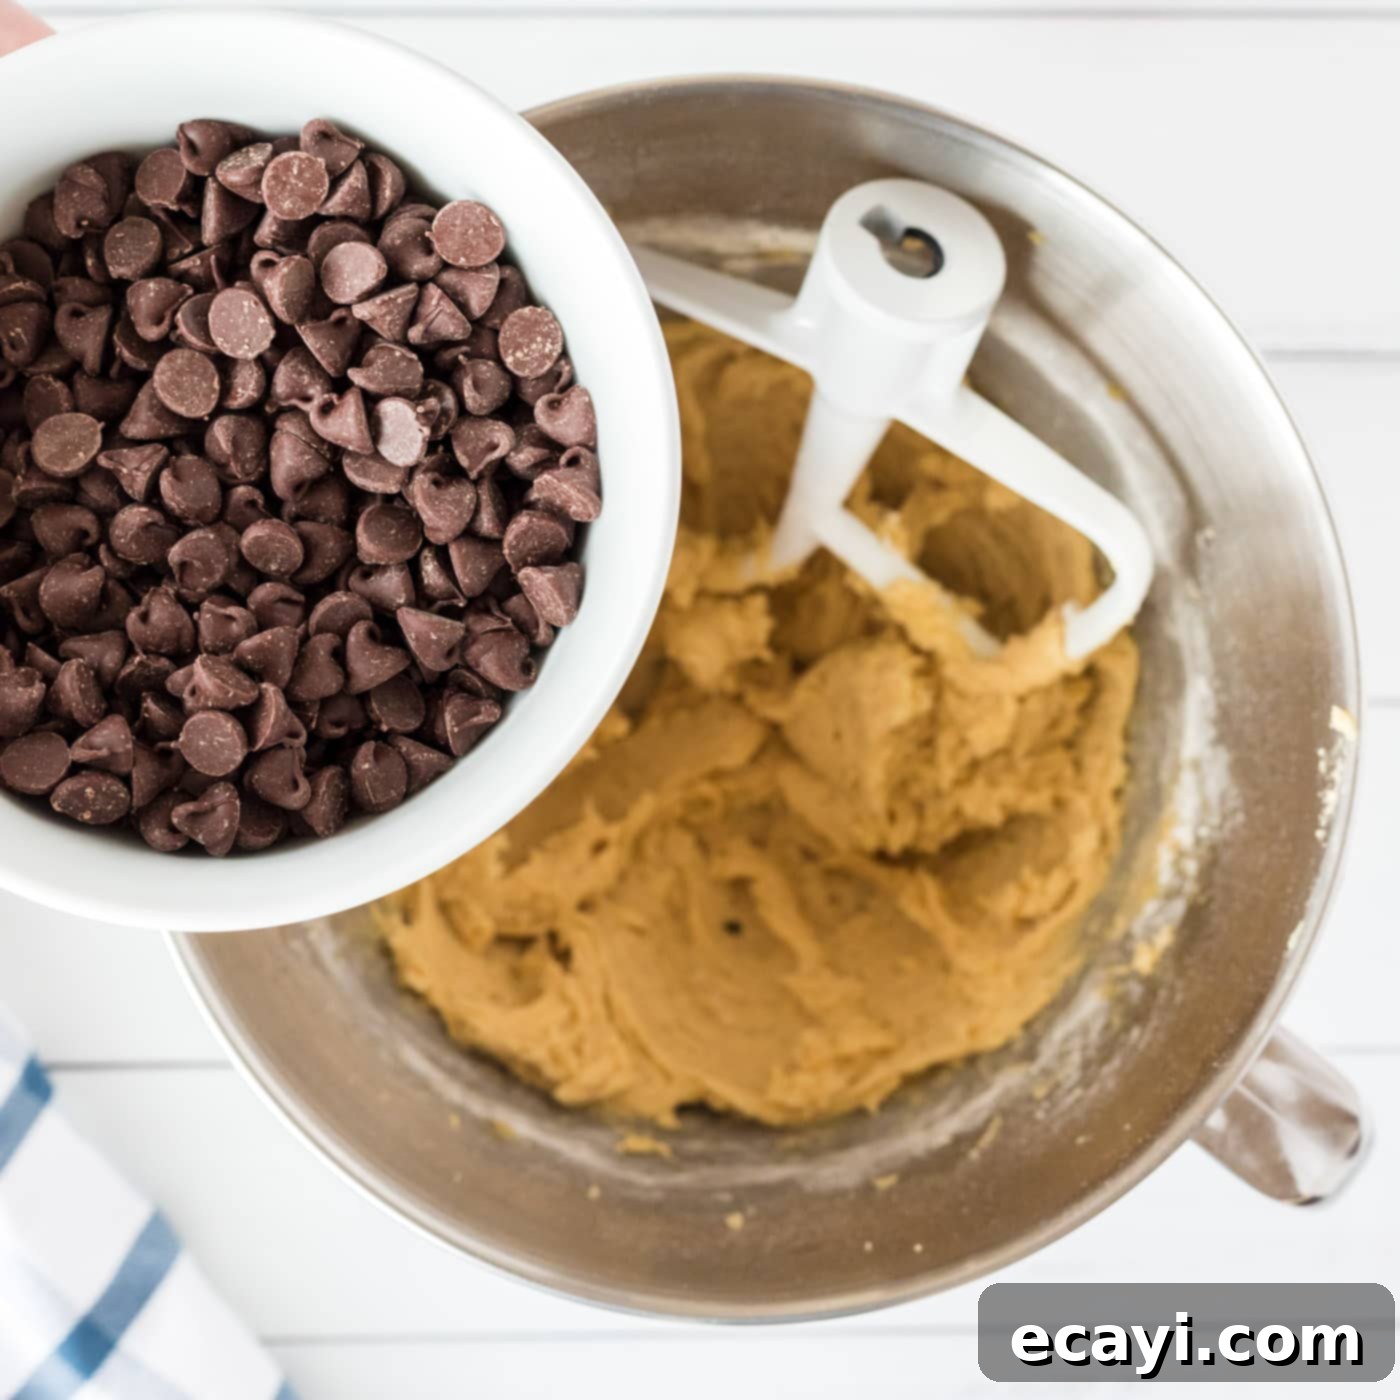
- Stir in 1 cup of the semi-sweet chocolate chips into the cookie dough. Reserve the remaining 1/3 cup of chocolate chips for sprinkling on top later.
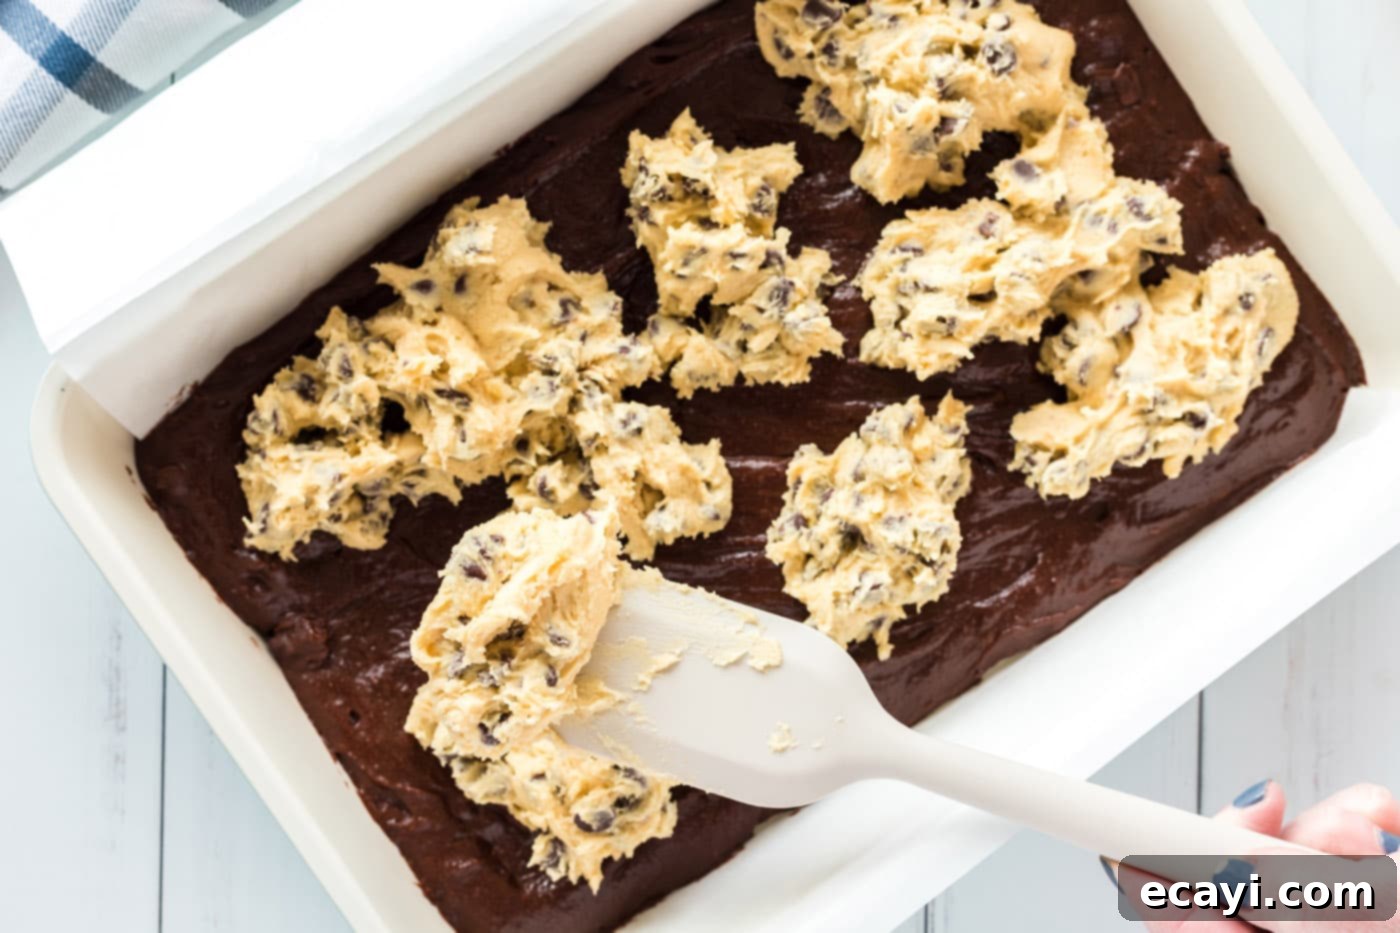
- Now, carefully drop spoonfuls of the cookie dough over the top of the brownie batter in the prepared pan. There’s no need to spread the cookie dough; it will naturally spread and meld with the brownie layer as it bakes, creating that beautiful marbled effect.
- Sprinkle the remaining 1/3 cup of chocolate chips evenly across the top of both the brownie batter and cookie dough. This ensures extra chocolatey bursts on the surface of your brookies.
- Cover the entire pan loosely with aluminum foil. Bake for an initial 20 minutes. The foil helps to prevent the top cookie layer from browning too quickly while the center bakes.
- After 20 minutes, carefully remove the aluminum foil. Return the pan to the oven and continue baking for another 20 minutes, or until the edges of the brownie layer appear shiny and set, and the cookie layer turns a beautiful golden brown. A toothpick inserted into the brownie portion should come out with moist crumbs, not wet batter.
Frequently Asked Questions & Expert Baking Tips for Brookies
Here are some common questions and expert advice to help you master your brookies and ensure they turn out perfectly every time:
To keep your brookies wonderfully moist and flavorful, store them in an airtight container at room temperature. They will remain fresh and delicious for up to 5 days. For optimal texture, especially for the fudgy brownie layer, avoid refrigerating them unless your kitchen is excessively warm, as chilling can alter the soft consistency of the brownie. If you do refrigerate them, let them come back to room temperature before serving for the best experience.
Brookies are excellent for freezing! First, bake the brookies completely and allow them to cool down thoroughly at room temperature. Once cooled, slice them into individual squares. Arrange these squares in a single layer in a freezer-safe, airtight container, using parchment paper between layers to prevent them from sticking together. They can be stored in the freezer for up to 4 months. When you’re ready to enjoy, simply thaw them at room temperature or gently warm them in the microwave for a few seconds. You can also freeze the individual doughs: place the brownie batter in one large zip-top bag and the cookie dough in another. Both doughs can be frozen for up to 3 months. Thaw completely in the refrigerator before assembling and baking as directed.
Knowing when brookies are done can be tricky because of the two layers. Look for visual cues: the edges of the brownie layer should appear set and slightly shiny, while the cookie layer should be golden brown. A reliable test is to insert a toothpick into the brownie portion (avoiding the cookie dough if possible). It should come out with moist crumbs attached, but not wet batter. If it comes out completely clean, your brookies might be slightly overbaked, leading to a drier brownie. The center of the brownies should still have a slight wobble when gently shaken; they will continue to set as they cool.
Absolutely! Brookies are incredibly versatile. Feel free to fold in a variety of extra ingredients into either the cookie or brownie batter (or both!) to suit your taste. Popular additions include chopped nuts (walnuts, pecans), sprinkles for a festive touch, miniature marshmallows, or even chopped candies like Reese’s Pieces or M&Ms. Just be mindful not to overcrowd the batter, as this can affect the texture and baking time. Roughly a half cup of additional mix-ins should be perfect.
Dry or crumbly brookies are often a sign of overbaking or too much flour. Ensure you measure your flour accurately, preferably by weighing it if you have a kitchen scale, or by spooning it into the measuring cup and leveling it off. Overmixing the flour into either batter can also develop the gluten too much, leading to a tougher texture. Stick to mixing just until no dry streaks remain. Also, make sure your oven temperature is accurate by using an oven thermometer, as an oven running too hot can quickly dry out baked goods.
Delightful Serving Suggestions for Your Brookies
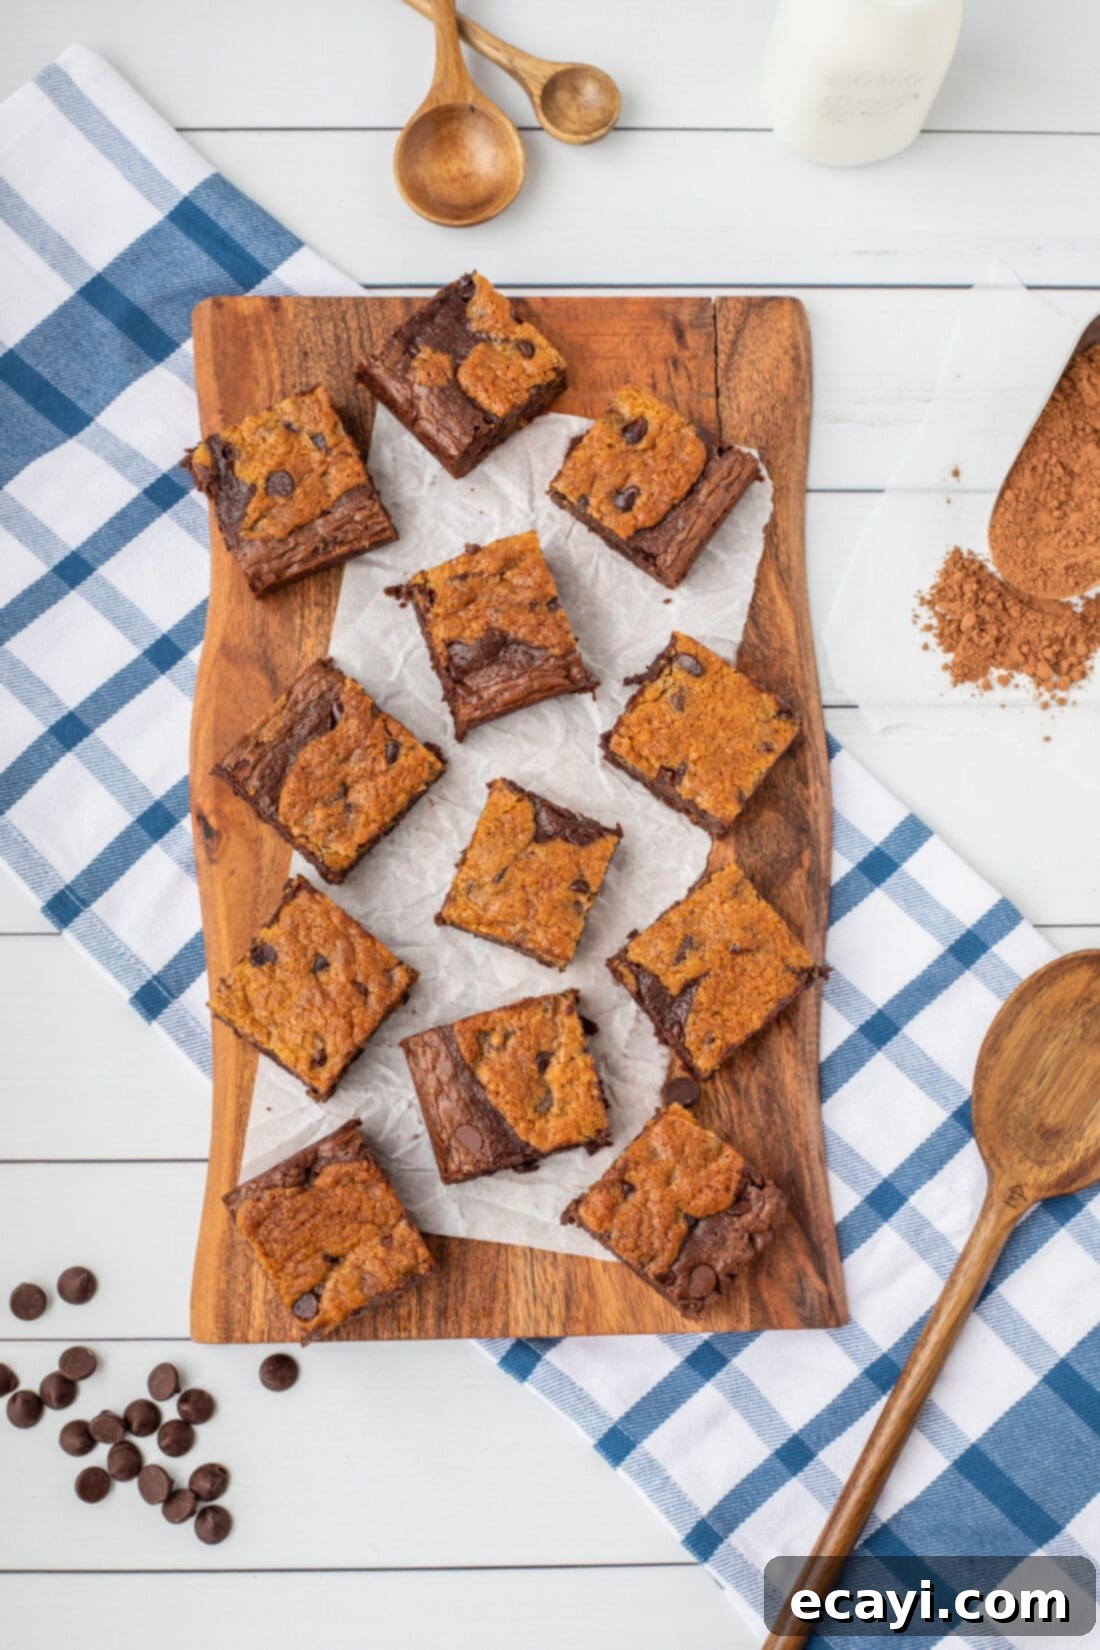
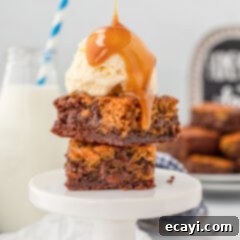
These brookies are utterly delicious served on their own, whether you prefer them warm straight from the oven or perfectly chilled. However, for an extra touch of indulgence, consider serving them with a generous scoop of creamy vanilla bean ice cream. Drizzles of warm caramel sauce, rich chocolate syrup, or even a sprinkle of sea salt can elevate the experience even further. Think about pairing them with a dollop of freshly whipped cream and some fresh berries for a lighter, elegant presentation. When it comes to cutting, you have options: for a substantial dessert, slice them into about 12 larger bars. If you’re hosting a party or simply prefer smaller bites, aim for 16 squares. For a large crowd or a bite-sized dessert assortment, you can even cut them into smaller, two-bite squares, making them perfect for potlucks, bake sales, or dessert platters. Don’t forget a tall glass of cold milk or a hot cup of coffee to complete this ultimate treat!
More Irresistible Cookie and Brownie Recipes You’ll Love
If you’ve fallen in love with the magic of brookies, you’re sure to enjoy these other fantastic cookie and brownie recipes. They offer a range of flavors and textures, perfect for any chocolate lover or baking enthusiast looking for their next favorite dessert:
- Slutty Brownies: A truly decadent layered bar with cookie, Oreo, and brownie.
- Buckeye Brownie Cookies: The perfect combination of chocolate and peanut butter in a chewy cookie.
- Millionaire Brownies: Rich brownies topped with caramel and chocolate.
- Chocolate Cheesecake Brownies: A swirl of creamy cheesecake over fudgy brownies.
- Doubletree Chocolate Chip Cookies: Recreate the famous hotel cookies at home.
- Peanut Butter Chocolate Chip Bars: A hearty and satisfying combination of two beloved flavors.
- Salted Brownie Cookies: A perfect balance of sweet and savory in a cookie form.
I absolutely adore baking and cooking, and I find immense joy in sharing my culinary adventures and tested recipes with all of you! Remembering to check back for new recipes daily can be a challenge, which is why I offer a convenient newsletter delivered straight to your inbox every time a new recipe is posted. Simply subscribe here and start receiving your free daily recipes to inspire your next kitchen creation!
Brookies (Brownie Cookie Bars)
IMPORTANT – Don’t forget to check the Frequently Asked Questions and Expert Tips section earlier in this post for valuable advice to ensure your brookies are perfect. Scroll back up to read them!
Print It
Pin It
Rate It
Save ItSaved!
Ingredients
For the Fudgy Brownie Layer
- ¾ cup unsalted butter melted (then cooled slightly)
- ⅔ cup semi-sweet chocolate chips
- 3 large eggs at room temperature (important for texture)
- ½ cup unsweetened cocoa powder (for rich chocolate flavor)
- 1 ½ cups granulated white sugar
- 1 teaspoon vanilla extract (pure vanilla for best taste)
- ⅞ cup all-purpose flour a.k.a. 1 cup minus 2 Tablespoons (measured correctly)
For the Chewy Cookie Layer
- 1 cup all-purpose flour (spooned and leveled)
- ½ teaspoon baking soda (for leavening)
- ½ teaspoon salt (to balance sweetness)
- ½ cup unsalted butter softened at room temperature (essential for creamy dough)
- ⅓ cup granulated white sugar
- ⅓ cup brown sugar packed (for chewiness and moisture)
- ½ teaspoon vanilla extract
- 1 large egg at room temperature
- 1 ⅓ cup semi-sweet chocolate chips divided (1 cup for dough, 1/3 cup for topping)
Things You’ll Need
-
Stand mixer or a reliable hand mixer (for creaming butter and sugar)
-
Mixing bowls (several sizes for separating ingredients and batters)
-
13×9 baking dish (the ideal size for these bars)
-
Measuring cups and spoons (for accurate ingredient portions)
-
Wooden spoon (or spatula for mixing and folding)
Important Notes Before You Begin
- For this recipe, you will need a grand total of 2 cups of semi-sweet chocolate chips, which typically equates to one standard 12-ounce bag. Ensure you have this amount ready, as it will be divided between both layers and for sprinkling on top.
- The chocolate chip cookie layer specifically requires **softened butter**. This means your butter should be at a true room temperature, making it pliable and easy to cream. To achieve this, take your butter out of the fridge, slice it into smaller pieces, and let it rest on your kitchen counter for approximately 20-30 minutes before you start preparing the dough. If your butter is too cold, it will not cream properly with the sugars, leading to a lumpy dough and potentially affecting the cookie’s texture.
- Additionally, ensure your eggs are at room temperature for both layers. This allows them to incorporate more smoothly into the batters, creating a more uniform texture and better emulsification.
Step-by-Step Instructions
-
Preheat your oven to 350°F (175°C) and prepare your baking pan.
-
Line a 13×9 inch baking pan with parchment paper, leaving an overhang on the sides to create convenient “handles” for easy removal of the baked brookies.
Preparing the Fudgy Brownie Layer
-
In a large, microwave-safe bowl, place the ⅔ cup of semi-sweet chocolate chips designated for the brownie layer.
-
Melt the ¾ cup unsalted butter. Pour the hot melted butter over the chocolate chips. Let the mixture stand for about 1 minute to allow the chocolate to soften, then stir thoroughly until the mixture is completely smooth and homogeneous.
-
To the smooth chocolate-butter mixture, add the 3 room-temperature large eggs, ½ cup unsweetened cocoa powder, 1 ½ cups granulated white sugar, and 1 teaspoon vanilla extract. Stir everything well until fully combined and the batter is a uniform dark brown.
-
Gently fold in the ⅞ cup all-purpose flour. Mix just until no more dry streaks of flour are visible. Be careful not to over-mix the batter, as this can result in a tougher brownie texture.
-
Scrape the prepared brownie batter into the parchment-lined baking pan. Use a spatula to spread it evenly across the bottom. Set the pan aside.
Creating the Chewy Cookie Layer
-
In a medium bowl, whisk together the 1 cup all-purpose flour, ½ teaspoon baking soda, and ½ teaspoon salt. Ensure these dry ingredients are well combined, then set aside.
-
Using an electric mixer (stand or hand mixer), cream together the ½ cup softened unsalted butter with the ⅓ cup granulated white sugar and ⅓ cup packed brown sugar. Beat on medium speed until the mixture is light, fluffy, and thoroughly combined, typically 2-3 minutes.
-
Add the 1 room-temperature large egg and ½ teaspoon vanilla extract to the creamed butter and sugars. Mix again until fully incorporated, scraping down the sides of the bowl as needed.
-
Gradually add the whisked flour mixture to the wet ingredients. Mix on low speed, just until no more traces of dry flour are visible in the dough. Avoid overmixing to keep the cookie layer tender.
-
Stir in 1 cup of the semi-sweet chocolate chips into the cookie dough using a spatula. Reserve the remaining ⅓ cup of chocolate chips to sprinkle on top later for an extra chocolatey finish.
-
Carefully drop spoonfuls of the cookie dough evenly over the brownie batter in the prepared pan. There’s no need to spread the cookie dough; it will naturally expand and merge during baking.
-
Distribute the remaining ⅓ cup of chocolate chips across the top of both the brownie and cookie dough layers for extra visual appeal and chocolate bursts.
-
Cover the baking pan loosely with aluminum foil. Bake in the preheated oven for 20 minutes. This initial baking with foil helps prevent the cookie layer from over-browning too quickly.
-
Remove the foil and return the pan to the oven. Continue baking for an additional 20 minutes, or until the edges of the brownies are shiny and set, and the cookie layer is a beautiful golden brown. A toothpick inserted into the brownie section should come out with moist crumbs, indicating a perfectly fudgy center.
Nutrition Information
The recipes on this blog are meticulously tested with a conventional gas oven and gas stovetop to ensure consistent results. Please note that individual ovens, especially older models, can sometimes heat and bake inconsistently. We highly recommend using an inexpensive oven thermometer to verify that your oven is truly reaching and maintaining the precise temperature required for optimal baking. If you are using a toaster oven or a countertop oven, be aware that their heat distribution may differ significantly from a full-sized conventional oven, and you may need to adjust your cooking and baking times accordingly. For recipes utilizing specific appliances such as a pressure cooker, air fryer, or slow cooker, a direct link to the exact models we use is provided within each respective recipe for your convenience. Finally, for baking recipes where measurements are given by weight, we strongly advise adhering to those measurements, as substituting with volume (cups) can lead to different outcomes, and we cannot guarantee success with such alterations.
