Homemade Pink Peppermint Ice Cream: A Creamy, Festive Treat for Any Occasion
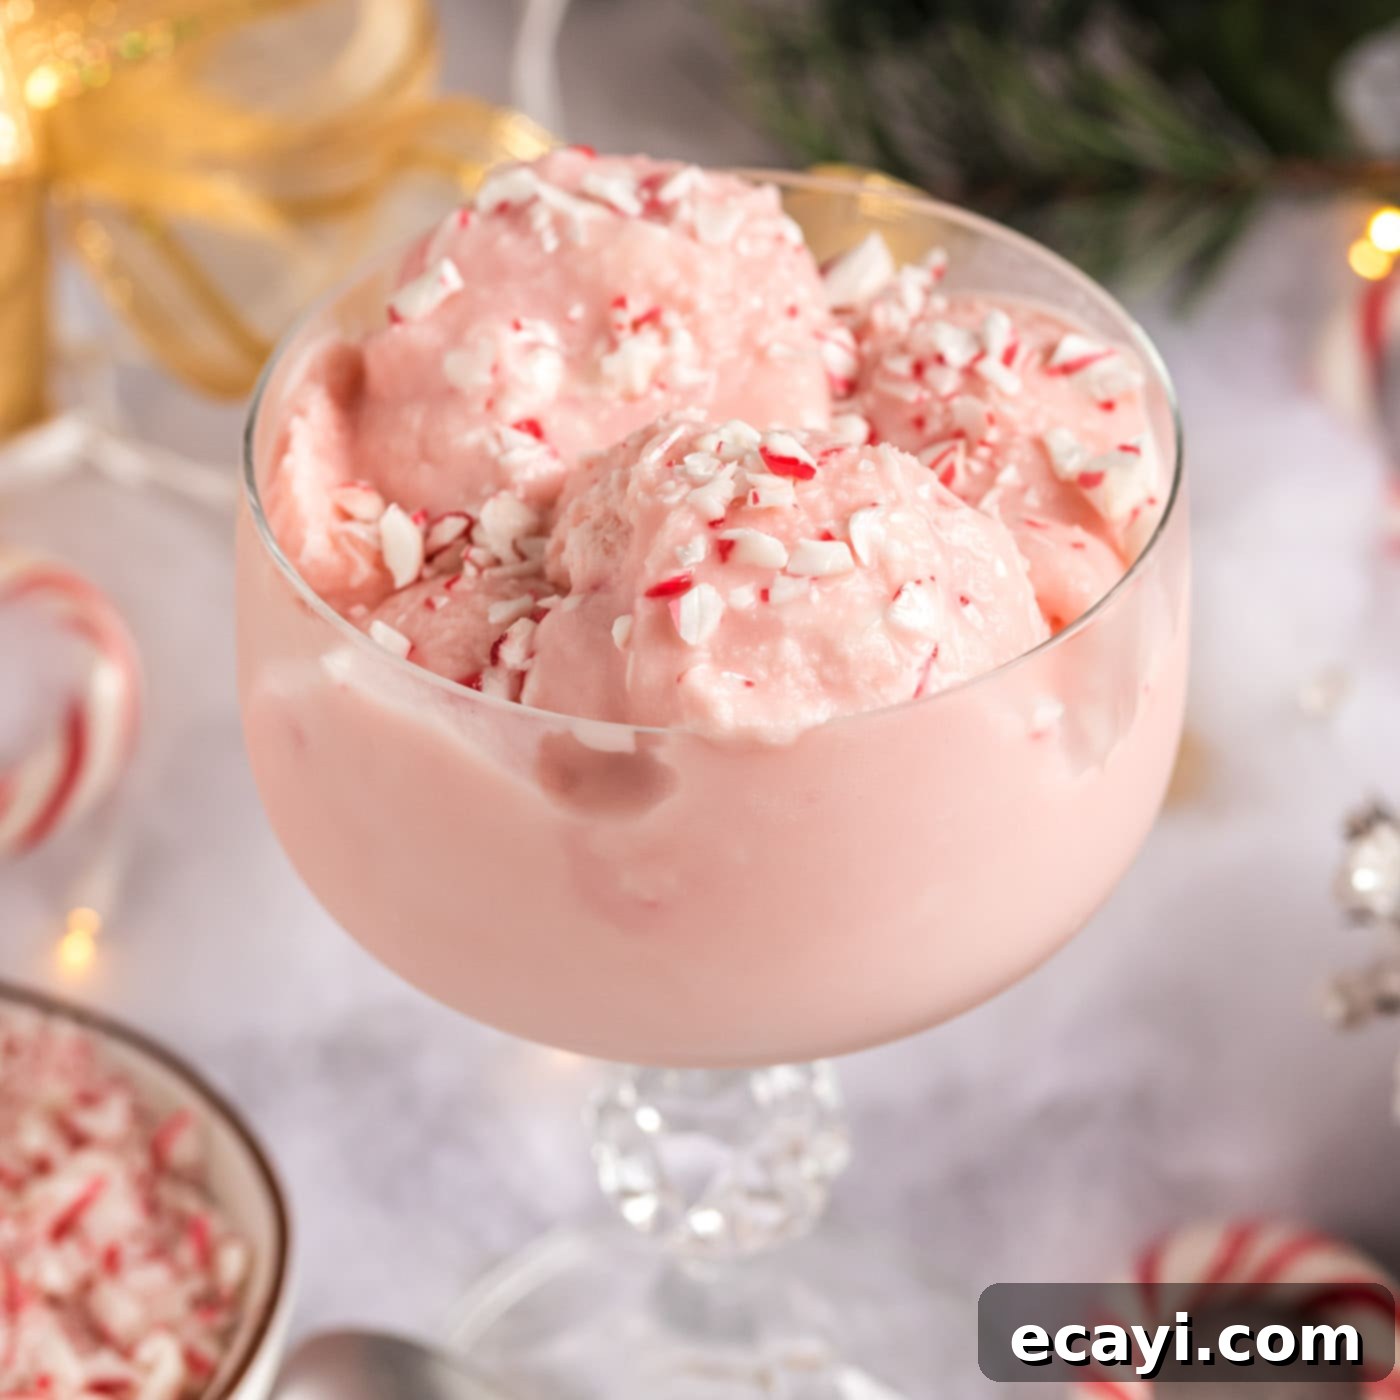
Indulge in the magical flavor of homemade peppermint ice cream, a delightful creation churned to creamy, dreamy perfection. This easy recipe promises a refreshing burst of mint and delightful crunch in every single spoonful, making it the perfect dessert to brighten any gathering. With its signature pink hue and festive appeal, this isn’t just a holiday treat; it’s a year-round delight that captures the essence of cool, minty bliss.
Why This Easy Peppermint Ice Cream Recipe Is a Must-Try
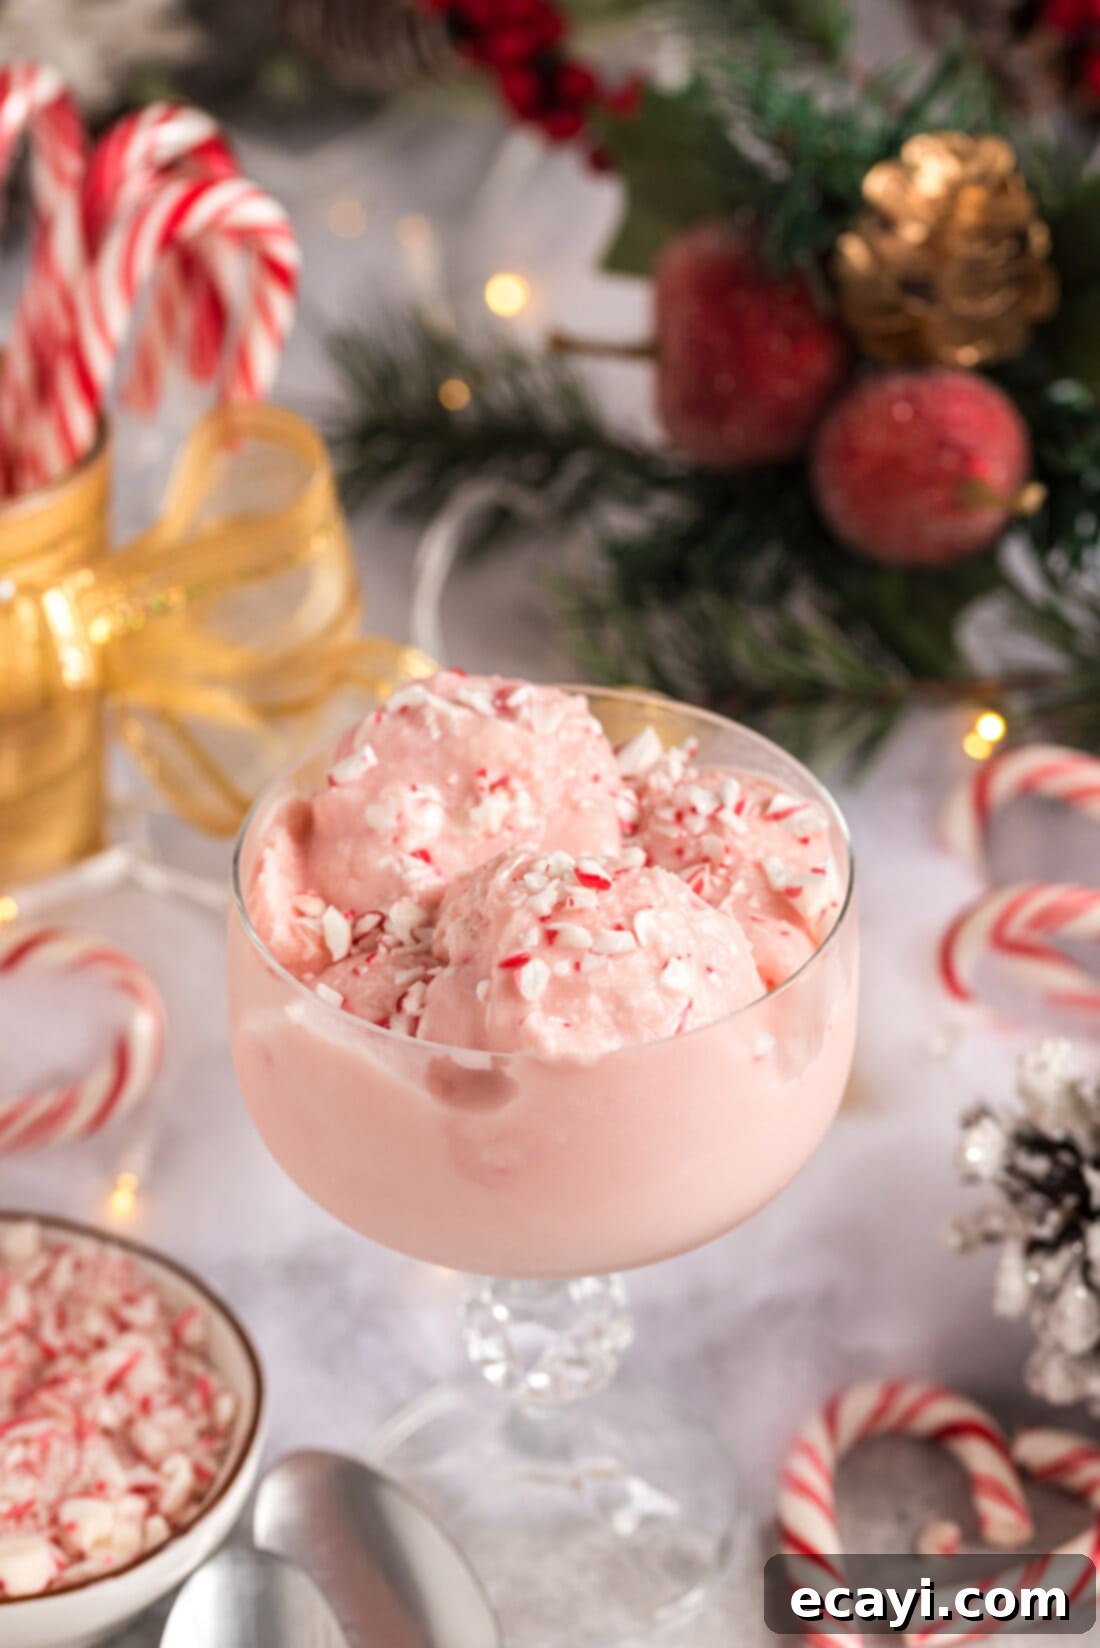
There’s nothing quite like the taste of homemade ice cream, and this pink peppermint version stands out for several reasons. It masterfully combines a luxuriously smooth and creamy base with the delightful texture and vibrant flavor of crushed peppermint candies. While often associated with the holiday season, this refreshing homemade peppermint ice cream is so delicious and easy to prepare that you’ll want to enjoy it all year long.
The beauty of this recipe lies in its simplicity. Using a standard ice cream maker, the process is straightforward, allowing even novice home cooks to achieve professional-quality results. The base comes together quickly, and once churned, it transforms into a soft-serve consistency, ready for the satisfying addition of peppermint crunch. The most challenging part, truly, is exercising patience as it firms up in the freezer!
Making your own peppermint ice cream also gives you complete control over the ingredients, ensuring a fresher and more wholesome dessert free from artificial preservatives often found in store-bought varieties. Plus, the vibrant pink color, easily achieved with a few drops of food coloring, adds an undeniable festive charm. This recipe isn’t just about creating a dessert; it’s about crafting an experience – a moment of pure, minty joy in every scoop.
Should you find yourself with extra crushed peppermint candies, don’t let them go to waste! They are wonderfully versatile. Sprinkle them generously over frosted peppermint cookies for an extra festive touch, or use them to rim a glass for a decadent chocolate peppermint martini. They also make a fantastic topping for hot chocolate, brownies, or even milkshakes, adding that distinctive cool mint flavor and satisfying crunch.
Essential Ingredients for Your Homemade Peppermint Ice Cream
Crafting the perfect homemade peppermint ice cream begins with a few key, high-quality ingredients. While the full list with precise measurements is conveniently located in the printable recipe card at the end of this post, let’s highlight what makes each component crucial to achieving that rich, creamy texture and vibrant mint flavor.
You’ll notice this recipe uses a combination of dairy fats for optimal creaminess, alongside the star flavors of peppermint and vanilla. A touch of food coloring gives it that signature pink hue, but feel free to adjust or omit it based on your preference. Gather your ingredients, and let’s get ready to churn some magic!
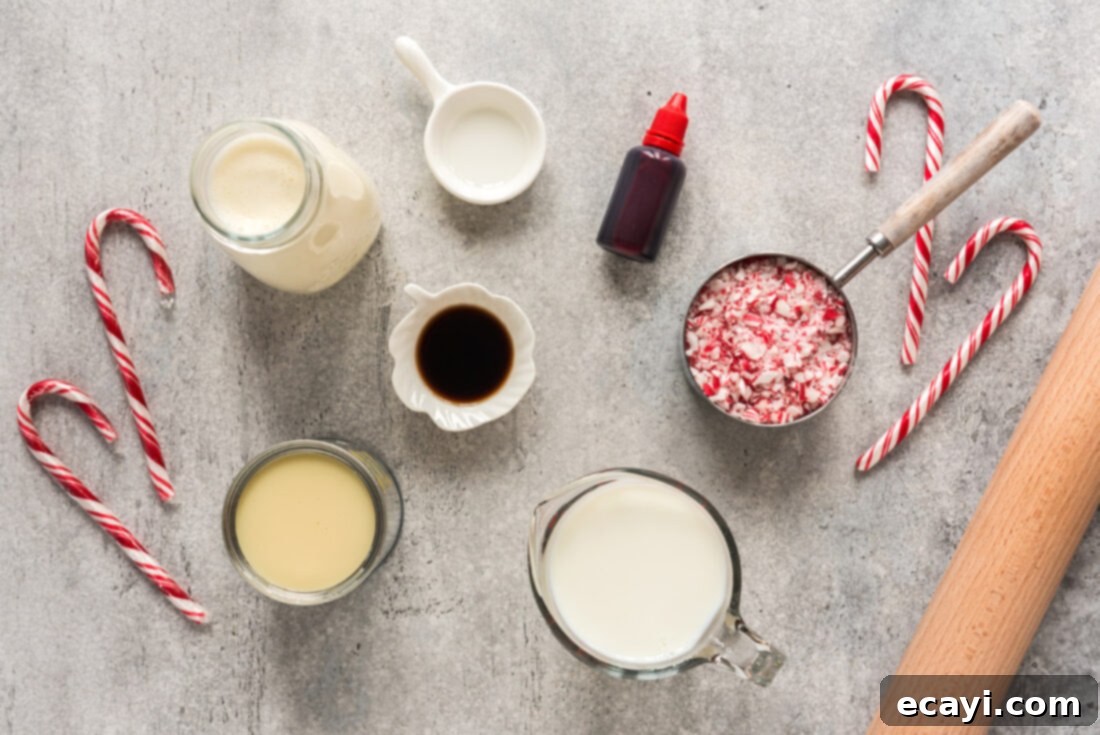
Ingredient Information and Expert Substitution Advice
Understanding the role of each ingredient is key to making the best homemade ice cream. Here’s a deeper dive into the components and potential adjustments:
SWEETENED CONDENSED MILK – This ingredient is non-negotiable for this recipe’s success. It serves multiple vital functions: providing essential sweetness, contributing to the rich, creamy texture, and significantly helping to prevent the formation of large, icy crystals. It’s crucial not to confuse it with evaporated milk, which is unsweetened and has a different consistency; using evaporated milk will result in a completely different, unsatisfactory texture and flavor. Sweetened condensed milk is concentrated milk with sugar already added, giving it that thick, syrupy quality perfect for ice cream.
HEAVY CREAM – For truly luxurious and creamy ice cream, heavy whipping cream is your best friend. Its high fat content is paramount, as fat is what gives ice cream its smooth, rich mouthfeel and prevents it from becoming icy. While you can reduce the fat content by substituting part of the heavy cream with half-and-half or even whole milk, be aware that this will impact the final texture. Using half-and-half will yield a slightly less rich but still enjoyable result, while swapping for a lower-fat milk will likely produce an icier, less smooth and less decadent ice cream. For the absolute best and creamiest pink peppermint ice cream, sticking with heavy whipping cream is highly recommended.
1% MILK – Used in conjunction with heavy cream, 1% milk helps to balance the overall richness without compromising too much on creaminess. It adds liquid volume to the base, ensuring it’s not overly dense. If you prefer an even richer ice cream, you could substitute this with whole milk or even more heavy cream, but the existing combination works wonderfully to create a balanced texture.
PEPPERMINT EXTRACT – This is where the distinct minty flavor comes from. Pure peppermint extract is essential for a clean, refreshing taste. Start with the recommended amount, and then taste the base mixture before churning to see if you desire a stronger mint presence. Remember, extracts are potent, so add sparingly.
VANILLA EXTRACT – A generous amount of vanilla extract complements the peppermint beautifully, adding depth and warmth to the overall flavor profile. It prevents the mint from being too sharp and helps round out the sweetness. Pure vanilla extract is always preferred for the best flavor.
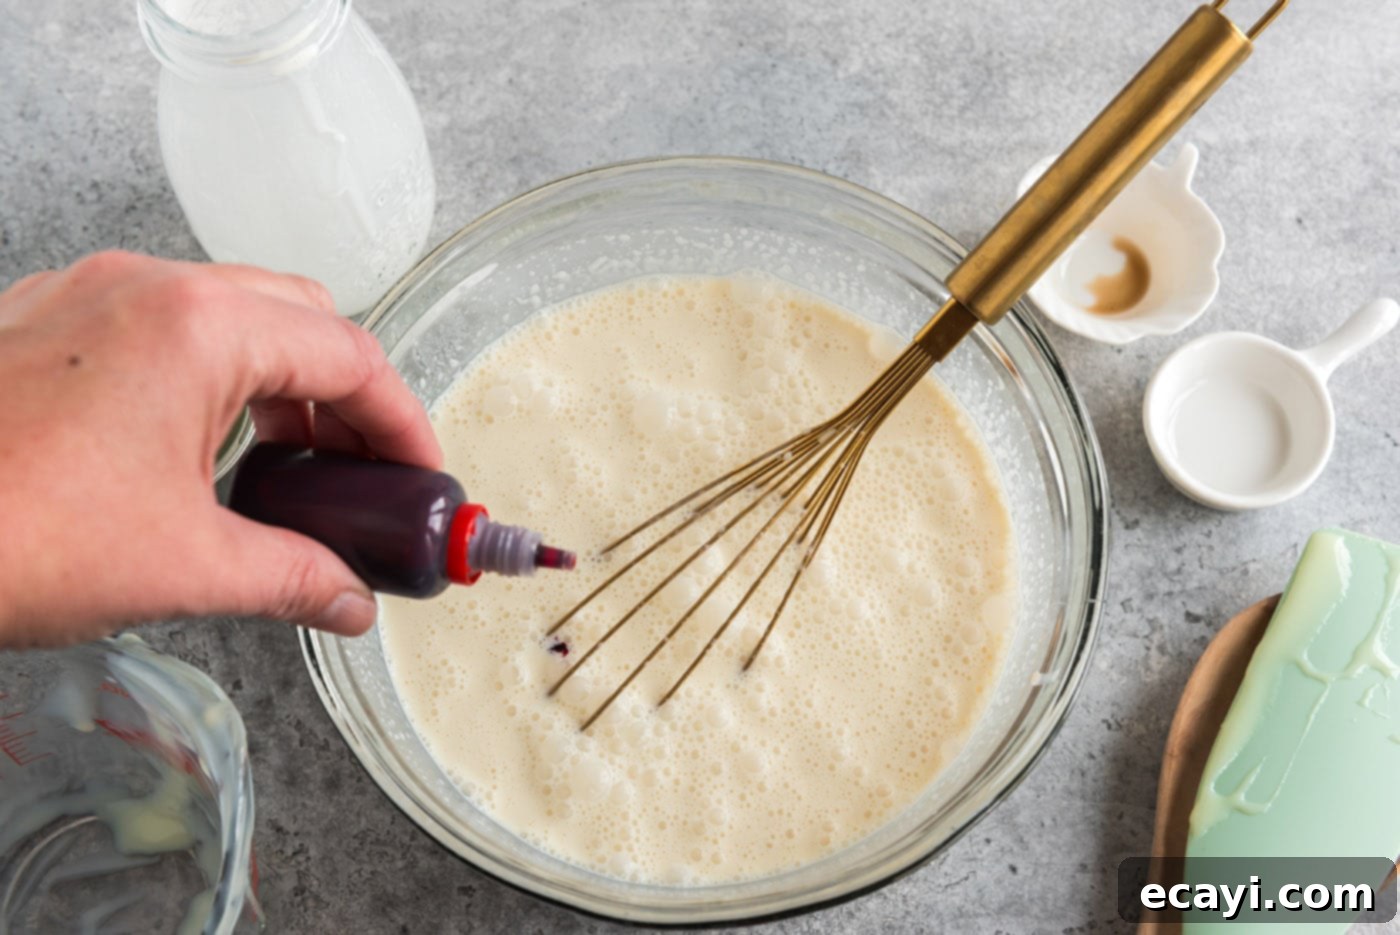
RED FOOD COLORING – This is purely for aesthetics, giving your ice cream that delightful pink hue that makes it so festive and appealing. You can use liquid or gel food coloring. Gel coloring tends to be more concentrated, so you might need fewer drops. Add a few drops at a time until you reach your desired shade of pink. If you prefer a natural look, or don’t want to use food coloring, feel free to omit it; the flavor will be just as fantastic!
PEPPERMINT CANDIES – These crushed candies are the star of the show, providing both intense mint flavor and a delightful crunchy texture. You have options here: classic candy canes or the convenient small, round peppermint candies, often known as Starlight Mints. To crush them, place the candies in a sturdy plastic zipper gallon bag, squeeze out as much air as possible, seal it tightly, and then use a meat mallet, rolling pin, or even a hammer to break them down. Aim for about a cup’s worth. The fineness of the crush is a matter of personal preference; finer pieces will blend more seamlessly and provide a consistent mint flavor, while larger chunks offer a more pronounced textural contrast and concentrated bursts of mint. Experiment to find what you love most!
Crafting Your Own Peppermint Ice Cream: Step-by-Step Guide
These step-by-step photos and instructions are here to help you visualize how to make this delicious homemade peppermint ice cream. For the complete, printable version of this recipe, including all measurements and detailed instructions, simply Jump to Recipe at the bottom of this post.
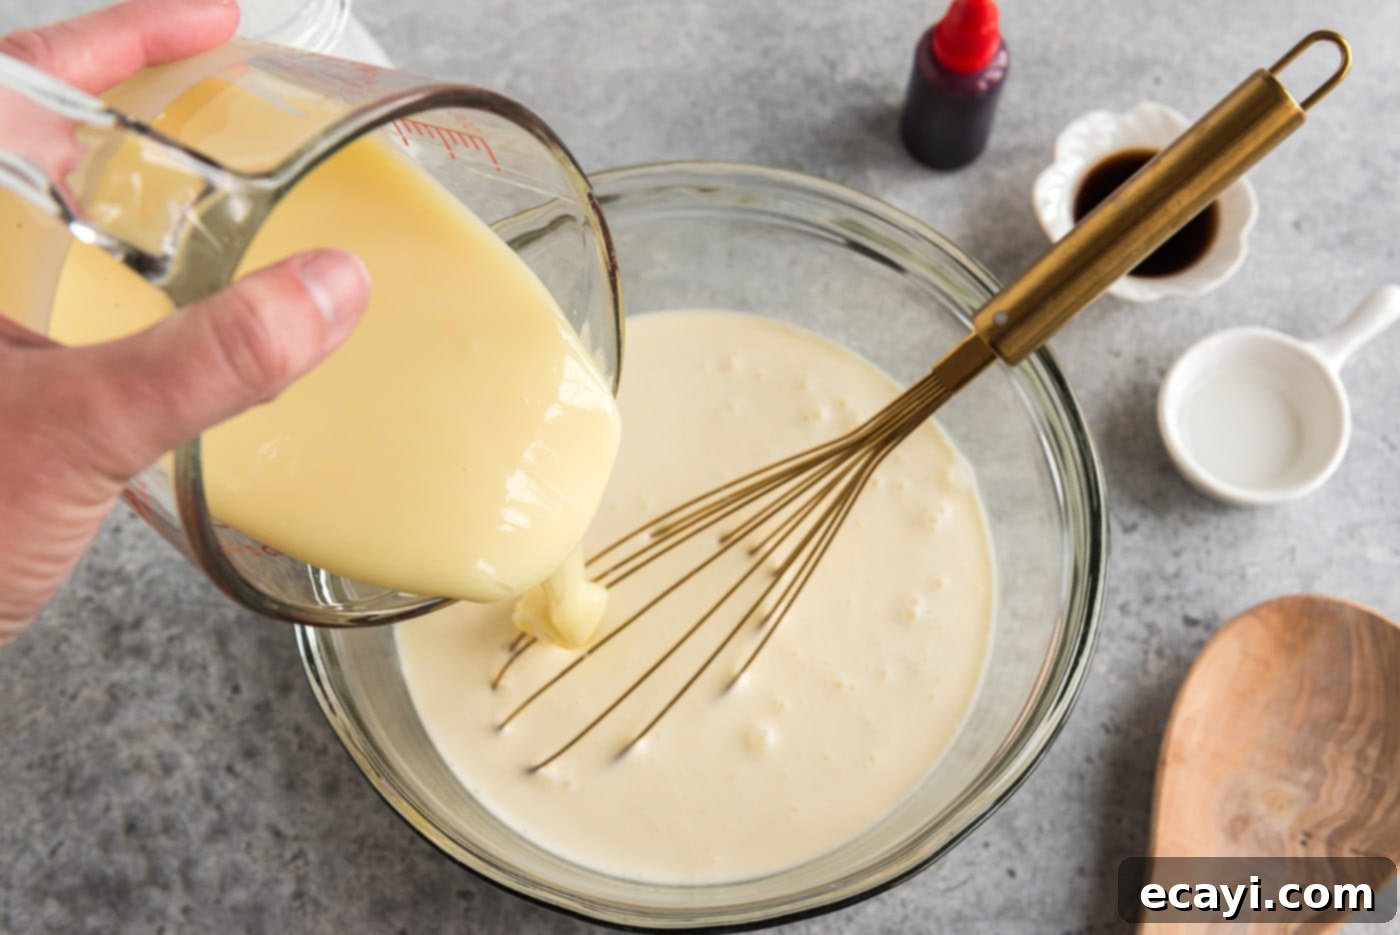
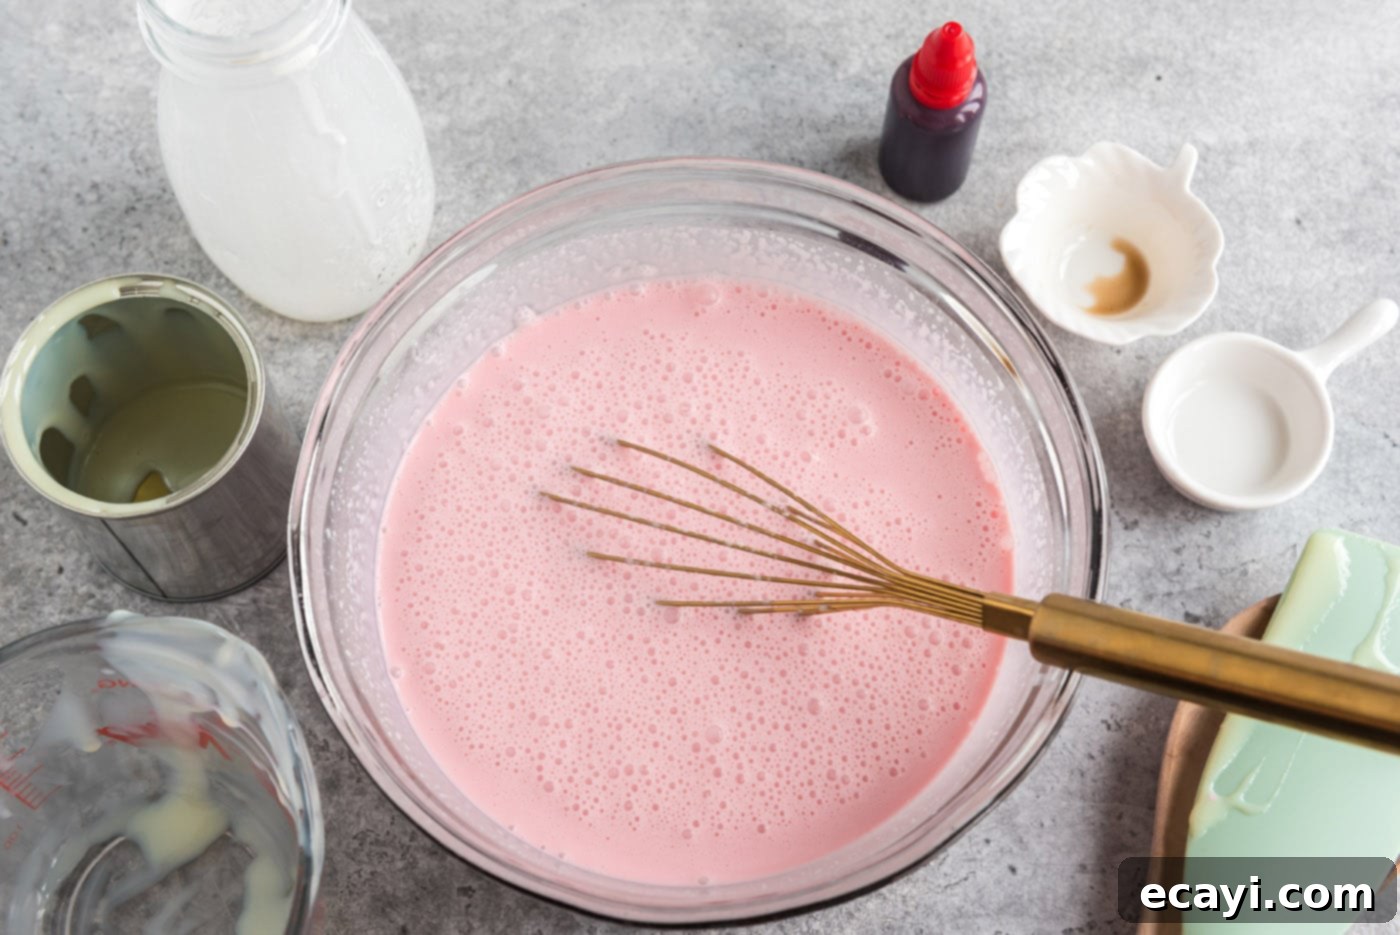
- Prepare the Ice Cream Base: In a large mixing bowl, combine all ingredients except for the crushed peppermint candies: sweetened condensed milk, heavy whipping cream, 1% milk, peppermint extract, vanilla extract, and red food coloring. Whisk thoroughly until all ingredients are well combined and the mixture has a uniform pink color. For best results and the creamiest ice cream, chill this mixture in the refrigerator for at least 2 hours, or ideally, overnight. A well-chilled base freezes faster and results in a smoother consistency.
- Churn the Mixture: Pour the chilled ice cream mixture into your ice cream maker. Make sure your ice cream maker’s bowl has been pre-frozen according to the manufacturer’s instructions – this step is critical for proper churning. Process the mixture according to your ice cream maker’s specific instructions, which typically takes about 20-30 minutes. The ice cream will reach a soft-serve consistency. During this stage, you’ll see the liquid transform into a delicious, thick, and creamy texture.


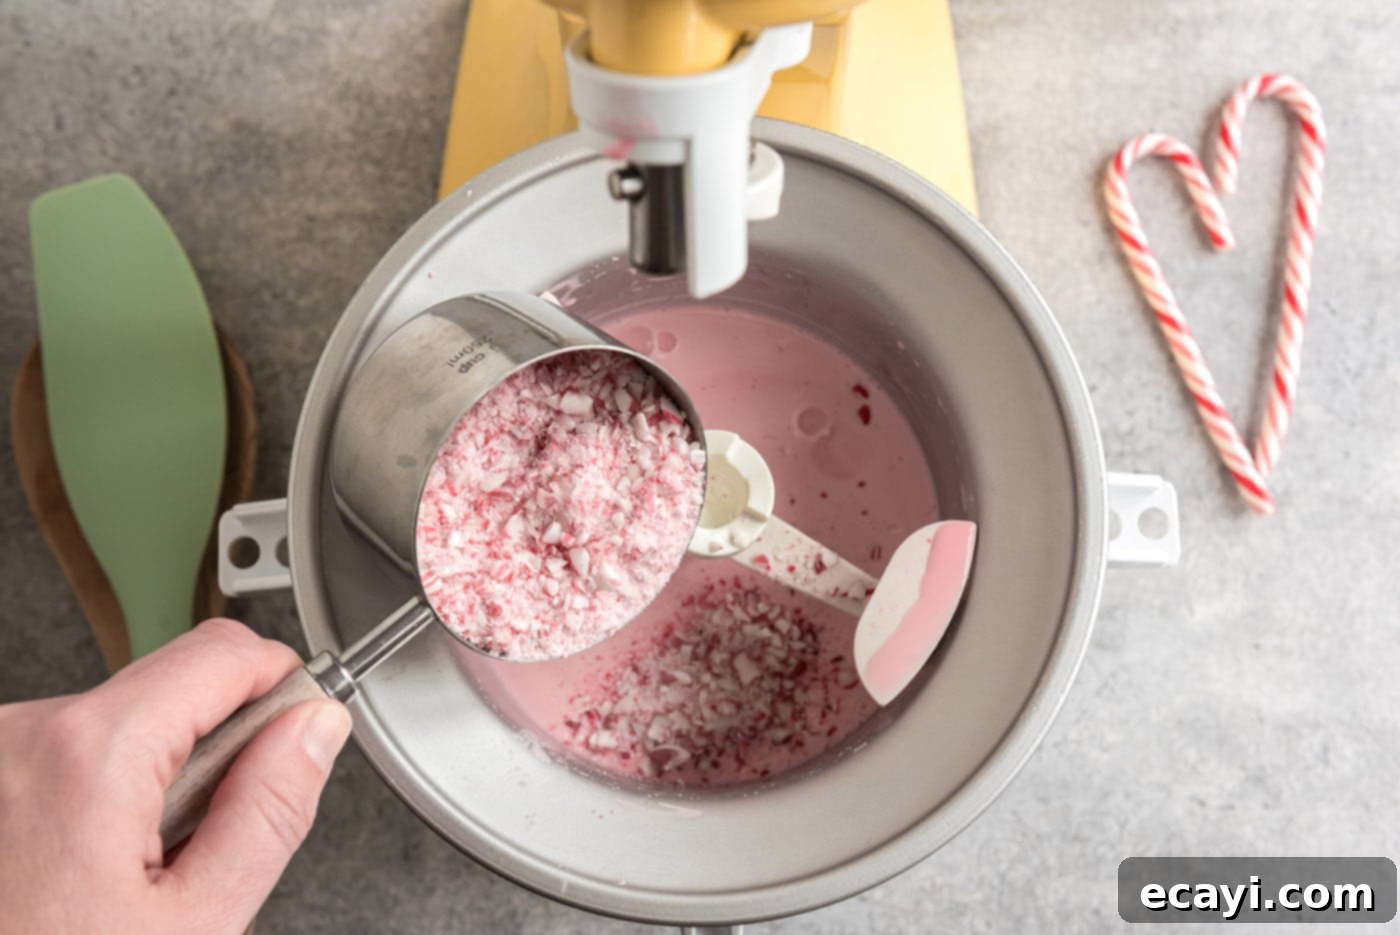
- Incorporate Peppermint Candies: Just before the churning process is complete (typically in the last 5 minutes), add the crushed peppermint candies directly into the ice cream maker. Allow the machine to churn for a few more minutes to ensure the candies are evenly distributed throughout the soft ice cream.

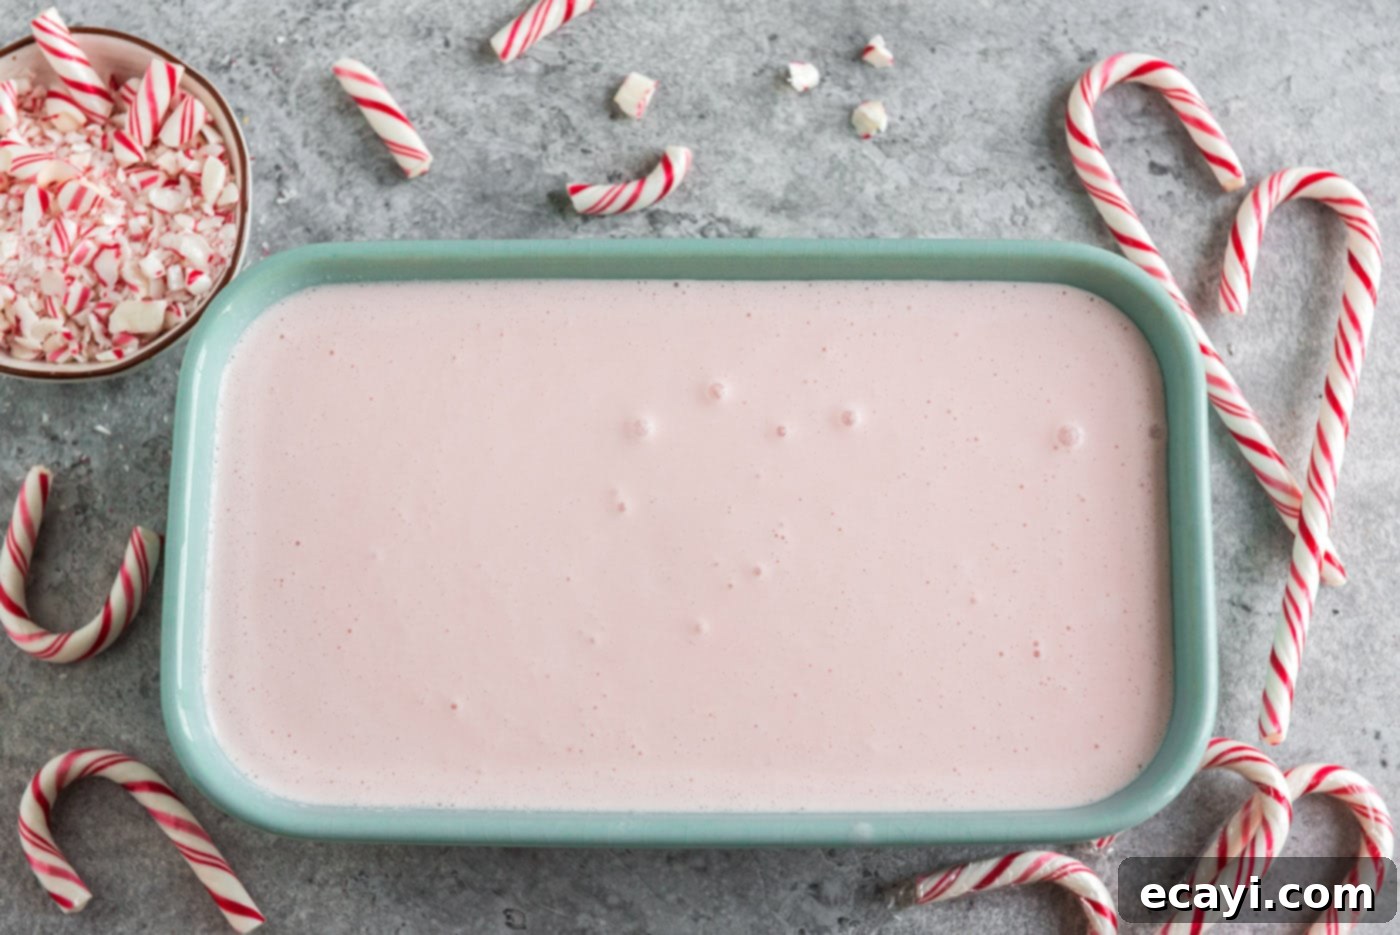
- Freeze to Firmness: Once churning is finished, transfer the soft, newly churned ice cream into a 2-quart freezer-safe container with an airtight lid. This is crucial for preventing freezer burn. Smooth the top with a spoon or spatula. Place the container in the coldest part of your freezer. Freeze until the ice cream is firm enough to scoop, which usually takes about 4 to 4 1/2 hours. However, for the best, most solid texture, freezing overnight is highly recommended. This allows the ice cream to fully harden and flavors to meld beautifully.

Frequently Asked Questions & Expert Tips for Perfect Peppermint Ice Cream
Achieving perfectly creamy and delicious homemade peppermint ice cream is simpler than you might think, especially with a few expert insights. Here are some common questions and helpful tips to ensure your dessert turns out wonderfully every time:
To maintain its creamy texture and prevent freezer burn, store your homemade peppermint ice cream in an air-tight, freezer-safe container. A shallow, wide container is often better than a deep one for freezing consistency. Kept properly sealed in the coldest part of your freezer, it will stay fresh and delicious for up to 4 weeks. Keep in mind that homemade ice cream typically doesn’t last as long as commercial varieties because it lacks the preservatives found in store-bought options.
While you can use alternatives, I strongly recommend sticking to heavy whipping cream for the majority of the dairy in this recipe. The secret to super creamy ice cream lies in its fat content; higher fat means fewer ice crystals and a smoother, richer mouthfeel. If you substitute all the heavy cream with regular milk (like 2% or skim), the resulting ice cream will be noticeably icier, less smooth, and lack the indulgent richness. You can, however, use half-and-half as a partial substitute for a slightly lighter, though still creamy, texture.
After churning, homemade ice cream will be at a soft-serve consistency. To reach a scoopable hardness, it typically needs at least 4 to 4 1/2 hours in the freezer. However, for the very best texture and firmness, freezing overnight is ideal. This extended freezing time allows the ice cream to fully harden and the flavors to deepen and meld beautifully.
Several factors can contribute to icy ice cream. Ensure your ice cream maker’s bowl is frozen solid for the recommended time (usually 12-24 hours). The ice cream base itself must be thoroughly chilled before churning – refrigerate it for at least 2 hours, or even better, overnight. Not enough fat in the recipe (e.g., substituting heavy cream with low-fat milk) can also lead to iciness. Finally, storing the ice cream in a non-airtight container allows moisture to evaporate and ice crystals to form. Always use an airtight container for storage.
This particular recipe is designed for an ice cream maker to achieve its specific creamy texture. While “no-churn” ice cream recipes exist, they typically use a different method involving whipping cream and folding it with sweetened condensed milk, then freezing without churning. If you don’t have an ice cream maker, I recommend seeking out a dedicated no-churn peppermint ice cream recipe, which will provide the appropriate ingredient ratios and instructions for that method. You can find a great No-Churn Ice Cream recipe here.
Achieving the signature pink hue is simple with red food coloring. I suggest using gel food coloring as it’s more concentrated and won’t thin out your mixture as much as liquid coloring. Start with 3-5 drops and mix well. If you desire a deeper pink, add one drop at a time until you reach your preferred shade. Remember, a little goes a long way!
When crushing the candies, place them in a heavy-duty freezer bag, remove as much air as possible, and seal tightly. You can use a rolling pin, a meat mallet, or even the flat side of a hammer. For finer crumbs, process them briefly in a food processor. Be careful not to over-process them into a powder, unless that is your desired consistency. For safety, wrap the bag in a kitchen towel before crushing to prevent pieces from flying. The fineness of the crush impacts both texture and flavor release, so feel free to experiment!
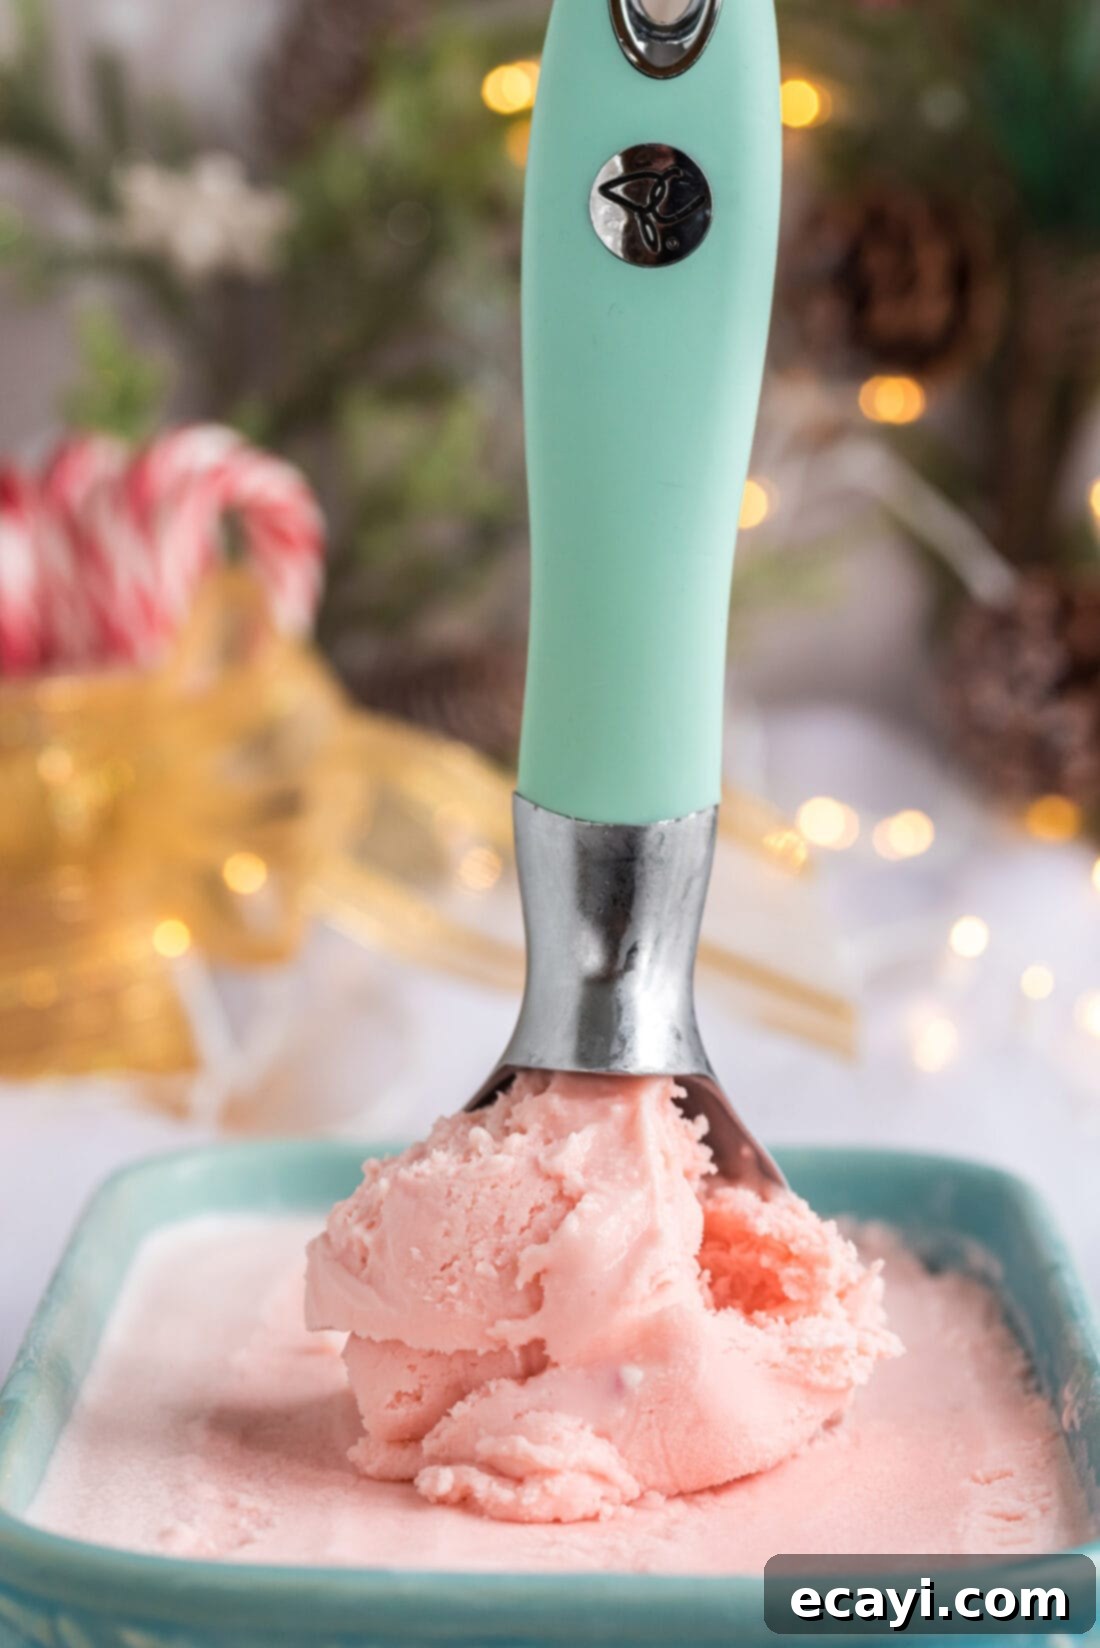
Delightful Serving Suggestions for Peppermint Ice Cream
Once your homemade pink peppermint ice cream is perfectly firm and ready to enjoy, the serving possibilities are endless! Here are some ideas to elevate your dessert:
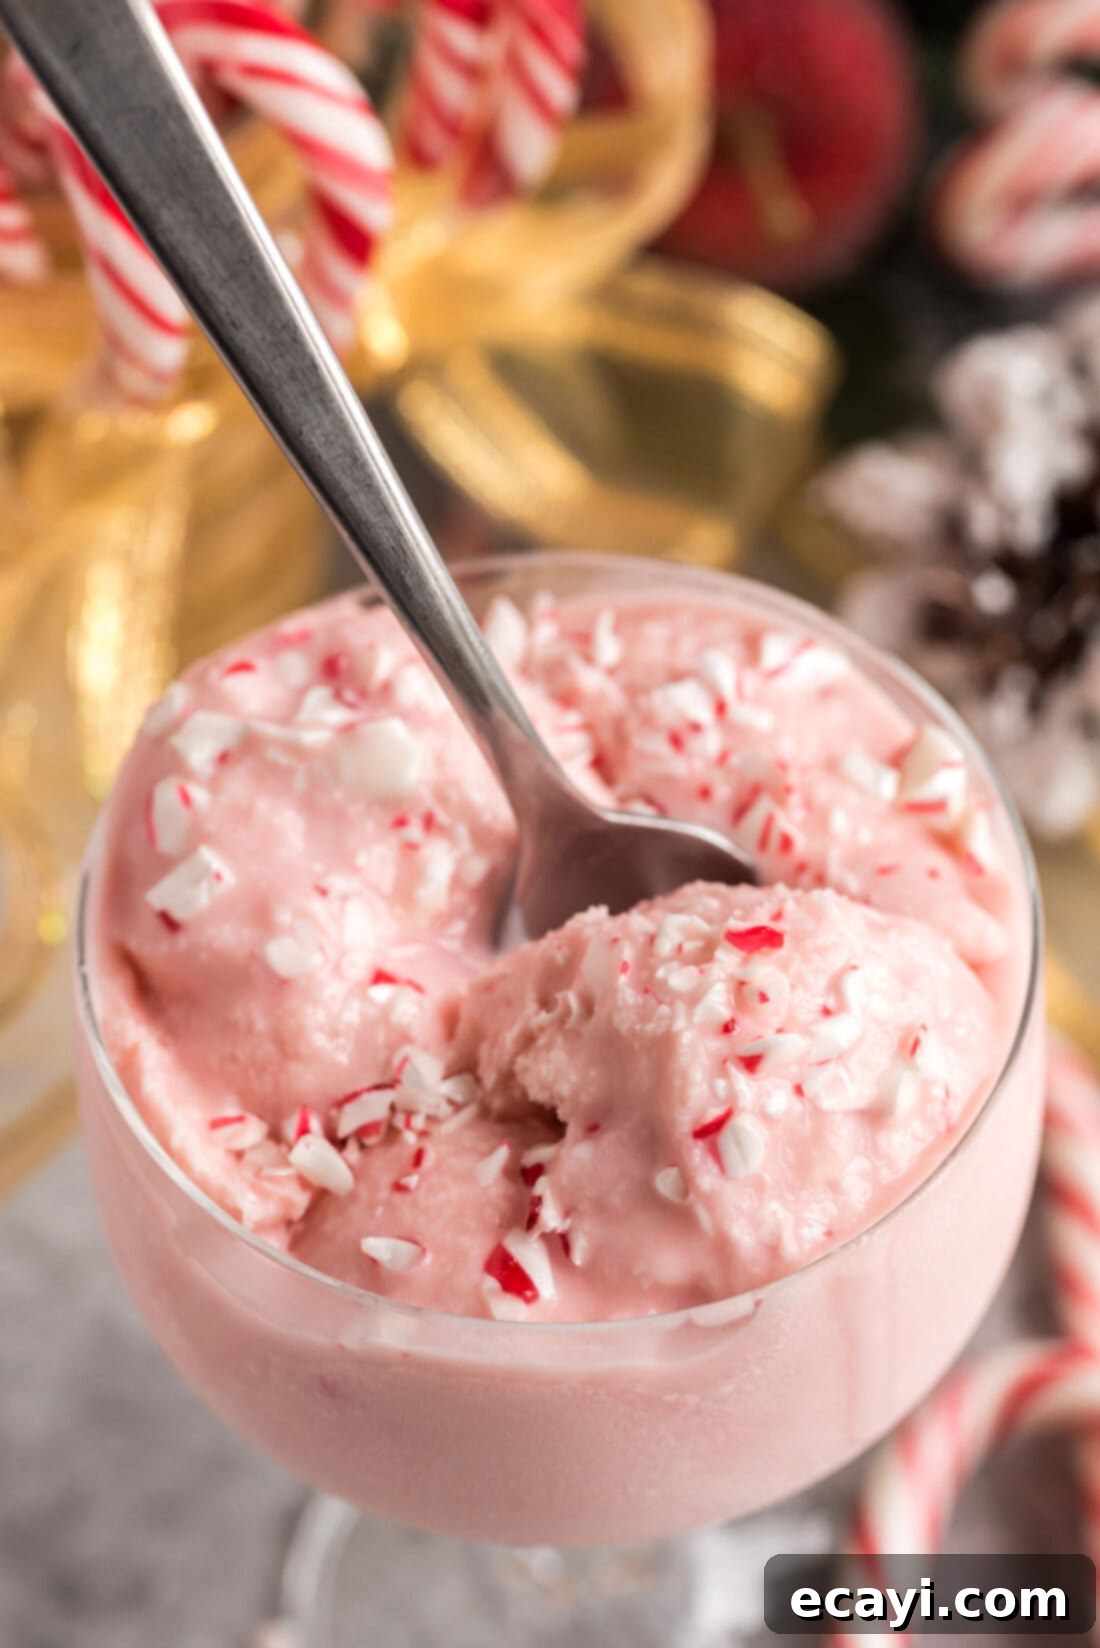
- Classic Scoop: Serve generous scoops in a chilled bowl, garnished with a sprinkle of additional crushed peppermint candies for extra crunch and visual appeal.
- Chocolate Drizzle: A luscious drizzle of chocolate syrup or warm hot fudge sauce creates a harmonious flavor pairing with the cool mint.
- Whipped Cream Wonderland: Top with a generous dollop of homemade whipped cream, perhaps even infused with a tiny drop of peppermint extract for an extra minty kick.
- Cherry on Top: A classic maraschino cherry adds a pop of color and sweetness that complements the mint perfectly.
- Festive Sundae: Create a full sundae experience with chocolate syrup, whipped cream, sprinkles, and a cherry for an ultimate indulgent treat.
- In a Cone: For a simple yet satisfying experience, scoop your peppermint ice cream into a waffle cone or sugar cone.
While often cherished as a holiday tradition, especially around Christmas time, this homemade pink peppermint ice cream is too delicious to be confined to just one season. Now that you know how easy it is to make yourself, you can whip up this creamy, minty delight any time of the year. Enjoy the refreshing flavor and festive spirit whenever the craving strikes!
Discover More Delicious Homemade Ice Cream Recipes
If you’ve fallen in love with making your own ice cream, there’s a whole world of flavors to explore! Here are some other fantastic homemade ice cream recipes to satisfy your sweet cravings and experiment with your ice cream maker:
- No Churn Ice Cream
- Rocky Road Ice Cream
- White Chocolate Ice Cream
- Mint Chocolate Chip Ice Cream
I love to bake and cook and share my kitchen experience with all of you! Remembering to come back each day can be tough, that’s why I offer a convenient newsletter every time a new recipe posts. Simply subscribe and start receiving your free daily recipes!
Pink Peppermint Ice Cream
IMPORTANT – There are often Frequently Asked Questions within the blog post that you may find helpful. Simply scroll back up to read them!
Print It
Pin It
Rate It
Save ItSaved!
Ingredients
- 14 ounces sweetened condensed milk 1 can
- 2 cups heavy whipping cream
- 1 cup 1% milk
- ½ teaspoon peppermint extract
- 4 ½ teaspoons vanilla extract
- 3-5 drops red food coloring or until desired color is reached
- 1 cup peppermint candies crushed. or candy canes
Equipment
-
Ice cream maker
-
2 quart freezer container
Before You Begin & Expert Tips
- Do NOT use evaporated milk; it is not the same thing. Sweetened condensed milk is crucial in this recipe as it adds sweetness and helps create a creamy consistency, preventing ice crystals.
- I highly suggest sticking to heavy whipping cream for the best results. Ice cream gets its creamy texture from its fat content. If you substitute heavy cream with lower-fat milk, the finished ice cream will be less smooth and rich, and potentially icier. You can use half-and-half for a slightly lighter option, but expect a less creamy texture.
- You can use either candy canes or small, round peppermint candies (Starlight Mints). Place them in a plastic zipper gallon bag, squeeze out the air, seal it, and crush them with a meat mallet or hammer until you have about a cup’s worth.
- The fineness of the crushed candies is a matter of preference. Crushing them finer generally makes them easier to eat within the ice cream and provides a more even distribution of mint flavor. Larger chunks offer a more intense crunch and concentrated mint burst.
- Ensure your ice cream maker bowl is thoroughly frozen according to its manufacturer’s instructions, typically 12-24 hours prior to use. This is crucial for proper churning and a smooth texture.
- For the creamiest results, chill your ice cream base mixture in the refrigerator for at least 2 hours, or ideally, overnight, before churning. A colder base churns faster and produces smaller ice crystals.
Instructions
-
In a large bowl, combine the sweetened condensed milk, heavy whipping cream, 1% milk, peppermint extract, vanilla extract, and red food coloring. Whisk thoroughly until all ingredients are well combined and the mixture is a uniform pink. Chill the mixture in the refrigerator for at least 2 hours, or preferably overnight, for best results. Pour the chilled mixture into your ice cream maker and process according to the manufacturer’s instructions until it reaches a soft-serve consistency.
-
Just before the churning is complete (typically in the last 5 minutes), add the crushed peppermint candies to the ice cream maker. Continue churning for a few more minutes to ensure the candies are evenly incorporated.
-
Transfer the soft ice cream into a 2-quart freezer container with an airtight lid. Smooth the top and freeze until hard enough to scoop, usually around 4 to 4 1/2 hours, but freezing overnight will yield the best, most solid texture.
Additional Expert Tips & FAQs
- Store the peppermint ice cream in an air-tight container kept in the freezer for up to 4 weeks. Homemade ice cream does not last as long as store-bought because it does not contain preservatives.
- For a truly vibrant pink, use gel food coloring. It’s more concentrated than liquid food coloring and will achieve a richer color with fewer drops.
- Don’t be afraid to adjust the amount of peppermint extract to your taste. Start with ½ teaspoon, and if you prefer a stronger mint flavor, you can add another ¼ teaspoon.
- If you like a chocolate-mint combination, consider adding some mini chocolate chips or a chocolate swirl to the ice cream along with the crushed peppermint candies.
Nutrition
The recipes on this blog are tested with a conventional gas oven and gas stovetop. It’s important to note that some ovens, especially as they age, can cook and bake inconsistently. Using an inexpensive oven thermometer can assure you that your oven is truly heating to the proper temperature. If you use a toaster oven or countertop oven, please keep in mind that they may not distribute heat the same as a conventional full sized oven and you may need to adjust your cooking/baking times. In the case of recipes made with a pressure cooker, air fryer, slow cooker, or other appliance, a link to the appliances we use is listed within each respective recipe. For baking recipes where measurements are given by weight, please note that results may not be the same if cups are used instead, and we can’t guarantee success with that method.
This post originally appeared here on September 21, 2012 and has since been updated with new photos and expert tips.
