Easy 3-Ingredient Cool Whip Candy: Your Go-To No-Bake Chocolate Treat
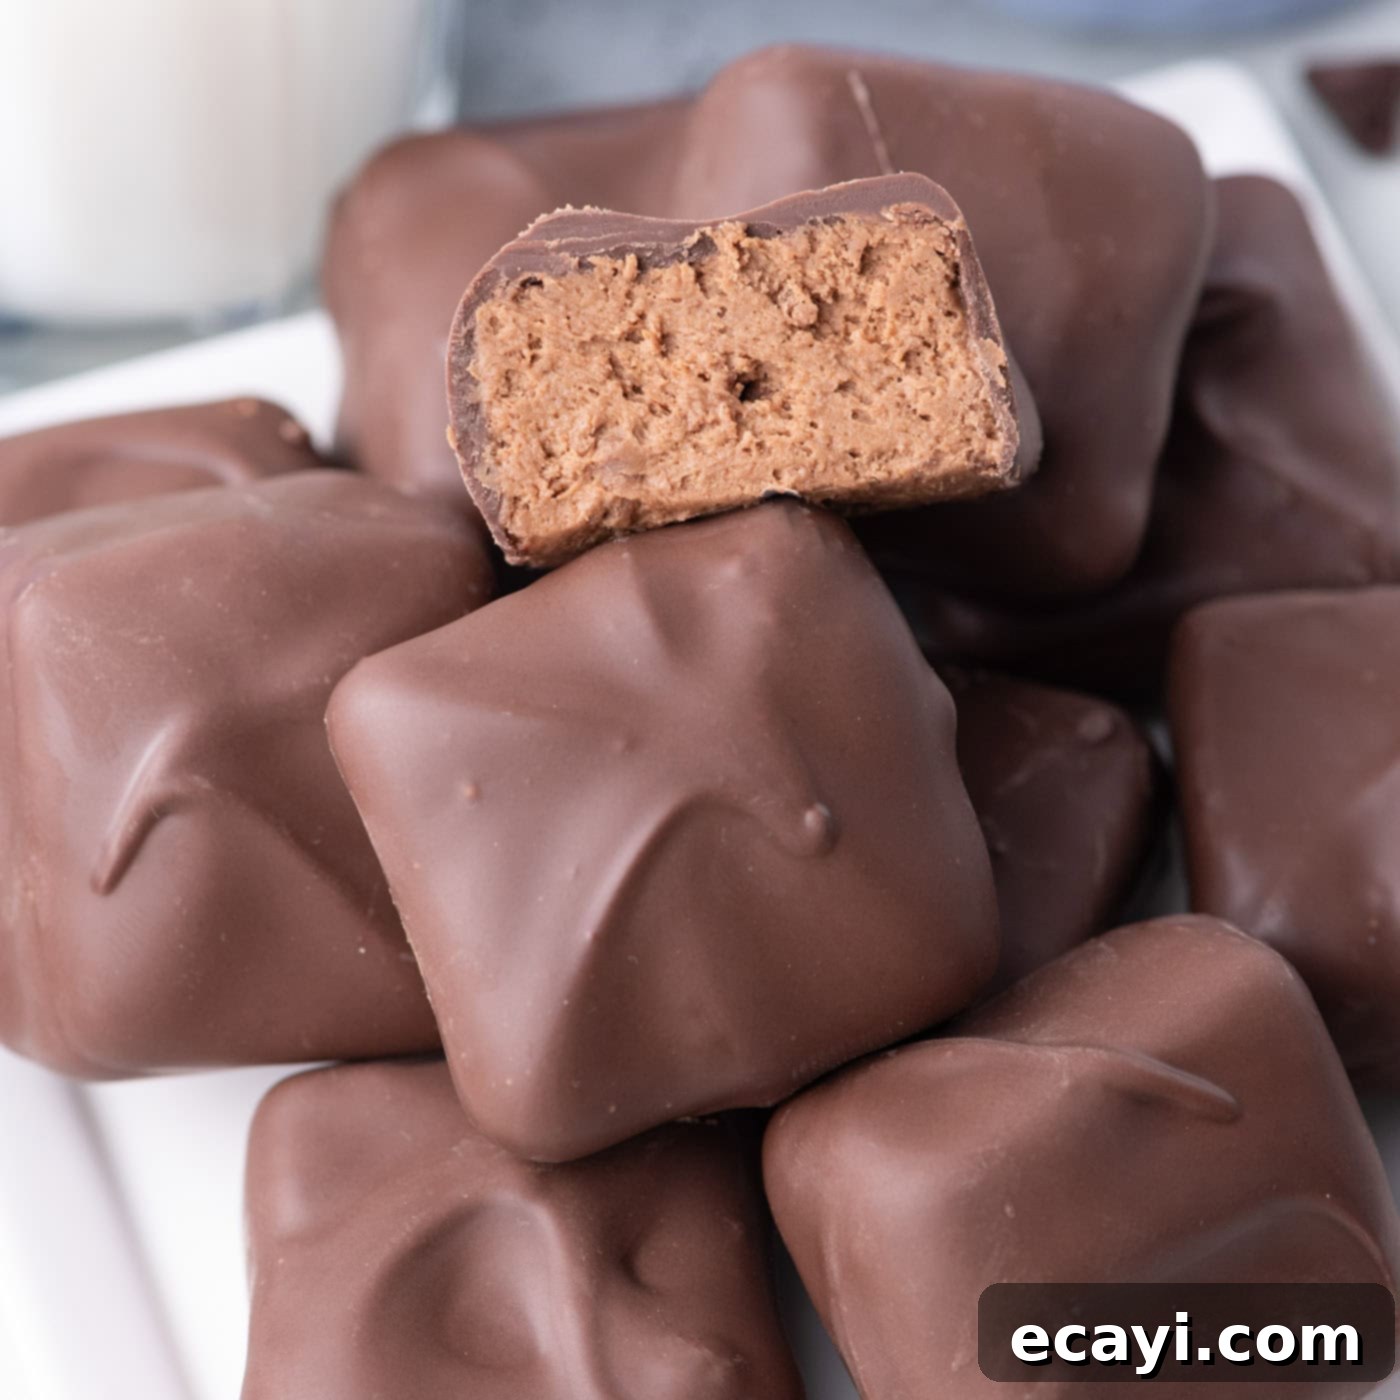
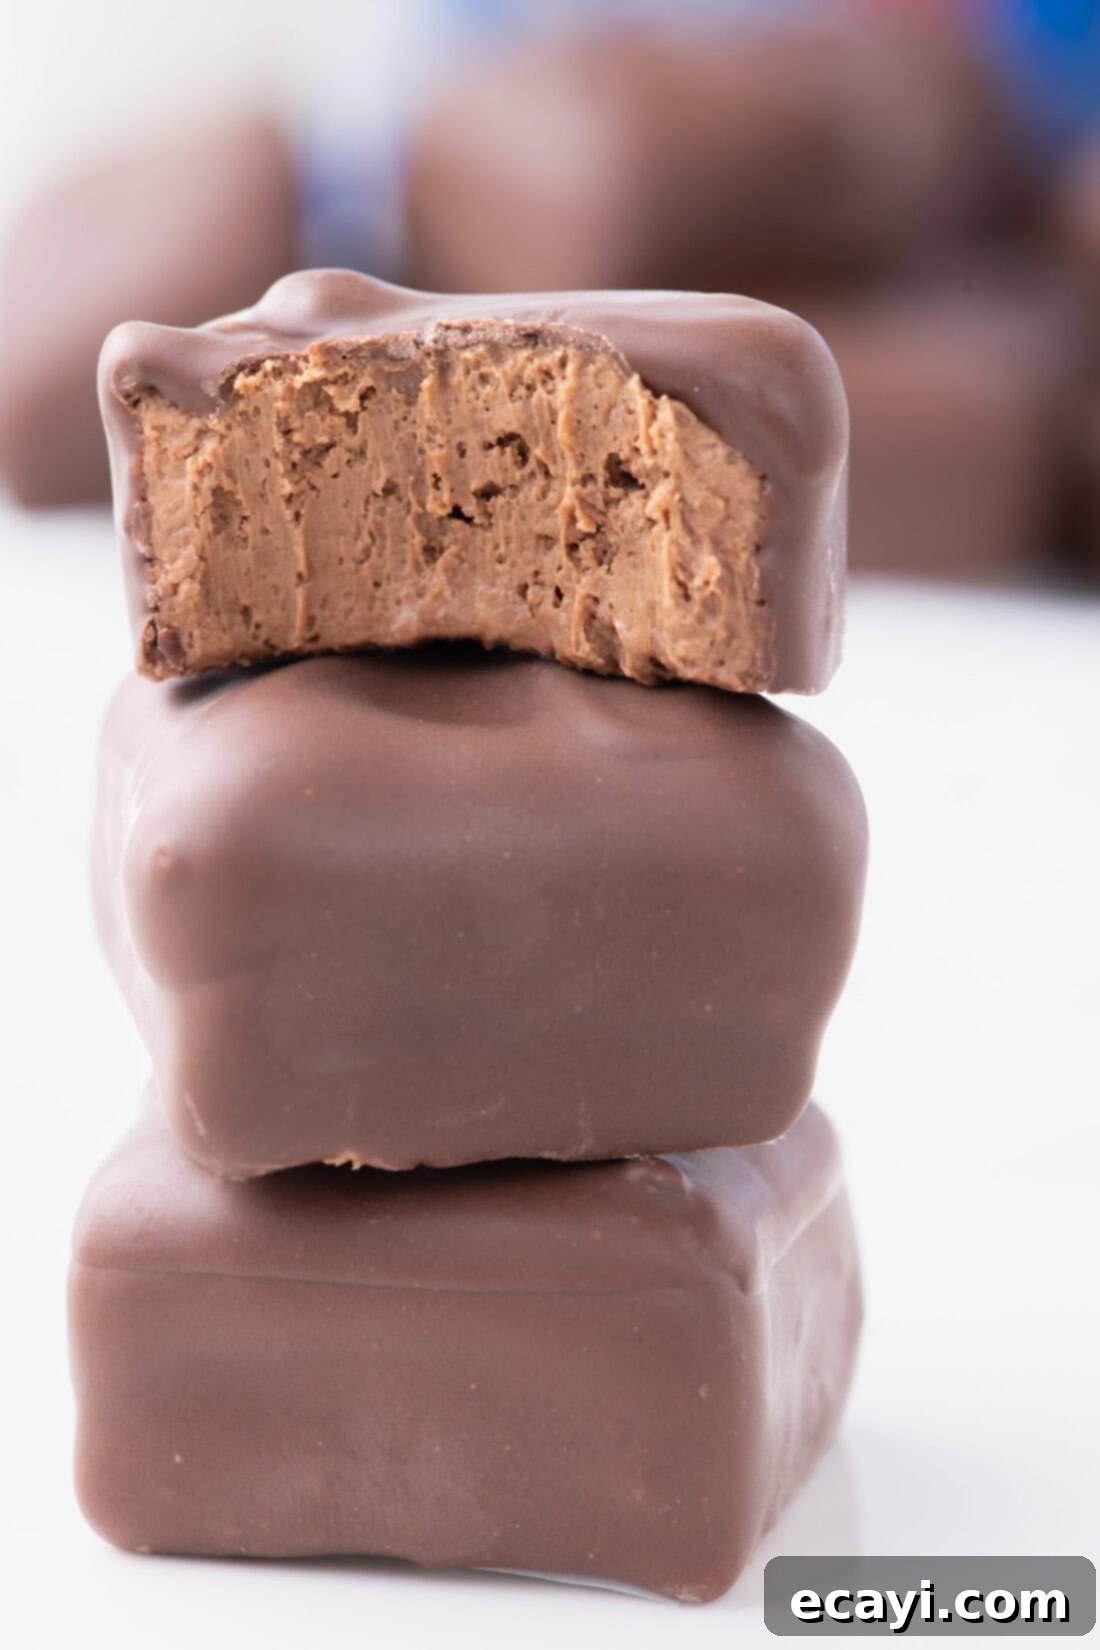
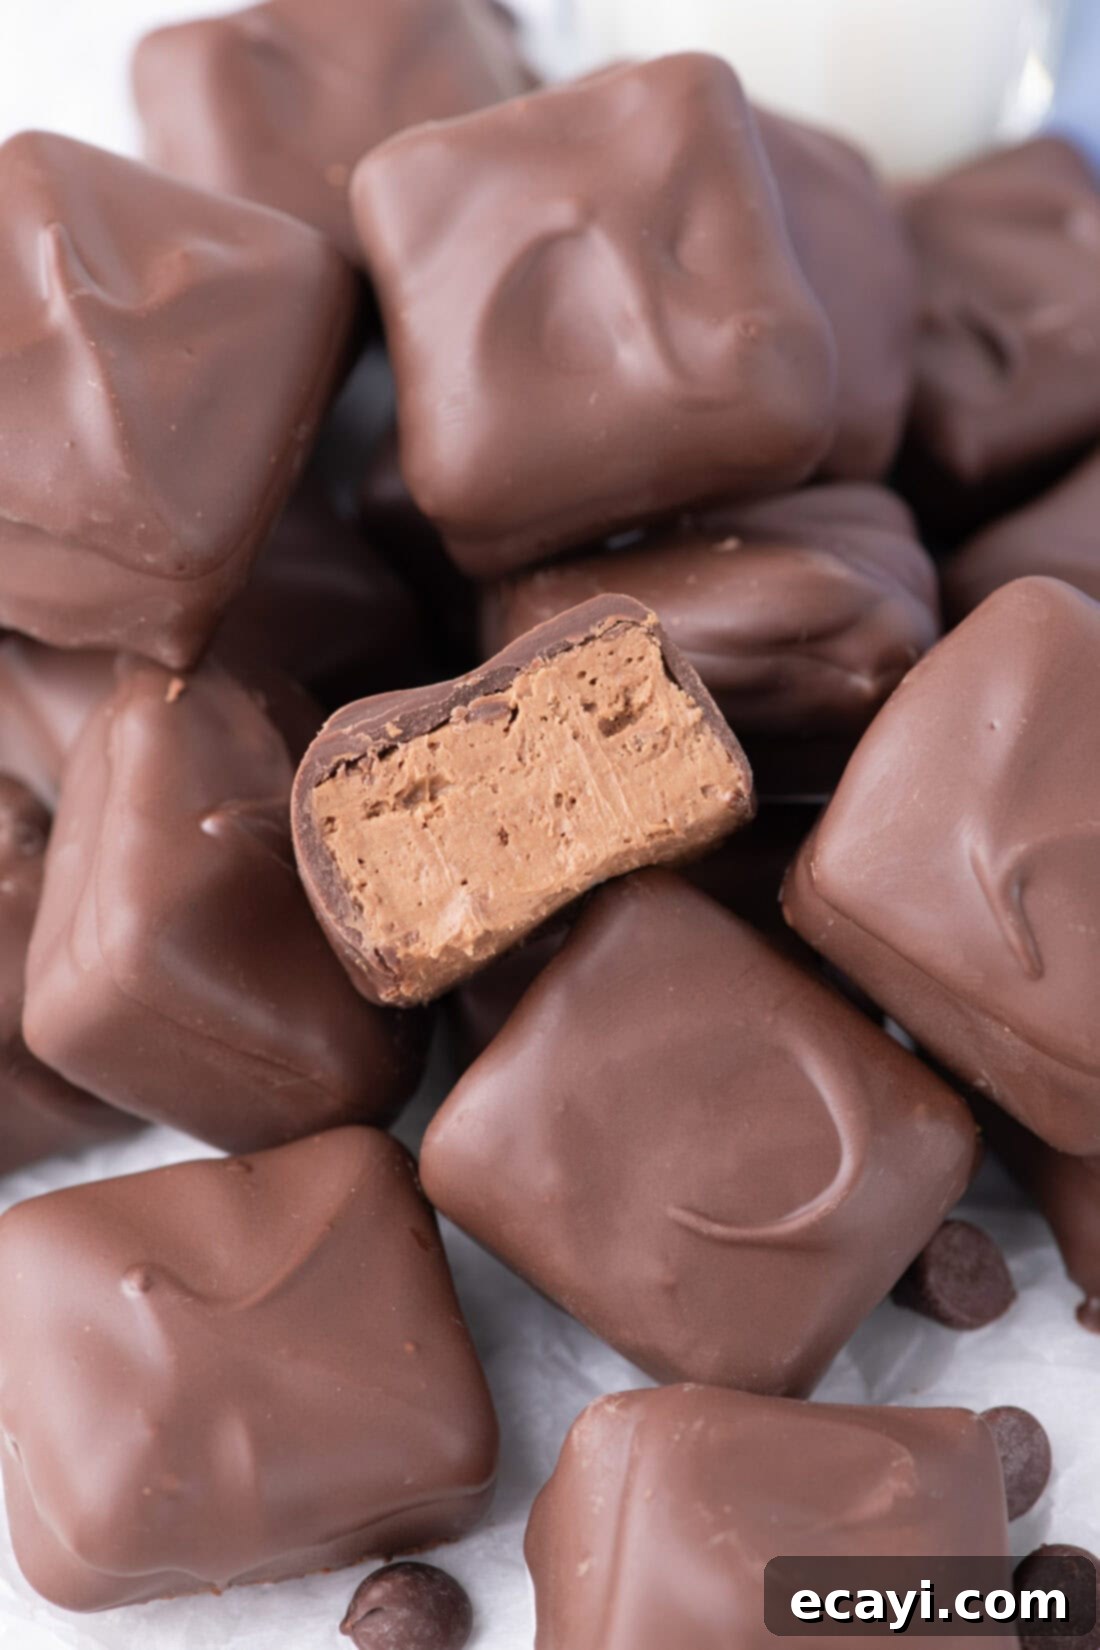
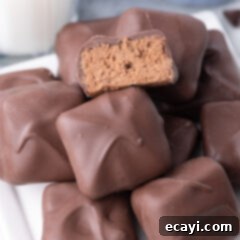
Prepare to fall in love with this incredibly easy Cool Whip candy recipe, requiring just three simple ingredients! Each delightful piece features a rich, dark chocolate shell that gives way to a surprisingly soft, airy, and nougat-like center. These homemade bite-sized candies are not only a breeze to make but also offer a satisfying texture and deep chocolate flavor that will impress everyone.
Why This Recipe Is a Sweet Success
This Cool Whip candy recipe consistently delivers fantastic results, making it a favorite for busy schedules and sweet cravings alike. It boasts a texture remarkably similar to a classic 3 Musketeers bar, offering a soft, airy, and fluffy chocolate center enveloped in a crisp, dark chocolate coating. But unlike store-bought bars, these candies are proudly homemade with an incredibly simple three-ingredient list: milk chocolate chips, semi-sweet chocolate chips, and of course, Cool Whip. This minimal ingredient list makes it an accessible and budget-friendly treat for any occasion.
What truly makes this recipe shine is its no-bake nature. You won’t need to fire up the oven, saving you time and effort, especially during warmer months or when you’re looking for a quick dessert. The combination of whipped chocolate and Cool Whip creates a unique, light-as-air consistency that melts delightfully in your mouth, contrasting beautifully with the slightly firm outer chocolate shell. Plus, their convenient bite-sized format makes them perfect for sharing, party platters, or simply enjoying as a small indulgence. They’re also an ideal candidate for homemade edible gifts, showcasing thoughtfulness without requiring advanced candy-making skills.
Essential Ingredients for Your Cool Whip Candy
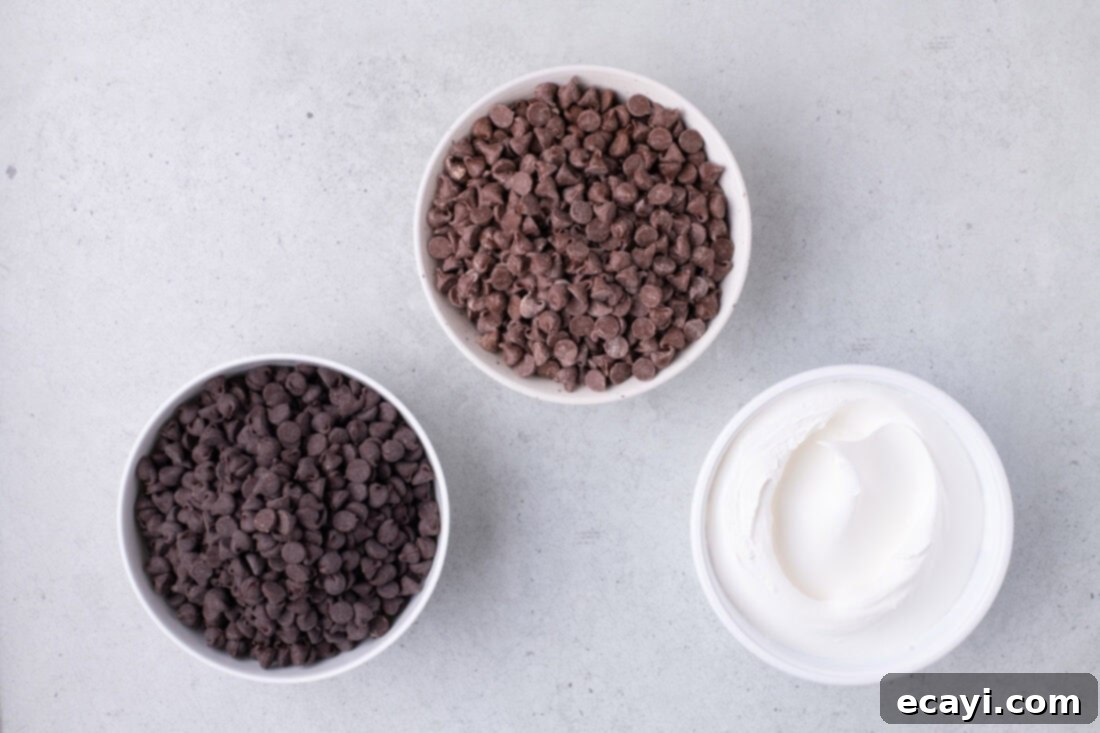
Crafting these delectable Cool Whip candies requires only a handful of ingredients, making it an excellent recipe for beginner bakers and seasoned confectioners alike. For precise measurements, detailed quantities, and comprehensive instructions, please refer to the printable recipe card located at the conclusion of this post. While the ingredient list is short, the quality of each component plays a significant role in the final taste and texture of your homemade candy. Choosing good quality chocolate chips, for instance, will elevate the richness and smoothness of both the center and the coating. Be sure to gather everything you need before you begin to ensure a seamless and enjoyable candy-making experience.
Ingredient Insights and Smart Substitutions
Understanding the role of each ingredient and potential substitutions is key to mastering this simple recipe. Here’s a closer look at what you’ll need:
CHOCOLATE CHIPS – This recipe brilliantly utilizes both milk chocolate and semi-sweet chocolate chips, creating a nuanced chocolate flavor profile. The milk chocolate forms the basis of the sweet, fluffy center, while the semi-sweet chocolate provides a slightly darker, less sweet, and perfectly crisp outer shell. We highly recommend investing in good quality chocolate chips here, as chocolate is undeniably the star of this show. Higher quality chocolate melts more smoothly and offers a richer, more satisfying taste. If you prefer an even deeper chocolate experience for the outer coating, you can certainly substitute the semi-sweet chocolate with dark chocolate chips (70% cocoa or higher) for a more intense flavor contrast. This small adjustment can dramatically change the candy’s character, appealing to those who favor less sweetness and a bolder cacao presence.
COOL WHIP – Cool Whip is the magic ingredient that transforms melted chocolate into a light, fluffy, nougat-like center. For optimal results and ease of incorporation, it’s crucial that your Cool Whip is at room temperature. This ensures it blends seamlessly with the melted chocolate without seizing or creating lumps. A common mistake to avoid is attempting to warm the Cool Whip or the Cool Whip/chocolate mixture to make it easier to stir. Doing so will cause the Cool Whip to condense and lose its airy structure. Essentially, the delicate emulsion of Cool Whip will break down under direct heat, resulting in a dense, sticky, and fudge-like consistency rather than the desired soft, whipped center. This recipe relies on the stability and unique composition of Cool Whip to achieve its signature texture, which is why it performs differently than fresh whipped cream. While you can certainly make homemade stabilized whipped cream for other desserts, for this specific candy, Cool Whip is the recommended choice due to its consistent texture and longer stability.
Crafting Your Cool Whip Candy: Step-by-Step Guide
These step-by-step photos and detailed instructions are provided to help you visualize each stage of making this delightful recipe. For a convenient printable version of this recipe, complete with precise measurements and comprehensive instructions, you can Jump to Recipe at the bottom of this page.
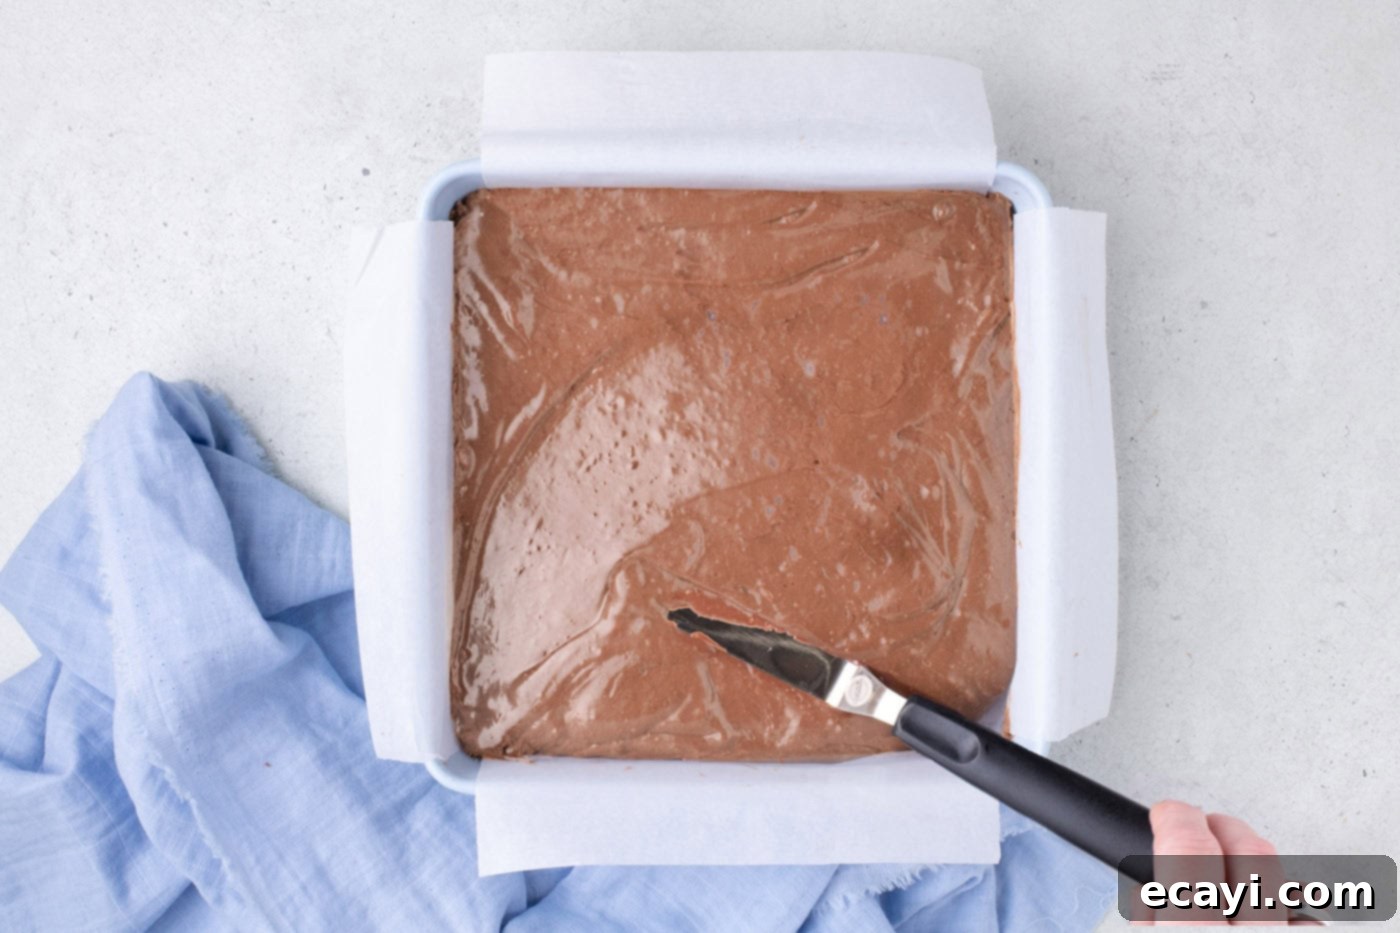
- Prepare Your Pans: Begin by lining a baking sheet with parchment paper. Then, take an 8-inch square baking pan and line it with two sheets of parchment paper. Ensure the parchment paper extends beyond the edges of the pan, creating “handles.” These handles will be invaluable later for easily lifting the set chocolate mixture out of the pan. Set both prepared pans aside. This preparatory step is key for a smooth and mess-free process.
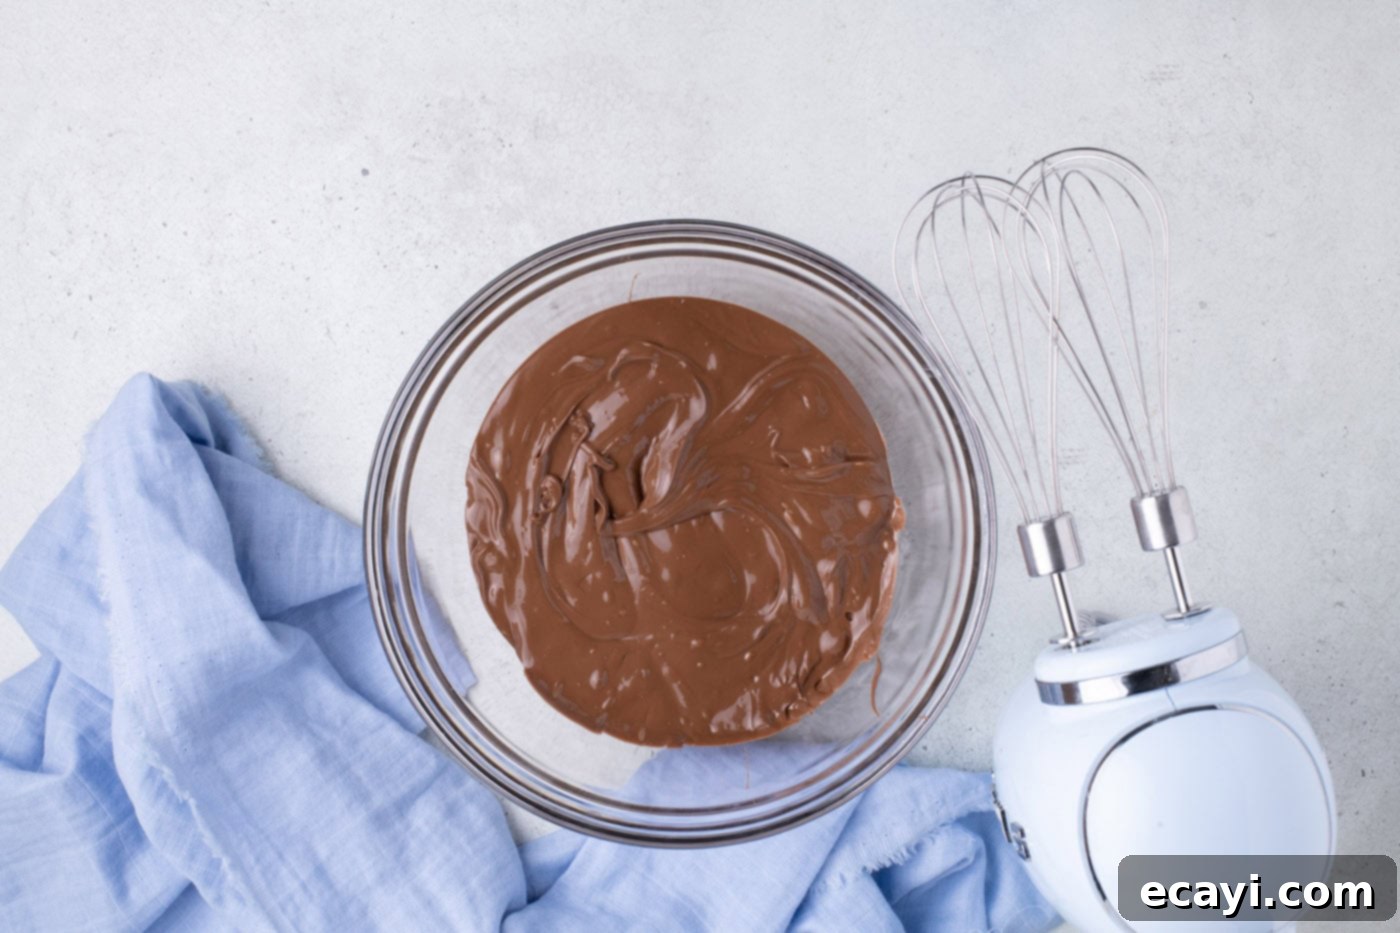
- Melt the Milk Chocolate: Place the milk chocolate chips into a large microwave-safe bowl. Heat the chocolate in short 30-second increments. After each interval, stir the chocolate thoroughly. This method prevents the chocolate from overheating and burning, ensuring a smooth, velvety melt. Continue heating and stirring until the milk chocolate is completely melted and free of any lumps.

- Whip the Chocolate: Once your milk chocolate chips are fully melted and smooth, it’s time to incorporate air. Using a hand mixer, beat the melted chocolate for several minutes. You’ll notice the chocolate gradually lightening in color and increasing in volume, becoming airy and almost fluffy. This crucial step gives the candy its signature nougat-like, light texture.
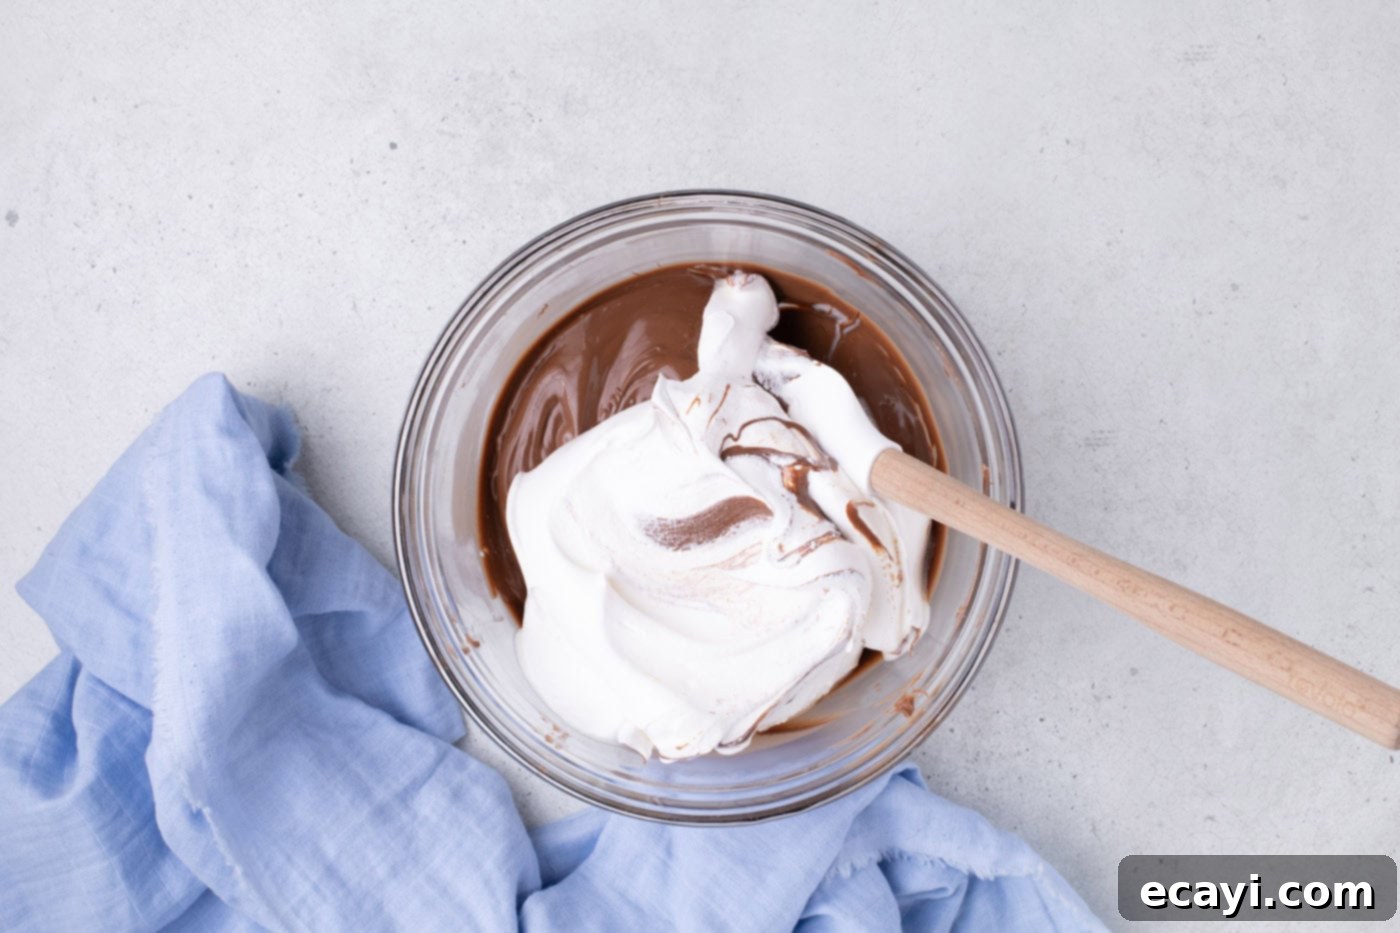
- Fold in Cool Whip: Gently fold the room-temperature Cool Whip into the whipped chocolate mixture. Use a rubber spatula and a delicate hand, mixing until just combined. The goal is to maintain as much of the airiness as possible. Overmixing can deflate the Cool Whip and lead to a denser candy. The mixture should remain light and fluffy.

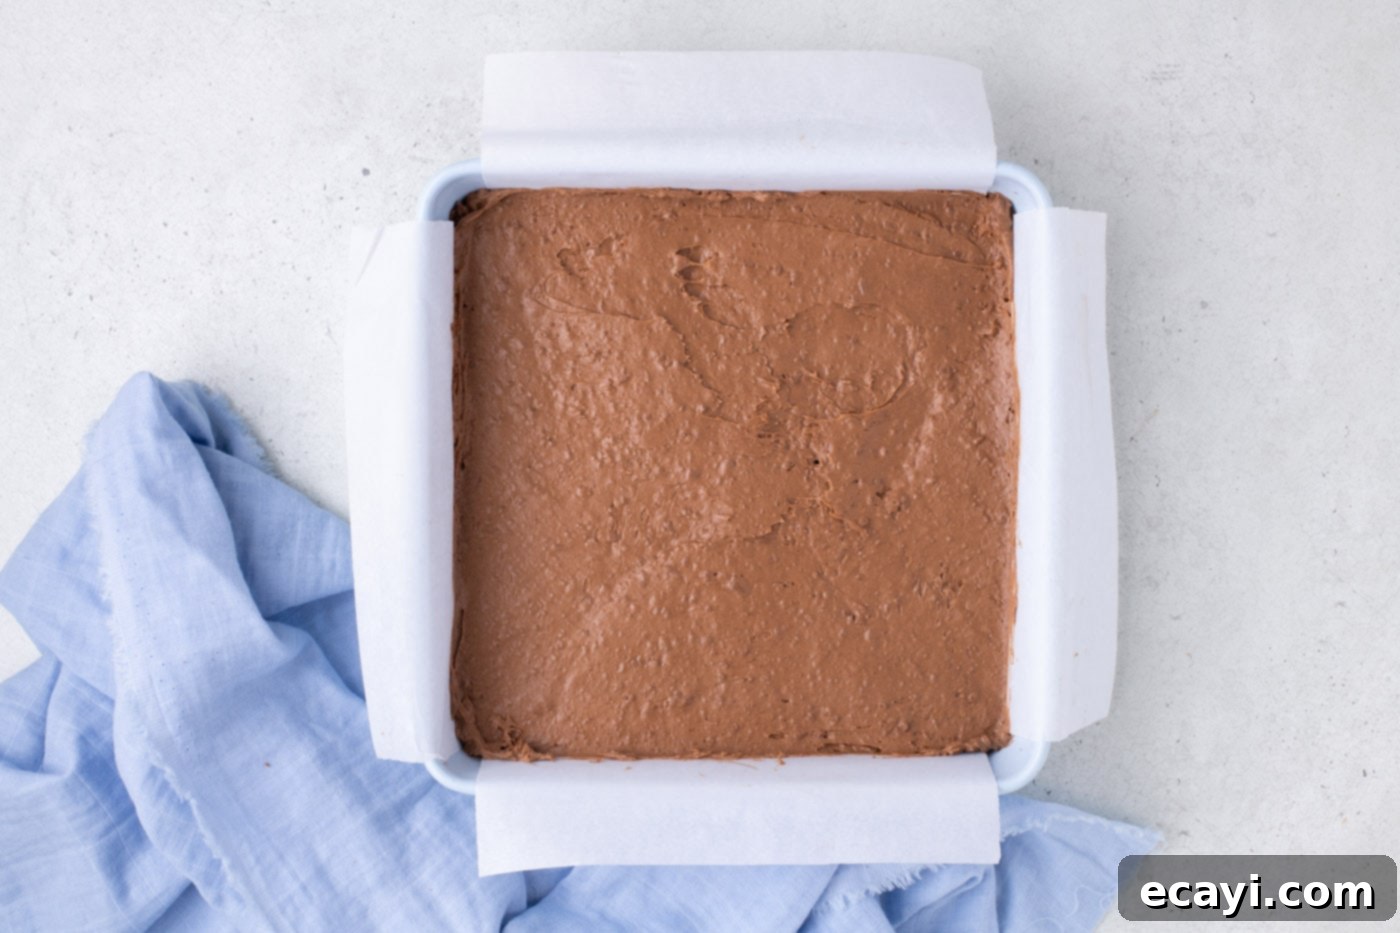
- Transfer to Pan: Carefully transfer the chocolate and Cool Whip mixture into the prepared 8-inch square baking pan. Use a small offset spatula or the back of a spoon to gently smooth out the top, ensuring the mixture is evenly distributed and reaches all corners of the pan. An even surface will result in uniform candy pieces.

- Chill to Firm: Place the baking pan containing the chocolate mixture into the freezer for approximately 45 minutes. This chilling period is essential to allow the chocolate to solidify completely, making it firm enough to cut cleanly without sticking or losing its shape.

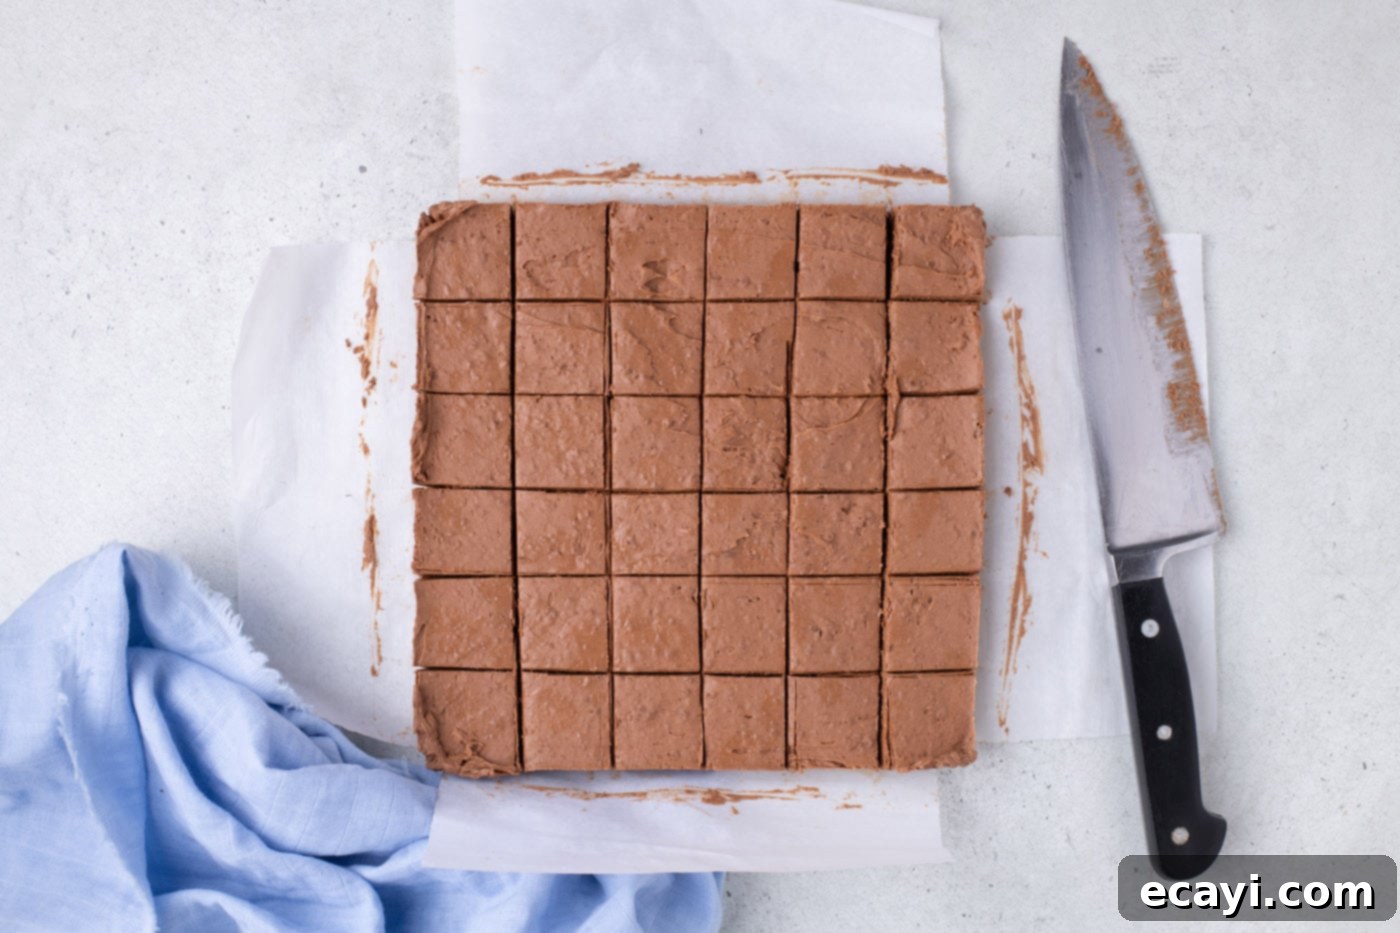
- Cut and Re-chill: Once thoroughly hardened, use the parchment paper handles to lift the chocolate mixture out of the pan. Place it on a cutting board. For the cleanest cuts, use a sharp chef’s knife. Dip the knife into hot water and wipe it dry before each cut. This simple trick prevents the sticky chocolate from clinging to the blade. Cut the large slab into 36 equal-sized squares. Immediately return these individual squares to the freezer for an additional 30 minutes to ensure they are well-chilled and firm for the dipping process.

- Melt the Semi-Sweet Chocolate: In a smaller, separate microwave-safe bowl, heat the semi-sweet chocolate chips. Again, use 30-second increments, stirring well after each one, until the chocolate is completely melted and smooth. This will form your glossy outer coating.
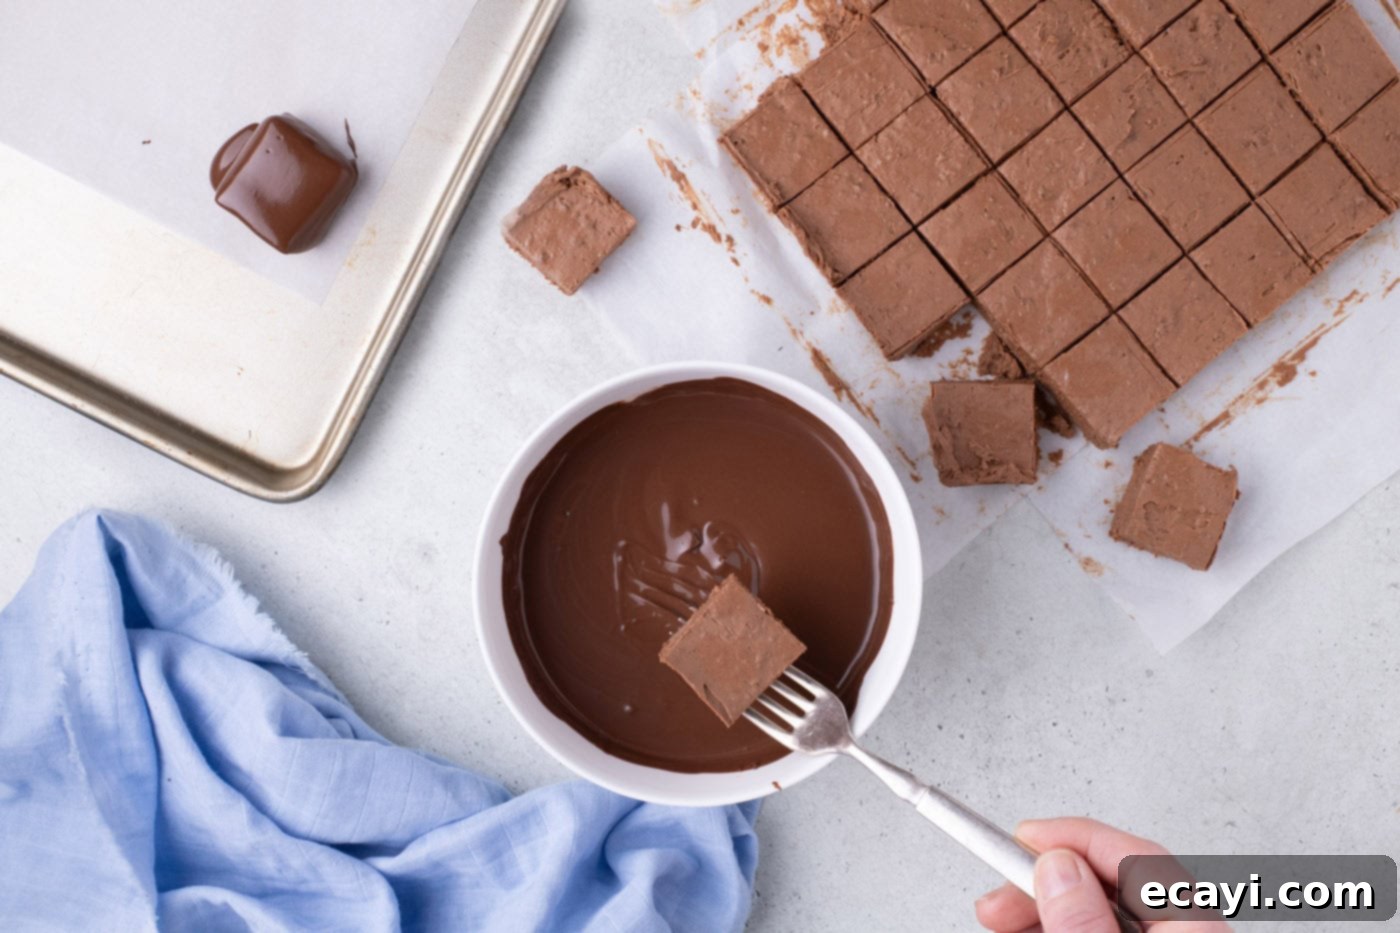
- Dip the Candies: Take one chilled chocolate square and carefully place it on a fork. Submerge the square entirely into the melted semi-sweet chocolate, ensuring it’s fully coated. Lift the fork and gently tap it against the edge of the bowl to allow any excess chocolate to drip off. This helps create a thin, even, and professional-looking coating.

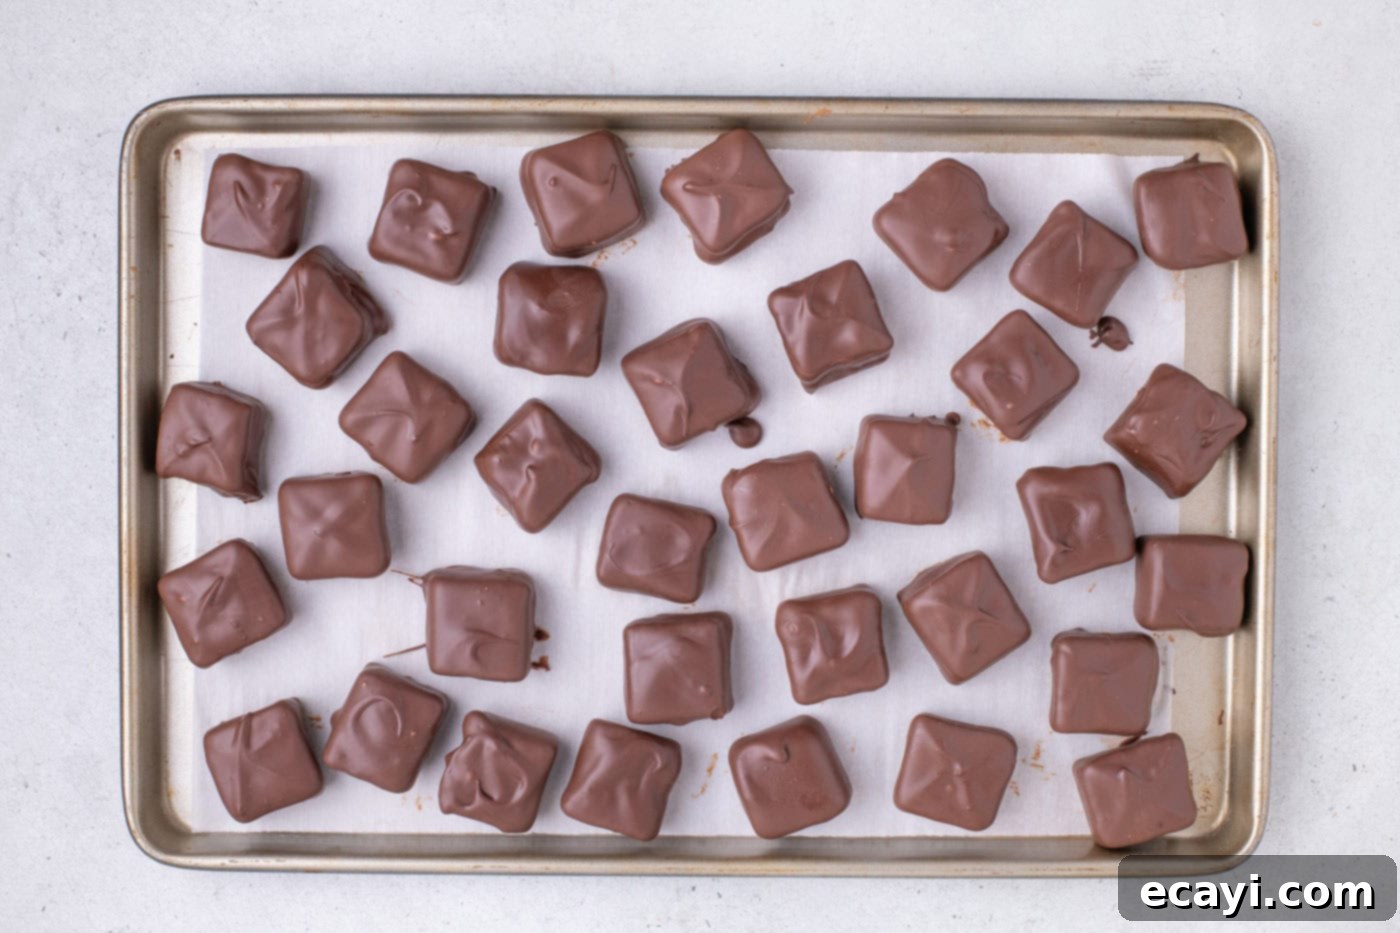
- Set and Serve: Carefully place each chocolate-dipped square onto your prepared parchment-lined baking sheet. Repeat the dipping process with all the remaining squares. Allow the chocolate coating to set completely at room temperature or in the refrigerator until firm. Once set, your delightful Cool Whip candies are ready to be served and enjoyed!

Frequently Asked Questions & Expert Tips for Perfect Candy
Proper storage is essential to maintain the freshness and texture of your homemade Cool Whip candies. You can store them in an airtight container at room temperature for up to 7 days, though they tend to be best within the first few days. For extended freshness, they will keep even longer when stored in the refrigerator or freezer. To refrigerate, place them in an airtight container for up to 2 weeks. For freezing, arrange them in a single layer on a baking sheet until firm, then transfer them to a freezer-safe ziptop bag or container, separating layers with parchment paper. They can be frozen for up to 1 month. Thaw slightly at room temperature before serving if desired, or enjoy them frozen for a firmer bite.
Achieving perfectly smooth and clean cuts for your Cool Whip candy centers before dipping can indeed be a bit tricky, as the mixture is quite sticky. The key to success lies in two main tips. First, ensure the chocolate mixture is thoroughly frozen for the full 45 minutes in the baking pan. This extended chilling time makes the mixture very firm, reducing stickiness. Second, for each cut, dip your sharp chef’s knife into very hot water and immediately dry it completely before slicing. The hot, dry blade will glide through the chilled chocolate more easily, resulting in crisp, clean edges for each individual candy. Repeat this heating and drying process for every cut to maintain optimal results.
While fresh whipped cream is delicious in many desserts, this particular recipe is specifically designed to work best with Cool Whip. Cool Whip has a unique smooth, creamy texture and a higher stability due to its ingredients, which allows it to hold its form and maintain that desirable nougat-like consistency when combined with melted chocolate and chilled. Regular fresh whipped cream, even when stabilized, tends to be more delicate and can weep or lose its structure when mixed with chocolate and frozen, potentially leading to a less ideal texture for this specific candy. If you’re looking for a homemade whipped cream alternative for other recipes, you can certainly try your hand at homemade stabilized whipped cream, but for the guaranteed success of this Cool Whip candy, sticking to Cool Whip is highly recommended.
Creative Serving Ideas for Cool Whip Candy
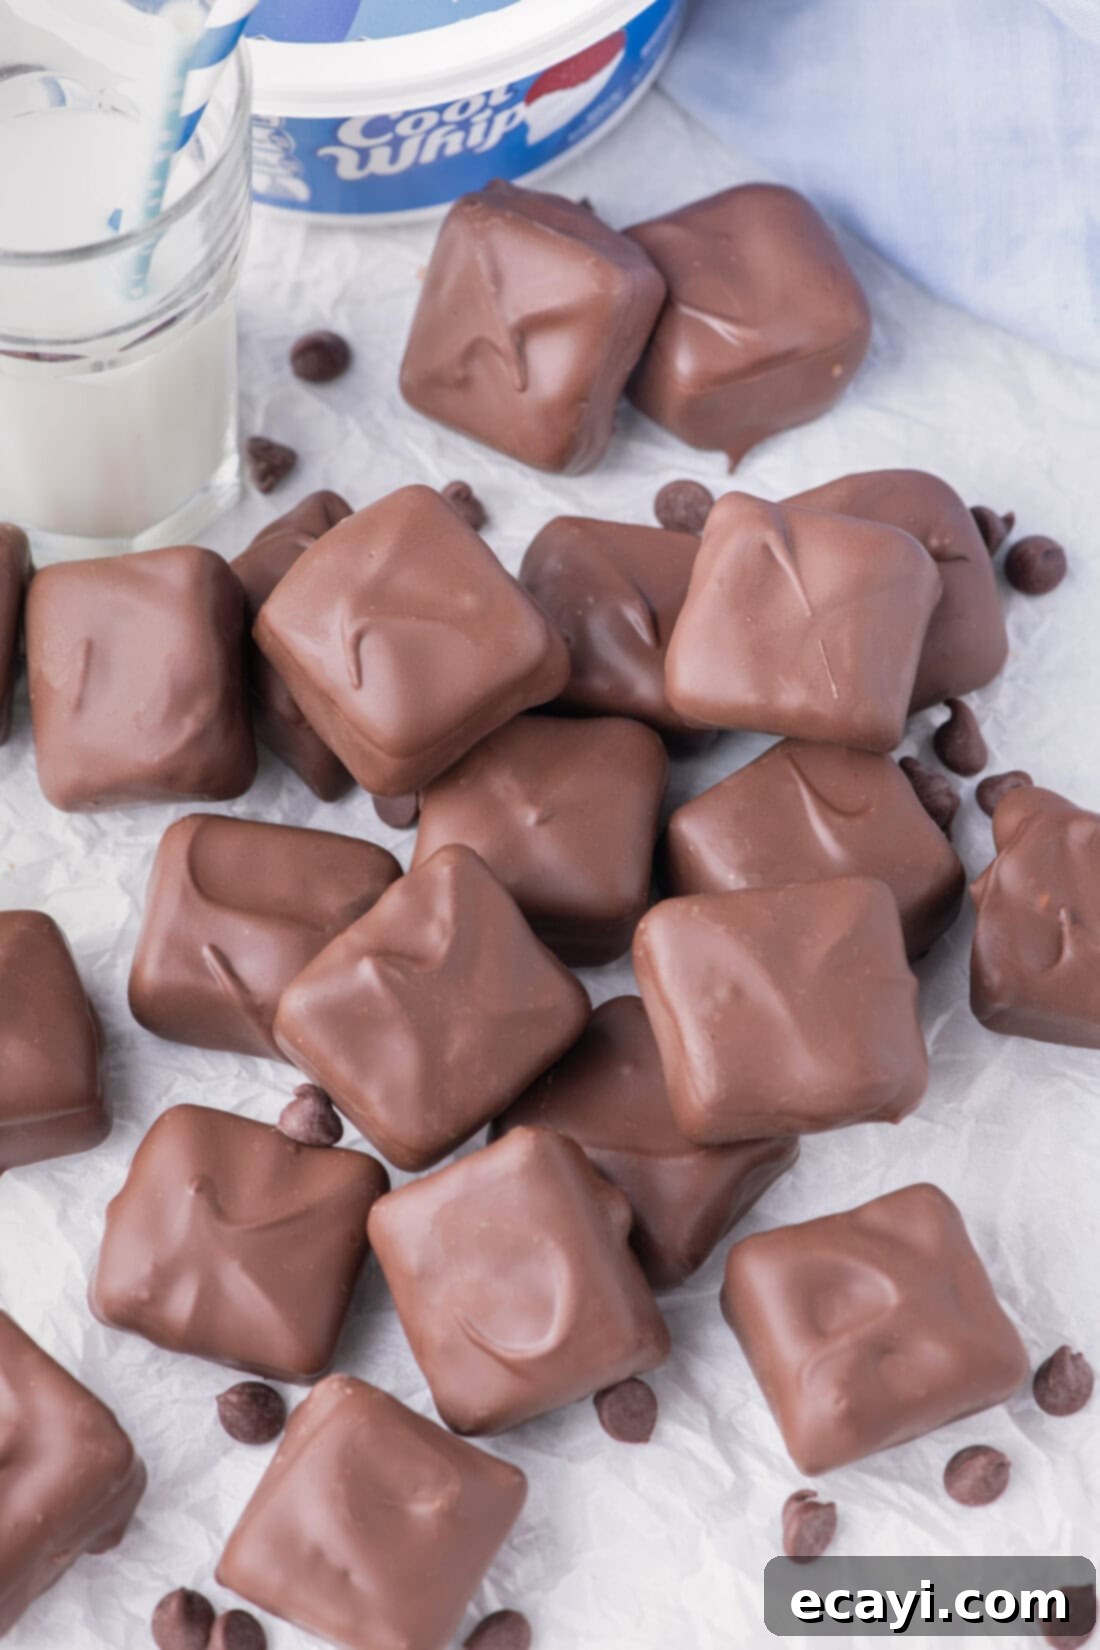
Cool Whip candy is remarkably versatile when it comes to serving. They are truly amazing whether served at room temperature, delightfully chilled, or even frozen, each offering a slightly different textural experience. At room temperature, the center is incredibly soft and yields easily, almost melting in your mouth. Chilled, the center retains a pleasant chewiness, while still being soft. When served frozen, they transform into a firmer, yet still enjoyable, icy treat that’s perfect on a hot day.
For an extra touch of elegance, you can optionally drizzle the top of the finished candies with additional melted white chocolate or a contrasting dark chocolate, creating beautiful patterns. A sprinkle of sea salt immediately after dipping can also elevate the flavors, creating a delicious sweet and salty combination. These attractive and delicious candies make fantastic edible gifts, especially around the holidays. Simply arrange them in a clear cellophane bag, tie it with a festive ribbon, and present a thoughtful, homemade treat to friends, family, or neighbors. They’re also perfect for cookie exchanges, dessert buffets, or as a delightful after-dinner treat with coffee.
Discover More Delicious Candy Recipes
If you’ve enjoyed making this easy Cool Whip candy, you’ll love exploring other homemade candy creations. Expand your confectionery repertoire with these equally delightful recipes:
- Potato Candy
- Buckeye Candy
- Microwave Caramels
- Chocolate Truffles
I love to bake and cook and share my kitchen experience with all of you! Remembering to come back each day can be tough, that’s why I offer a convenient newsletter every time a new recipe posts. Simply subscribe and start receiving your free daily recipes!
Cool Whip Candy
IMPORTANT – There are often Frequently Asked Questions within the blog post that you may find helpful. Simply scroll back up to read them!
Print It
Pin It
Rate It
Save ItSaved!
Ingredients
- 23 ounces milk chocolate chips two 11.5 ounce bags
- 8 ounces Cool Whip room temperature
- 24 ounces semi-sweet chocolate chips two 12 ounce bags
Things You’ll Need
-
Baking sheet
-
8×8 baking pan
-
Hand mixer
-
Mixing bowls
-
Rubber spatula
Before You Begin
- Ensure your Cool Whip is at room temperature before starting; this facilitates easier and smoother blending with the melted chocolate.
- Avoid heating the Cool Whip/chocolate mixture. Warming it can cause the Cool Whip to condense, transforming the mixture into a dense, sticky fudge instead of the desired light, fluffy candy center.
- For clean and precise cuts, freeze the chocolate mixture for the full 45 minutes. Additionally, dip your knife in hot water and dry it before each cut to prevent sticking and ensure a smooth slice.
Instructions
-
Line a baking sheet with parchment paper. Line an 8-inch square baking pan with two sheets of parchment paper, ensuring enough overhang to create handles for easy removal. Set both aside.
-
Place 23 ounces of milk chocolate chips into a large microwave-safe bowl. Heat in 30-second increments, stirring after each interval until the chocolate is completely melted and smooth.23 ounces milk chocolate chips
-
Once melted, beat the chocolate with a hand-held mixer for several minutes until it becomes lighter in color and gains volume.
-
Gently fold in 8 ounces of room-temperature Cool Whip until fully combined, being careful not to overmix.8 ounces Cool Whip
-
Transfer the chocolate mixture to the prepared baking pan, spreading it evenly and smoothing the top with a small offset spatula. Ensure it reaches all corners.
-
Place the baking pan in the freezer for 45 minutes, or until the chocolate mixture is completely solid and firm.
-
Remove the hardened chocolate using the parchment paper handles. With a sharp, hot, and dry chef’s knife, cut the slab into 36 equal-sized squares. Return the squares to the freezer for another 30 minutes to chill thoroughly.
-
In a smaller microwave-safe bowl, heat 24 ounces of semi-sweet chocolate chips in 30-second increments, stirring until smooth and completely melted.24 ounces semi-sweet chocolate chips
-
Place one chilled chocolate square on a fork and dip it into the melted semi-sweet chocolate. Scrape the bottom of the fork against the edge of the bowl to remove any excess chocolate, ensuring an even coat.
-
Transfer the dipped chocolate squares to the prepared parchment-lined baking sheet. Repeat for all remaining squares. Allow the chocolate coating to set completely before serving.
Expert Tips & FAQs
- Store these delicious chocolates in an airtight container at room temperature for up to 7 days to maintain optimal freshness and texture. For even longer storage, they can be kept in the refrigerator for up to 2 weeks or frozen in a ziptop bag for up to 1 month.
Nutrition
The recipes on this blog are tested with a conventional gas oven and gas stovetop. It’s important to note that some ovens, especially as they age, can cook and bake inconsistently. Using an inexpensive oven thermometer can assure you that your oven is truly heating to the proper temperature. If you use a toaster oven or countertop oven, please keep in mind that they may not distribute heat the same as a conventional full sized oven and you may need to adjust your cooking/baking times. In the case of recipes made with a pressure cooker, air fryer, slow cooker, or other appliance, a link to the appliances we use is listed within each respective recipe. For baking recipes where measurements are given by weight, please note that results may not be the same if cups are used instead, and we can’t guarantee success with that method.
