Ultimate Chewy Hot Cocoa Cookies with Gooey Melted Marshmallows
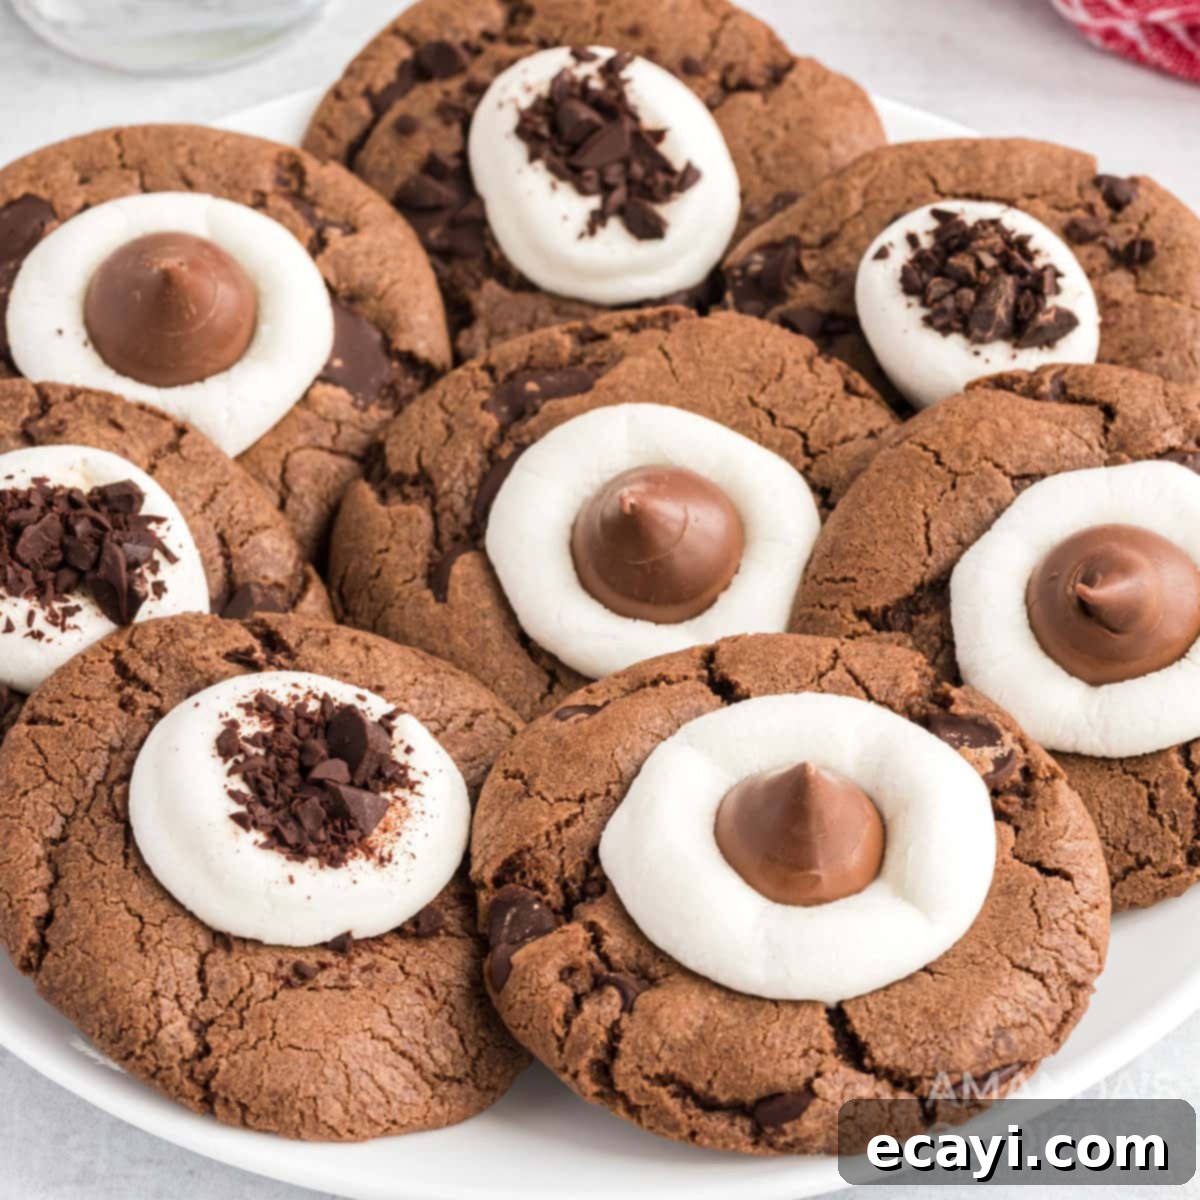
Imagine the cozy warmth of your favorite mug of hot cocoa transformed into a delightful, chewy cookie. That’s precisely what these amazing hot cocoa cookies offer! This unique recipe seamlessly blends the rich, comforting flavor of hot cocoa with the satisfying texture of a classic chocolate cookie, all crowned with a luscious melted marshmallow. It’s truly a chocolate lover’s dream, perfect for those who adore fudge brownies, crave chocolate crinkle cookies, and find solace in a warm cup of hot cocoa. This dessert is designed to bring immense joy and comfort.
These hot cocoa cookies are more than just a sweet treat; they’re an experience. Whether you’re enjoying them fresh from the oven, slightly cooled, or sharing them with loved ones at a festive gathering, their distinctive flavor and irresistible gooey topping make them an instant hit. The deep chocolate notes from the cocoa mix combine beautifully with the sweet, melty marshmallow, creating a symphony of flavors and textures that will undoubtedly make them a new staple in your baking repertoire.
Why This Hot Cocoa Cookie Recipe Is a Must-Try
This hot cocoa cookie recipe stands out for several compelling reasons, making it a beloved choice for bakers and dessert enthusiasts alike. It’s not merely a cookie; it’s a nostalgic journey back to childhood, encapsulating the essence of a steaming mug of hot chocolate in a delightful, handheld form. The unique appeal of these cookies lies in their harmonious blend of textures and deeply satisfying flavors.
Firstly, the texture is paramount: these cookies boast a perfectly chewy interior, reminiscent of a classic chocolate chip cookie, providing a satisfying bite. This chewiness offers a wonderful contrast to the star of the show – the soft, pillowy, and undeniably gooey melted marshmallow topping. It’s this textural interplay that elevates them beyond ordinary cookies.
Secondly, the flavor profile is rich and authentic. Unlike cookies that rely solely on cocoa powder, using actual hot cocoa mix infuses a distinct, comforting chocolate taste that is immediately recognizable and deeply satisfying. This adds a nuanced sweetness and a unique depth that can’t be replicated with just regular cocoa. The hot cocoa flavor truly shines through, making these cookies a genuine tribute to the drink they emulate. When combined with the sweet, slightly caramelized notes of the melted marshmallow, the result is nothing short of magical, especially when enjoyed warm, fresh from the oven.
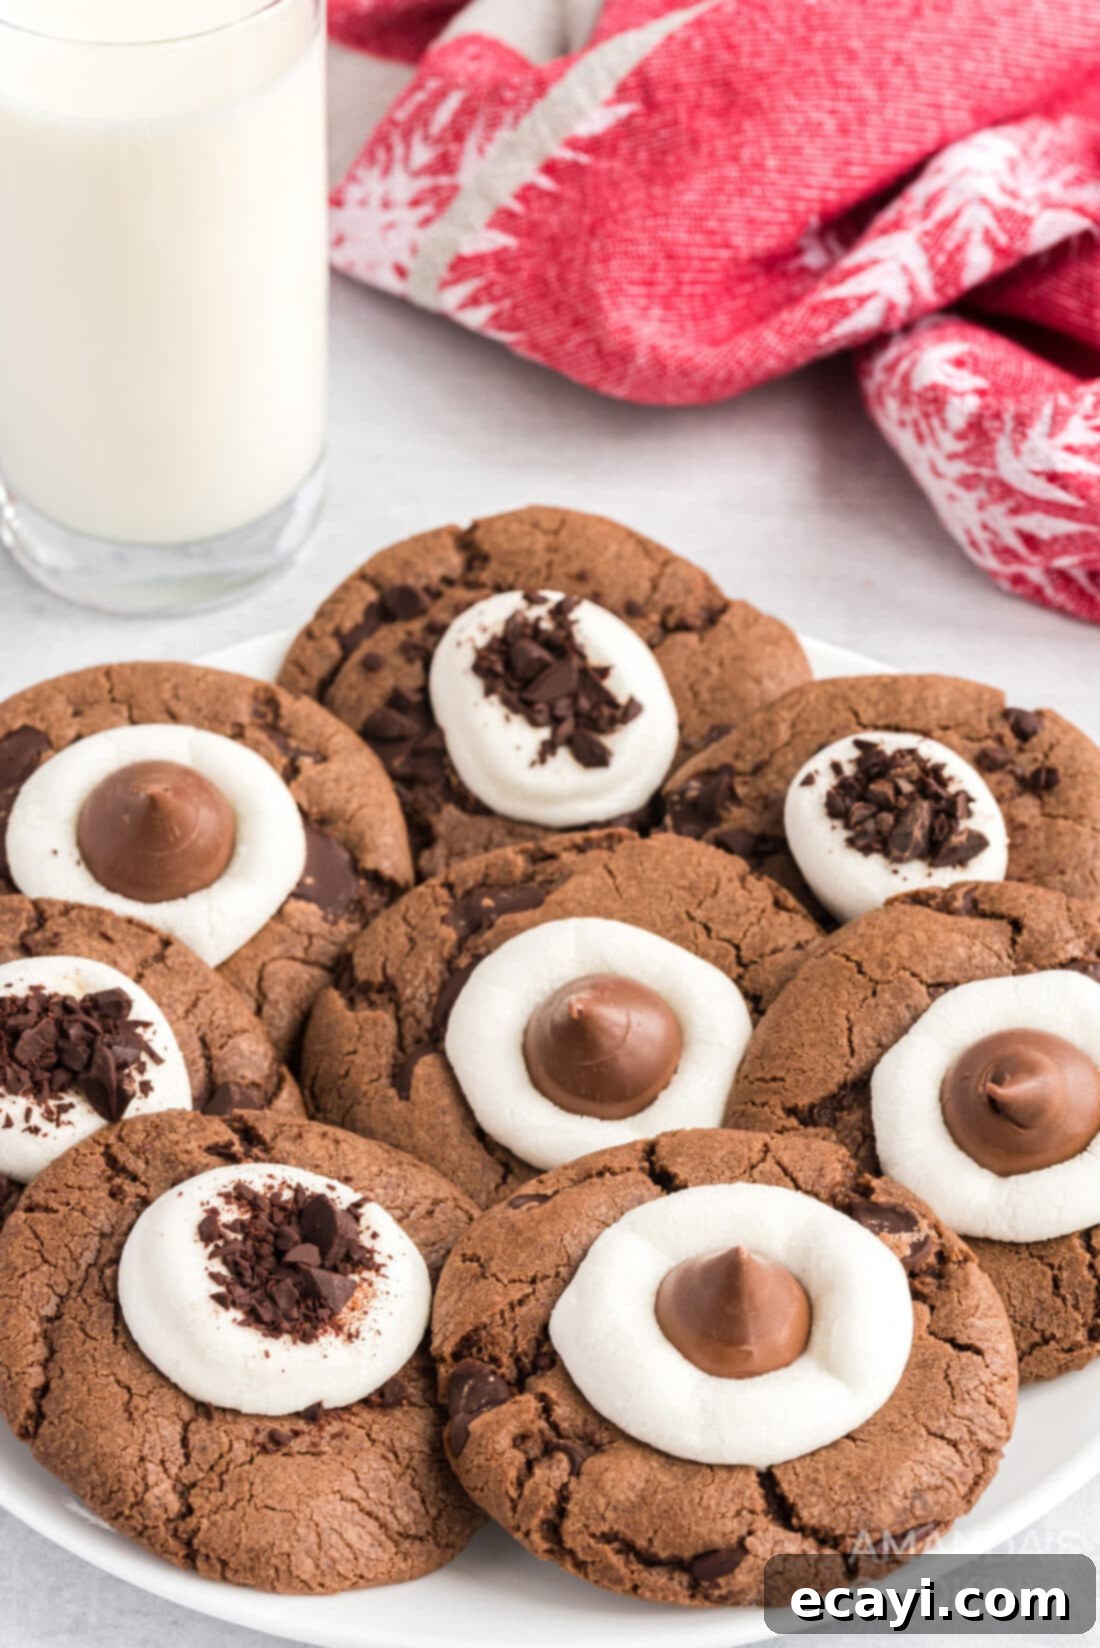
Finally, the visual appeal is irresistible. Topped with a glistening, melted marshmallow and optionally adorned with chocolate shavings or a Hershey’s Kiss, these cookies are as beautiful to look at as they are delicious to eat. They are surprisingly simple to create, yet they deliver an impressive wow factor that makes them perfect for holiday platters, cozy winter evenings, or any moment that calls for a truly special treat. Prepare for them to disappear quickly!
Key Ingredients for Crafting Your Hot Cocoa Cookies
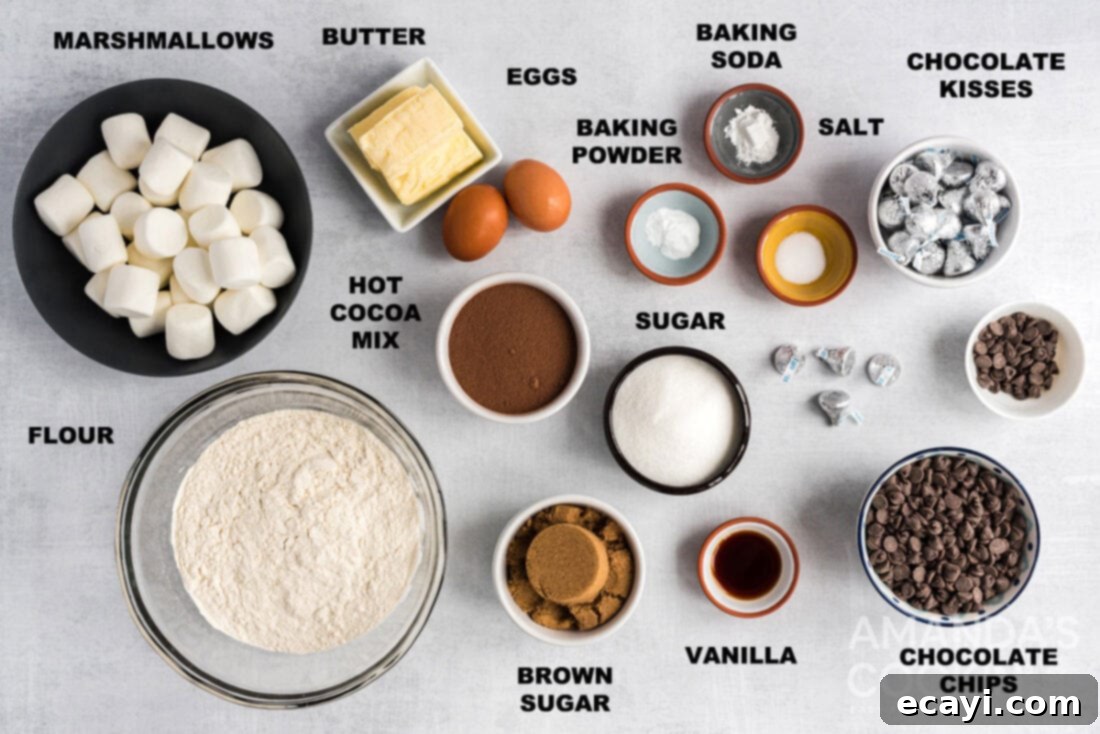
To embark on your journey to create these irresistible hot cocoa cookies, you’ll need a collection of readily available ingredients. Each component plays a vital role in achieving the perfect texture and the signature rich flavor that makes these cookies so special. Here’s a detailed breakdown of what to gather:
- All-Purpose Flour: This forms the essential structure of our cookies, contributing to their delightful chewiness. Ensure it’s measured correctly for consistent results.
- Hot Cocoa Mix: The star ingredient! This is where the distinctive, comforting hot cocoa flavor truly comes from. Opt for a good quality mix that you genuinely enjoy drinking, as its flavor will be prominent in your cookies.
- Baking Powder & Baking Soda: These dual leavening agents work in harmony to give the cookies a soft, slightly airy lift, preventing them from being too dense.
- Salt: A crucial flavor enhancer. Just a teaspoon of table salt balances the sweetness and intensifies all the rich chocolate notes in the dough.
- Granulated Sugar & Packed Brown Sugar: The combination of both sugars is key to the cookie’s texture and sweetness. Granulated sugar promotes spread and a slight crispness at the edges, while brown sugar adds moisture, depth through its molasses content, and contributes significantly to the chewy interior.
- Unsalted Butter (Softened): Make sure your butter is properly softened to room temperature. Creaming softened butter with sugar creates air pockets, which are essential for a light, tender crumb in your cookies.
- Large Eggs: Eggs act as an emulsifier and binder, adding richness to the dough and helping to hold everything together. Room temperature eggs blend more smoothly into the batter.
- Vanilla Extract: A classic cookie enhancer, vanilla extract adds a fragrant warmth that complements and deepens the chocolate flavors without overpowering them.
- Semisweet Chocolate Chips (Separated): While the hot cocoa mix provides a solid chocolate base, additional chocolate chips ensure delightful pockets of melty chocolate throughout the cookies. Remember to separate a small portion for garnishing!
- Regular Sized Marshmallows: These are critical for the signature “hot cocoa” aesthetic and the irresistible gooey topping. We’ll cut them in half for perfect placement.
- Hershey’s Kisses (Optional): For an added touch of chocolate indulgence and a classic holiday presentation, small Hershey’s Kisses can be pressed into the warm marshmallows.
Having all your ingredients pre-measured and ready before you start mixing will ensure a smooth and efficient baking process, leading to the best possible hot cocoa cookies.
Explore more delicious recipes and baking tips with our exclusive cookbooks! Our “12 Days of Christmas Cookies” edition, featuring bonus content not found on the blog, is available for just $9.97. See all our cookbooks here!
How to Make Delicious Hot Cocoa Cookies: A Detailed Step-by-Step Guide
This comprehensive guide, complete with step-by-step photos and clear instructions, is designed to help you visualize and successfully create this incredible recipe. For a concise, printable version with all precise measurements and instructions, simply Jump to Recipe at the very bottom of the page.
-
Preheat Oven and Prepare Baking Sheets: Begin by preheating your oven to a precise 350°F (175°C). It’s crucial to use insulated baking sheets, lined with either parchment paper or silicone baking mats. This preparation prevents your cookies from sticking, promotes even heat distribution, and ensures a beautifully golden underside without over-browning.
-
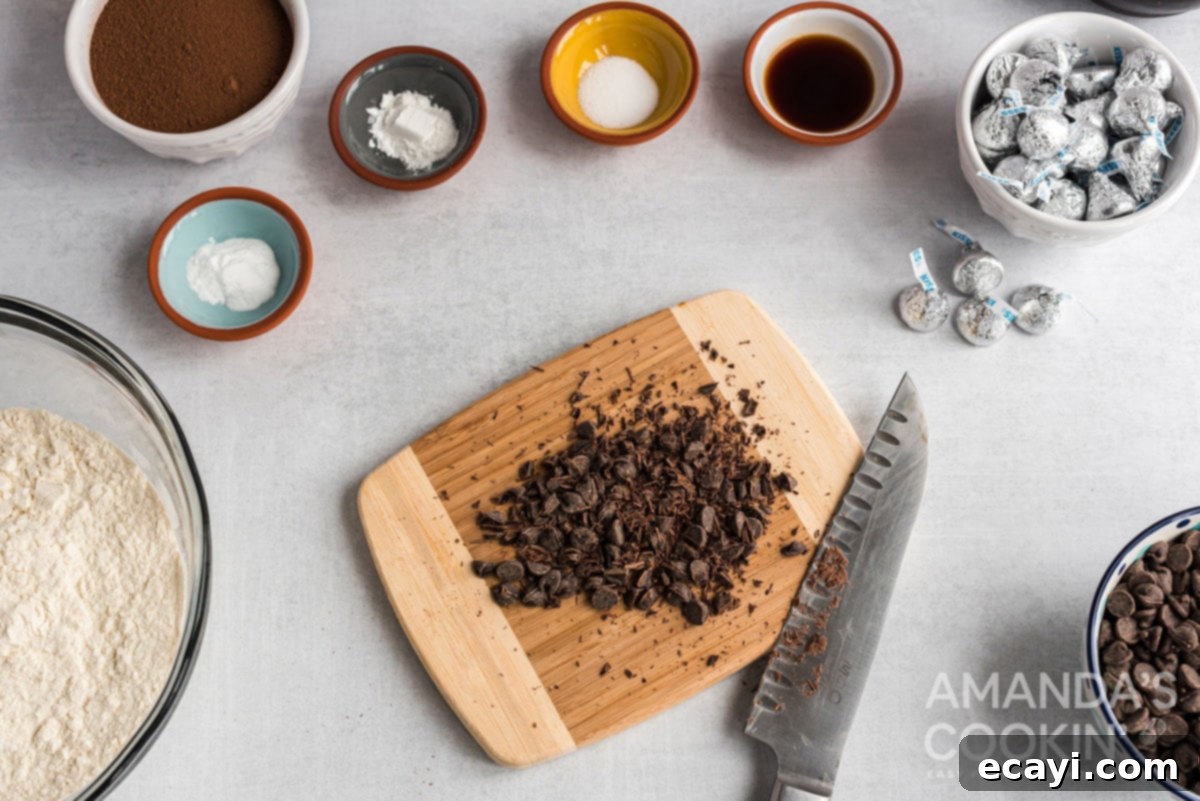
Reserve and Chop Chocolate Chips: From your bag of semisweet chocolate chips, set aside 2 tablespoons. Finely chop these reserved chips into small pieces. These tiny chocolate bits will be used as an elegant garnish, sprinkled over the melted marshmallows, adding both texture and visual appeal. Keep them separate from the main batch of chips.

-
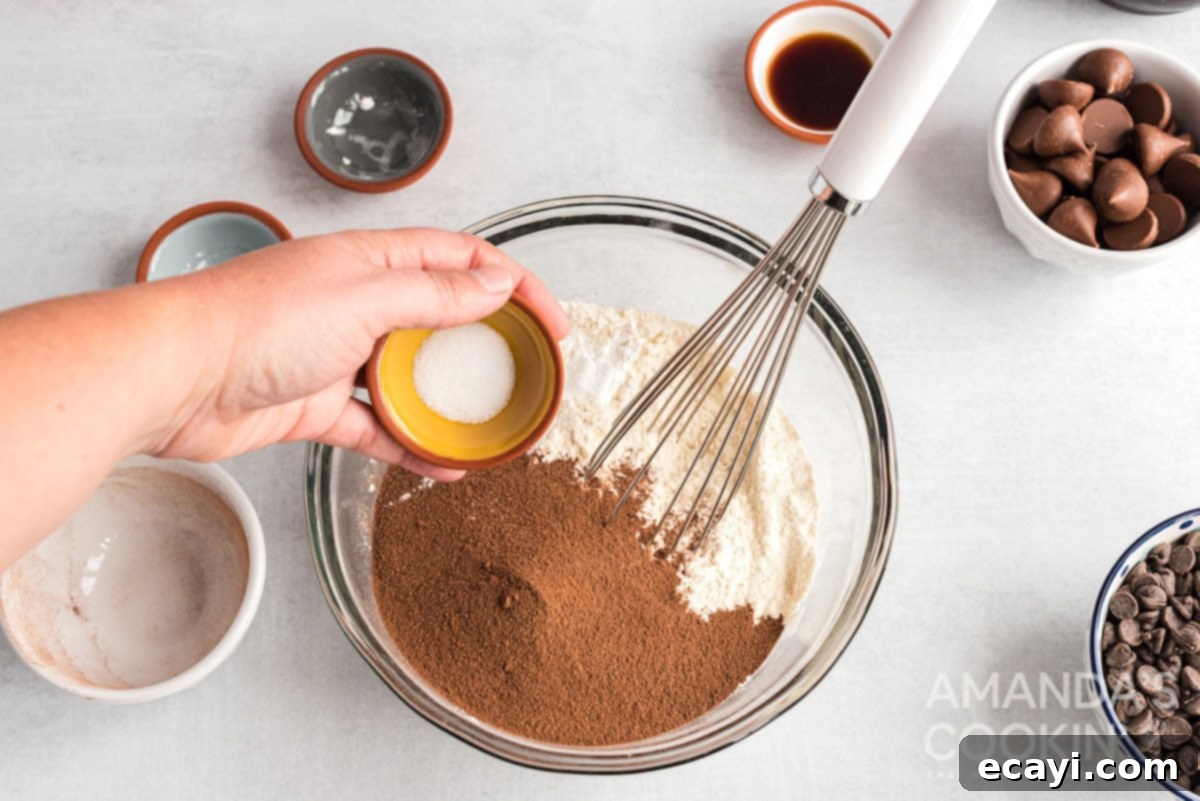
Whisk Together Dry Ingredients: In a medium-sized bowl, combine the all-purpose flour, hot cocoa mix, baking powder, baking soda, and table salt. Whisk these ingredients together thoroughly until they are well combined and appear uniform. This step is essential to ensure that the leavening agents and salt are evenly distributed throughout the dry mixture, which will guarantee a consistent rise and flavor in every cookie. Set this bowl aside for later use.

-
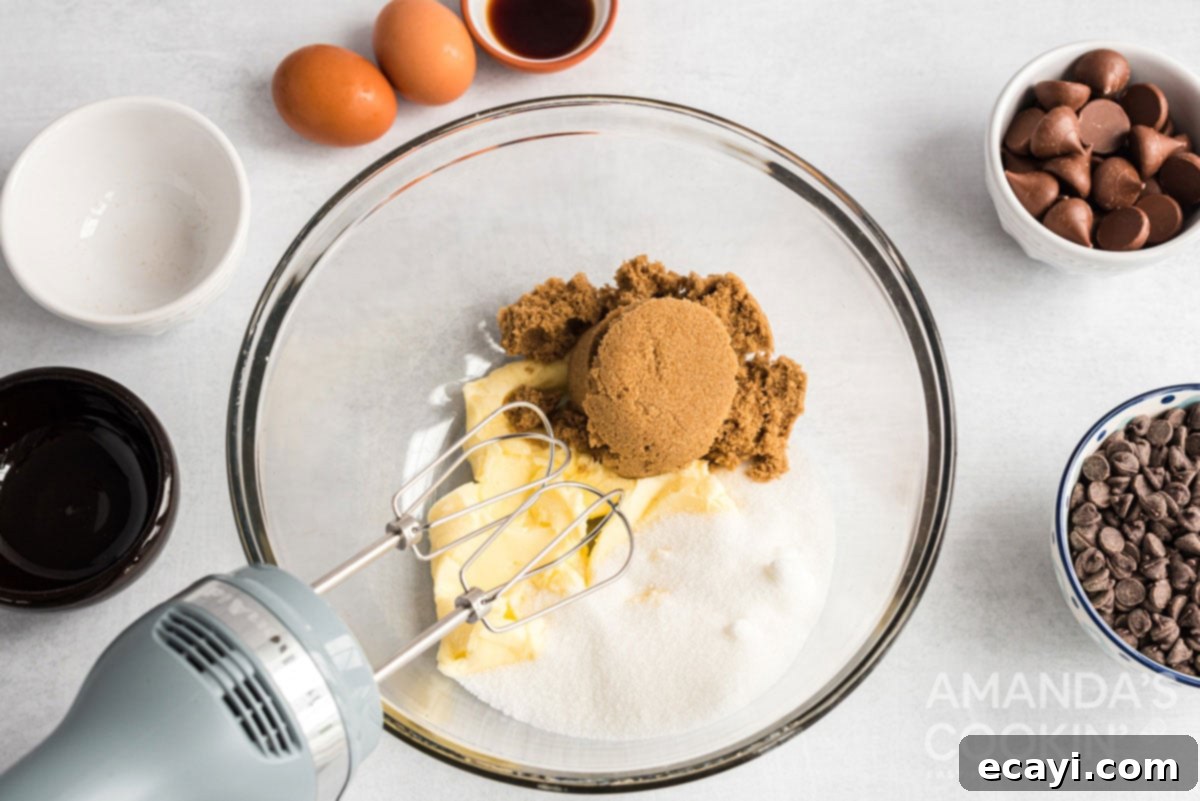
Cream Sugars and Butter: In a large mixing bowl, using either a stand mixer fitted with a paddle attachment or a hand mixer, cream together the granulated sugar, packed brown sugar, and softened unsalted butter. Beat them on medium speed until the mixture becomes light, fluffy, and visibly creamy, typically taking 2-3 minutes. This creaming process incorporates air, which is vital for the cookies’ tender and airy texture.

-
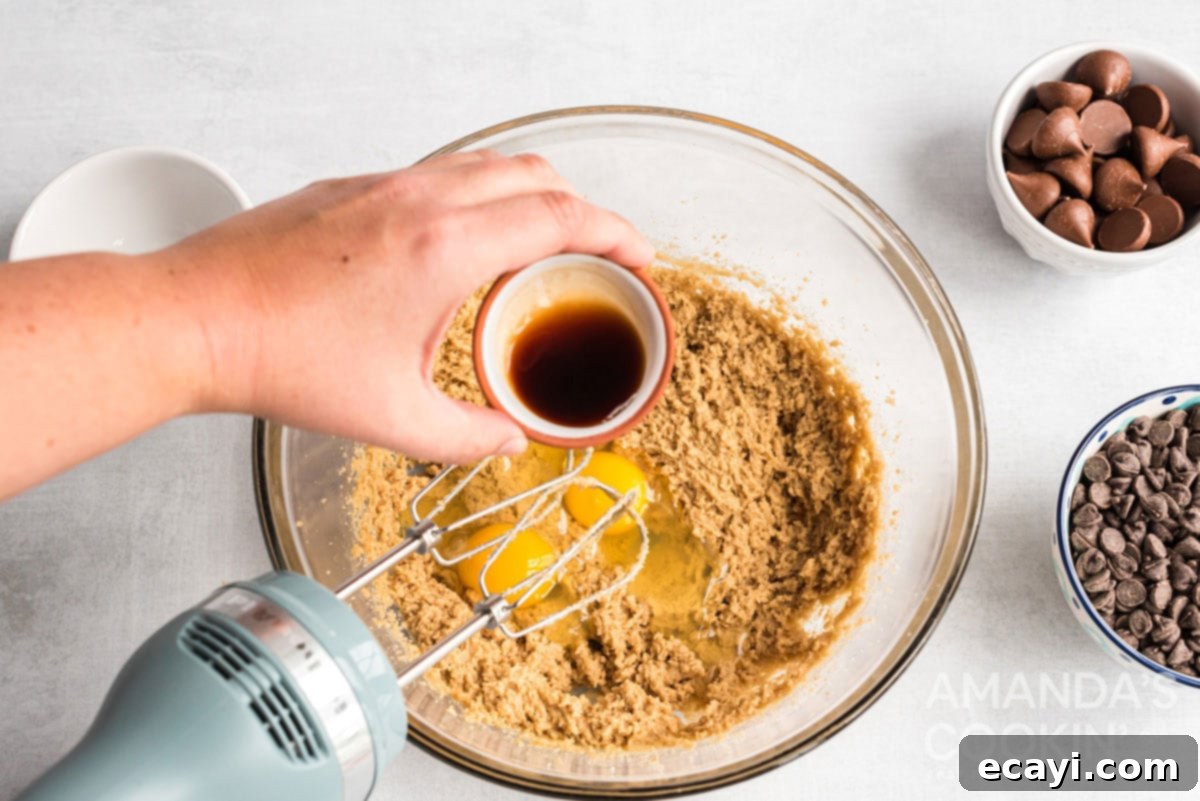
Add Eggs and Vanilla: Introduce the large eggs to the creamed mixture, adding them one at a time and beating well after each addition until fully incorporated. Follow this by stirring in the vanilla extract. Continue to beat until the entire mixture is smooth and cohesive. Ensure the eggs are well combined to prevent the dough from separating.

-
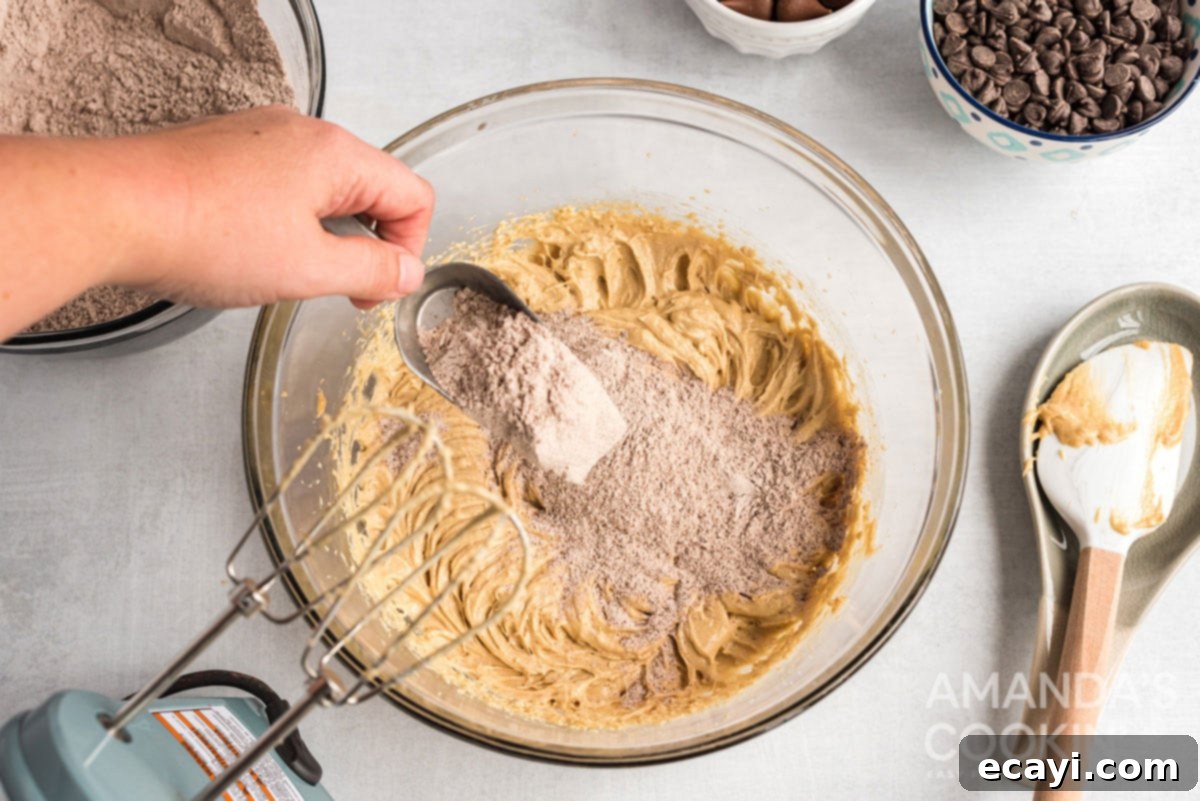
Gradually Mix in Dry Ingredients: Reduce your mixer speed to low. Gradually add the whisked dry flour mixture to the wet ingredients in small increments. Mix only until the dry ingredients are just incorporated and no streaks of flour are visible. Be very careful not to overmix the dough, as excessive mixing can develop the gluten in the flour, resulting in tough, less tender cookies.

-
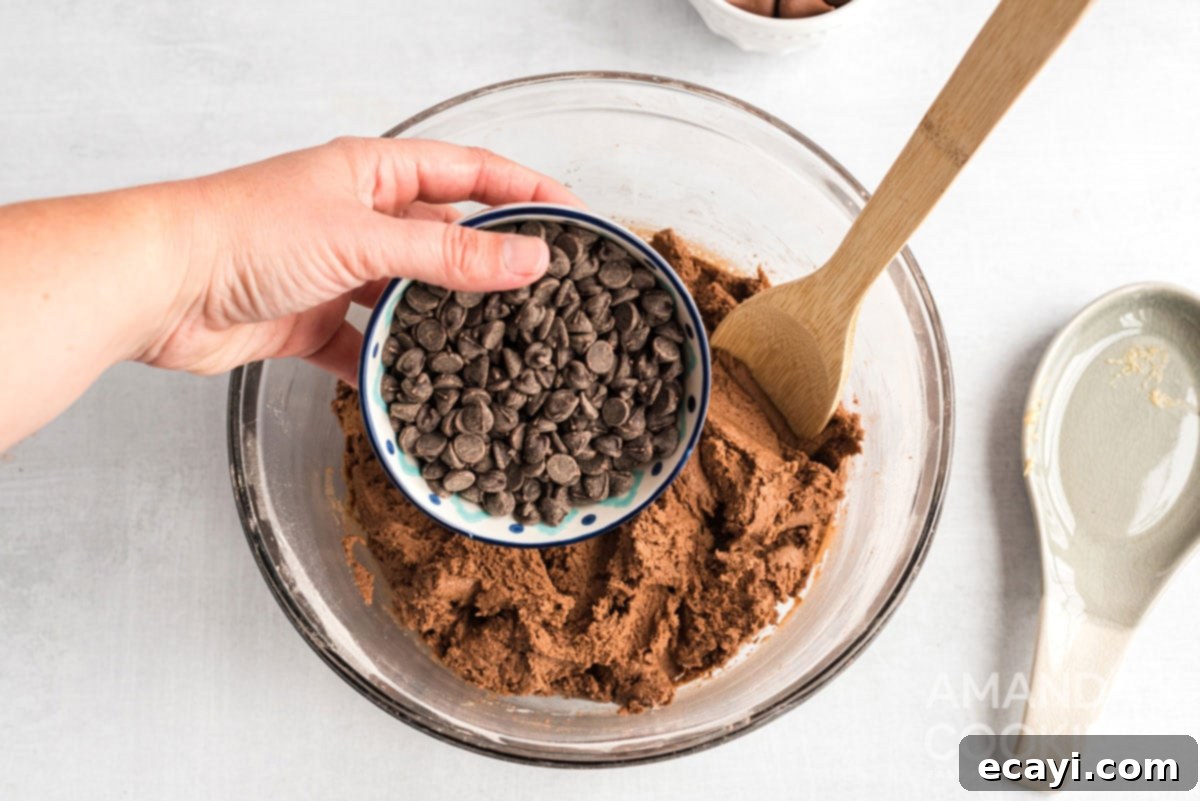
Fold in Remaining Chocolate Chips: Remove the bowl from the mixer. Using a sturdy wooden spoon or a spatula, gently fold in the remaining bulk of semisweet chocolate chips. Distribute them evenly throughout the dough to ensure a burst of chocolate in every bite. This step should be done by hand to avoid crushing the chips or overworking the dough.

-
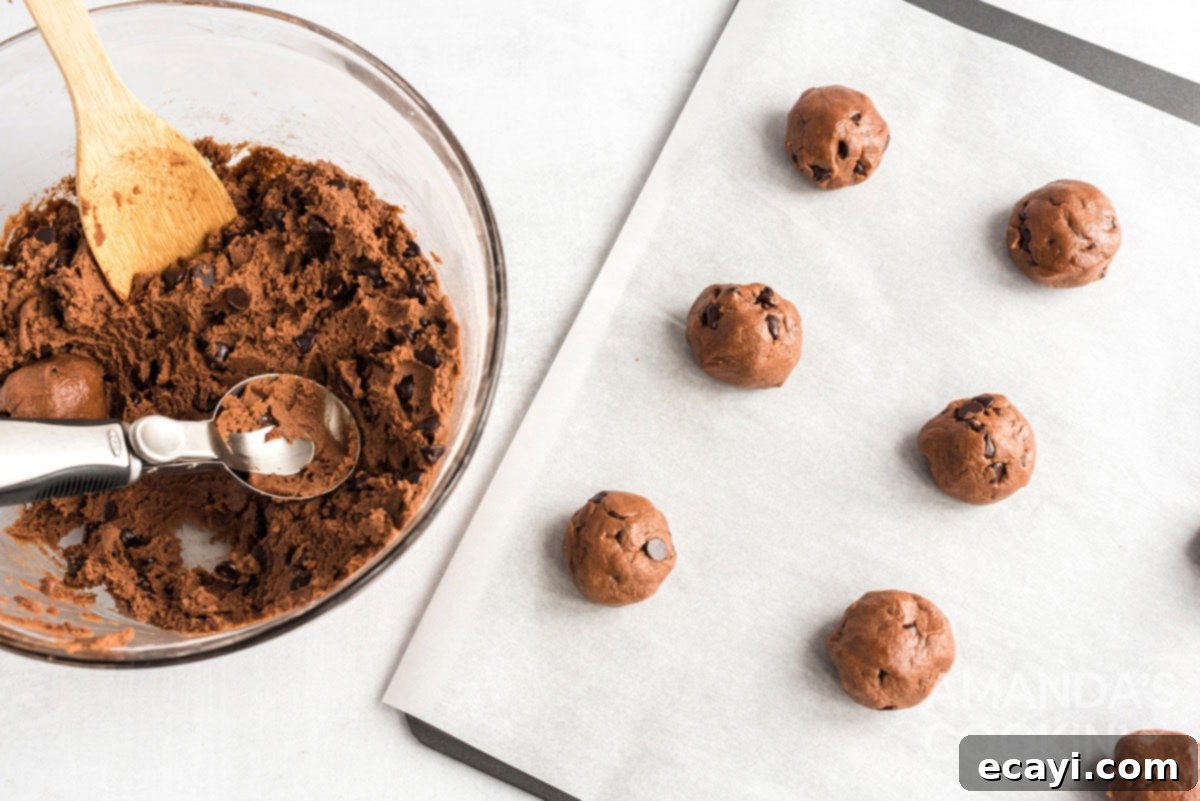
Portion Dough and Initial Bake: Using a cookie scoop (approximately 1.5-2 tablespoons) or a heaping tablespoon, portion out uniform balls of dough. Place them about 2 inches apart on your prepared baking sheets, allowing ample space for them to spread during baking. Bake for 8 minutes. During this initial bake, the cookies will set and firm up enough to support the marshmallow topping.

-
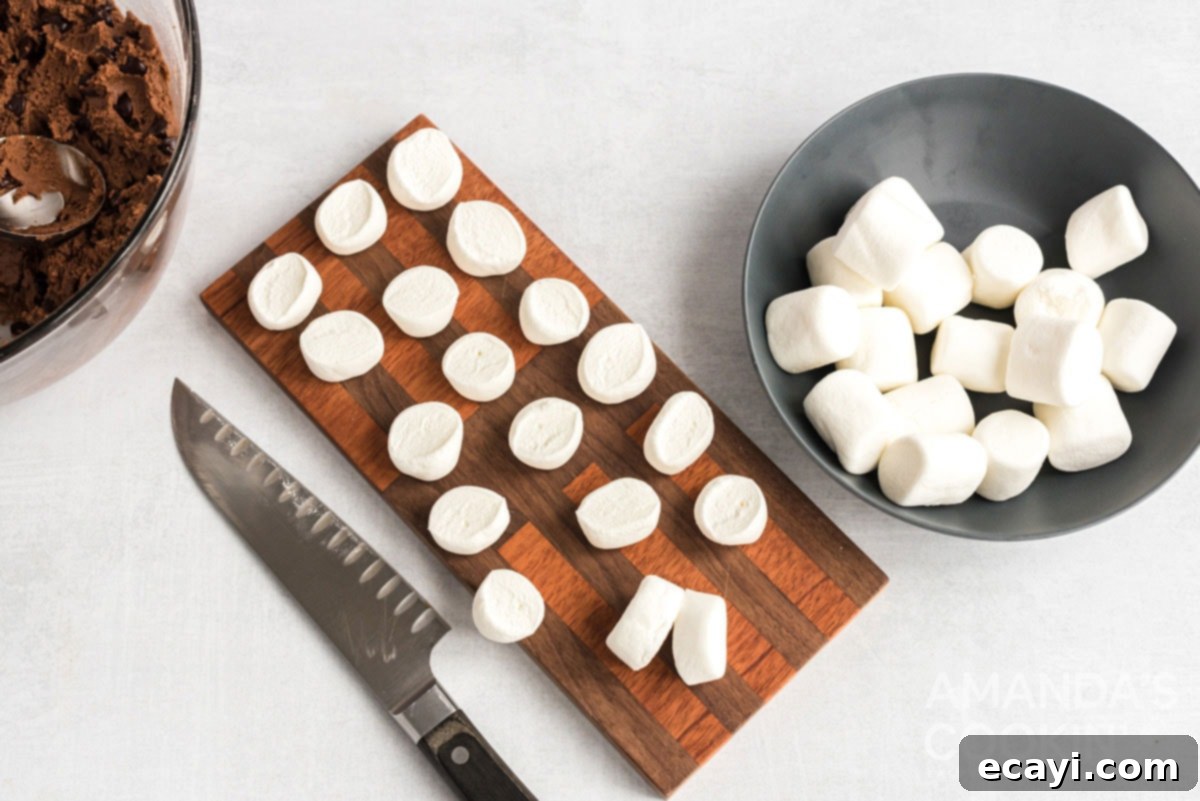
Prepare Marshmallows for Topping: While your cookies are in their first round of baking, take this time to quickly prepare your marshmallows. Using kitchen shears or a sharp knife, carefully cut each regular-sized marshmallow in half. Cutting them allows them to sit nicely on the cookies and melt into a perfect gooey layer without overwhelming the cookie.

-
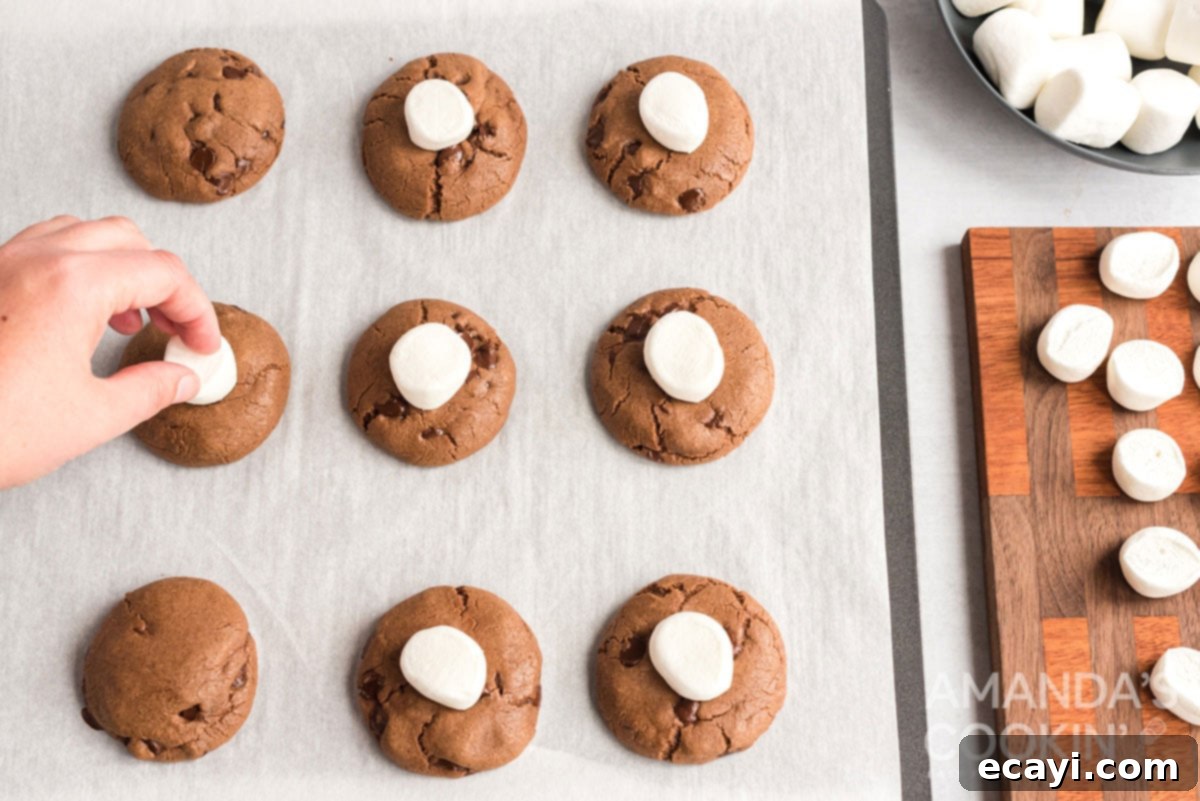
Add Marshmallows and Finish Baking: After 8 minutes, carefully remove the cookies from the oven. Working quickly while they are still hot, gently press a halved marshmallow, with the cut side down, into the center of each partially baked cookie. Return the baking sheets to the oven for an additional 1-2 minutes. This brief second bake is just enough to soften and slightly melt the marshmallows, creating that desired gooey texture, without allowing them to brown or become crispy. Keep a close watch to prevent overbaking the marshmallows.

Decorating Your Hot Cocoa Cookies: The Perfect Finishing Touches
Once your hot cocoa cookies emerge from the oven, boasting perfectly soft and melted marshmallows, it’s time to add those delightful finishing touches. These simple decorations not only enhance the visual appeal but also add another layer of flavor and texture, transforming your delicious treats into festive showstoppers. You have two fantastic options to choose from, or even combine them for extra flair!
Option 1: Elegant Chocolate Shavings
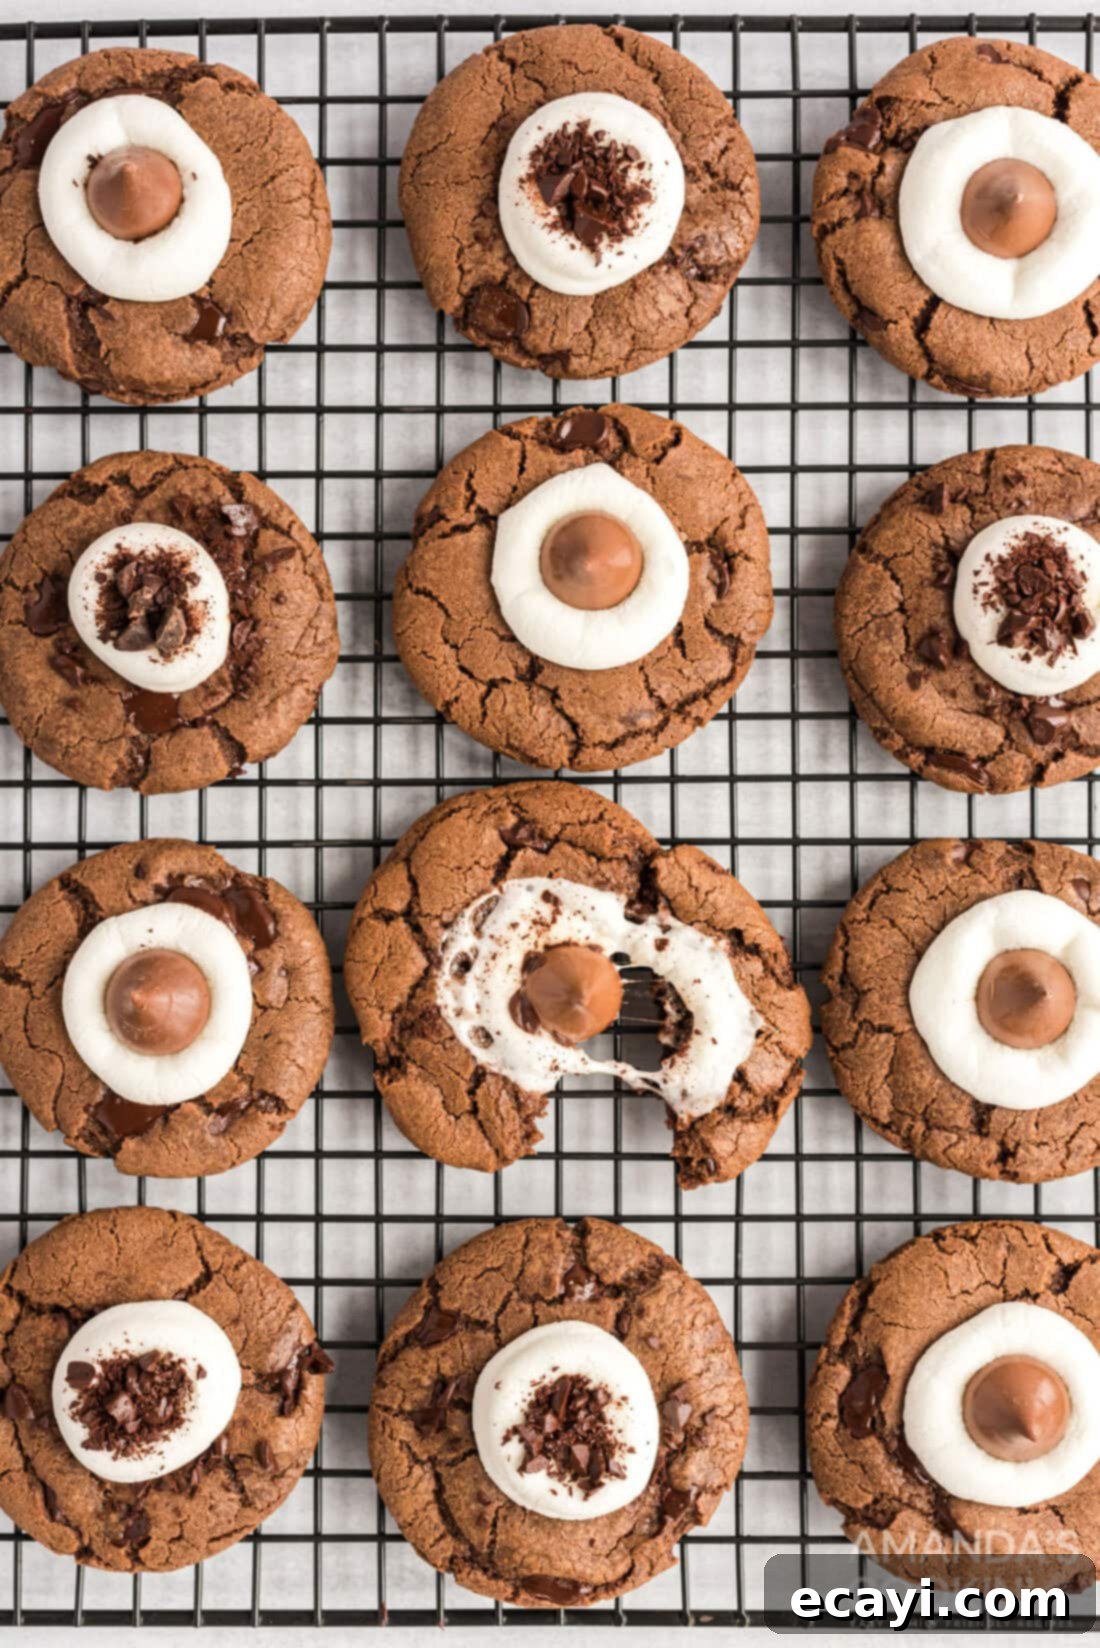
For a refined and sophisticated touch, immediately after removing the cookies from the oven (after the marshmallow bake), take your reserved finely chopped chocolate. Liberally sprinkle these tiny chocolate pieces over the tops of the warm, melted marshmallows. The residual heat from the cookies and marshmallows will cause the chocolate shavings to melt ever so slightly, helping them adhere beautifully and creating a glossy, appealing finish. This method adds a subtle crunch and an extra burst of chocolate flavor, making each bite even more luxurious.
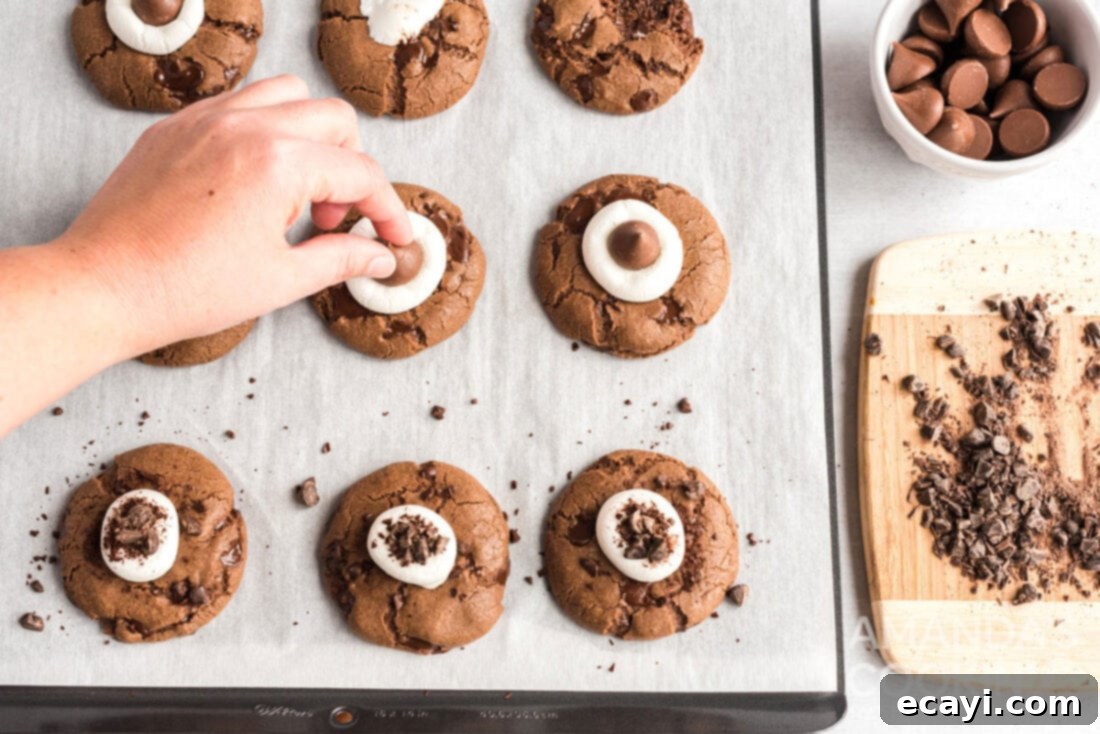
Option 2: Classic Hershey’s Kisses
If you prefer a classic, iconic hot cocoa look, reminiscent of a steaming mug topped with a melting chocolate, then Hershey’s Kisses are your ideal choice. Once the cookies are out of the oven and the marshmallows are soft and gooey, gently press one unwrapped Hershey’s Kiss into the center of each melted marshmallow. The warmth of the marshmallow will slightly soften the base of the Kiss, allowing it to meld perfectly into the topping. After adding the Kisses, allow the cookies to cool completely on the baking sheet before attempting to move them to a wire rack. This crucial cooling period ensures the marshmallows fully set and the Hershey’s Kisses firm up, preventing any sticking or deformation when handled.
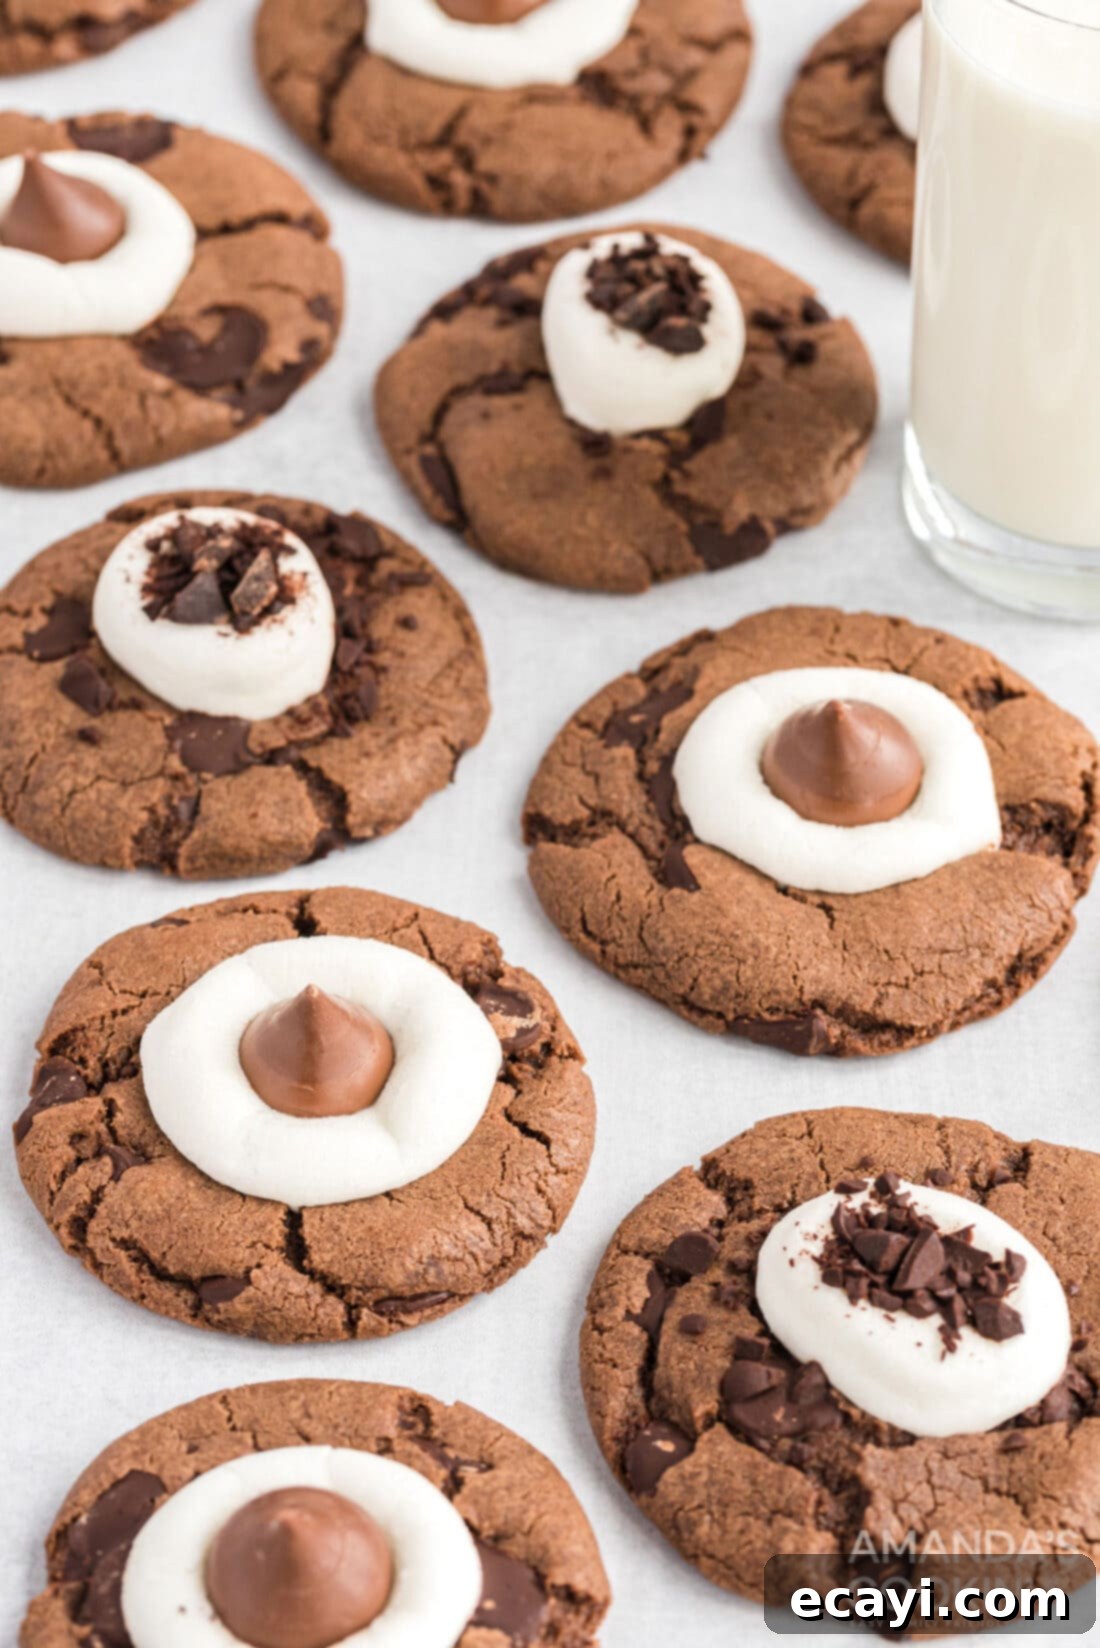
Both decorating methods yield visually stunning and equally delicious hot cocoa cookies, making them perfect for any festive occasion, a thoughtful homemade gift, or simply a comforting treat to enjoy with your favorite hot beverage.
Essential Tips for Baking Perfect Hot Cocoa Cookies
Achieving perfectly chewy and delicious hot cocoa cookies with gooey marshmallows is simple when you keep a few expert tips in mind. These pointers will help ensure consistent results and prevent common baking mishaps:
- Use Room Temperature Ingredients: Always ensure your butter and eggs are at proper room temperature. This allows them to cream together more effectively with the sugars, incorporating air and resulting in a smoother dough and a lighter, more tender cookie texture. Cold ingredients can lead to a lumpy batter and denser cookies.
- Avoid Overmixing the Dough: Once you add the dry ingredients to the wet, mix only until they are just combined and no streaks of flour are visible. Overmixing develops the gluten in the flour, which can lead to tough, dense, and less chewy cookies. A light hand is key to tender results.
- Choose a High-Quality Hot Cocoa Mix: The flavor of your hot cocoa mix will directly influence the final taste of your cookies. Opt for a brand that you genuinely enjoy drinking on its own, as its chocolate profile will shine through in the baked goods. A richer cocoa mix will yield a more intense chocolate cookie.
- Precise Marshmallow Timing: The timing for adding and baking the marshmallows is crucial. Don’t add them too early during the initial bake, and be careful not to overbake them in the second short burst. The goal is soft, perfectly gooey marshmallows, not overly toasted, crunchy, or burnt ones. A minute or two is often sufficient to achieve the desired melt.
- Uniform Cookie Portions: For consistent baking results, use a cookie scoop (or a standard tablespoon) to portion out your dough balls. Uniformly sized cookies will bake at the same rate, ensuring that all cookies are perfectly done at the same time.
- Cooling Process is Important: Especially if you’ve topped your cookies with Hershey’s Kisses, it’s critical to allow them to cool completely on the baking sheet before attempting to move them. This cooling time allows the marshmallows to fully set and the chocolate Kisses to firm up, preventing them from detaching or becoming misshapen.
- Proper Storage for Freshness: To maintain the delightful chewiness of the cookies and the softness of the marshmallows, always store your cooled hot cocoa cookies in an airtight container. This helps prevent them from drying out and keeps the marshmallows from hardening prematurely.
Creative Variations & Delicious Serving Suggestions
While these hot cocoa cookies are absolutely delicious as they are, there’s always room for a little creativity in the kitchen! Feel free to experiment with these variations and serving ideas to make them uniquely yours or to suit different occasions:
- Peppermint Twist: For a festive touch, add a quarter teaspoon of peppermint extract to your cookie dough along with the vanilla. Alternatively, sprinkle crushed candy canes over the melted marshmallows for a delightful mint-chocolate flavor and a pop of color.
- White Chocolate Drizzle: Instead of chocolate shavings or Kisses, melt some white chocolate and drizzle it decoratively over the cooled marshmallow-topped cookies. This offers a beautiful visual contrast and adds an extra layer of sweetness.
- Different Marshmallow Styles: Don’t limit yourself to regular marshmallows. You can experiment with mini marshmallows (sprinkled generously) or even specialty flavored marshmallows (like vanilla bean, strawberry, or chocolate) for a different twist in taste and texture.
- Spicy Mexican Hot Cocoa: For those who love a bit of heat, add a pinch of cayenne pepper or chili powder (about 1/8 to 1/4 teaspoon) to your dry ingredients. This will give your hot cocoa cookies a subtle, warming kick, much like a traditional Mexican hot chocolate.
- Nutty Crunch: Fold in a half cup of finely chopped pecans or walnuts with your chocolate chips for an added layer of crunch and nutty flavor that complements the chocolate beautifully.
- Ice Cream Sandwiches: Once the cookies are completely cooled, transform them into an indulgent dessert by sandwiching a scoop of vanilla bean or rich chocolate ice cream between two hot cocoa cookies.
- Coffee or Espresso Companion: These cookies are the ultimate pairing for your morning coffee, afternoon espresso, or even a classic chai latte. The flavors meld perfectly.
- Hot Cocoa Bar Addition: Elevate your holiday hot cocoa bar by serving these cookies alongside. Guests can enjoy them as a sweet bite with their beverage, or even dunk them in for an extra treat.
These hot cocoa cookies are incredibly versatile and can be customized to fit almost any preference or celebration. Don’t hesitate to play with flavors and toppings to discover your new favorite combination!
Frequently Asked Questions About Hot Cocoa Cookies
Absolutely! While the melted marshmallows are undeniably best when fresh and gooey, you can certainly prepare the cookie dough a few days in advance. For the freshest possible cookie experience, we recommend making the cookie dough ahead of time and shaping it into individual balls. Place these dough balls on a wax paper-lined cookie sheet, ensuring they are not touching each other, and freeze them for a few hours until they are solid. Once frozen, transfer all the hardened dough balls into a freezer-safe bag or airtight container. When you’re ready to bake, simply thaw the frozen cookie dough balls at room temperature until workable, and then bake and garnish them according to the recipe instructions. This method allows you to have fresh-baked cookies with minimal effort whenever a craving strikes.
Yes, baked hot cocoa cookies freeze wonderfully! To ensure they retain their quality, first allow the cookies to cool completely to room temperature. Then, arrange them in a single layer on a wax paper-lined cookie sheet, making sure they don’t touch, and freeze them for a few hours until they are completely solid. Once frozen, you can transfer the cookies to a freezer-safe airtight container or a heavy-duty freezer bag. This prevents freezer burn and keeps them fresh. To reheat and enjoy, simply allow the cookies to thaw at room temperature. For a delightful “fresh from the oven” taste and gooey marshmallow, you can warm them in a preheated 350°F (175°C) oven for just a few minutes until they are soft and slightly melted again.
To maintain the delicious chewiness and the soft texture of the marshmallows, store your cooled hot cocoa cookies in an airtight container at room temperature. They will remain fresh and enjoyable for up to 3 days. If you’ve chosen to top your cookies with Hershey’s Kisses, ensure the chocolate has completely set and firmed up before stacking the cookies in the container. This prevents them from sticking together or losing their shape. For longer storage options, please refer to the freezing instructions mentioned above.
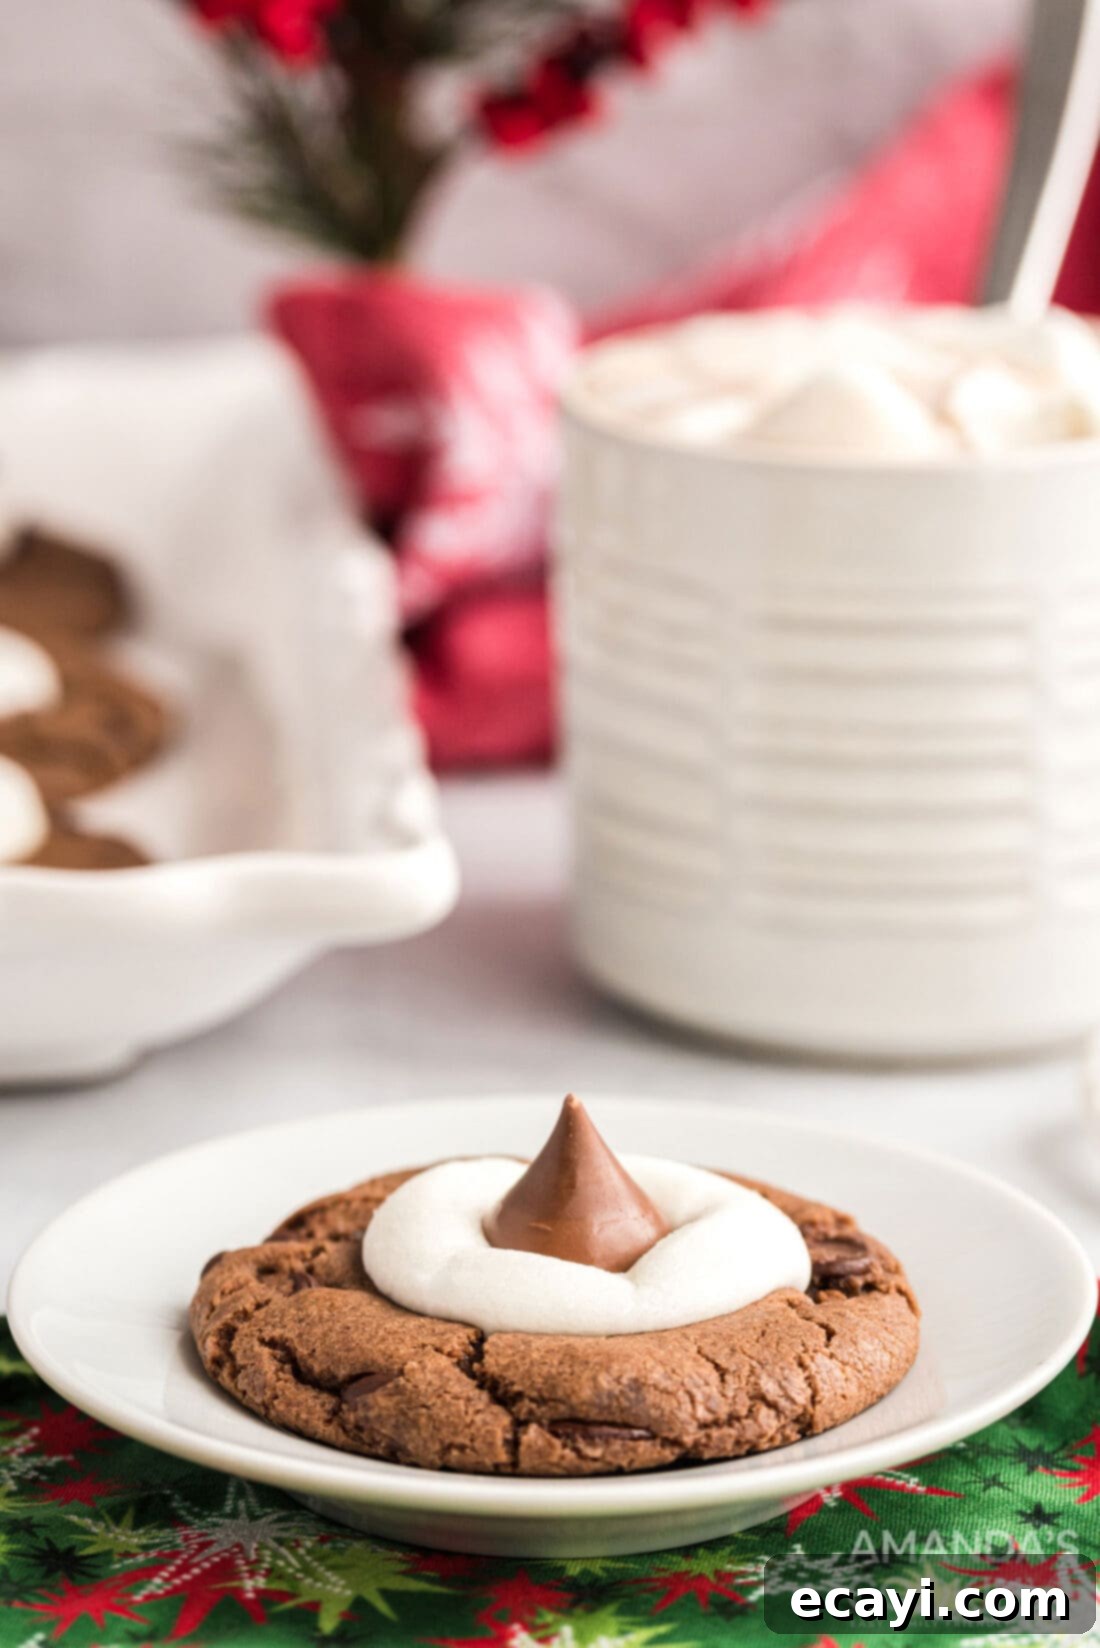
After tirelessly testing numerous Christmas cookies recipes during the festive season, these hot cocoa cookies consistently emerged as a clear family favorite. There’s something undeniably magical about their rich, comforting flavor and the incredibly satisfying gooey melted marshmallow top that ensures they disappear faster than any other batch I bake! They’re truly a testament to the simple joy of homemade treats.
If you’re a devoted fan of warming beverages, I highly recommend exploring some of my other delightful hot chocolate recipes. Don’t miss out on my hearty and convenient Crockpot Hot Chocolate, the perfectly spiced seasonal Pumpkin Spice Hot Chocolate, or the authentic and wonderfully thick Mexican Hot Chocolate known as Champurrado! Each offers a unique and delicious twist on a beloved classic.
More Festive Cookie Recipes to Brighten Your Holidays
The holiday season is synonymous with the delightful aroma of freshly baked cookies, and there’s no better way to celebrate than with an array of homemade treats. If you adored these hot cocoa cookies, you’ll undoubtedly enjoy exploring some of our other cherished Christmas cookie recipes. These are perfect for sharing with family and friends, gifting to loved ones, or simply savoring by the fireplace on a chilly evening:
- Grandma’s Classic Sugar Cookies: A timeless recipe that’s perfect for cutting out festive shapes and decorating.
- Effortless No-Bake Cornflake Cookies: A quick and easy option for when you need a delicious treat without turning on the oven.
- Warm & Spicy Gingerbread Cookies: The quintessential holiday cookie, full of comforting spices and delightful charm.
- Buttery Scottish Shortbread Cookies: Simple, elegant, and melt-in-your-mouth tender, a true classic.
- Sweet Jam Thumbprint Cookies: Delicate cookies with a fruity center, a lovely addition to any cookie platter.
- Decadent Chocolate Thumbprint Cookies: A rich, chocolatey twist on the classic thumbprint, perfect for serious cocoa lovers.
- Fun & Colorful Reese’s Pieces Cookies: A vibrant and peanut buttery treat that’s always a crowd-pleaser.
- Charming Christmas Kiss Cookies: Soft cookies topped with a chocolate kiss, a holiday favorite.
- Traditional Danish Butter Cookies: Exquisitely rich and delicate butter cookies, ideal for coffee or tea time.
I am deeply passionate about baking and cooking, and it brings me immense joy to share my kitchen experiences and meticulously tested recipes with all of you! Remembering to come back each day for new content can sometimes be a challenge, which is why I offer a convenient newsletter. Every time a new recipe is posted, it’s delivered directly to your inbox. Simply subscribe here and start receiving your free daily recipes – ensuring you never miss another delicious dish!

Hot Cocoa Cookies
IMPORTANT – Don’t forget to check the Frequently Asked Questions section earlier in this post for helpful tips and storage advice!
Print It
Pin It
Rate It
Save ItSaved!
Ingredients
- 2 ½ cup all purpose flour
- ¾ cup hot cocoa mix
- 1 teaspoon baking powder
- 1 teaspoon baking soda
- 1 teaspoon table salt
- ¾ cup granulated sugar
- ¾ cup packed brown sugar
- ¾ cup unsalted butter softened
- 2 large eggs
- 2 teaspoons vanilla
- 12 oz bag semisweet chocolate chips separated
- 20-25 regular sized marshmallows
- 36 Hershey Kisses
Things You’ll Need
-
Insulated baking sheets
-
Silicone baking mat
-
Hand mixer (or stand mixer)
Before You Begin
Freezing – You can freeze baked cookies as well. First, freeze the cooled cookies for a few hours on a wax paper-lined cookie sheet, ensuring they are not touching. Then, put all the frozen cookies into a freezer-safe bag or airtight container. To reheat, allow cookies to thaw at room temperature, then bake at 350 F for a few minutes to warm them up and soften the marshmallows.
Storing – Store cooled hot cocoa cookies in an airtight container at room temperature for up to 3 days to maintain optimal freshness and texture.
Instructions
-
Preheat oven to 350 F (175 C) and line insulated baking sheets with parchment paper or silicone baking mats.
-
Reserve 2 tablespoons of chocolate chips and chop them into small pieces. Set aside for garnish.
-
In a medium bowl, whisk together the all-purpose flour, hot cocoa mix, baking powder, baking soda, and salt. Set aside.
-
With a mixer in a large bowl, cream together both the granulated sugar, packed brown sugar, and softened unsalted butter until the mixture is light and creamy.
-
Add the eggs one at a time, beating well after each, then add the vanilla extract and beat until well combined.
-
Gradually mix in the flour mixture to the wet ingredients until just combined, being careful not to overmix.
-
Using a wooden spoon or spatula, stir in the remaining chocolate chips until evenly distributed.
-
Use a cookie scoop or a heaping tablespoon to portion out dough balls, placing them about 2 inches apart on the prepared baking sheets.
-
Bake for 8 minutes. While the cookies are baking, cut the regular-sized marshmallows in half.
-
Remove cookies from the oven. Working quickly, gently press a halved marshmallow, cut side down, into the center of each hot cookie. Bake for another 1-2 minutes, just until the marshmallows soften and melt slightly without browning.
Chocolate Shavings (Garnish)
-
Immediately after removing the cookies from the oven (after the marshmallow bake), sprinkle the tops of the melted marshmallows with the reserved chopped chocolate.
Hershey’s Kisses (Garnish)
-
If using Hershey’s Kisses, gently press one chocolate Kiss into the center of each soft, melted marshmallow immediately after removing from the oven. Allow cookies to cool completely on the cookie sheet before transferring to a wire rack to ensure the marshmallows and Kisses set properly.
Nutrition
The recipes on this blog are tested with a conventional gas oven and gas stovetop. It’s important to note that some ovens, especially as they age, can cook and bake inconsistently. Using an inexpensive oven thermometer can assure you that your oven is truly heating to the proper temperature. If you use a toaster oven or countertop oven, please keep in mind that they may not distribute heat the same as a conventional full sized oven and you may need to adjust your cooking/baking times. In the case of recipes made with a pressure cooker, air fryer, slow cooker, or other appliance, a link to the appliances we use is listed within each respective recipe. For baking recipes where measurements are given by weight, please note that results may not be the same if cups are used instead, and we can’t guarantee success with that method.
Don’t miss out on more delightful recipes and exclusive cooking tips available in our full collection of recipe books!
