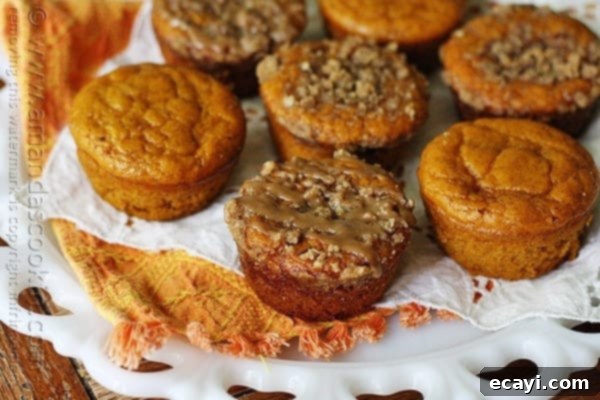
Irresistible Pumpkin Mini Cakes with Cinnamon Streusel & Greek Yogurt: Your New Favorite Moist Autumn Treat
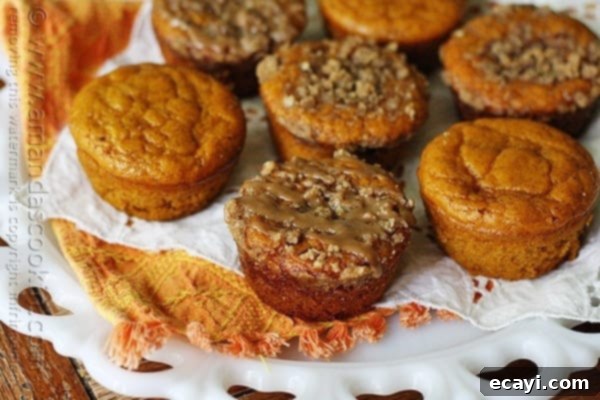
There’s something uniquely comforting about a warm, spiced pumpkin treat, especially as the leaves begin to change and the air turns crisp. These delightful creations, with their inviting aroma of cinnamon and ginger, might look like cupcakes at first glance, but I prefer to call them mini cakes. Why? Because the presence of a glorious streusel topping truly transforms them, reminding me more of a cozy coffee cake or a bakery-style muffin. And honestly, a cupcake without a generous swirl of frosting just doesn’t feel complete to me. These truly are small, individual cakes, perfectly portioned and bursting with fall flavors, making them an ideal dessert or a special breakfast accompaniment.
The journey to perfecting these moist pumpkin mini cakes began with an exciting collaboration. The wonderful team at Yoplait reached out and invited me to experience their exciting new line of Yoplait Greek yogurt. As a passionate baker, I’m always keen to explore new ingredients, especially those that promise to enhance flavor and texture. The range of flavors available is impressive, including classic options like blueberry, strawberry, raspberry, tangerine, pineapple, coconut, and vanilla. So far, I’ve had the pleasure of sampling the vanilla, pineapple, and coconut varieties. I even picked up a strawberry one, but mysteriously, it vanished from the fridge before I could try it – a true testament to its likely deliciousness, though no one has fessed up to the delicious crime!
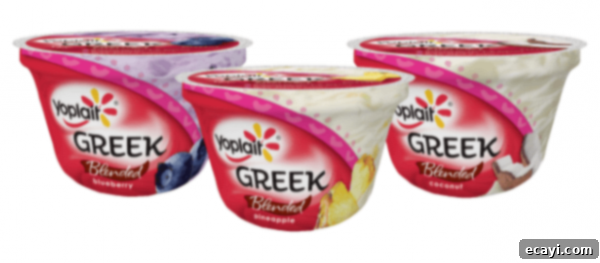
Out of the flavors I’ve had the chance to enjoy, the pineapple and vanilla have quickly become my top picks, though every single one has been exceptionally good. I’m particularly eager to find the tangerine flavor next, as it sounds absolutely fabulous and perfect for experimenting in future recipes. If you’re curious to see how other food bloggers reacted to their first taste of this delicious Greek yogurt, you can check out this video for some genuine, unscripted reactions and shared culinary enthusiasm.
I must confess, I hadn’t fully embraced the Greek yogurt craze before this. While I’ve frequently used it in my baking to substitute for oil or butter, I had yet to discover a Greek yogurt that I genuinely enjoyed eating on its own – one that struck the perfect balance between affordability and exquisite taste. The new Yoplait Greek yogurts, however, have completely changed my perspective. They hit the mark on both counts, delivering a rich, creamy texture and delightful flavors without breaking the bank. They have officially become my new go-to yogurt, whether I’m enjoying it as a quick snack, a healthy breakfast, or incorporating it into my baking endeavors. I’ll definitely be keeping an eye out and hoping for even more innovative flavors to be released in the future!
Given my newfound appreciation for Yoplait Greek yogurt and its versatility, I knew I had to integrate it into my baking. My goal was to leverage its natural moisture and tang to create something truly special, reducing the need for traditional fats like oil or butter. I decided to adapt a beloved family favorite, my Chocolate Dappled Pumpkin Cake, into these convenient and utterly delicious mini cakes. The idea was to take all the wonderful flavors and tender texture of the original cake and infuse it with the goodness of Greek yogurt, transforming it into a more compact, handheld treat perfect for any occasion.
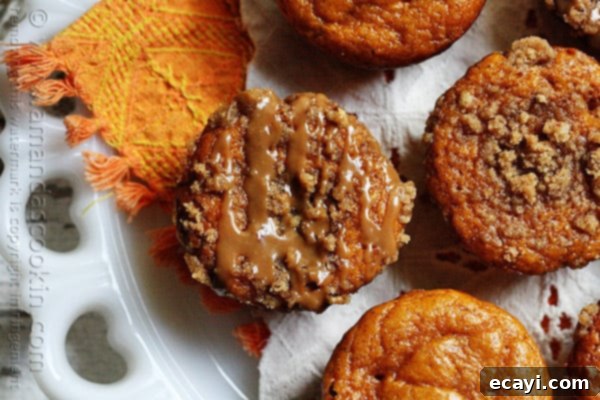
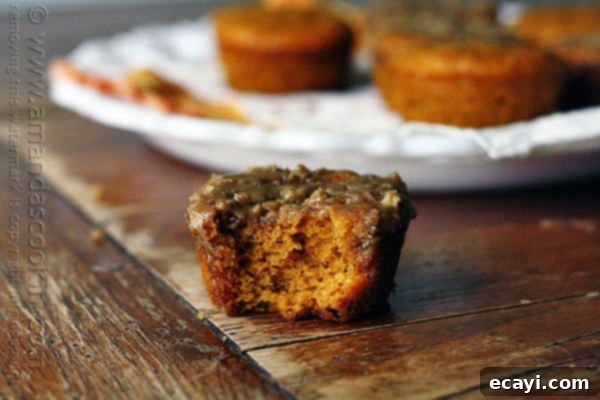
The results were simply outstanding. These pumpkin mini cakes turned out incredibly moist and wonderfully tender, a testament to the magic of using Greek yogurt in baking. The texture was light yet rich, with every bite dissolving in your mouth. They were such a hit that they started disappearing from the plate almost as quickly as I could bake them! Every single person in my household absolutely adored them, unanimously declaring them a definite winner. While the pumpkin spice base is fantastic, my absolute favorite element of these mini cakes has to be the subtle, yet perfectly sweet maple glaze. It adds an extra layer of decadence that truly elevates the entire experience, creating a harmonious blend of flavors that is impossible to resist. These are not just mini cakes; they are a celebration of autumn flavors in every bite.
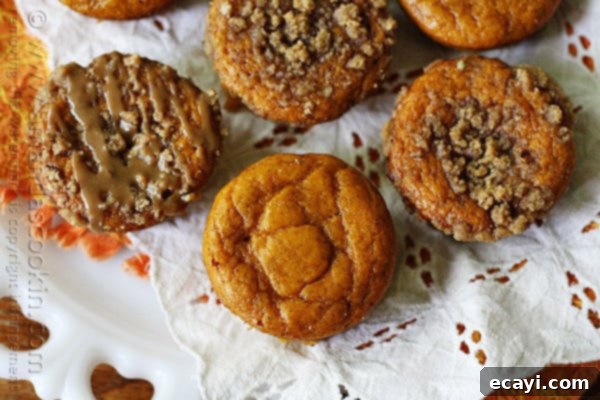
One of the best things about this recipe is its adaptability. I intentionally designed it so you can customize these mini cakes to suit your preference or occasion. You can opt for a “naked” mini cake, skipping both the streusel and the glaze for a simpler, slightly lighter option, which is perfect if you’re mindful of extra calories or just prefer a straightforward cake. Alternatively, you can go for the middle ground and simply adorn them with the crunchy, spiced streusel topping – a fantastic choice that adds texture and an extra layer of cinnamon goodness without being overly sweet. Or, if you’re like me and believe in going all out for maximum deliciousness, you can drizzle that irresistible maple glaze generously over the streusel-topped mini cakes. No matter which way you choose to make them, whether plain, streusel-kissed, or fully glazed, I can guarantee they will be absolutely delicious and a true crowd-pleaser.
Baking is an art, but it’s also incredibly rewarding, especially when the end result is as delightful as these pumpkin mini cakes. I truly hope you are inspired to give this recipe a try and experience the joy of these moist, flavorful treats for yourself. They are perfect for holiday gatherings, a cozy afternoon tea, or simply a sweet indulgence any day of the week. If you do decide to whip up a batch, please make sure to let me know how they turn out! I love hearing about your baking adventures and seeing your creations.
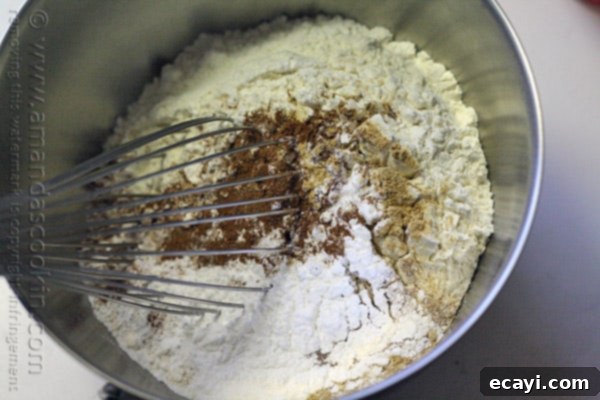
To begin, we’ll prepare our dry ingredients. In a large mixing bowl, combine the unbleached all-purpose flour, baking powder, baking soda, salt, ground cinnamon, ground ginger, and nutmeg. Whisk these together thoroughly to ensure all the leavening agents and spices are evenly distributed. This step is crucial for consistent rising and flavor throughout your mini cakes. Once combined, set this mixture aside, ready for incorporation into the wet ingredients.
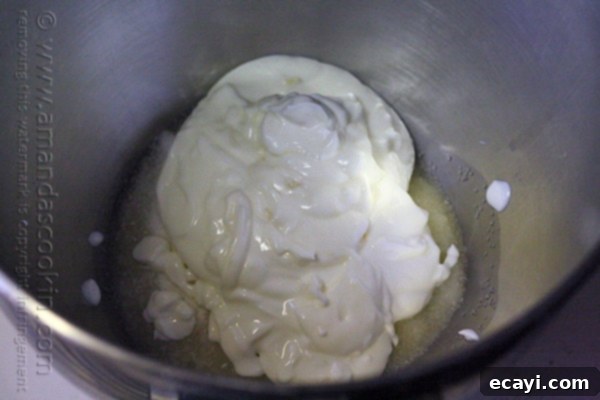
Next, in the bowl of a stand mixer (or a large bowl if using a hand mixer), combine the Truvia sweetener (or granulated sugar, depending on your preference), the Yoplait Greek yogurt, and the canola oil. Beat these ingredients together on medium speed until they are well incorporated and creamy. This mixture forms the moist base of our mini cakes. Following this, add your eggs one at a time, ensuring each egg is fully beaten into the mixture before adding the next. This method helps to create a smooth, emulsified batter and adds air for a lighter texture.
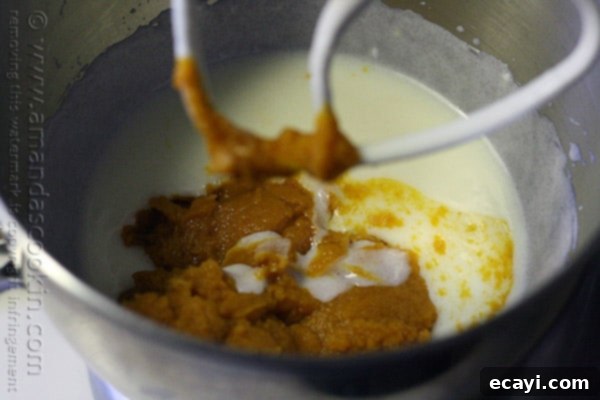
Once the eggs are fully incorporated, it’s time to introduce the star flavor: pumpkin! Carefully add the entire can of pumpkin puree to the wet mixture. Begin mixing slowly to prevent any splashing and to ensure the pumpkin is gradually incorporated into the creamy yogurt and egg base. Take your time with this step, ensuring an even distribution of the rich pumpkin flavor throughout the batter.
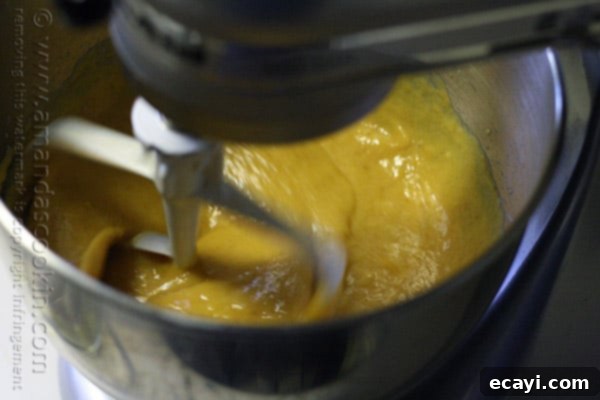
After slowly adding the pumpkin, give the entire mixture a quick whir on medium speed. This brief burst of mixing will ensure that the pumpkin is thoroughly combined with the wet ingredients, creating a smooth and uniform batter. Be mindful not to overmix, as too much agitation can lead to a tougher cake texture. Just enough to bring everything together beautifully is all you need at this stage.
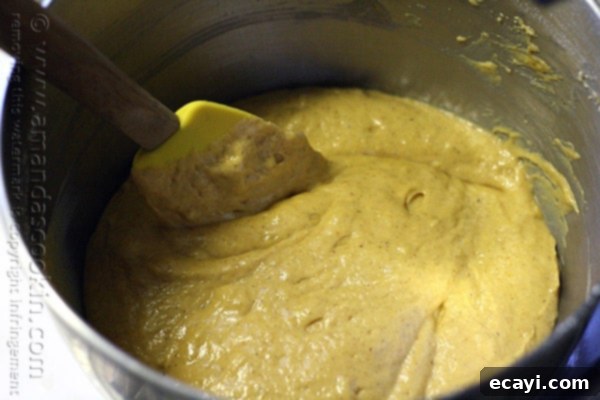
With the wet ingredients beautifully combined, turn off your mixer. Now, grab a rubber spatula and scrape down the sides of the bowl thoroughly, ensuring no bits of unmixed batter or ingredients are clinging to the edges. Also, check the bottom of the bowl for any hidden pockets. Since we’ve used oil and Greek yogurt instead of solid butter, there’s a low chance of anything sticking, but it’s always good practice for consistency. Finally, add your reserved flour mixture to the wet ingredients and mix on low speed just until no traces of dry flour remain. Stop mixing as soon as the flour disappears to avoid overdeveloping the gluten, which can make your mini cakes tough.
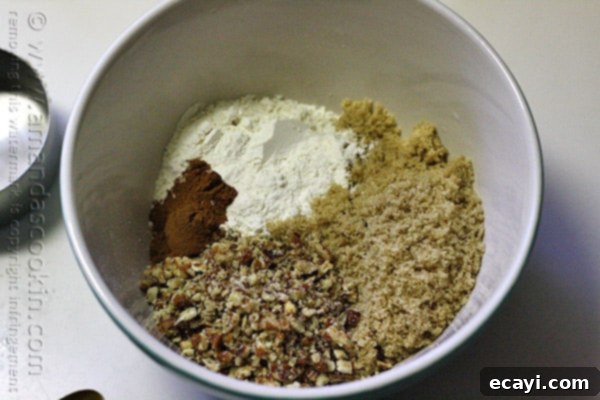
Now for the irresistible streusel topping! In a separate medium bowl, quickly combine all the dry streusel ingredients: the finely chopped pecans, packed brown sugar, unbleached all-purpose flour, and ground cinnamon. Mix these thoroughly with a fork or your fingers until they are well combined. This aromatic blend will create a delightful crunch and an extra layer of spice on top of your pumpkin mini cakes.
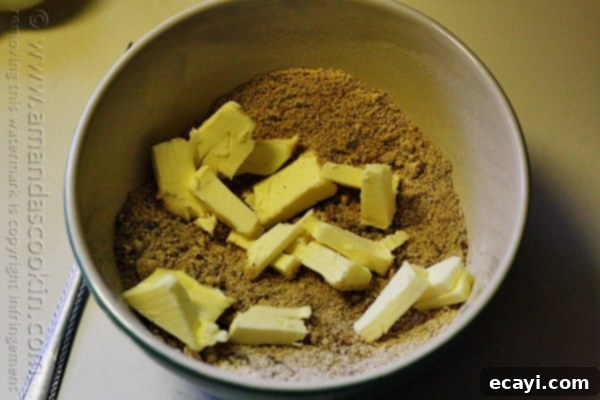
Once your dry streusel ingredients are mixed, add the cold, cut-up butter pieces directly into the bowl. The key here is to use softened but not warm butter, cut into small pieces, which will allow you to work it into the dry mixture without melting it entirely. Using your fingertips, gently rub the butter into the dry ingredients. Continue this process until the mixture begins to resemble coarse crumbs and starts to clump together. The goal is a crumbly texture, not a solid dough, for that perfect streusel effect.
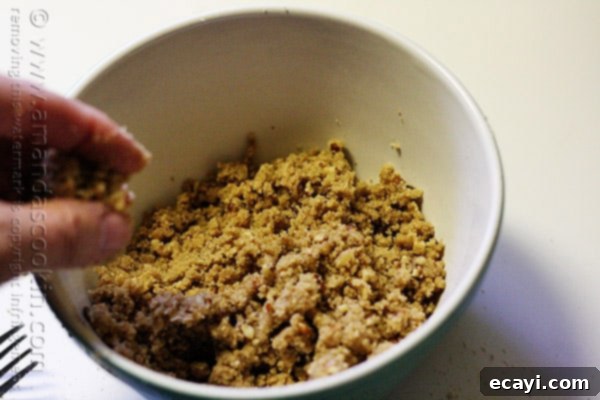
The streusel mixture should now have a wonderfully crumbly texture. When you press a small amount between your fingers, it should stick together, but it shouldn’t form a large, cohesive ball of butter. If it feels too wet, you can add a tiny bit more flour; if too dry, a few drops of melted butter might help, but typically the measurements are quite precise. This perfect consistency ensures that your streusel bakes up golden brown and crunchy, providing that delightful contrast to the soft, moist pumpkin mini cake beneath.
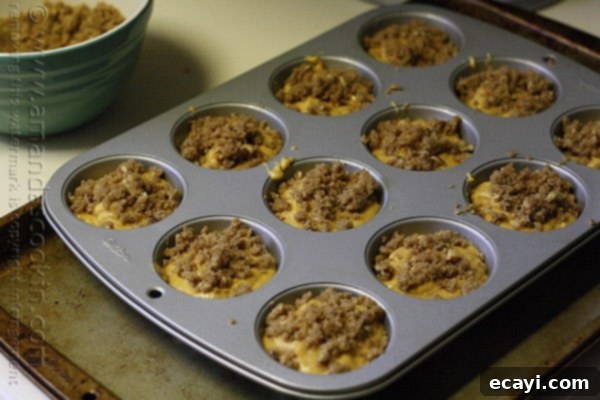
Now for assembly! Divide the prepared pumpkin batter evenly among 24 muffin cups, filling each approximately two-thirds full. This allows ample space for the mini cakes to rise beautifully without overflowing. Once the batter is in place, generously sprinkle the streusel topping over each one. The amount is up to your preference, but a good tablespoon or so per cake creates a wonderful crust. With your muffin tins filled and topped, they are now ready for the oven. Bake them until golden brown and a toothpick inserted into the center comes out clean, indicating they are perfectly cooked through.
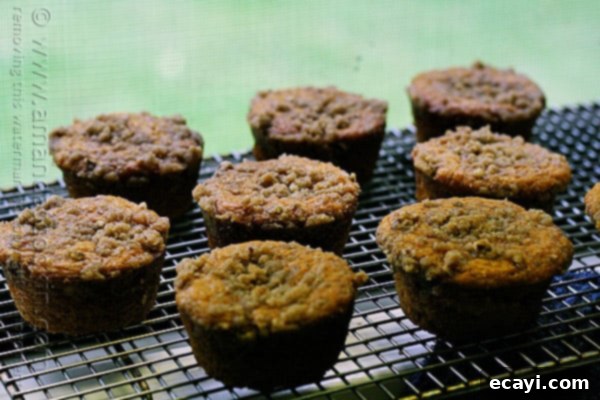
Once your beautiful pumpkin mini cakes emerge from the oven, resist the urge to immediately remove them! Allow them to cool in the muffin pan for about 15 minutes. This crucial resting period allows the cakes to set properly and prevents them from crumbling when handled. After 15 minutes, they will be firm enough to transfer gently to a wire cooling rack, where they can cool completely. This ensures their structure remains intact and prepares them for an optional drizzle of maple glaze, allowing the glaze to set beautifully without melting.
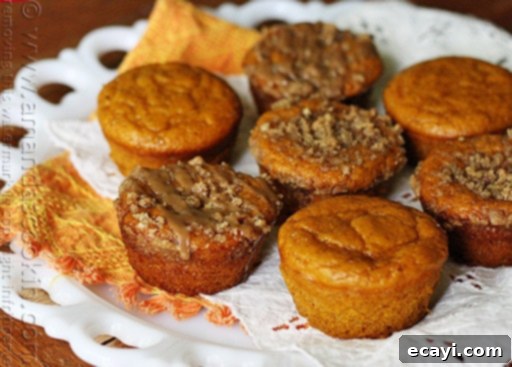
There you have it! Don’t they look absolutely perfect, with that golden-brown streusel beckoning? Yum! My love for baked goods with pumpkin is undeniable, and these mini cakes are a fantastic addition to my autumn repertoire. The warm spices and comforting pumpkin flavor just evoke the feeling of fall. Some of my other cherished pumpkin recipes include these delightful White Chocolate Pumpkin Cake, the incredibly cozy Cranberry Pumpkin Coffee Cake, and these wonderfully textured Pumpkin Cranberry Muffins with White Chocolate Chunks. And of course, no Thanksgiving celebration in my home would be complete without making this classic Perfect Pumpkin Pie recipe. Do you have a favorite pumpkin recipe that you look forward to making every fall?
I was compensated for the recipe development and work involved in creating this post. I was not paid for my opinion and those stated are 100% genuine.
Pumpkin Mini Cakes with Cinnamon Streusel Topping
IMPORTANT – There are often Frequently Asked Questions within the blog post that you may find helpful. Simply scroll back up to read them!
Print It
Pin It
Rate It
Save ItSaved!
Ingredients
- 2 cups unbleached all purpose flour
- 3 teaspoons baking powder
- 2 teaspoons baking soda
- ¼ teaspoon salt
- 1 teaspoon ground cinnamon
- ½ teaspoon ground ginger
- ½ teaspoon nutmeg
- 1 cup Truvia sweetener or 2 cups granulated sugar
- ¾ cup Yoplait Greek Yogurt vanilla or coconut
- ¼ cup canola oil
- 4 eggs
- 15- oz can pumpkin puree
Streusel Topping
- ¼ cup finely chopped pecans
- ½ cup packed brown sugar
- ¼ cup unbleached all purpose flour
- ½ teaspoon ground cinnamon
- 3 tablespoons butter softened (but not warm), cut into pieces
Maple Glaze
- Heaping 1/2 cup powdered sugar sifted
- ½ teaspoon Mapleine
- 1-2 tablespoons milk
Instructions
-
Preheat oven to 350 F. Spray with cooking spray or line with paper liners 2 12-cup muffin tins.
-
Whisk together flour, baking powder, baking soda, salt, cinnamon, ginger and nutmeg. Set aside.
-
In mixer at medium speed, beat together the Truvia, Yoplait Greek yogurt and the canola oil. Add eggs, one at a time, beating well after each addition. Beat in the pumpkin until mixture is well combined. Turn off mixer and scrape down sides of bowl and stir everything together.
-
Add the flour mixture all at once and turn mixture on low. Slowly beat until almost no traces appear, then turn up to medium to mix it all together, but no more than 30 seconds. Overbeating the batter can cause your cupcakes to sink in the middle!
-
Fill muffin tin cups about 2/3 full.
Make the Streusel
-
Combine all streusel ingredients except for the butter and mix well. Add butter pieces and work together with your fingers until mixture just starts to clump together.
-
Sprinkle streusel topping over batter in pans (about 1/2 tablespoon for each cupcake).
-
Bake in preheated oven for 22-24 minutes. Remove from oven and allow cupcakes to cool in pan for 15 minutes. Remove from pan and cool completely on wire racks.
For the Glaze
-
Add the Mapleine and 1 tablespoon of the milk to the powdered sugar. Mix together completely and add drops of additional milk until you reach the desired drizzling consistency.
The recipes on this blog are tested with a conventional gas oven and gas stovetop. It’s important to note that some ovens, especially as they age, can cook and bake inconsistently. Using an inexpensive oven thermometer can assure you that your oven is truly heating to the proper temperature. If you use a toaster oven or countertop oven, please keep in mind that they may not distribute heat the same as a conventional full sized oven and you may need to adjust your cooking/baking times. In the case of recipes made with a pressure cooker, air fryer, slow cooker, or other appliance, a link to the appliances we use is listed within each respective recipe. For baking recipes where measurements are given by weight, please note that results may not be the same if cups are used instead, and we can’t guarantee success with that method.
