The Best Homemade Gnocchi Recipe: How to Make Light and Pillowy Potato Pasta from Scratch
Embarking on the journey to create classic Italian gnocchi from scratch is an incredibly rewarding experience. Once you master the art of these plump, delicate potato dumplings, you’ll discover a culinary delight so superior to store-bought versions that you’ll never look back. This comprehensive guide will walk you through every step, ensuring your homemade gnocchi are consistently light, airy, and utterly delicious.
This post contains affiliate links. Full disclosure is at the bottom of the article.
My passion for cooking has often led me to seek out authentic culinary experiences, and a two-week trip to Italy was certainly no exception. While navigating the lively streets of Rome, participating in Project Food Blog presented a unique challenge: to create a dish away from home, with limited kitchen access for a significant portion of my journey. Despite the constraints of a minuscule Trastevere apartment kitchen, my culinary curiosity was piqued by the ubiquitous presence of gnocchi as a primi piatti (first course) in countless Roman restaurants. It was then that I made a definitive decision: I would master making gnocchi from scratch.
The beauty of gnocchi lies in its humble origins and simple ingredient list. These delightful potato dumplings require just a few basic components: starchy potatoes, all-purpose flour, fresh eggs, a drizzle of olive oil, and a pinch of salt. What’s even better is that you don’t need any specialized equipment to achieve fantastic results. You can easily produce a large batch of homemade gnocchi for just a few dollars, rolling them out on almost any clean surface – a fact I discovered firsthand when I prepared a batch right on my apartment’s wooden bedside table! This accessibility makes gnocchi a perfect project for any home cook, regardless of kitchen size or fancy gadgets.
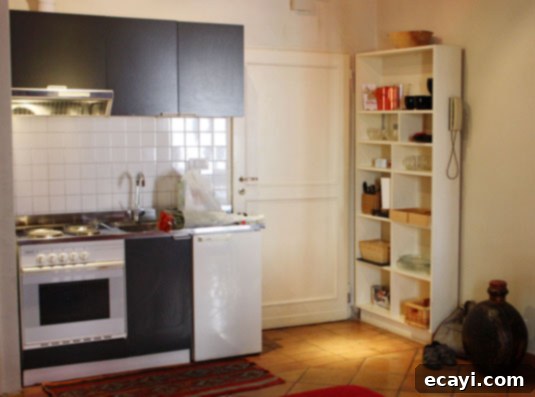
My charmingly compact kitchen in Rome (minus the bedside table where the real magic happened).
While the process of making homemade gnocchi is straightforward, it’s also surprisingly easy to make common mistakes that can lead to less-than-ideal results. The delicate balance of ingredients and technique is crucial. For instance, too much moisture in your potato mixture will lead to gummy, heavy gnocchi that lack that desirable tenderness. Conversely, overcompensating with too much flour will yield dense, tough dumplings that feel heavy on the palate and in the stomach. The ultimate goal, and the true mark of success, is to achieve homemade gnocchi that are light, plump, and melt-in-your-mouth tender.
One of the many joys of gnocchi is their versatility when it comes to serving. They pair wonderfully with a vast array of sauces, from the simplest fresh tomato or basil pesto to a rich, slowly simmered meat ragù. For a comforting meal, consider baking them au gratin, enveloped in a creamy, cheesy white sauce and broiled until golden and bubbling. Don’t be afraid to use your imagination! The satisfaction of having crafted these delicious bites yourself means you’ll find them incredibly satisfying, no matter how you choose to serve them. Whether tossed with a vibrant vegetable sauce, a luxurious cream sauce, or just a simple drizzle of good olive oil and Parmesan, your homemade gnocchi will be a testament to your culinary prowess.
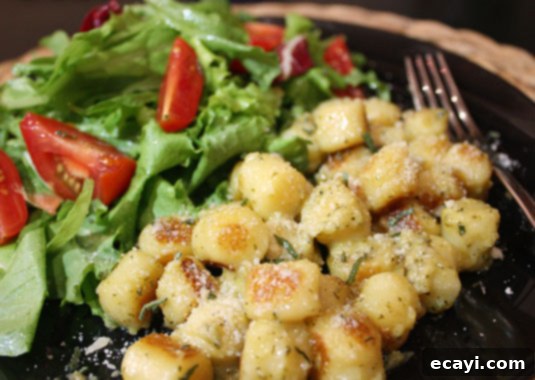
My Roman-style gnocchi presentation: lightly sautéed in butter and olive oil, tossed with vibrant pesto, and generously sprinkled with freshly grated Parmigiano-Reggiano, perfectly complemented by a crisp, fresh-from-the-market side salad.
My success in preparing a delicious and authentic Italian dinner under such modest conditions proved that making gnocchi from scratch is truly achievable for anyone. If I could do it with a makeshift kitchen and limited tools, you can certainly create these culinary masterpieces in your own home with ease! What follows is a detailed, step-by-step walkthrough to guide you through the process of making perfect, light, and pillowy homemade gnocchi every single time.
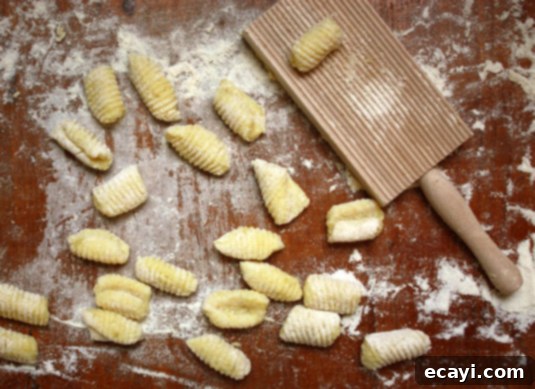
How to Make Classic Gnocchi from Scratch
{JUMP TO PRINTABLE RECIPE}
Based on Aglio, Olio e Peperoncino’s tried-and-true family recipe.
Makes enough for 6 to 8 servings.
Ingredients for Light and Fluffy Gnocchi
- 1 kg (2.2 lbs) russet potatoes (about 5 large), unpeeled (Russet potatoes are ideal for gnocchi due to their high starch content and low moisture, which yields a lighter dough.)
- 300 g (1 ½ cups) all-purpose flour (You may need slightly more or less depending on the moisture content of your potatoes and humidity.)
- 2 large egg yolks (Egg yolks add richness and help bind the dough without adding too much moisture.)
- 1 tablespoon extra-virgin olive oil (For flavor and a tender crumb.)
- Salt (To taste, and for seasoning the cooking water.)
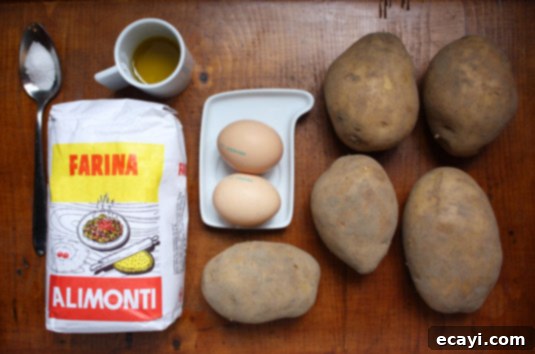
Step 1: Properly Cook the Potatoes to Form the Gnocchi Dough Base
The first crucial step to creating perfect gnocchi is preparing your potatoes correctly. Begin by washing your russet potatoes thoroughly, but **do not peel them**. Boiling potatoes with their skins on acts as a natural barrier, significantly reducing the amount of water that penetrates the potatoes as they cook. This is incredibly important because excess water is the primary downfall of gnocchi, leading to a gummy and heavy texture. For this reason, it’s also vital to adhere to accurate cooking times and avoid piercing the potatoes during cooking, as this creates entry points for water.
Bring a large pot of salted water to a boil. Small potatoes will typically take 10–15 minutes to boil until tender; medium potatoes 20–25 minutes; and large potatoes 35–45 minutes. To ensure they are cooked through but not waterlogged, **if you’re unsure about your cooking time, boil one extra potato** that you can test for doneness. Once tender, drain them immediately.
Cooked and peeled potatoes, perfectly prepped for mashing.
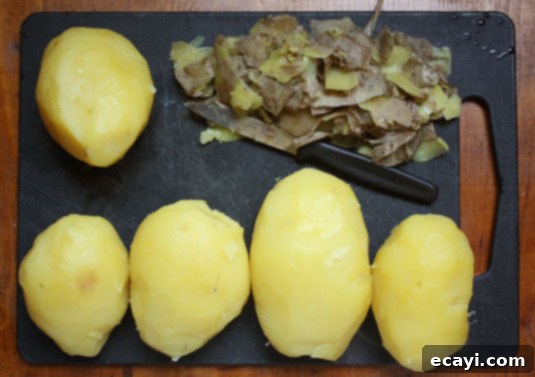
Step 2: Mash the Potatoes for a Smooth Gnocchi Dough
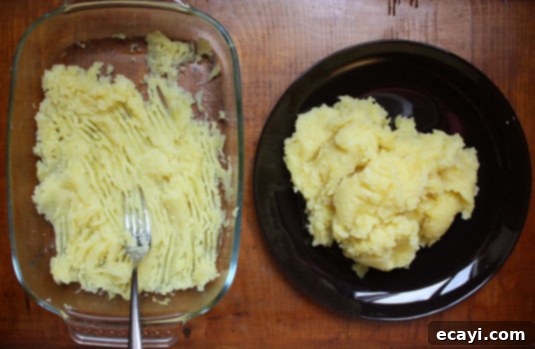
Once your potatoes are cooked and drained, allow them to cool slightly until they are comfortable enough to handle. Immediately peel the potatoes – while still warm, but not burning hot – and transfer them to a large bowl. The most effective tool for this step is a **potato ricer**. A ricer presses the potatoes into fine, fluffy strands, guaranteeing a smooth, lump-free puree, which is essential for light gnocchi. If you don’t have a ricer, you can use a sturdy fork or a traditional potato masher, but you’ll need to pay extra attention to ensure you eliminate as many lumps as possible for a consistent texture.
After mashing, spread the potatoes slightly in the bowl and let them cool completely to room temperature. This cooling step is critical: working with hot potatoes can cause the flour to absorb too much moisture, making the gnocchi gummy, and it also makes the dough much harder to handle without overworking it.
Carefully mashing potatoes with a fork, aiming for a perfectly smooth, lump-free texture.
Step 3: Prepare the Delicate Gnocchi Dough
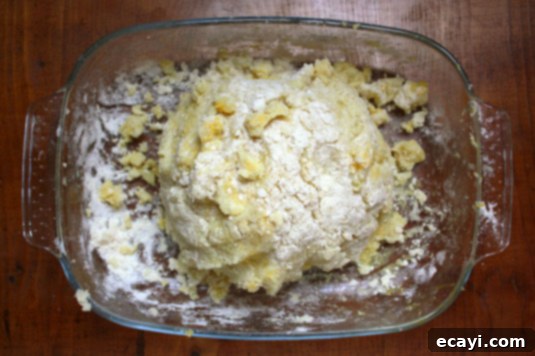
Once your mashed potatoes are at room temperature, it’s time to bring the dough together. In a small bowl, whisk your all-purpose flour and salt together. In the large bowl with the mashed potatoes, add the egg yolks and olive oil, mixing gently until just combined. Next, sprinkle the flour mixture evenly over the potato mixture. Using your hands or a fork, mix gently until the flour is moistened and the dough begins to look crumbly. The key here is not to overmix.
Gently mixing the ingredients together until the flour is moistened and the dough takes on a crumbly appearance.
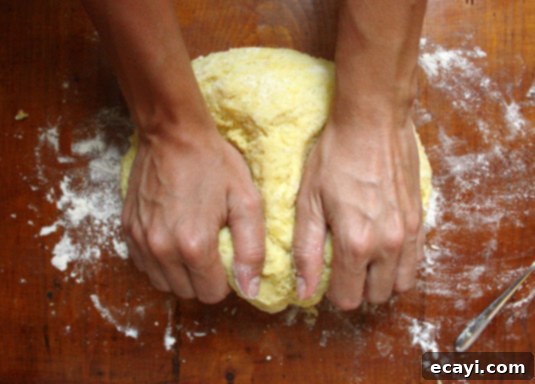
Lightly flour a clean work surface. Transfer the crumbly dough onto the prepared surface. Now, you’ll knead it, but this must be done very gently and minimally. Use your hands to press on the dough, fold it in half, give it a quarter turn, and press again. You should do this for only about 1 minute, or just until the ingredients come together and the dough feels soft and smooth. **Over-kneading is another significant gnocchi downfall.** Kneading too much develops the gluten in the flour, resulting in tough, rubbery gnocchi instead of the desired light and tender texture.
Gently kneading the gnocchi dough with both hands for approximately 1 minute, ensuring a soft, smooth consistency.
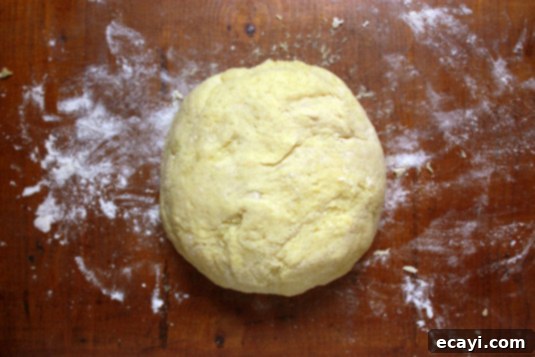
After this brief kneading, your dough should feel soft, pliable, and smooth, with a very slight tackiness. If it sticks excessively to your work surface, sprinkle a tiny bit more flour, but remember that minimizing the amount of added flour is key to preventing your gnocchi from becoming heavy and dense. Once the dough reaches this ideal consistency, gather it into a ball, place it back into a bowl, and cover it with a clean kitchen towel to keep it from drying out while you prepare your work surface for shaping.
Perfectly kneaded gnocchi dough, resting under a clean towel, ready to be rolled into individual bites.
Step 4: Roll and Cut the Gnocchi Dough into Perfect Bites
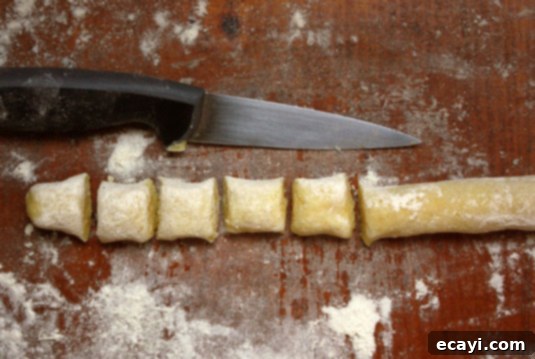
Clean your work surface thoroughly, dry it, and lightly dust it with flour. Take a lemon-sized piece of the gnocchi dough and gently roll it between your palms and the work surface to form a rope, approximately 3/4 inch (2 cm) in diameter. The trick is to apply even, gentle pressure to create a uniform rope without compressing the dough too much. Using a sharp knife or a bench scraper, cut the rope into small, square bites, each about 3/4 inch long.
Gnocchi dough expertly rolled into ropes and precisely cut into uniform square bites.
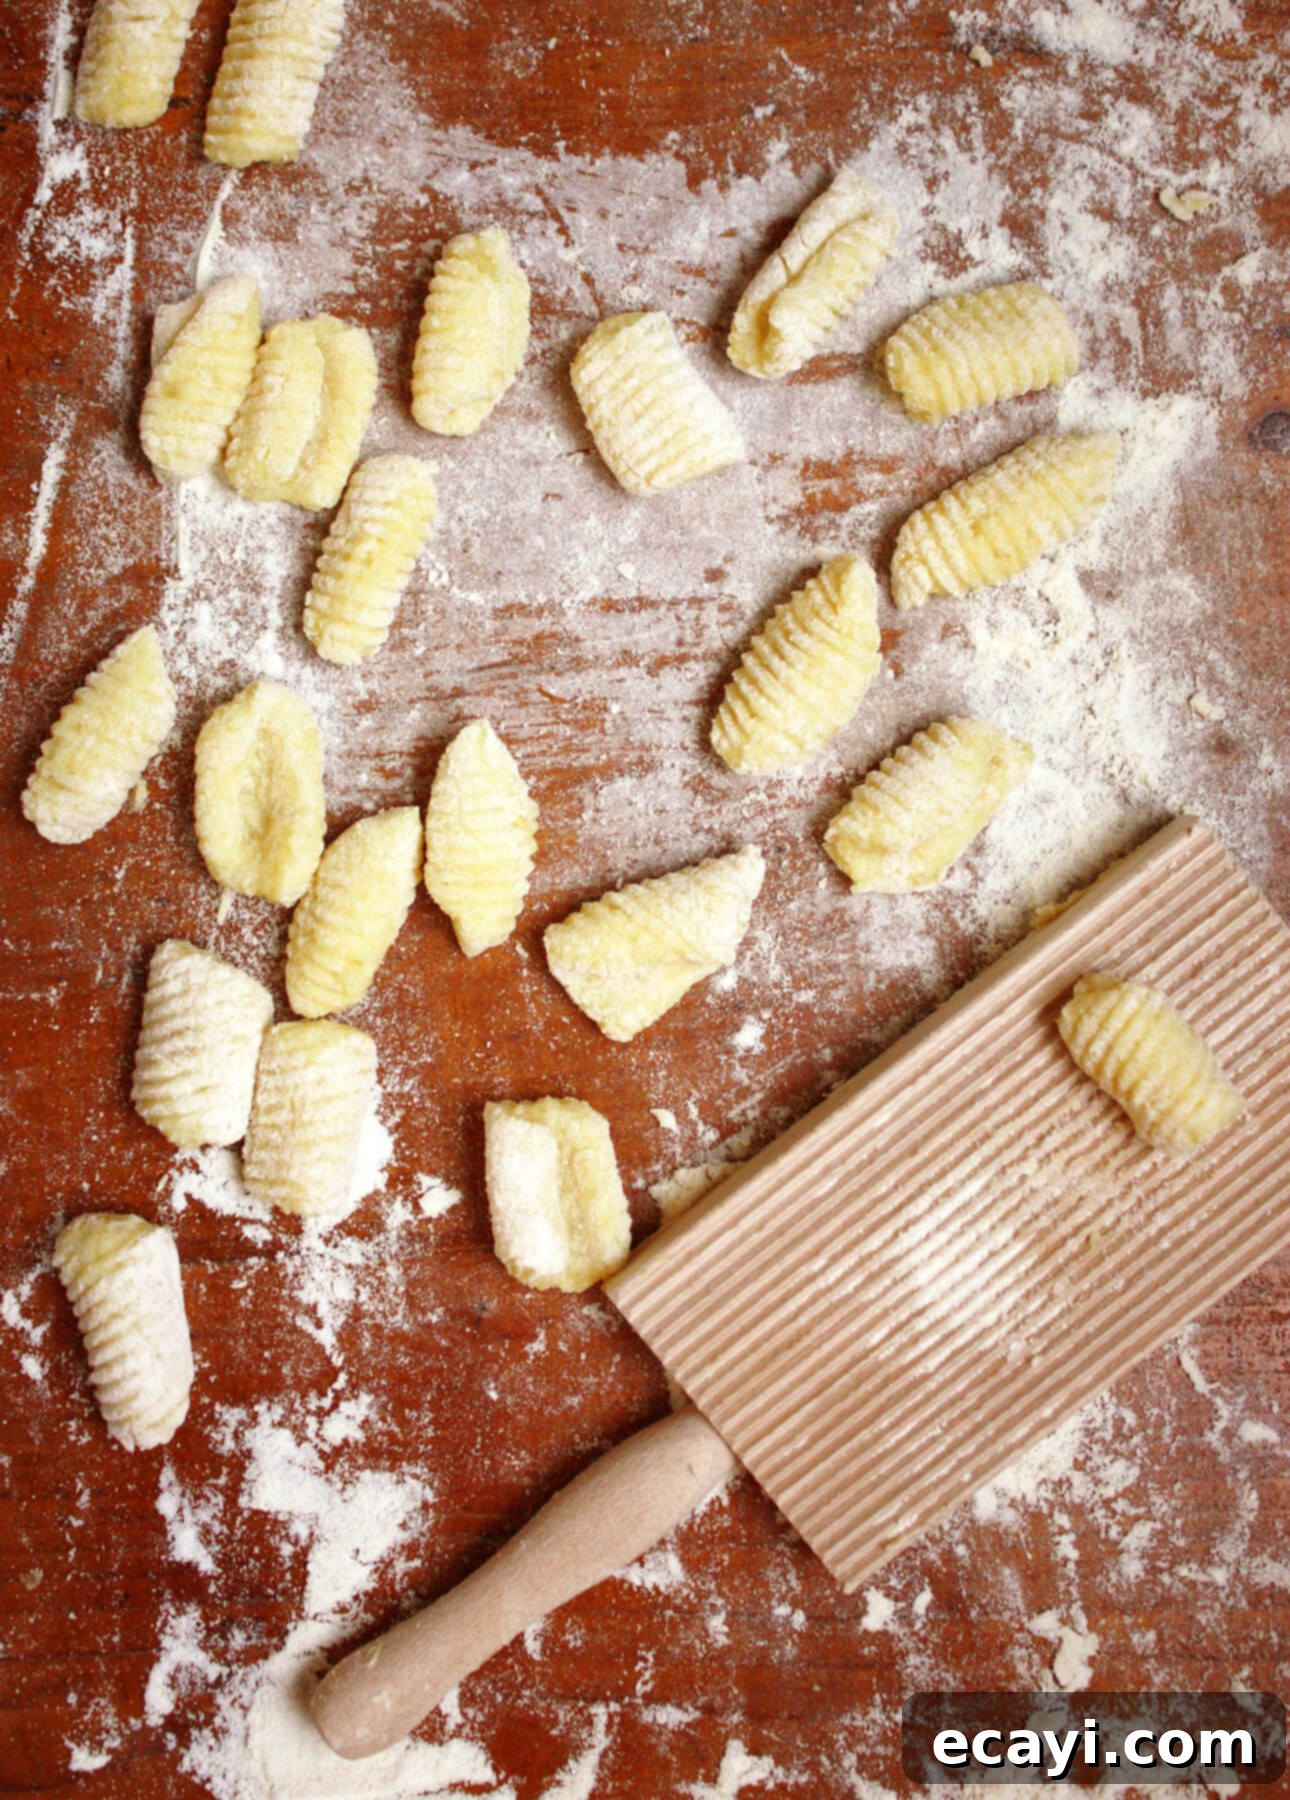
Now, you have an exciting choice to make: you can either leave your gnocchi plain, resembling miniature pillows, or indent them to create ridges using a gnocchi board or the back of a fork. Both methods yield delicious results, but offer slightly different textures and functionalities.
Leaving them plain is an excellent option when you plan to pan-fry your gnocchi in butter or serve them with a simple, luxurious brown butter sauce (like this sage butter recipe). The plain surface allows for a delightful golden crust when seared, offering a wonderful crunchy texture that contrasts beautifully with the creamy interior.
Plain, pillow-looking gnocchi, ready for a buttery pan-fry.
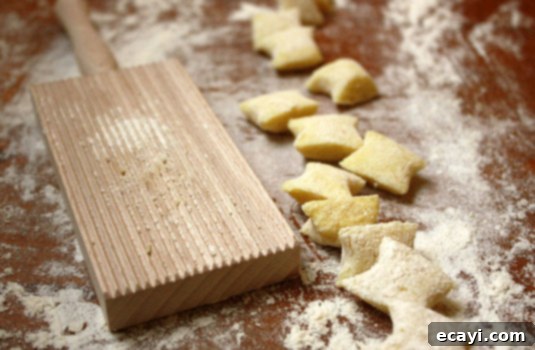
Indenting gnocchi is typically preferred when you intend to serve them with a sauce. The distinctive grooves created by the rolling action act as tiny pockets, allowing the sauce to cling better to the gnocchi, ensuring every bite is flavorful.
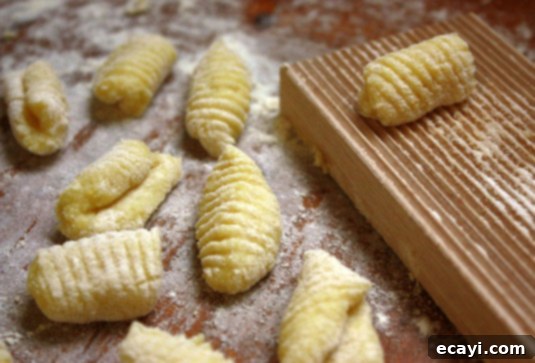
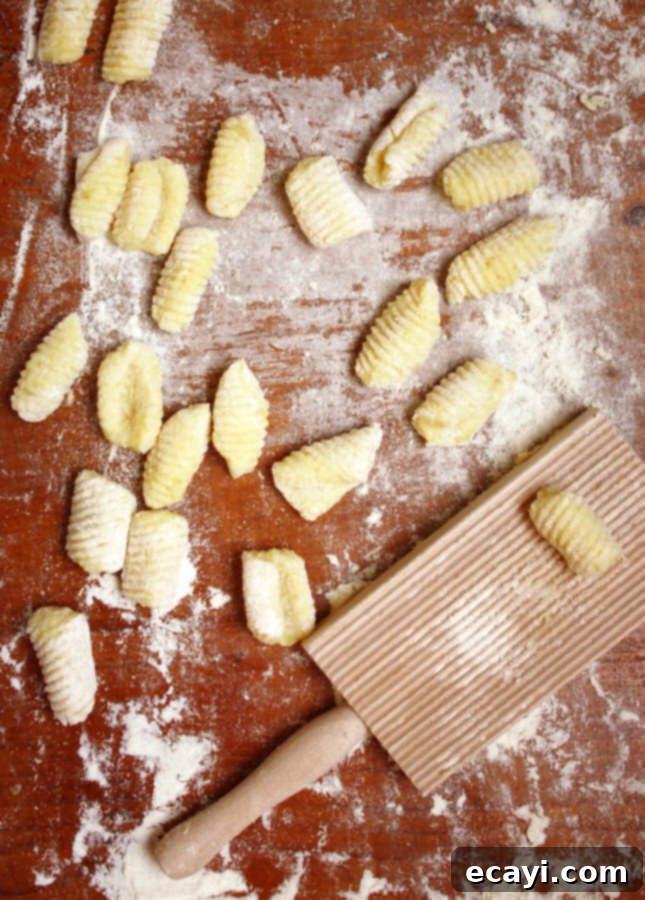
To indent gnocchi, you can use either a specialized gnocchi board or the tines of a simple fork. Pick up one square piece of dough, place your thumb gently on it, and roll it down the ribbed surface of the gnocchi board or the back of the fork, creating a concave shape with ridges on one side. Repeat this process for all the gnocchi. As you shape them, transfer the finished gnocchi to a parchment paper-lined baking sheet in a single layer, ensuring they don’t touch each other to prevent sticking. **Homemade gnocchi are best cooked within 2–3 hours of being made,** so keep them at room temperature until you’re ready to boil them.
Watch this 30-second video to see how to roll gnocchi using either a gnocchi board or the back of a fork:
When this video was filmed, my dough was a day old, making it firmer than usual. Freshly made dough requires just a soft, gentle press to achieve perfect indentations.
A side-by-side comparison of two distinct gnocchi styles: those expertly rolled on a special board, and those beautifully ridged with a simple fork.
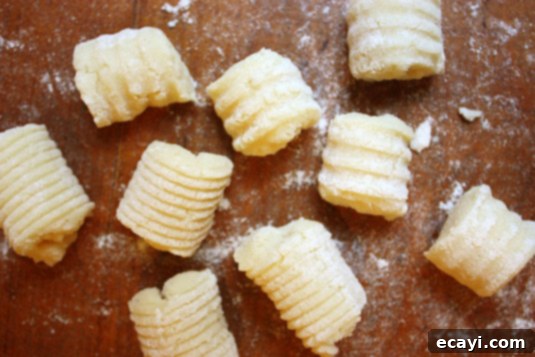
For convenience, you can prepare gnocchi ahead of time. **To freeze:** arrange the shaped gnocchi on the parchment paper-lined baking sheets and place them directly into the freezer. Once they are frozen solid (this prevents them from sticking together), transfer the hard gnocchi to freezer bags in convenient portion sizes. They will keep well in the freezer for up to two months. Cook from frozen, adding a minute or two to the boiling time.
Step 5: Perfectly Cook the Homemade Gnocchi
Bringing your homemade gnocchi to perfection requires careful attention during the cooking process. Fill a large pot with water and generously salt it – similar to how you would season pasta water. Bring it to a rolling boil. It’s crucial to cook gnocchi in batches to avoid overcrowding the pot, which would lower the water temperature and lead to uneven cooking. Drop about 12–15 gnocchi into the boiling water at once.
Keep a close eye on them; gnocchi cook incredibly quickly! They will sink to the bottom initially, then gracefully float back to the surface when they are ready. This usually takes **just about two minutes, so don’t turn your back on them!** As soon as they rise, use a slotted spoon to gently fish them out of the water. Transfer the cooked gnocchi to a bowl and cover it with plastic wrap or a clean lid to keep them warm while you cook the remaining batches. Repeat this process until all your glorious homemade gnocchi are perfectly cooked and ready to be sauced and served.
Pin Recipe
Classic Gnocchi from Scratch
Ingredients
- 2 lbs russet potatoes (about 5 large), unpeeled (high-starch potatoes are best for light gnocchi)
- 1 1/2 cups all-purpose flour (start with this amount, adjust as needed)
- 2 large egg yolks (adds richness and binds without excess moisture)
- 1 tbsp extra-virgin olive oil (for flavor and tenderness)
- 1 tsp kosher salt, or fine sea salt (plus more for cooking water)
Instructions
Step 1: Cook Potatoes for the Gnocchi Dough
-
Wash the potatoes thoroughly, leaving the skins on. Boiling potatoes with the peel prevents them from absorbing excessive water, which is crucial for light gnocchi.
-
Bring a large pot of generously salted water to a rolling boil. Carefully add the potatoes. It’s important to **use an exact cooking time and avoid piercing the potatoes** during cooking, as this can allow water to seep into the flesh.
-
Cook times vary by size: small potatoes take 10–15 minutes; medium 20–25 minutes; large 35–45 minutes. **If you’re unsure, boil one extra potato** to test for doneness – it should be easily pierced with a fork. Drain immediately when cooked.
Step 2: Mash Potatoes for a Smooth Dough
-
Once the potatoes are cooked, drain them well and let them cool just enough so you can handle them comfortably.
-
Peel the warm potatoes and transfer them to a large bowl. Mash them using a potato ricer for the smoothest, fluffiest puree. If using a potato masher or fork, ensure all lumps are thoroughly eliminated.
-
Allow the mashed potatoes to cool completely to room temperature before proceeding. This prevents the dough from becoming sticky and requiring too much flour.
Step 3: Prepare the Gnocchi Dough
-
Add the egg yolks and olive oil to the cooled mashed potatoes and mix gently until just combined. In a separate small bowl, whisk the flour and salt together. Sprinkle this flour mixture over the potato mixture and mix carefully until the flour is just moistened and the dough appears crumbly.
-
Lightly flour a clean work surface. Transfer the crumbly dough onto the surface. Knead it very gently: press with your hands, fold it in half, turn it a quarter, and press again. **Do not over-knead the gnocchi dough;** knead for only about 1 minute, just until the dough comes together and feels soft and smooth. Over-kneading develops gluten, leading to tough gnocchi.
-
If the dough is too sticky, sprinkle a minimal amount more flour. Remember, the less flour, the lighter your gnocchi will be.
-
Once the gnocchi dough is ready, form it into a ball, place it in a bowl, and cover it with a clean kitchen towel to keep it from drying out.
Step 4: Roll and Cut the Gnocchi into Bites
-
Clean and dry your work surface thoroughly, then dust it lightly with flour. Tear off a lemon-sized piece of dough and roll it into a rope approximately 3/4 inch (2 cm) in diameter, applying gentle, even pressure. Use a knife or bench scraper to cut the rope into square bites of roughly the same size.
-
**You now have two options for shaping:** you can either leave the gnocchi plain, resembling small pillows, or indent them for better sauce adherence using a gnocchi board or a fork.
-
**Leaving homemade gnocchi plain** is perfect if you plan to pan-fry them in butter or serve them simply tossed in a brown butter sauce, which will create a delicious crispy exterior.
-
**Indenting gnocchi** is ideal for serving with any type of sauce, as the grooves efficiently capture and hold the sauce, ensuring maximum flavor in every bite.
-
**To indent gnocchi:** Pick up one square piece of dough. Using your thumb, gently roll it down the grooves of a gnocchi board or the back of a fork to create ridges. Repeat for all gnocchi. As you shape, transfer them to a parchment paper-lined baking sheet in a single layer, ensuring they don’t touch. **Homemade gnocchi are best cooked within 2–3 hours of being made.** Keep them at room temperature until ready to cook.
-
**FREEZING TIPS:** To freeze gnocchi, arrange them in a single layer on the baking sheet and place it directly into the freezer. Once the gnocchi are frozen solid, transfer them to freezer bags in desired portion sizes. They can be stored for up to two months. Cook directly from frozen, no need to thaw.
Step 5: Cook the Gnocchi to Perfection
-
Bring a large pot of generously salted water to a rolling boil. Drop 12 to 15 gnocchi into the water at once, ensuring not to overcrowd the pot. They will sink, then float back to the surface when fully cooked.
-
**Keep a close eye on your homemade gnocchi as they cook, as it only takes about 2 minutes!** As soon as they float, use a slotted spoon to quickly remove them. Transfer the cooked gnocchi to a bowl and cover with plastic wrap to keep them warm. Repeat until all gnocchi are cooked.
-
**SERVING SUGGESTIONS:** In a skillet set over medium heat, warm up your chosen sauce (marinara, pesto, brown butter sage, creamy mushroom, etc.). Add the freshly cooked gnocchi and toss gently to coat. Serve immediately, garnished with fresh herbs or grated Parmesan cheese.
-
**MAKE IT GLUTEN-FREE:** For a gluten-free option, substitute regular all-purpose flour with a high-quality gluten-free all-purpose flour blend.
-
Recipe Credit: Adapted from Eleonora Baldwin‘s tried-and-true family recipe.
Did you make this?
Tell me how you liked it! Leave a comment or take a picture and tag it with @foodnouveau on Instagram.
This site is a participant in the Amazon Associates Program, an affiliate advertising program designed to provide a means for the site to earn fees by linking to Amazon and affiliated sites.
If you click on an affiliate link, I may earn advertising or referral fees if you make a purchase through such links, at no extra cost to you. This helps me creating new content for the blog–so thank you! Learn more about advertising on this site by reading my Disclosure Policy.
