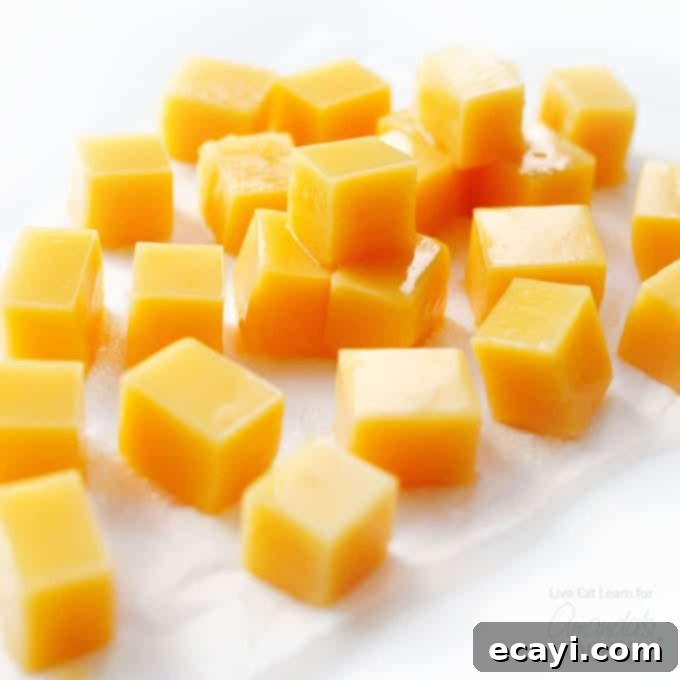
Easy Homemade Orange Creamsicle Gummies: A Refreshing & Simple Recipe
Craving a delightful, nostalgic treat that’s both sweet and light? Look no further than these incredible Orange Creamsicle Homemade Gummies! Imagine the classic taste of a creamy orange popsicle, transformed into a chewy, vibrant gummy. What makes this recipe truly special is its incredible simplicity. You won’t need any special equipment like candy thermometers, nor will you have to navigate complex, time-consuming steps. This is homemade candy at its finest – sweet enough to satisfy your cravings but with a lighter feel than many store-bought alternatives, offering a healthier snack option for everyone.
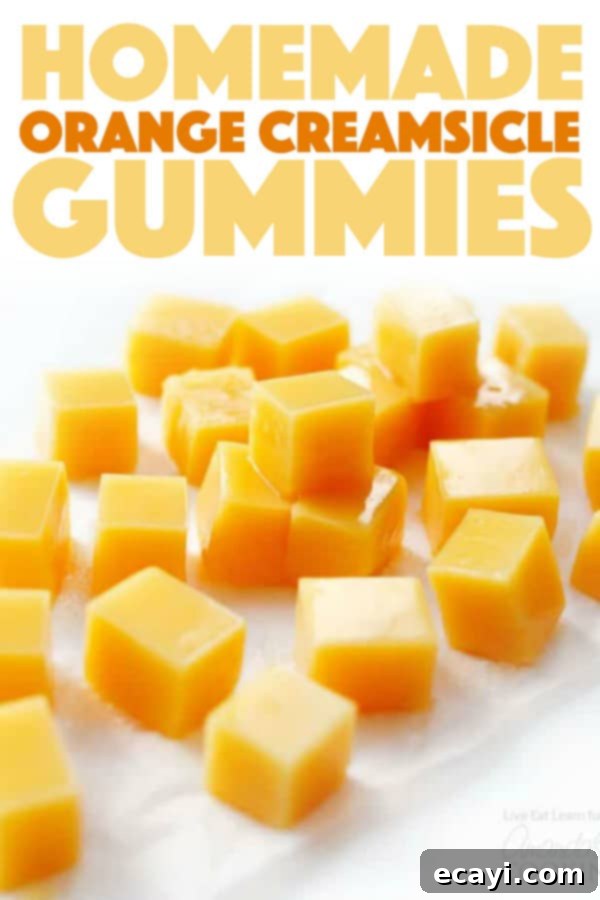
These homemade gummies are not just delicious; they’re also incredibly versatile. You can unleash your creativity by pouring the mixture into various fun gummy molds, from classic bears to intricate fruit shapes, making them perfect for parties or a special snack for kids. Alternatively, for a more straightforward approach, simply let the mixture set in a large rimmed pan and then easily cut it into charming little cubes. The process is genuinely straightforward, allowing you to enjoy this delightful treat with minimal effort and maximum satisfaction. Plus, making your own ensures you know exactly what ingredients go into every bite!
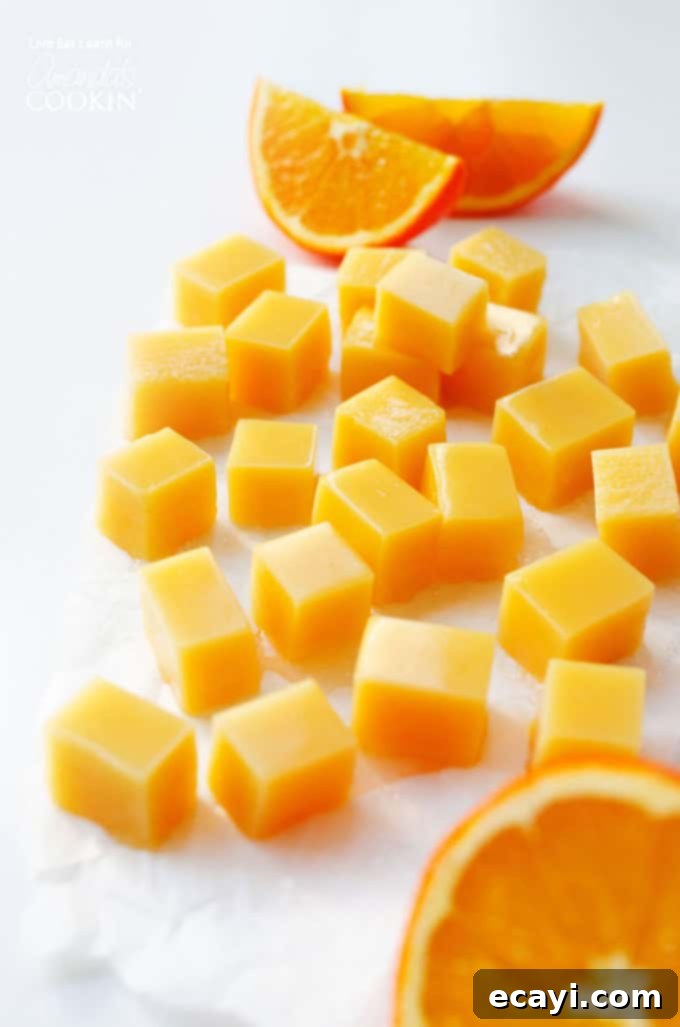
Discover the Joy of Homemade Orange Creamsicle Gummies
As we often look for ways to refresh our routines, especially after indulgent periods, focusing on homemade treats can be incredibly rewarding. Instead of drastic dietary overhauls, embracing the simple joy of creating your own snacks offers a balanced approach to healthier eating. This year, my focus has shifted towards incorporating more homemade versions of everyday items into the kitchen – from nutrient-rich vegetarian resets to wholesome vegetable stocks, and even diving back into the exciting world of kombucha brewing. And, of course, crafting delightful little treats like these Orange Creamsicle Homemade Gummies perfectly aligns with this philosophy, offering a delicious and easy way to enjoy a sweet treat.
The beauty of this particular recipe lies in its astonishing simplicity and short ingredient list. Requiring just five core ingredients, these gummies are a testament to how easy and accessible homemade sweets can be. Forget about complicated steps or a daunting array of kitchen gadgets; this recipe is designed for ease, ensuring even beginner cooks can achieve fantastic results. It’s a wonderful way to enjoy a sweet indulgence while having complete control over what goes into your food, making them a fantastic alternative to store-bought candies.
The process for making these irresistible orange creamsicle gummies is remarkably straightforward. You’ll begin by combining fresh orange juice for that tangy citrus kick, creamy coconut milk to achieve the classic creamsicle smoothness, a hint of vanilla extract for aromatic depth, natural maple syrup for balanced sweetness, and your chosen gelling agent – either gelatin for a traditional chew or agar-agar for a fantastic vegetarian and vegan-friendly option. Simply bring this delightful concoction to a gentle simmer on your stovetop, allowing the ingredients to meld beautifully. Once the mixture is ready, pour it into your chosen molds, whether that’s a large rimmed pan for easy cutting or charming gummy bear molds for fun shapes, and let them chill in the refrigerator until perfectly set. The result is a vibrant, flavorful, and wonderfully chewy treat that captures the essence of an orange creamsicle in every bite, perfect for any occasion.
Essential Ingredients for Your Homemade Gummies:
- 2 cups fresh orange juice (preferably not from concentrate for the best, most natural flavor)
- 1 cup low fat coconut milk (full-fat coconut milk can also be used for an even richer, creamier texture)
- 2 Tbsp pure maple syrup (adjust this amount based on your desired sweetness level and the natural sweetness of your orange juice)
- ½ tsp pure vanilla extract (this enhances the classic creamsicle flavor profile)
- 3 Tbsp unflavored gelatin (for traditional, chewy gummies) or agar agar powder (a fantastic plant-based alternative for vegetarian and vegan gummies)
Helpful Kitchen Tools for Gummy Making:
- Variety of Gummy molds (silicone molds are highly recommended for their non-stick properties and ease of gummy removal)
- Large rimmed baking sheet (an excellent alternative if you don’t have molds, or for making larger batches to cut into cubes)
- Medium saucepan (for smoothly combining and heating all your ingredients)
- Liquid measuring cup and measuring spoons (essential for accurate ingredient measurements)
- Whisk (for ensuring a smooth, lump-free mixture, especially when dissolving gelatin or agar agar)
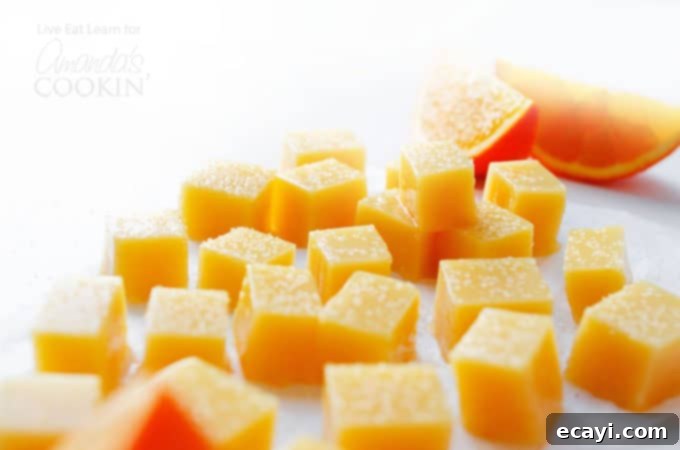
Why Choose Homemade Gummies Over Store-Bought?
You might wonder why go through the effort of making gummies when you can easily grab a bag from the store. The answer lies in control, health benefits, and pure satisfaction! When you make your own orange creamsicle gummies, you dictate every ingredient. This means no artificial colors, no high-fructose corn syrup, and no obscure preservatives often found in commercial candies. Instead, you get to use fresh, natural orange juice, wholesome coconut milk, and natural sweeteners like maple syrup. This makes for a much healthier snack, especially for children, providing a delicious treat that you can feel good about and customize to your dietary preferences.
Beyond the health aspect, there’s an undeniable joy in creating something from scratch. The vibrant color, the fresh aroma, and the perfect balance of sweet and tangy flavors are all rewards of your own culinary efforts. Plus, homemade gummies often have a fresher, more authentic taste that mass-produced versions simply can’t match. It’s also a fun activity to do with family, transforming simple ingredients into a delightful edible creation, and fostering a greater appreciation for whole, unprocessed foods. This hands-on experience adds an extra layer of enjoyment to every single bite.
Expert Tips for Perfect Homemade Gummies Every Time
Achieving perfectly set and delicious homemade gummies is simple with a few helpful tips:
- Choose Your Molds Wisely: Silicone molds are a game-changer for homemade gummies. Their flexibility makes it incredibly easy to pop out your finished treats without sticking or breaking. If you don’t have specialized molds, a rimmed baking sheet lined with parchment paper or a silicone mat works just as well; simply pour the mixture, let it set, and then cut into uniform squares or playful strips.
- Proper Gelling Agent Preparation: If using gelatin, ensure it’s fully dissolved. You don’t want grainy gummies! Heating it gently over medium-low heat, stirring constantly, until the mixture is completely clear and smooth is key. For agar-agar, which is a plant-based thickener, remember it needs to simmer for a full two minutes to activate its gelling properties effectively. This ensures your vegetarian gummies will set firmly and have the desired texture.
- Sweetness Adjustment: The recipe calls for maple syrup, but feel free to adjust it to your taste. If your orange juice is particularly sweet, you might use slightly less, or if you prefer a tarter gummy, reduce it a bit. You can also experiment with other natural liquid sweeteners like honey (if not vegan) or agave nectar, always tasting and adjusting as you go to find your perfect balance.
- Optimal Storage: Once your gummies are perfectly set and firm, store them in an airtight container in the refrigerator. This not only keeps them fresh but also helps maintain their delightful chewiness and prevents them from sticking together. They typically stay fresh and delicious for up to a week.
- Creative Flavor Variations: Don’t stop at orange! This base recipe is incredibly adaptable. Try substituting orange juice with other fruit juices like pineapple, grape, cherry, or even a blend of berries. You could also swirl in a tiny bit of natural food coloring for even more vibrant results, though the natural orange hue is quite beautiful on its own.
Serving Suggestions & Creative Variations
These Orange Creamsicle Homemade Gummies are incredibly versatile and can be enjoyed in many delightful ways. They make a fantastic:
- Healthy Lunchbox Treat: A much healthier alternative to store-bought candies, perfect for school or work, offering a dose of vitamin C.
- Refreshing Afternoon Snack: A guilt-free way to satisfy a sweet craving without overindulging.
- Charming Party Favor: Use unique molds to create themed gummies for birthdays, baby showers, or any festive gathering.
- Dessert Topping: Cut into small pieces and sprinkle over yogurt parfaits, ice cream, fruit salad, or even oatmeal for an added burst of flavor and a fun texture.
Feeling adventurous and want to try more homemade gummy recipes? Consider these delightful variations:
- Tropical Creamsicle: Substitute the orange juice with pure pineapple or mango juice for an exotic twist.
- Berry Creamsicle: Blend in some pureed strawberries or raspberries with a touch of fresh lemon or lime juice for a vibrant, tangy option.
- Zesty Kick: For an intensified citrus aroma and flavor, add a quarter teaspoon of finely grated orange zest to the mixture before heating.
- Layered Gummies: Create a two-tone gummy by allowing half of the orange creamsicle mixture to set in the molds, then pouring a second, contrasting flavor (e.g., lime or lemon juice gummy base) over the top and chilling again until fully set for a beautiful, dual-flavored treat.
Frequently Asked Questions About Homemade Gummies
- Q: Can I use fresh oranges instead of orange juice?
- A: While fresh oranges are fantastic, using store-bought or freshly squeezed orange juice provides the consistent liquid needed for the gummy base. If using fresh oranges, you’ll need to juice them first and ensure you have the required two cups of liquid.
- Q: How long do homemade gummies last?
- A: When stored in an airtight container in the refrigerator, these gummies typically stay fresh for about 5-7 days. Their texture will remain optimal during this period. Freezing is generally not recommended as it can alter the texture.
- Q: Can I make these gummies sugar-free?
- A: Yes! You can absolutely substitute the maple syrup with a sugar-free liquid sweetener like stevia or erythritol drops, adjusting to your taste. Ensure the orange juice you use is also unsweetened and 100% juice to keep the recipe sugar-free.
- Q: My gummies didn’t set. What went wrong?
- A: This is usually due to insufficient gelatin/agar-agar or not heating the mixture enough (especially important for agar-agar to activate its gelling properties). Ensure you use the exact measurements of your gelling agent and follow the heating instructions carefully. High humidity can sometimes also slightly affect setting time, so allow extra chilling time if needed.
- Q: Can I use other types of milk?
- A: While coconut milk provides that signature creamy richness, you could experiment with other plant-based milks like almond or oat milk for a slightly different flavor profile. Dairy milk is also an option if you prefer, but be aware it might slightly change the “creamsicle” authenticity.
Explore More Delicious Homemade Delights
The journey into homemade foods doesn’t have to end with these delightful gummies. You’ll be amazed at how simple and rewarding it is to craft healthier versions of many everyday foods right in your own kitchen! For instance, our Homemade Fruit Roll-Ups are another fantastic example – a wholesome and fun snack that makes a perfect addition to lunchboxes or an energizing afternoon treat for both kids and adults, packed with real fruit flavor.
If the vibrant and creamy taste of orange creamsicle has captured your heart, there’s a whole world of similar flavors waiting to be explored. Indulge in the rich texture of our creamsicle fudge, cool down with our refreshing creamsicle popsicles, or celebrate with our delightful creamsicle cupcakes. And for those who simply can’t get enough orange, don’t miss our all-time favorite orange poke cake and, for adult gatherings, our playful orange jello shots. These recipes extend the beloved creamsicle experience beyond just gummies, offering a variety of treats for every occasion.
Beyond sweet treats, embracing a homemade lifestyle can be incredibly satisfying and economical. We also highly recommend trying our versatile Homemade Berry Jam, perfect for toast, desserts, or even savory pairings, and our surprisingly quick 5 Minute Homemade Ricotta, which elevates any Italian dish or breakfast spread. These recipes underscore the ease and benefits of making things from scratch, empowering you to create delicious and healthier options for your family.
More Irresistible Homemade Candy Recipes
- Cake Balls
- Potato Candy
- Saltine Toffee
- Candied Pecans
- Microwave Caramels
- Homemade Lollipops
Orange Creamsicle Gummies
IMPORTANT – There are often Frequently Asked Questions within the blog post that you may find helpful. Simply scroll back up to read them!
Print It
Pin It
Rate It
Save ItSaved!
Ingredients
- 2 cups orange juice
- 1 cup low fat coconut milk
- 2 Tbsp maple syrup
- ½ tsp vanilla extract
- 3 Tbsp gelatin or agar agar
Instructions
-
Combine fresh orange juice, creamy coconut milk, natural maple syrup, pure vanilla extract, and your chosen gelling agent (gelatin or agar agar) in a medium saucepan. Whisk gently to ensure all ingredients are well combined.
-
If using gelatin, heat the mixture over medium-low heat, stirring constantly, until the gelatin is completely dissolved and the mixture is smooth and translucent. Do not boil. If using agar agar, heat over medium-high heat and bring to a gentle simmer, allowing it to cook for a full 2 minutes to ensure proper activation of its gelling properties. Stir frequently.
-
Carefully remove the saucepan from the heat. Immediately pour the hot liquid into your prepared molds or a large, rimmed baking sheet. Transfer to the refrigerator to set. For gelatin-based gummies, this will take approximately 30 minutes. For agar agar-based gummies, allow about 1 hour for them to firm up completely. Once set, unmold or cut into desired shapes and enjoy!
Nutrition
The recipes on this blog are tested with a conventional gas oven and gas stovetop. It’s important to note that some ovens, especially as they age, can cook and bake inconsistently. Using an inexpensive oven thermometer can assure you that your oven is truly heating to the proper temperature. If you use a toaster oven or countertop oven, please keep in mind that they may not distribute heat the same as a conventional full sized oven and you may need to adjust your cooking/baking times. In the case of recipes made with a pressure cooker, air fryer, slow cooker, or other appliance, a link to the appliances we use is listed within each respective recipe. For baking recipes where measurements are given by weight, please note that results may not be the same if cups are used instead, and we can’t guarantee success with that method.
This post was originally published on this blog on Jan 26, 2018, and has been updated and expanded to provide you with even more helpful information and delightful content, ensuring the best possible experience in making your homemade gummies.
