Homemade Roasted Garlic Aioli: The Ultimate Creamy, Flavorful Dip and Spread
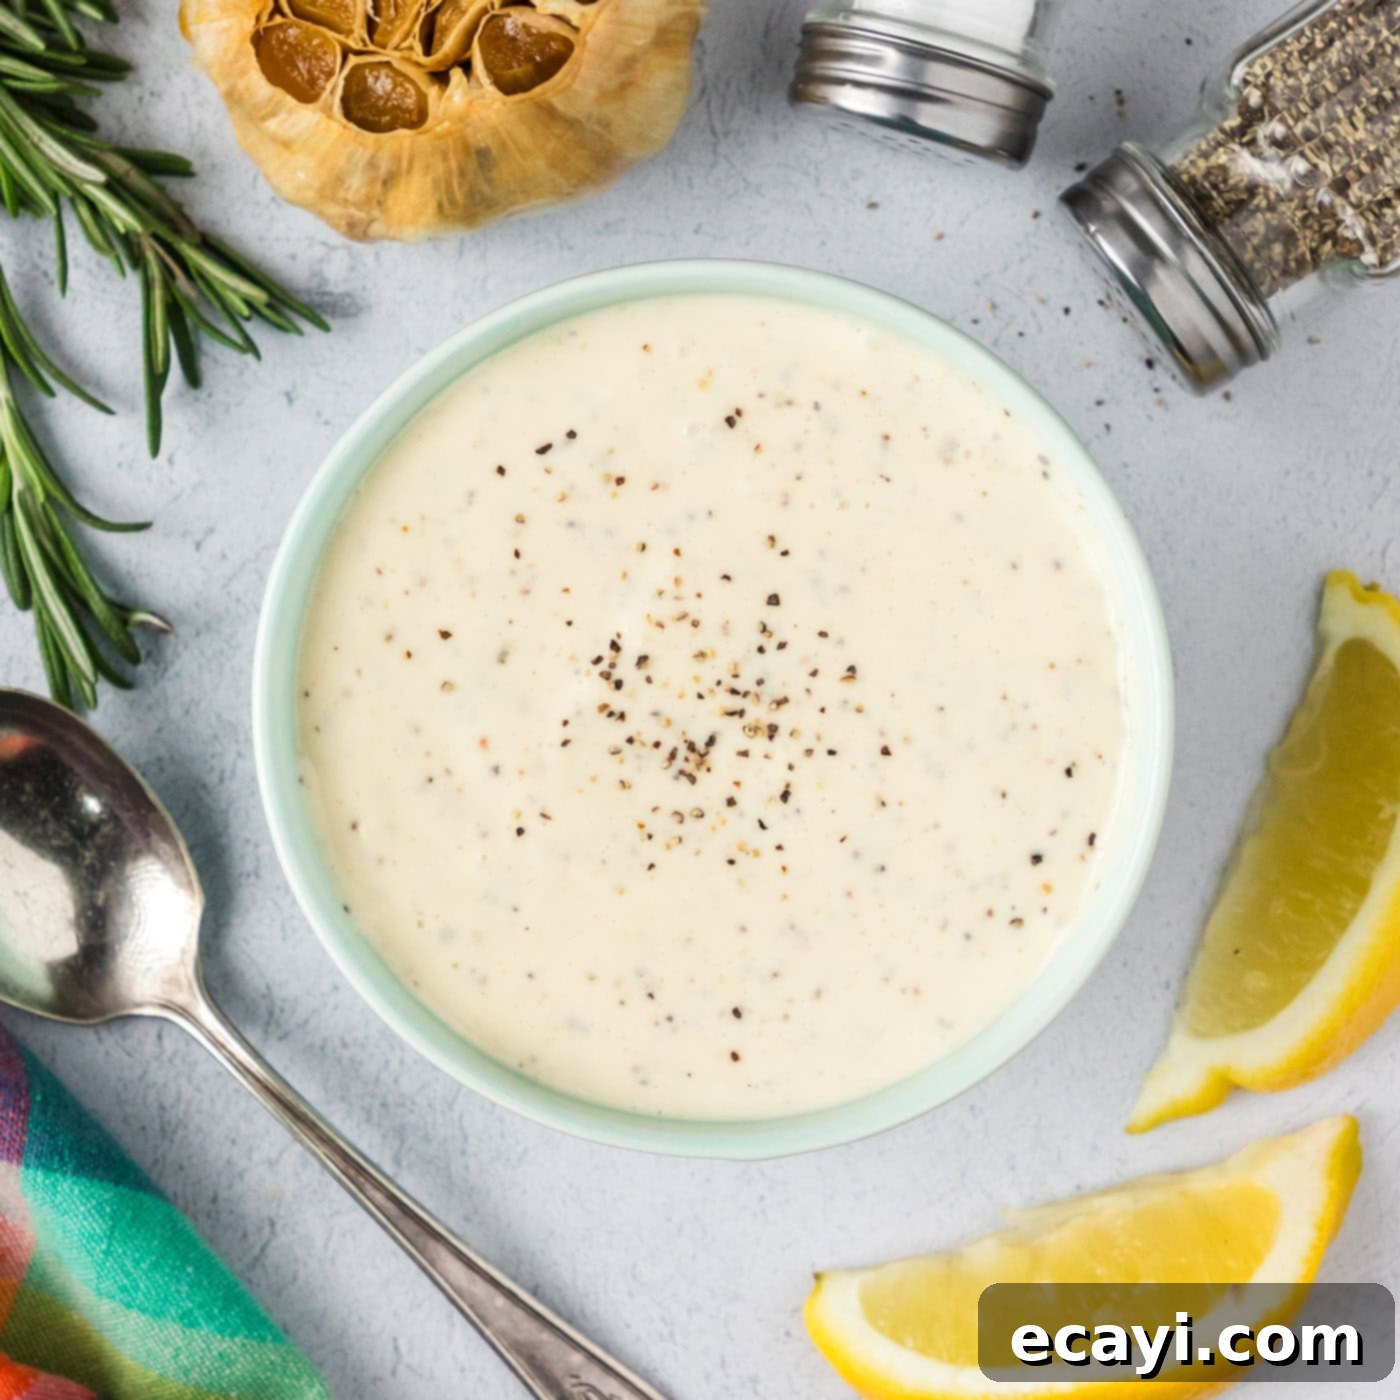
Transform your meals with the rich, luxurious taste of homemade Roasted Garlic Aioli. This incredibly creamy and intensely flavorful dip or spread starts with a simple blend of roasted garlic, creamy mayonnaise, and zesty lemon juice. It’s an easy-to-make condiment that comes together in under 10 minutes (after roasting your garlic), promising to elevate everything from everyday sandwiches to gourmet seafood dishes. Say goodbye to bland condiments and hello to a burst of savory goodness!
Why This Roasted Garlic Aioli Recipe is a Must-Try
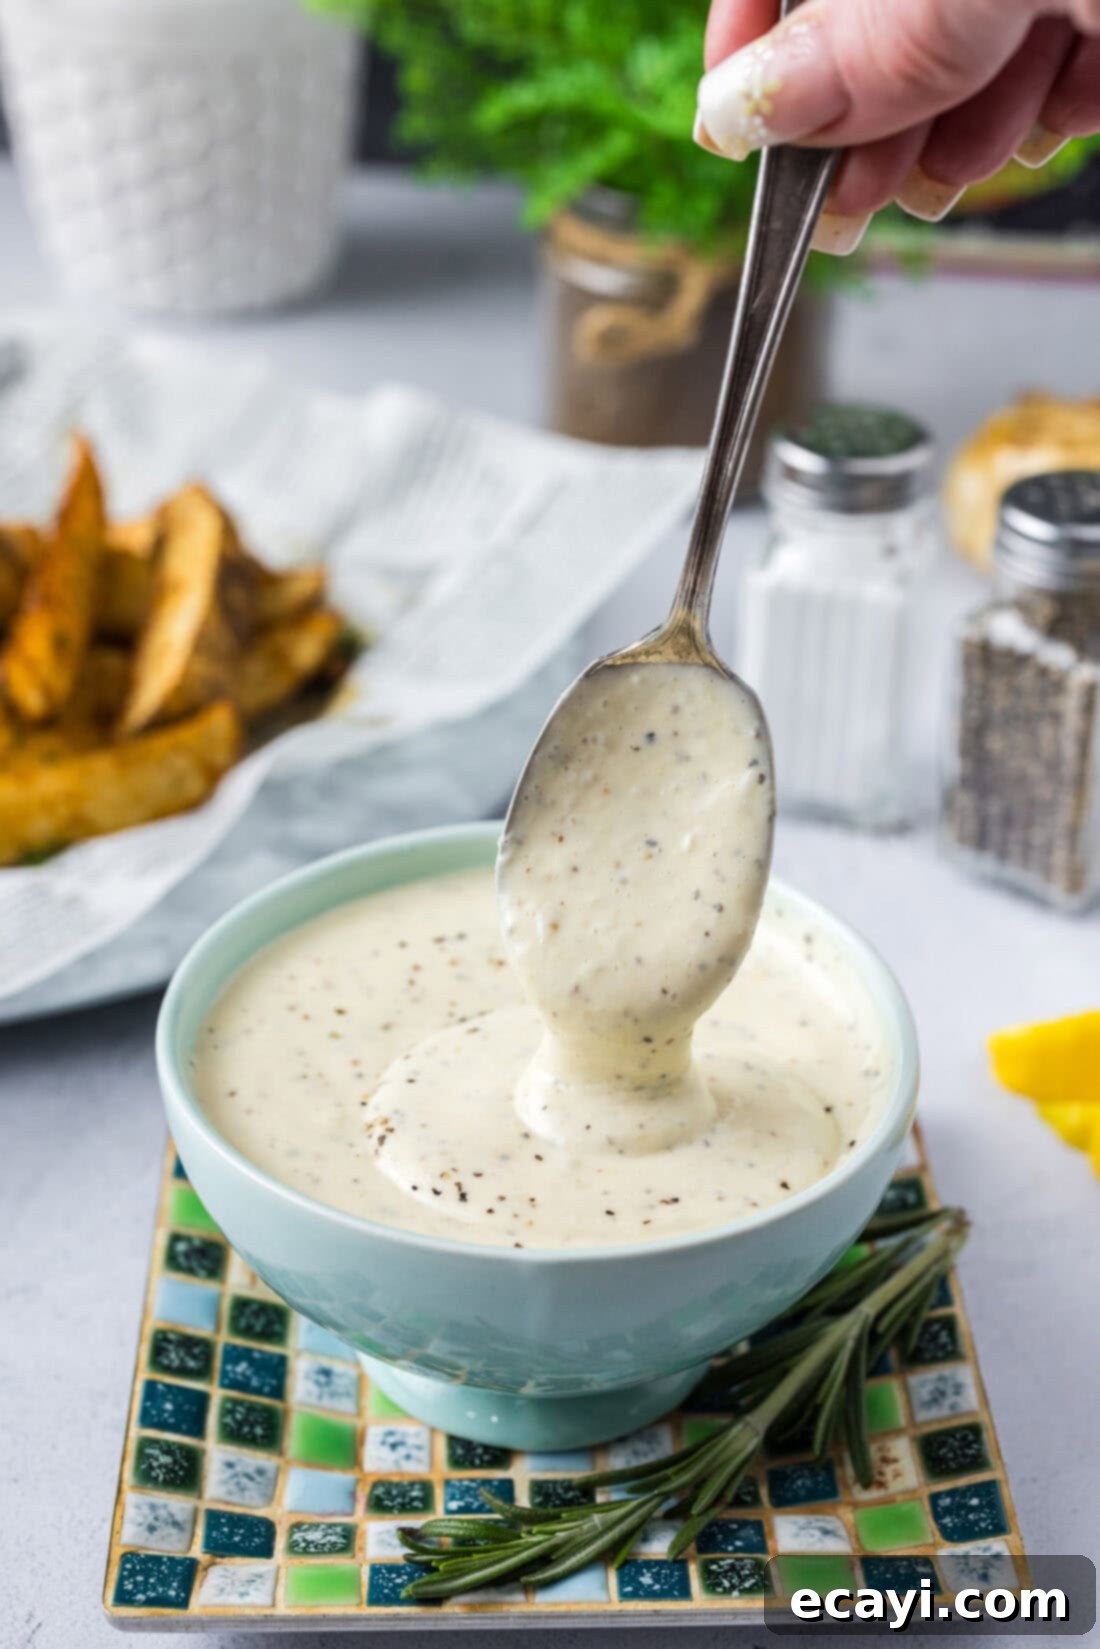
Garlic aioli is a culinary staple, cherished for its versatility and the profound flavor it imparts. From being the perfect dipper for crispy french fries and fresh garden vegetables to an irresistible spread for gourmet burgers, juicy steaks, and delicate seafood, it effortlessly enhances any dish it touches. However, many aioli recipes rely solely on raw garlic, which can sometimes be overpowering or even harsh. This particular recipe stands out by incorporating the deep, mellow, and naturally sweet notes of roasted garlic, alongside a touch of fresh minced garlic for an extra kick.
The combination creates a uniquely complex flavor profile that is both robust and incredibly smooth. By blending a head of beautifully caramelized roasted garlic with a good quality mayonnaise, bright lemon juice, and a hint of salt and pepper, you achieve a magically creamy condiment that is far superior to store-bought versions. It’s incredibly quick to prepare once the garlic is roasted, making it an ideal choice for busy home cooks who refuse to compromise on flavor. This easy garlic aioli recipe is designed for maximum taste with minimal effort, ensuring a perfect complement to virtually any meal.
Key Ingredients for the Best Garlic Aioli
Crafting this delightful roasted garlic aioli requires just a few simple ingredients, most of which you likely already have in your pantry. For precise measurements and detailed instructions, refer to the printable recipe card available at the end of this post.
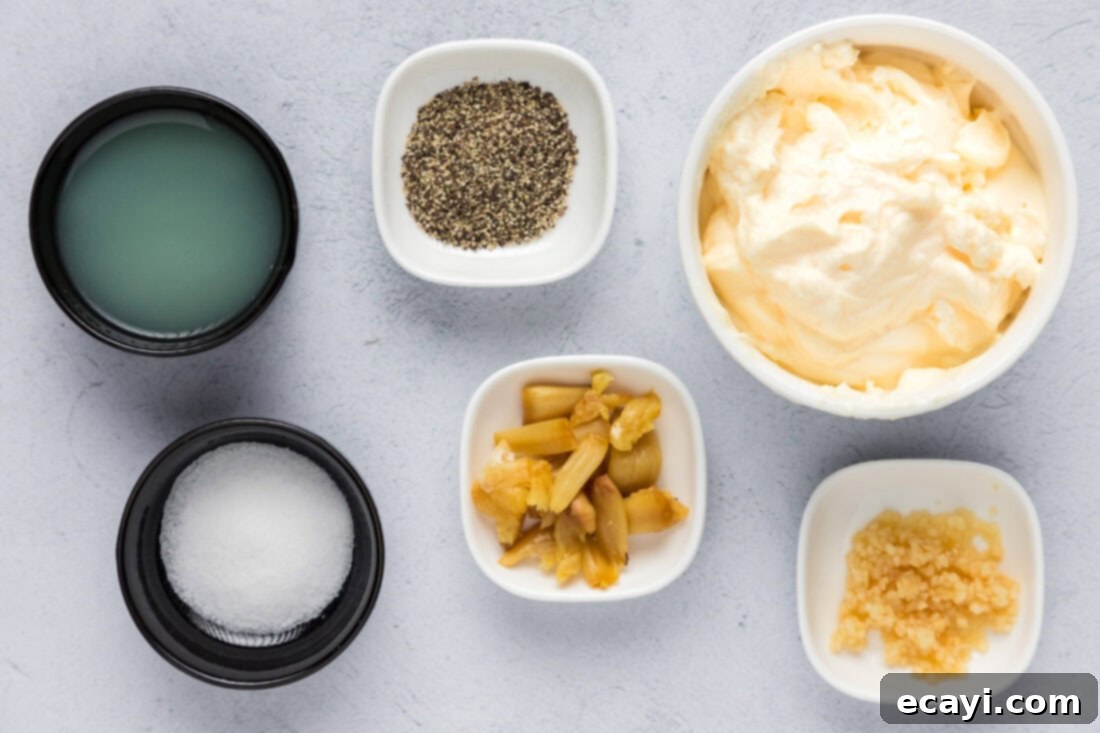
Ingredient Spotlight & Smart Substitutions
Let’s dive deeper into the key components that make this roasted garlic aioli so special:
GARLIC: The star of the show! This recipe brilliantly combines a full head of roasted garlic with a tablespoon of fresh minced garlic. The roasted garlic contributes a sweet, mellow, and nutty depth of flavor that is unparalleled, while the raw minced garlic provides a subtle, fresh, piquant undertone. We have a detailed guide on how to roast garlic, which simply involves a drizzle of oil and a bulb of garlic, then baking until golden brown and soft. This step is highly recommended as it truly transforms the aioli. While you can make aioli with only raw garlic, the roasted version offers a far more complex and appealing taste, significantly reducing the pungency often associated with raw garlic.
MAYONNAISE: The foundation of our creamy aioli. For the best results, opt for a high-quality, full-fat mayonnaise. Its creamy texture and neutral flavor provide the perfect base for the garlic and lemon to shine. If you prefer, you can certainly make a traditional aioli from scratch using egg yolks and olive oil, but for a quick and easy recipe, a good store-bought mayo is your best friend. Light mayonnaise can be used, but may result in a slightly less rich texture. For a vegan option, simply substitute with your favorite brand of vegan mayonnaise.
LEMON JUICE: Freshly squeezed lemon juice is crucial for balancing the richness of the mayonnaise and the intensity of the garlic. It adds a bright, tangy note that lifts the entire flavor profile. Always choose fresh lemon juice over bottled for superior taste. A little zest from the lemon can also be added for an extra layer of citrus aroma.
SALT AND BLACK PEPPER: These essential seasonings tie all the flavors together. Start with the suggested amounts and then adjust to your personal taste. Freshly ground black pepper will offer a more vibrant flavor than pre-ground.
Optional additions for variations:
- Dijon Mustard: A teaspoon of Dijon mustard can add a subtle tang and help stabilize the emulsion if you were making aioli from scratch, but it also enhances the flavor profile in this mayo-based version.
- Fresh Herbs: Finely chopped parsley, chives, dill, or tarragon can add a wonderful herbaceous note, perfect for specific pairings like fish or roasted vegetables.
- Smoked Paprika or Chili Flakes: For a smoky or spicy kick, a pinch of smoked paprika or a dash of red chili flakes can transform this classic condiment.
Simple Steps to Craft Your Own Garlic Aioli
These step-by-step photos and instructions are here to help you visualize how to make this recipe. For a convenient printable version of this recipe, complete with measurements and instructions, scroll to the bottom to Jump to Recipe.
- Combine All Ingredients: In the bowl of an immersion blender, add the mayonnaise, squeezed roasted garlic cloves, minced raw garlic, fresh lemon juice, table salt, and black pepper.

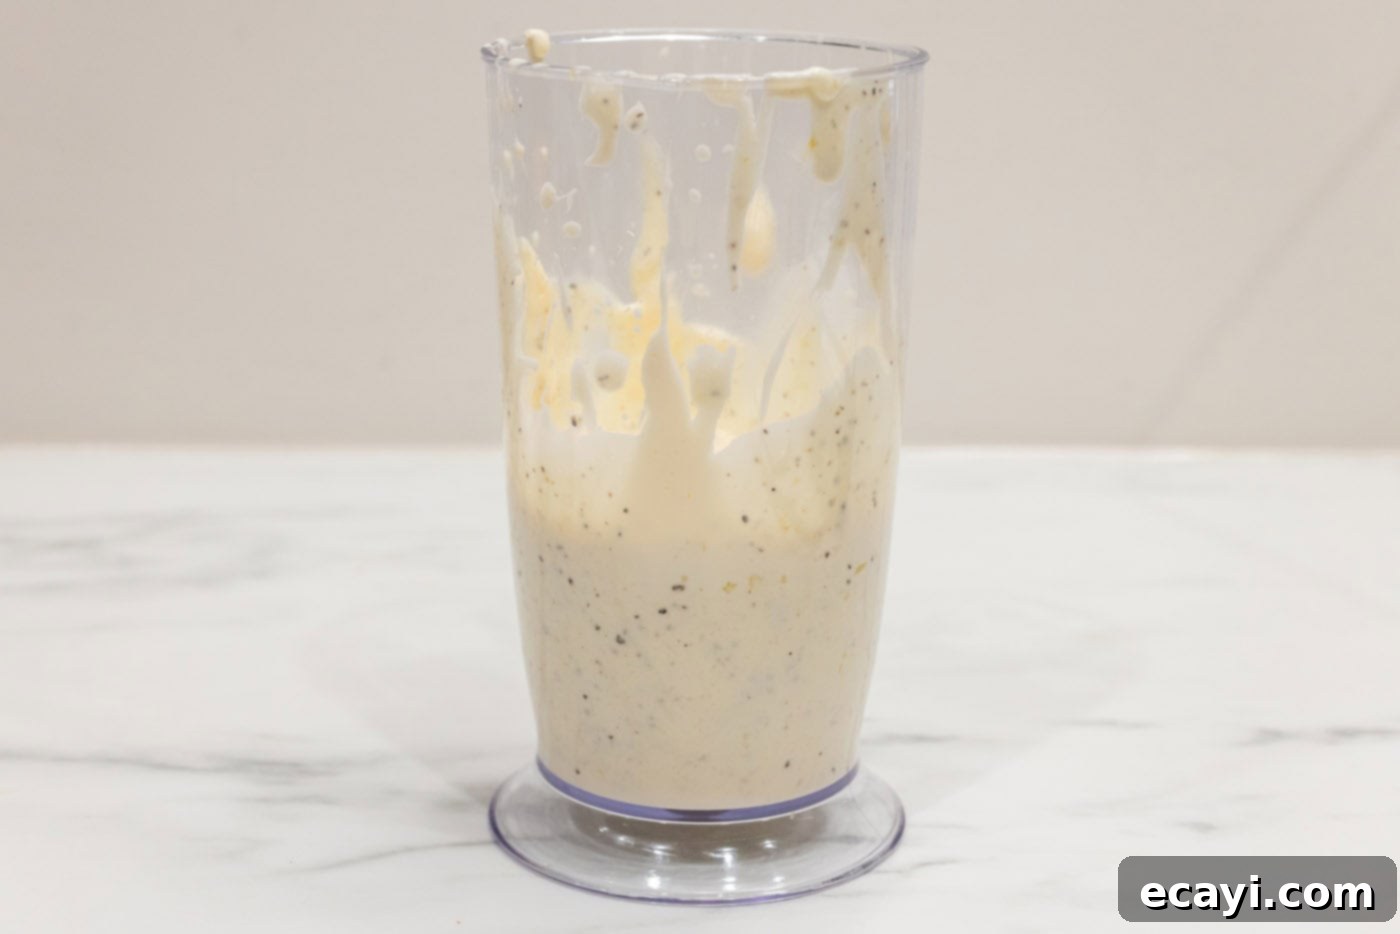
- Blend Until Smooth: Insert the immersion blender and process the ingredients until completely smooth and creamy. Ensure all the roasted garlic is fully incorporated and there are no lumps. Taste and adjust seasoning as needed, adding more salt, pepper, or lemon juice to your preference.

Frequently Asked Questions & Expert Tips for Perfect Aioli
Once prepared, store any leftover roasted garlic aioli in an air-tight container in the refrigerator. It will stay fresh and delicious for 5-7 days. Always ensure it’s properly sealed to maintain its flavor and prevent it from absorbing other odors.
Traditionally, aioli is a sauce made from garlic, olive oil, and sometimes egg yolk, pounded into an emulsion. Mayonnaise is an emulsion of egg yolk and oil (often neutral oils like canola or vegetable), seasoned with vinegar or lemon juice. Our “garlic aioli” recipe uses mayonnaise as its base for convenience, then infuses it with the rich flavors of roasted and fresh garlic and lemon, making it a garlic-flavored mayonnaise that captures the essence of a true aioli.
Yes, you can make a garlic aioli using only raw minced garlic. However, keep in mind that the flavor profile will be much more pungent and intense. Roasted garlic offers a sweeter, milder, and more complex taste that many find preferable in aioli. If using only raw garlic, you might want to reduce the quantity slightly to prevent it from being too overpowering.
If your aioli is too thick for your preference, you can thin it out by adding a very small amount of water or extra lemon juice, a teaspoon at a time, until you reach your desired consistency. If it’s too thin, you can try adding a bit more mayonnaise or, for a richer taste, a touch more roasted garlic or even a tiny amount of olive oil (though be careful not to make it greasy).
Expert Tips for Success:
- Don’t Skip Roasting the Garlic: This step is critical for the unique, sweet, and mellow flavor that defines this aioli. Raw garlic would be too sharp and spicy.
- Taste and Adjust: Seasoning is key! Always taste your aioli before serving and adjust the salt, pepper, and lemon juice to your liking. The perfect balance makes all the difference.
- Chill Before Serving: While delicious immediately, allowing the aioli to chill in the refrigerator for at least 30 minutes lets the flavors meld and deepen, resulting in an even more harmonious and delicious condiment.
- Fresh is Best: Always use fresh lemon juice. Bottled lemon juice often lacks the vibrant acidity and fresh taste of real lemons.
- Use a Good Immersion Blender (or Food Processor): For the smoothest consistency, an immersion blender is fantastic. A small food processor will also work wonders to finely blend the roasted garlic into the mayonnaise base.
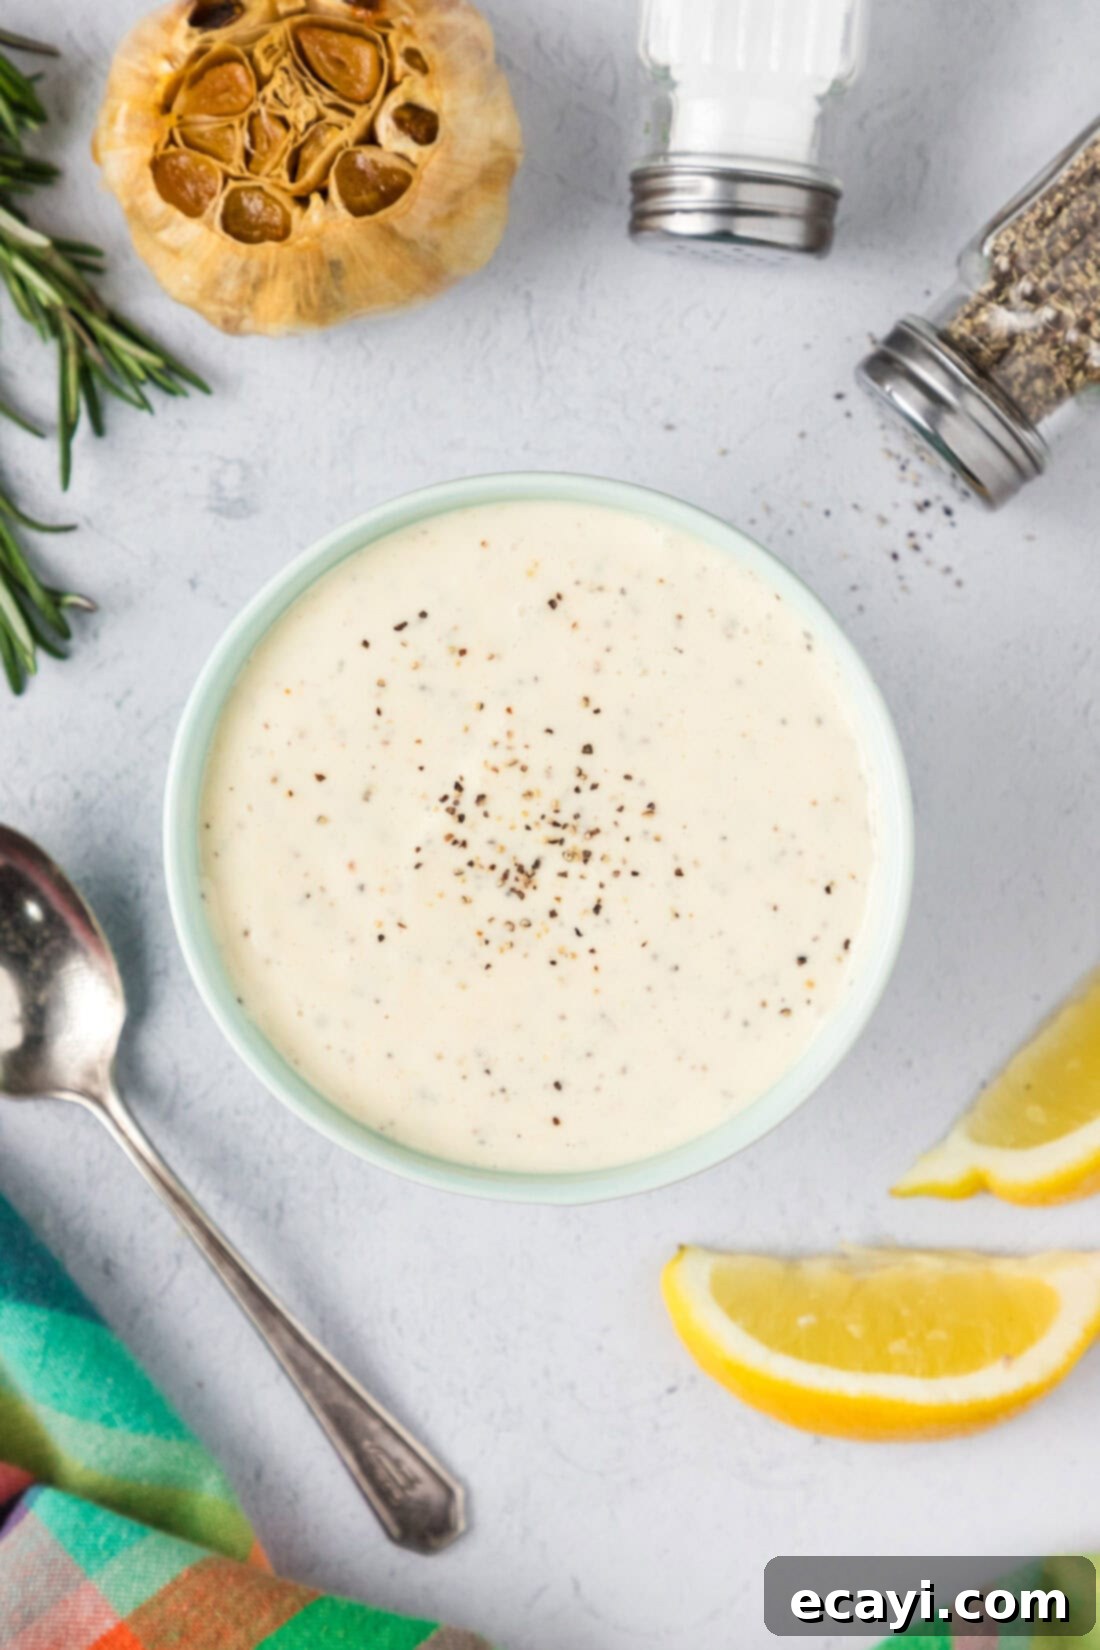
Delicious Ways to Enjoy Your Roasted Garlic Aioli
The beauty of homemade roasted garlic aioli lies in its incredible versatility. This creamy condiment can elevate almost any dish, adding a burst of rich, savory flavor. Here are just a few serving suggestions to inspire you:
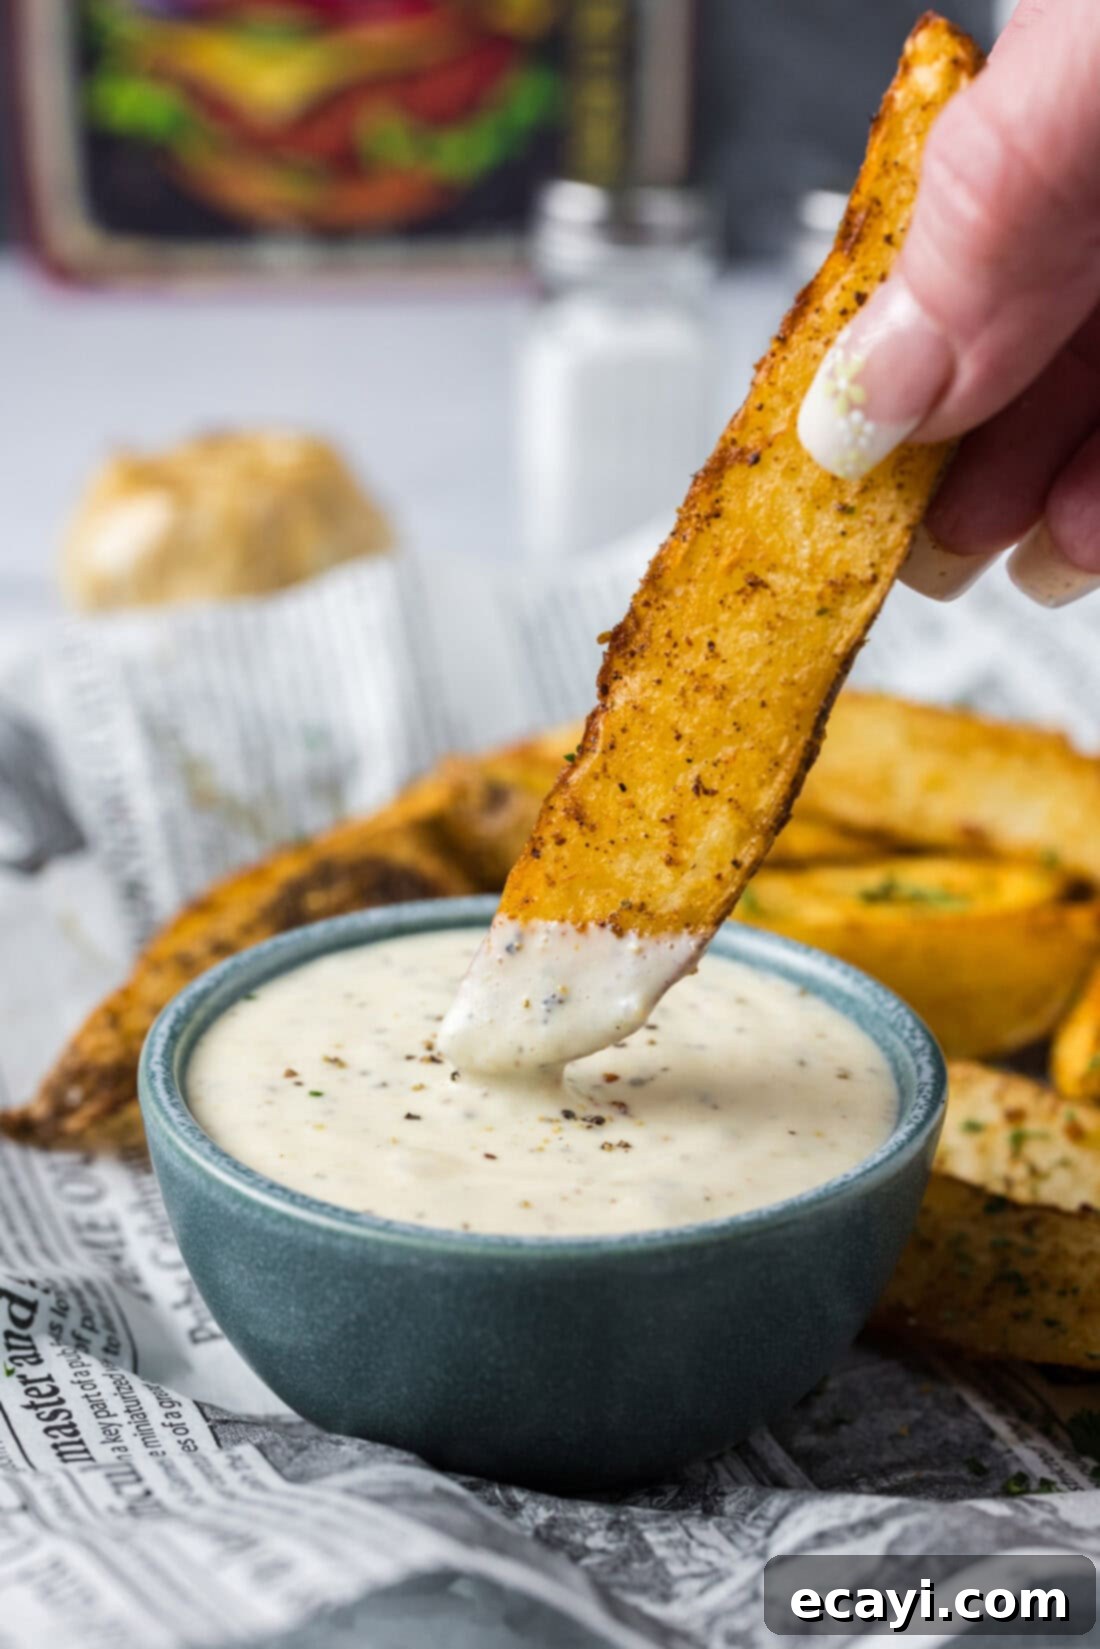
- As a Dip: It’s a phenomenal dip for french fries, crispy potato wedges, sweet potato fries, or homemade onion rings. It also pairs wonderfully with fresh vegetables like carrots, celery sticks, bell pepper strips, or roasted vegetables such as asparagus, broccoli, or Brussels sprouts.
- For Sandwiches & Burgers: Spread a generous layer of garlic aioli on your favorite sandwiches, wraps, or burgers. It’s particularly fantastic on a crispy chicken burger, a juicy beef patty, or even a simple grilled cheese.
- With Meats & Seafood: This aioli is a perfect accompaniment to grilled chicken, pan-seared salmon, baked cod, shrimp skewers, or even a simple steak. Its robust flavor stands up well to rich proteins.
- As a Sauce for Appetizers: Drizzle it over calamari, use it as a dipping sauce for crab cakes, or serve it alongside fried pickles for an unexpected but delightful flavor combination.
- In Salads: Thin it out slightly with a little more lemon juice or water and use it as a creamy salad dressing, especially for potato salad, coleslaw, or a simple green salad with roasted veggies.
- With Eggs: Add a dollop to your scrambled eggs, omelets, or use it as the base for a truly exceptional batch of deviled eggs.
- Brunch & Breakfast: Pair it with savory waffles, avocado toast, or as a flavorful spread for breakfast burritos.
The possibilities are endless! Don’t be afraid to experiment and discover your own favorite ways to enjoy this delicious, homemade roasted garlic aioli.
More Flavorful Sauces & Dips to Explore
If you love making your own condiments and sauces, be sure to check out these other fantastic recipes:
- Homemade Pesto
- Refreshing Tzatziki Sauce
- Vibrant Chimichurri Sauce
- Easy Garlic Butter Sauce
- Lemony Cream Sauce
I love to bake and cook and share my kitchen experience with all of you! Remembering to come back each day can be tough, that’s why I offer a convenient newsletter every time a new recipe posts. Simply subscribe and start receiving your free daily recipes!
Roasted Garlic Aioli
For more detailed information and helpful tips, please refer to the expert tips and frequently asked questions section within the blog post above!
Print It
Pin It
Rate It
Save ItSaved!
Ingredients
- 1 cup mayonnaise
- 1 head roasted garlic
- 1 Tablespoon minced garlic
- 1 Tablespoon lemon juice
- ½ teaspoon table salt
- ¼ teaspoon black pepper
Equipment You’ll Need
-
immersion blender
Before You Begin
- We can show you how to roast garlic. It only requires a bit of oil and a bulb of garlic, baked until soft and sweet. We highly recommend using roasted garlic over raw garlic for this recipe for a richer, milder flavor!
Instructions
-
In a container suitable for an immersion blender (or a small food processor), combine the mayonnaise, all of the squeezed roasted garlic cloves, minced raw garlic, fresh lemon juice, table salt, and black pepper.
-
Blend with the immersion blender until the mixture is completely smooth and creamy. Ensure all garlic is fully incorporated. Taste and adjust seasonings (salt, pepper, lemon juice) as desired. Serve immediately or chill for deeper flavor.
Expert Tips & FAQs
- Store leftover garlic aioli in an air-tight container in the refrigerator for 5-7 days.
- For optimal flavor, allow the aioli to chill for at least 30 minutes before serving, as this helps the flavors meld beautifully.
- Don’t be afraid to experiment with other additions like a pinch of smoked paprika or a tiny bit of cayenne pepper for a subtle kick.
Nutrition Information
The recipes on this blog are tested with a conventional gas oven and gas stovetop. It’s important to note that some ovens, especially as they age, can cook and bake inconsistently. Using an inexpensive oven thermometer can assure you that your oven is truly heating to the proper temperature. If you use a toaster oven or countertop oven, please keep in mind that they may not distribute heat the same as a conventional full sized oven and you may need to adjust your cooking/baking times. In the case of recipes made with a pressure cooker, air fryer, slow cooker, or other appliance, a link to the appliances we use is listed within each respective recipe. For baking recipes where measurements are given by weight, please note that results may not be the same if cups are used instead, and we can’t guarantee success with that method.
