Classic Creamy Corn Pudding Recipe: A Timeless Comfort Food for Every Occasion
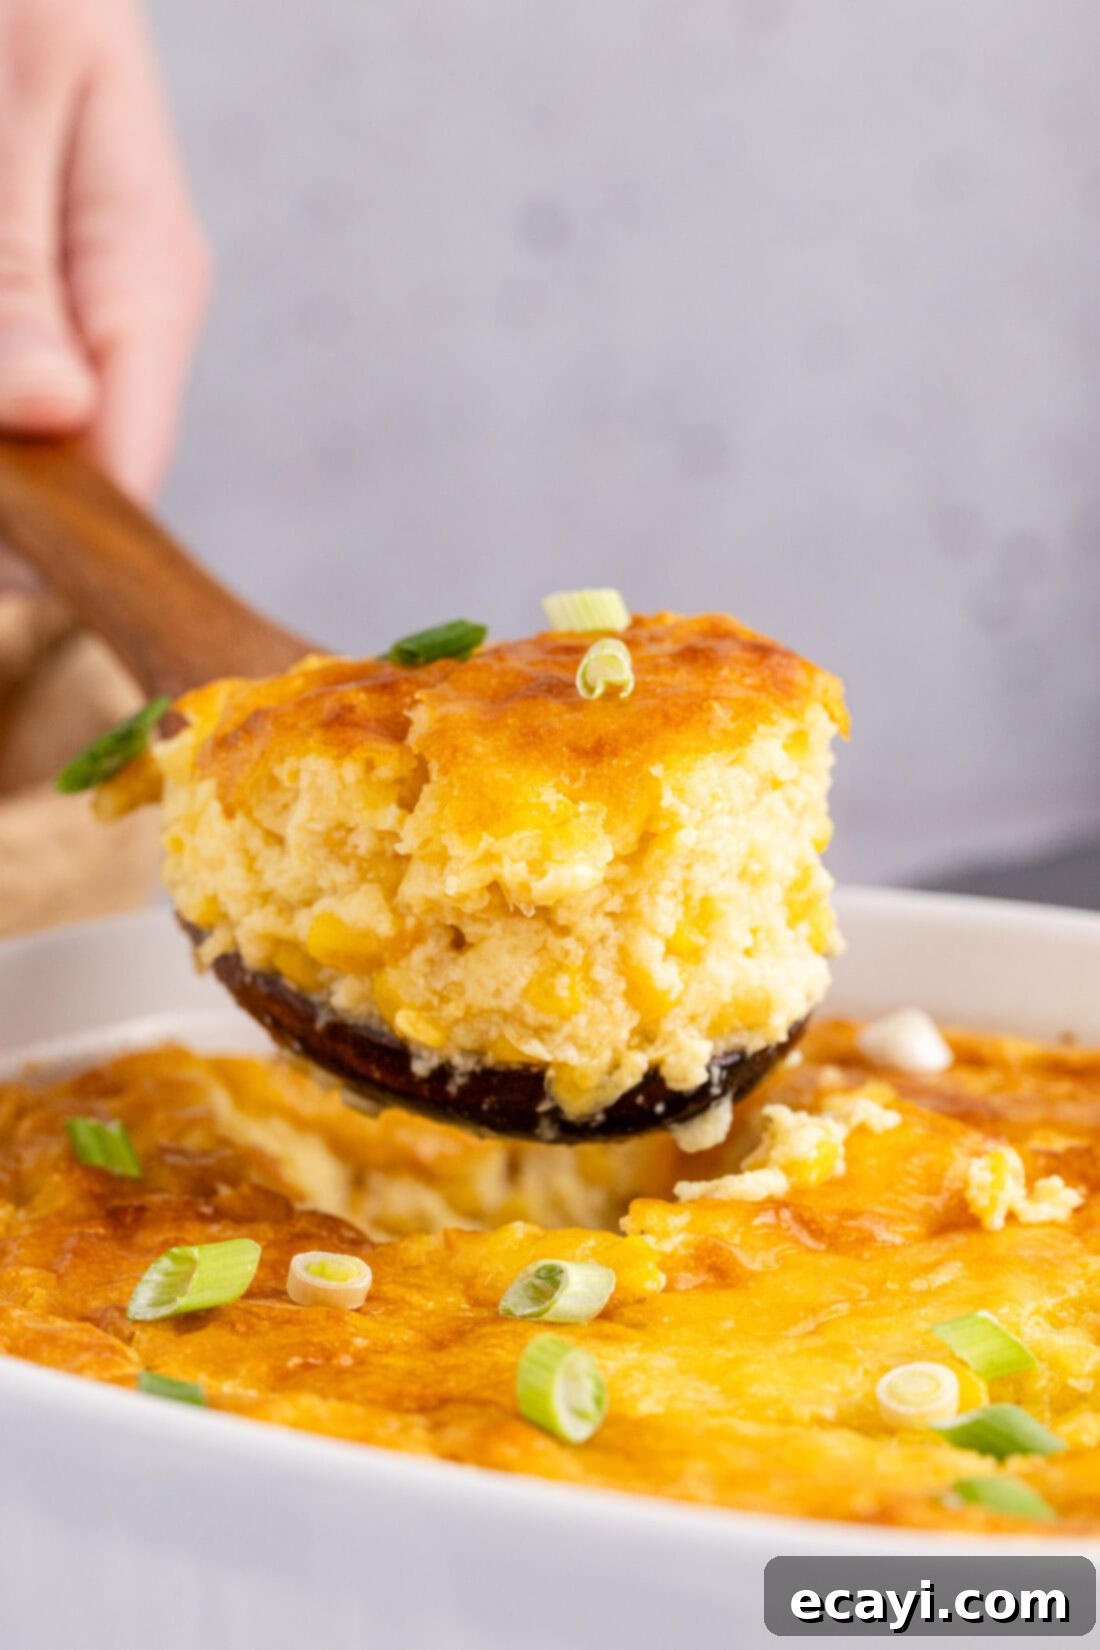
There are some dishes that simply evoke a sense of warmth, nostalgia, and pure comfort, and a rich, buttery corn pudding is undoubtedly one of them. This old-fashioned, homemade corn pudding recipe is a true culinary gem, offering a perfect balance of sweet and savory notes in every creamy, custard-like bite. It’s a must-have for holiday gatherings, Sunday dinners, or any time you crave a delicious, heartwarming side dish that tastes just like grandma used to make.
Why This Classic Corn Pudding Recipe Will Be Your New Favorite Side
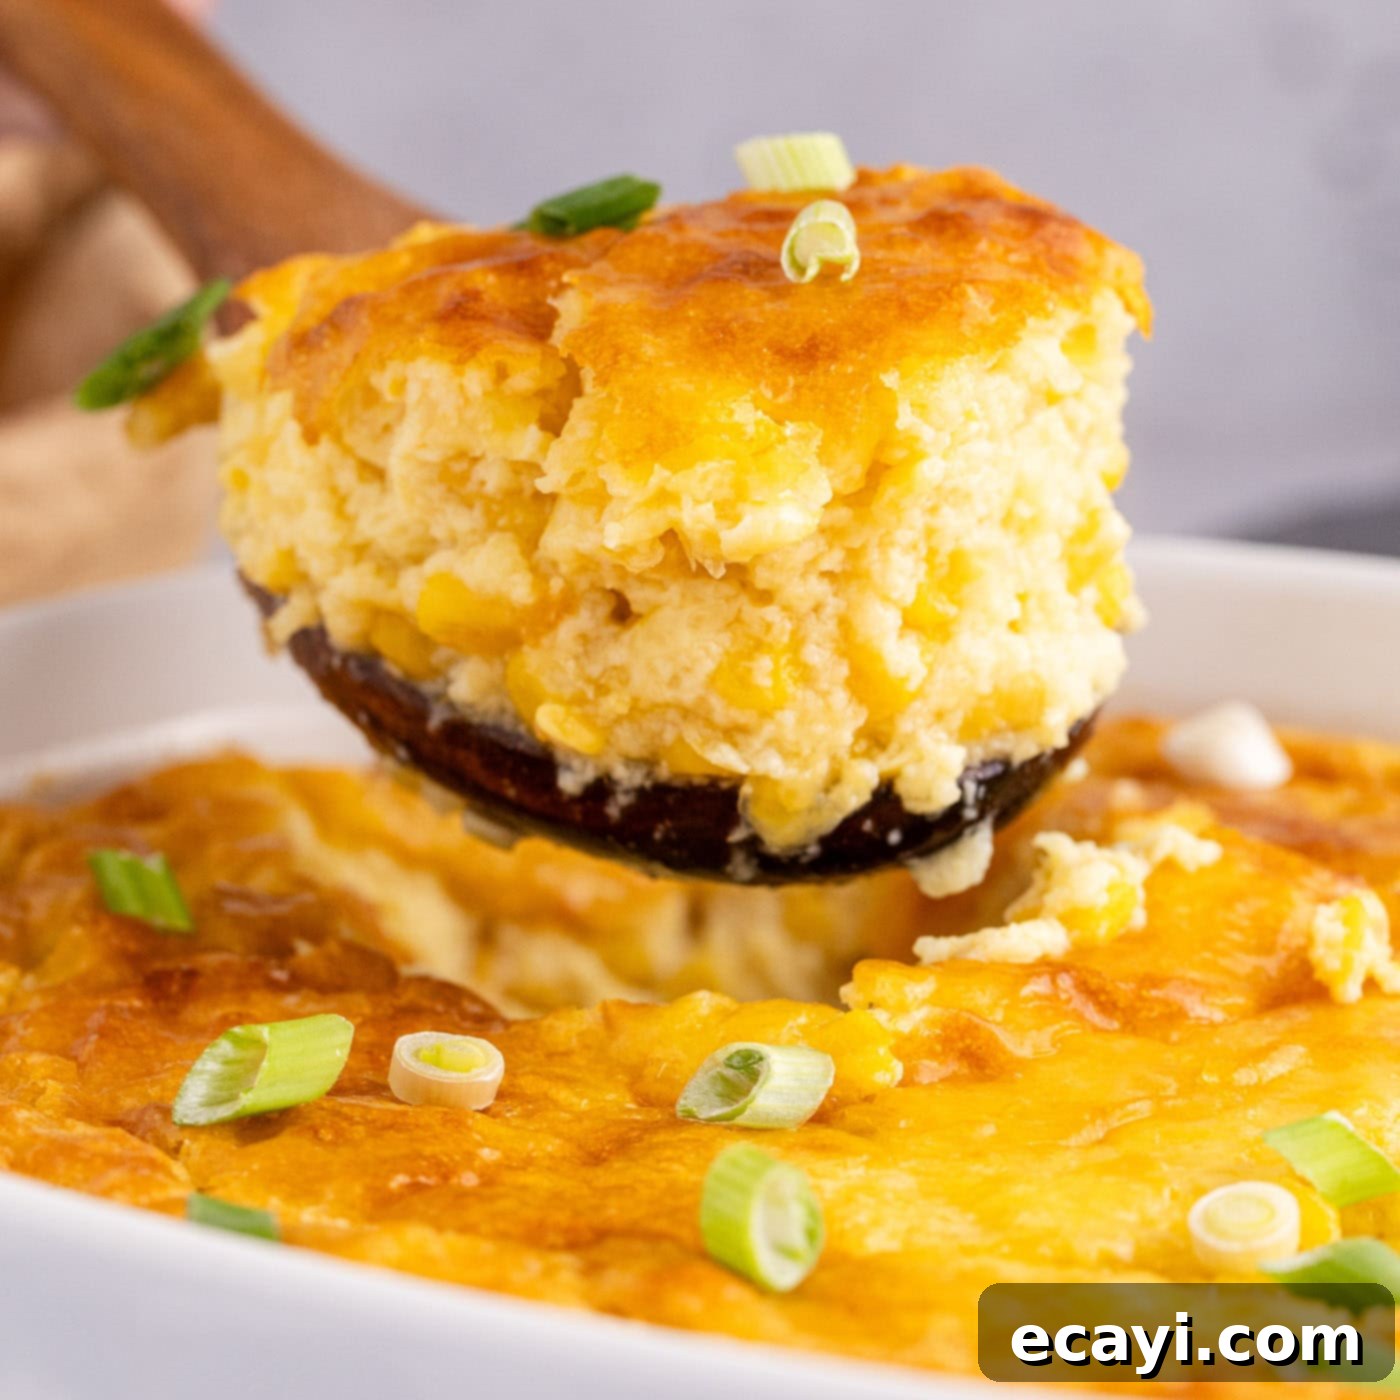
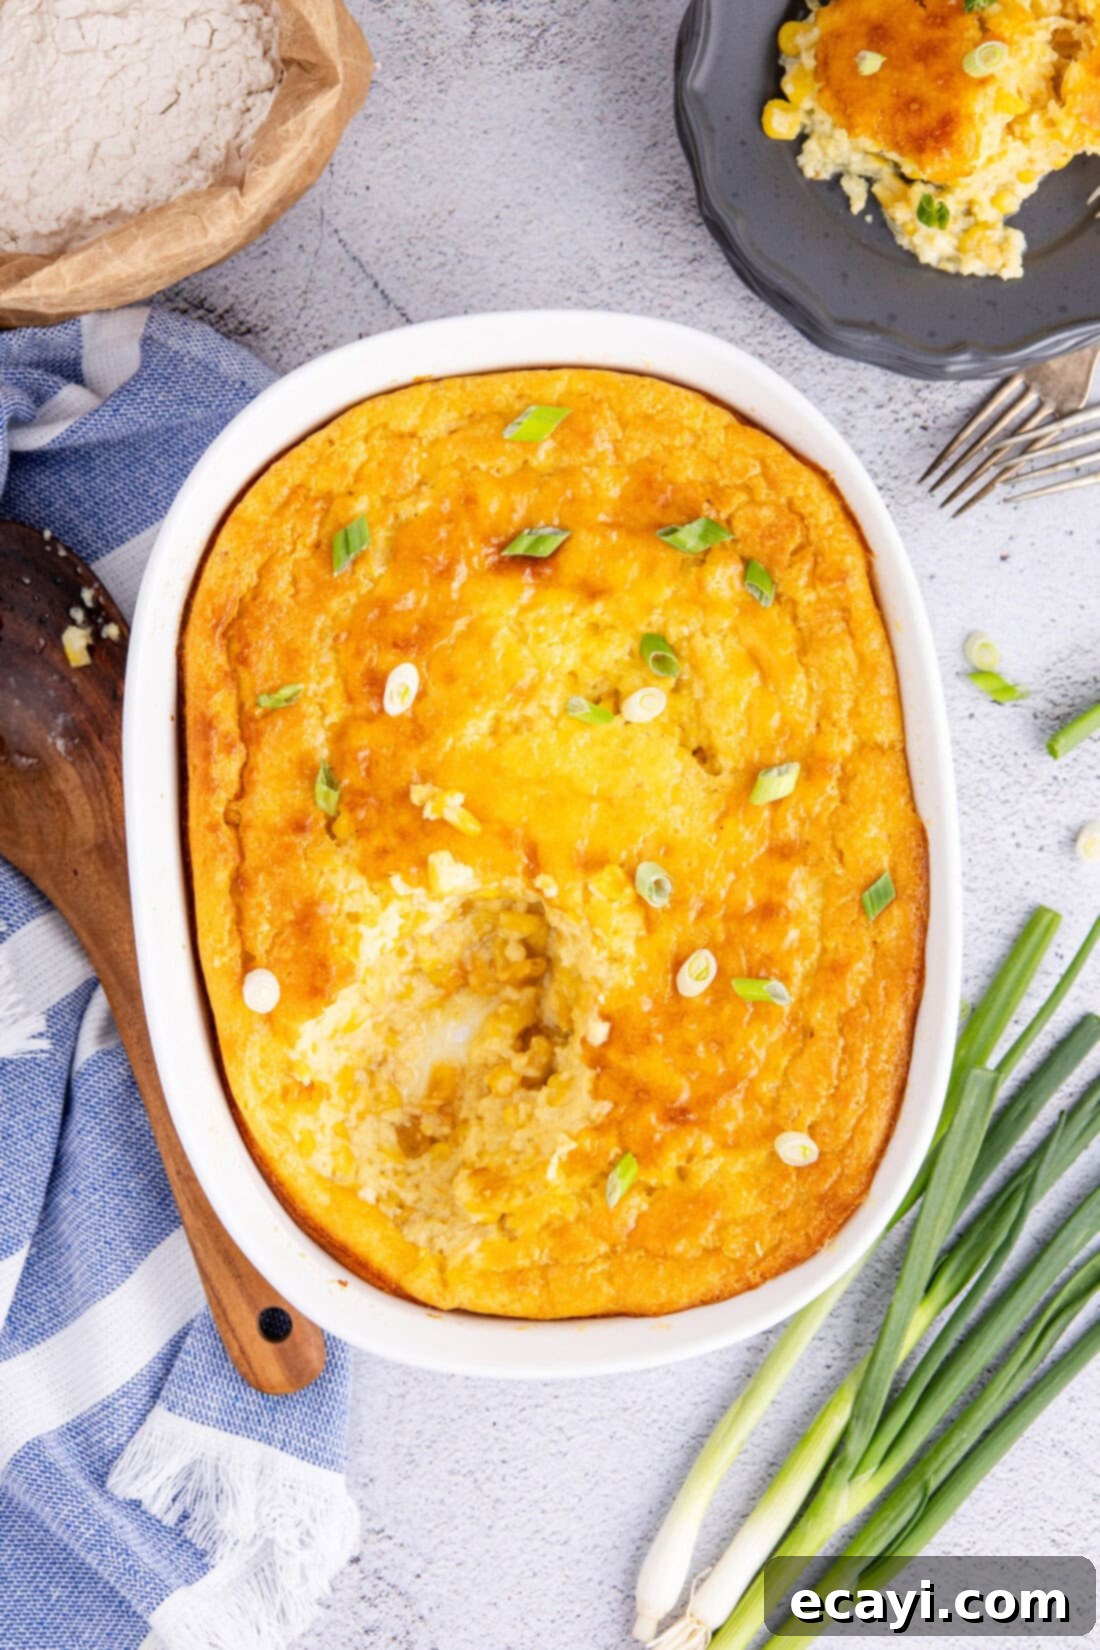
Our old-fashioned corn pudding is a delightful sweet and savory concoction renowned for its luxuriously creamy, custard-like texture. Often compared to a savory soufflé due to its delicate structure and rich consistency, this dish is an absolute showstopper. While it undeniably shines as a centerpiece during holiday meals like Thanksgiving, Christmas, and Easter, its comforting flavors and effortless preparation make it equally special for weeknight dinners and casual get-togethers throughout the year.
It’s important to clarify that this traditional corn pudding recipe is distinct from corn casserole, despite the names sometimes being used interchangeably. While both dishes celebrate the sweet essence of corn, corn casserole typically features a thicker, more dense cornbread-like base, often incorporating a cornbread mix. Our classic corn pudding, however, focuses on a velvety, tender custard that melts in your mouth, studded with tender kernels of corn. This recipe has been meticulously tested and perfected to capture those nostalgic, comforting flavors and textures we all remember from childhood, bringing a taste of home-cooked goodness to your table.
What makes this specific corn pudding recipe truly work is its masterful blend of simple, high-quality ingredients that come together to create an unforgettable experience. The combination of whole kernel corn and cream-style corn provides a dual texture – the burst of individual kernels and the silky smoothness of the creamed base. The addition of rich dairy, eggs, and a hint of sugar creates a balanced profile that is both decadent and satisfying. It bakes up with a beautiful golden crust, while remaining moist and tender on the inside, firming up just enough as it cools to achieve that perfect pudding consistency. It’s a versatile dish that complements almost any main course, making it a reliable and cherished recipe for any home cook.
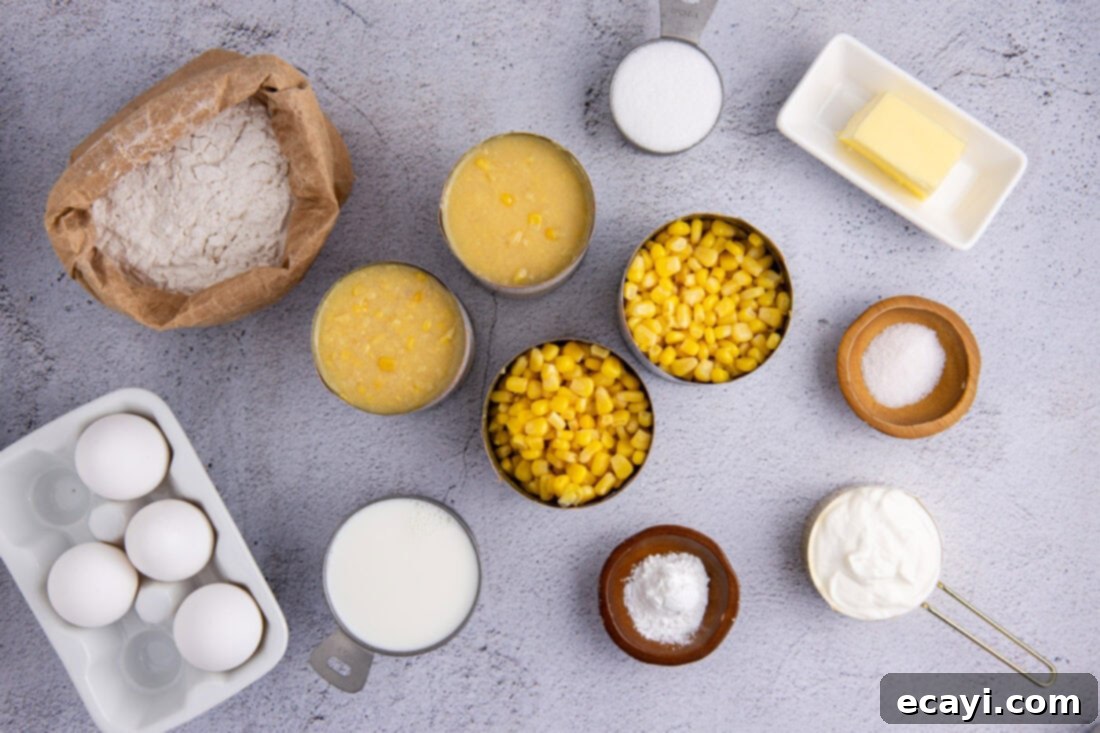
Essential Ingredients for Your Perfect Corn Pudding
To create this incredible corn pudding, you’ll need a selection of basic, wholesome ingredients. The magic truly happens when these simple components are combined to form a dish that’s far greater than the sum of its parts. For a detailed list of all measurements and comprehensive instructions, be sure to check out the printable recipe card located at the conclusion of this post.
Each ingredient plays a crucial role in achieving the desired taste and texture of this beloved side dish. From the star of the show – the corn itself – to the rich dairy and subtle seasonings, every component is carefully selected to contribute to the overall harmony of flavors. Choosing quality ingredients, even for a simple recipe like this, can elevate your corn pudding from good to absolutely outstanding.
Ingredient Spotlight & Expert Substitution Tips
Understanding each ingredient’s role and potential substitutions can help you customize this delicious corn pudding to your preferences or dietary needs. Here’s a deeper dive into the key components:
CORN – The foundation of this dish relies on a combination of both canned whole kernel corn and canned cream style corn. The whole kernel corn provides delightful pops of sweetness and texture, while the cream style corn is absolutely essential for achieving that signature velvety, custard-like consistency. Its thick, creamy texture acts as a binding agent and adds a depth of corn flavor that is hard to replicate.
- Whole Kernel Corn Substitution: If canned whole kernel corn isn’t available, you can readily substitute it with frozen corn. Ensure the frozen corn is thawed and drained well before adding it to the mixture to prevent excess moisture, which could lead to a watery pudding. Fresh corn can also be used, but it should be blanched briefly and then cut off the cob. For fresh corn, estimate about 3-4 medium ears to yield the equivalent of two 12-ounce cans.
- Cream Style Corn Alternatives: While canned cream style corn is highly recommended for convenience and consistent results, if you wish to avoid canned goods, you can make creamed corn from scratch. This typically involves simmering fresh or frozen corn kernels with milk or cream, a touch of butter, and a thickener like flour or cornstarch until it reaches a similar creamy texture. Be aware that homemade creamed corn might alter the flavor profile slightly but can be equally delicious. However, for an authentic old-fashioned taste and texture, the canned version is ideal.
DAIRY (Whole Milk & Sour Cream) – These ingredients contribute significantly to the rich, creamy base of the pudding.
- Whole Milk: Whole milk provides the best richness and flavor for this recipe. You can use 2% milk, but it may result in a slightly less creamy pudding. Skim milk is generally not recommended as it lacks the fat content needed for the desired texture.
- Sour Cream: Full-fat sour cream adds a wonderful tang and moisture, enhancing the custard’s richness without making it overly heavy. For a slight variation, you could use plain full-fat Greek yogurt, which will offer a similar tang and thickness, though it might be slightly denser. Alternatively, if you don’t have sour cream, you can use an equal amount of buttermilk or even heavy cream, though buttermilk will add more tang, and heavy cream will make it richer and less tangy.
FATS (Salted Butter) – Butter is key for flavor and richness.
- Salted Butter: We use salted butter to enhance the overall flavor. If you only have unsalted butter, simply add an extra pinch of salt to the dry ingredients to compensate. The butter should be melted and slightly cooled before incorporating it into the wet ingredients to prevent it from cooking the eggs.
SWEETENERS (Granulated Sugar) – A touch of sugar brings out the natural sweetness of the corn and balances the savory elements.
- Granulated Sugar: The amount specified creates a perfectly balanced sweet and savory dish. If you prefer a less sweet corn pudding, you can reduce the sugar by a tablespoon or two. For a slightly richer, deeper sweetness, brown sugar could be used, but it will change the overall flavor profile.
THICKENERS & LEAVENING (All-Purpose Flour & Baking Powder) – These dry ingredients are crucial for the pudding’s structure and light texture.
- All-Purpose Flour: The flour helps to thicken the pudding, giving it body and preventing it from being too watery. For a gluten-free version, you can experiment with a 1:1 gluten-free baking flour blend, ensuring it contains xanthan gum for structure.
- Baking Powder: This leavening agent gives the corn pudding a slight lift, contributing to its tender and airy consistency, similar to a soufflé. Do not omit it.
EGGS – Eggs are vital for creating the custard base.
- Large Eggs: Eggs act as a binder and emulsifier, giving the pudding its smooth, rich, and cohesive texture. Ensure your eggs are at room temperature, as this helps them incorporate more smoothly into the batter.
SEASONING (Sea Salt) – Salt is essential for enhancing all the other flavors.
- Sea Salt: A good quality sea salt brings out the best in both the sweet corn and the creamy dairy. Adjust to taste, especially if using unsalted butter.
Simple Steps to Your Best Homemade Corn Pudding
These step-by-step photos and detailed instructions are provided to help you visualize each stage of making this incredible corn pudding. For a convenient printable version of this recipe, complete with precise measurements and full instructions, you can Jump to Recipe at the very bottom of this post.
- Preheat your oven to 350°F (175°C). While the oven heats, lightly grease a 2 1/2-quart baking dish with butter or non-stick spray, ensuring the pudding won’t stick and will release easily.
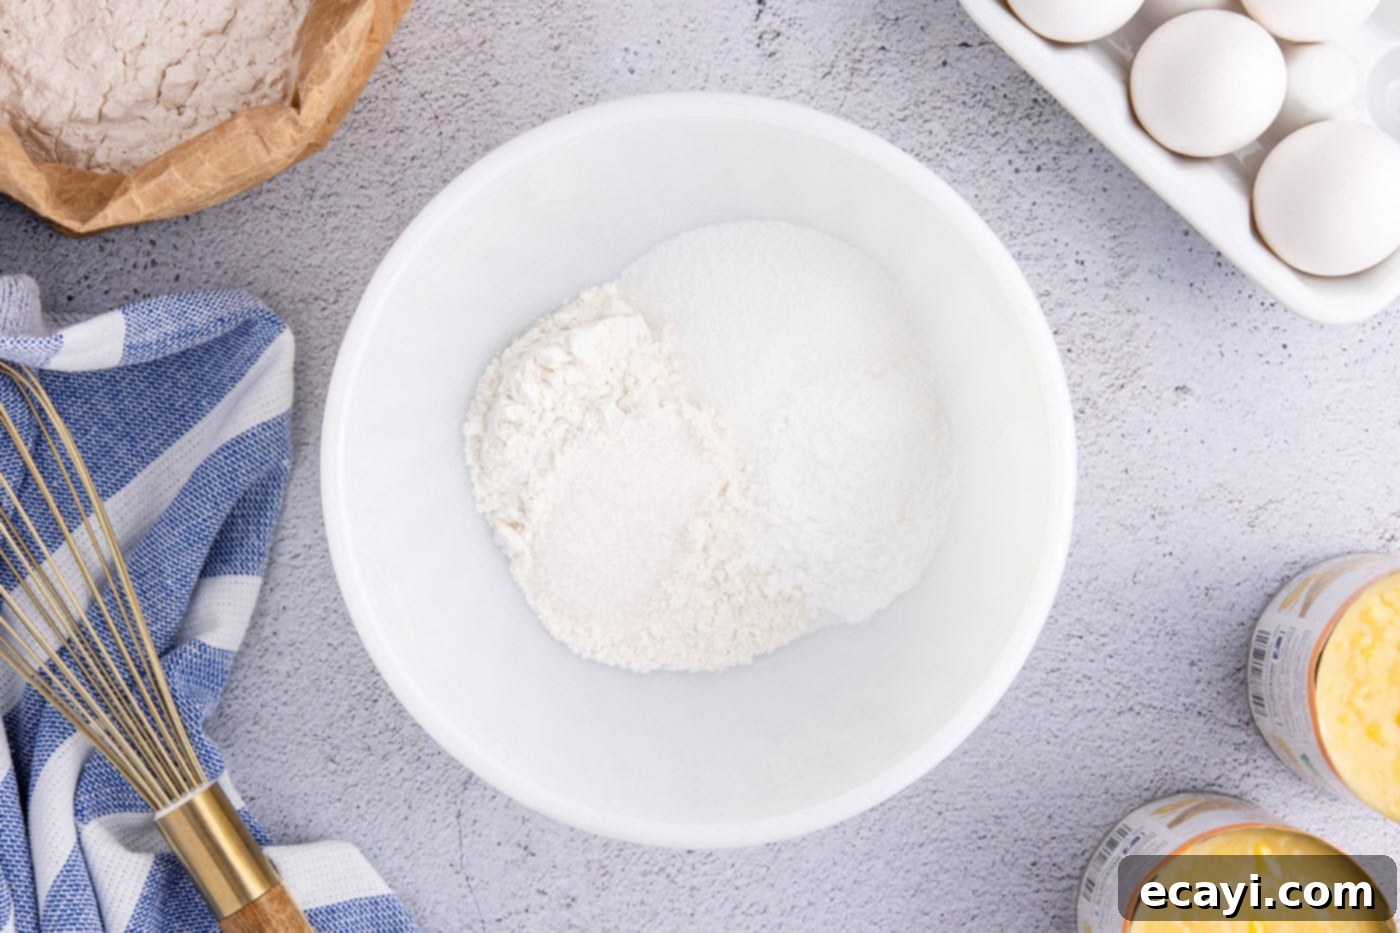
- In a medium-sized bowl, combine all-purpose flour, granulated sugar, baking powder, and salt. Whisk these dry ingredients together thoroughly until they are well combined and there are no visible lumps. This ensures even distribution throughout the pudding. Set this bowl aside.

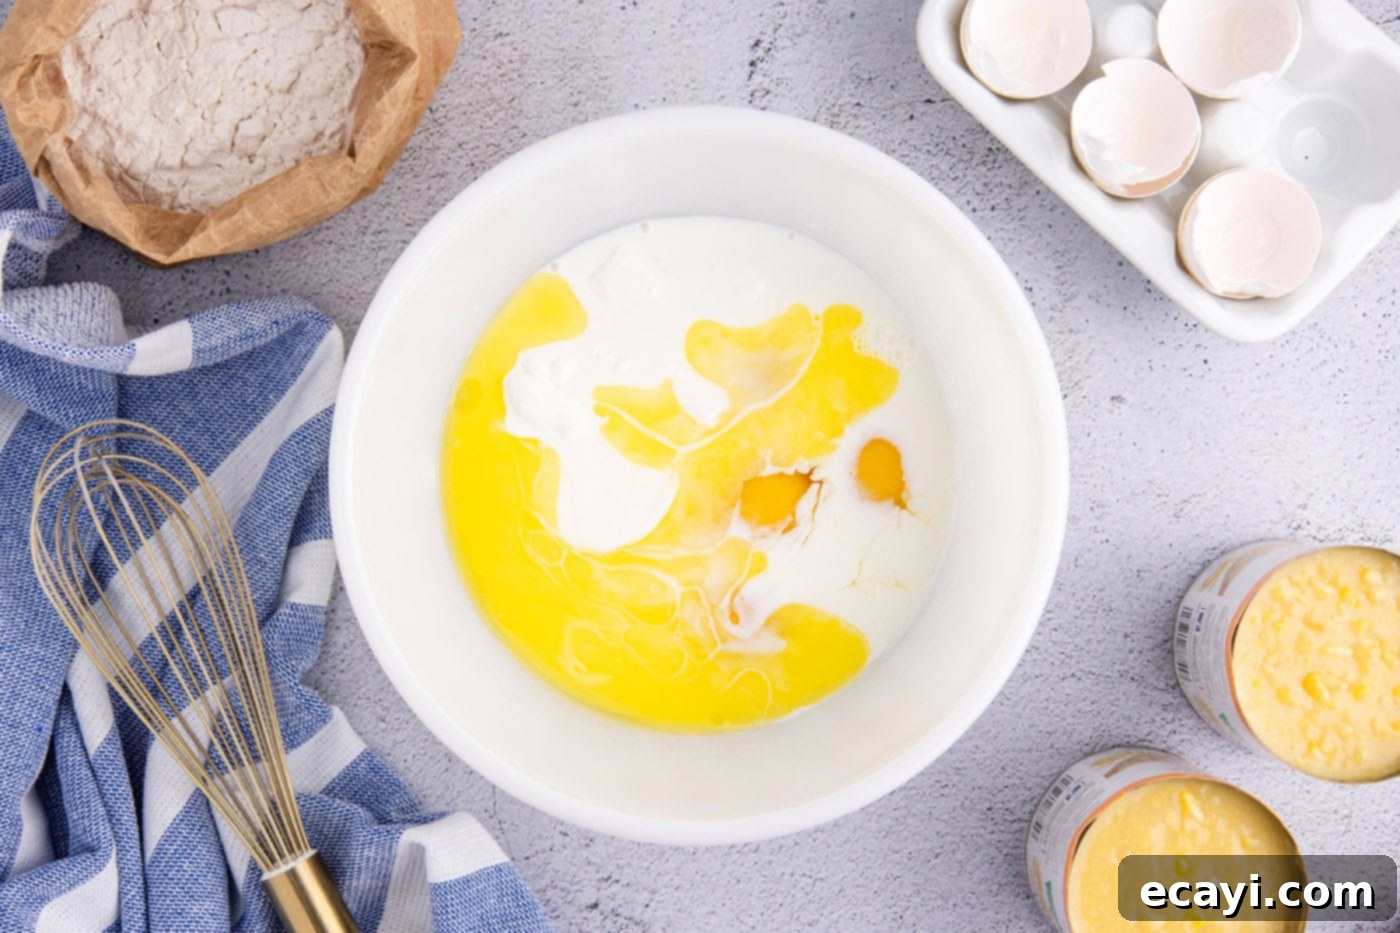
- In a separate, larger bowl, whisk together the wet ingredients: eggs, whole milk, melted butter, and sour cream. Whisk until the mixture is smooth, creamy, and thoroughly incorporated. Ensure the melted butter isn’t too hot to avoid scrambling the eggs.

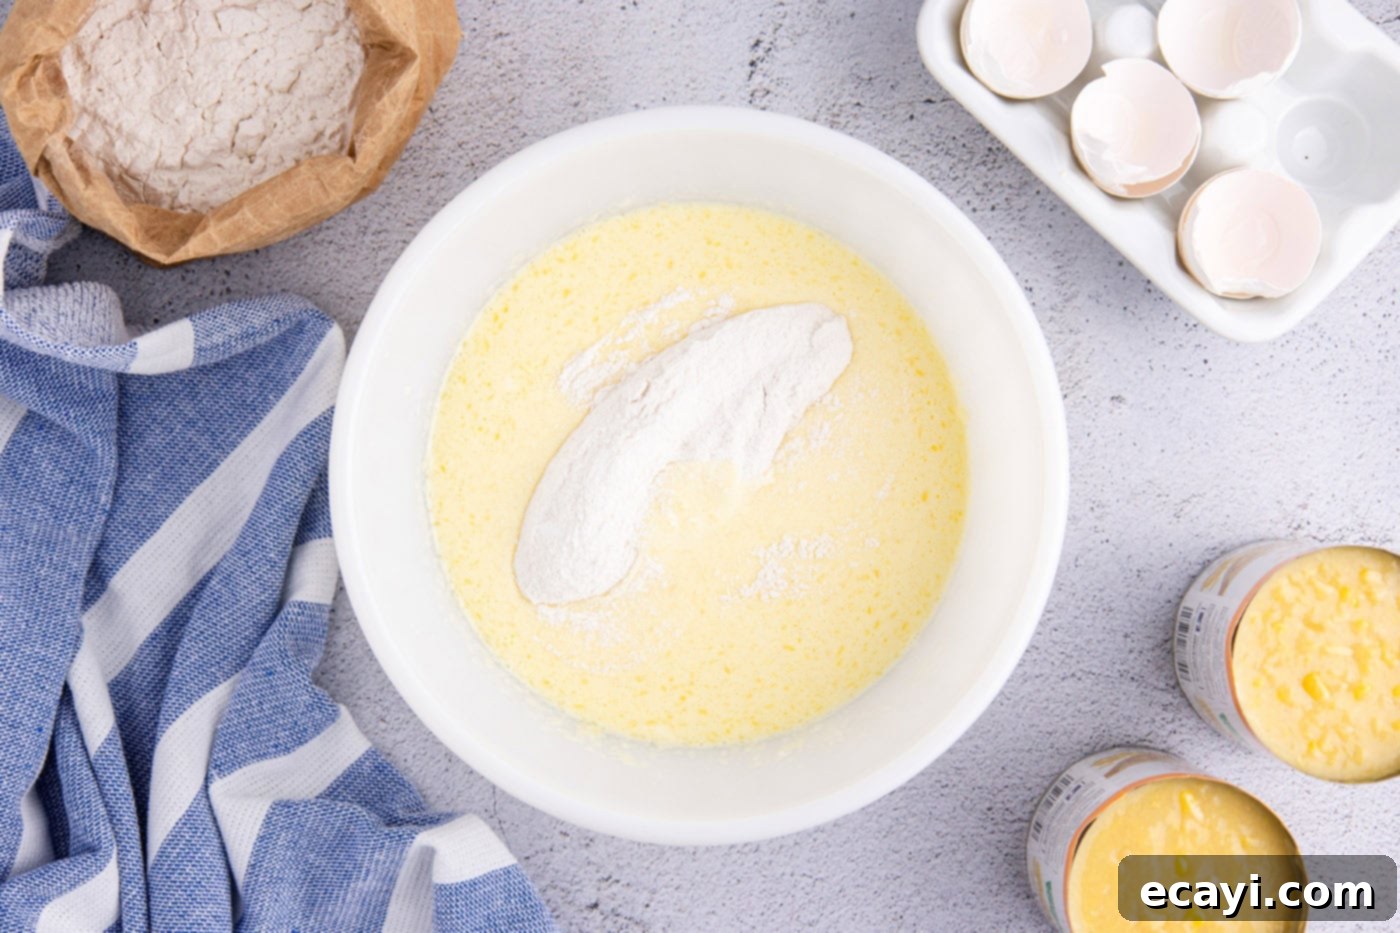
- Gradually add the dry ingredient mixture from the medium bowl into the wet ingredients in the large bowl. Whisk continuously until the batter is completely smooth and free of any flour lumps. Be careful not to overmix, as this can develop the gluten in the flour and make the pudding tough.

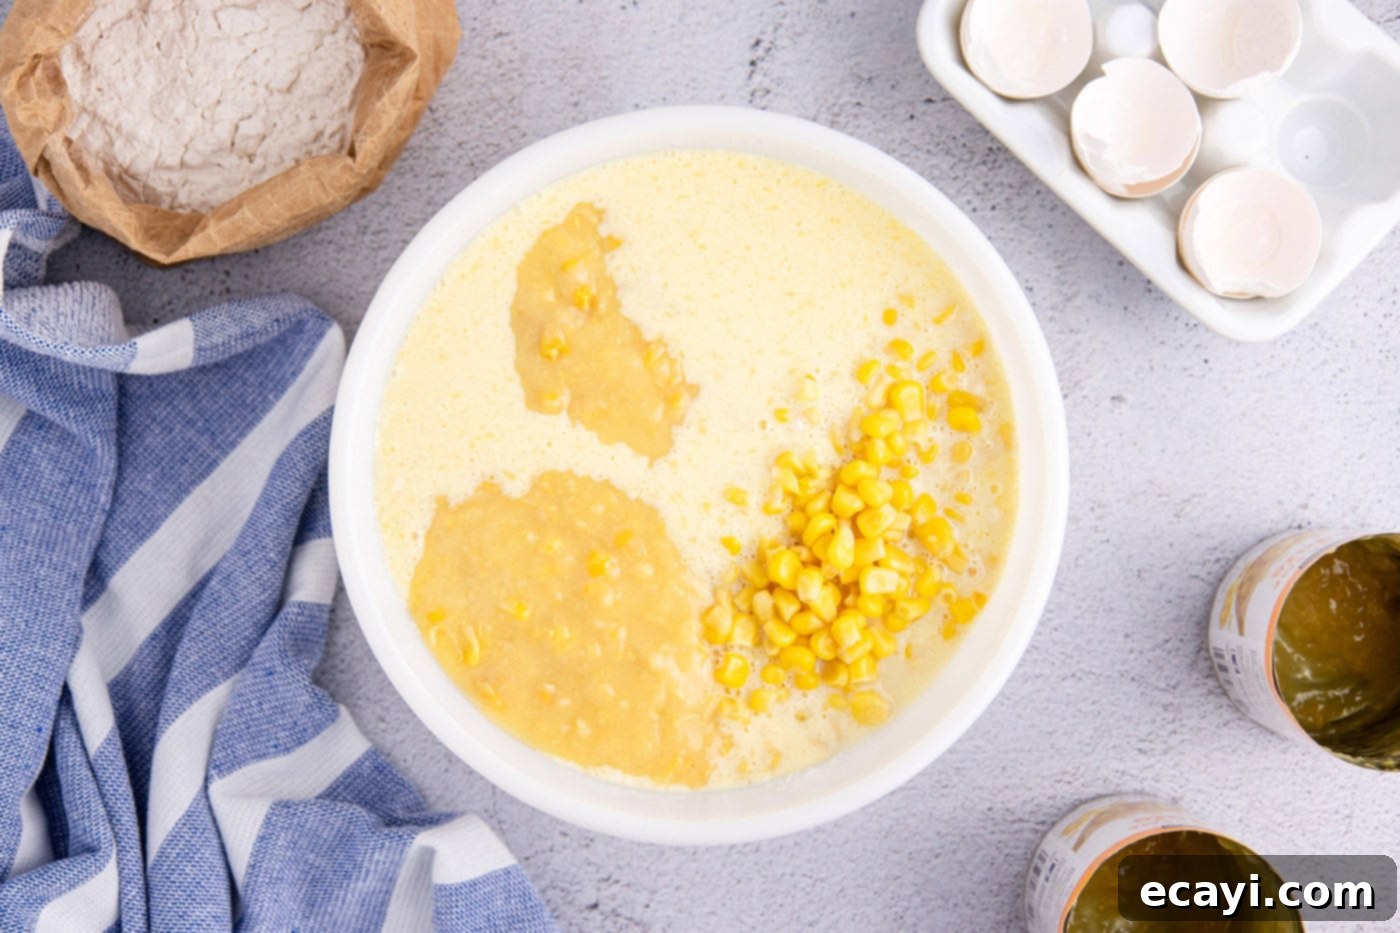
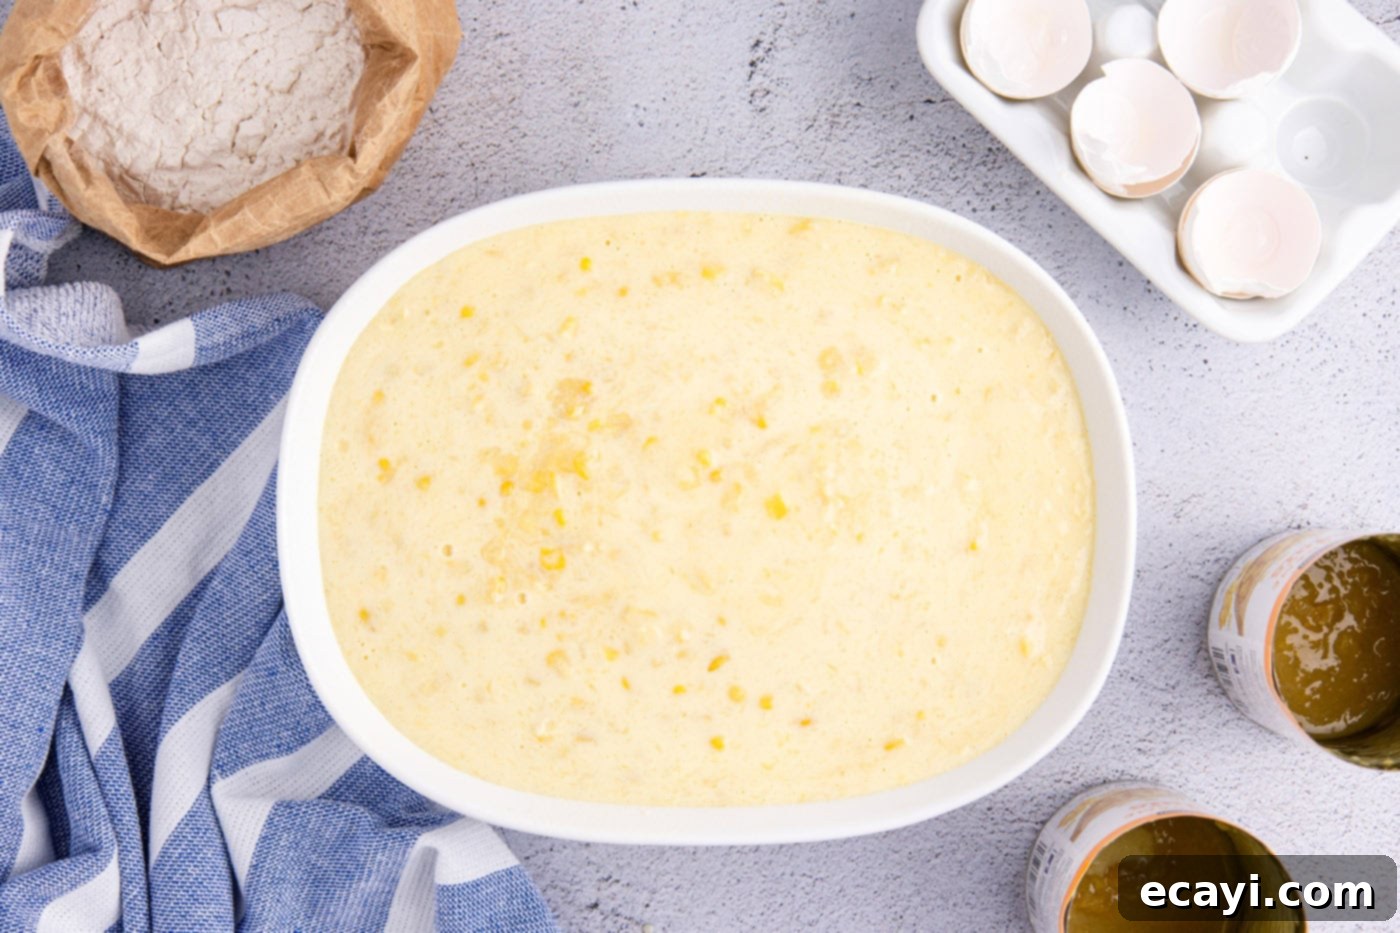
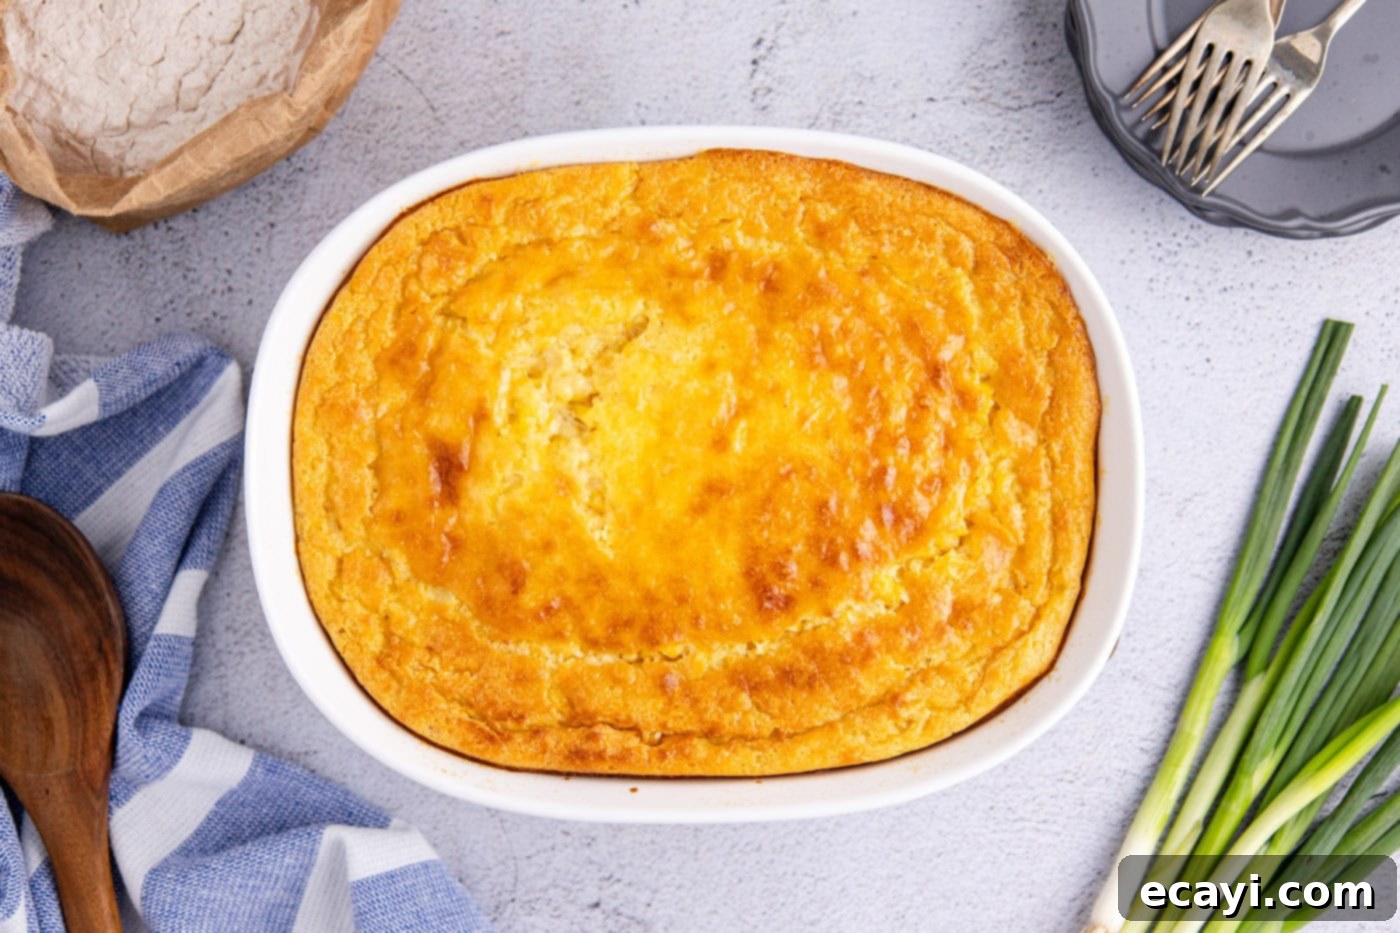
- Finally, gently stir in both the drained whole kernel corn and the cream style corn into the prepared batter. Mix just until combined. Pour the entire mixture evenly into your lightly greased baking dish. Transfer the dish to the preheated oven and bake for approximately 60-70 minutes, or until the top is beautifully golden brown and the edges are set. A slight jiggle in the center is perfectly normal and indicates a tender, creamy pudding; it will firm up further as it cools outside of the oven. Avoid overbaking, which can lead to a dry or rubbery texture.


- Once baked, remove the corn pudding from the oven. Allow it to rest and cool slightly for about 10-15 minutes before serving. This resting period allows the custard to fully set and makes for easier, cleaner serving. Enjoy this comforting, old-fashioned side dish warm!

Frequently Asked Questions & Expert Tips for Perfect Corn Pudding
To maintain its freshness and delicious flavor, store any leftover corn pudding in an airtight container. Keep it refrigerated for up to 4 days. When you’re ready to enjoy it again, you can easily reheat it. For best results, warm it through in a 350°F (175°C) oven until heated to your liking. Alternatively, for a quicker option, individual servings can be gently reheated in the microwave.
While it might seem convenient, we generally do not recommend freezing corn pudding. Due to its significant dairy and egg content, the delicate custard-like texture tends to break down once thawed, resulting in a less desirable, often grainy or watery consistency. For optimal enjoyment, it’s best consumed fresh or refrigerated within the recommended timeframe.
The primary distinction between corn pudding and corn casserole lies in their base and resulting texture. Corn pudding, like this recipe, is characterized by its incredibly creamy, almost soufflé-like consistency, often described as a soft custard. Some might even compare its tender, moist texture to very soft scrambled eggs. On the other hand, corn casserole typically boasts a thicker, firmer base, often achieved by incorporating a cornbread mix, giving it a more bready or cake-like structure. While both share a similar sweet and savory corn flavor profile, their textural experiences are quite distinct.
Yes, you can! You can assemble the corn pudding mixture up to 24 hours in advance. Simply mix all the ingredients, pour them into your prepared baking dish, cover it tightly with plastic wrap, and refrigerate. When ready to bake, remove it from the refrigerator about 30 minutes before baking to allow it to come closer to room temperature, then bake as directed. This can be a huge time-saver, especially for holiday meal prep!
Your corn pudding is fully cooked when the edges are set and lightly golden brown, and the center has a slight, gentle jiggle when the dish is carefully moved. It should not be watery. If you insert a knife into the center, it should come out mostly clean. Remember, it will continue to firm up slightly as it cools after being removed from the oven.
A 2 1/2 to 3-quart baking dish works perfectly for this recipe. You can use an oval, rectangular, or square dish. If you don’t have a 2 1/2-quart oval dish, a 3-quart rectangular baking dish will also work beautifully, just keep an eye on the baking time as it might slightly vary depending on the surface area and depth.
Expert Tips for the Best Corn Pudding:
- Don’t Overmix: After combining the wet and dry ingredients, mix just until smooth. Overmixing can develop the gluten in the flour, leading to a tougher, less tender pudding.
- Room Temperature Ingredients: For a smoother, more cohesive batter, allow your eggs, milk, and sour cream to come to room temperature before mixing. This helps them emulsify better with the other ingredients.
- Even Baking: For consistent results, consider rotating your baking dish halfway through the cooking time, especially if your oven has hot spots.
- Customize Your Flavor: Feel free to add a pinch of cayenne pepper or a dash of hot sauce to the mixture for a subtle kick, or stir in some shredded cheddar cheese for a cheesier twist. Finely chopped bell peppers or chives can also add extra flavor and color.
- The “Jiggle” Factor: As mentioned, a slight jiggle in the center is desirable. It’s a sign of a perfectly cooked, moist, and creamy custard. Overbaking will result in a drier texture, reminiscent of firm scrambled eggs, losing that signature pudding creaminess.
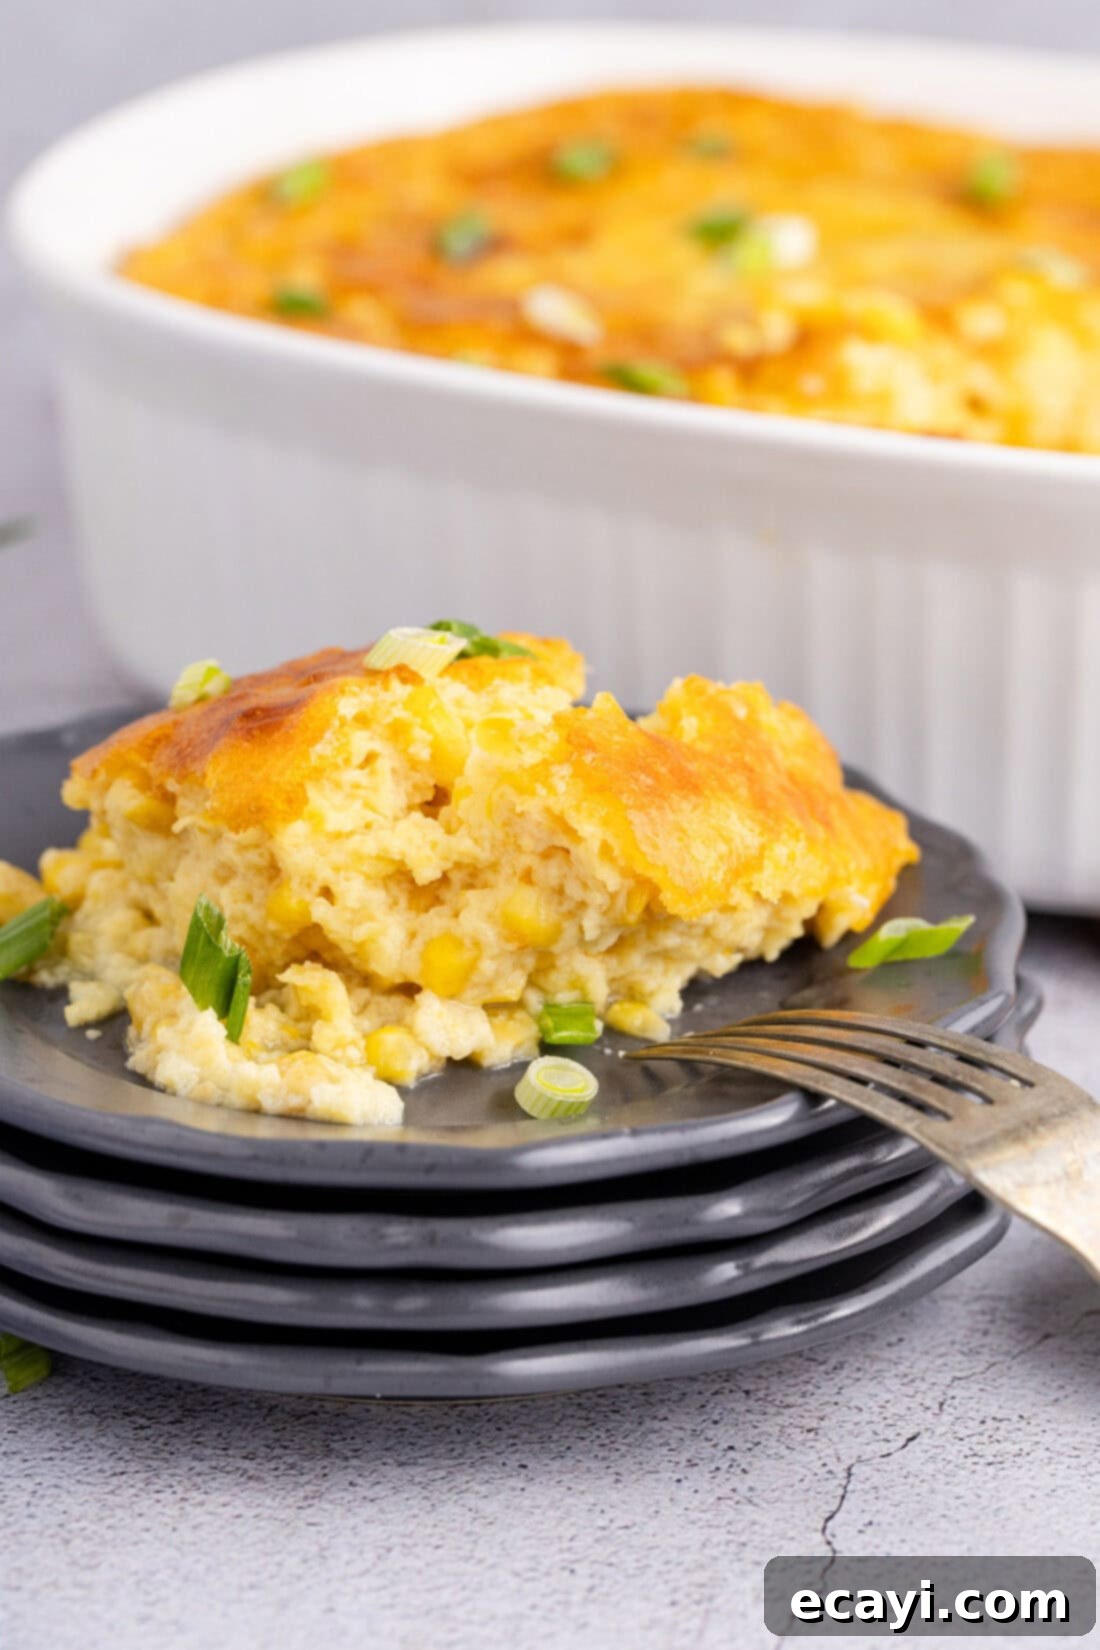
Delicious Serving Suggestions for Corn Pudding
Corn pudding is incredibly versatile and makes a fantastic accompaniment to a wide array of dishes. It’s truly the star of the show at holiday feasts, and you can certainly bet it will grace tables for Thanksgiving, Christmas, and Easter celebrations. Its creamy, comforting nature perfectly complements classic holiday roasts and festive spreads.
Beyond the holidays, this delightful side dish pairs just as beautifully with your everyday meals. Imagine it alongside a succulent roast chicken, tender grilled pork chops, or juicy steaks. It’s also a superb addition to a summer BBQ spread, complementing anything from pulled pork to grilled ribs. For a brunch gathering, it can be a unique and savory alternative to sweeter pastries. Optionally, elevate its presentation and add a fresh burst of flavor by garnishing with finely sliced green onions, fresh chives, a sprinkle of paprika, or even crispy bacon bits. Serve it warm for the ultimate comfort food experience!
More Comforting Side Dish Recipes You’ll Love
If you love the comforting appeal of corn pudding, you’re sure to enjoy these other beloved side dish recipes:
- Corn Casserole
- Scalloped Corn
- Broccoli Casserole
- Hashbrown Casserole
I love to bake and cook and share my kitchen experience with all of you! Remembering to come back each day can be tough, that’s why I offer a convenient newsletter every time a new recipe posts. Simply subscribe and start receiving your free daily recipes!
Corn Pudding
IMPORTANT – There are often Frequently Asked Questions within the blog post that you may find helpful. Simply scroll back up to read them!
Print It
Pin It
Rate It
Save It
Saved!
Prevent your screen from going dark
Course:
Side Dish
Cuisine:
American
10
servings
1 hour
10 minutes
263
Amanda Davis
Ingredients
-
½
cup
all purpose flour -
⅓
cup
granulated sugar -
2
teaspoons
baking powder -
½
Tablespoon
sea salt -
4
large
eggs -
1
cup
whole milk -
4
Tablespoons
salted butter
melted, 1/2 stick -
½
cup
sour cream
full fat -
24
ounces
whole kernel corn
drained. two 12 ounce cans -
28
ounces
cream style corn
two 14 ounce cans
Things You’ll Need
-
2 1/2 quart baking dish -
Mixing bowls
Before You Begin
- If needed, you can substitute the whole kernel corn with frozen corn. Just ensure it’s thawed and well-drained. However, you will still need to use canned cream corn (or make creamed corn from scratch) to achieve the consistent creamy texture.
- If you do not have an oval baking dish, a 3-quart rectangular baking dish will work perfectly fine.
- The finished corn pudding will naturally have a slight jiggle in the center when removed from the oven. This is exactly what you want for a tender, creamy pudding. It will continue to firm up as it cools down outside of the oven.
- Baking times can vary depending on your oven. Keep an eye on the corn pudding once it reaches the 60-minute mark. It should be golden brown on top and set at the edges, with the center still having a gentle wobble but not being liquidy. Avoid overbaking to maintain its creamy consistency.
- For best results, use room temperature dairy and eggs, as they combine more smoothly into the batter.
Instructions
-
Preheat your oven to 350°F (175°C). Lightly grease a 2 1/2-quart baking dish to prevent sticking.
-
In a medium bowl, whisk together all-purpose flour, granulated sugar, baking powder, and salt until well combined. Set aside.
-
In a large bowl, whisk together the eggs, whole milk, melted butter (ensure it’s not too hot), and sour cream until smooth and fully incorporated.
-
Gradually add the dry ingredients to the wet mixture, whisking until the batter is smooth and no lumps remain. Be careful not to overmix.
-
Gently stir in both the drained whole kernel corn and the cream style corn. Pour the mixture into the prepared baking dish. Bake for 60-70 minutes, or until golden brown and the edges are set. A slight jiggle in the center is desirable, as it will firm up upon cooling.
-
Remove from oven and allow it to cool slightly (about 10-15 minutes) before serving to allow the custard to set completely.
Expert Tips & FAQs
- Store leftover corn pudding in an airtight container kept in the refrigerator for up to 4 days. Reheat in a 350°F (175°C) oven until warmed through or pop it in the microwave.
- I would not recommend freezing corn pudding as the texture does not hold up well once thawed due to its dairy content, often becoming grainy or watery.
- For a creamier texture, ensure your dairy and eggs are at room temperature before mixing.
- Do not overmix the batter once the dry ingredients are added; mix just until combined to keep the pudding tender.
- A slight jiggle in the center of the pudding when removed from the oven is normal and indicates a perfectly moist, custard-like texture. It will firm up as it cools.
- Consider adding a pinch of cayenne or shredded cheese for a savory twist, or a dash of vanilla for a sweeter profile.
Nutrition
Serving:
1
serving
|
Calories:
263
cal
|
Carbohydrates:
37
g
|
Protein:
7
g
|
Fat:
11
g
|
Saturated Fat:
5
g
|
Polyunsaturated Fat:
1
g
|
Monounsaturated Fat:
3
g
|
Trans Fat:
0.2
g
|
Cholesterol:
96
mg
|
Sodium:
745
mg
|
Potassium:
353
mg
|
Fiber:
1
g
|
Sugar:
11
g
|
Vitamin A:
418
IU
|
Vitamin C:
5
mg
|
Calcium:
94
mg
|
Iron:
1
mg
Tried this Recipe? Pin it for Later!
Follow on Pinterest @AmandasCookin or tag #AmandasCookin!
The recipes on this blog are tested with a conventional gas oven and gas stovetop. It’s important to note that some ovens, especially as they age, can cook and bake inconsistently. Using an inexpensive oven thermometer can assure you that your oven is truly heating to the proper temperature. If you use a toaster oven or countertop oven, please keep in mind that they may not distribute heat the same as a conventional full sized oven and you may need to adjust your cooking/baking times. In the case of recipes made with a pressure cooker, air fryer, slow cooker, or other appliance, a link to the appliances we use is listed within each respective recipe. For baking recipes where measurements are given by weight, please note that results may not be the same if cups are used instead, and we can’t guarantee success with that method.
