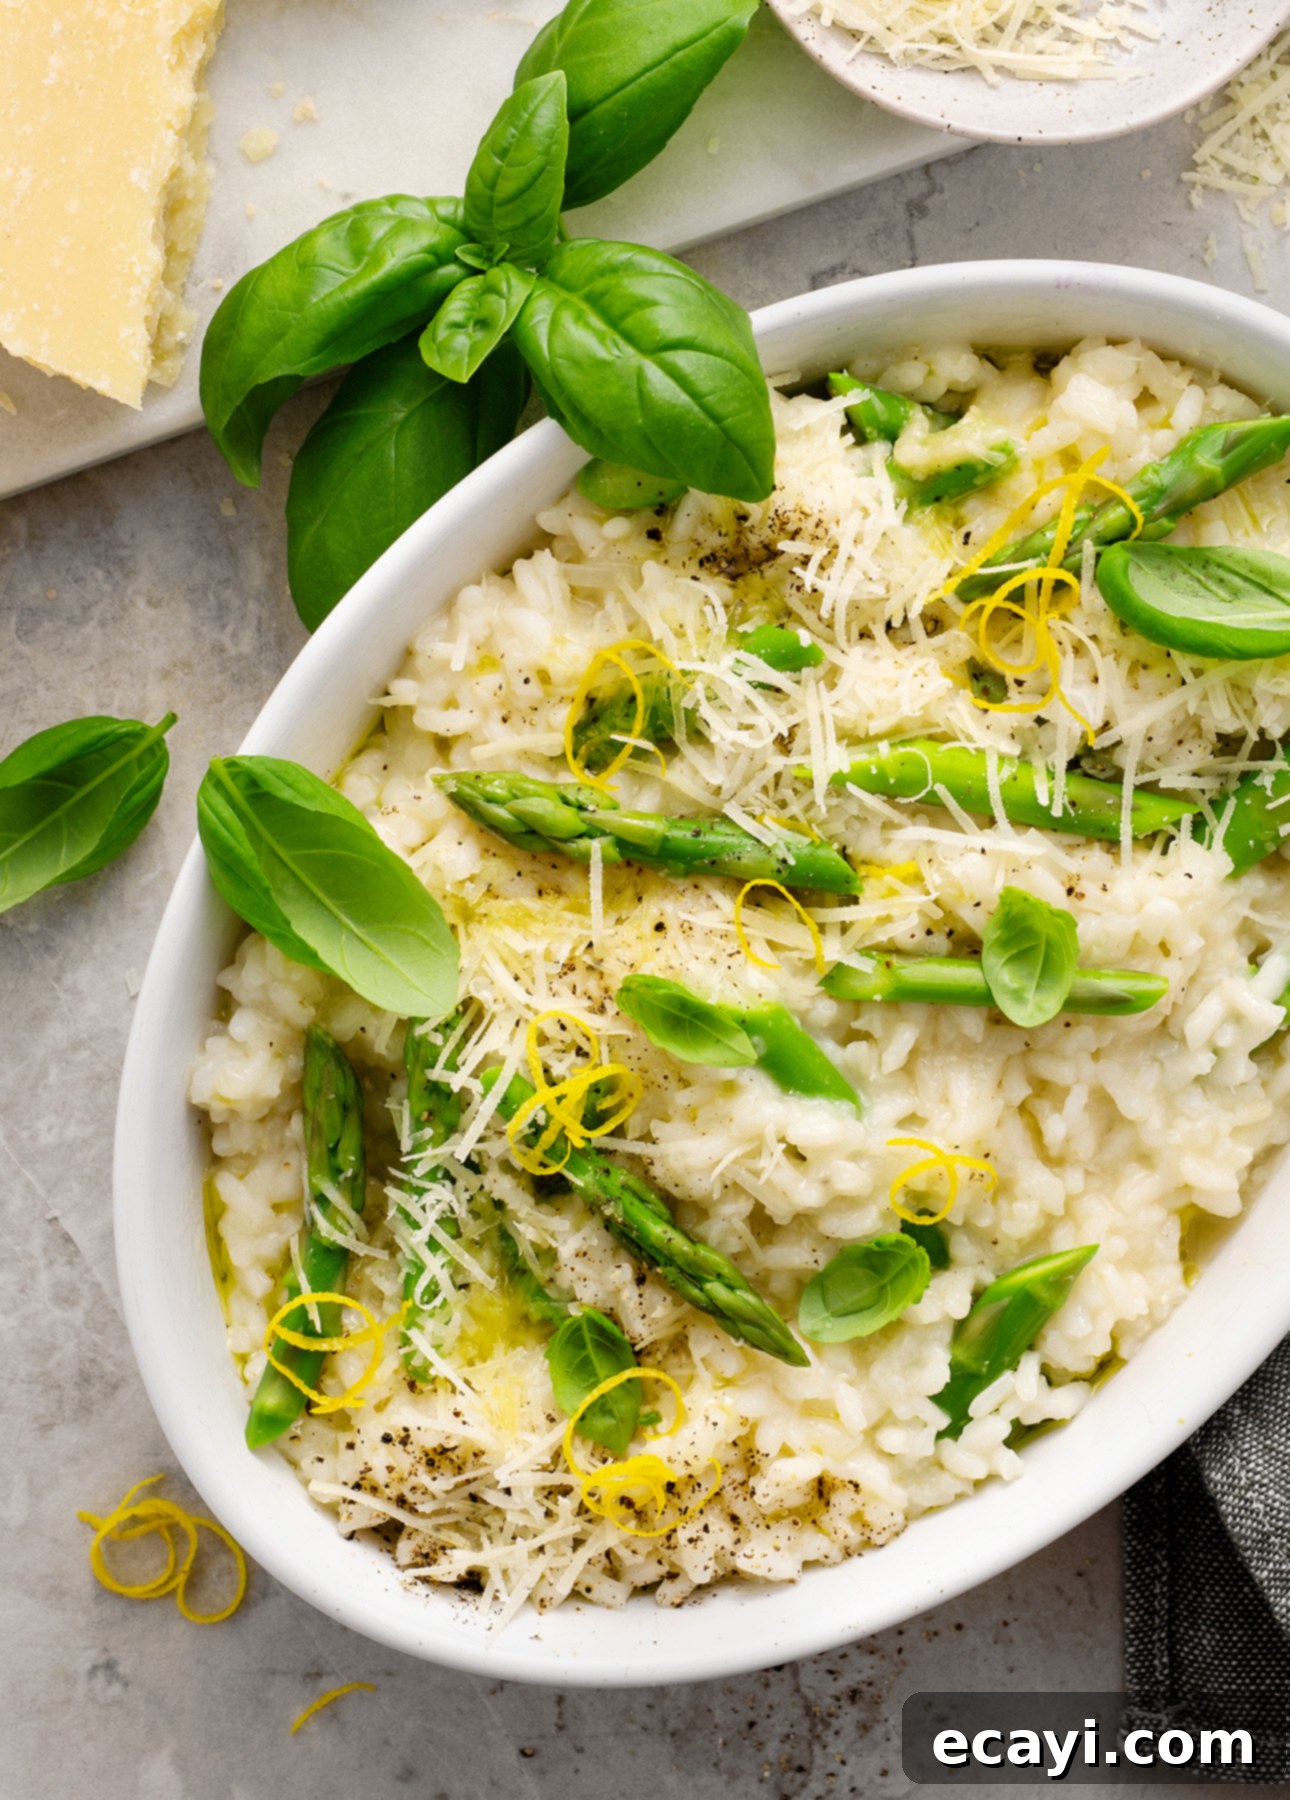
Creamy Lemon Asparagus Risotto: Your Ultimate Guide to a Perfect Spring Meal
Master the art of creating an elegant lemon asparagus risotto with our step-by-step guide! Discover expert tips for achieving perfectly cooked rice, capturing vibrant asparagus flavor, and enjoying truly delicious results. This recipe is easy enough for weeknight dinners but impressively sophisticated for any special occasion.
This post contains affiliate links. Full disclosure is at the bottom of the article.
As the days grow longer and a gentle warmth fills the air, ushering in the beauty of spring, my culinary imagination inevitably drifts towards lighter, brighter, and more vibrant meals. And at the very top of that list, almost without fail, is this incredibly satisfying lemon asparagus risotto. It’s a dish I eagerly anticipate, especially when I start seeing those first magnificent, tender green stalks of asparagus making their grand appearance at the local farmer’s market.
My adoration for asparagus knows no bounds when spring arrives. Its delicate flavor and crisp texture make it an incredibly versatile ingredient. You’ll find me incorporating it into nearly everything I cook during this season – from delightful breakfast pizzas and hearty pasta dishes to quick stir-fries and elegant brunch creations. There’s just something inherently perfect about pairing asparagus with rich, creamy, and cheesy elements. This is precisely why a classic risotto, infused with the zest of lemon and the freshness of spring asparagus, creates such a harmonious and utterly delicious experience.
Now, I know the word “risotto” can sometimes conjure images of daunting, labor-intensive cooking – a dish reserved for professional chefs or weekend projects. However, I’m here to tell you that this particular lemon asparagus risotto recipe truly breaks that mold. It is surprisingly quick and straightforward to prepare, making it a completely realistic and delightful option even on the busiest of weeknights. The most appealing aspect? There’s no cumbersome “extra prep” required beforehand. You simply begin the rice, chop your fresh asparagus while it gently simmers, and then fold it in towards the end, alongside a bright burst of lemon. The reward for your minimal effort? In just about thirty minutes, you’ll be greeted with an incredibly satisfying, radiantly flavored, and deeply comforting bowl of food, ready for you to savor.
While this recipe is undeniably easy enough for a Tuesday evening dinner, its sophisticated flavors and luxurious texture elevate it to something truly special. This lemon asparagus risotto feels remarkably elegant and impressive, making it an ideal choice for entertaining guests or simply indulging in a well-deserved weekend treat. It offers that coveted ‘wow’ factor without demanding marathon-level kitchen stamina, allowing you to actually relax and genuinely enjoy the culinary experience, both during preparation and at the table.
The Magic Behind Achieving Truly Creamy Risotto
Before we fully immerse ourselves in the vibrant flavors of lemon and asparagus, let’s take a moment to demystify the fundamental magic of basic risotto preparation. Mastering these few crucial techniques is the key to unlocking that unparalleled, velvety creamy texture without resorting to the shortcut of simply pouring in heavy cream at the very end (which, in the world of authentic Italian risotto, is truly considered a cardinal sin!).
Get the Right Rice for Risotto
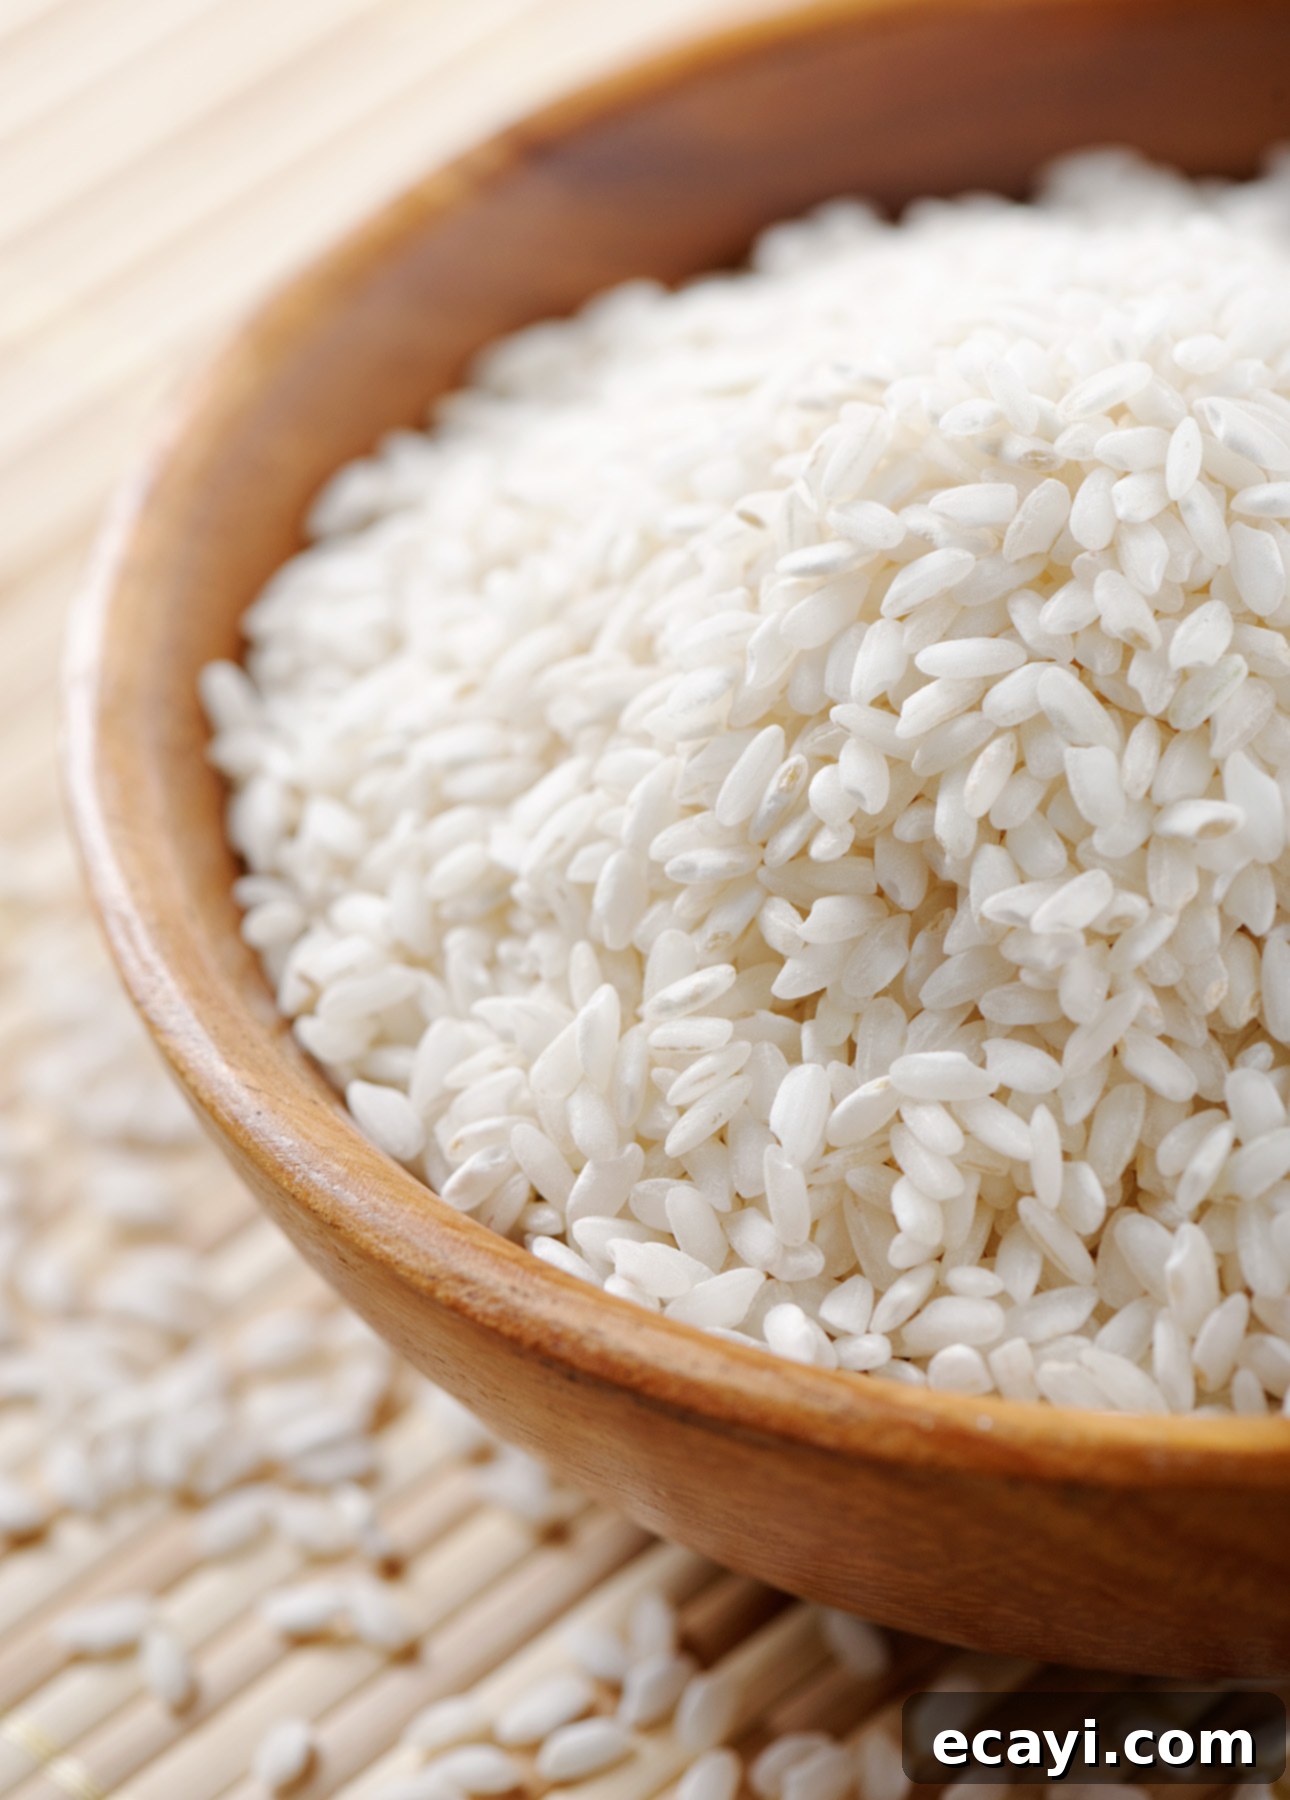
This is arguably the most critical component for any successful risotto! You cannot simply use any rice you have on hand and expect the same results. To create a truly authentic and creamy risotto, you absolutely need a specific type of short or medium-grain Italian rice. The reason for this is scientific: these rice varieties are exceptionally high in amylopectin, a specific type of starch. As you cook and, crucially, stir the rice, this starch is gradually released into the cooking liquid, creating that wonderfully luscious, creamy texture that defines great risotto. Your best choices are Arborio (which is the most widely available and a fantastic starting point), Carnaroli (my personal preference, often hailed as the ‘king’ of risotto rice due to its superior ability to absorb liquid while maintaining its distinct shape and providing excellent al dente texture), or Vialone Nano (another top-tier selection, known for its smaller grain and even creamier consistency). These specific types of rice are engineered by nature to absorb broth beautifully, swelling and softening, yet still remaining as distinct, individual grains. Attempting this dish with your everyday long-grain rice, like jasmine or basmati, simply won’t yield the desired creamy, starchy result – trust me, it’s a difference you can taste!
Keep Your Broth Consistently Warm
This might seem like a small detail, but it makes a world of difference: always, always keep your broth simmering gently in a separate pot. A subtle, continuous simmer is all you need. The reason is simple yet vital: if you introduce cold broth to hot rice, it will inevitably shock the cooking process. This thermal disruption causes the temperature of the risotto to drop significantly, halting the continuous and even cooking of the rice grains and hindering the consistent release of starch. This interruption directly impacts that beautiful, creamy consistency we’re striving for. Maintaining a warm broth ensures a smooth, uninterrupted cooking process, allowing the rice to absorb the liquid steadily and release its starches effectively, leading to a consistently creamy and perfectly cooked risotto.
Add the Broth Slowly & Stir, Stir, Stir (But Not Too Much!)
The art of adding broth to risotto is a slow and deliberate dance. Pour in the warm broth gradually, typically a ladleful at a time. Allow the rice to fully absorb that liquid before you introduce the next splash. This measured approach ensures the starch is released slowly and evenly. You’ll need to stir the risotto frequently – not non-stop, there’s no need to chain yourself to the stove and stir until your arm aches! – but regular, gentle stirring is essential. This constant agitation gently rubs the rice grains against each other and against the bottom of the pan, helping to knock off and release those precious starch molecules. It’s this mechanical action combined with the steady absorption of warm liquid that builds that incredible, natural creaminess without the need for any artificial thickeners.
Use the Good Cheese: Real Parmigiano-Reggiano
When it comes to the cheese for your risotto, please, make the investment in quality. Always strive to find and use authentic Parmigiano-Reggiano. This isn’t just a suggestion; it’s a foundational element that dramatically impacts the final flavor and texture of your dish. The unparalleled nutty, robust, slightly salty, and umami-rich flavor of real Parmigiano-Reggiano, coupled with its superior melting properties, makes an undeniable difference. When authentic Parmigiano-Reggiano and the correct Italian rice are used, you’ll find absolutely no need to add extra butter or cream at the end to achieve creaminess. In fact, adding butter or cream to a well-made, traditional risotto is truly considered a culinary offense – a cardinal sin in Italian cooking!
Authentic Parmigiano-Reggiano is a product protected under a Denominazione d’Origine Protetta (DOP) or Protected Designation of Origin. This stringent certification means it must be produced under specific, traditional methods, within precise geographical regions of Italy (provinces of Parma, Reggio Emilia, Modena, Bologna to the left of the Reno river, and Mantua to the right of the Po river) to bear its name. Genuine Parmigiano-Reggiano wheels are always stamped with their characteristic dotted rind, aged for a minimum of 12 months (though often much longer), and explicitly labeled with its original Italian name, distinguishing it from generic “parmesan” which often lacks the same quality, complexity, and aging process.
While real Parmigiano-Reggiano cheese does come with a slightly higher price tag, for a dish as celebrated as risotto, where the cheese’s nuanced aroma, profound flavor, and perfectly integrated texture are absolutely central to the experience, I believe it’s not just a worthwhile investment, but a truly required one for culinary excellence.

How to Get that Perfect Risotto Texture Every Time
Achieving the ideal, signature creamy texture is the holy grail of risotto making. A truly perfect risotto needs to meet two distinct, yet interconnected, textural criteria to be considered a success:
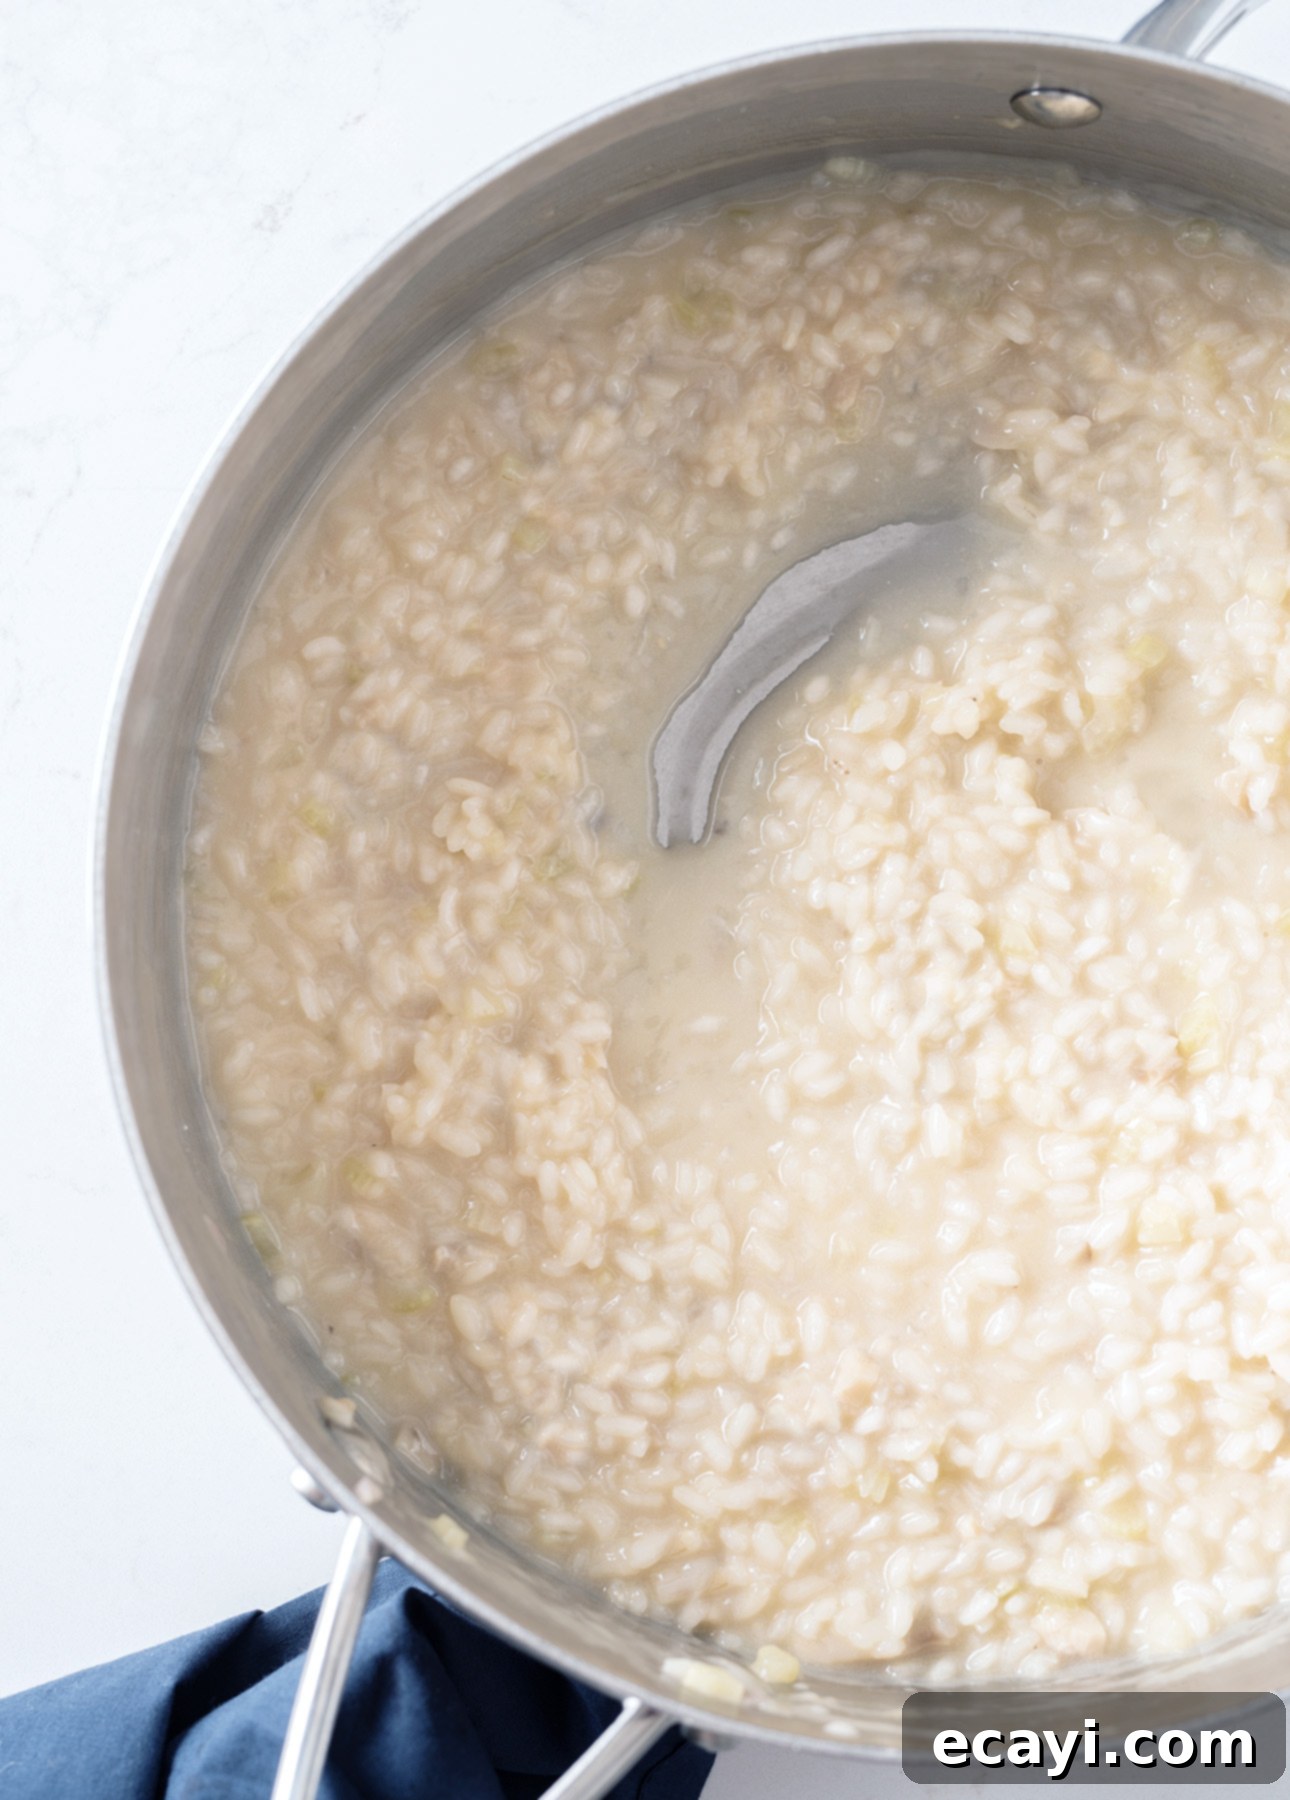
First, the rice grains themselves must possess that coveted ‘al dente’ finish. This means they should be soft and tender enough to contribute to the overall creamy mouthfeel, yet still retain a slight, pleasant resistance at their core – a delicate bite that prevents them from becoming mushy. When you look at a spoonful of perfect risotto, you should be able to see and distinguish each individual grain of rice, holding its beautiful, neat oblong shape. Mushy, broken-down rice is the antithesis of good risotto and a sign that it’s been overcooked.
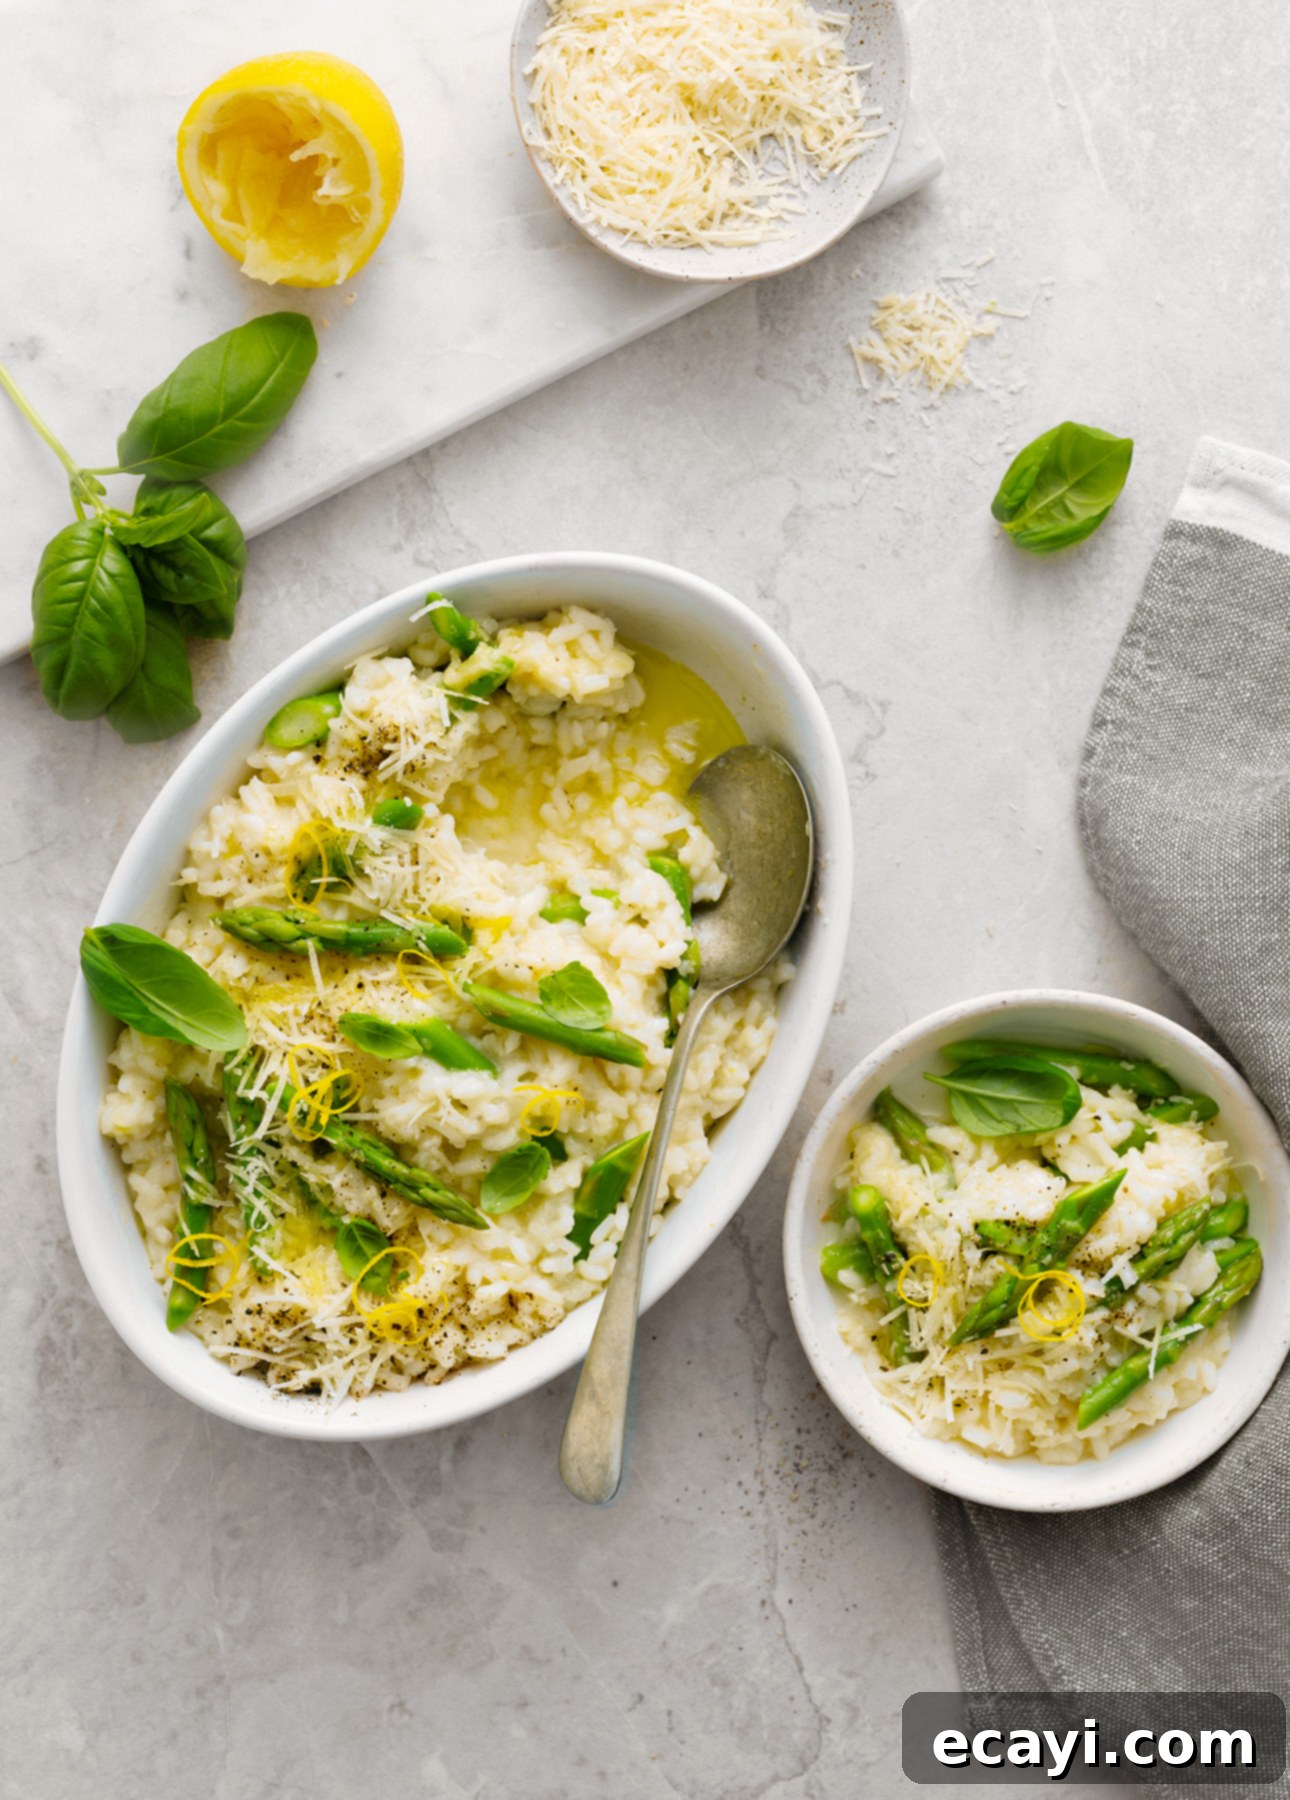
Second, and equally important, risotto must always be served ‘all’onda,’ which translates beautifully to ‘on the wave.’ This evocative phrase describes the desired consistency: forget any notion of risotto that is stiff, thick, and stands rigidly on a spoon or plate. Instead, truly perfect risotto should be luxuriously loose and fluid enough to gently flow, like a creamy wave, across your plate when served. This lovely, languid movement is the ultimate visual cue that the rice’s starches have been perfectly coaxed out, creating an exquisite, glossy, and creamy sauce that gracefully coats every single grain. The harmonious interplay of using the correct, starchy rice, meticulously adding warm broth in small increments, and stirring regularly throughout the cooking process is precisely how you arrive at this sublime ‘all’onda’ perfection.
My Top Tips for This Vibrant Lemon Asparagus Risotto
Here are a few additional, insider tips to help you craft the absolute best version of my delightful lemon asparagus risotto, ensuring every bite is bursting with fresh flavor and perfect texture.
Don’t Bother Blanching the Asparagus
This is fantastic news for anyone looking to simplify their cooking! Many recipes for asparagus often instruct you to blanch the spears first – that quick dip in boiling water followed by an immediate plunge into an ice bath to preserve color and tenderness. However, when you’re dealing with fresh, tender spring asparagus and incorporating it into a hot, actively cooking dish like this risotto, you can confidently skip the blanching step entirely. Fresh spring asparagus, particularly when picked at its prime, is inherently sweet, crisp, and ready to use as is. The residual heat and gentle cooking environment of the simmering risotto itself will expertly cook those delicate stalks to that perfect crisp-tender point, maintaining their vibrant green hue and fresh flavor, all without the need for that extra, fussy blanching step. This saves you time and effort without compromising on quality or taste.
Add Asparagus Late for the Best Bite
Asparagus shines brightest when it retains a delightful hint of crunch – absolutely no one desires mushy, overcooked, and sad-looking green stalks! This is precisely why, in this recipe, you’ll incorporate the prepped and chopped asparagus right near the very end of the risotto’s cooking time.
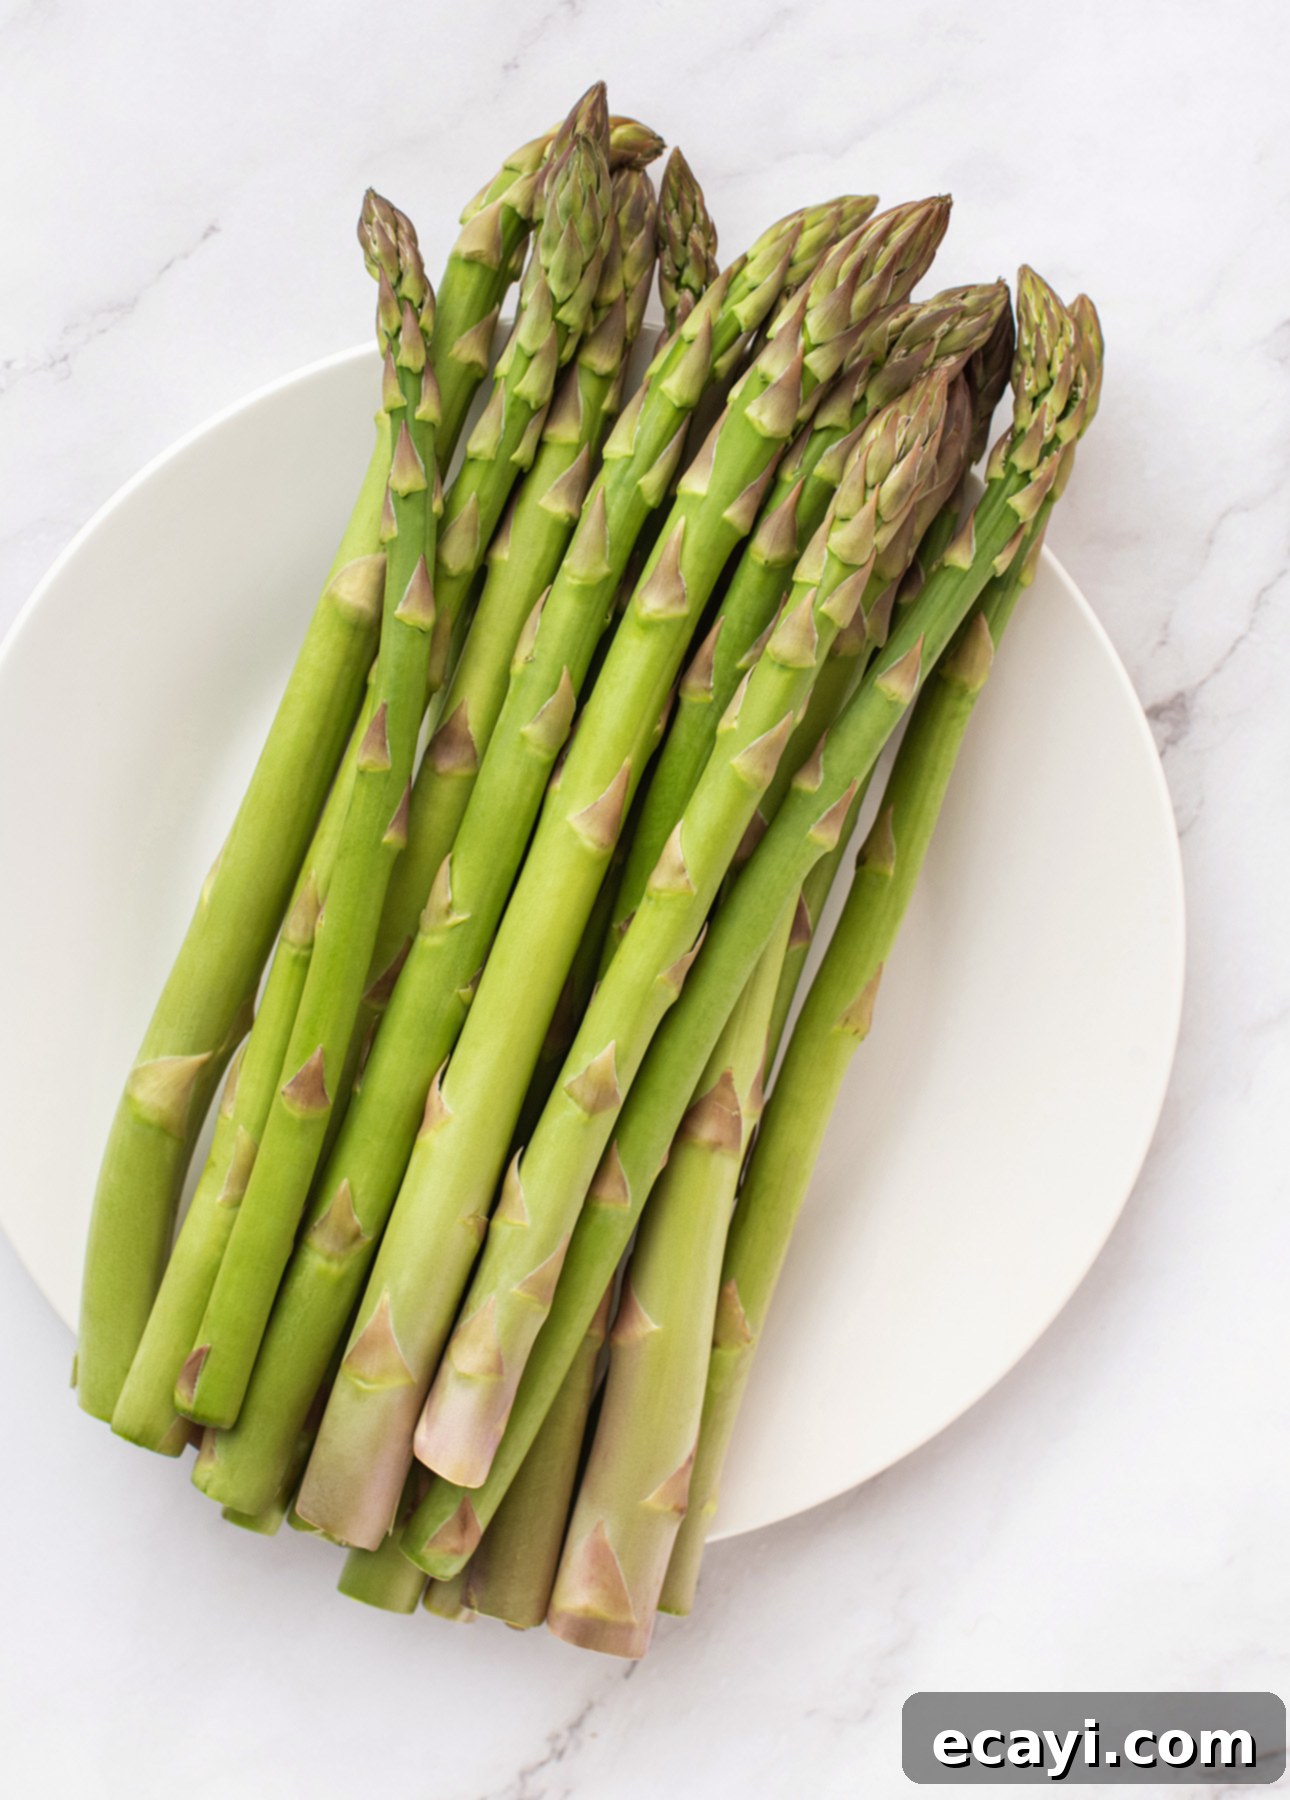
Typically, fresh spring asparagus spears average about 1/2 inch (1 cm) in diameter at their base. For this specific risotto, I recommend cutting them into manageable 2-inch (5 cm) lengths. Adding the asparagus so late in the process might initially seem counterintuitive, as if there won’t be enough time for them to cook. But trust me on this critical timing! Asparagus cooks remarkably fast, and its delicate structure means it transforms quickly from raw to tender-crisp. Furthermore, it will continue to soften ever so slightly from the lingering residual heat even after you remove the lemon asparagus risotto from the stove. This strategic late addition ensures your asparagus remains brightly colored, full of flavor, and perfectly crisp-tender in every spoonful.
Quick note on spear thickness: If your asparagus spears are noticeably thicker than average, you might want to slice them into slightly shorter pieces (e.g., 1.5-inch or 4 cm) to ensure they cook through evenly. Conversely, if you happen to have exceptionally skinny, pencil-thin spears, consider waiting even longer to add them – perhaps just a minute or two before the risotto is completely done – to prevent them from becoming limp.
Fancy It Up with Simple Garnishes
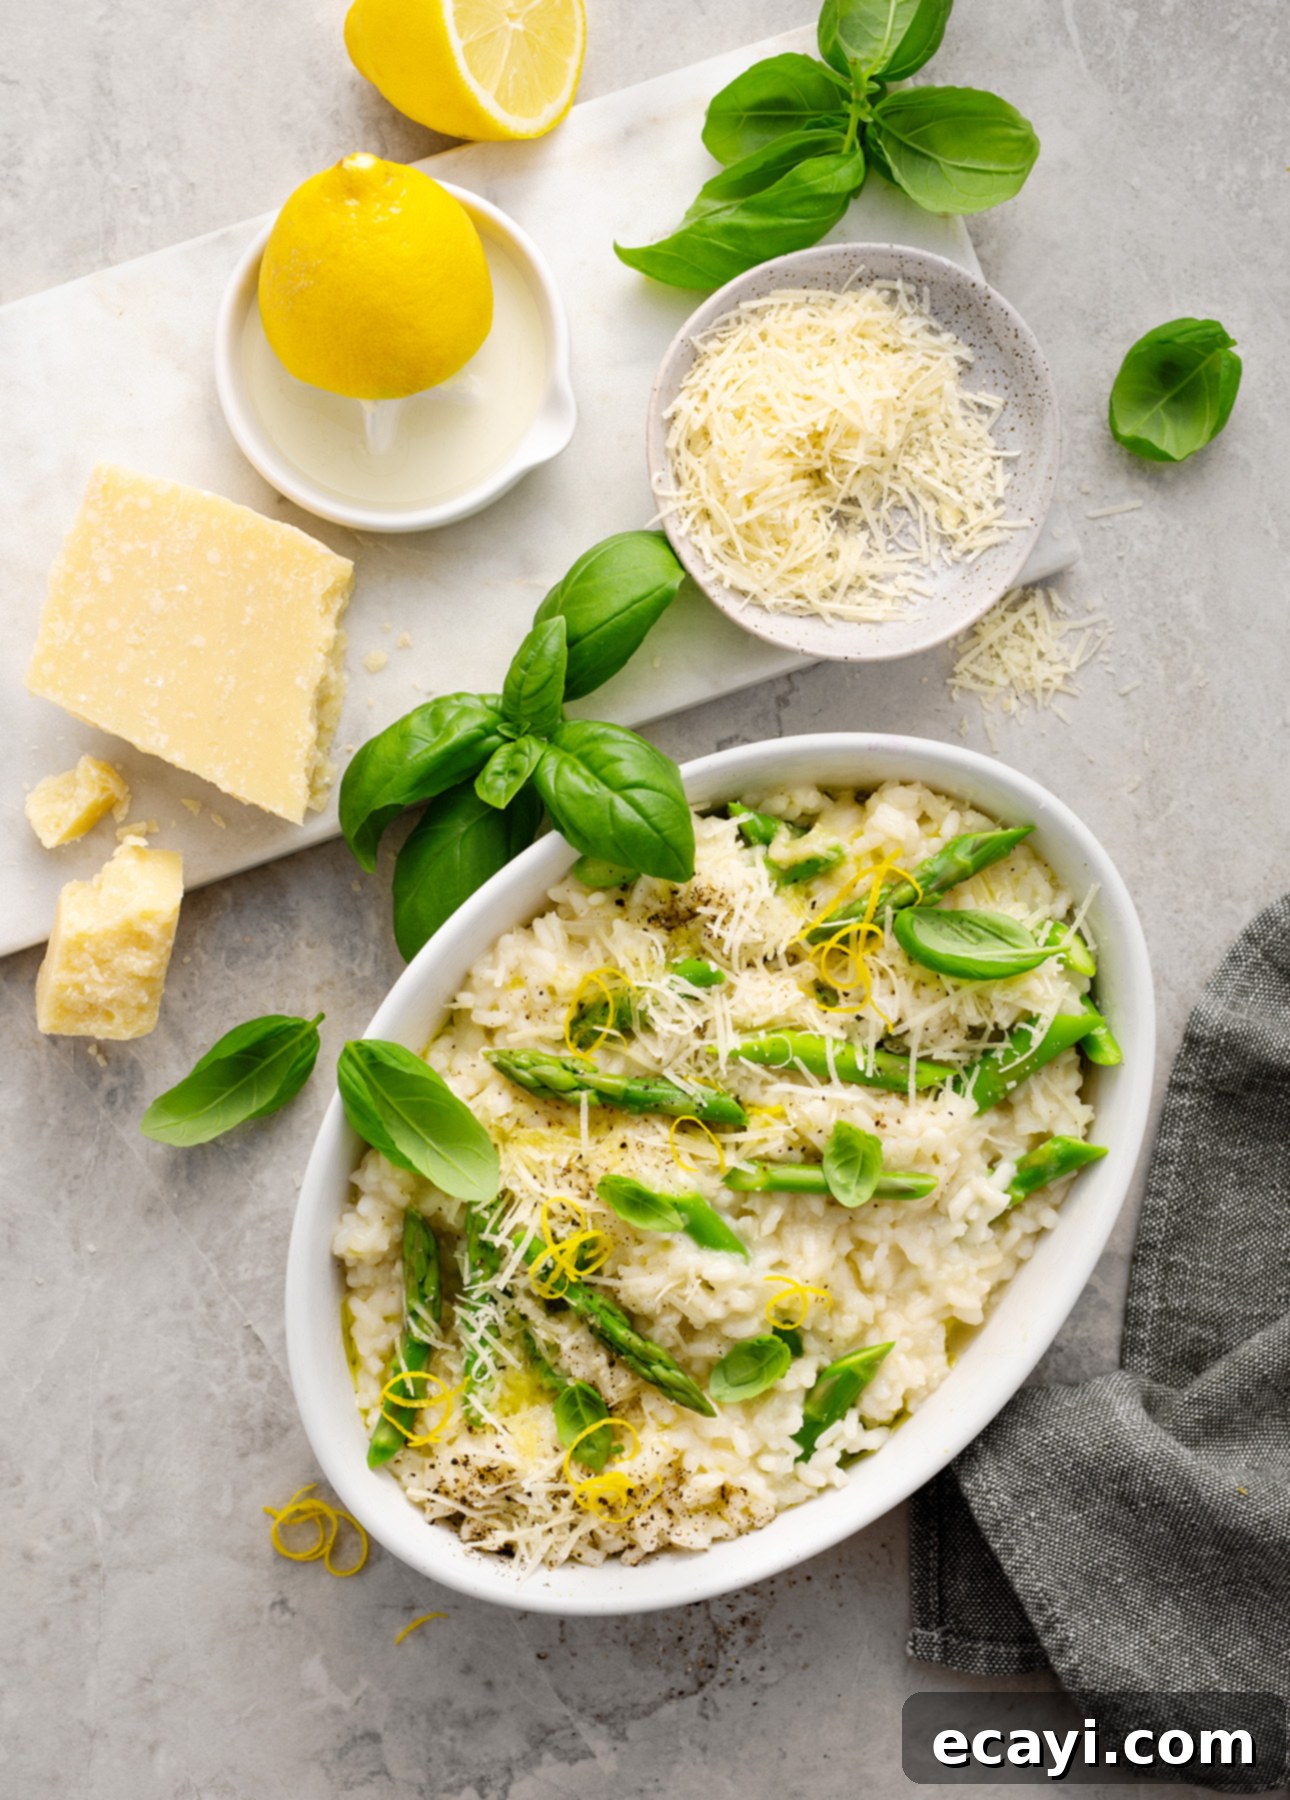
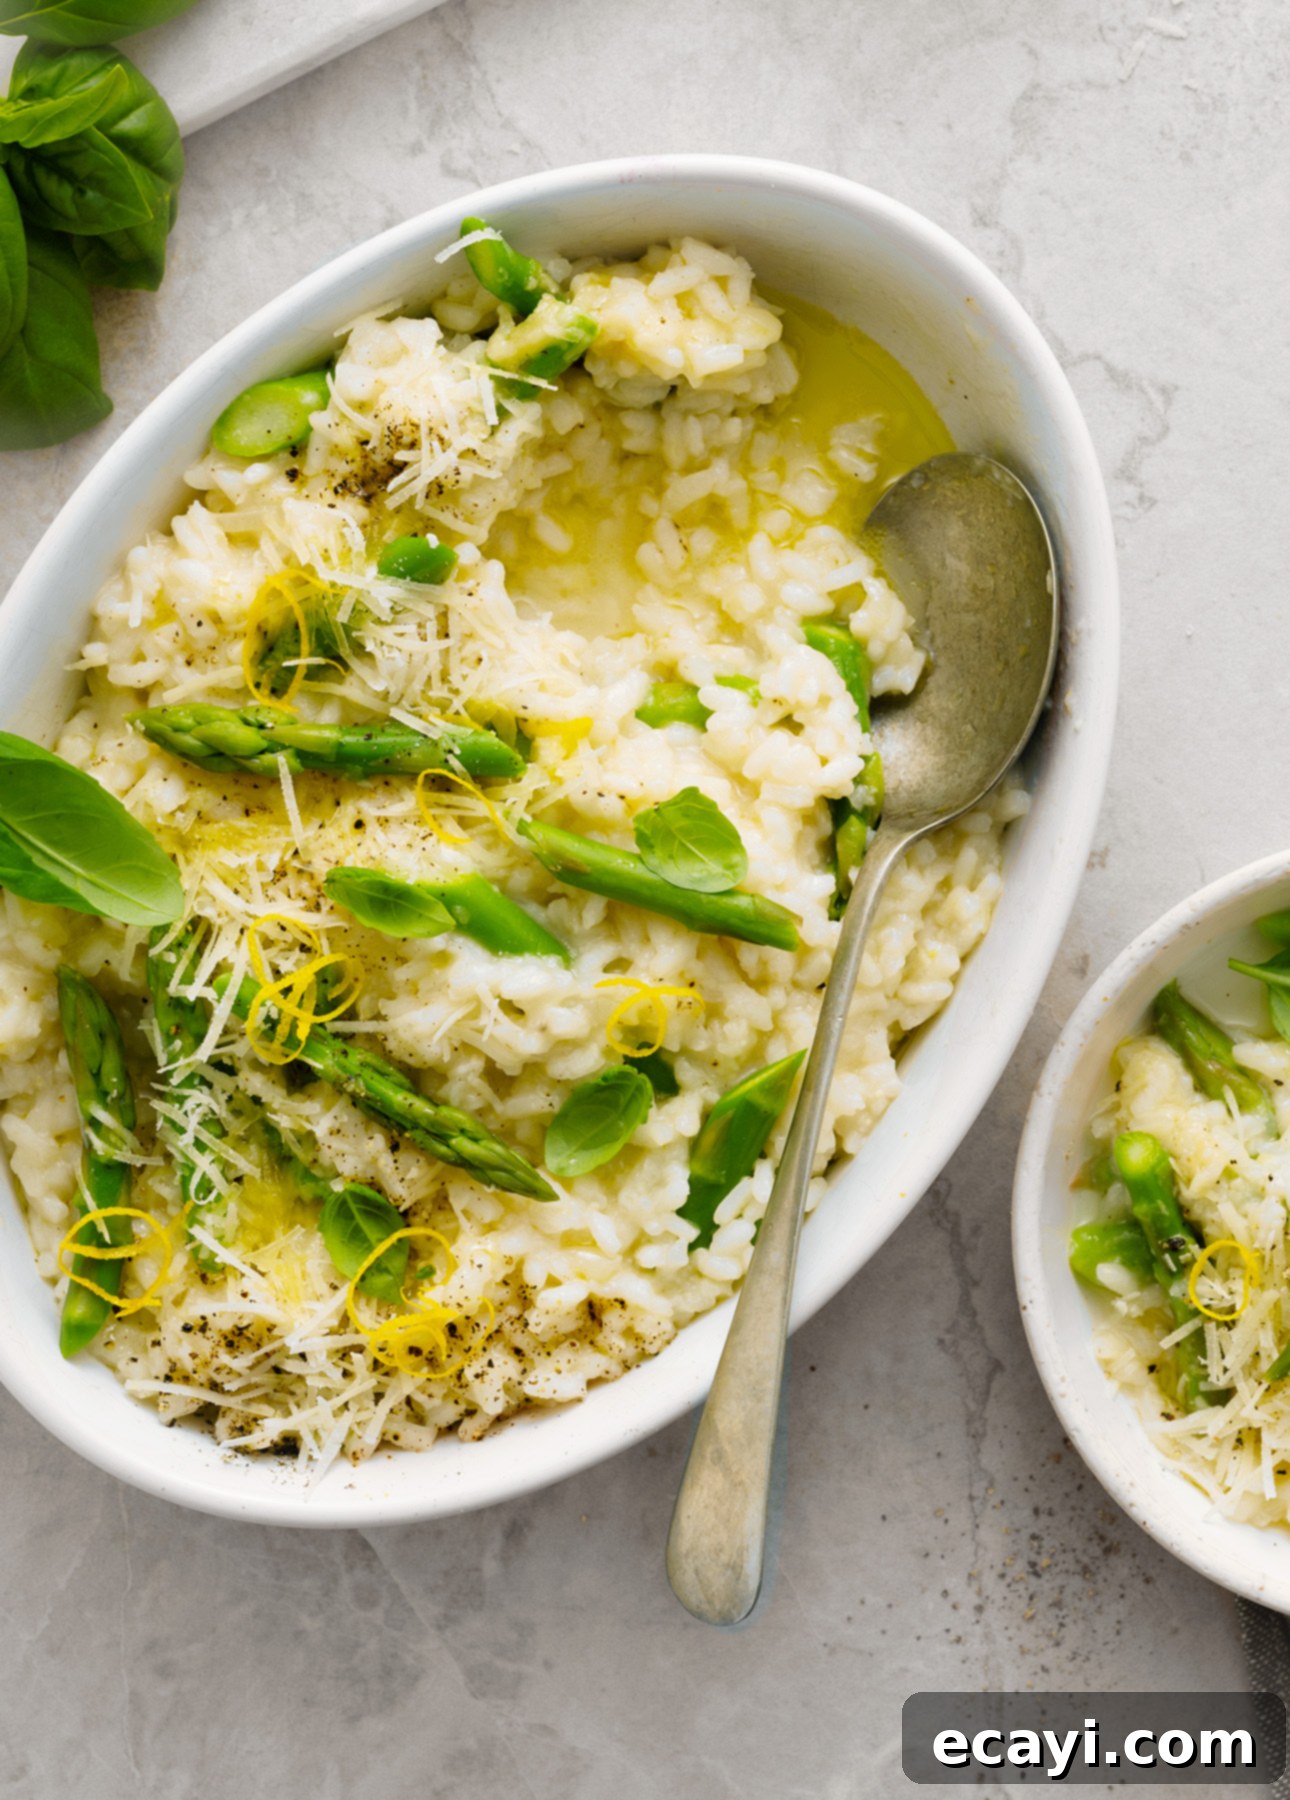
While this lemon asparagus risotto is undeniably delicious straight from the pan, if you’re looking to elevate its presentation and intensify its flavors, dedicating just an extra minute or two to thoughtful garnishing before serving will make a world of difference. A generous sprinkle of fresh basil leaves adds a fragrant herbaceous note and a pop of color. A delicate scattering of finely grated lemon zest brightens the entire dish, enhancing its citrusy aroma. A quick, elegant swirl of high-quality extra-virgin olive oil contributes a luxurious richness and a peppery finish. Finally, a crack of freshly ground black pepper adds a subtle warmth and aromatic complexity. These simple garnishes don’t just make each serving look restaurant-level gorgeous; they actively layer and bump up the overall flavor profile, transforming a great dish into an unforgettable one.
Easily Scale Up the Recipe to Treat More Guests
Does it ever frustrate you when a fantastic risotto recipe specifies an awkward number of servings, like three or five people? It certainly does me! That’s why I meticulously developed this creamy lemon risotto recipe to generously serve two individuals. Why this specific number? Because it simplifies the math immensely if you wish to double it for four people, or even triple it for six. You won’t be left with awkward half-shallots or complicated fractional measurements! Bear in mind that this is a truly hearty serving for two – substantial enough that you could probably stretch it to feed three if you’re pairing it with other delicious accompaniments, such as a selection of appetizers or a large, vibrant salad. The simplicity of scaling makes this recipe a go-to for both intimate dinners and larger gatherings.
More Fresh Asparagus Recipes for Spring
That beautiful bunch of fresh asparagus residing in your fridge – it’s brimming with culinary potential, isn’t it? If you’re anything like me, sometimes all it takes is a gentle nudge or a fresh idea to inspire you to move beyond your usual methods of preparation. That’s precisely why I’ve curated this delightful collection of asparagus recipes, packed with innovative and inspiring ideas for everything from irresistible appetizers that kick off a meal with flair, to truly memorable main courses, and wonderfully fresh side dishes. Don’t let another season pass by without exploring new ways to enjoy this incredible spring vegetable. Discover 30 irresistible asparagus recipes you should be making right now!
Pin Recipe
Lemon Asparagus Risotto Recipe
Ingredients
For the risotto
- ½ lb fresh asparagus shoots
- 3 cups low-sodium chicken broth, or substitute with vegetable broth for a vegetarian option
- 2 tbsp unsalted butter
- 2 tbsp extra-virgin olive oil
- 1 shallot, minced, (about ¼ cup / 60 ml minced onion)
- 5 oz risotto rice (Arborio, Carnaroli, or Vialone Nano are ideal)
- ½ cup dry white wine, such as Pinot Grigio or Sauvignon Blanc
- 2 oz finely grated authentic Parmigiano-Reggiano cheese
- Finely grated zest and fresh juice from ½ a medium lemon (yields approximately 1 tbsp/15 ml zest and 2 tbsp/30 ml juice)
To serve (optional, to taste)
- Fresh basil leaves, whole or thinly sliced
- Additional lemon zest for brightening
- High-quality extra-virgin olive oil, for drizzling
- Freshly ground black pepper, to taste
Instructions
-
Begin by preparing your asparagus. Hold each spear firmly and gently bend it until the tougher, woody end naturally snaps off. Discard these fibrous ends. Slice the tender green stalks into uniform 2-inch (5 cm) lengths and set them aside.
-
To prepare the broth for risotto: Pour the chicken or vegetable broth into a medium saucepan. Bring the broth to a gentle simmer over medium heat, then reduce the heat to low, cover the pot, and allow it to gently simmer for 5 minutes. This ensures the broth is heated through and ready. Keep the broth warm over the minimum heat setting throughout the entire risotto cooking process to prevent shocking the rice.
-
In a large sauté pan with high sides or a wide cast-iron braiser, set over medium-low heat, melt the butter along with the olive oil. Once melted and shimmering, add the minced shallot (or onion) and cook, stirring frequently, until it softens and becomes translucent, about 3 to 4 minutes. Be careful not to brown it. Next, add the risotto rice to the pan and stir continuously for 2 minutes, ensuring each grain is coated in the fat and becomes slightly translucent around its edges. This toasting step (tostatura) helps the rice maintain its structure.
-
Pour in the dry white wine. Stir vigorously, allowing the wine to bubble up and its alcohol to evaporate. Use your spoon or spatula to scrape down the bottom of the pan to loosen any caramelized bits that may have formed – these bits add delicious depth of flavor. Continue simmering and stirring until the wine is almost completely absorbed by the rice.
-
Now, begin adding the warm broth, one ladleful at a time. After each addition, stir the risotto gently but consistently. Allow the broth to be almost completely absorbed by the rice before adding the next ladleful. This slow, gradual process and regular stirring are crucial for coaxing out the starch from the rice grains, which is what creates the signature creamy texture of authentic risotto. Continue this process until you have about 1 cup (250 ml) of broth remaining.
-
When you have approximately 1 cup of broth left in your separate pot, it’s time to add the prepped asparagus stalks to the risotto. Stir them in well to incorporate them evenly. Add ½ cup (125 ml) of the remaining warm broth, stir again, and continue cooking the risotto, stirring frequently, until this broth is almost fully absorbed and the asparagus is crisp-tender. Remember, asparagus cooks quickly, so this late addition preserves its texture and vibrant color.
-
Remove the pan from the heat. Stir in the finely grated Parmigiano-Reggiano cheese. Continue stirring until the cheese is completely melted and beautifully incorporated, creating a rich, silky texture. Next, stir in the finely grated lemon zest and fresh lemon juice. Taste the risotto and adjust the seasoning if necessary with a pinch more salt or pepper. Finally, stir in the last bit of the remaining warm broth to achieve the perfect ‘all’onda’ consistency – the risotto should now be wonderfully loose and super creamy, flowing gently. Cover the pan and let the risotto stand off the heat for about 5 minutes. This brief rest allows the flavors to meld and the risotto to become even creamier. However, for the absolute best texture, it should be served as soon as possible after this rest.
-
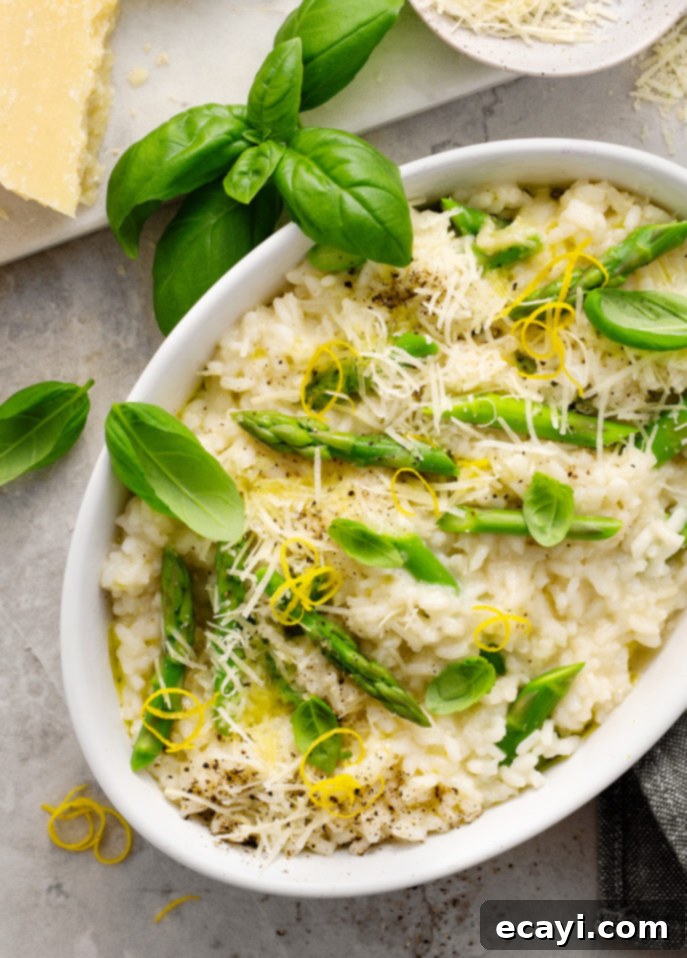
SERVING: To serve, spoon the hot, creamy risotto into warm bowls. Garnish each serving generously with fresh basil leaves, a sprinkle of extra lemon zest, a luxurious drizzle of flavorful extra-virgin olive oil, and a grind of freshly ground black pepper. Serve immediately to enjoy its peak texture and warmth.
-
STORAGE: This lemon asparagus risotto is truly at its best when enjoyed within minutes of preparation, as risotto’s texture changes upon cooling. If you happen to have any leftovers, transfer them to an airtight container and refrigerate for up to 2 days. To reheat, scoop the risotto into a nonstick skillet or saucepan. Add a couple of tablespoonfuls of additional broth or water to help loosen it, and gently warm it over medium-low heat, stirring occasionally, until the risotto is loose, hot, and creamy again. Serve immediately.
-
MAKE IT VEGETARIAN: Ensure you use a high-quality vegetable broth instead of chicken broth to make this delicious risotto suitable for vegetarian diets.
Did you make this?
Tell me how you liked it! Leave a comment or take a picture and tag it with @foodnouveau on Instagram.
Disclosure Notice: This site participates in the Amazon Associates Program, an affiliate advertising program designed to provide a means for the site to earn fees by linking to Amazon and affiliated sites. If you click on an affiliate link, I may earn advertising or referral fees if you make a purchase through such links, at no extra cost to you. This helps me create new content for the blog–so thank you! Learn more about advertising on this site by reading my Disclosure Policy.
