Irresistible Peanut Butter Chicken: Crispy Bites with a Sweet & Savory Umami Sauce
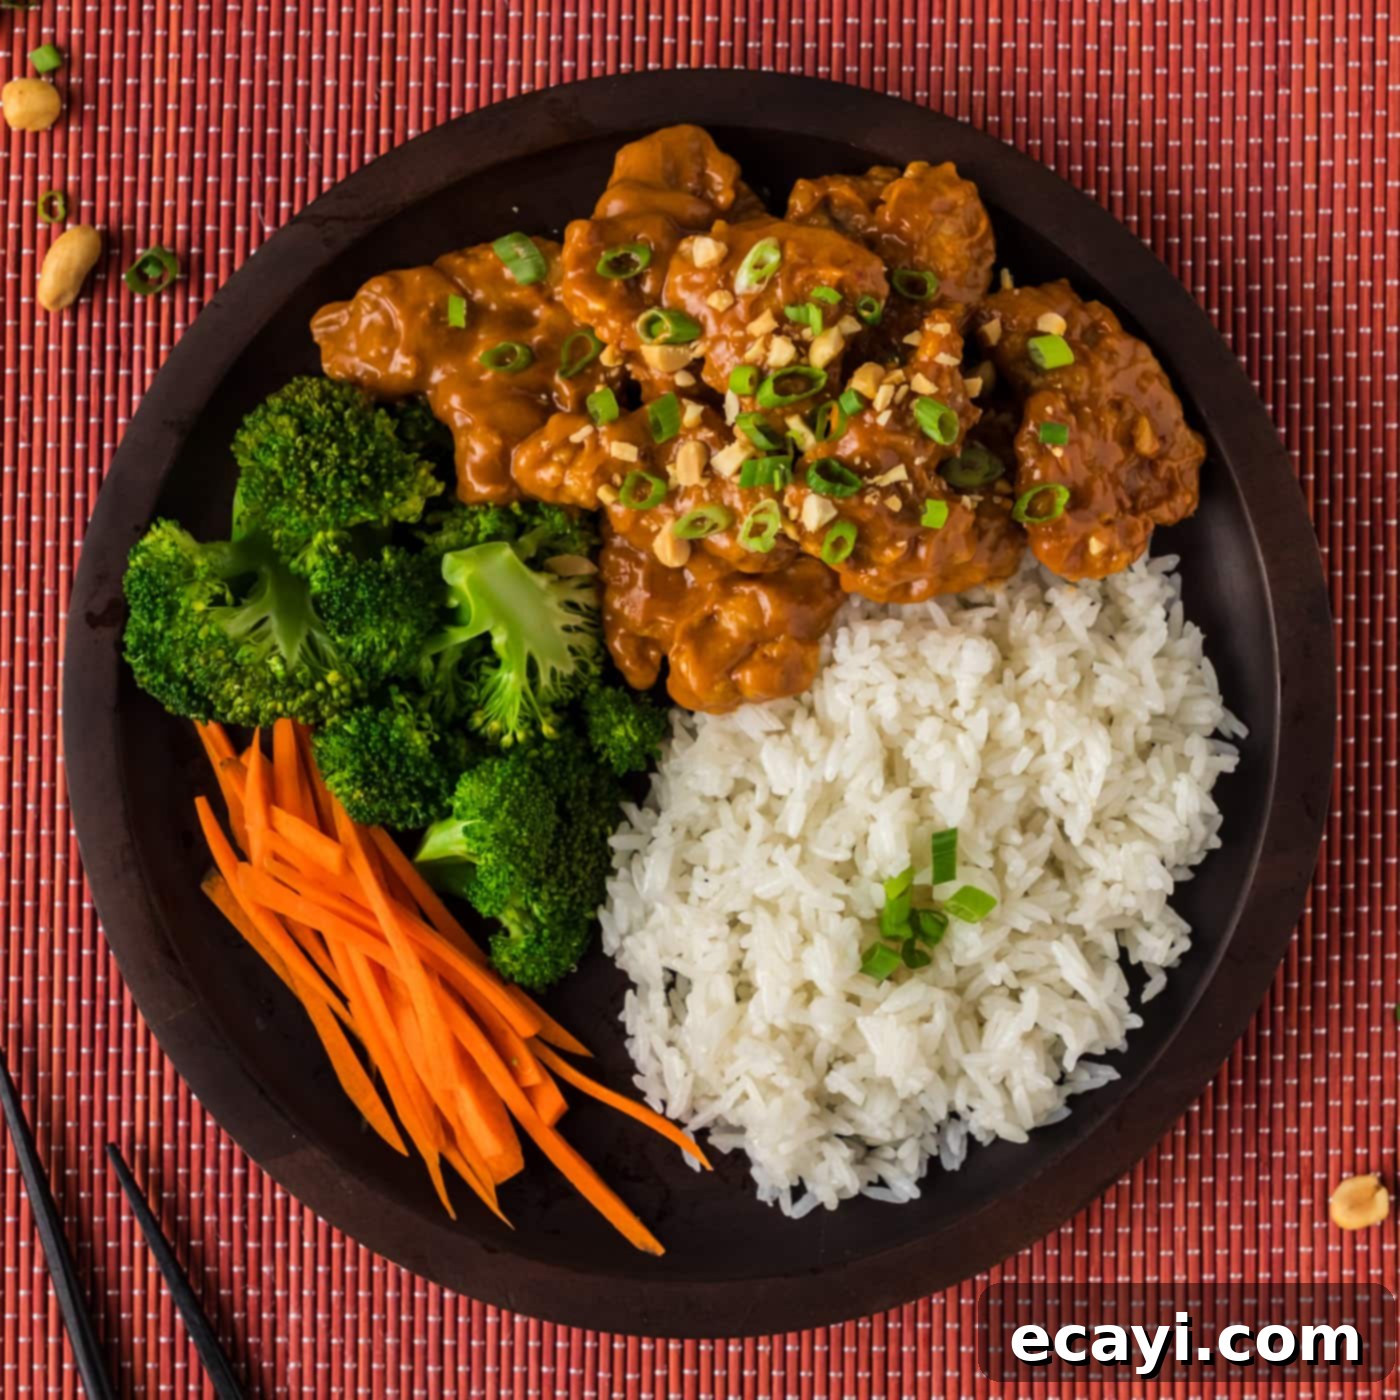
Prepare your taste buds for an extraordinary culinary adventure with our incredible Peanut Butter Chicken recipe! This dish masterfully combines perfectly crispy fried chicken bites with a luxuriously rich and creamy peanut butter sauce. Infused with a dynamic blend of hot sauce, aromatic garlic and ginger, and the distinctive tang of Asian sweet chili sauce, this recipe delivers a unique umami twist that’s both unexpected and utterly delicious. It’s a comforting yet exciting meal that will quickly become a household favorite.
Why This Peanut Butter Chicken Recipe Works So Well
Peanut butter chicken stands out as a truly remarkable savory dish, offering an exquisite balance of textures and flavors that captivate from the very first bite. This Asian-inspired creation marries incredibly tender chicken pieces, encased in a perfectly crispy exterior, with a luscious, creamy peanut butter sauce that truly packs a flavor punch. The complexity of flavors in this dish works together in a way that might surprise you, creating a symphony on your palate. You’ll experience delightful hints of salty peanut, sweet honey, savory depth from the fish sauce and aromatics, all rounded out by a gentle, spicy warmth from the sweet chili and hot sauces.
Many people typically associate peanut butter with sweet applications like baked goods or breakfast toasts. However, its naturally salty and nutty flavor profile is incredibly versatile and shines when paired with savory ingredients. This recipe ingeniously leverages peanut butter’s richness to create a deeply satisfying, full-bodied sauce that coats every piece of chicken beautifully. From peanut butter bread to this mouth-watering chicken dish, we love exploring the savory potential of this pantry staple. If you’ve never ventured into savory peanut butter dishes before, prepare to be amazed by how delicious these little crispy-saucy bites are – they’re seriously addictive!
Key Ingredients for Your Delicious Peanut Butter Chicken
To create this sensational peanut butter chicken, you’ll need a selection of fresh ingredients and pantry staples. All precise measurements, quantities, and detailed instructions can be found in the convenient printable recipe card located at the end of this comprehensive guide. Gathering your ingredients before you start cooking, known as ‘mise en place,’ will ensure a smooth and enjoyable cooking process.
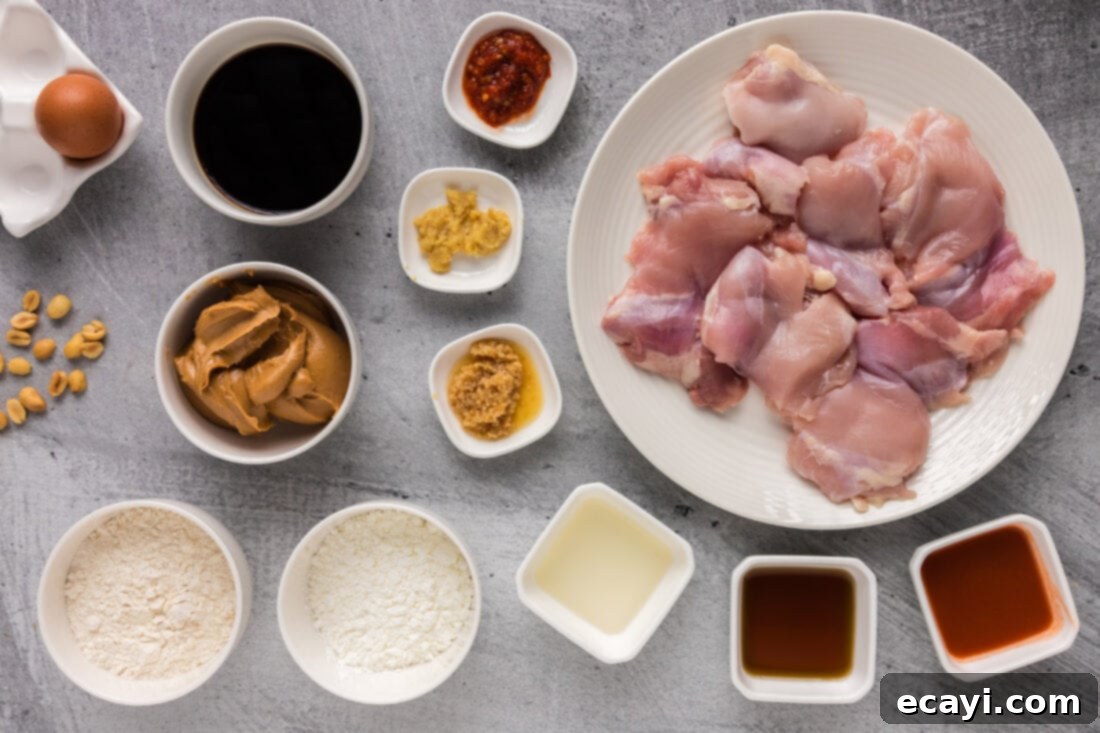
Ingredient Spotlight & Smart Substitution Ideas
Let’s dive deeper into the components that make this peanut butter chicken so special, along with some helpful tips and substitution suggestions:
CHICKEN – For this recipe, we highly recommend using 1 1/2 pounds of boneless, skinless chicken thighs. Chicken thighs are incredibly forgiving and retain moisture beautifully, ensuring tender, juicy results even after frying. Their slightly higher fat content contributes to a richer flavor. However, if you prefer, boneless, skinless chicken breasts can be easily substituted in equal amounts. Just be mindful that chicken breasts cook a little faster and can dry out if overcooked, so monitor them closely for that perfect crispy exterior and juicy interior.
SAUCE – The heart of this dish lies in its extraordinary sauce, a harmonious blend of creamy, sweet, spicy, and savory elements. The foundation is rich, creamy peanut butter – choose a good quality, natural peanut butter if possible, but any creamy variety will work. Honey provides natural sweetness and a lovely viscosity to the sauce, balancing the savory notes. For heat and a tangy kick, we use Frank’s RedHot hot sauce, but feel free to adjust the amount or use your favorite brand. Fish sauce is a crucial umami booster, adding a depth of savory flavor that can’t be replicated. Freshly minced garlic and ginger are essential aromatics that lend a vibrant, pungent freshness. Finally, Asian sweet chili sauce adds another layer of sweetness, mild spice, and a glossy finish, tying all the flavors together beautifully. This combination creates a complex, irresistible sauce that transforms simple fried chicken into a gourmet experience.
Step-by-Step Guide: Crafting Your Perfect Peanut Butter Chicken
These step-by-step photos and detailed instructions are designed to help you visualize and successfully create this delicious recipe. For a quick reference or to print, you can Jump to Recipe to get the full printable version, complete with precise measurements and instructions, located at the bottom of this post.
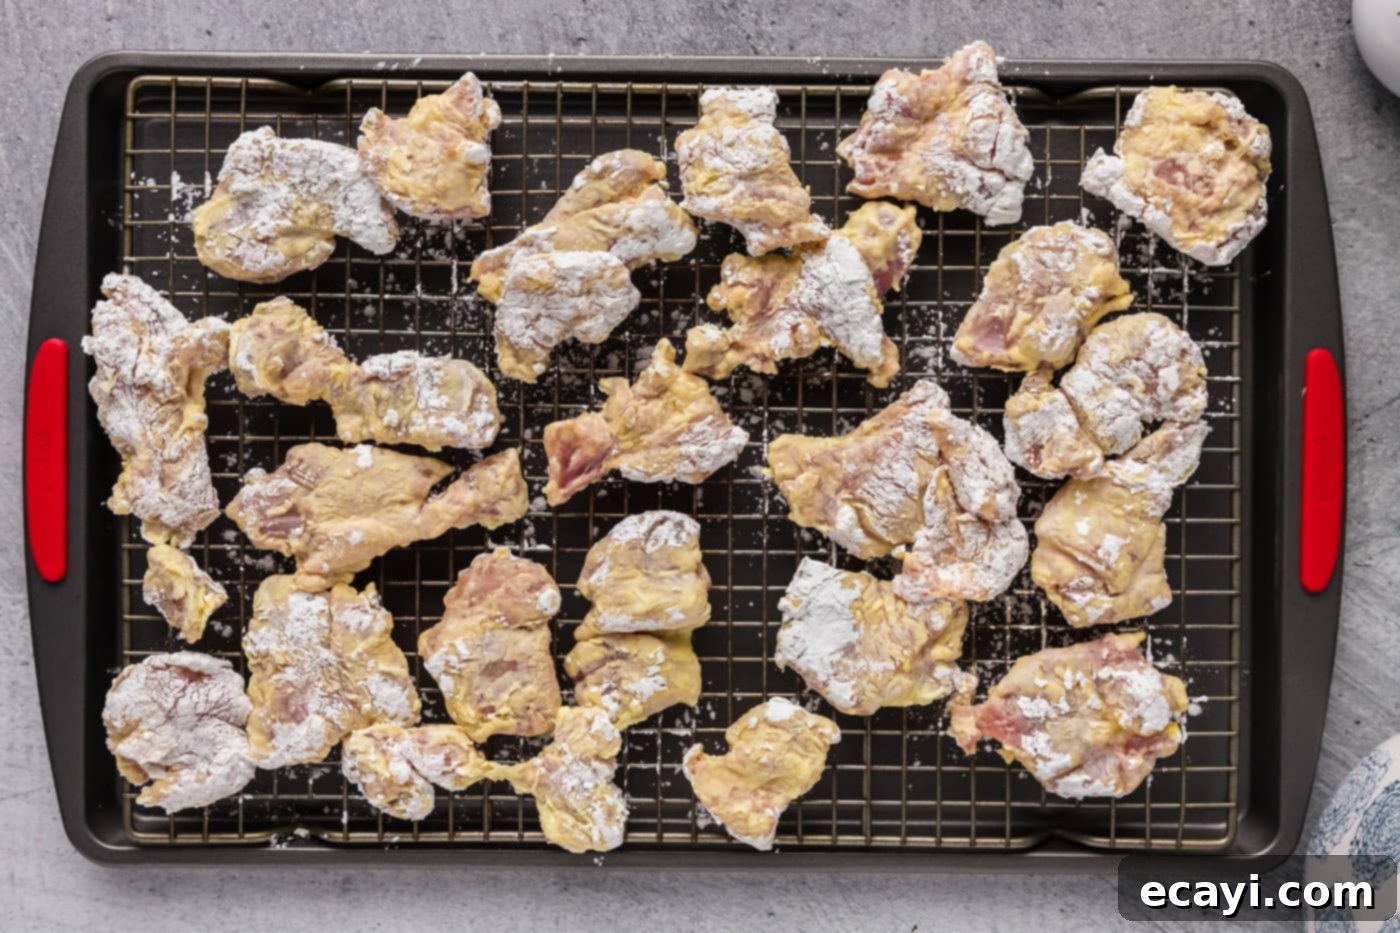
- Prepare Your Dredging Station: Begin by setting up your workspace efficiently. Place a wire rack over a baking sheet. This setup will be used to hold your breaded chicken pieces before frying, allowing for even air circulation and preventing them from becoming soggy.
- Cut the Chicken: Take your boneless, skinless chicken thighs and cut them into approximately 2-inch chunks. Aim for relatively uniform pieces to ensure even cooking.
- Set Up Breading Plates: Prepare two separate plates: one with ½ cup of cornstarch and another with ½ cup of all-purpose flour. These will form the base of your crispy coating.
- Whisk the Egg: In a medium-sized bowl, lightly whisk one large egg. This will act as the binder for your breading, helping the flour and cornstarch adhere to the chicken.
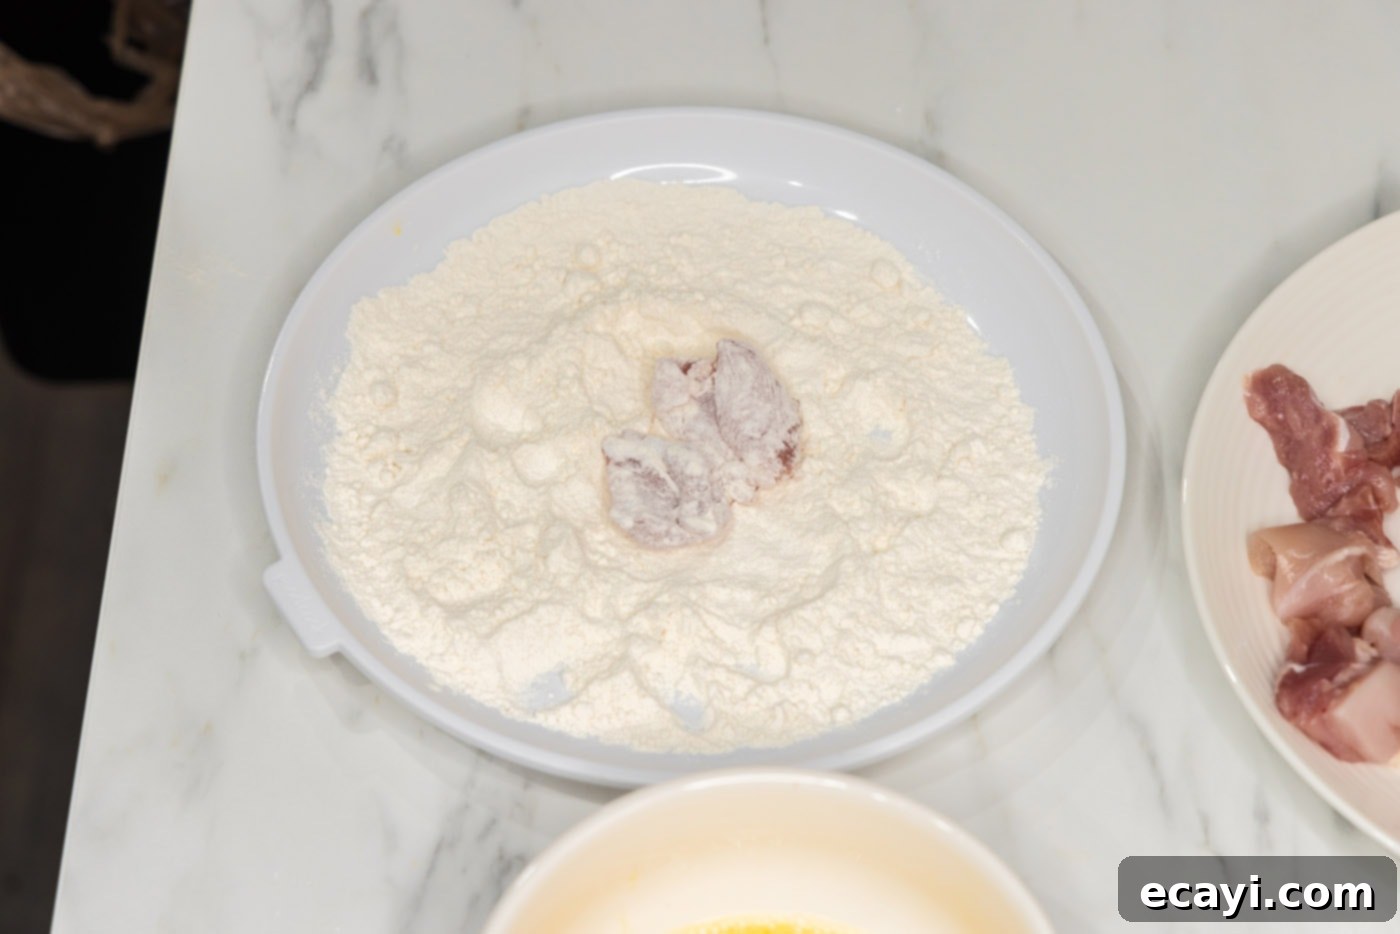
- First Dredge (Flour): Take each chicken piece, one at a time, and dredge it thoroughly in the flour. Ensure all sides are coated, then gently shake off any excess flour. This initial coating helps create a dry surface for the egg wash.

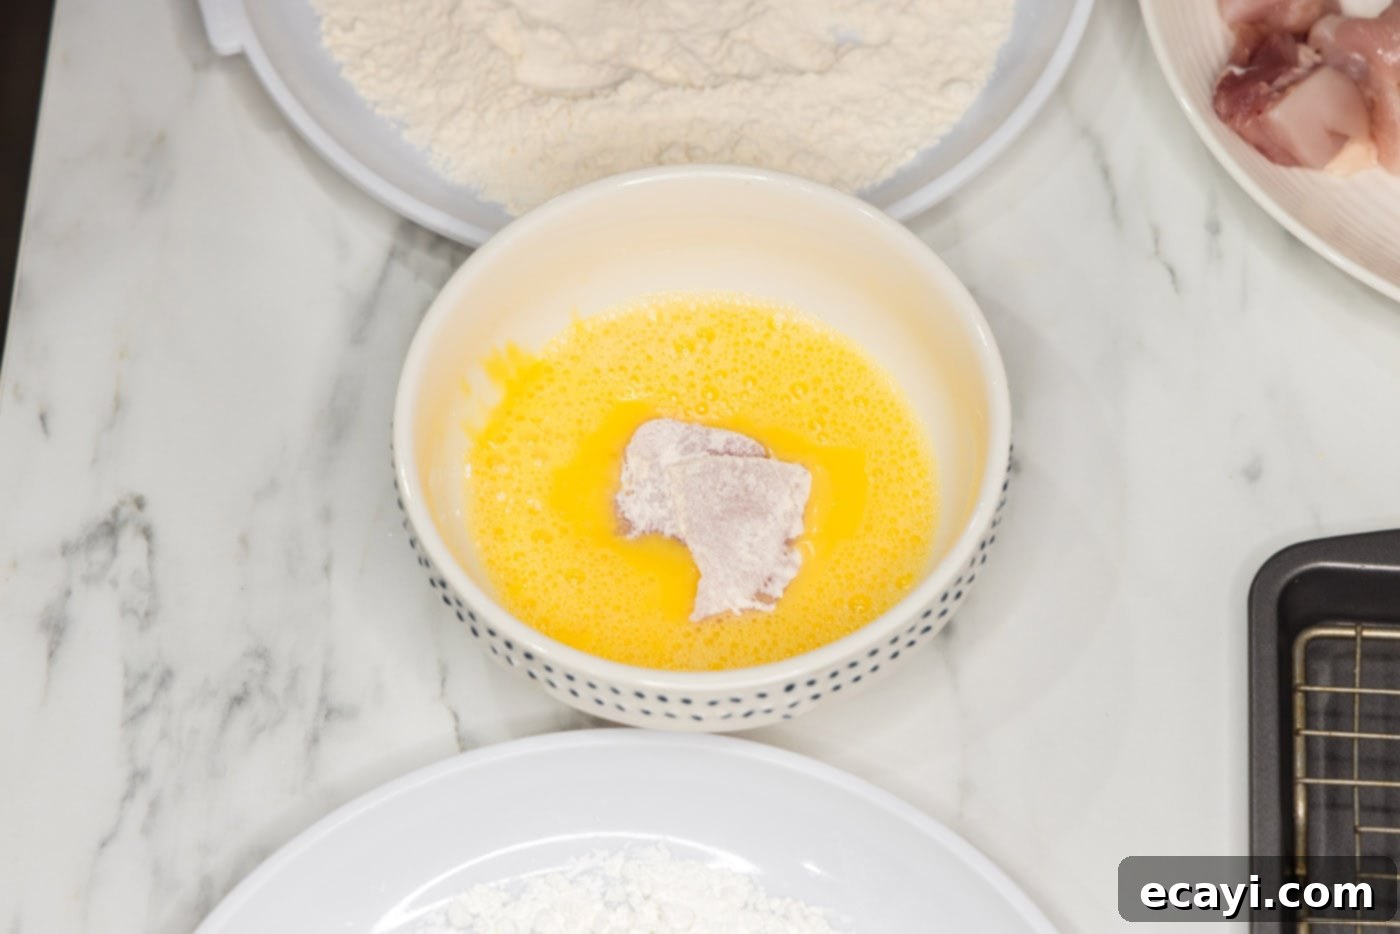
- Egg Wash Dip: Dip the flour-dredged chicken piece into the whisked egg. Allow any excess egg to drip off before moving to the next step. The egg wash is essential for the cornstarch to stick.

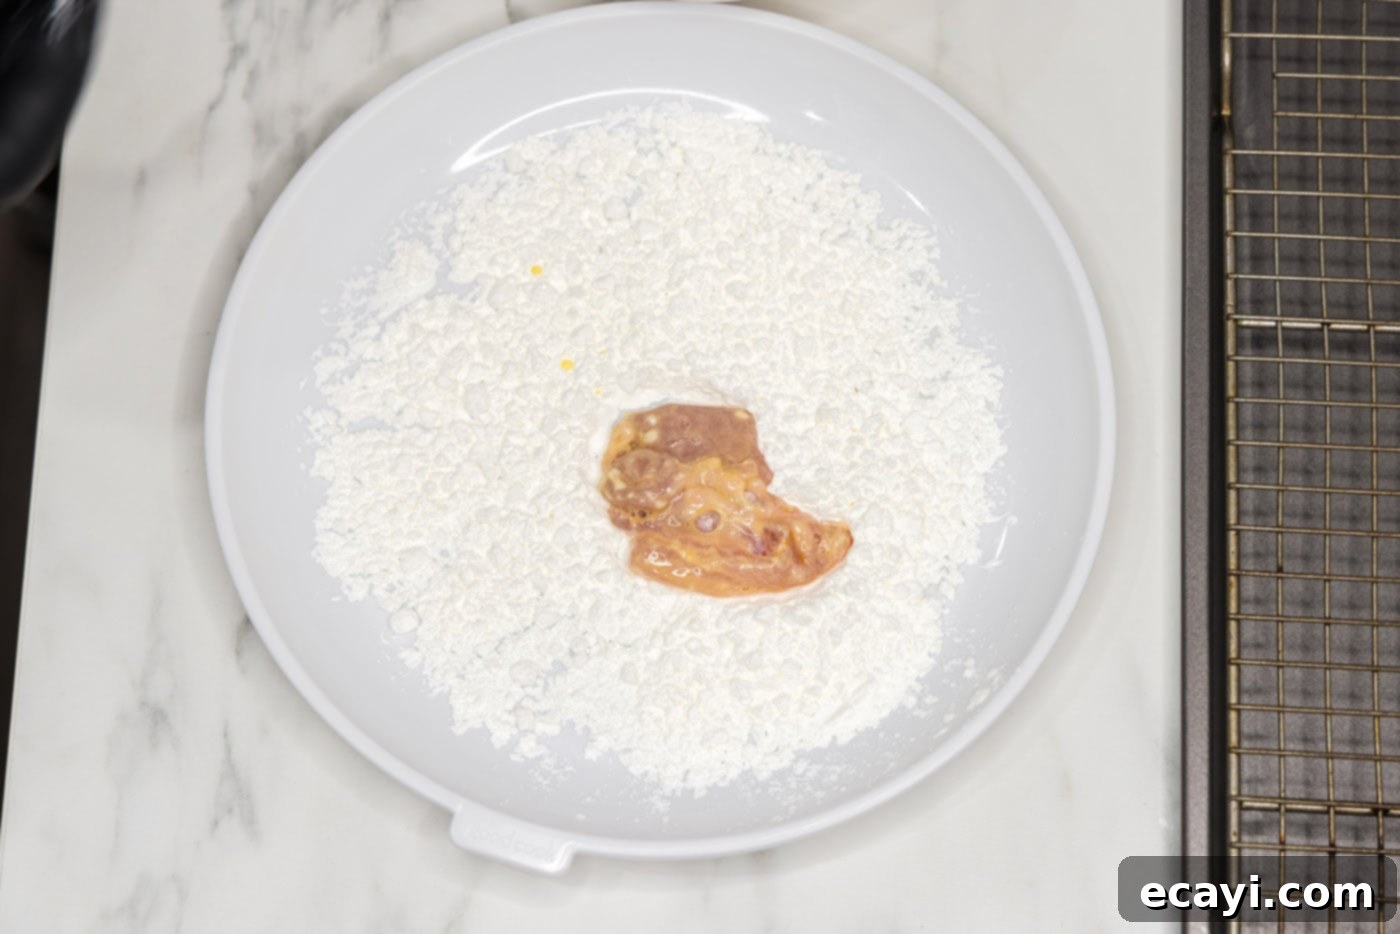
- Final Coat (Cornstarch): Finally, coat the chicken piece thoroughly in the cornstarch, ensuring both sides are well covered. This cornstarch layer is key to achieving that incredibly crispy texture. Place the fully coated chicken pieces onto the prepared wire rack. This allows air to circulate around them, preventing moisture buildup and keeping the coating crisp.


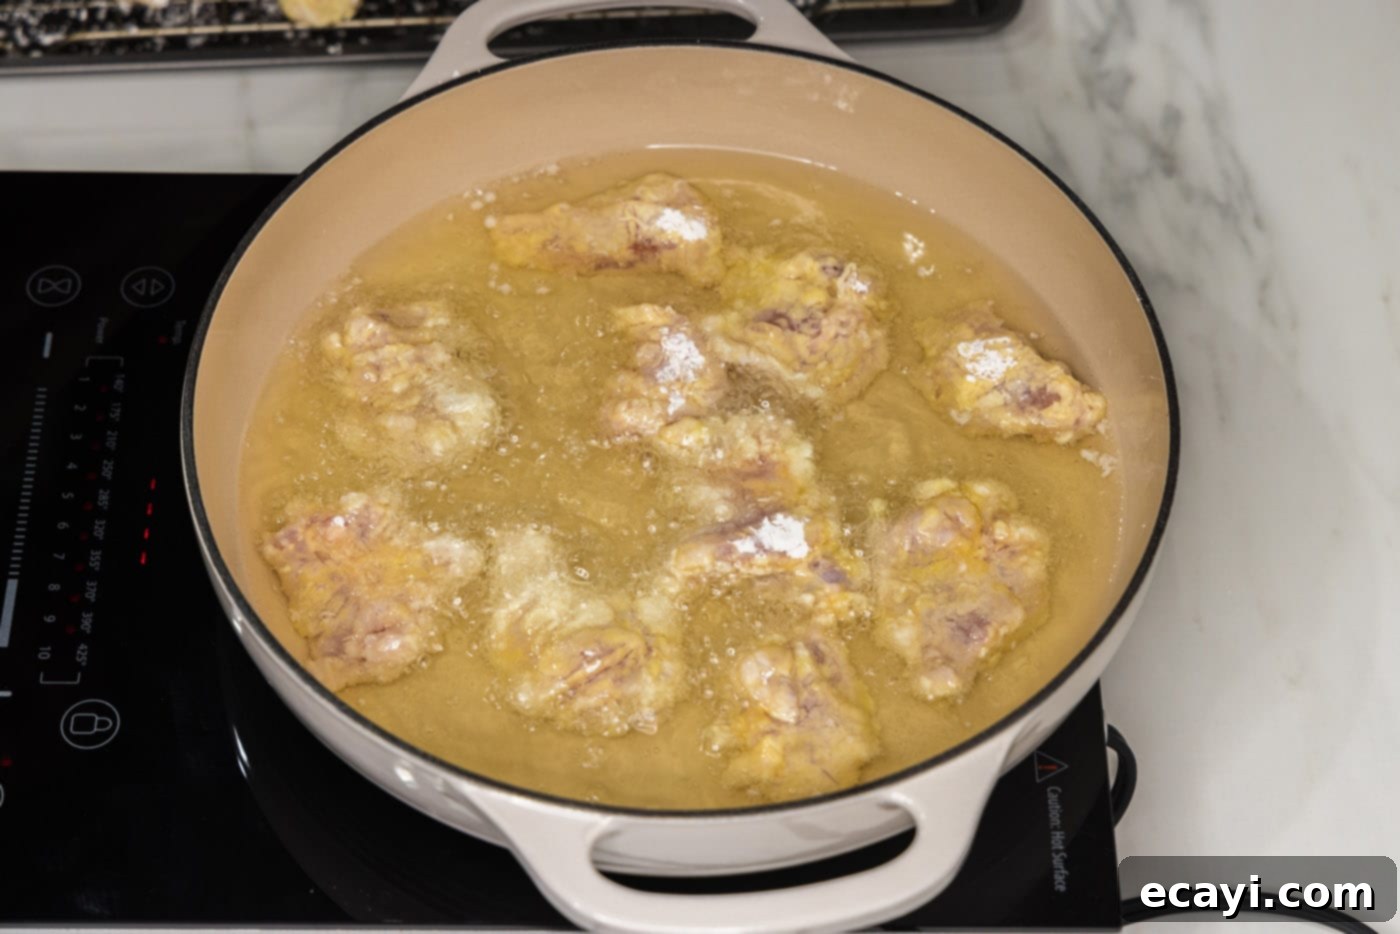
- Heat the Oil: Add enough vegetable oil to a deep-sided skillet to reach an inch up the sides. Heat the oil over medium-high heat until it reaches a temperature of 350°F (175°C). Using a kitchen thermometer to monitor the oil temperature is crucial for consistent frying results.
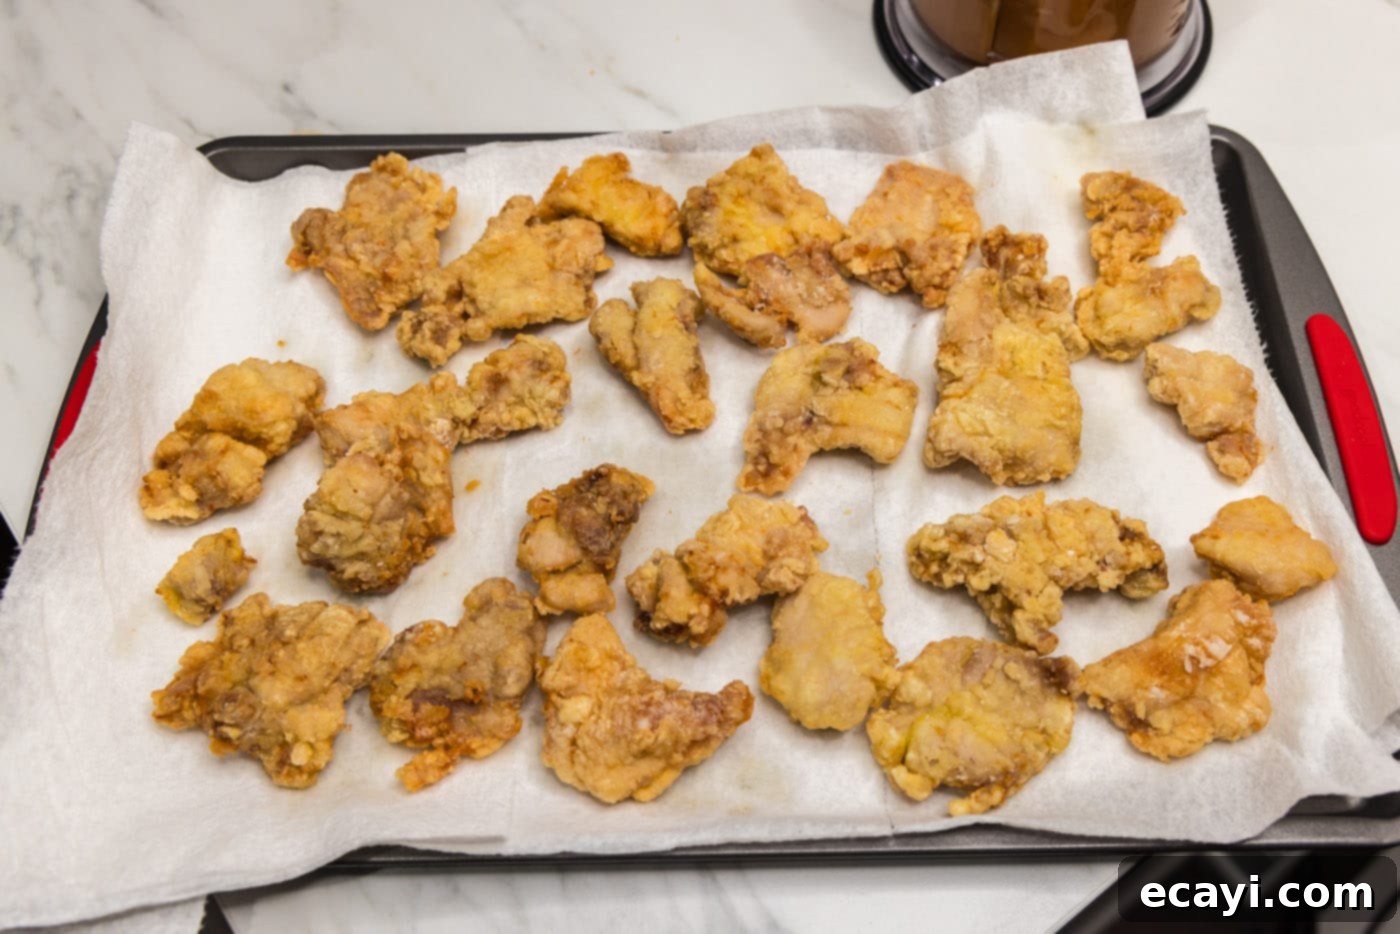
- Prepare for Draining: Lay several layers of paper towels out on a clean plate or cutting board. This will be used to drain excess oil from your cooked chicken, ensuring it stays crispy.
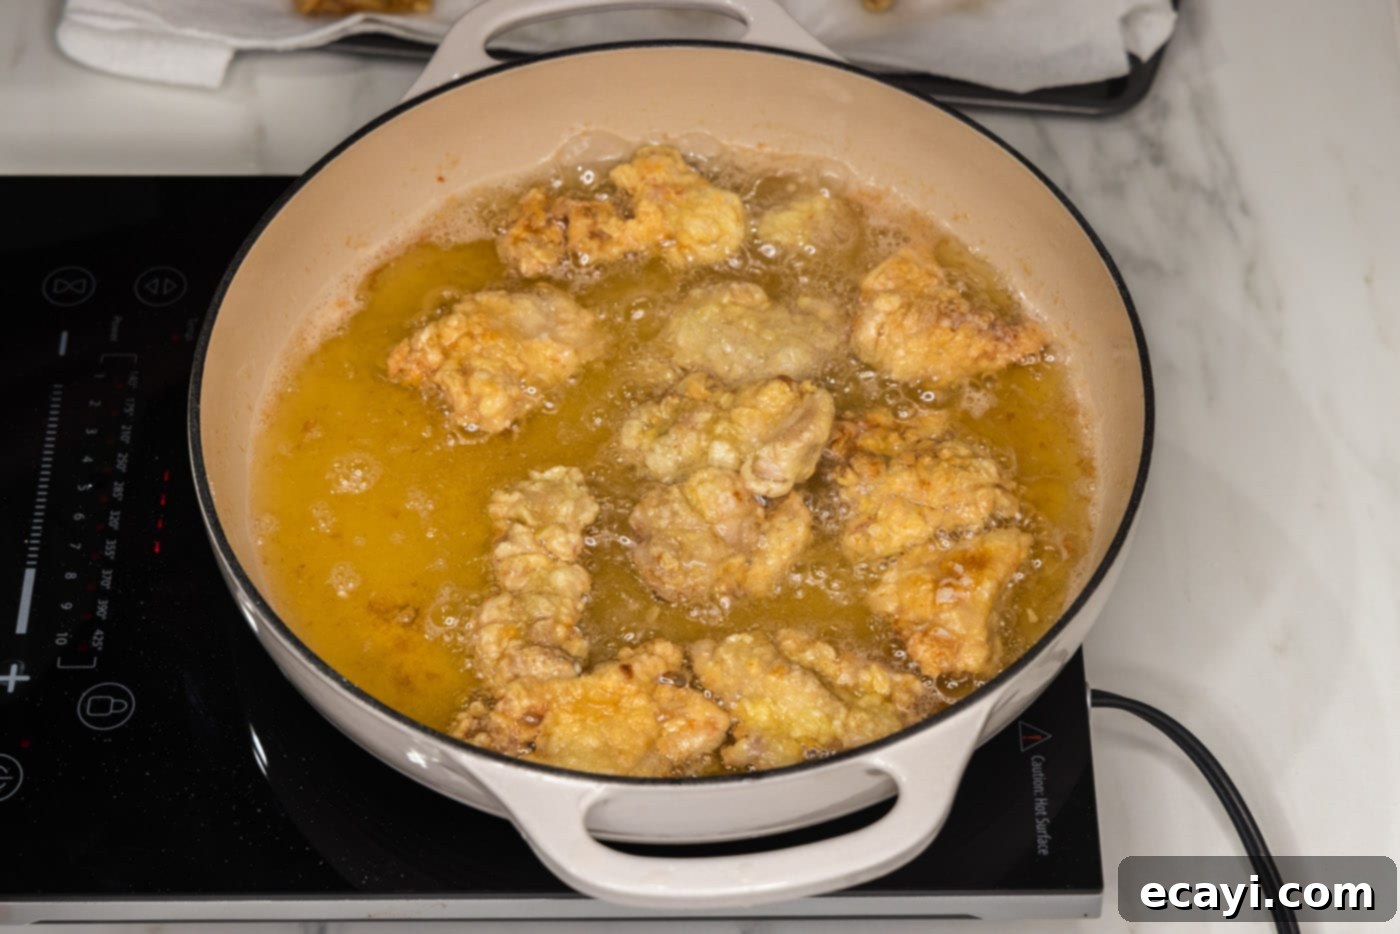
- Fry the Chicken: Carefully place the prepared chicken pieces into the hot oil, ensuring not to overcrowd the pan. Cook in batches if necessary. Fry for 2-3 minutes on each side, turning once or twice during the cooking process to achieve even browning. The chicken should be beautifully golden brown and crispy on the outside, and cooked through to an internal temperature of 165°F (74°C).


- Drain Excess Oil: Once cooked, move the crispy chicken pieces from the skillet to the prepared paper towels to drain any excess oil. This step helps maintain their crispiness.

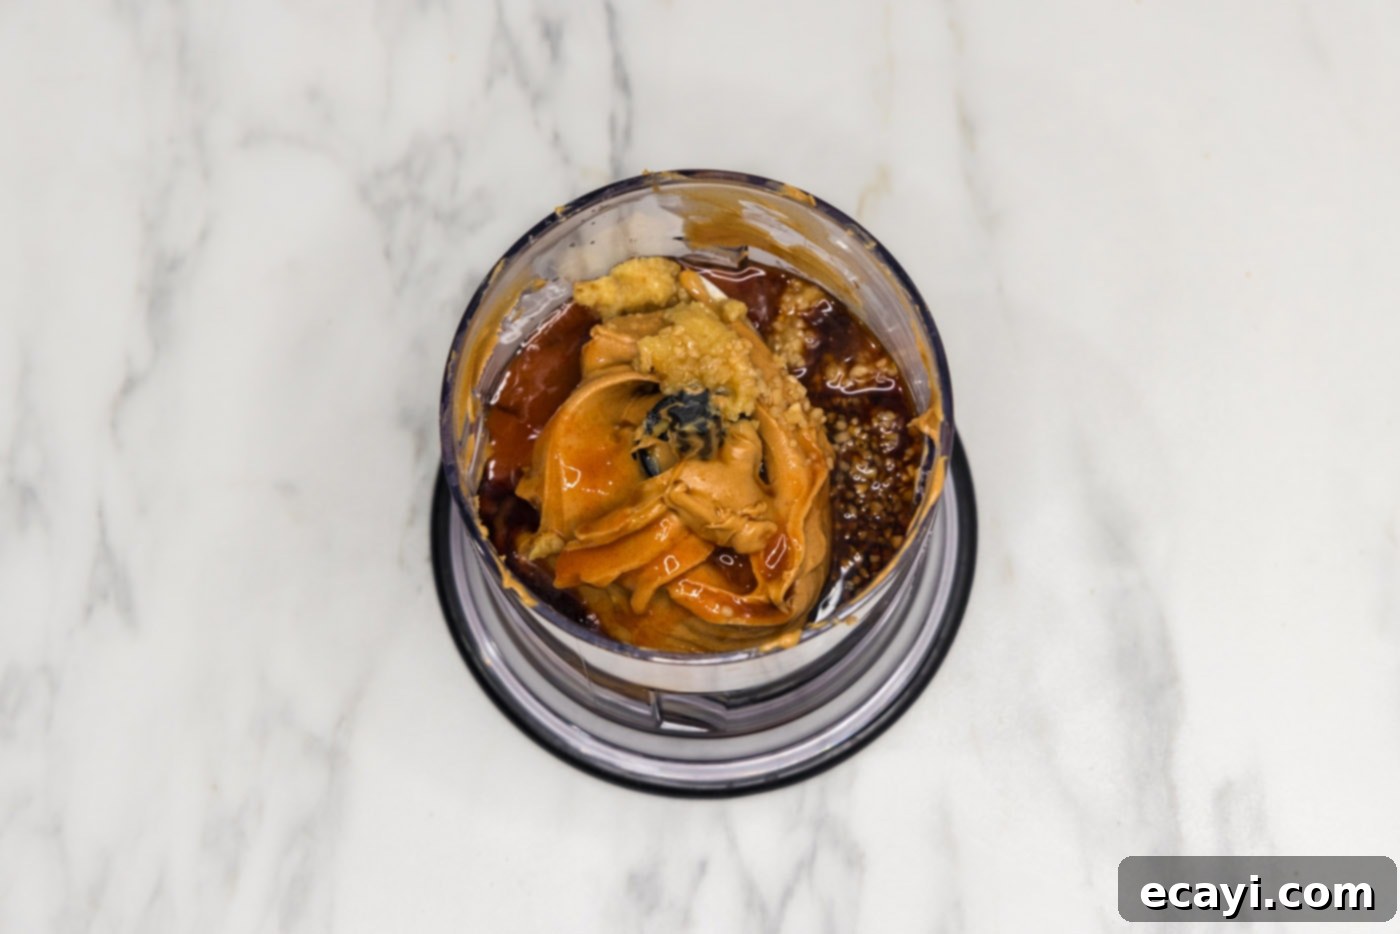
- Prepare the Peanut Butter Sauce: To create your delectable sauce, combine all the sauce ingredients—creamy peanut butter, honey, hot sauce, fish sauce, minced garlic, minced ginger, and Asian sweet chili sauce—in a mini food chopper or blender. Blend until the sauce is completely smooth and well combined.
CHEF’S TIP – It’s important to note that the sauce will taste very strong and concentrated if you try it on its own before combining it with the chicken. We highly recommend that you refrain from taste testing at this stage! Once the sauce is gently tossed with the warm, crispy chicken, its intense flavors will mellow and beautifully complement the fried chicken, creating a perfectly balanced and irresistible dish.

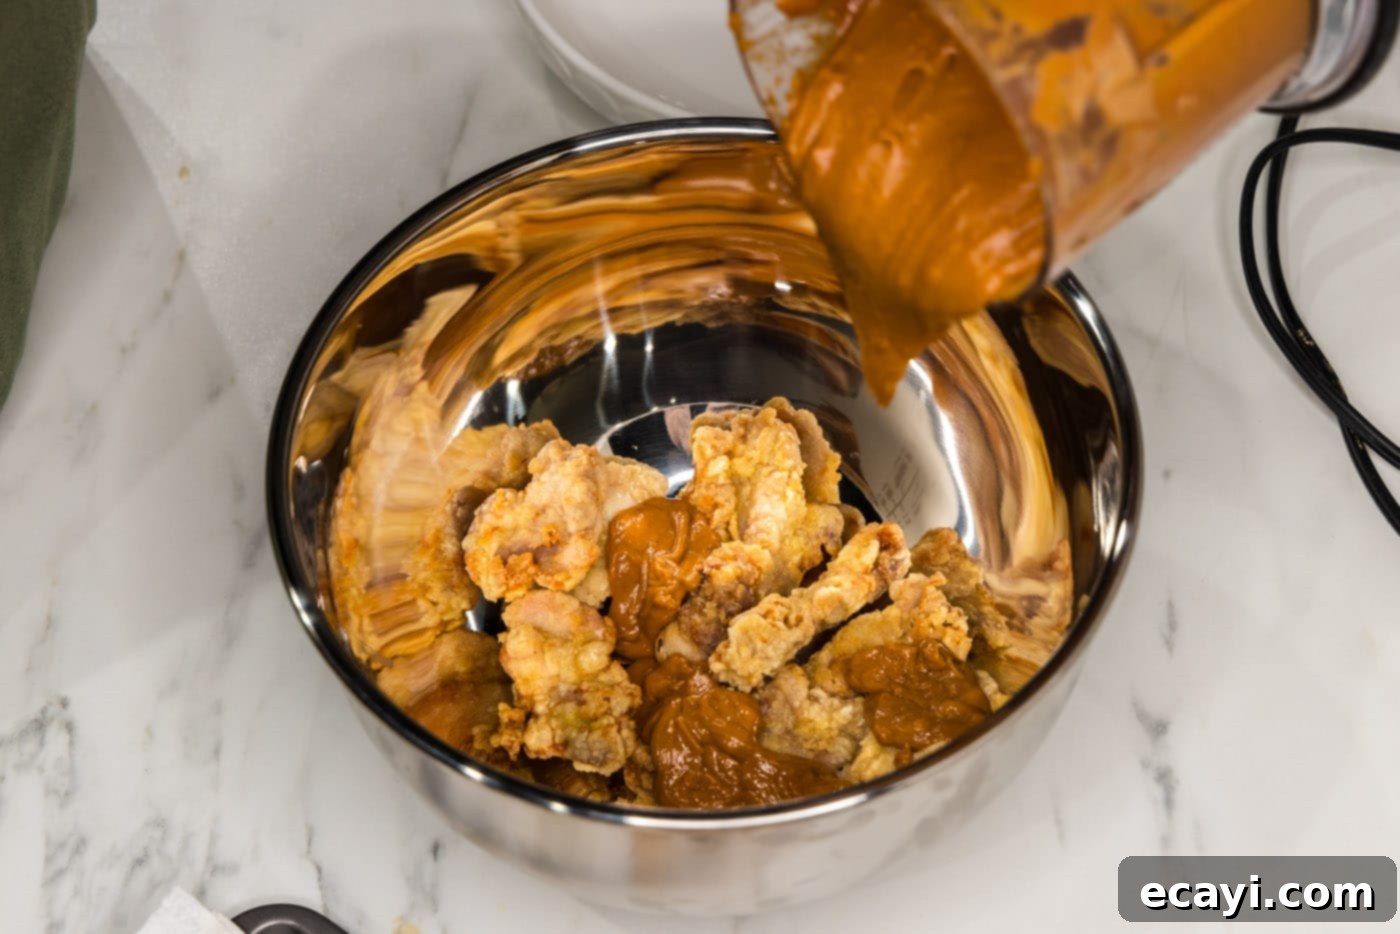
- Coat the Chicken: Transfer the cooked, crispy chicken pieces into a large mixing bowl. Pour the freshly blended peanut butter sauce over the chicken. Using a rubber spatula, carefully turn and toss the chicken until each piece is thoroughly coated in the rich, glossy sauce. Serve immediately and enjoy!

Frequently Asked Questions & Expert Tips for Success
Leftovers of this delicious peanut butter chicken can be stored in an airtight container in the refrigerator for up to 3 days. While the chicken won’t be as crispy the next day, the flavors will have melded beautifully, making it just as enjoyable. Reheat gently in a skillet or microwave.
Absolutely! You can certainly substitute boneless, skinless chicken breasts in equal amounts for chicken thighs. The choice ultimately comes down to your personal preference for texture and flavor. Just remember that chicken breasts are leaner and may cook slightly faster, so keep an eye on them to prevent them from drying out. Regardless of whether you use thighs or breasts, ensure the chicken is cooked to an internal temperature of 165°F (74°C), which can be accurately measured with an instant-read thermometer.
While deep-frying provides the ultimate crispiness, you can definitely bake or air fry for a lighter option. For baking, toss the coated chicken with a little oil and bake at 400°F (200°C) for 20-25 minutes, flipping halfway, until golden and cooked through. For air frying, preheat to 375°F (190°C), spray chicken lightly with oil, and air fry for 12-18 minutes, shaking the basket periodically, until crispy and cooked. The texture won’t be identical to deep-fried, but it will still be delicious!
Yes, absolutely! The peanut butter sauce can be prepared up to 2-3 days in advance and stored in an airtight container in the refrigerator. Before using, allow it to come to room temperature and give it a good whisk, or briefly warm it on the stovetop over low heat to make it more pourable and easier to coat the chicken.
We recommend a creamy, unsweetened or lightly sweetened peanut butter for the best flavor balance. Natural peanut butter (the kind you stir) can work, but you might need to adjust the honey slightly if it’s very unsweetened, and ensure it’s well blended for a smooth sauce. Avoid crunchy peanut butter if you want a silky-smooth sauce, though a little texture can be interesting for those who enjoy it!
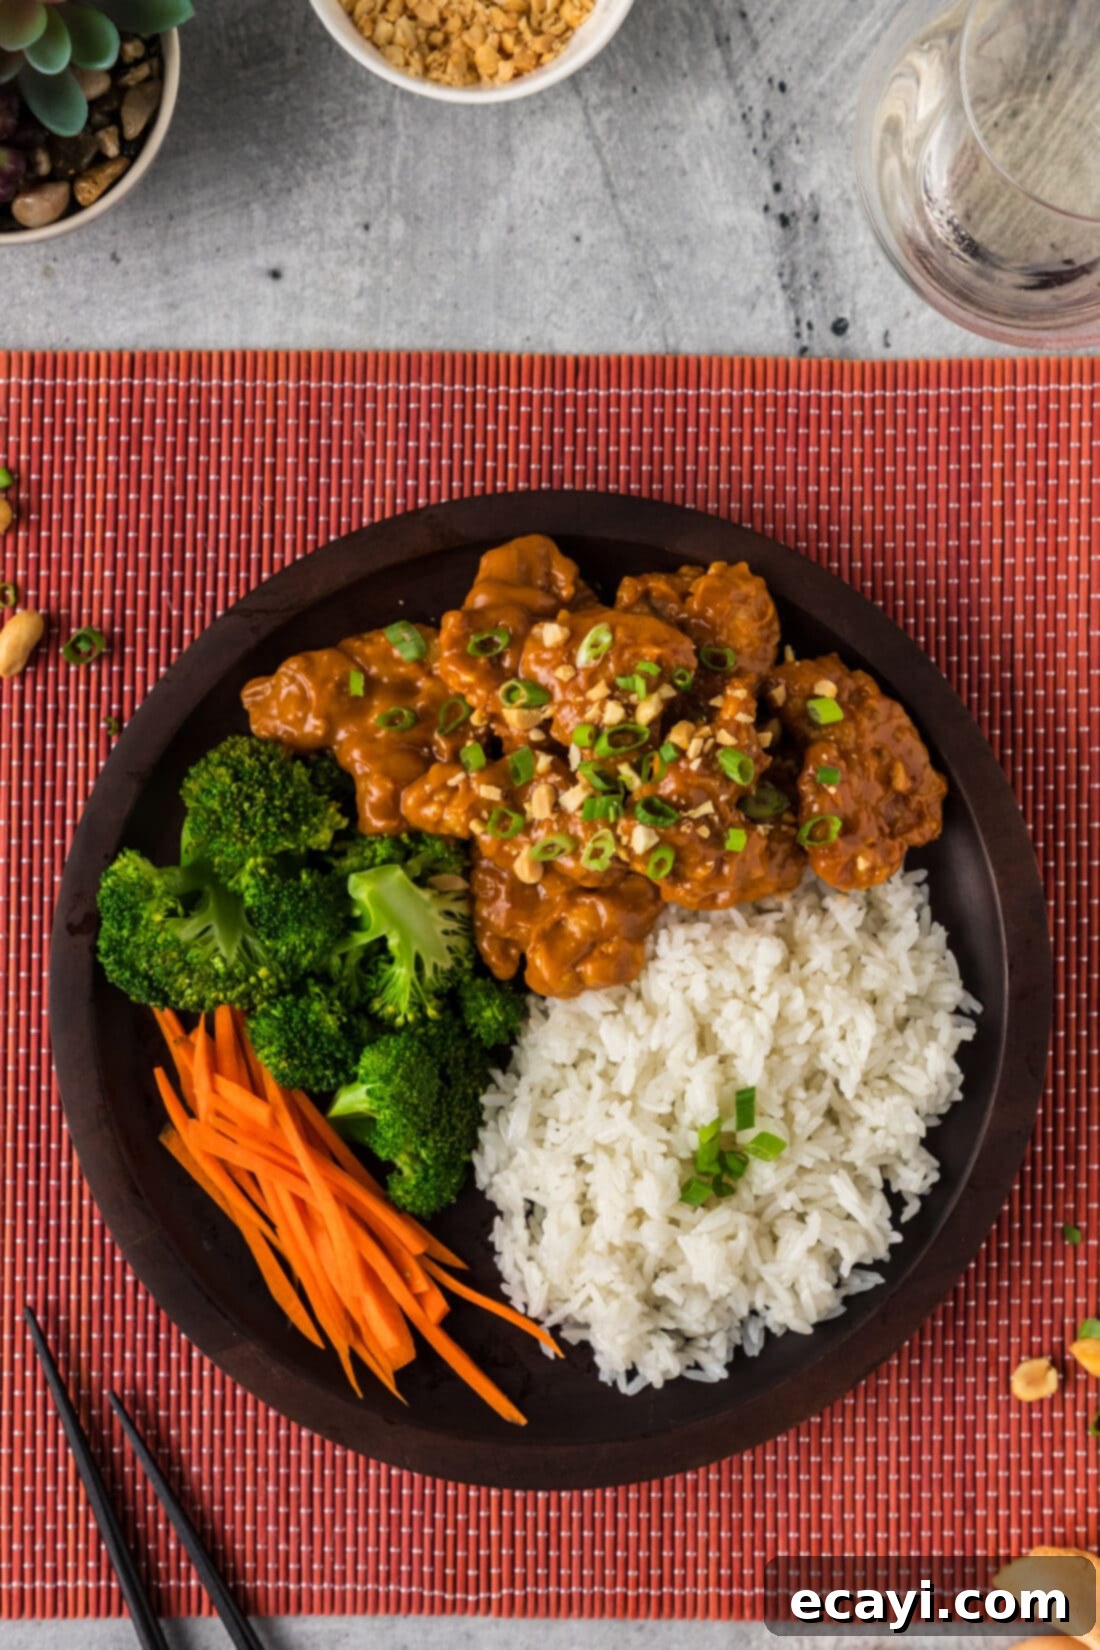
Delightful Serving Suggestions for Peanut Butter Chicken
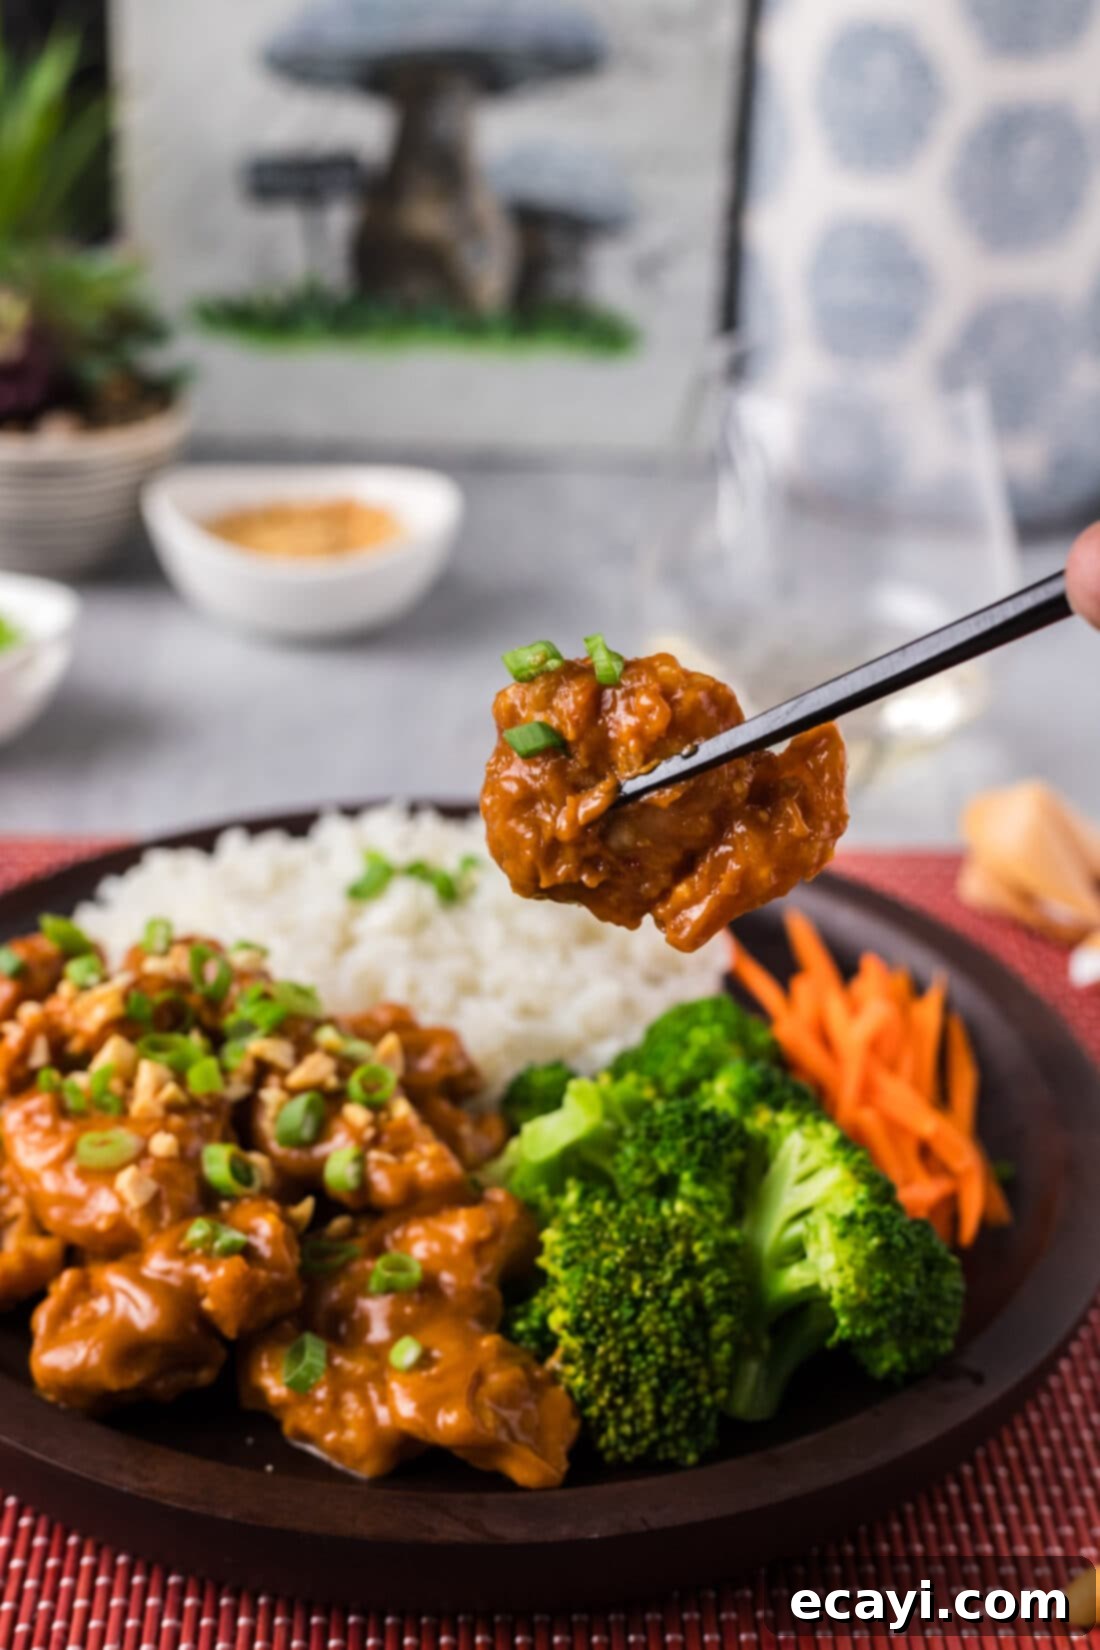
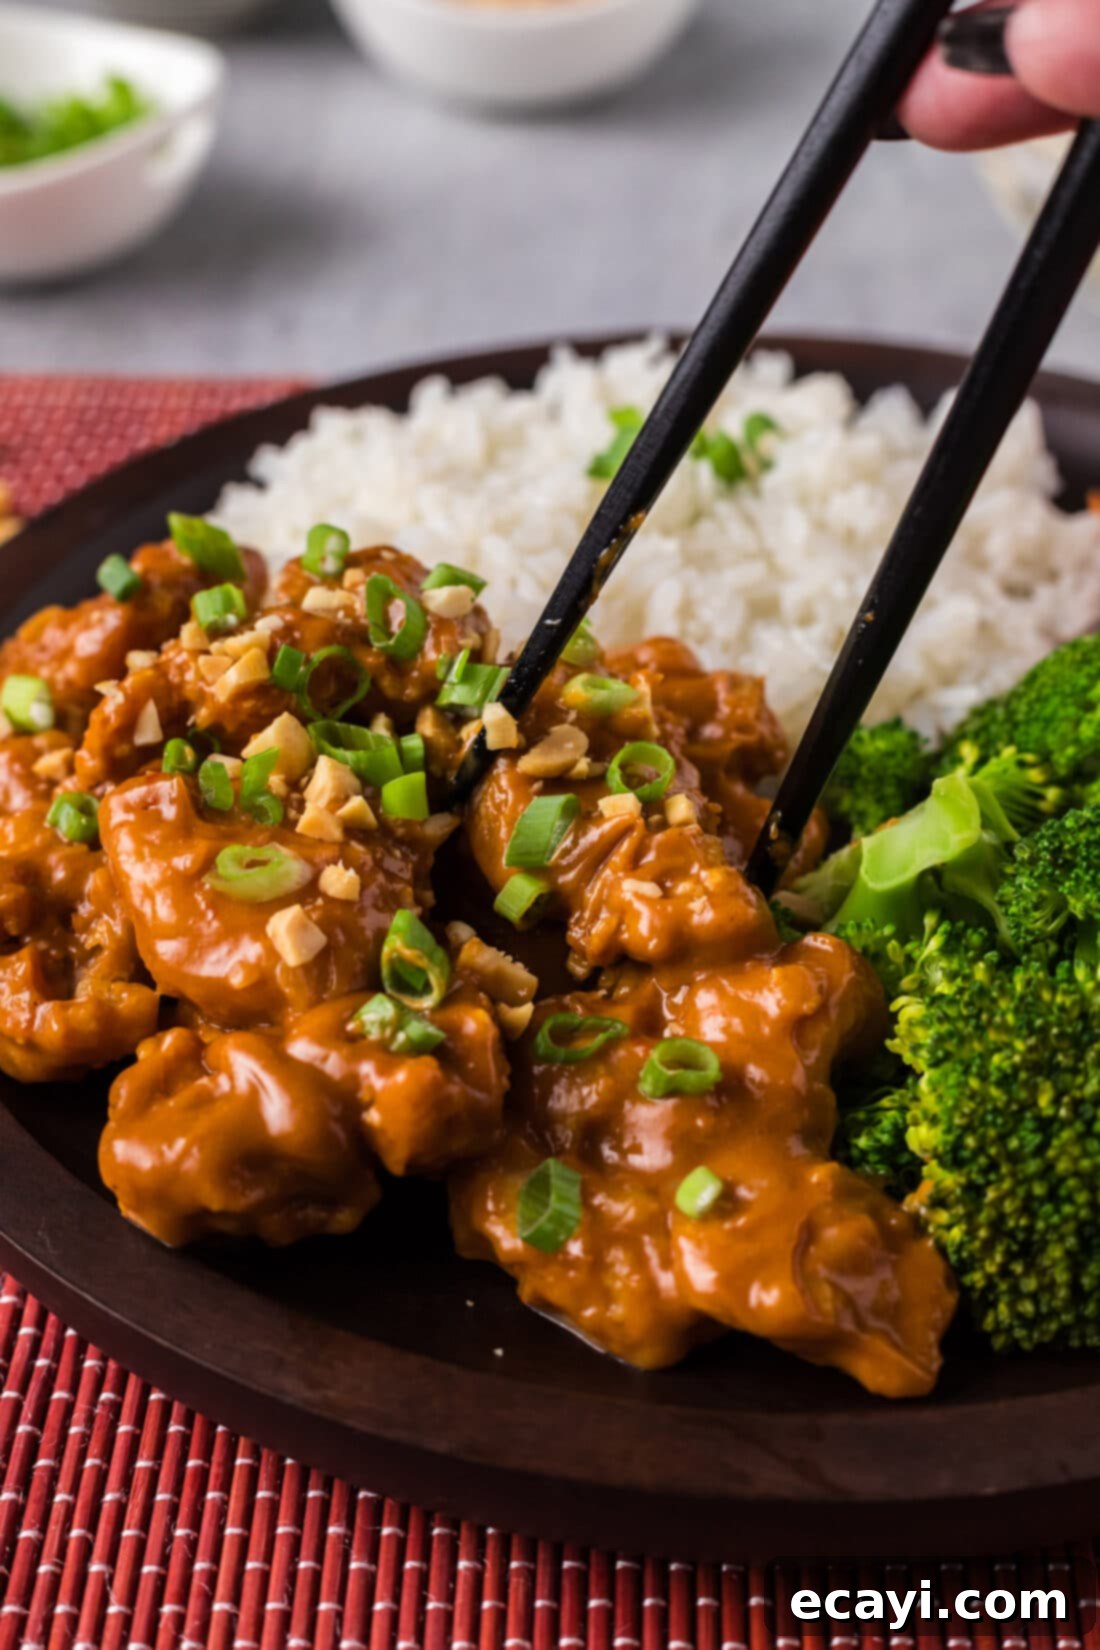
This versatile Peanut Butter Chicken pairs wonderfully with a variety of sides, allowing you to tailor your meal to your preferences. The classic choice is to serve it generously over steamed white rice, which soaks up the extra sauce beautifully. For a richer meal, pasta like spaghetti or rice noodles can also be a fantastic accompaniment. To complete the experience, consider a refreshing glass of plum wine to complement the dish’s sweet and savory notes.
If you’re looking for a low-carb alternative, serving this flavorful chicken over cauliflower rice or couscous is an excellent option that doesn’t compromise on taste. To add a fresh, aromatic finish and a pop of color, optionally garnish your peanut butter chicken with thinly sliced green onions and a sprinkle of chopped peanuts for extra crunch. Steamed or stir-fried vegetables like broccoli, snow peas, or bell peppers also make a perfect side to round out this incredible meal.
Explore More Delicious Chicken Recipes
If you loved this unique peanut butter chicken, we have many more fantastic chicken recipes that we think you’ll enjoy. From classic comfort food to other Asian-inspired delights, there’s always something new to discover in our kitchen:
- Garlic Chicken: A simple yet incredibly flavorful dish perfect for any weeknight.
- Chicken Curry: A rich and aromatic curry that’s both hearty and comforting.
- Hunan Chicken: For those who love a bold, spicy kick and vibrant flavors.
- Kung Pao Chicken: A popular Chinese-American takeout classic that you can easily make at home.
I love to bake and cook and share my kitchen experience with all of you! Remembering to come back each day can be tough, that’s why I offer a convenient newsletter every time a new recipe posts. Simply subscribe and start receiving your free daily recipes!
Peanut Butter Chicken
IMPORTANT – There are often Frequently Asked Questions within the blog post that you may find helpful. Simply scroll back up to read them!
Print It
Pin It
Rate It
Save ItSaved!
Ingredients
- 1 ½ pounds boneless skinless chicken thighs
- ½ cup cornstarch
- ½ cup all purpose flour
- 1 large egg
- vegetable oil for frying
Peanut Butter Sauce
- 1 ½ cups creamy peanut butter
- 1 cup honey
- 1 ½ Tablespoons Franks red hot sauce
- 1 ½ Tablespoons fish sauce
- 1 Tablespoon minced garlic
- ½ Tablespoon minced ginger
- 1 Tablespoon Asian sweet chili sauce
Things You’ll Need
-
Baking sheet
-
Wire cooling racks
-
Large deep sided skillet
-
Mini food processor or mini chopper
Before You Begin
- We use a mini chopper to mix up the sauce, which yields a perfectly smooth and emulsified consistency. You can also mix it by hand with a whisk, but it won’t be as smooth and might take a bit more effort.
- You can easily substitute boneless, skinless chicken breasts if preferred for this recipe. Just make sure to cut them into similar 2-inch chunks for even cooking.
- For the crispiest chicken, ensure your oil temperature is consistent at 350°F (175°C). Use a cooking thermometer to monitor this accurately.
Instructions
-
Set up your draining station: Place a wire rack over a baking sheet. This will allow air to circulate around the fried chicken and keep it crispy.
-
Cut your boneless, skinless chicken thighs into uniform 2-inch chunks. This ensures even cooking.
-
Prepare your breading: Put ½ cup of cornstarch on one plate and ½ cup of all-purpose flour on another plate.
-
In a medium-sized bowl, whisk the large egg until well combined. This is your egg wash.
-
Dredge each chicken piece, one at a time, first in the flour, shaking off any excess. This initial coat helps the egg stick.
-
Dip the flour-dredged chicken into the whisked egg, allowing any excess to drip off.
-
Finally, coat the chicken piece thoroughly in the cornstarch, ensuring both sides are fully covered. Place it onto the wire rack, making sure pieces don’t touch.
-
Heat the frying oil: Add enough vegetable oil to a deep-sided skillet to cover the chicken by about an inch. Heat over medium-high heat until the oil temperature reaches 350°F (175°C).
-
Prepare a draining area by laying paper towels out on a plate or cutting board next to your stove.
-
Fry the chicken in batches: Carefully place the breaded chicken pieces into the hot oil, ensuring not to overcrowd the pan. Cook for 2-3 minutes on each side, turning once or twice, until the chicken is golden brown and crispy.
-
Remove the cooked chicken: Move the crispy chicken pieces from the hot oil to the paper towels to drain excess oil.
-
Prepare the sauce: In a mini food chopper or blender, add all the sauce ingredients: creamy peanut butter, honey, Frank’s RedHot sauce, fish sauce, minced garlic, minced ginger, and Asian sweet chili sauce. Blend until completely smooth and creamy.
TIP – The sauce will taste very strong on its own! We strongly advise against taste testing before it’s combined with the chicken. Once coated, the sauce’s intensity mellows, beautifully complementing the crispy chicken.
-
Coat the chicken with sauce: Place the cooked chicken pieces into a large mixing bowl. Pour the prepared peanut butter sauce over the chicken. Use a rubber spatula to gently turn and coat all the chicken pieces evenly. Serve immediately and enjoy the irresistible flavors!
Expert Tips & FAQs
- For food safety and the best texture, chicken should always be cooked to an internal temperature of 165°F (74°C). Use an instant-read thermometer inserted into the thickest part of the chicken to verify doneness.
- This recipe yields a generous 3 cups of sauce. We typically use about 2 cups to coat the chicken, leaving approximately 1 cup leftover. Don’t let it go to waste! You can serve the extra sauce on the side for dipping, or drizzle it over your rice or noodles for an extra burst of flavor. It’s also fantastic as a marinade or dressing for other dishes.
- To properly store any remaining peanut butter chicken, transfer it to an airtight container and refrigerate for up to 3 days. Reheat gently to maintain some of the texture.
- Achieving perfectly crispy chicken relies heavily on the oil temperature. If the oil is too cool, the chicken will absorb too much oil and become greasy. If it’s too hot, the exterior will burn before the interior is cooked. A reliable kitchen thermometer is your best friend here.
- Don’t overcrowd the pan while frying. Frying in batches ensures that the oil temperature doesn’t drop too much, allowing each piece of chicken to get beautifully crispy. Overcrowding can lead to soggy chicken.
Nutrition
The recipes on this blog are tested with a conventional gas oven and gas stovetop. It’s important to note that some ovens, especially as they age, can cook and bake inconsistently. Using an inexpensive oven thermometer can assure you that your oven is truly heating to the proper temperature. If you use a toaster oven or countertop oven, please keep in mind that they may not distribute heat the same as a conventional full sized oven and you may need to adjust your cooking/baking times. In the case of recipes made with a pressure cooker, air fryer, slow cooker, or other appliance, a link to the appliances we use is listed within each respective recipe. For baking recipes where measurements are given by weight, please note that results may not be the same if cups are used instead, and we can’t guarantee success with that method.
