Festive Pumpkin Deviled Eggs: Your Go-To Fall Appetizer for Holiday Gatherings
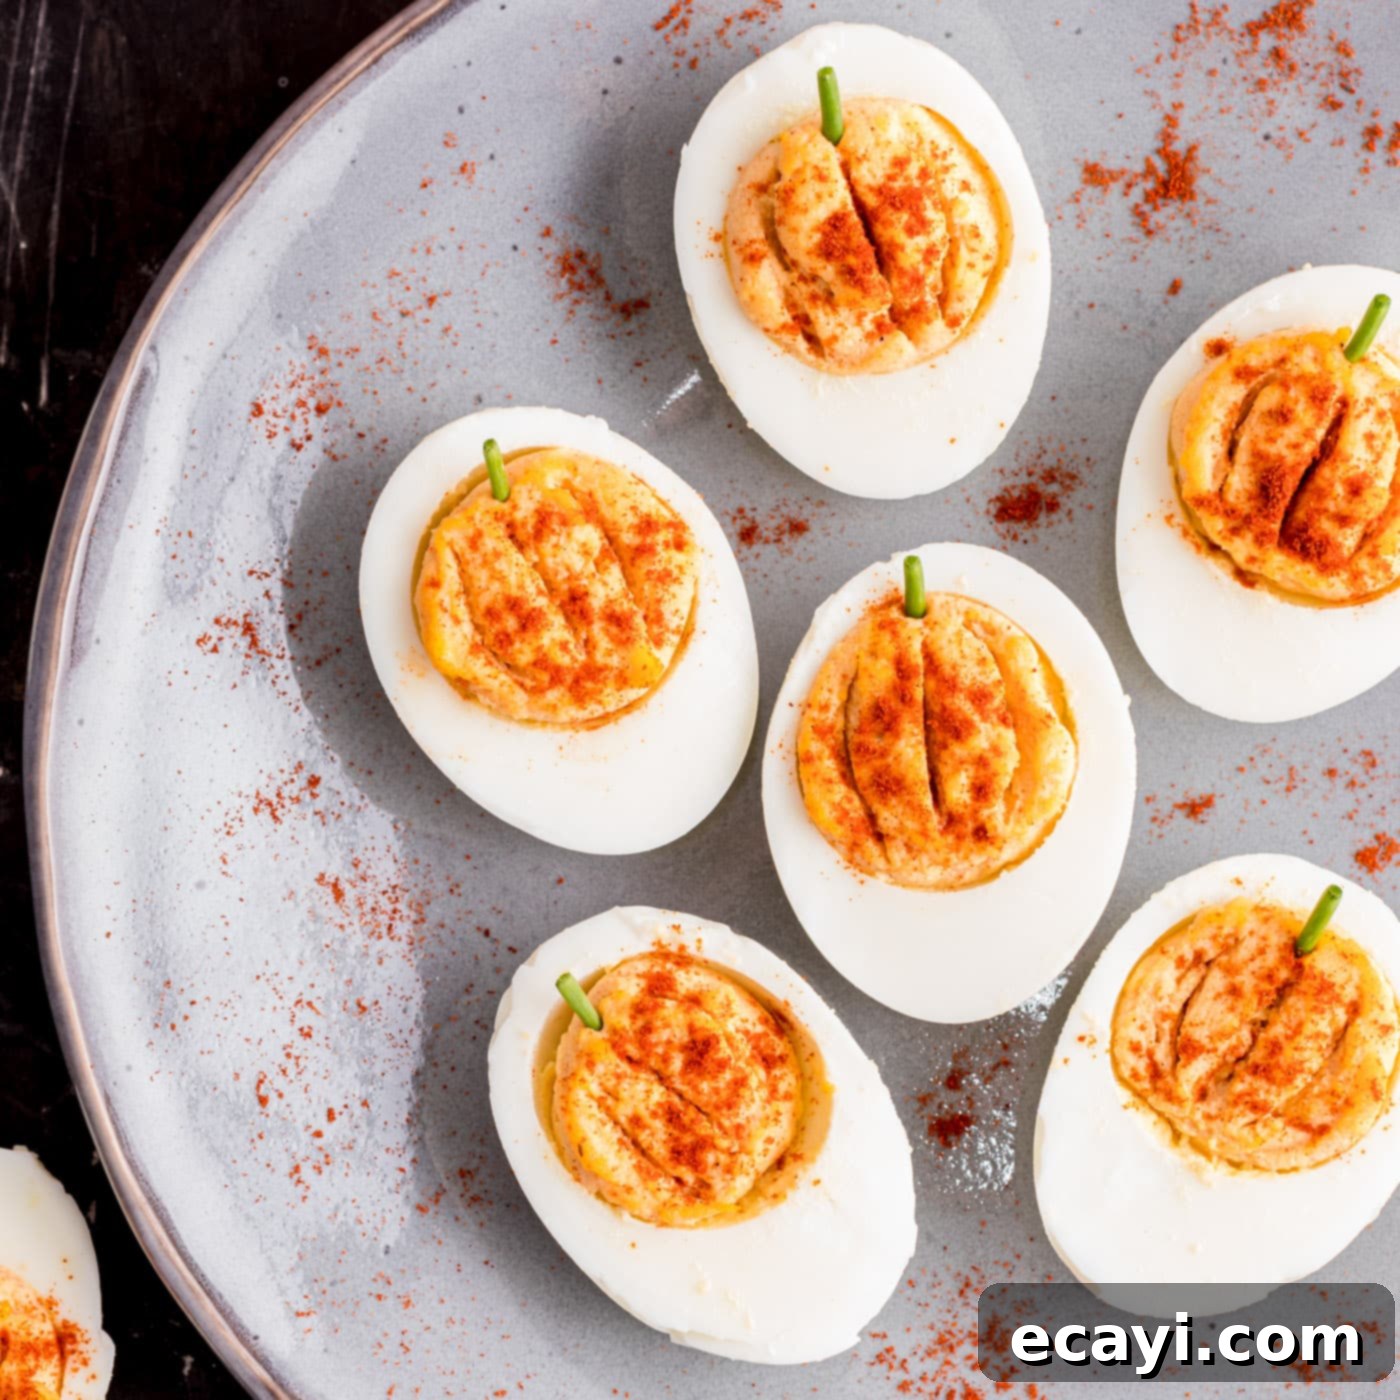
Delight your guests this autumn with a charming and delicious twist on a timeless favorite: Pumpkin Deviled Eggs. These adorable, bite-sized appetizers capture the spirit of the fall season without using any actual pumpkin – they’re simply shaped to resemble one! By infusing our classic deviled egg recipe with a touch of paprika for vibrant color and flavor, and topping them with fresh chives for a convincing stem, you’ll create an irresistibly cute and easy-to-make dish perfect for all your fall parties, from intimate gatherings to grand holiday feasts.
Why These Pumpkin Deviled Eggs Will Be Your Fall Party Hit
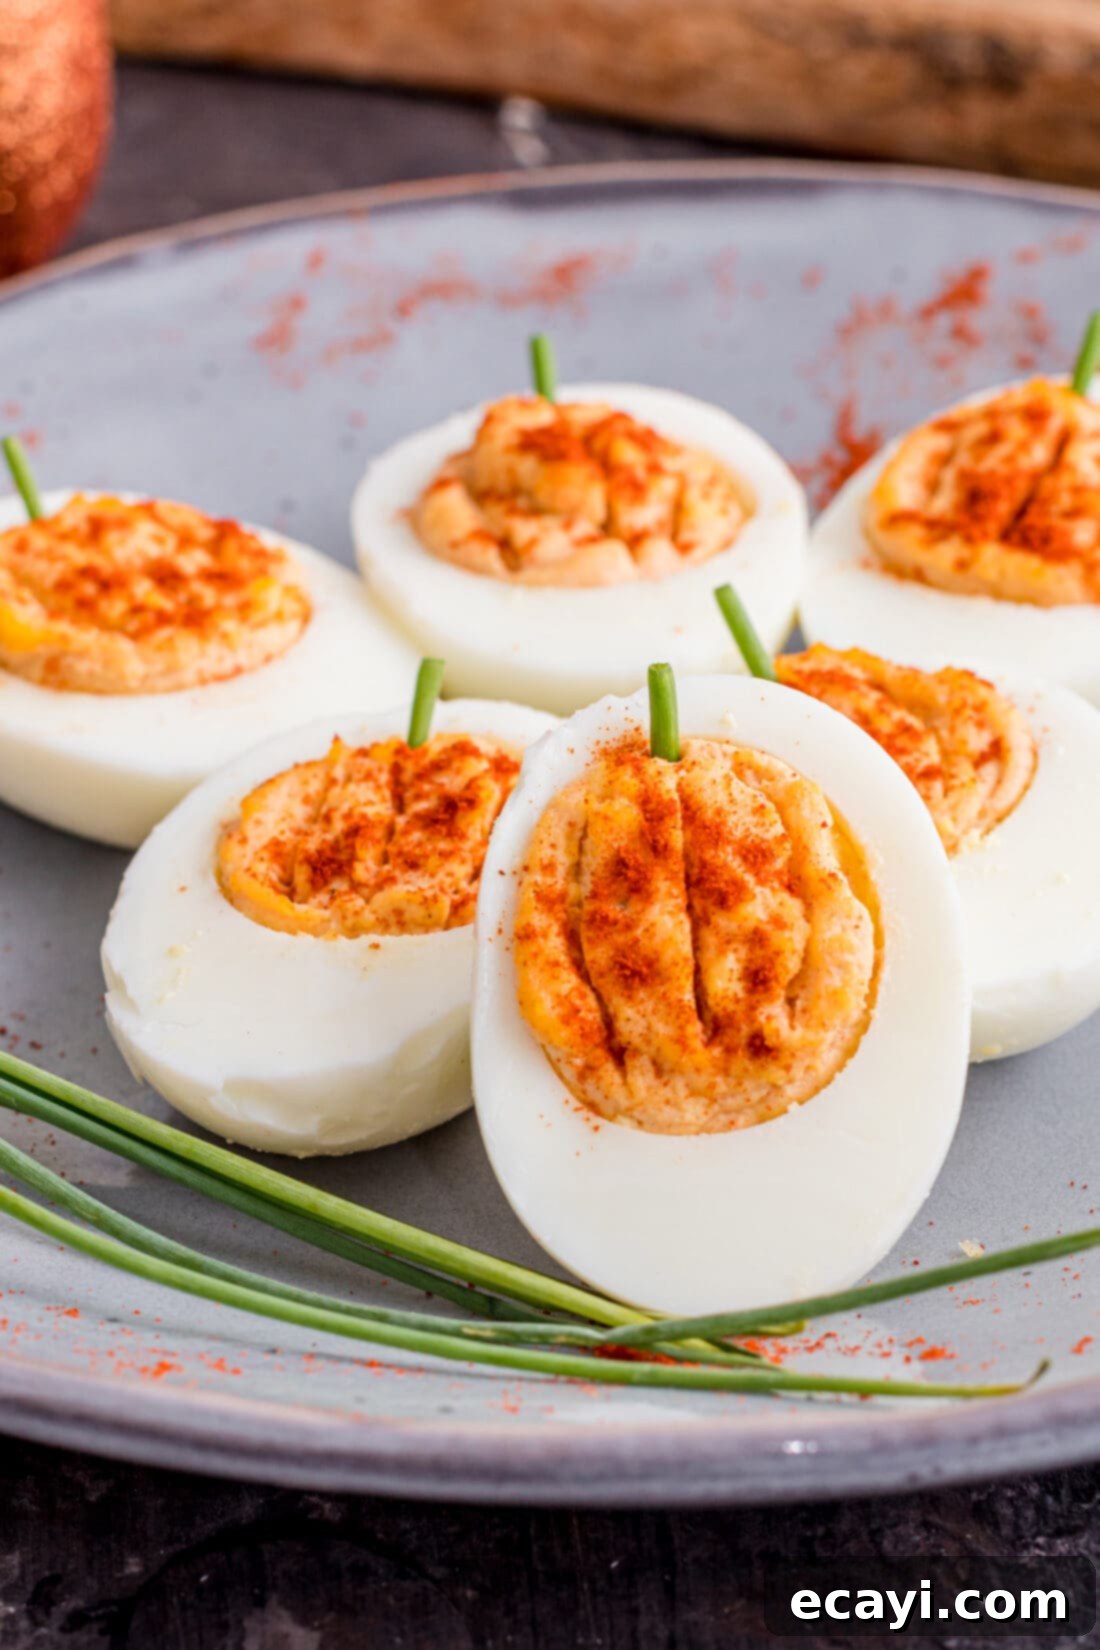
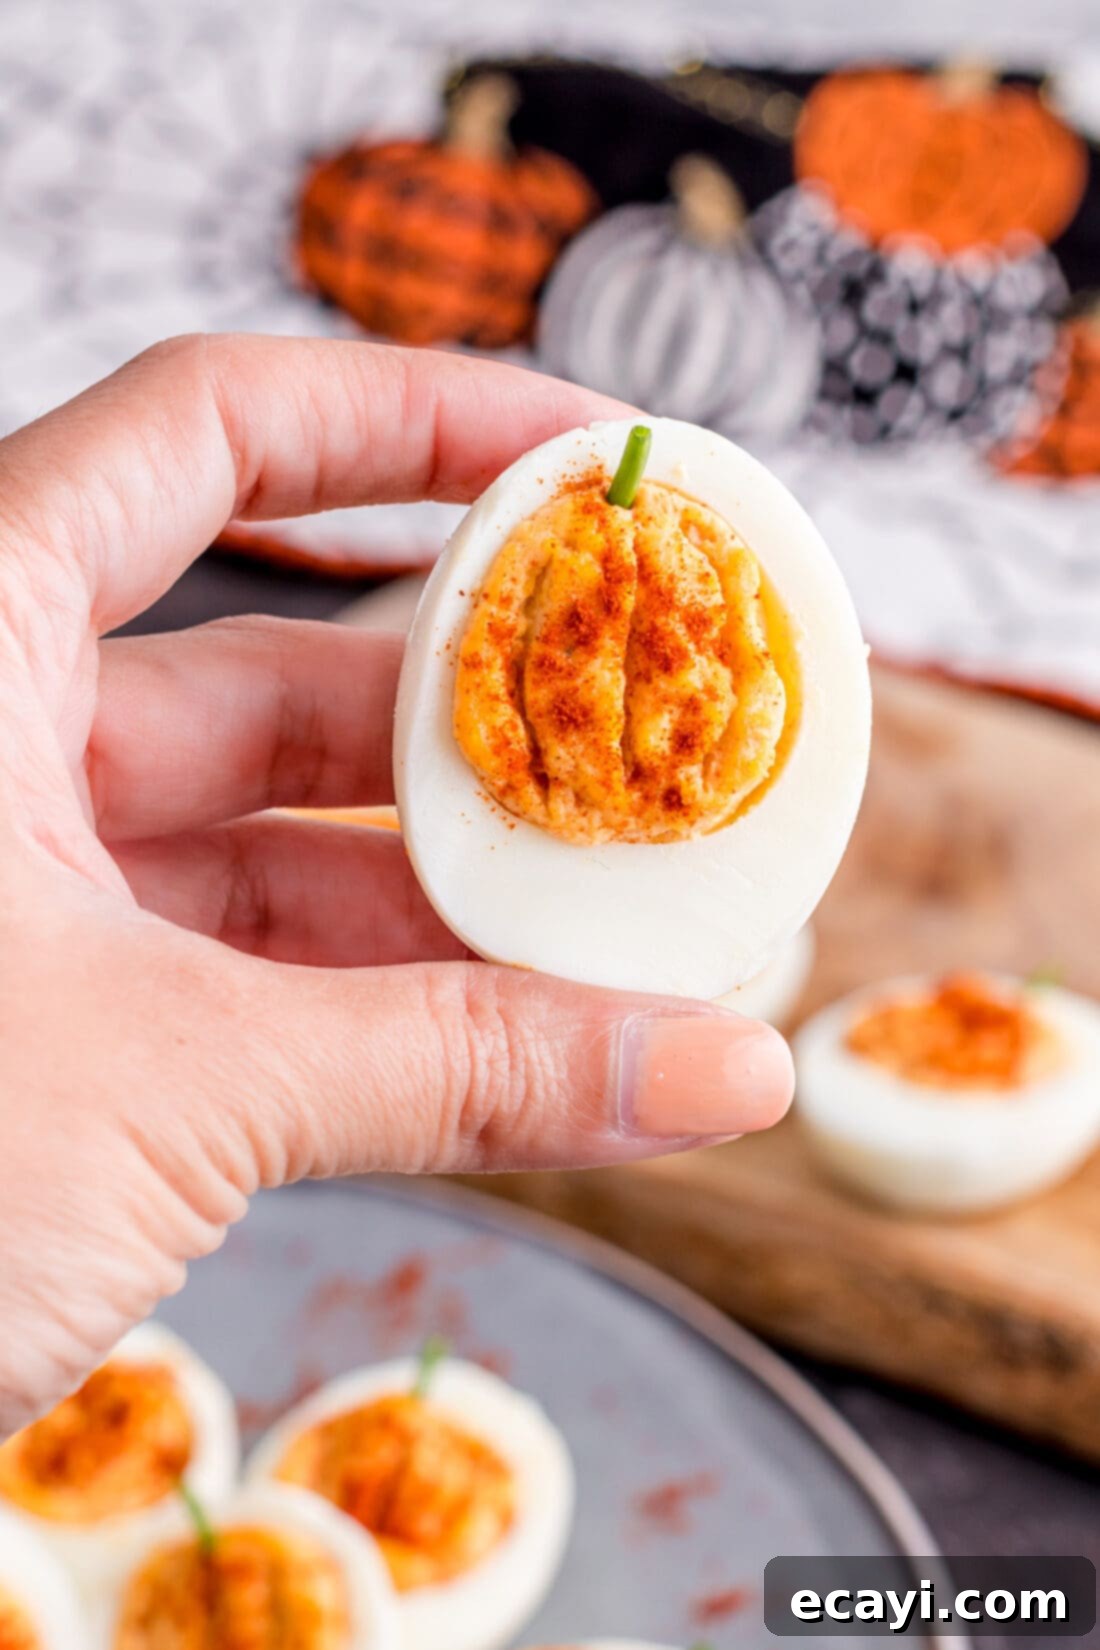
Before you ask, let’s clarify: these delightful deviled eggs are pumpkin-shaped, not pumpkin-flavored! The magic lies in their festive presentation, making them a standout addition to any autumnal spread. We take our trusted classic deviled egg filling and elevate it for the season by incorporating a teaspoon of paprika. This not only adds a subtle, earthy warmth to the flavor profile but also lends a beautiful, natural orange hue to the yolk mixture, transforming it into a perfect mini pumpkin. A small snipped chive perched on top completes the illusion, acting as the pumpkin’s stem, creating a charming and edible patch of pumpkins.
Deviled eggs are an undeniable staple at potlucks, parties, and holiday celebrations throughout the year. There’s something inherently comforting and universally loved about a tray of creamy, perfectly seasoned stuffed eggs. And while the classic version is always a crowd-pleaser, it’s incredibly fun to add a seasonal twist whenever the opportunity arises. These pumpkin deviled eggs are exceptionally versatile, making them ideal for a wide range of fall events. Imagine them gracing your table at casual fall gatherings, adding a whimsical touch to Halloween parties, or serving as an elegant yet fun appetizer for Thanksgiving. What truly makes this recipe shine is that you achieve this impressive festive look without needing a myriad of extra steps or specialized equipment, keeping the preparation simple and stress-free.
Essential Ingredients for Your Pumpkin Deviled Eggs
Crafting these festive deviled eggs requires just a handful of common ingredients, most of which you likely already have in your pantry. For precise measurements, detailed instructions, and a printable version of this recipe, please refer to the dedicated recipe card conveniently located at the end of this post. Gather your ingredients, and let’s get cooking!
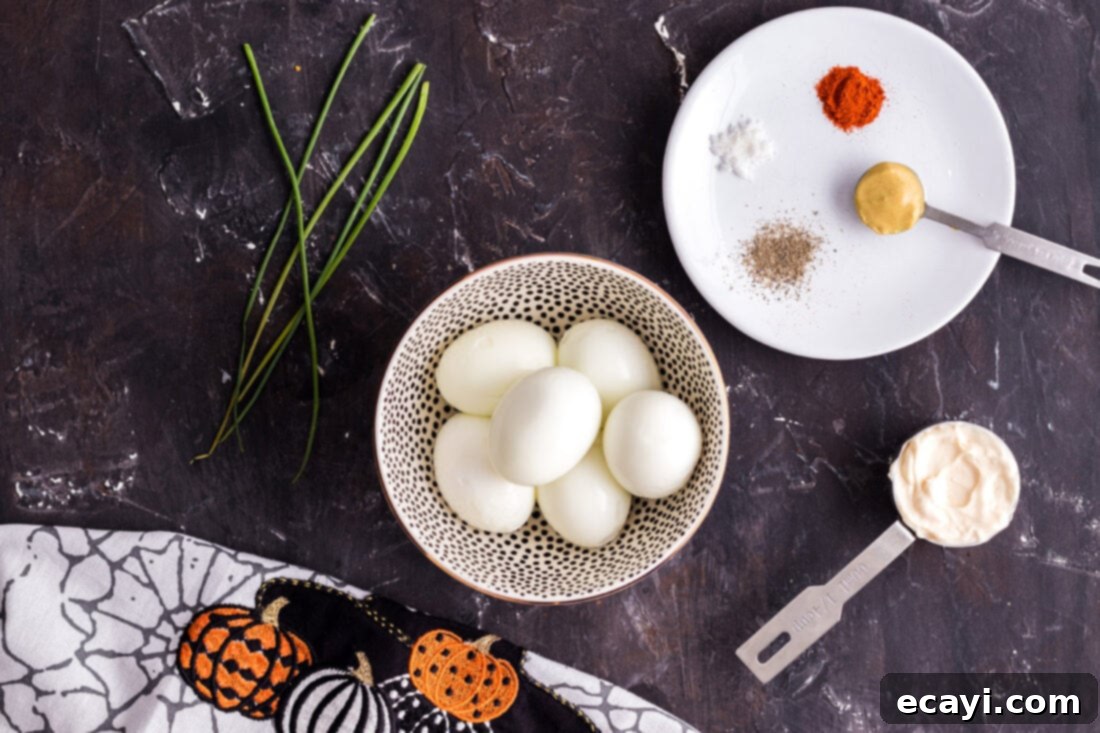
Ingredient Spotlight & Expert Substitution Tips
Let’s take a closer look at the key components that make these pumpkin deviled eggs so delicious and visually appealing, along with some helpful tips and substitution ideas:
EGGS: For this recipe, 6 large hard-boiled eggs will yield 12 perfectly portioned deviled eggs. This is a great starting point for a small gathering, but the recipe is easily scalable. Feel free to double or even triple the quantities as needed for larger parties or holiday feasts. For consistently perfect, easy-to-peel hard-boiled eggs, I highly recommend using an egg cooker. It takes the guesswork out of the process, ensuring perfectly cooked whites and yolks every time. If you don’t have one, don’t worry – a traditional saucepan method (detailed in our FAQ) works wonderfully too. Remember, slightly older eggs (about a week old) tend to peel much easier than very fresh ones, making your preparation smoother.
FILLING: The creamy, flavorful heart of these pumpkin deviled eggs is fundamentally similar to our classic recipe, but with a special addition: paprika. This vibrant spice is incorporated into the yolk mixture to not only impart a subtle, smoky sweetness but also to give it that characteristic orange hue, essential for our pumpkin theme. For the base, I personally prefer using regular, full-fat mayonnaise for its rich texture and robust flavor. However, if you’re looking to lighten things up, low-fat or light mayonnaise will work perfectly fine without compromising the overall deliciousness. When it comes to mustard, Dijon is my go-to choice for its sophisticated, tangy kick that beautifully complements the egg yolks. If you prefer the more traditional, sharp flavor of yellow mustard, that’s an excellent substitute and will still deliver a fantastic taste. Don’t be afraid to experiment with different types of mustard to find your favorite!
PAPRIKA: Beyond just color, paprika adds a wonderful depth of flavor. While sweet paprika is commonly used, a touch of smoked paprika can introduce an intriguing smoky note that pairs exceptionally well with eggs. Remember, a little goes a long way, especially when aiming for color without overpowering the delicate egg flavor.
CHIVES: Fresh chives are crucial for creating the realistic “stem” of our pumpkin deviled eggs. Their mild oniony flavor also offers a lovely fresh contrast to the rich filling. If fresh chives are unavailable, you could try a tiny piece of parsley or even a thin sliver of green onion, but chives provide the best aesthetic and subtle flavor.
Step-by-Step Guide: Crafting Your Pumpkin Deviled Eggs
These step-by-step photos and detailed instructions are here to visually guide you through the process of making this recipe, ensuring perfect results every time. For your convenience, you can also Jump to Recipe to access the printable version of this recipe, complete with all measurements and instructions at the bottom of the page.
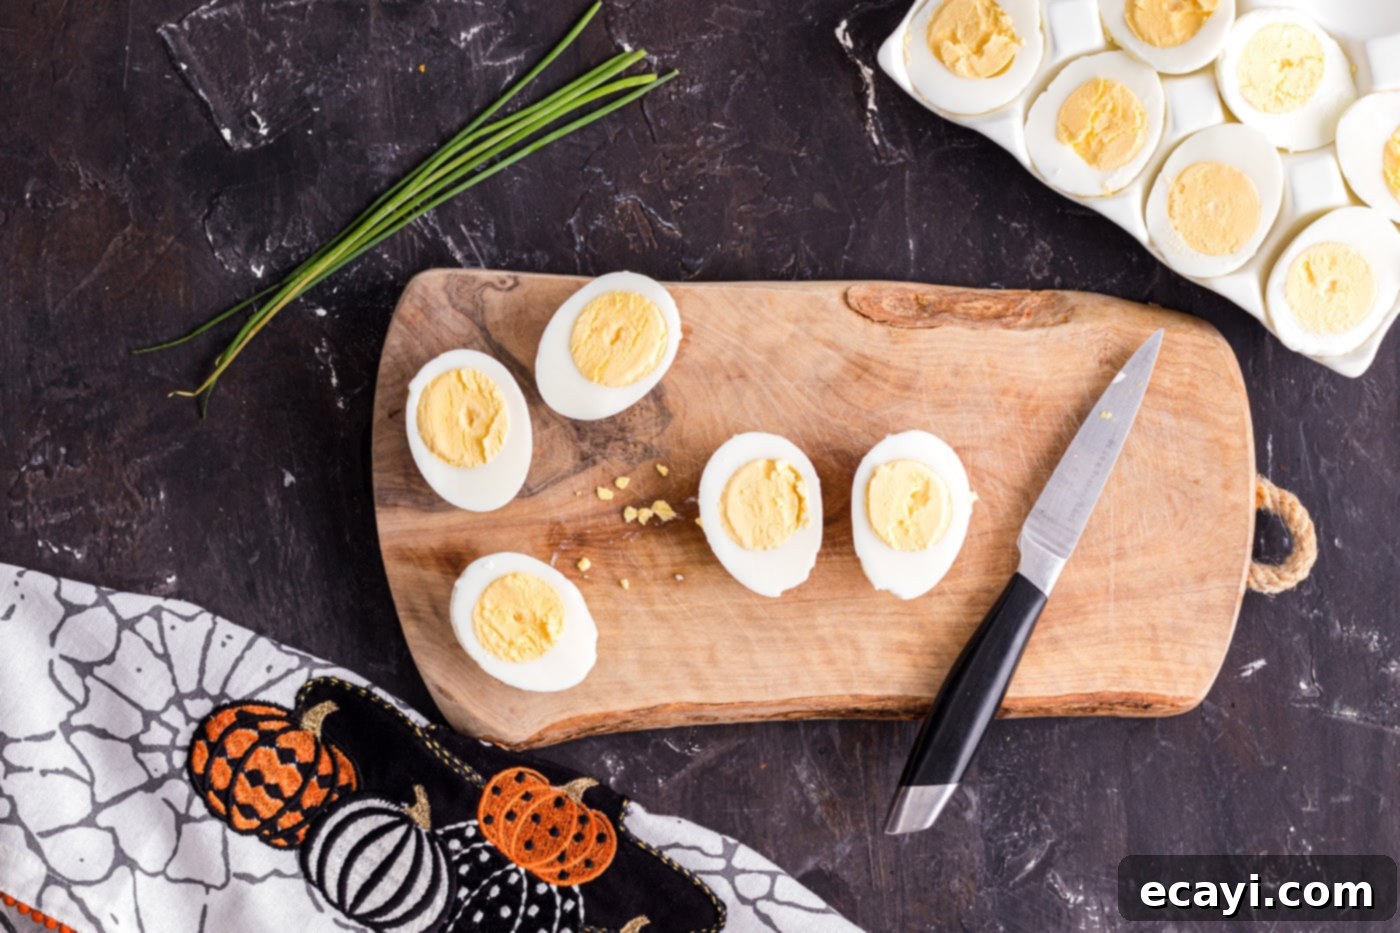
- Begin by carefully removing the shells from your hard-boiled eggs. This initial step is critical for a beautiful presentation, as you want to avoid any gouges, scrapes, or rough edges on the cooked egg whites, which will serve as the base for your pumpkin design. Once peeled, gently rinse each egg under cold water to remove any lingering shell fragments, then pat them completely dry with paper towels. Next, using a sharp knife, carefully slice each egg in half lengthwise, creating two perfect oval halves.
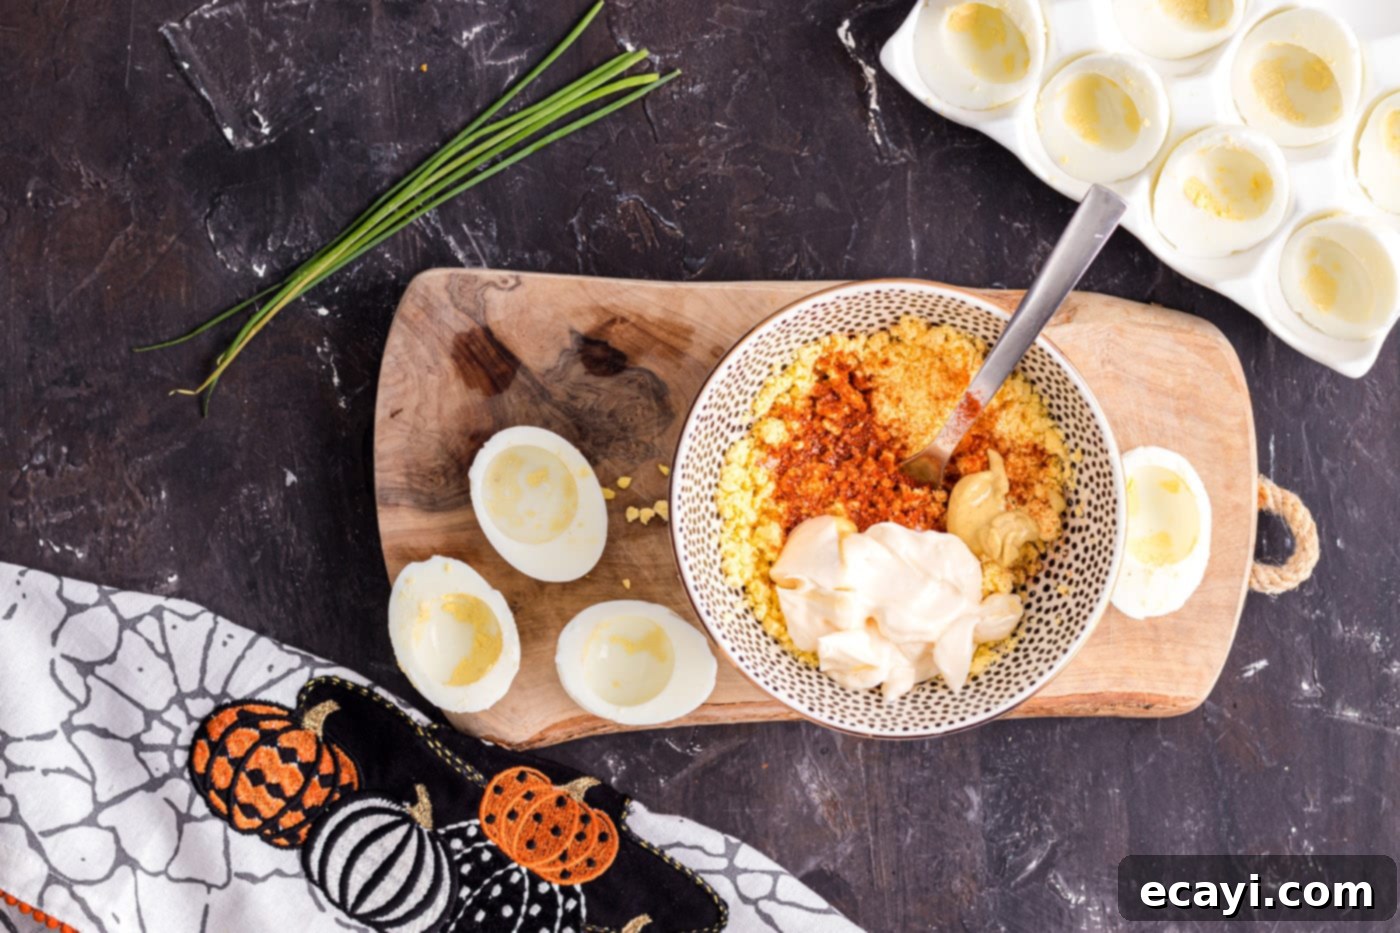
- Gently scoop out the bright yellow yolks from each egg white half and transfer them into a small mixing bowl. Using a fork, thoroughly mash the yolks until they are completely smooth and free of any large chunks. A silky, lump-free yolk mixture is key for a creamy and appealing filling.

- To the mashed yolks, add the mayonnaise, mustard, black pepper, and the star of the show for color and flavor, paprika. Mix all these ingredients together vigorously with your fork until the mixture is perfectly smooth, creamy, and evenly orange-colored. Once combined, taste the mixture. Now, add salt sparingly, a small pinch at a time, mixing well after each addition, until you achieve your desired level of seasoning. Remember, it’s easy to add more salt, but impossible to remove it!

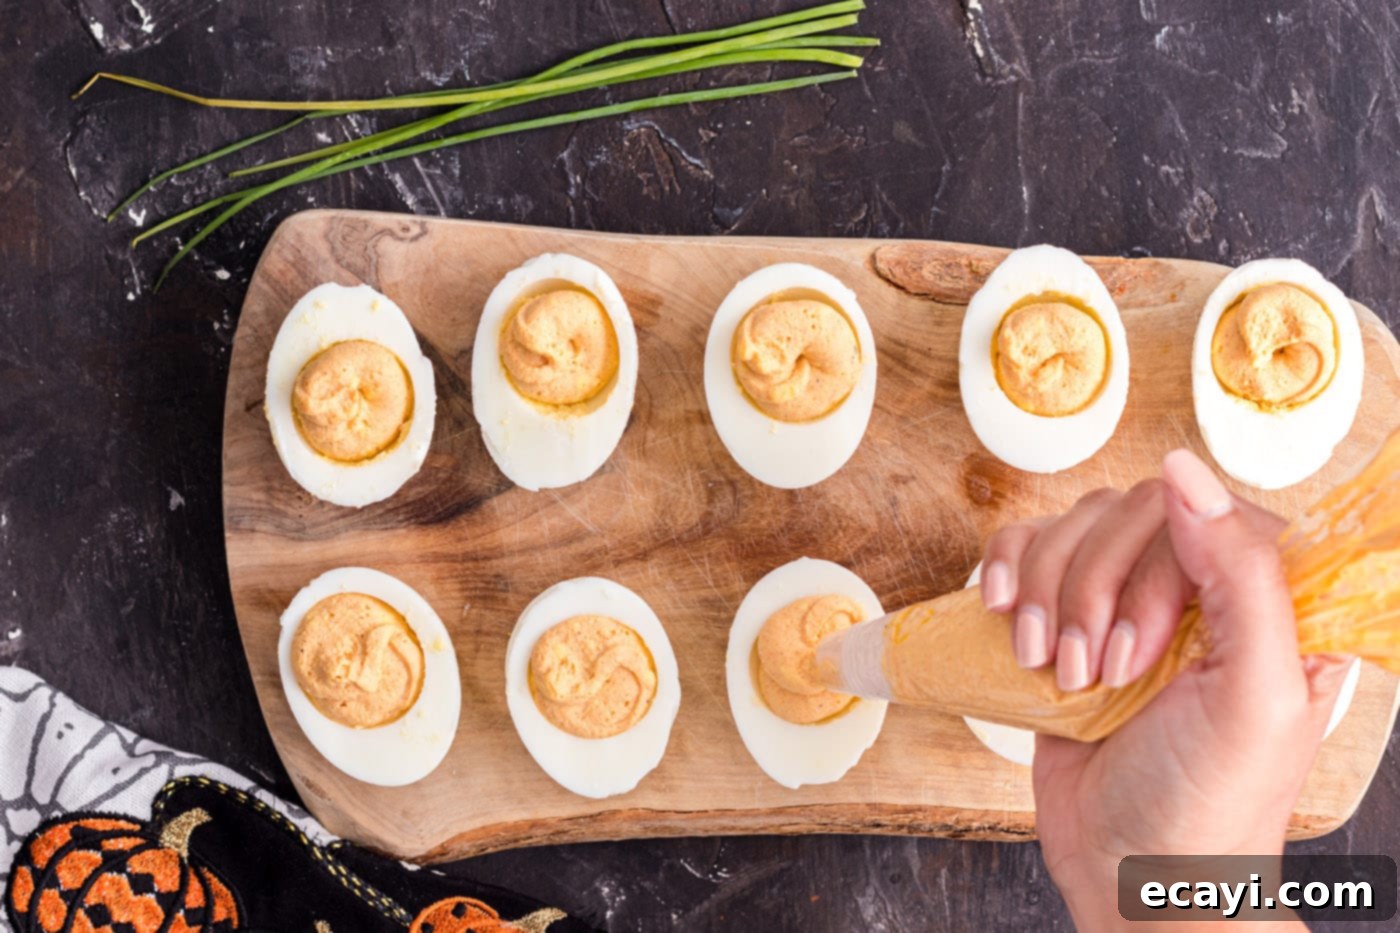
- Transfer the creamy egg yolk mixture into a piping bag fitted with a round tip. Carefully pipe the mixture back into the centers of the hollowed-out egg white halves. If you don’t have a piping bag, don’t worry! You can just as easily use a small spoon to carefully scoop and mound the mixture into each egg white, creating a pleasing dome shape.

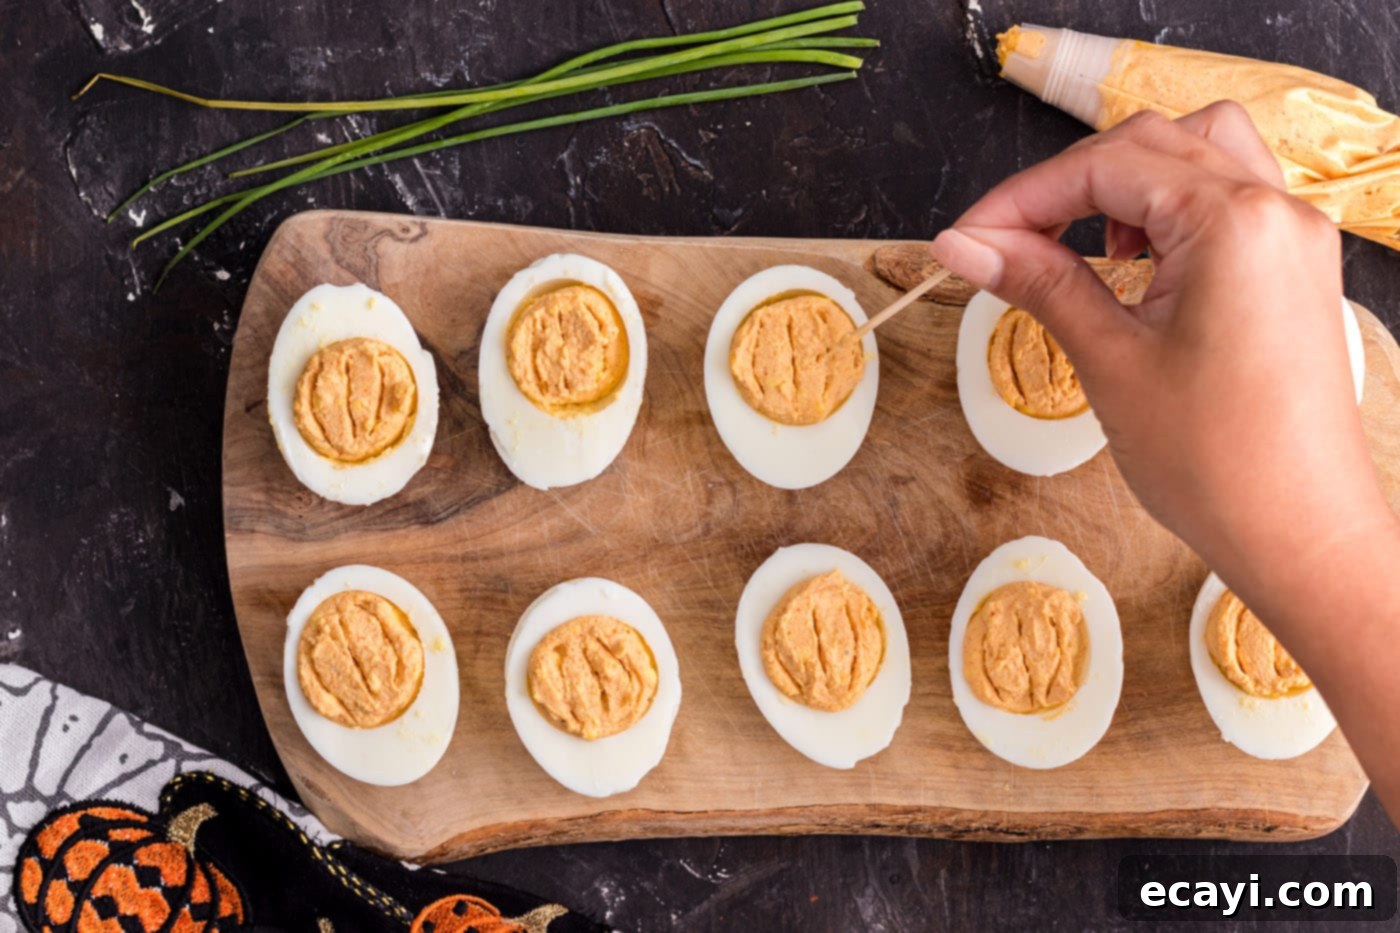
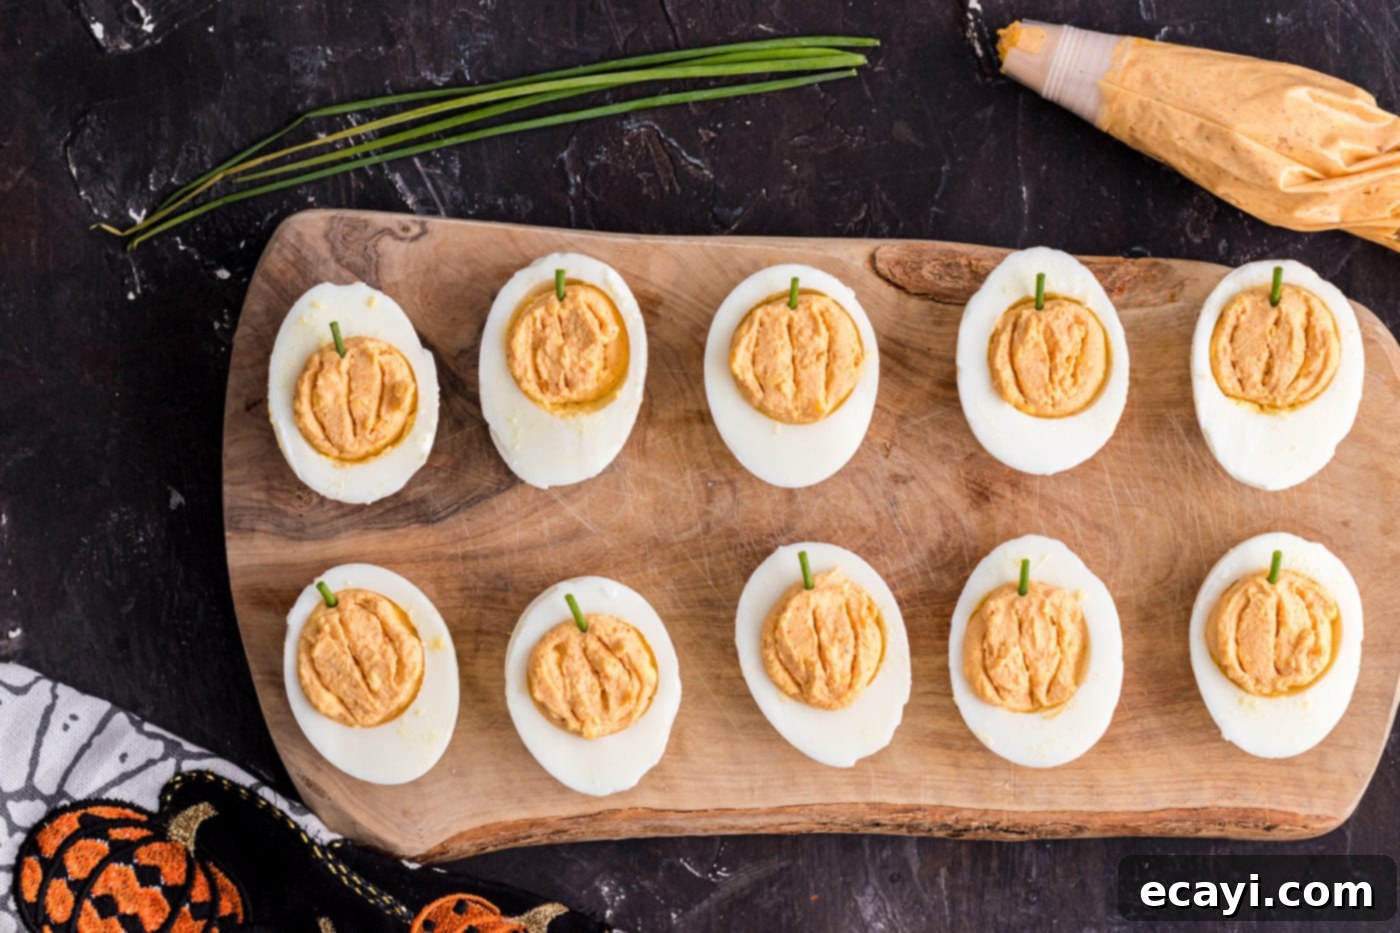
- Now comes the fun part – transforming them into pumpkins! Take a clean toothpick and gently press it into the piped egg yolk mixture, carefully drawing several vertical lines from the top center down to the base of the yolk. This creates the signature ridges that mimic the natural grooves of a pumpkin. Once the ridges are formed, take a small snipped piece of fresh chive and gently insert it into the very top center of the yolk mixture, standing upright, to act as a realistic pumpkin stem.


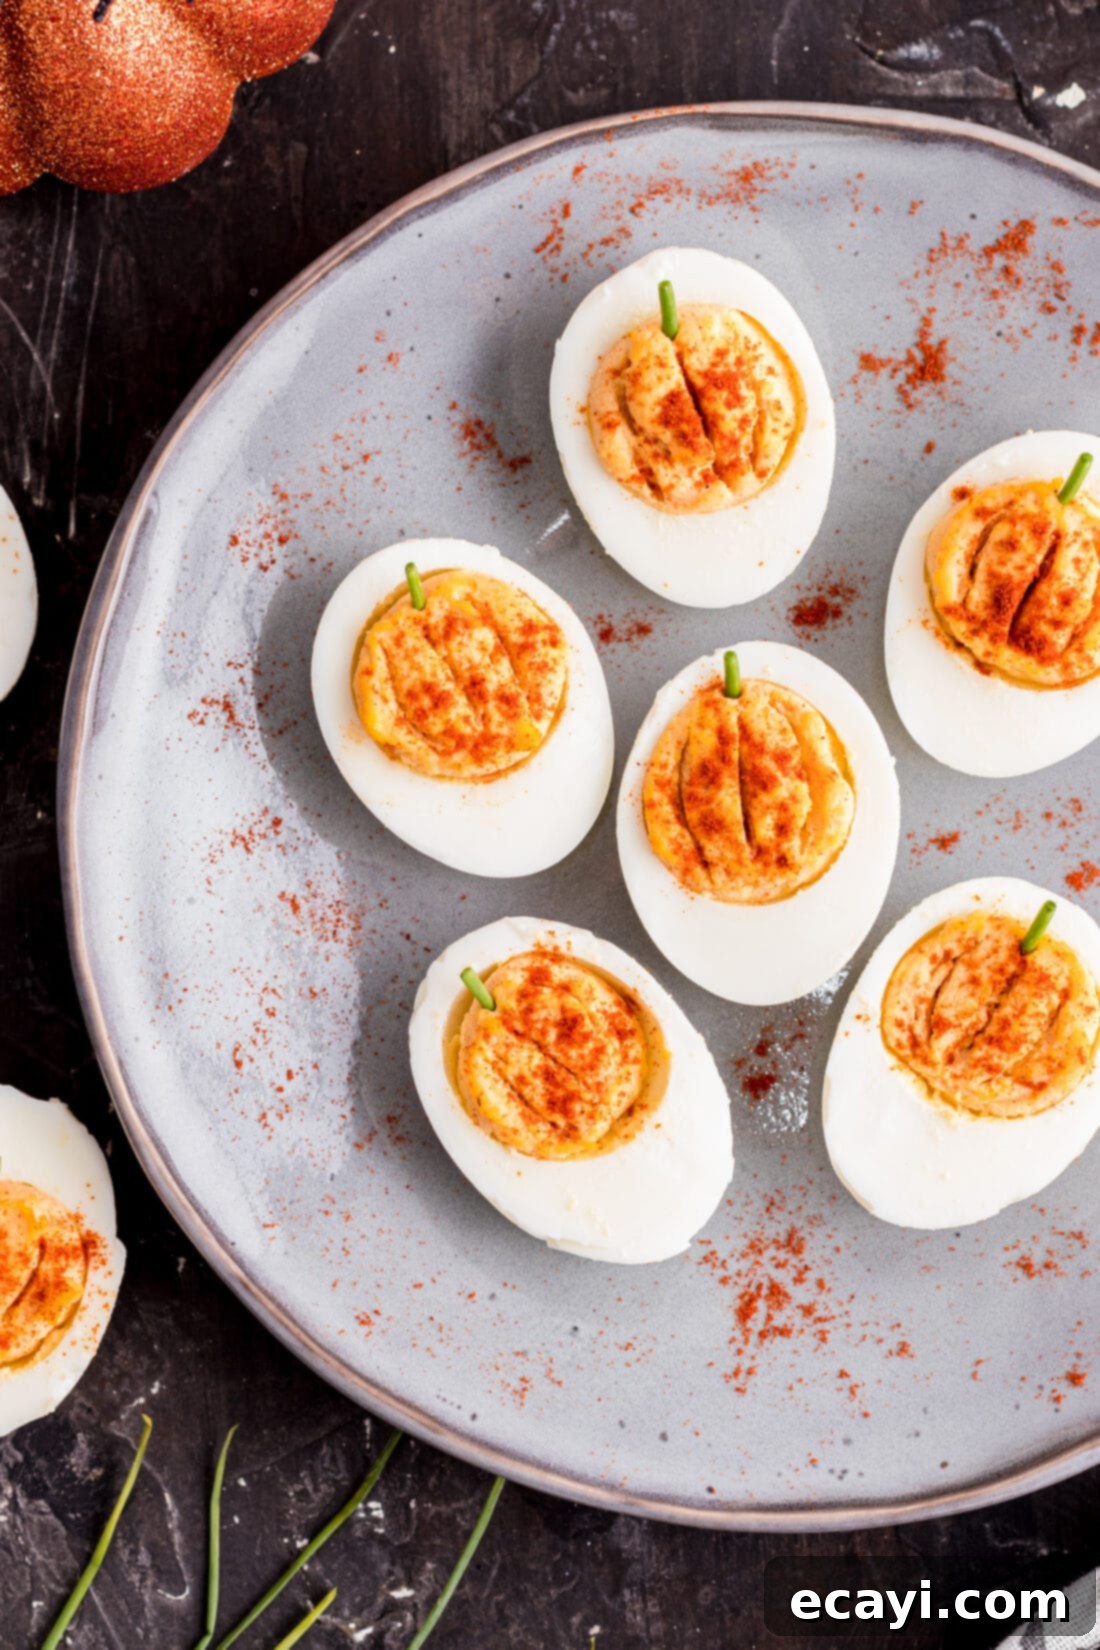
- For a final touch of color and a subtle flavor boost, lightly sprinkle a tiny amount of additional paprika over the top of each finished pumpkin deviled egg. This enhances their autumnal appearance even further.
- If you’re preparing these delectable appetizers for a potluck or any gathering away from home, ensuring their safe transport is key. Carefully arrange your pumpkin deviled eggs in a specialized deviled egg tray, ideally one that comes with a secure, fitted lid. This will prevent them from shifting, getting damaged, or spoiling during transit, ensuring they arrive looking just as perfect as when you made them.
Frequently Asked Questions & Expert Tips for Perfect Deviled Eggs
Achieving perfectly cooked, easily peelable hard-boiled eggs is the foundation of any great deviled egg recipe. I’ve found two methods that consistently deliver excellent results. My absolute favorite and most recommended tool is an egg cooker. It has never failed to provide me with beautifully cooked eggs that peel effortlessly, saving a lot of time and frustration. If you don’t own an egg cooker, the stovetop method is also highly effective: Place your eggs in a saucepan and cover them with about an inch of cold water. Bring the water to a rolling boil over high heat, then immediately turn off the heat, cover the pan with a lid, and let the eggs sit in the hot water for 12 minutes (for large eggs). Whichever cooking method you choose, the crucial final step is an immediate plunge into a bowl of ice water. This rapid cooling stops the cooking process, prevents a green ring around the yolk, and helps the shell separate cleanly from the egg white, ensuring easy peeling every time.
Absolutely! Deviled eggs are a fantastic make-ahead appetizer, which is perfect for busy holiday preparations. To ensure optimal freshness and presentation, I recommend preparing the filling and the egg whites separately a day or two in advance. Store the creamy yolk filling in an airtight container in the refrigerator to keep it fresh and prevent it from drying out. For the sliced egg whites, gently wrap them in plastic wrap or place them in a large ziptop bag or airtight container, also stored in the refrigerator. On the day of your event, simply pipe or spoon the filling into the egg white halves, decorate with your pumpkin ridges and chive stems, and give them a light paprika sprinkle right before serving. This keeps everything fresh and prevents the whites from absorbing flavors from the filling or drying out.
While deviled eggs are always best enjoyed fresh, you can certainly store any leftovers. Place them in an airtight container and keep them refrigerated. They will maintain their quality for 3-4 days. However, for the best flavor and texture, I highly recommend consuming them within a day or two of making them. The filling can sometimes lose a bit of its creamy consistency and the flavors can mellow over time. An airtight container is key to preventing them from drying out or absorbing other odors from the refrigerator.
No chives? No problem! While chives offer the perfect delicate green for the stems, you have a few alternatives. A tiny piece of fresh parsley leaf or a very thin sliver of green onion can also work. You could even use a small pretzel stick for a more rustic, playful stem! Get creative with what you have on hand.
While paprika is essential for the pumpkin color and traditional flavor, you can certainly experiment with other spices to suit your palate. A tiny pinch of garlic powder or onion powder can add an extra layer of savory depth. For a bit of heat, a whisper of cayenne pepper can be a delicious addition. Always add sparingly and taste as you go to ensure the flavors are balanced and don’t overpower the delicate egg.
Creative Serving Suggestions & Presentation Tips
These pumpkin deviled eggs are not just delicious; they’re also incredibly fun to serve! When it comes to presentation, you have a few options to customize their look. If you desire an even deeper orange color for your “pumpkins,” you can certainly add a smidge more paprika to the yolk mixture. Just be cautious not to go overboard, as too much paprika in the filling can impart a very prominent flavor that might overshadow the delicate egg. Alternatively, if paprika isn’t your favorite, you can skip it entirely in the filling and still achieve a festive look by simply decorating with the toothpick ridges and a snipped chive stem. The visual appeal will still be strong!
Serve these charming pumpkin deviled eggs alongside a variety of other fall-themed snacks or appetizers to create an impressive spread. They pair wonderfully with cheese boards, seasonal dips, or other finger foods. For Halloween parties, consider arranging them on a dark platter for contrast, perhaps with some edible “spiderwebs” drawn with balsamic glaze, or alongside some spooky-themed treats. For Thanksgiving, they offer a light and festive bite before the main meal. They are always a conversation starter and a guaranteed favorite!
Are you crafting these delightful treats specifically for a Halloween party? You’re in luck! Make sure to explore our extensive Halloween section of the blog for an abundance of additional snack, appetizer, and drink ideas that will complete your spooky celebration.
More Irresistible Fall Recipes to Savor
As the weather cools and the leaves change, there’s nothing quite like cozying up with delicious, comforting fall flavors. If you’re looking to expand your autumn recipe collection, here are a few more fantastic ideas that capture the essence of the season:
- Warm and Spiced Hot Apple Cider
- Creamy Pumpkin Pie Dip
- Homemade Pumpkin Spice Donuts
- Delightful Mini Pumpkin Cheesecakes
- Easy Crockpot Cinnamon Apples
I pour my heart into baking and cooking, and it brings me immense joy to share my kitchen experiences and cherished recipes with all of you! Remembering to come back each day for new culinary inspiration can sometimes be a challenge, which is precisely why I offer a convenient newsletter delivered straight to your inbox every time a fresh recipe is posted. Simply subscribe here and start receiving your free daily recipes, ensuring you never miss out on a delicious idea!
Pumpkin Deviled Eggs
IMPORTANT – There are often Frequently Asked Questions within the blog post that you may find helpful. Simply scroll back up to read them!
Print It
Pin It
Rate It
Save ItSaved!
Ingredients
- 6 large hard boiled eggs
- ¼ cup full-fat mayonnaise
- 1 teaspoon Dijon mustard or yellow mustard
- ⅛ teaspoon black pepper
- 1 teaspoon paprika plus more for garnish
- salt to taste
- chives snipped, for the stems
Things You’ll Need
-
Egg cooker or saucepan for boiling eggs
-
Piping bag
-
Round piping tip
-
Toothpicks
Before You Begin
- For consistently perfect, easy-to-peel hard-boiled eggs, I have discovered two highly effective methods. My primary recommendation is to use an egg cooker, which has consistently provided flawless hard-boiled eggs that are a breeze to peel. If an egg cooker isn’t available, you can boil your eggs in a saucepan: bring water to a boil, add eggs, boil for 3 minutes, then turn off the heat, cover the pan, and let sit for 12 minutes. Regardless of the cooking method, always conclude by plunging the eggs immediately into a bowl of ice water to halt the cooking process and aid in easy peeling.
- When preparing the creamy filling, you have flexibility with your mayonnaise choice. I typically use regular, full-fat mayonnaise for its rich texture, but both low-fat and light mayonnaise will yield excellent results. For mustard, Dijon is my preferred choice for its tangy depth, but if you appreciate the classic sharpness of yellow mustard, feel free to use that instead for a different flavor profile.
- A crucial tip for the yolk filling: it can become excessively salty very quickly, and once it does, it’s nearly impossible to salvage. To prevent this, I strongly advise preparing the entire filling mixture first, then adding salt very sparingly, tasting and adjusting as you go, until you achieve the perfect, balanced flavor.
Instructions
-
Carefully remove the shells from your hard-boiled eggs. This is paramount, as presentation is key for deviled eggs, and you want pristine whites. After peeling, rinse and gently pat the egg whites dry with paper towels. Slice each egg in half lengthwise.
-
Gently scoop out the yolks and place them into a small bowl. Use a fork to mash the yolks thoroughly until they are completely smooth and free of any large clumps.
-
To the mashed yolk mixture, add the mayonnaise, mustard, black pepper, and paprika. Mix all ingredients until the mixture is beautifully smooth, creamy, and consistently colored. Add salt sparingly, stirring thoroughly after each tiny addition, until the flavor is perfectly balanced to your taste.
-
Using a piping bag fitted with a round tip (or simply a small spoon), carefully pipe or spoon the egg yolk mixture back into the hollowed-out centers of the egg white halves, creating a neat, mounded dome.
-
For the pumpkin effect, take a toothpick and gently press it into the piped yolk mixture, creating several vertical ridges from top to bottom. Then, place a small, snipped piece of fresh chive into the center of each yolk mound to serve as the pumpkin stem.
-
As a final decorative touch, lightly sprinkle a small amount of additional paprika over the top of each finished pumpkin deviled egg for enhanced color and visual appeal.
-
If you are transporting your deviled eggs to a party or gathering, secure them carefully in a specialized deviled egg tray with a lid to keep them pristine and chilled.
Expert Tips & FAQs
- To store any leftover deviled eggs, place them in an airtight container and keep them refrigerated for up to 3-4 days. While they will remain safe to eat, deviled eggs are always at their absolute best when enjoyed within one or two days of being prepared, offering the freshest flavor and texture.
- You can get a head start on these festive appetizers by preparing the filling and the hard-boiled egg whites separately a day or two in advance. Store the creamy filling securely in an airtight container in the refrigerator. Wrap the sliced egg whites carefully with plastic wrap or place them in a large ziptop bag or container in the refrigerator. Assemble and decorate your pumpkin deviled eggs just before you plan to serve them to ensure a fresh and beautiful presentation.
- Don’t be afraid to adjust the amount of paprika to achieve your desired shade of orange, but taste as you go to avoid overpowering the delicate egg flavor.
- If you don’t have a piping bag, a small spoon works perfectly fine for filling the egg whites. For the ridges, any pointed tool like a skewer or even the back of a small knife can be used.
Nutrition
The recipes featured on this blog are meticulously tested using a conventional gas oven and a gas stovetop. It is important to acknowledge that some ovens, particularly as they age, may exhibit inconsistencies in cooking and baking temperatures. Utilizing an inexpensive oven thermometer can be a reliable way to ensure your oven is accurately heating to the proper temperature settings. If you opt to use a toaster oven or a countertop oven, please remember that their heat distribution might differ from a conventional full-sized oven, which could necessitate adjustments to your cooking or baking times. For recipes prepared with specialized appliances such as a pressure cooker, air fryer, slow cooker, or others, a direct link to the specific appliances we use is provided within each respective recipe for your guidance. In the case of baking recipes where measurements are given by weight, kindly note that substituting cup measurements may lead to different results, and we cannot guarantee successful outcomes with that alternative method.
