Easy Homemade Vanilla Bean Creme Brulee: A Silky, Classic Dessert Masterpiece
Indulge in the luxurious simplicity of homemade Creme Brulee, a dessert that effortlessly combines elegance with an incredibly straightforward preparation. This surprisingly easy recipe requires only a handful of common ingredients, transforming them into a culinary delight. Imagine a perfectly smooth, rich vanilla custard base, hidden beneath a glistening, golden layer of caramelized sugar – just waiting for the satisfying crack of a spoon. Forget the intimidation; mastering this classic French dessert is within everyone’s reach, bringing gourmet indulgence right to your kitchen.
Why This Creme Brulee Recipe Is a Must-Try
The allure of creme brulee lies in its captivating contrast: the satisfying resistance of the brittle, caramelized sugar topping giving way to an impossibly creamy, melt-in-your-mouth custard. This dessert, often associated with fine dining and sophisticated dinner parties, has a reputation for being complex. However, this recipe shatters that misconception, proving that an elegant dessert doesn’t require a culinary degree or a long list of exotic ingredients. With just five core components – heavy cream, fragrant vanilla, a touch of salt, rich egg yolks, and granulated sugar – you can recreate this restaurant-quality experience right in your home.
Our method simplifies the process, making it approachable for even novice bakers. We guide you through each step, ensuring a perfect custard that’s neither too firm nor too runny, and a flawlessly crisp sugar crust every time. Whether you’re aiming to impress guests with a seemingly elaborate treat or simply craving a moment of pure dessert bliss, this recipe delivers. We frequently choose between this timeless classic and our espresso creme brulee when an occasion calls for a truly decadent finish. Get ready to elevate your dessert game and discover how truly simple it is to achieve creme brulee perfection!
Essential Ingredients for Your Classic Creme Brulee
Crafting the perfect creme brulee starts with simple, high-quality ingredients. You’ll be amazed at the rich, luxurious results achievable with such a concise list. For precise measurements, detailed instructions, and a convenient printable version of this recipe, please refer to the recipe card located at the end of this post.
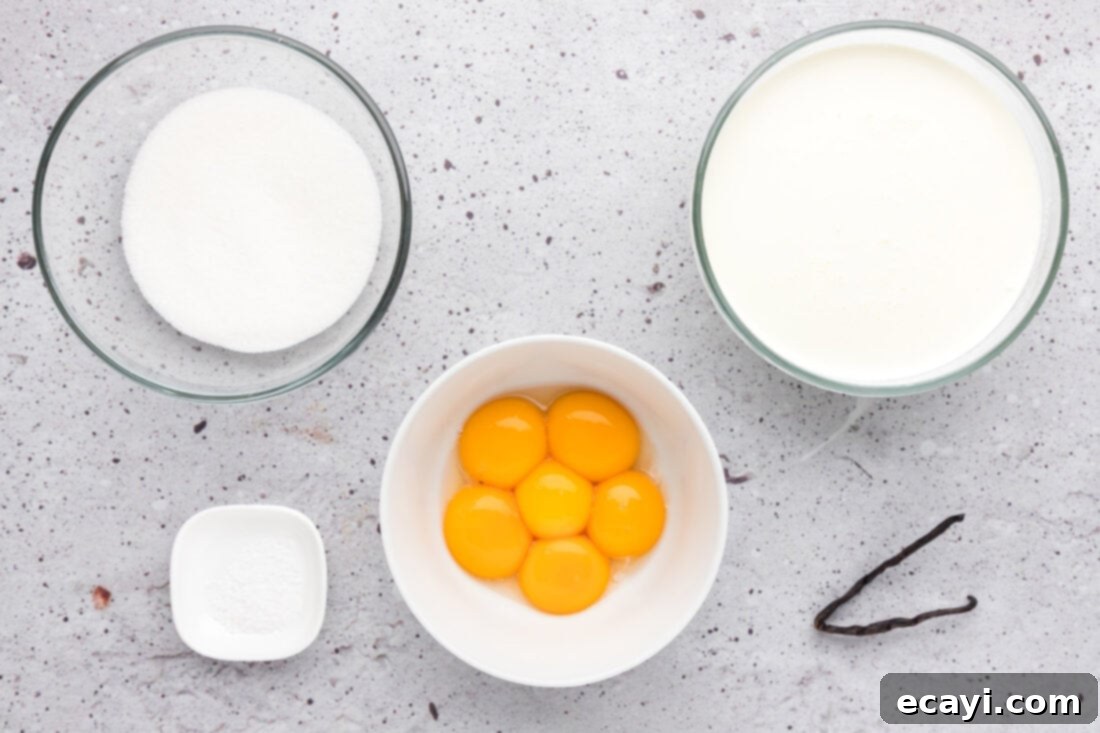
Ingredient Spotlight & Expert Tips for Best Results
Understanding each ingredient’s role is key to achieving that exquisite creme brulee texture and flavor. Here’s what you need to know, along with useful substitution suggestions:
HEAVY WHIPPING CREAM – This is the foundation of your silky, rich custard. Heavy cream, with its high-fat content (typically 36% or more), is indispensable for creating the signature luxurious mouthfeel of creme brulee. Do not substitute with lighter creams, half-and-half, or milk, as they will result in a much thinner, less satisfying custard. It’s crucial for the heavy whipping cream to be at room temperature before you begin. This helps it emulsify better with the egg yolks and prevents temperature shock when combining with other ingredients.
EGG YOLKS – The magic of creme brulee’s texture comes from the egg yolks, which act as a rich thickening agent and provide a beautiful golden hue. This recipe specifically calls for yolks only, contributing to an exceptionally creamy and indulgent custard without the added moisture and protein from egg whites that could alter the texture. Just like the cream, your egg yolks should be at room temperature. Cold egg yolks can easily scramble or seize when introduced to warm liquids, leading to a grainy or lumpy custard. Bringing them to room temperature ensures a smooth, homogeneous mixture when tempering.
VANILLA BEAN – For the most authentic and aromatic creme brulee, a fresh vanilla bean is highly recommended. The tiny black seeds and the infused pod impart an unparalleled depth of flavor that vanilla extract simply cannot replicate. To use, simply split the bean lengthwise and scrape out the fragrant seeds, adding both the seeds and the pod to your cream mixture to steep. If a vanilla bean is unavailable, you can substitute it with 1 teaspoon of high-quality pure vanilla extract or vanilla bean paste, adding it after the cream mixture has steeped and cooled slightly to preserve its delicate flavor.
GRANULATED SUGAR – This recipe uses granulated white sugar in two vital ways. Firstly, it sweetens the rich custard base to perfection. Secondly, and perhaps most famously, it forms that iconic, shatter-crisp caramelized topping. For the topping, regular granulated sugar works beautifully, creating a sturdy and delicious crust when torched or broiled. Some prefer superfine sugar for a slightly quicker caramelization, but it’s not strictly necessary for excellent results.
KOSHER SALT – Often overlooked, a pinch of kosher salt is essential. It doesn’t make the dessert salty, but rather enhances and balances the sweetness of the sugar and the richness of the cream and vanilla. It brightens all the flavors, preventing the custard from tasting flat or overly sweet. Always use kosher salt, as its larger flakes and less intense salinity are ideal for baking, compared to table salt.
Mastering Homemade Creme Brulee: Step-by-Step Instructions
These step-by-step photos and detailed instructions are designed to help you visualize each stage of making this exquisite dessert. For a complete printable version, including all measurements and ingredients, you can Jump to Recipe at the bottom of this post.
- Prepare Your Oven and Ramekins: Begin by preheating your oven to 325°F (160°C). This ensures a stable temperature for even baking. Next, arrange 6 (5-ounce sized) ramekins within a 13×9 inch baking dish. This baking dish will serve as a water bath, which is crucial for gently cooking the custard.
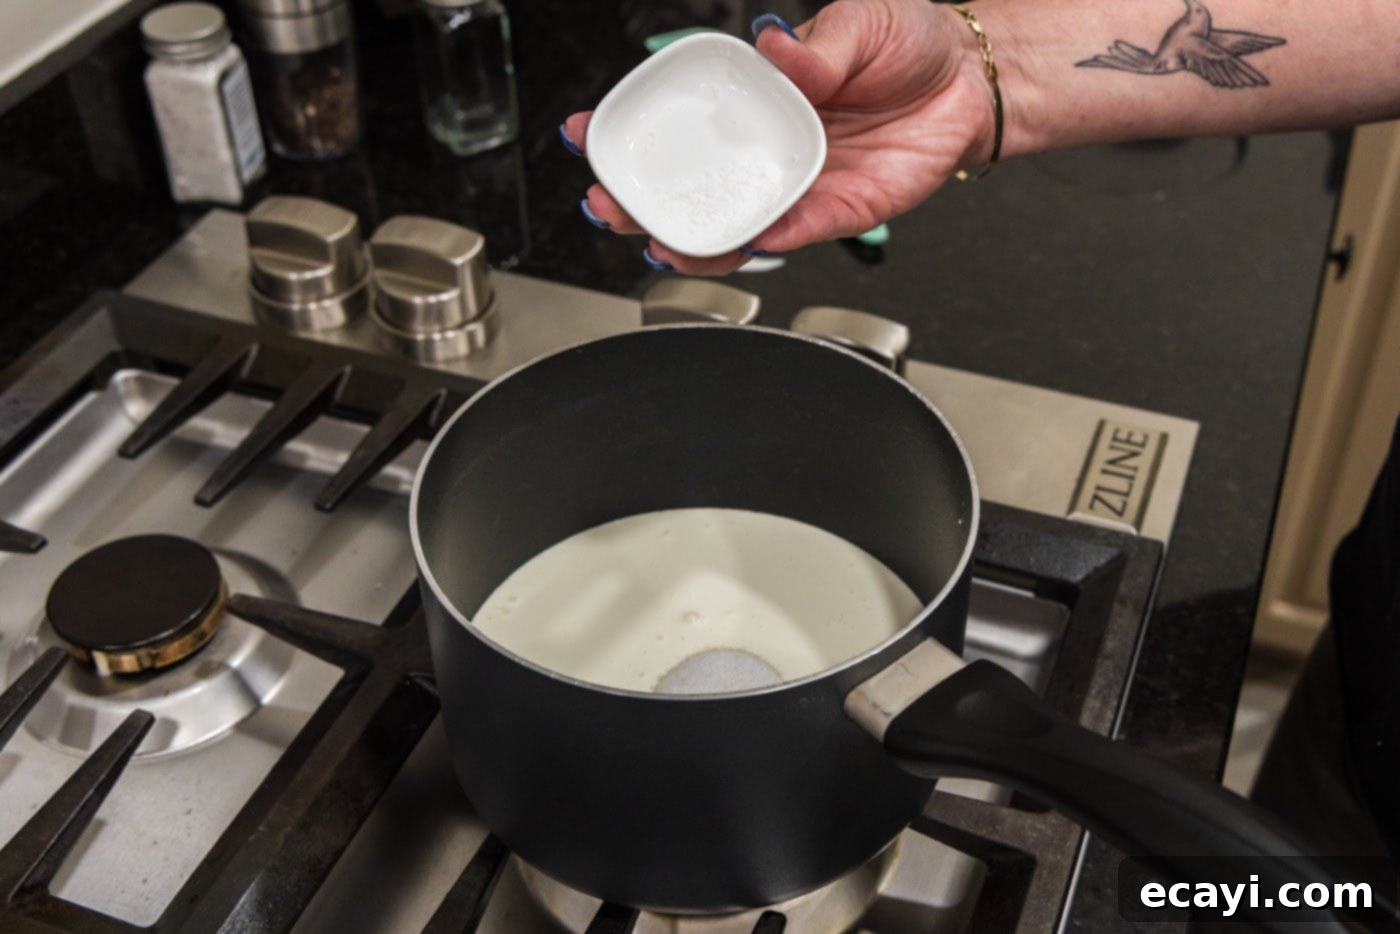
- Infuse the Cream Base: In a medium saucepan, combine the room-temperature heavy cream, kosher salt, and ¼ cup of the granulated sugar. This forms the base of your rich custard.

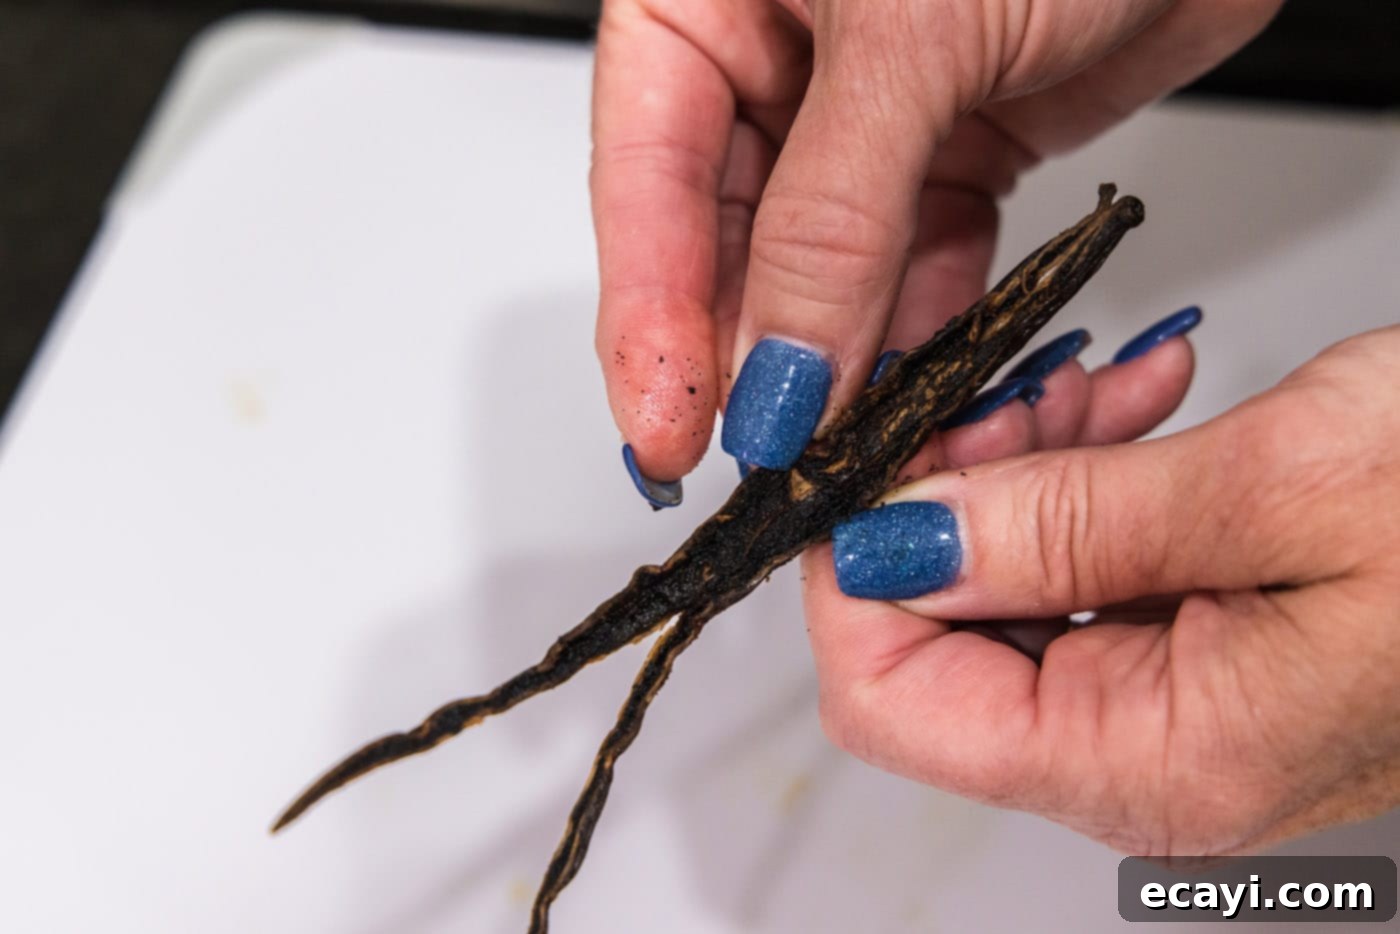
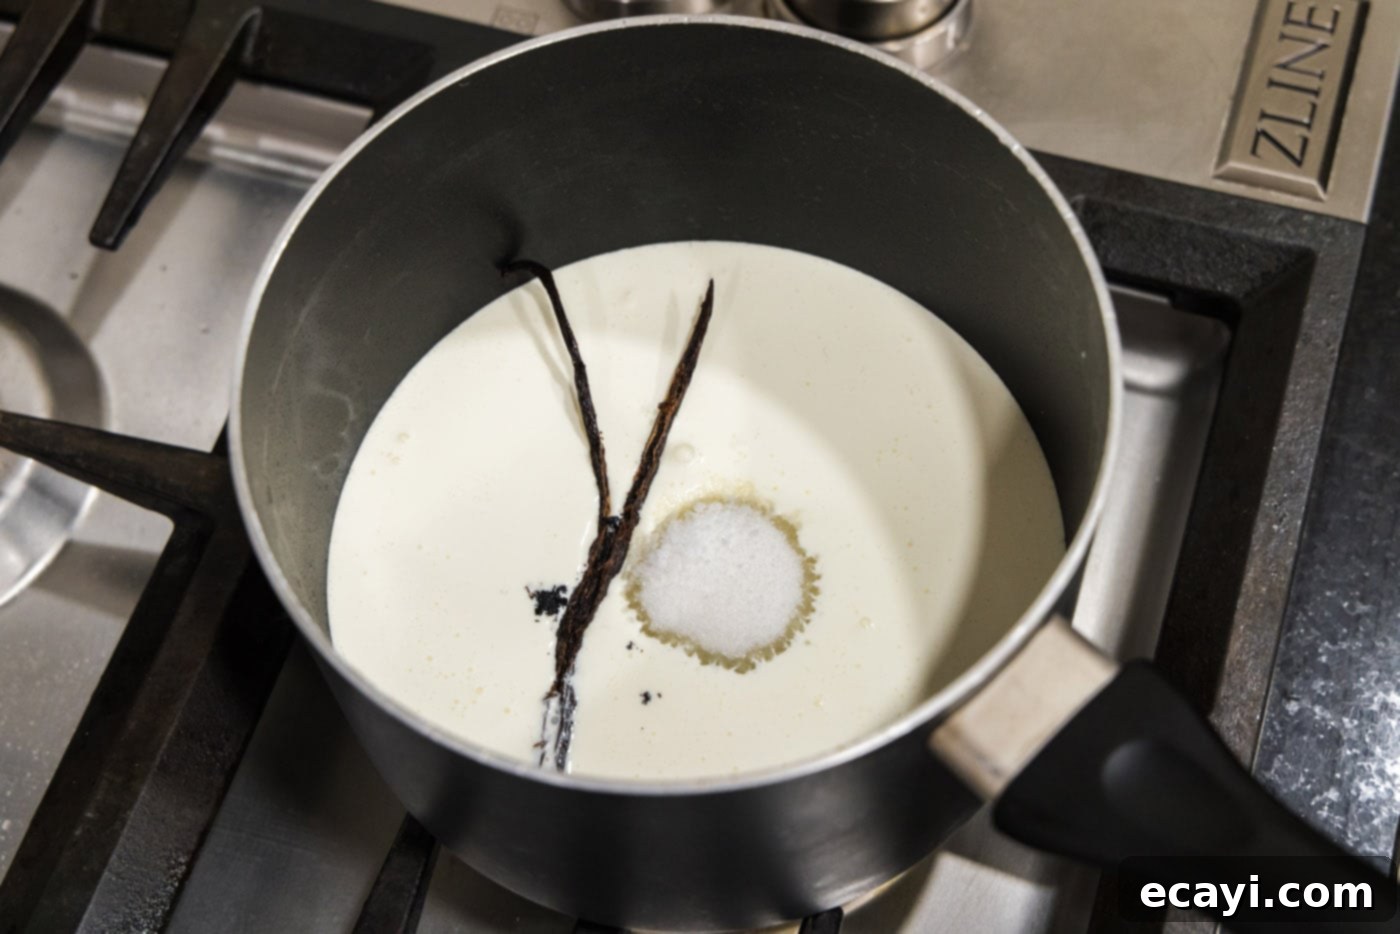
- Add Vanilla: Carefully slice the vanilla bean lengthwise down the center using a small knife. Scrape out the tiny, fragrant seeds from inside. Add both the vanilla bean pod and all the scraped seeds to the saucepan with the cream mixture. This ensures maximum flavor infusion.


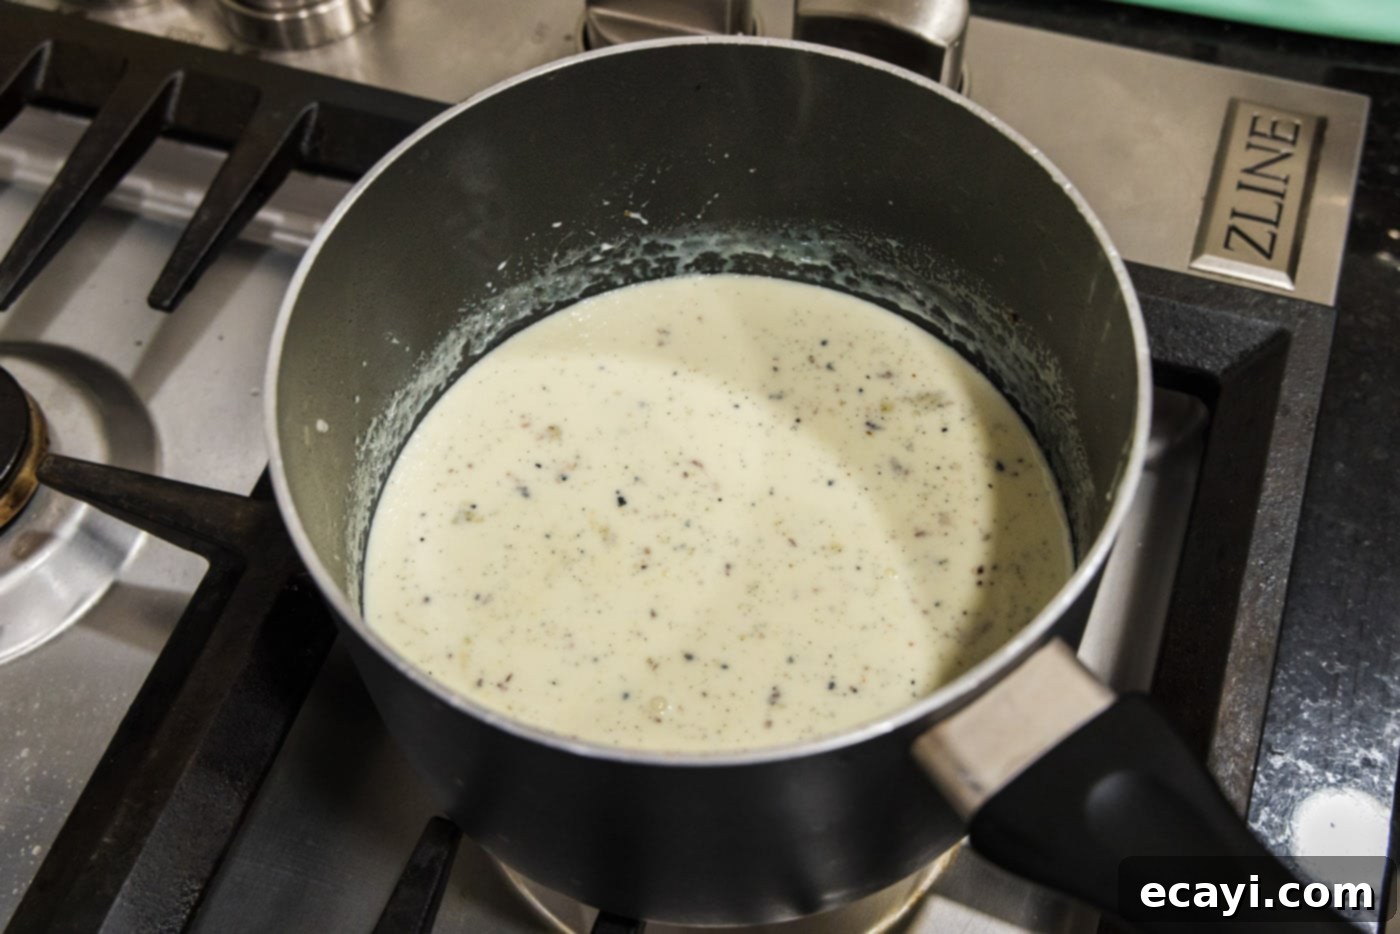
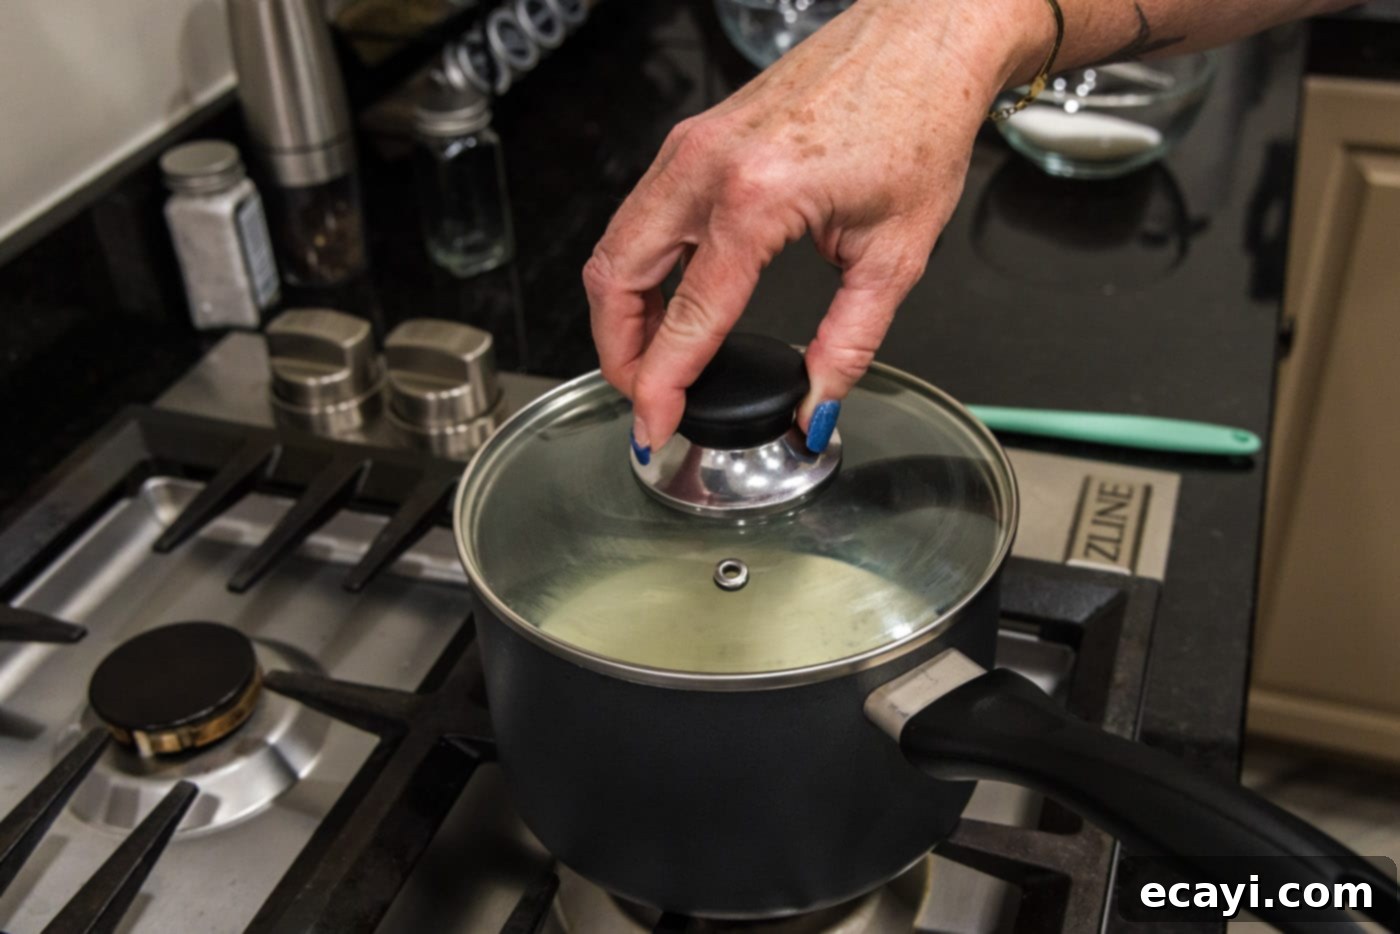
- Gentle Simmer and Infusion: Place the saucepan over medium heat and bring the mixture to a gentle simmer. As soon as you see small bubbles forming around the edges, immediately turn off the heat. Cover the saucepan with a lid and allow the vanilla and cream to infuse for 15 minutes. This steeping process deeply flavors the cream.


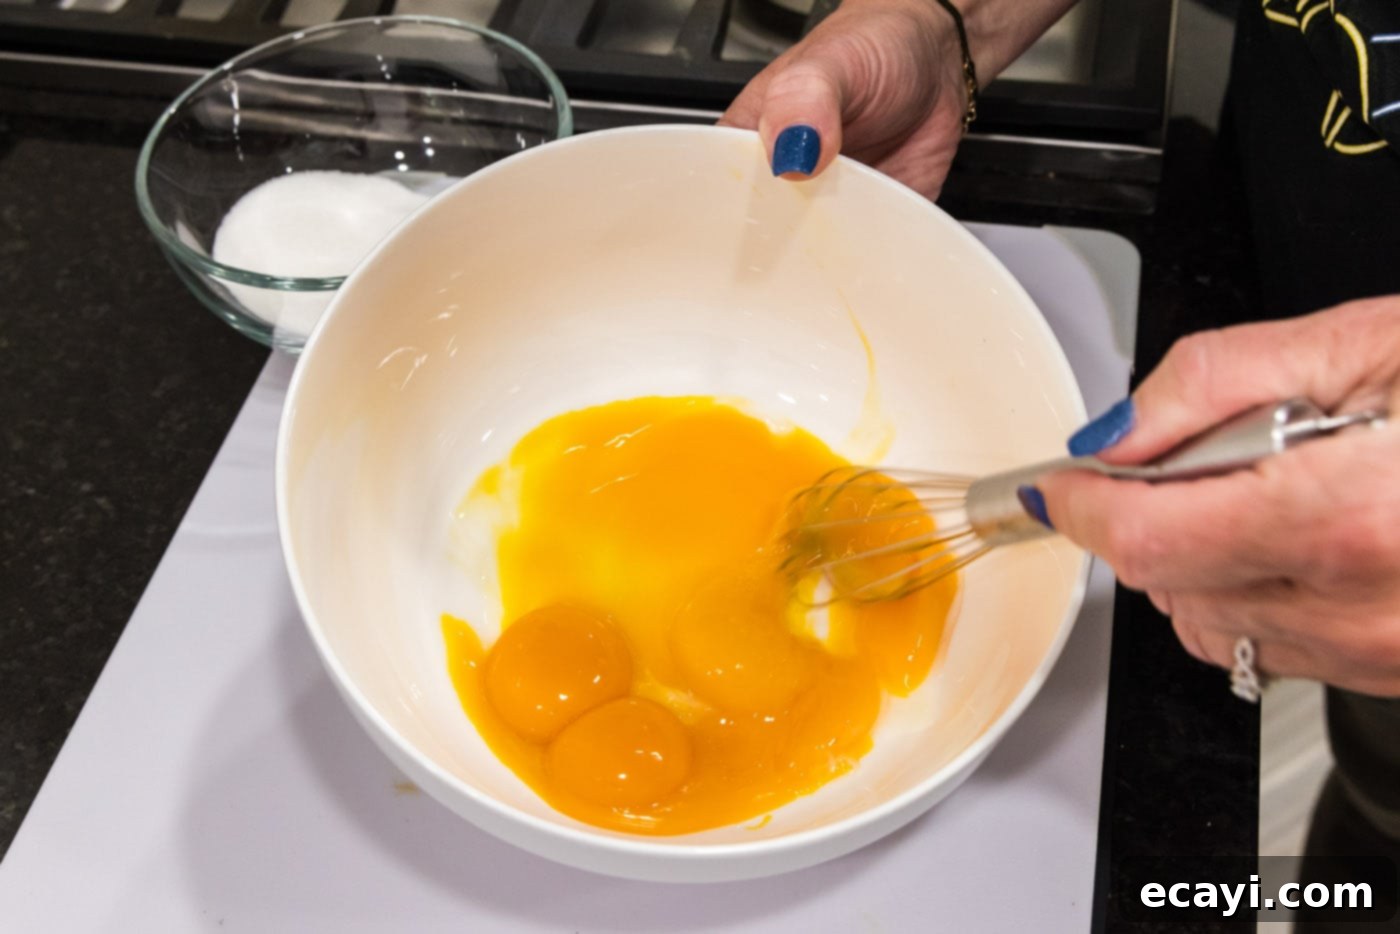
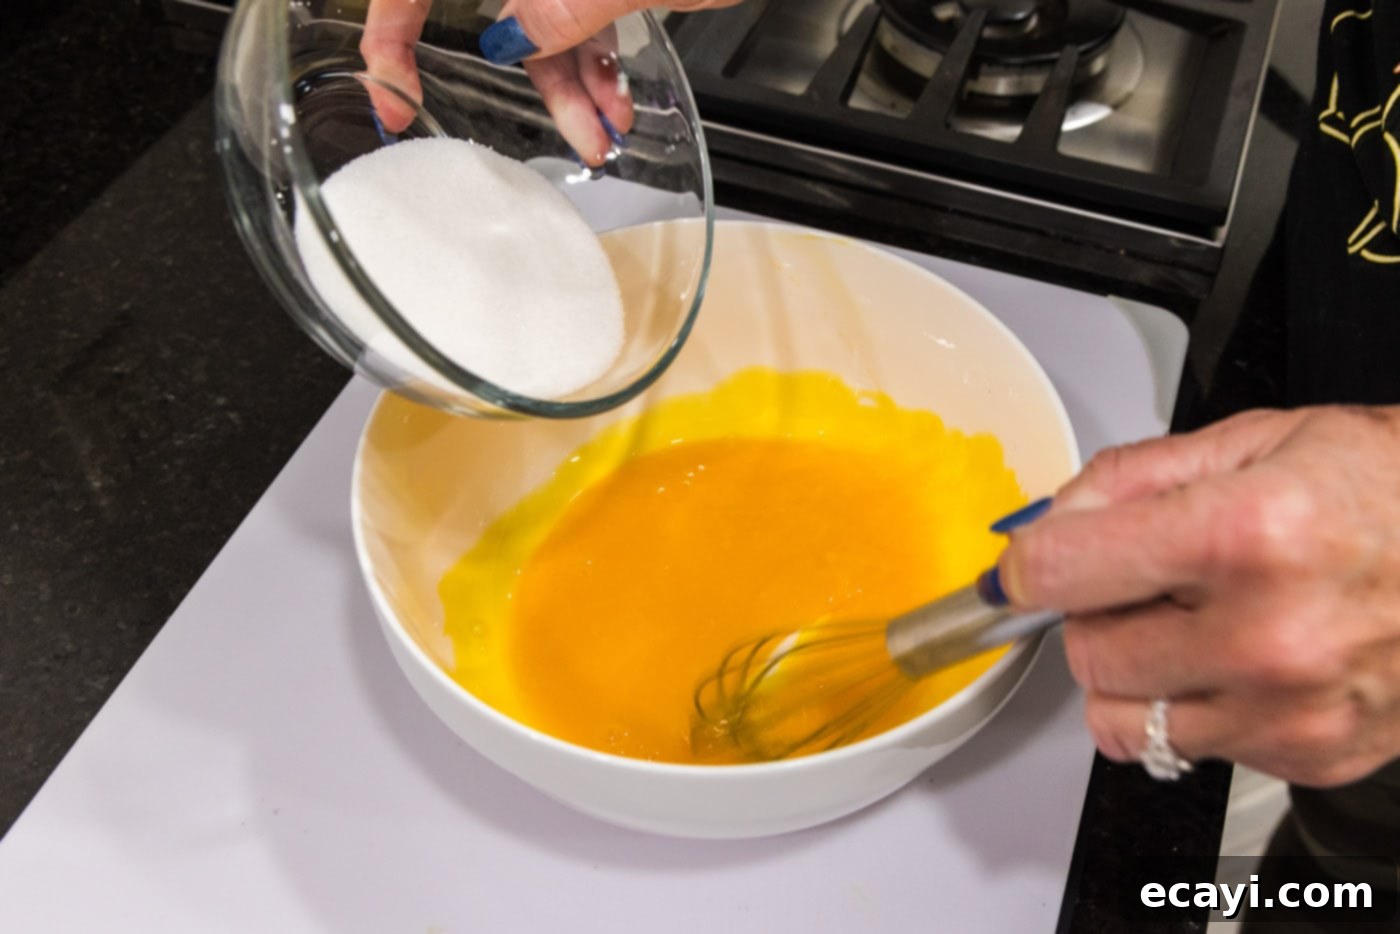
- Prepare Egg Yolks: While the cream is infusing, place the room-temperature egg yolks in a medium bowl. Just before the 15-minute infusion time is up, whisk the remaining ¼ cup of granulated sugar into the egg yolks until the mixture is pale yellow and slightly thickened. Whisking continuously helps to prevent the yolks from cooking prematurely.


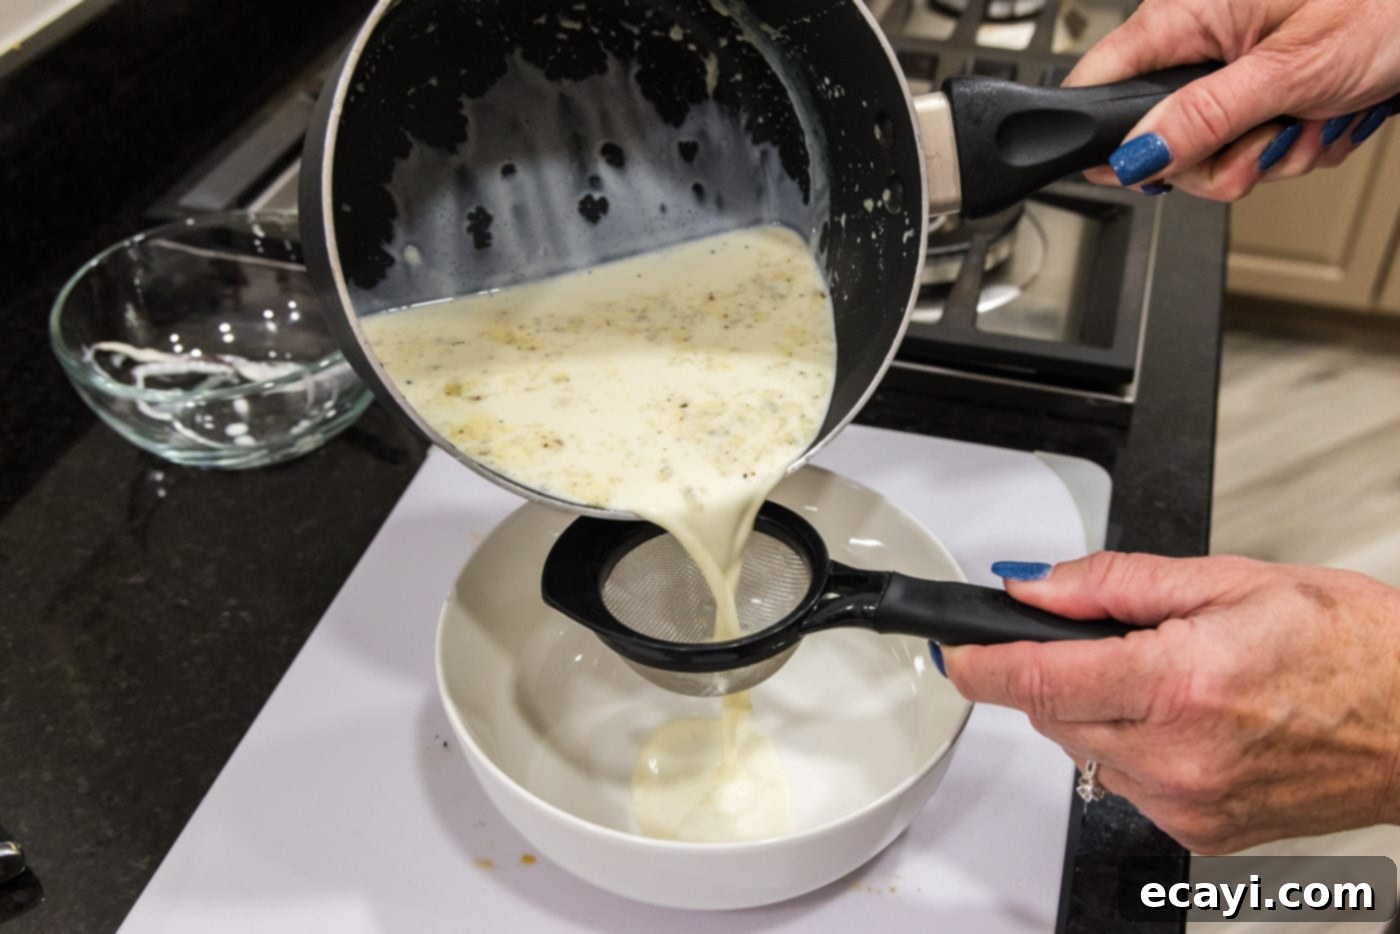
- Strain the Cream: Once infused, carefully strain the warm cream mixture through a fine-mesh sieve into a clean bowl. This step removes the vanilla bean pods and any potential cooked bits, ensuring a perfectly smooth custard. Discard the vanilla bean pods.

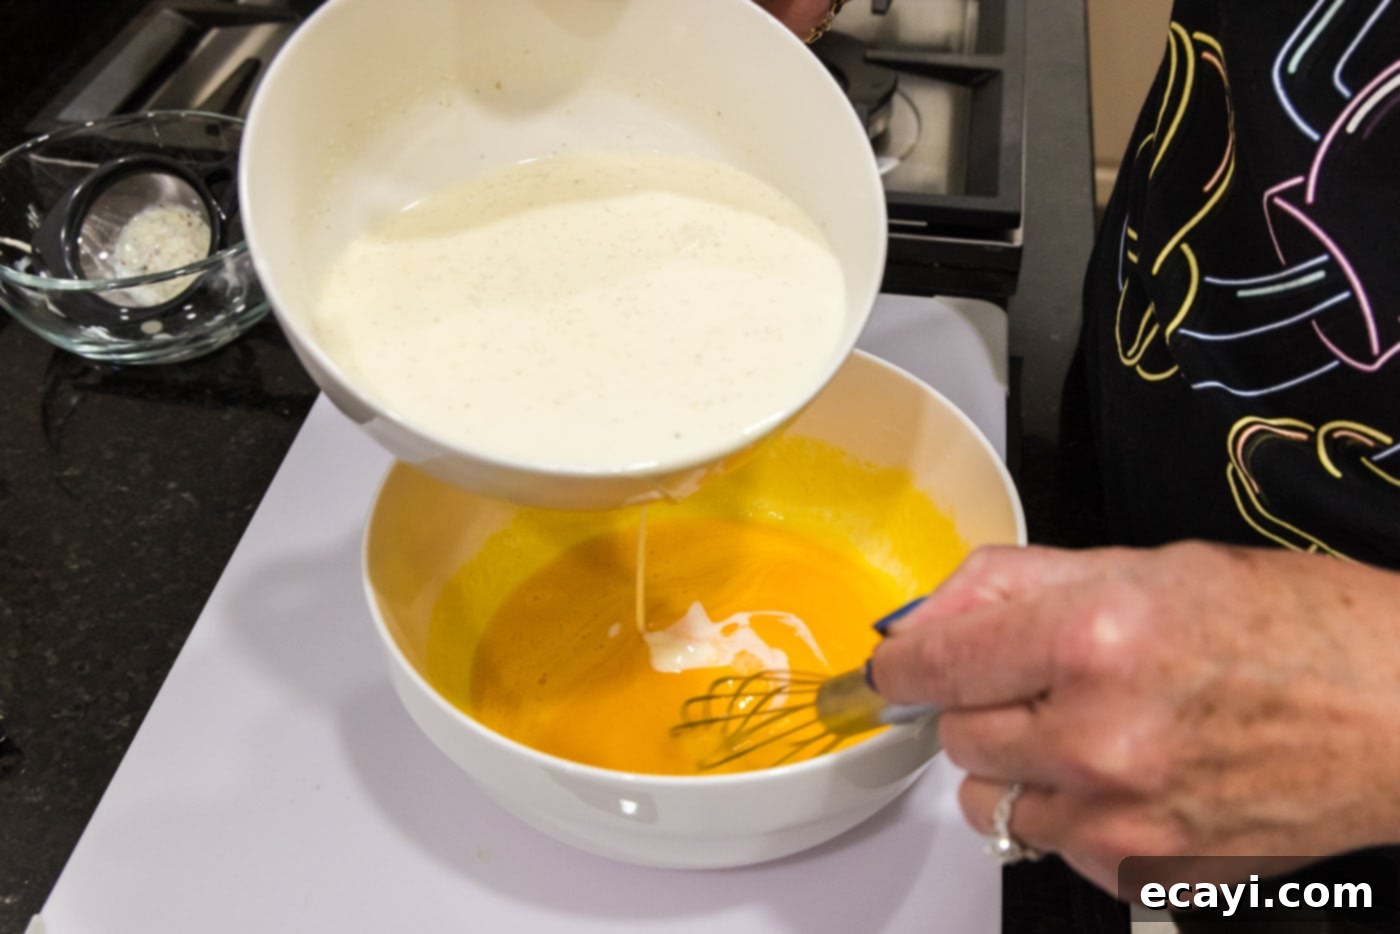
- Temper the Eggs: This is a critical step to prevent scrambled eggs. Slowly drizzle a small amount of the warm (but not boiling) vanilla cream into the egg yolk mixture while continuously whisking vigorously. Gradually add more warm cream, a little at a time, until about half of the cream has been incorporated. This slowly raises the temperature of the egg yolks without cooking them. Then, pour the tempered egg mixture back into the remaining cream in the saucepan, whisking constantly until fully combined.

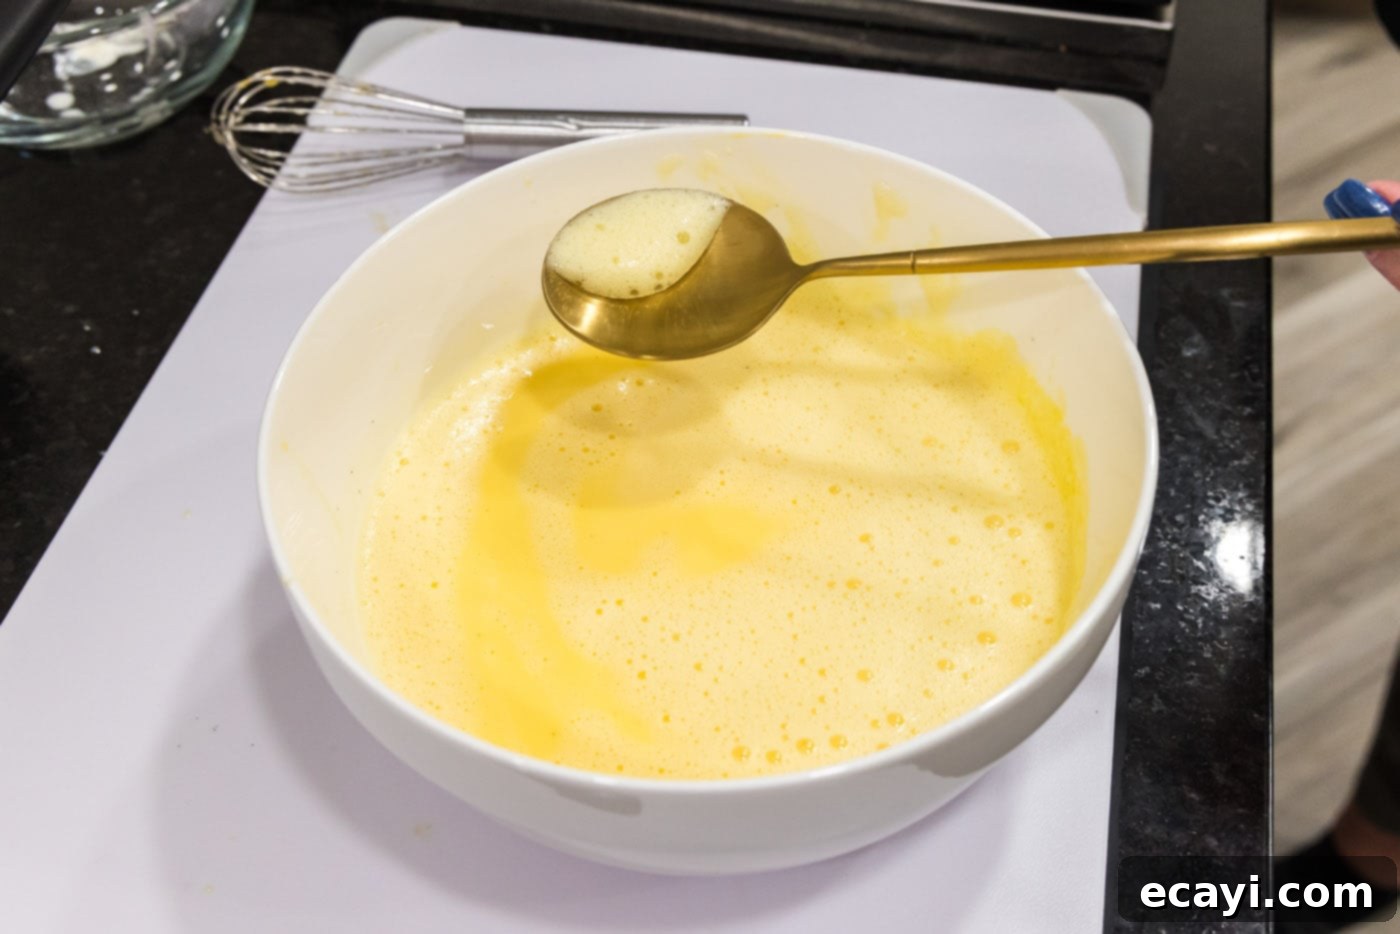
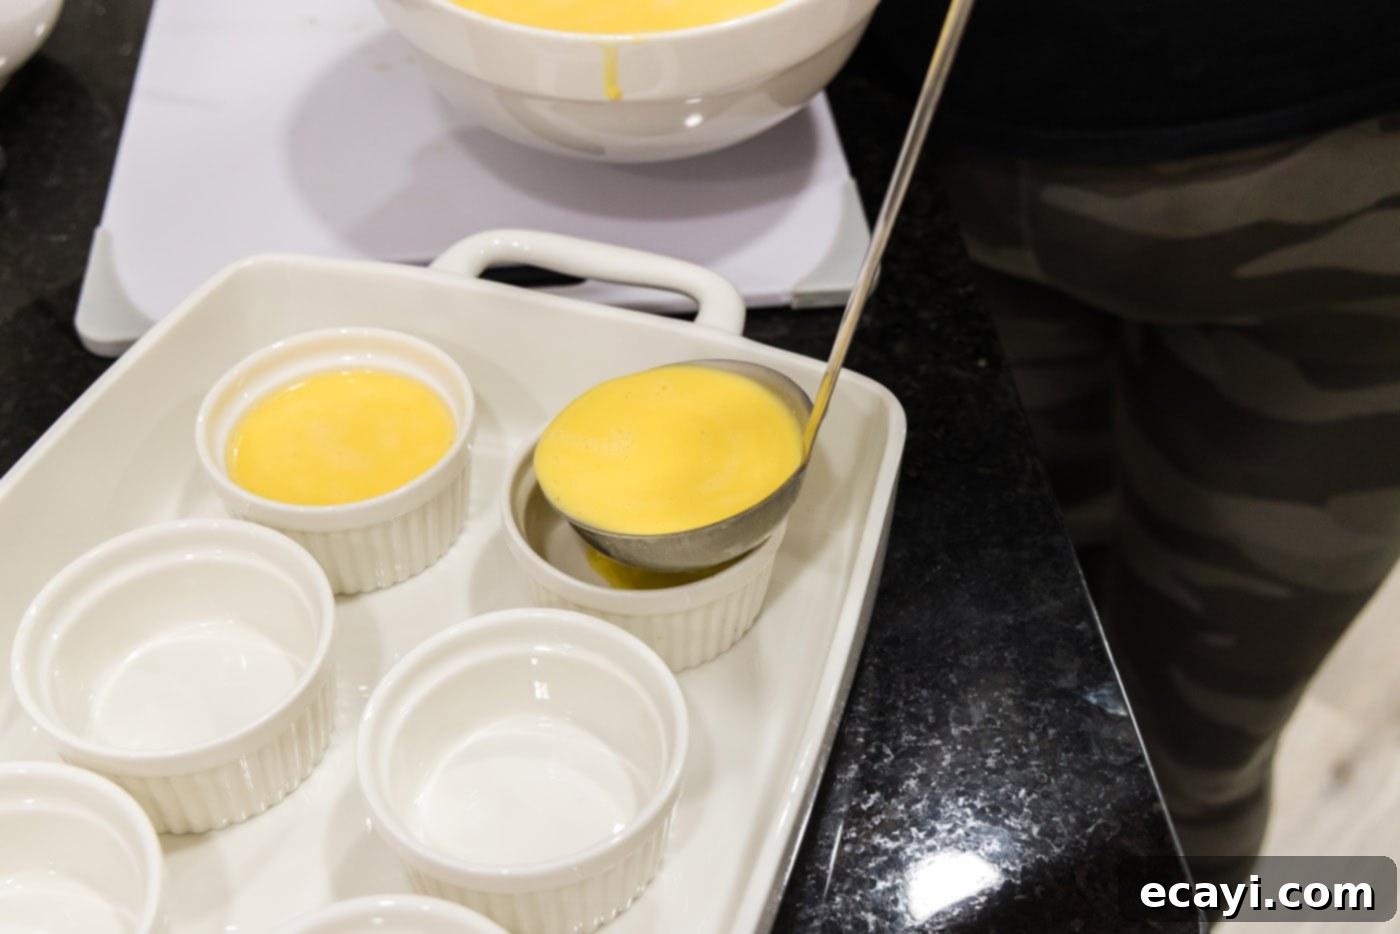
- Fill Ramekins: Skim off any froth or bubbles from the surface of the custard mixture using a spoon. This helps ensure a smooth top on your finished creme brulee. Carefully and evenly distribute the custard among the prepared ramekins. The filling should come up to the first rim of each ramekin, leaving a little space for the sugar topping.


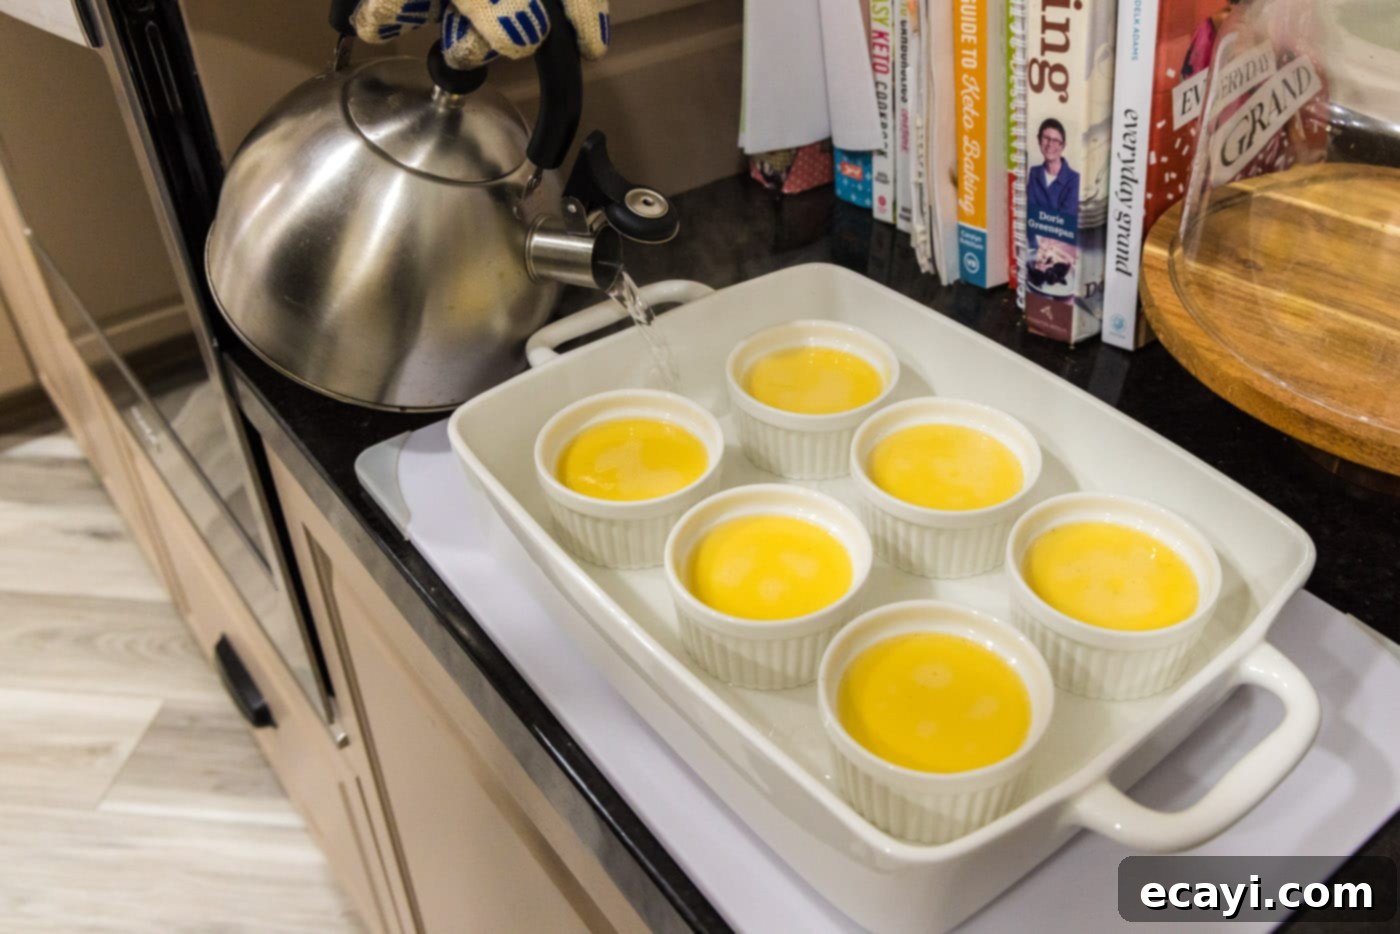
- Create a Water Bath: Boil a kettle of water (or heat water in a separate saucepan on the stovetop). Once boiling, carefully pour the hot water into the 13×9 inch baking dish, surrounding the ramekins. Be very careful not to splash any water into the custard-filled ramekins. The water should come up about halfway to two-thirds of the way up the sides of the ramekins. This water bath (bain-marie) ensures even, gentle cooking, preventing the custards from curdling or cracking.

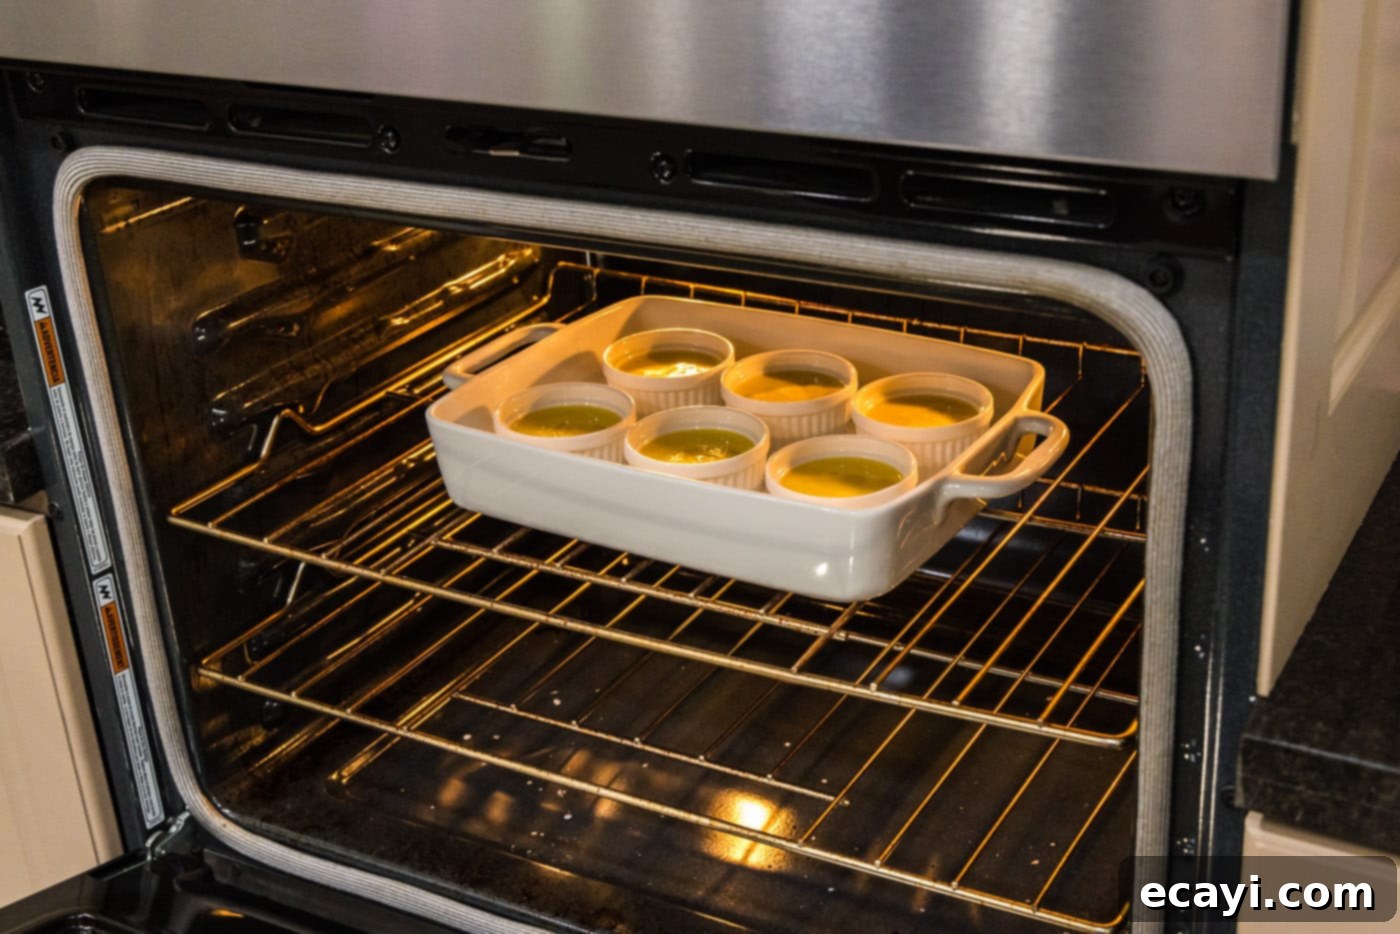
- Bake to Perfection: Carefully transfer the baking dish with the ramekins and hot water bath to your preheated oven. Bake for approximately 38-40 minutes.

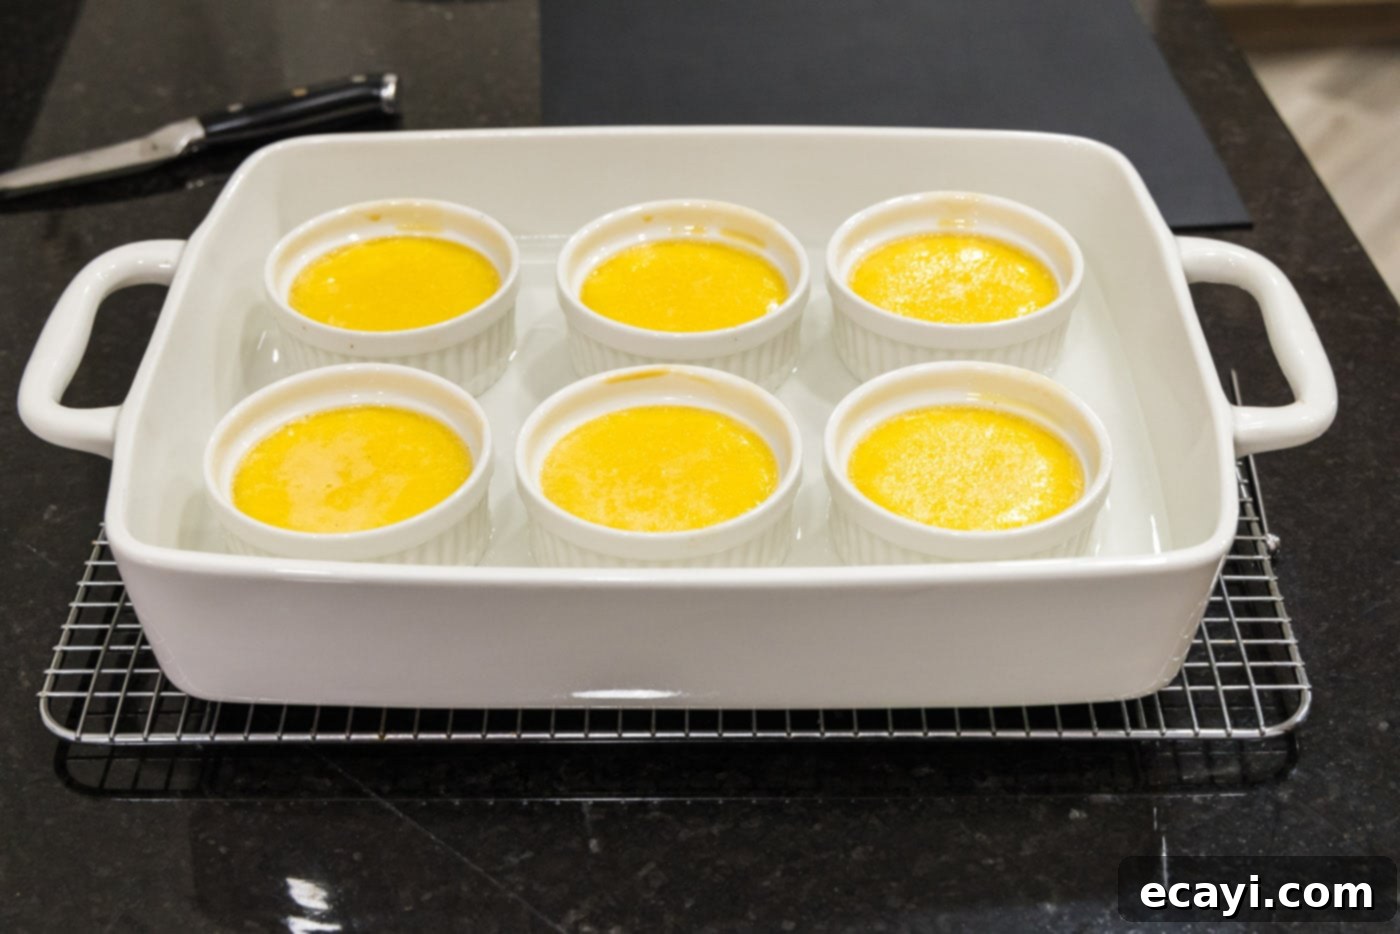
- Check for Doneness: The creme brulee is ready when the edges appear set, but the center still has a slight, even jiggle when gently shaken. It should not be sloshing around like a liquid. This indicates a perfectly cooked, creamy custard.
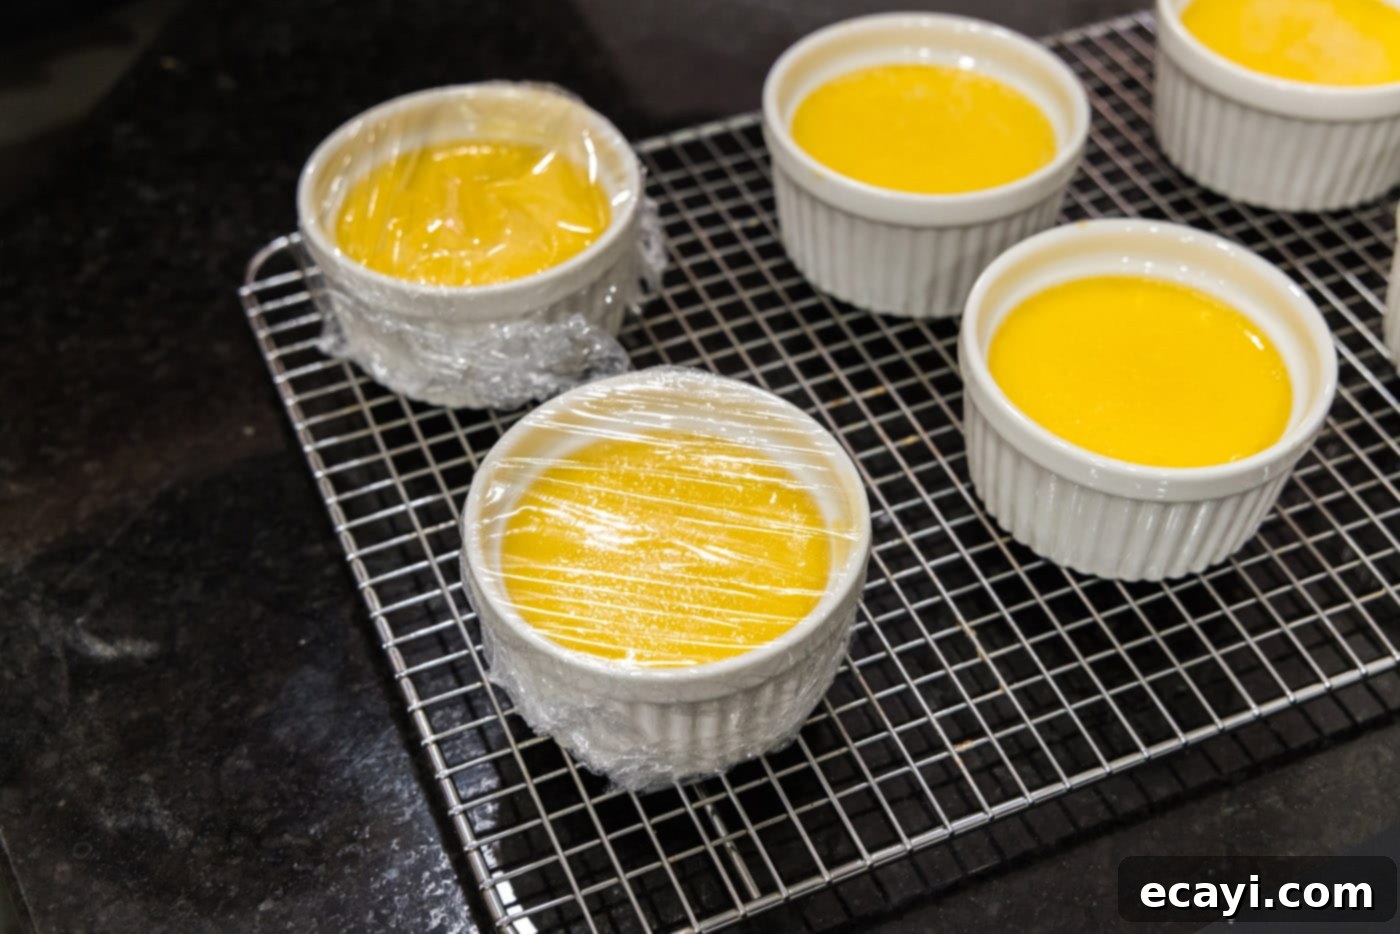
- Cool and Chill: Remove the baking dish from the oven and carefully place it on a wire rack. Let the ramekins cool in the hot water bath for about 15 minutes. Then, gently remove the ramekins from the water bath and place them directly on the wire rack to cool completely for another 15 minutes. Once cooled, wrap each ramekin tightly with plastic wrap and chill in the refrigerator for at least one hour, or ideally for at least 4 hours, up to 3 days. Chilling is essential for the custard to fully set and firm up.


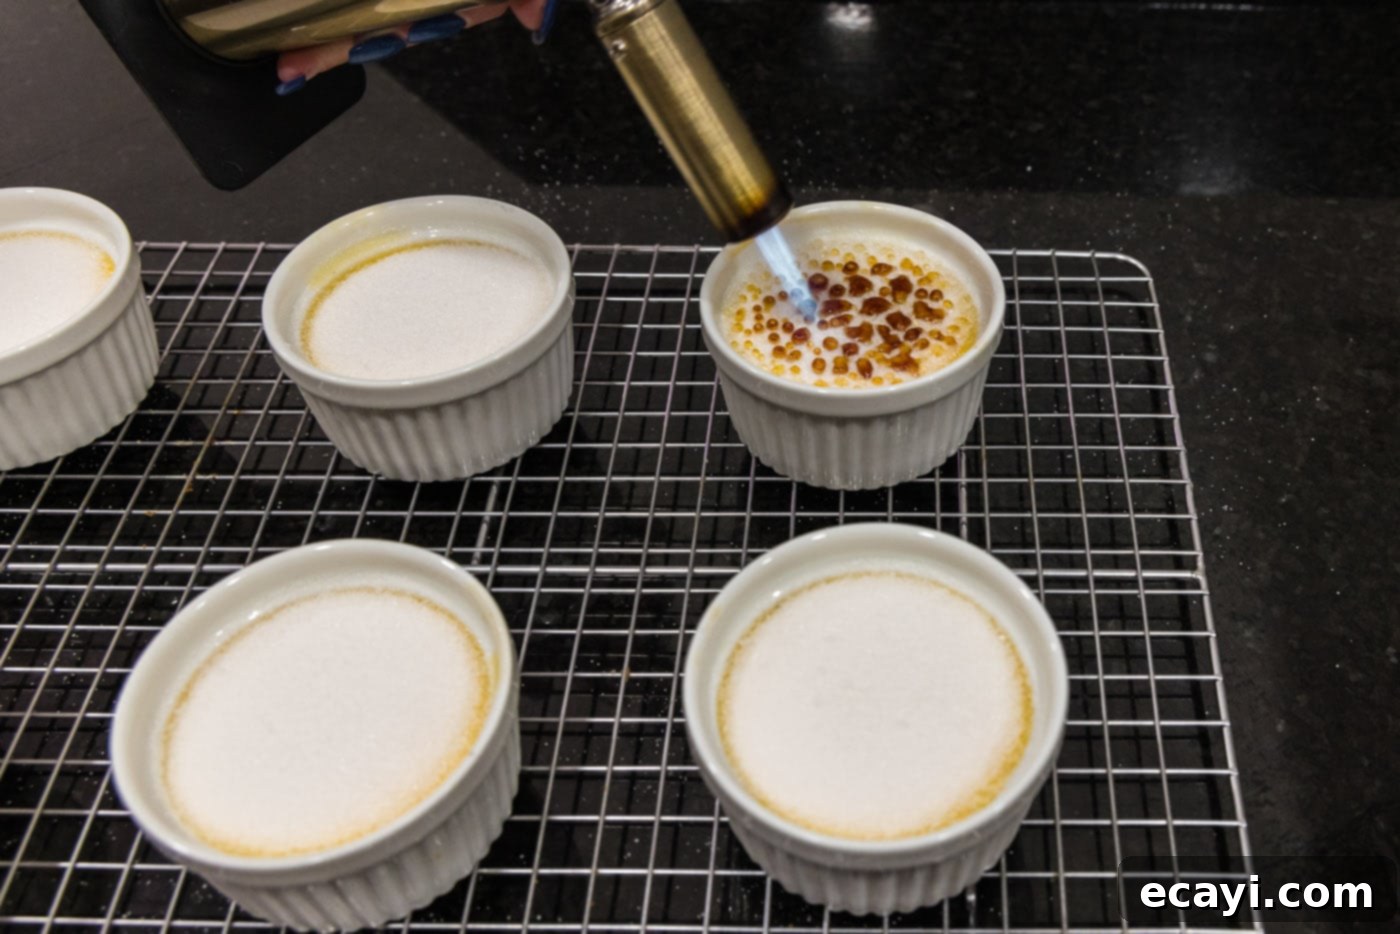
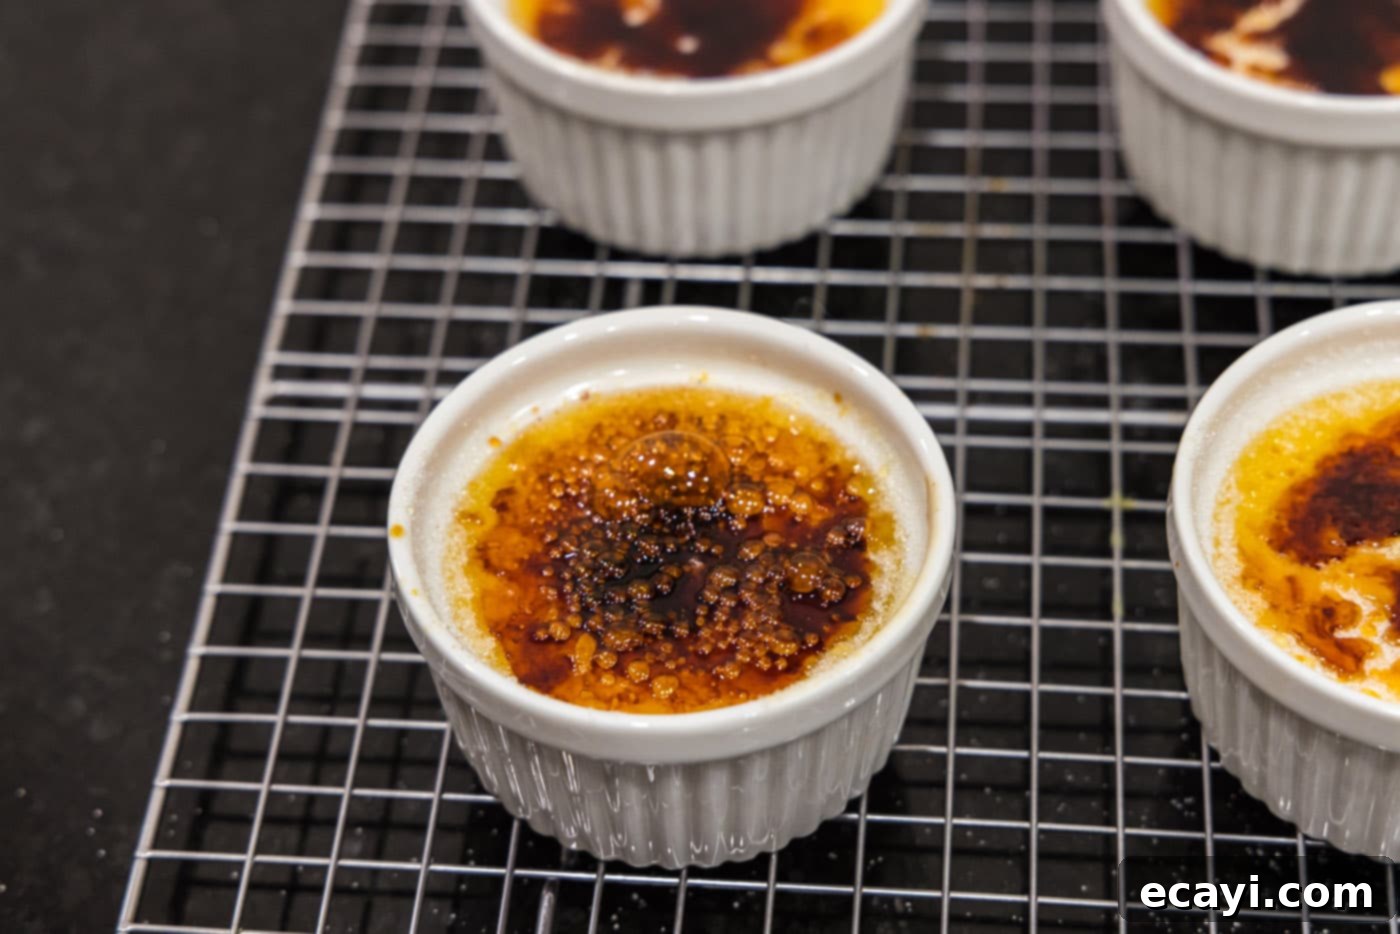
- Caramelize Before Serving: To serve, remove the chilled ramekins from the refrigerator and allow them to sit at room temperature for about 30 minutes. This brings them to an ideal serving temperature. Sprinkle 1 teaspoon of granulated sugar evenly across the top of each custard. Use a kitchen torch to caramelize the sugar until it forms a deep amber, crisp crust. Alternatively, you can use your oven’s broiler for this step (see FAQ for details). Serve immediately and enjoy the satisfying crunch!


Frequently Asked Questions & Expert Tips for Creme Brulee Success
No kitchen torch? No problem! You can still achieve that signature caramelized topping using your oven’s broiler. Place the creme brulee ramekins on a baking sheet and position them on the top rack of your oven, about 4-6 inches from the broiler element. Broil for approximately 3-5 minutes, keeping a very close eye on them. Sugar can burn quickly, so watch for a deep golden-amber color. Once caramelized, remove immediately from the oven and let cool slightly before serving. Using the broiler works well but requires constant vigilance to prevent burning.
If you have any delicious leftovers, store them by covering the cooled ramekins tightly with plastic wrap and refrigerating for up to 3 days. It’s crucial to apply the crunchy sugar topping just before serving, as the caramelized sugar will absorb moisture from the refrigerator and soften within a couple of hours. For the best experience, re-torch a fresh layer of sugar if you’re eating leftovers that were previously caramelized.
Absolutely! Creme brulee is an excellent make-ahead dessert, perfect for entertaining. You can prepare the custards up to 3 days in advance. After baking and cooling, wrap them individually with plastic wrap and store them in the refrigerator. When you’re ready to serve, simply remove them from the fridge about 30 minutes prior, sprinkle with sugar, and caramelize the tops following step 14. This allows you to focus on your guests while still delivering a freshly torched, impressive dessert.
A water bath is essential for cooking custards like creme brulee gently and evenly. The water surrounding the ramekins creates a moist, consistent heat environment, which prevents the edges of the custard from overcooking and becoming rubbery before the center sets. It also helps prevent cracking on the surface of the custard, ensuring a perfectly smooth and uniform texture. Without a water bath, the direct heat of the oven would cause the custard to bake too quickly and unevenly.
Ramekins are small, individual, oven-safe ceramic dishes. They are ideal for creme brulee because their size allows for individual portions, and their thick walls provide insulation for gentle cooking in a water bath. The shallow, wide design also provides a larger surface area for that delicious caramelized sugar topping. While other oven-safe dishes can technically be used, traditional ramekins are perfectly designed for this specific dessert.
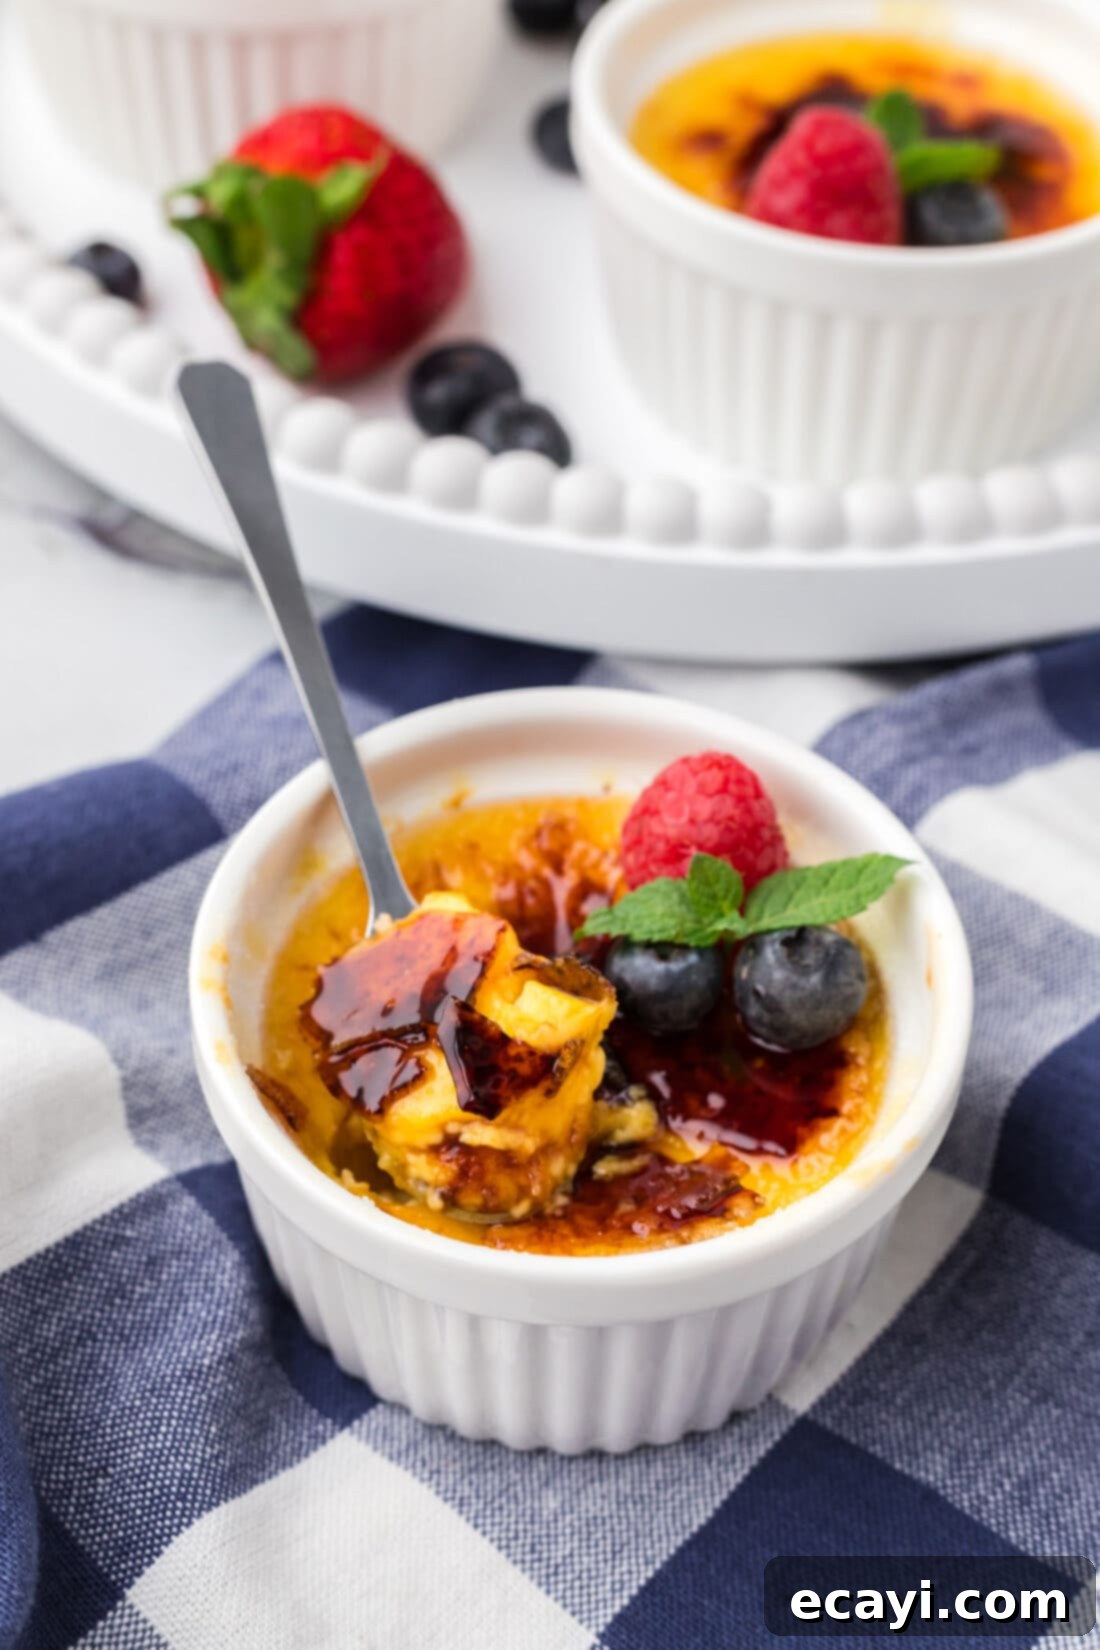
Elegant Serving Suggestions for Your Creme Brulee
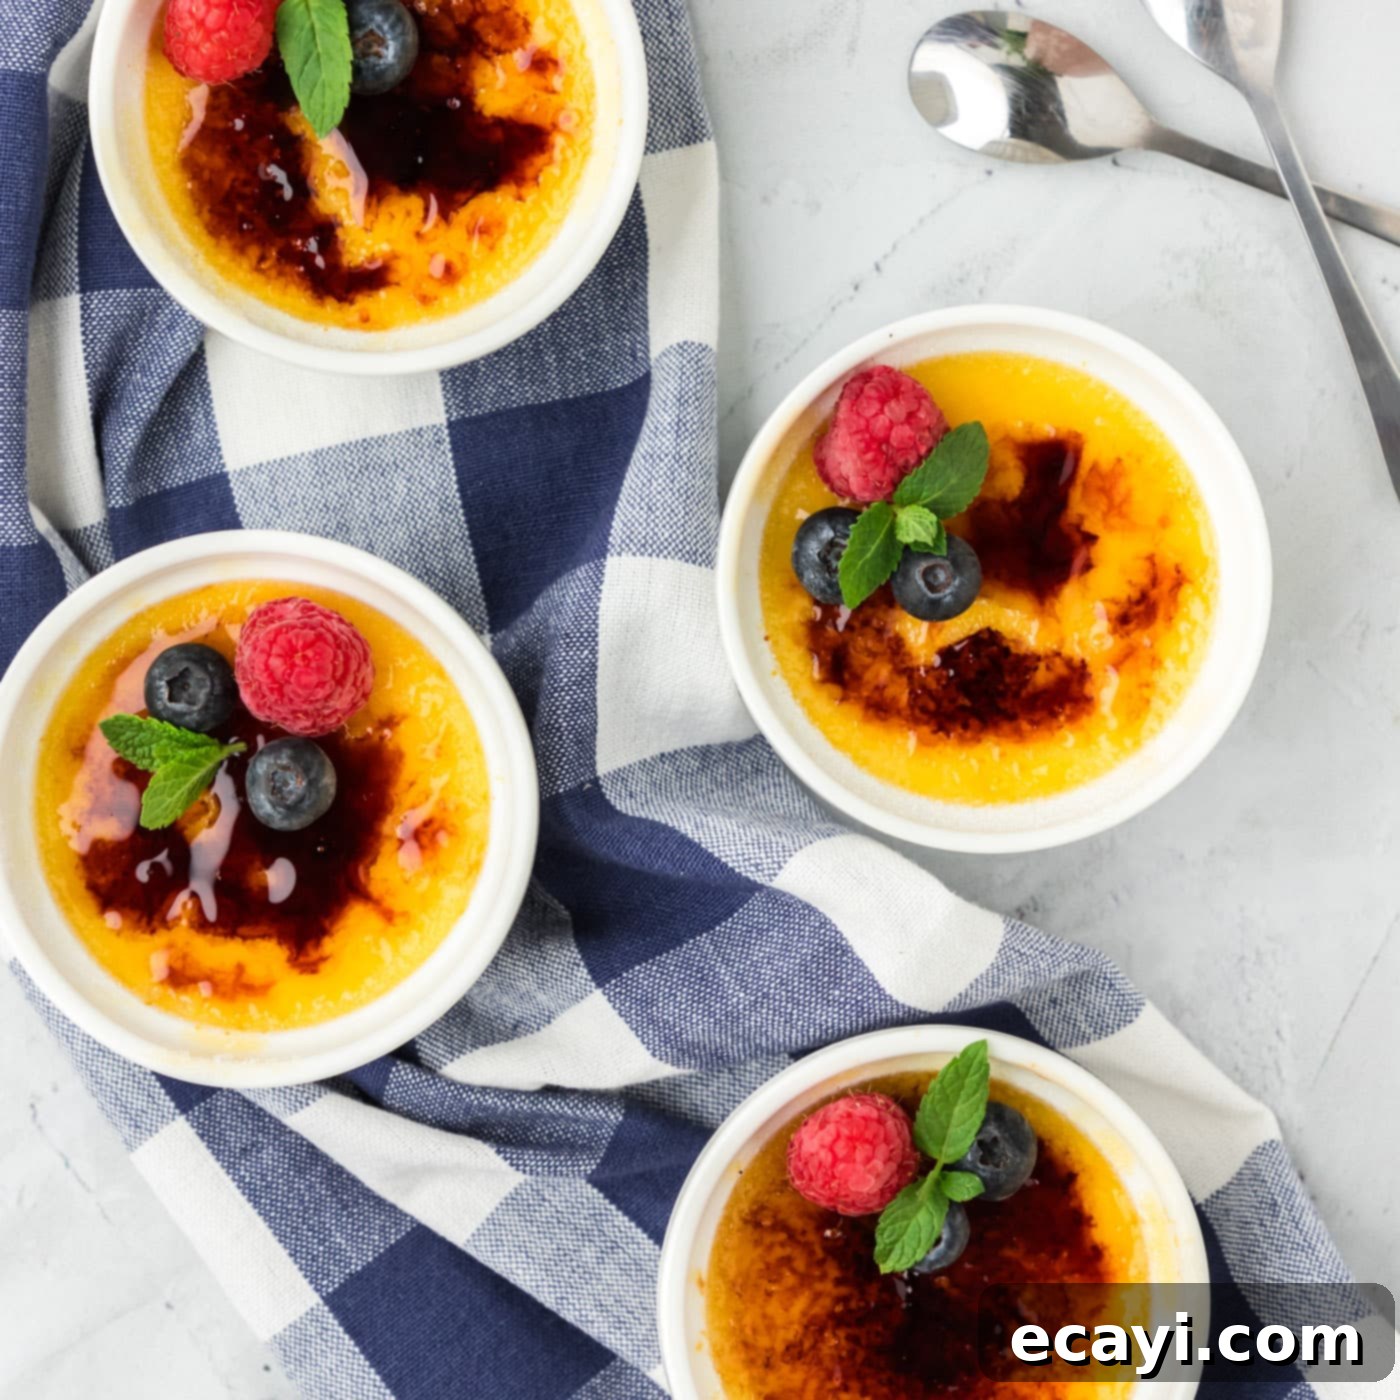
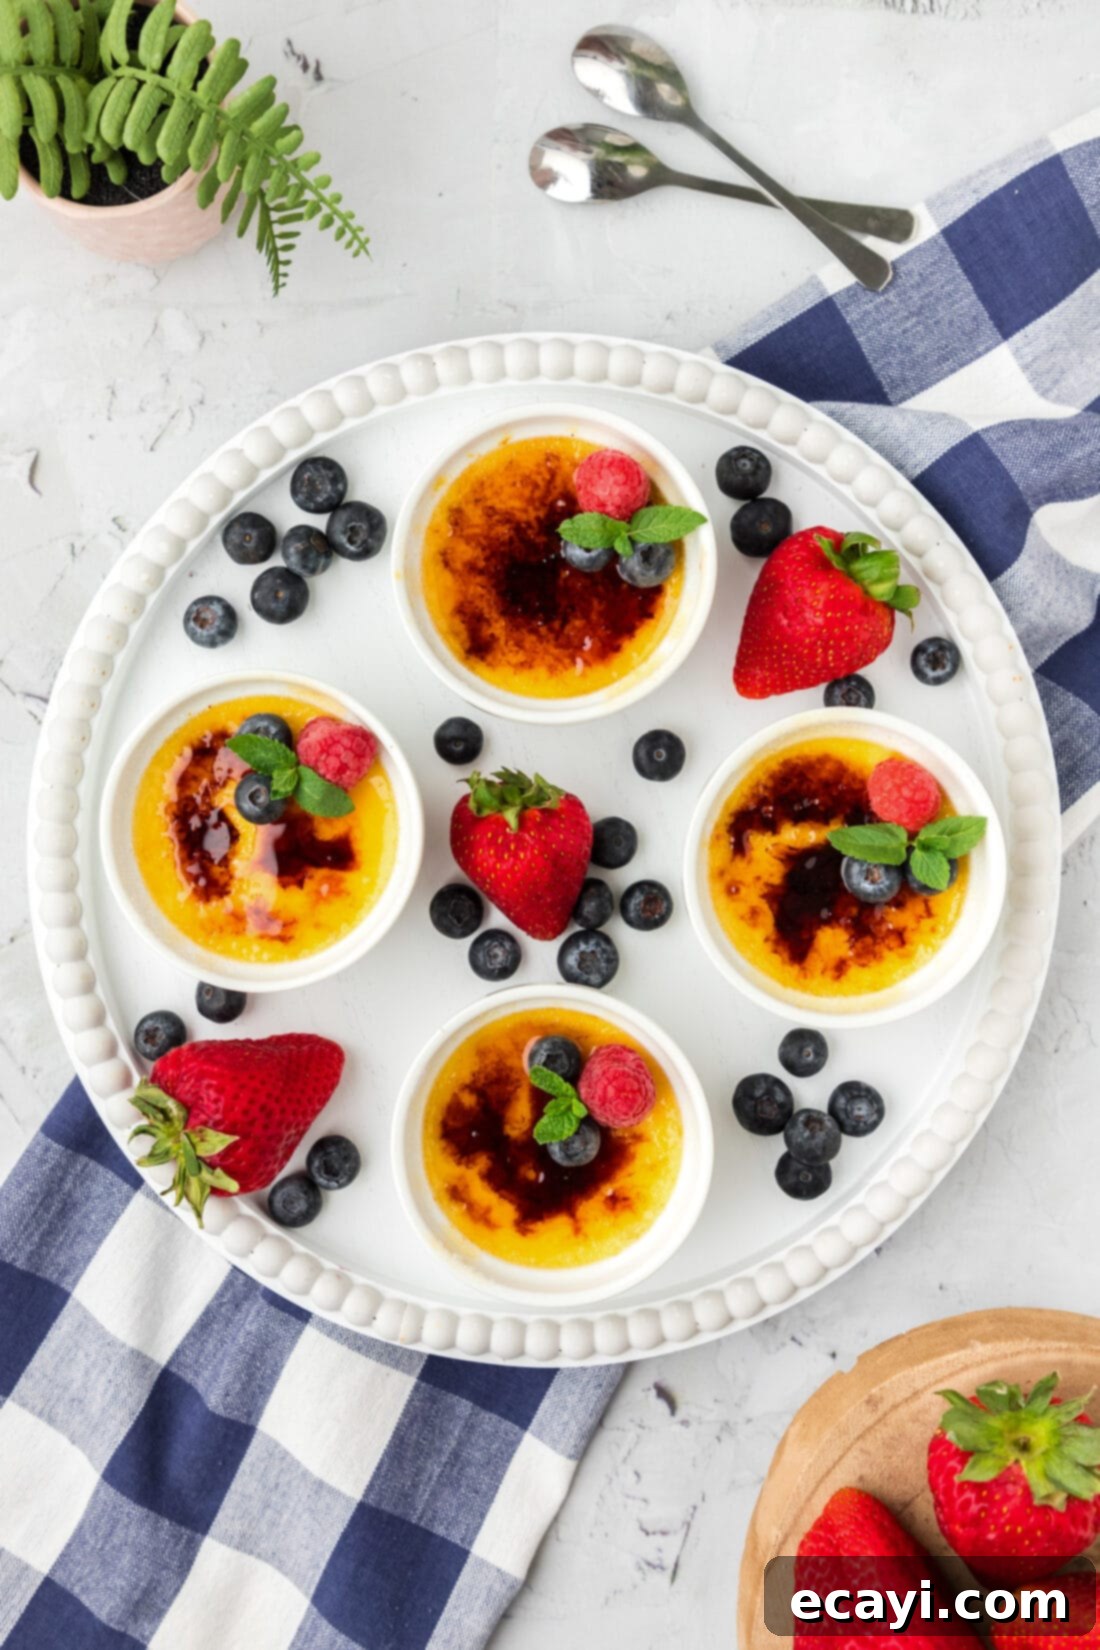
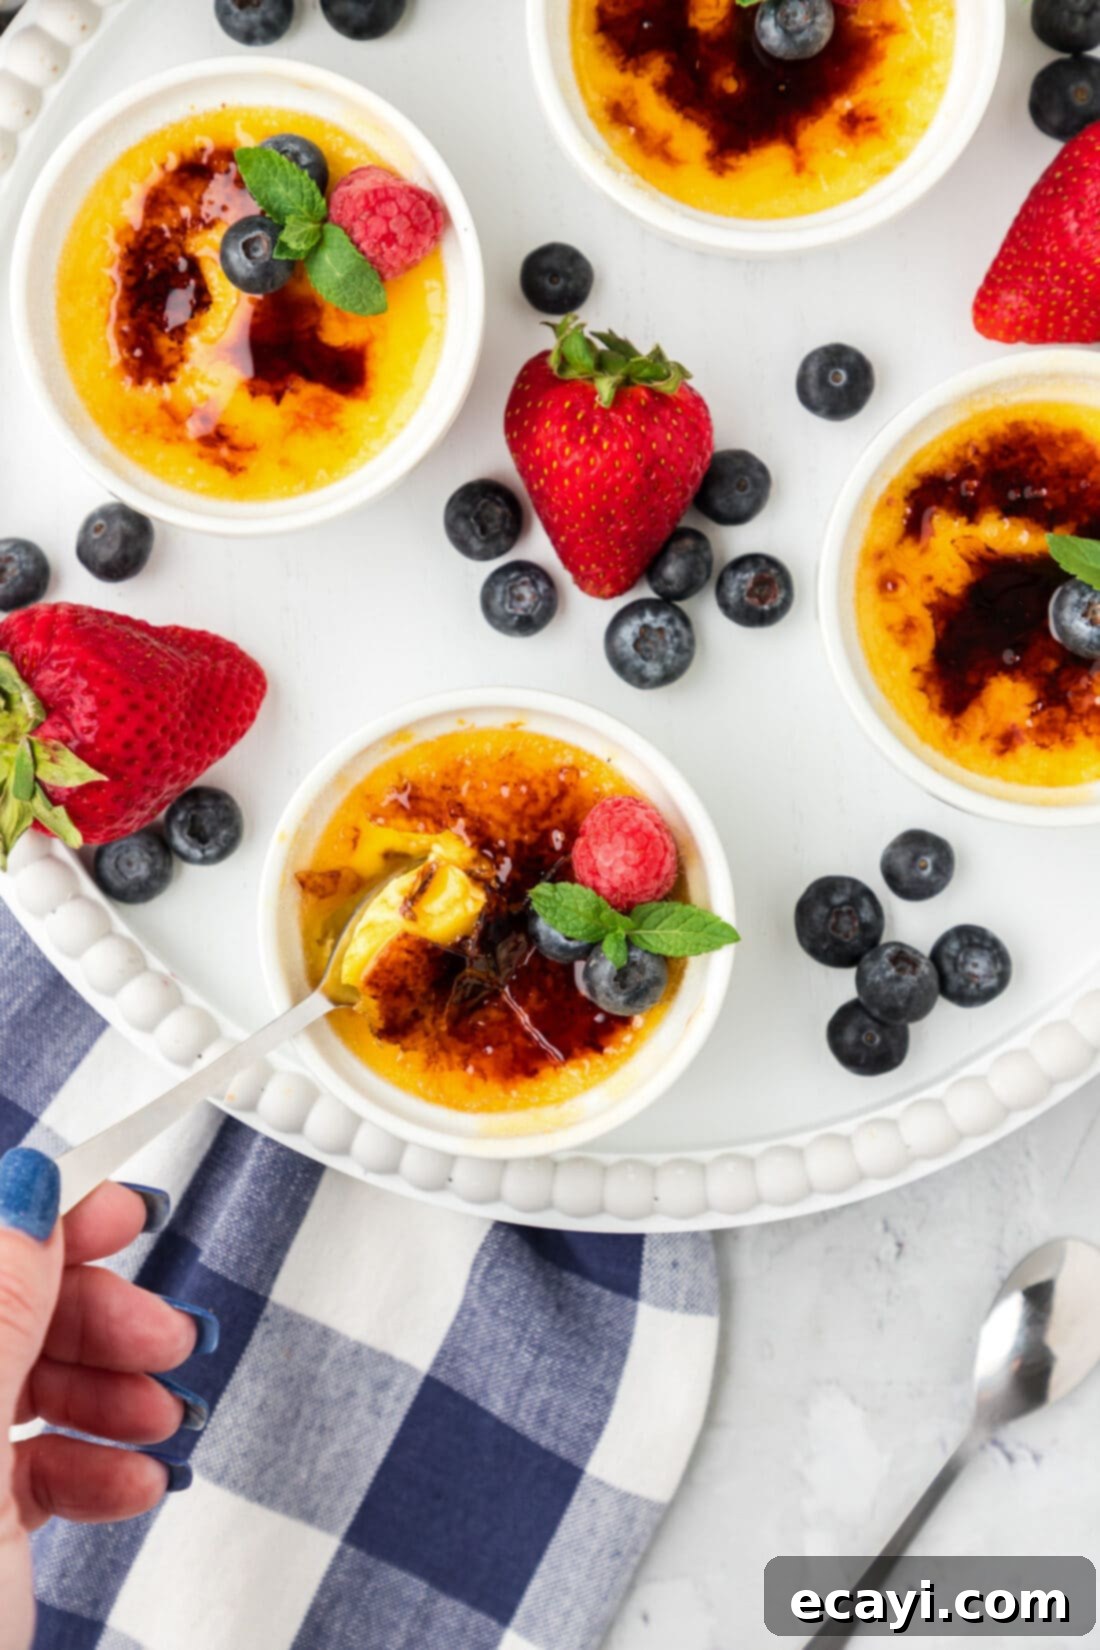
Creme brulee is a showstopper on its own, but a few thoughtful garnishes can elevate its presentation and flavor even further. The classic way to enjoy creme brulee is by using the side of a spoon to gently tap and crack open the shimmering, caramelized sugar coating, revealing the creamy custard beneath. This textural contrast, combined with the temperature difference of a chilled custard and a slightly warm, freshly torched topping, is pure bliss.
For a beautiful and refreshing contrast, serve creme brulee alongside fresh berries such as plump blueberries, tart blackberries, vibrant raspberries, or juicy sliced strawberries. A sprig of fresh mint adds a lovely aromatic touch and a pop of color. Beyond fruit, consider dusting the top with a whisper of cocoa powder for a subtle bitterness, scattering finely chopped nuts like pistachios or candied pecans for added crunch, or adorning it with delicate shaved chocolate curls for an extra touch of decadence. Enjoy this classic French dessert chilled, allowing the rich custard to shine while savoring that iconic, brittle topping!
More Irresistible Dessert Recipes to Explore
If you loved making this creme brulee, you might also enjoy these other delightful dessert recipes:
- Decadent Brownie Trifle
- Elegant Individual Tiramisu
- Classic Strawberry Shortcakes
- Rich Salted Caramel Cheesecake
- Sweet Cheesecake Stuffed Strawberries
I love to bake and cook and share my kitchen experience with all of you! Remembering to come back each day can be tough, that’s why I offer a convenient newsletter every time a new recipe posts. Simply subscribe and start receiving your free daily recipes!

Creme Brulee
IMPORTANT – There are often Frequently Asked Questions within the blog post that you may find helpful. Simply scroll back up to read them!
Print It
Pin It
Rate It
Save ItSaved!
Ingredients
- 2 cups heavy whipping cream at room temperature
- 1 vanilla bean
- ¼ teaspoon Kosher salt
- 6 egg yolks at room temperature
- ½ cup granulated sugar divided
- 6 teaspoons granulated sugar divided, for the topping
Things You’ll Need
-
6 five ounce ramekins
-
13×9 baking dish
-
Saucepan with a lid
-
Whisk
-
Sieve
-
Kitchen torch
Before You Begin: Important Tips for a Perfect Creme Brulee
- Room Temperature Ingredients are Key: For the smoothest custard, ensure your heavy cream and egg yolks are at room temperature before you start. Cold ingredients can cause the custard to become lumpy or curdle when combined with warm liquids.
- Vanilla Flavor Options: While a fresh vanilla bean provides the most intense and authentic flavor, you can substitute it with a teaspoon of pure vanilla extract or vanilla bean paste if needed. Add extracts after the cream infusion step to preserve their delicate aroma.
- No Torch? No Problem: If you don’t have a kitchen torch, you can use your oven’s broiler to caramelize the sugar. Place the ramekins on a baking sheet on the top rack, about 4-6 inches from the broiler element. Broil for 3-5 minutes, watching constantly, until a caramelized glaze forms.
- Optimal Storage: Store cooled, unsweetened creme brulee tightly covered with plastic wrap in the refrigerator for up to 3 days. The crunchy topping is best made just before serving, as it will soften after a few hours in the fridge.
- Make Ahead Perfection: Creme brulee is an ideal make-ahead dessert! Prepare the custards up to 3 days in advance (without the sugar topping). When ready to serve, simply follow step 14: remove from the fridge, let sit for 30 minutes, sprinkle with sugar, and torch or broil.
- The Water Bath (Bain-Marie) is Crucial: Don’t skip the water bath! It ensures your custards cook gently and evenly, preventing them from curdling or cracking and giving them that signature silky-smooth texture.
Instructions
-
Preheat your oven to 325°F (160°C). Arrange 6 (5-ounce sized) ramekins evenly within a 13×9 inch baking dish, preparing for the water bath.
-
In a medium saucepan, combine the heavy cream, kosher salt, and ¼ cup of the granulated sugar.2 cups heavy whipping cream, 1/4 teaspoon Kosher salt
-
Split the vanilla bean lengthwise and scrape out the seeds. Add both the vanilla bean pod and seeds to the saucepan with the cream mixture.1 vanilla bean
-
Bring the mixture to a gentle simmer over medium heat. Once simmering, remove from heat, cover, and let infuse for 15 minutes to extract maximum vanilla flavor.
-
While the cream infuses (just before it’s done), place the egg yolks in a medium bowl. Whisk the remaining ¼ cup of granulated sugar into the egg yolks until light and creamy.6 egg yolks
-
Strain the infused cream mixture through a fine-mesh sieve into a clean bowl, discarding the vanilla bean pods.
-
Temper the egg yolks by slowly drizzling a small amount of the warm cream into the egg mixture while continuously whisking. Gradually add more warm cream until about half is incorporated, then pour the tempered egg mixture back into the remaining cream, whisking until smooth.
-
Scoop off any froth or bubbles from the surface of the custard. Evenly distribute the custard among the ramekins, filling them to just below the first rim.
-
Boil water in a kettle or saucepan. Carefully pour the boiling water into the 13×9 inch baking dish, surrounding the ramekins, ensuring no water splashes into the custards. The water should reach about halfway up the sides of the ramekins.
-
Carefully place the baking dish into the preheated oven and bake for 38-40 minutes.
-
The creme brulee is cooked when the edges are set, but the center still has a slight, even jiggle when gently shaken. It should not be watery or sloshing.
-
Remove the baking dish from the oven and cool on a wire rack for 15 minutes. Then, remove ramekins from the water bath and cool on the wire rack for another 15 minutes. Wrap each ramekin in plastic wrap and chill in the refrigerator for at least 1 hour, or up to 3 days, until thoroughly set.
-
To serve, take ramekins from the refrigerator and let sit at room temperature for 30 minutes. Sprinkle 1 teaspoon of granulated sugar over each custard. Use a kitchen torch to caramelize the sugar until it forms a crisp, amber crust. If you don’t have a torch, use the broiler (refer to FAQ for instructions). Serve immediately.6 teaspoons granulated sugar
Nutrition Information
The recipes on this blog are tested with a conventional gas oven and gas stovetop. It’s important to note that some ovens, especially as they age, can cook and bake inconsistently. Using an inexpensive oven thermometer can assure you that your oven is truly heating to the proper temperature. If you use a toaster oven or countertop oven, please keep in mind that they may not distribute heat the same as a conventional full sized oven and you may need to adjust your cooking/baking times. In the case of recipes made with a pressure cooker, air fryer, slow cooker, or other appliance, a link to the appliances we use is listed within each respective recipe. For baking recipes where measurements are given by weight, please note that results may not be the same if cups are used instead, and we can’t guarantee success with that method.
