Decadent No-Bake Red Velvet Lasagna: Your Ultimate Layered Dessert Recipe for Any Occasion
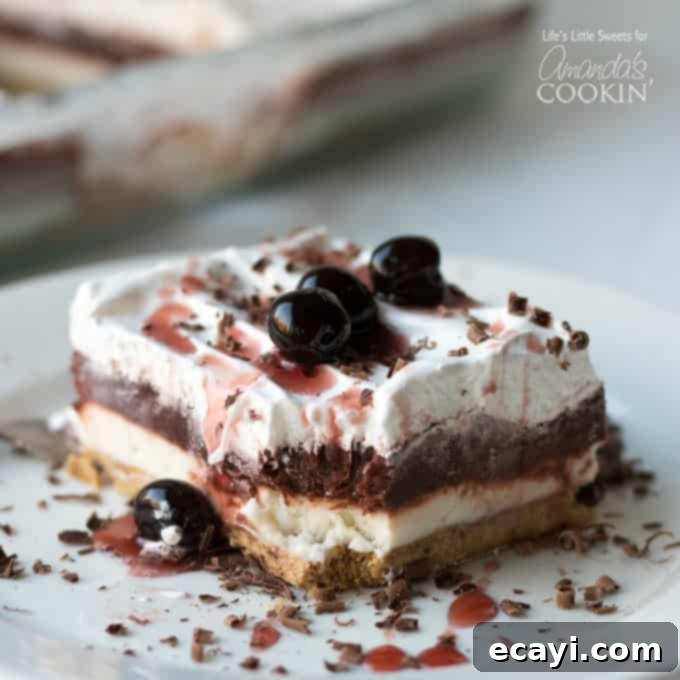
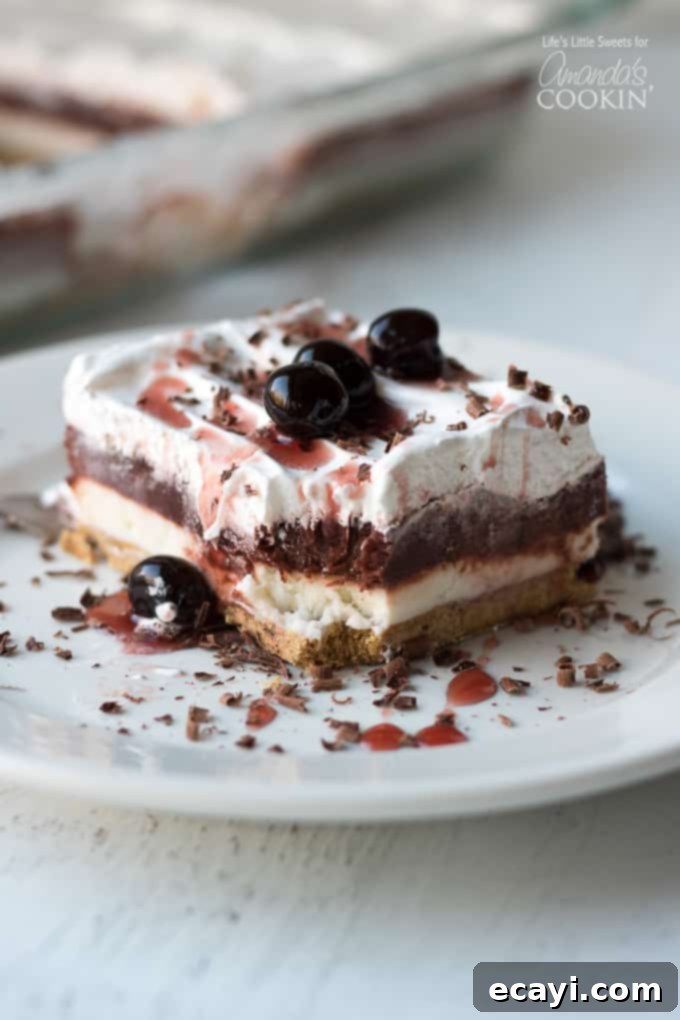
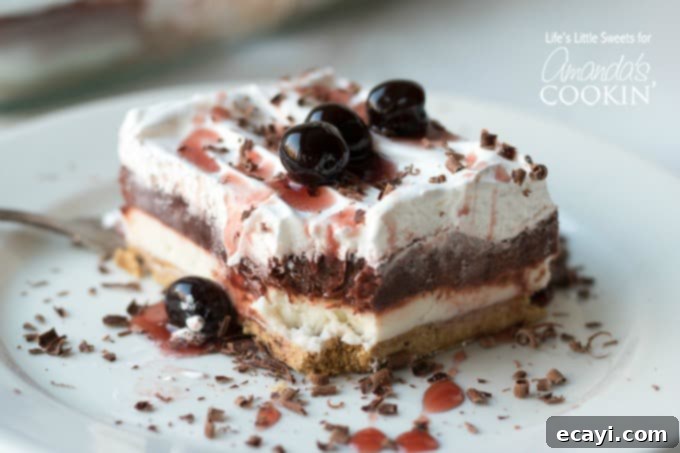
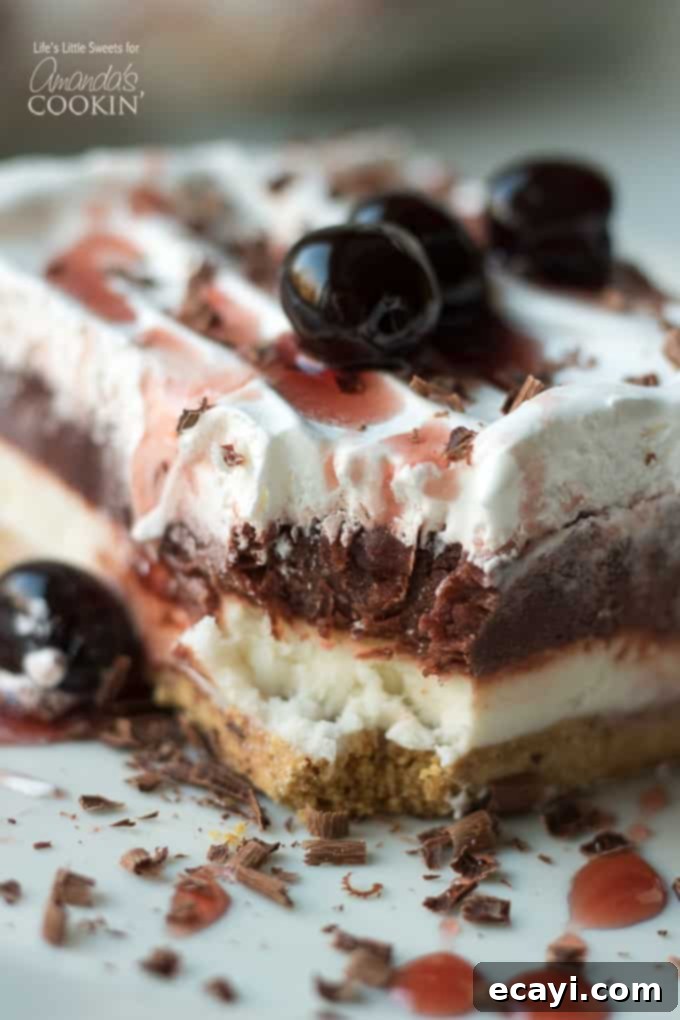
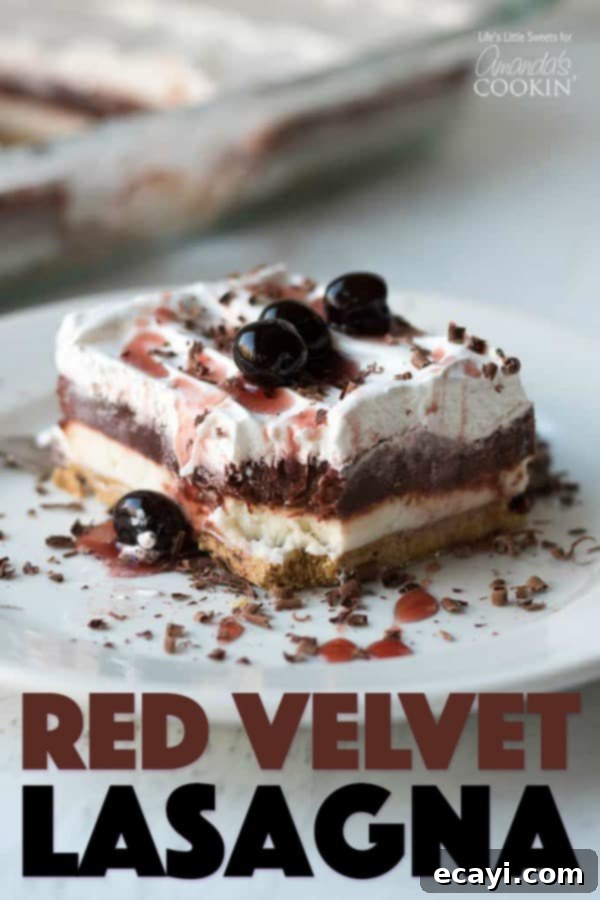
Prepare to be enchanted by this incredible Red Velvet Lasagna, a truly decadent no-bake dessert that promises to be a showstopper at any gathering. This magnificent creation features four distinct, velvety layers, each contributing to an unforgettable taste and texture experience. It starts with a perfectly crunchy graham cracker crust, followed by a smooth, tangy cream cheese layer. Next comes a luscious, vibrant red chocolate pudding layer, all crowned with a fluffy Cool Whip topping, elegant chocolate shavings, and a delightful drizzle of cherry syrup. Designed to be made in a standard 9×13-inch pan, this one-pan wonder is not only easy to prepare but also generously serves a crowd, making it the quintessential dessert to bring to potlucks, parties, or holiday celebrations.
For those who appreciate the convenience and delightful textures of layered, no-bake desserts, this Red Velvet Lasagna is an absolute dream come true. Our collection of “lasagna” style desserts is extensive, a testament to our enduring love for these effortless yet impressive treats. While we cherish them all, the classic Chocolate Lasagna often stands out as a personal favorite. However, this Red Velvet version brings a festive flair and a unique flavor profile that makes it truly special, especially during celebratory times of the year.
The Charm of Red Velvet Lasagna: A Festive Dessert Sensation
Our Red Velvet Lasagna encapsulates all the beloved characteristics of a traditional lush dessert but with a charming, romantic “red velvet” twist. This dessert instantly evokes feelings of warmth and celebration. When I first envisioned this recipe, I imagined it as the ideal “something red” for Valentine’s Day, a holiday I hold dear as a true romantic. Its vibrant hue and rich flavor make it perfectly suited for expressing love and affection. Beyond Valentine’s Day, however, red velvet-themed treats possess an undeniable versatility that makes them appropriate for enjoyment throughout the entire year. Whether it’s a Christmas gathering, an anniversary, or simply a desire for a luxurious dessert, this Red Velvet Lasagna fits the bill. There’s no wrong time to indulge in its delightful layers.
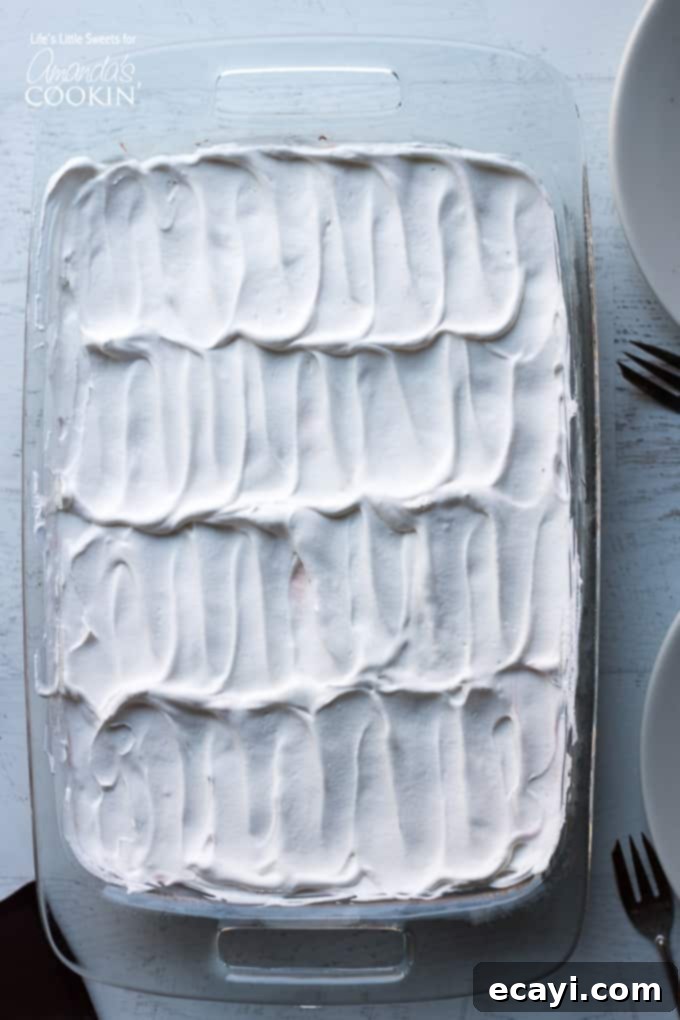
Creating beautiful, even layers is key to the aesthetic appeal of this dessert. For flawless spreading of the cream cheese, pudding, and whipped topping layers, I highly recommend using an offset spatula. This simple tool provides the precision needed to achieve smooth, consistent results. To ensure you get super defined, clean slices that look professionally made, the secret lies in proper chilling. Freezing the dessert for at least 6 hours, or ideally overnight, allows it to firm up completely. This solidifies the layers, making them much easier to cut without smudging. Since this is a pudding-based dessert, it will begin to defrost quite quickly once removed from the freezer, typically within half an hour, so you can serve it perfectly chilled. I personally believe it tastes best when kept cold or thoroughly chilled, as opposed to room temperature, which helps maintain its delightful texture and refreshing qualities.
Presentation and Creative Topping Ideas for Your Red Velvet Lasagna
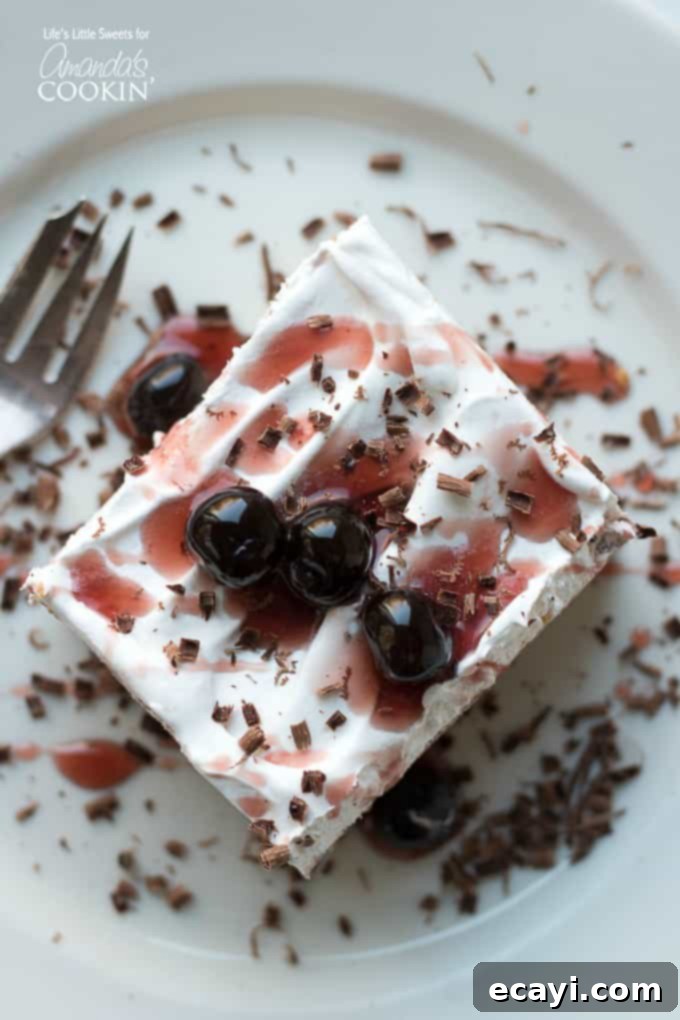
The visual appeal of this layered dessert is almost as important as its taste. Elevate your Red Velvet Lasagna with exquisite garnishes that add both beauty and complementary flavors. If you opt for elegant shaved or curled chocolate, a simple vegetable peeler can create delicate chocolate curls, or a box grater can provide finely shaved chocolate. These small chocolate accents pair wonderfully with the rich red chocolate pudding layer, adding a touch of sophistication that truly dresses up the dessert for serving. Dark chocolate, in particular, offers a lovely contrast in flavor and color against the red backdrop.
Don’t be afraid to get creative with your toppings, especially if you’re serving this dessert for a specific holiday or occasion. Festive sprinkles can instantly transform its look, making it suitable for birthdays, Christmas, or any special event. Imagine red and green sprinkles for a holiday party, or a mix of white and pink for a baby shower. The possibilities are endless!
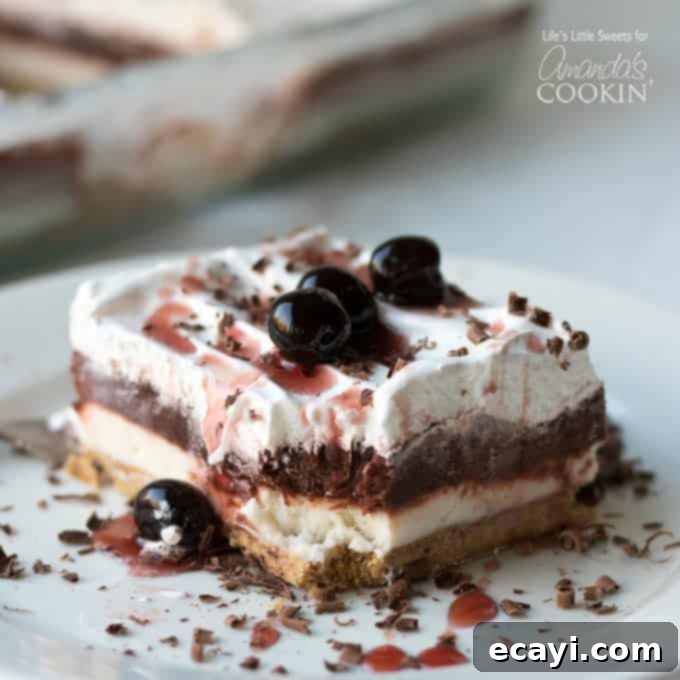
For the final flourish, a drizzle of fruit syrup adds a touch of brightness and moisture. While I often use wild dark cherries in syrup, as depicted in the photos, you have the flexibility to choose your favorite. Strawberry or raspberry syrup would also be fantastic options, each offering a slightly different fruity note that complements the rich red velvet and chocolate flavors. These syrups not only enhance the taste but also create a beautiful, glossy finish on top of the whipped layer.
Ingredients for Your Magnificent Red Velvet Lasagna
Crafting this Red Velvet Lasagna requires simple, accessible ingredients that come together to form a truly spectacular dessert. Each layer plays a crucial role in creating the harmonious balance of textures and flavors. Here’s what you’ll need to gather:
1st Layer – The Crunchy Graham Cracker Crust:
- 2 (5 ounce) packages of regular or vanilla graham crackers: These will form the sturdy, sweet base. You’ll need to finely grind them using a food processor for the best crumb, or manually crush them if you prefer.
- 8-10 tablespoons of unsalted butter, melted and cooled: The butter binds the crumbs together to create a firm crust. The range is provided because humidity can affect how much butter is needed; start with 8 and add more if the mixture seems too dry.
2nd Layer – The Smooth Cream Cheese Layer:
- 2 (8 ounce) packages cream cheese, softened to room temperature: Softened cream cheese is essential for achieving a lump-free, smooth consistency.
- 1 cup granulated white sugar: This adds the perfect amount of sweetness to balance the tanginess of the cream cheese.
- 1-2 tablespoons apple cider vinegar or freshly squeezed lemon juice: A crucial ingredient that enhances the “red velvet” flavor profile by adding a subtle tang and bright note.
3rd Layer – The Velvety Red Chocolate Pudding Layer:
- 2 (3.4 ounce) packages Jello instant chocolate pudding mix: Instant pudding makes this dessert incredibly easy and quick to prepare, providing a rich chocolate flavor.
- 3 cups milk: Used to prepare the instant pudding, ensuring a creamy, thick texture.
- Red food coloring (about 60 drops): This is where the “red velvet” magic happens, giving the pudding its characteristic deep, festive red hue. Adjust to achieve your desired shade.
4th Layer – The Light Whipped Topping & Garnishes:
- 1 (8 oz) container whipped topping (such as Cool Whip): This light, airy topping provides a wonderful contrast to the richer layers below. You can substitute with an equal amount of homemade whipped cream if preferred, but note the freezing instructions for Cool Whip below.
- Shaved or curled dark chocolate, amount to taste for garnishing: For that elegant finish and extra chocolatey goodness.
- A drizzle of cherry, strawberry, or raspberry sauce: I often use wild cherries in syrup, but any red fruit syrup will add a beautiful and delicious final touch.
Essential Kitchen Tools for Easy Red Velvet Lasagna Preparation
Having the right tools makes the preparation of this Red Velvet Lasagna even more enjoyable and efficient. Here’s a list of kitchen essentials that will help you achieve perfect results for each delicious layer:
- Dry measuring spoons and cups: For accurately measuring all your dry ingredients.
- Baking spatula: Useful for general mixing and scraping bowls.
- Food processor: Highly recommended for finely grinding graham crackers quickly and evenly. If you don’t have one, you can place crackers in a zip-top bag and crush them with a rolling pin.
- Handheld electric mixer: Essential for beating the cream cheese layer until smooth and lump-free.
- Wet measure: For precise liquid ingredient measurements.
- Offset spatula: Your secret weapon for spreading all the layers (cream cheese, pudding, and Cool Whip) evenly and smoothly, ensuring a professional-looking finish.
- 13 x 9-inch pan: The standard size for this lasagna, perfect for yielding about 12 generous servings.
- Mixing bowls: You’ll need a few, one for each layer’s preparation.
- Vegetable peeler or box grater: For creating beautiful chocolate shavings or curls for garnish.
This Red Velvet Lasagna is more than just a dessert; it’s an experience. Its vibrant color, rich flavors, and delightful textures make it a memorable treat for any occasion. Whether you’re making it for a special holiday or simply to satisfy a craving for something sweet and spectacular, I am confident that you and your loved ones will absolutely adore this recipe. It’s simple to make, yet looks incredibly impressive, giving you all the praise with minimal effort. The combination of the crisp crust, creamy, tangy cheese, decadent chocolate pudding, and light whipped topping is truly irresistible.
If you’ve enjoyed this delightful Red Velvet Lasagna, you’ll be thrilled to discover our other fantastic no-bake “lasagna” and “lush” dessert favorites. Each one offers a unique flavor profile and the same easy, layered goodness. They are perfect for dessert lovers who enjoy a variety of flavors and the convenience of a no-bake option. Dive into our collection and find your next sweet obsession!
- Lemon Lush: A bright and zesty layered dessert that’s perfect for spring and summer.
- Pineapple Dream Dessert: Tropical flavors come alive in this refreshing and creamy treat.
- Chocolate Peanut Butter Lasagna: The ultimate combination for fans of chocolate and peanut butter.
- Banana Split Lush Dessert: All the fun flavors of a banana split, reimagined in a layered dessert.
- Chocolate Lasagna: The original crowd-pleaser that started it all – rich, creamy, and undeniably delicious.
- Coconut Cream Lush: A taste of the tropics with creamy coconut goodness.
- Pistachio Lush: A uniquely flavored dessert that’s both elegant and satisfying.
- Strawberry Dream Dessert: Sweet and fruity, a delightful dessert for strawberry lovers.
- Strawberry Lasagna: Another fantastic strawberry option, with layers of berry and cream.
- Chocolate Peanut Butter Lasagna: (Duplicated in original, keeping it here as per instructions, but would normally remove) Another delightful fusion for those who can’t get enough of this classic pairing.
Red Velvet Lasagna
IMPORTANT – There are often Frequently Asked Questions within the blog post that you may find helpful. Simply scroll back up to read them!
Print It
Pin It
Rate It
Save ItSaved!
Ingredients
Crust Layer:
- 10 ounces regular or vanilla graham crackers, finely ground using a food processor or manually crushing 2 5-oz packages
- 9 tablespoons unsalted butter melted and cooled *I give a range for the amount because I have found that depending on the humidity, you may need more or less butter
Cream Cheese Layer:
- 16 ounces cream cheese, softened to room temperature 8 ounce packages
- 1 cup granulated white sugar
- 1.5 tablespoons apple cider vinegar or freshly squeezed lemon juice
Red Chocolate Pudding Layer:
- 6.8 ounces instant chocolate pudding 2 3.4-ounce packages
- 3 cups milk
- 60 drops red food coloring
Topping Layer:
- 8 ounces whipped topping (I use Cool Whip), you can substitute the same amount whipped cream
- 1 teaspoon shaved or curled dark chocolate amount to taste for garnishing
- a drizzle of cherry strawberry or raspberry sauce – I use wild cherries in syrup
Before You Begin
Instructions
Crust:
-
In a medium-large mixing bowl, combine the melted and cooled unsalted butter with the finely ground graham crackers. Stir well until the crumbs are thoroughly moistened. Press this mixture firmly and evenly into the bottom of a 9 x 13-inch pan to form the crust. Cover the pan and chill in the refrigerator while you prepare the next layer, allowing the crust to set.
Cream Cheese Layer:
-
Using a handheld electric mixer, beat together the softened cream cheese, granulated white sugar, and apple cider vinegar or fresh squeezed lemon juice in a clean mixing bowl. Mix until the mixture is completely smooth, creamy, and free of any lumps. Carefully spread this velvety cream cheese mixture evenly over the chilled graham cracker crust.
Red Chocolate Pudding Layer:
-
In a large mixing bowl, whisk together the milk and the instant chocolate pudding mix until it begins to thicken. This usually takes about 4-5 minutes for the pudding to set properly. Once it starts to thicken, add the red food coloring gradually, stirring until your desired vibrant red color is achieved. Spread this beautiful red chocolate pudding mixture evenly on top of the cream cheese layer.
Topping Layer:
-
Gently spread the thawed whipped topping evenly over the red chocolate pudding layer using an offset spatula. For an elegant presentation and an extra layer of flavor, sprinkle generously with shaved or curled dark chocolate. When ready to serve, drizzle with your chosen red cherry (or other fruit) sauce. For significantly more defined and clean slices, you have the option to freeze the Red Velvet Lasagna overnight (as demonstrated in the photos). However, if you chose to use homemade whipped cream instead of Cool Whip, it is not recommended to freeze the dessert, as homemade whipped cream may not hold its texture as well after thawing.
Nutrition
The recipes on this blog are tested with a conventional gas oven and gas stovetop. It’s important to note that some ovens, especially as they age, can cook and bake inconsistently. Using an inexpensive oven thermometer can assure you that your oven is truly heating to the proper temperature. If you use a toaster oven or countertop oven, please keep in mind that they may not distribute heat the same as a conventional full sized oven and you may need to adjust your cooking/baking times. In the case of recipes made with a pressure cooker, air fryer, slow cooker, or other appliance, a link to the appliances we use is listed within each respective recipe. For baking recipes where measurements are given by weight, please note that results may not be the same if cups are used instead, and we can’t guarantee success with that method.
This post was originally published on this blog on Jan 1, 2018. We’ve refreshed it to bring you even more delicious details and tips!
