Crispy & Juicy Air Fryer Fried Chicken: The Healthier Homestyle Recipe
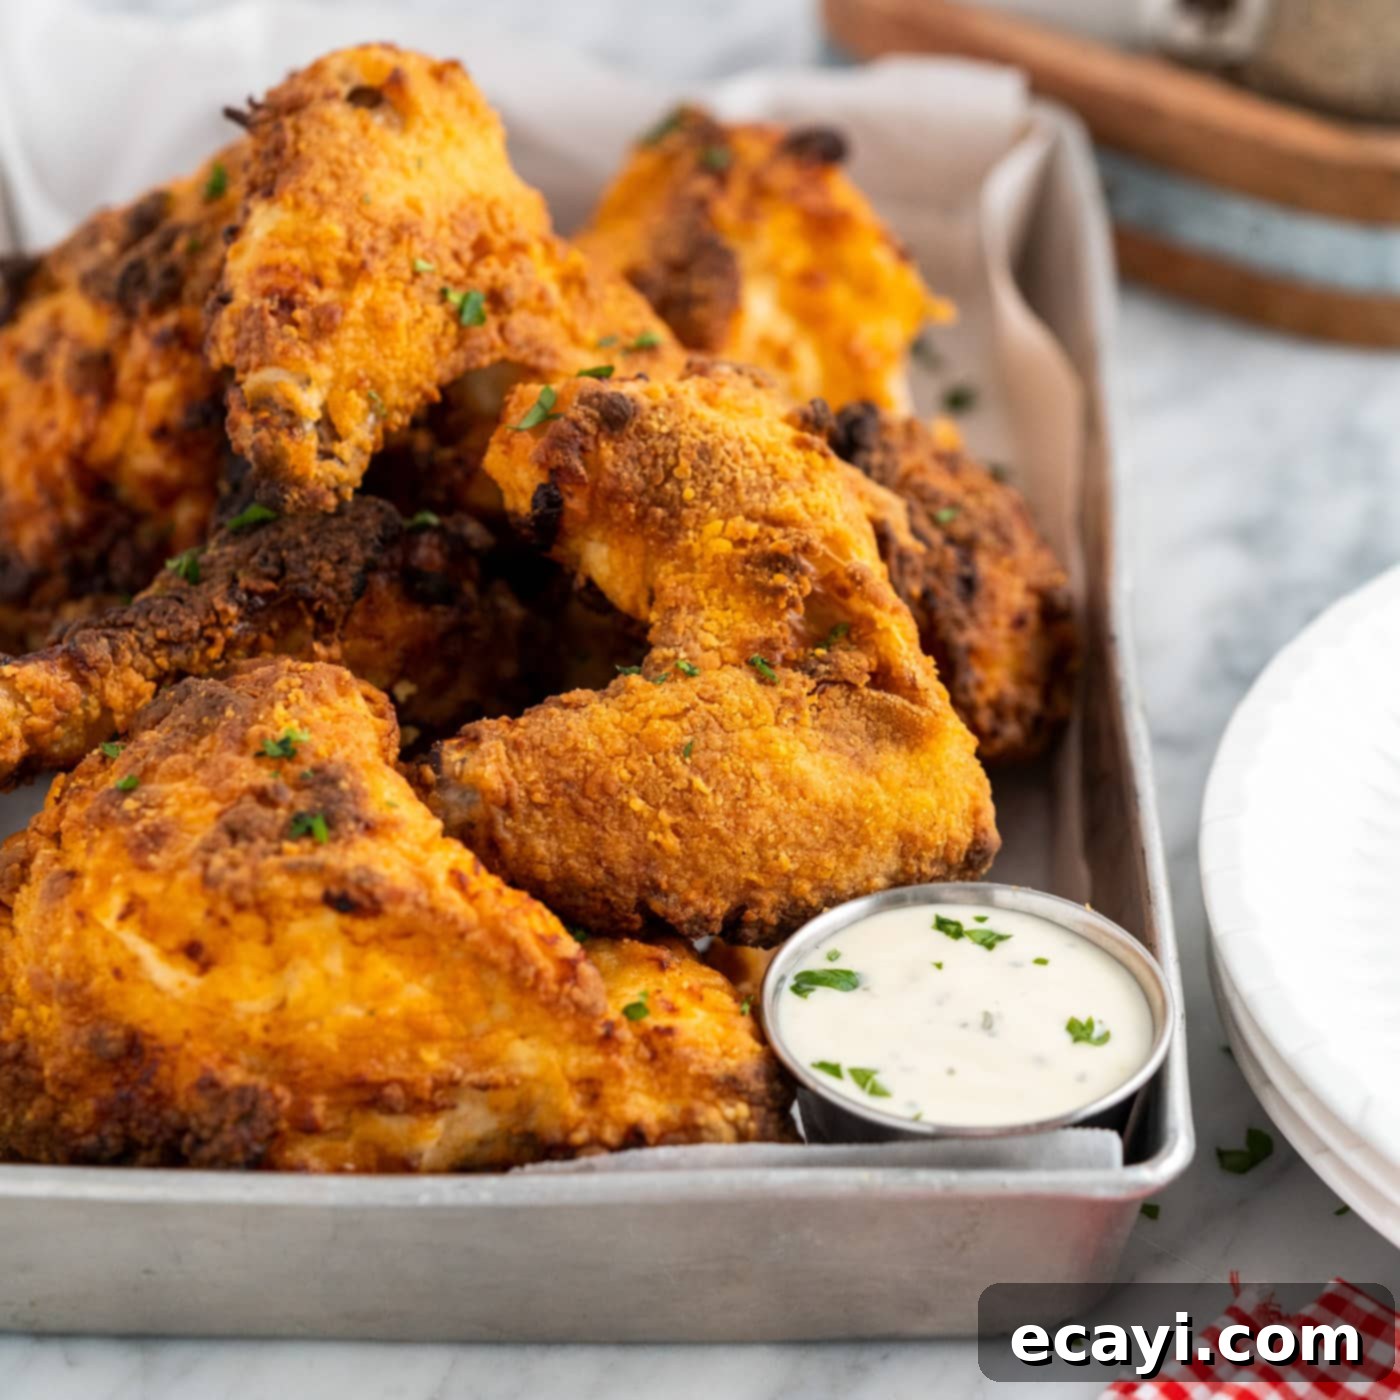
Craving that irresistible crunch and succulent interior of classic fried chicken without the deep-fried guilt? This comprehensive air fryer fried chicken recipe is your ultimate guide to achieving perfectly cooked, deliciously crispy chicken pieces, including breasts, thighs, legs, and wings, right in your air fryer. Say goodbye to excessive oil and hello to a healthier, yet equally satisfying, fried chicken experience.
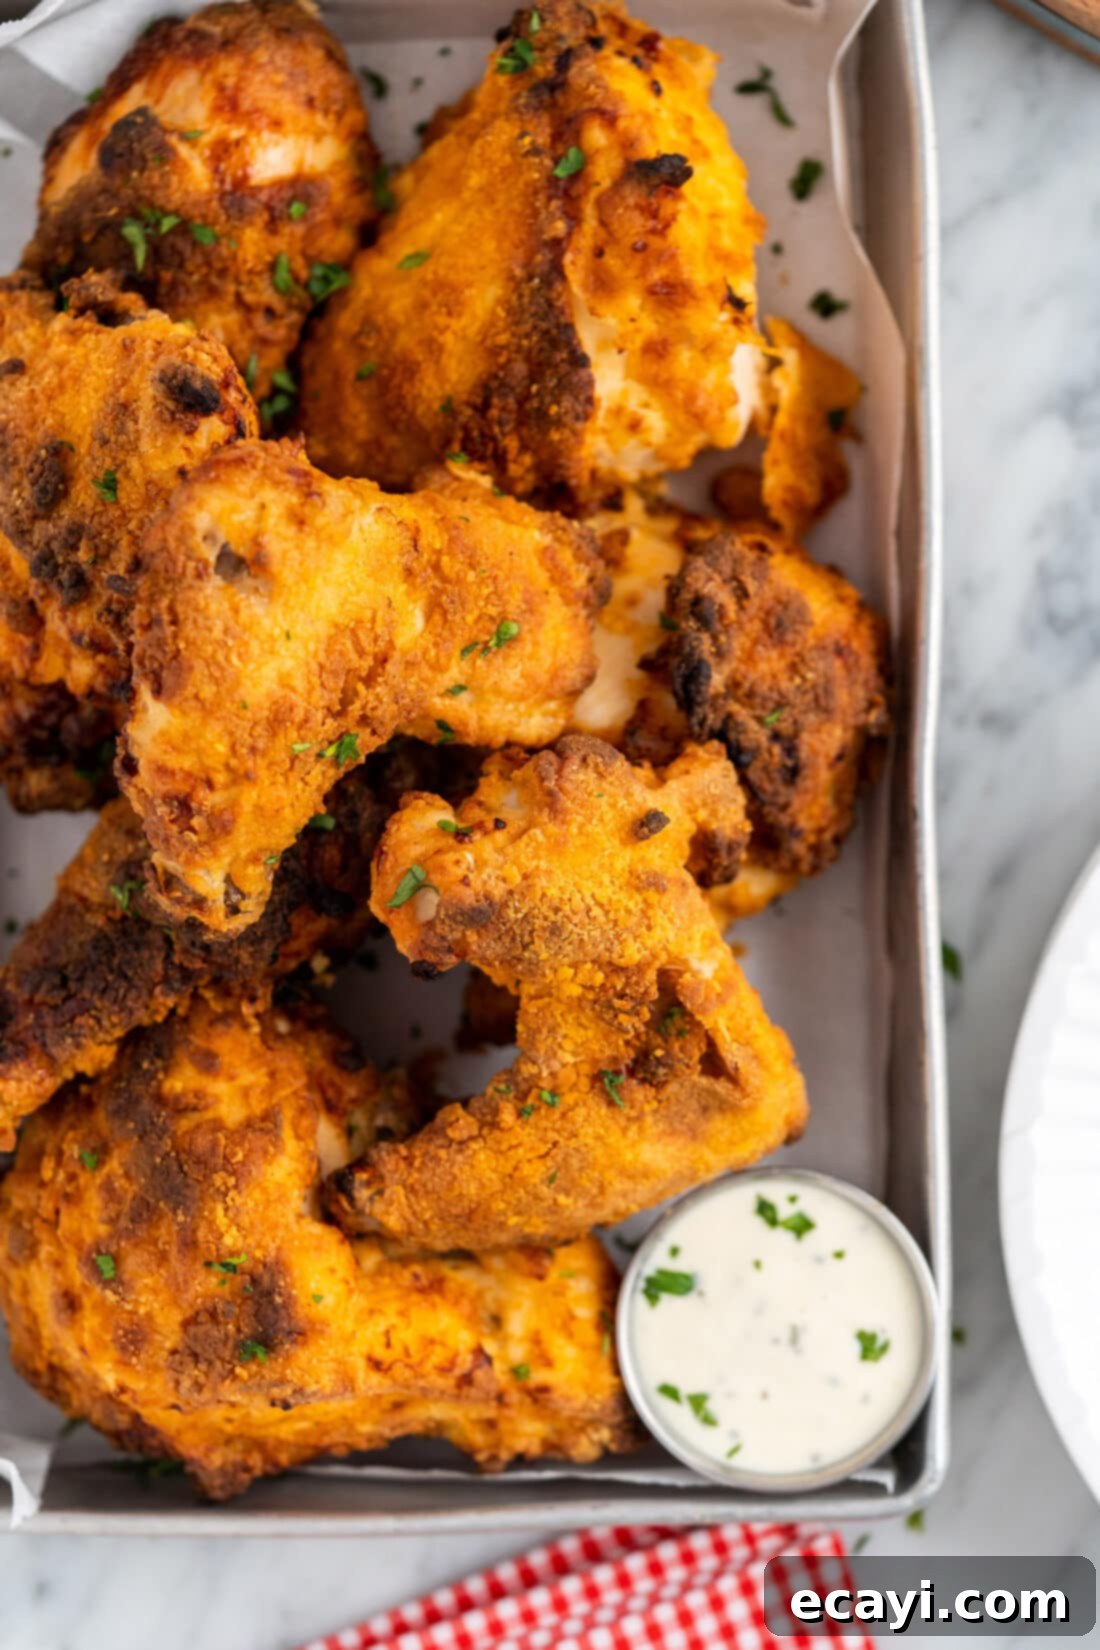
Why This Air Fryer Fried Chicken Recipe is a Game Changer
Transforming traditional fried chicken for the air fryer offers a multitude of benefits, making it an increasingly popular choice for home cooks. This recipe excels because it focuses on techniques that maximize flavor and texture while minimizing oil, proving that you don’t need a vat of hot oil for an incredible result. The secret lies in a strategic buttermilk marinade and a perfectly seasoned flour coating, designed to create that signature crispy exterior and juicy interior when cooked with circulating hot air.
One of the most crucial aspects of this recipe, especially when using a whole chicken, is understanding that different cuts of meat have varying cook times. We meticulously break down the cooking process for each piece—wings, thighs, legs, and breasts—ensuring every part of your chicken reaches optimal crispness and internal temperature. This detailed approach eliminates guesswork, guaranteeing a perfectly cooked meal every time, whether you’re air frying a full bird or just a few favorite pieces.
By opting for the air fryer, you significantly reduce the amount of oil needed, making this a much healthier alternative to traditional deep-frying. Despite the reduced fat, you won’t sacrifice flavor or the satisfying crunch. Our method ensures the chicken remains incredibly juicy and flavorful, thanks to the tenderizing power of buttermilk and a robust blend of seasonings in the flour. This recipe serves as a foundational guide for anyone looking to master the art of air-fried chicken, delivering mouth-watering results with a fraction of the mess and oil.
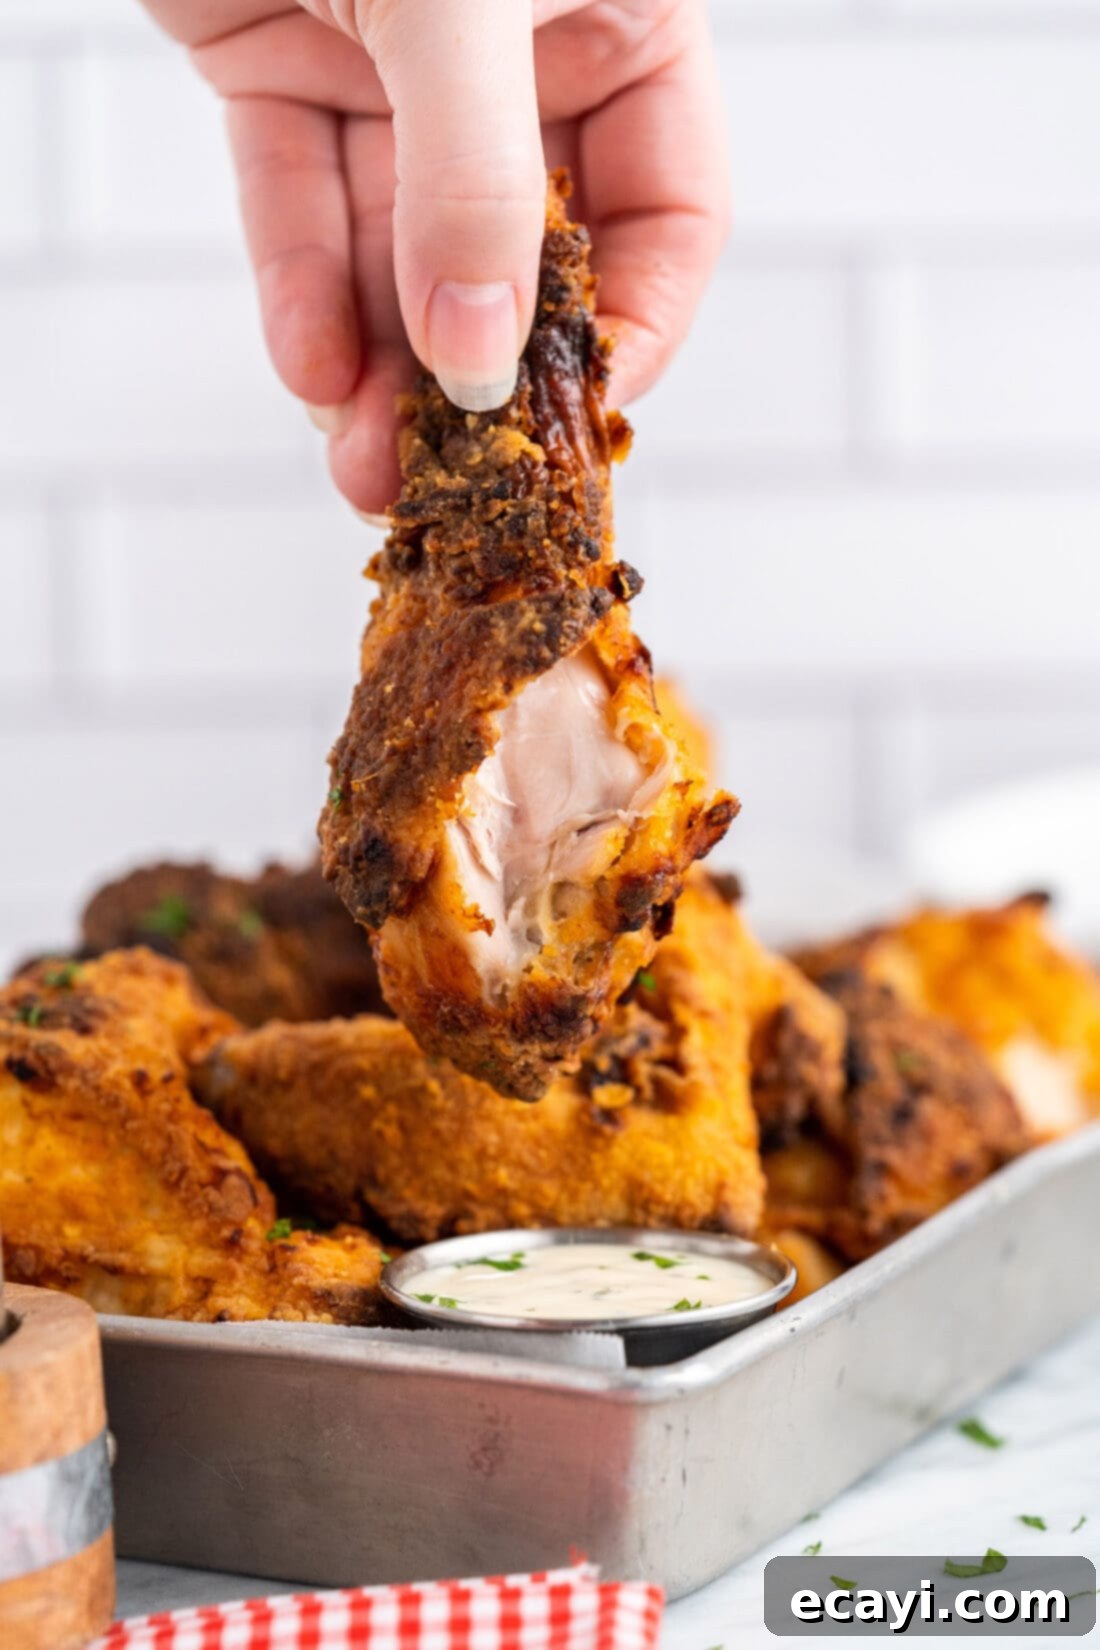
Essential Ingredients for Your Crispy Chicken
Preparing truly delicious air fryer fried chicken begins with quality ingredients. This section will guide you through everything you need, offering insights into each component’s role in creating a flavorful and perfectly textured dish. You can find precise measurements and detailed instructions in the printable recipe card located at the end of this post.
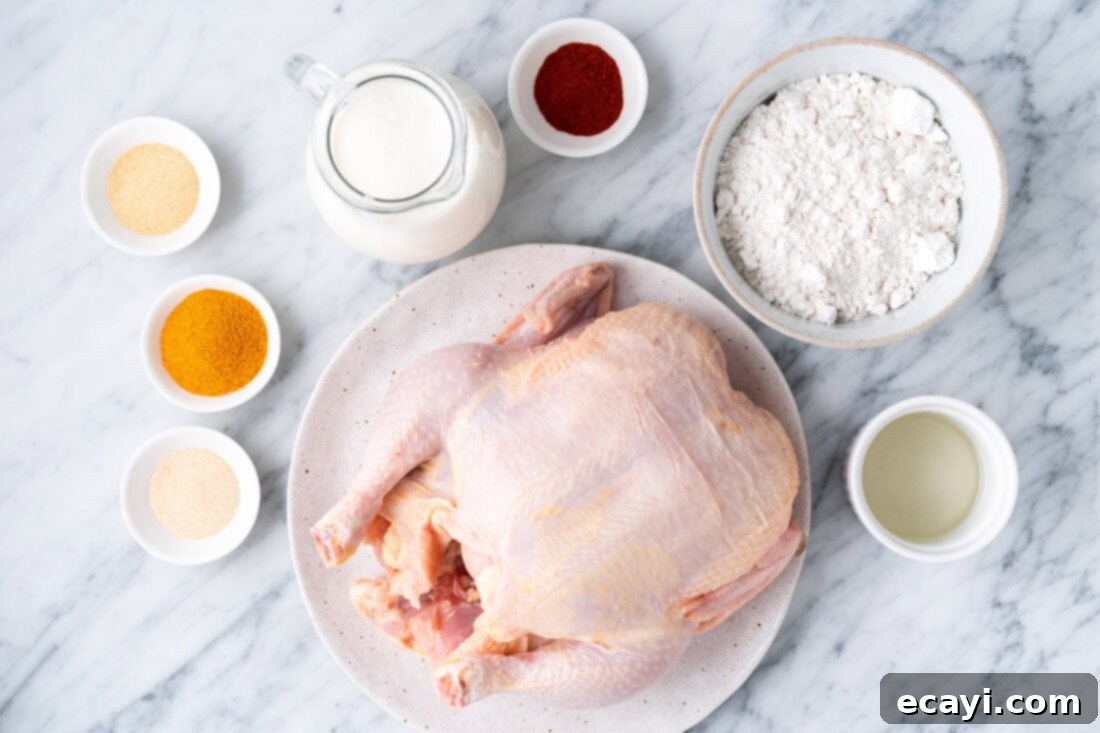
Ingredient Spotlight & Smart Swaps
Let’s dive deeper into the key ingredients and how they contribute to the success of this air fryer fried chicken. Knowing your ingredients allows for better customization and troubleshooting.
Chicken
For this recipe, we recommend a 6-7 pound whole chicken. Breaking down a whole chicken yourself can be more cost-effective and ensures you get all your favorite pieces. However, the beauty of this recipe is its versatility. You can absolutely use pre-cut individual chicken pieces like just breasts, thighs, or wings. If you opt for specific cuts, simply follow the corresponding cooking times provided in the instructions below. Aim for fresh, high-quality chicken for the best flavor and texture. Ensure the chicken pieces are roughly similar in size within their categories (e.g., all thighs are similar) for even cooking.
Buttermilk Marinade
- Buttermilk: This is the secret to incredibly tender and juicy chicken. The lactic acid in buttermilk works as a mild tenderizer, breaking down tough muscle fibers without making the chicken mushy. It also helps the seasoned flour adhere better to the chicken, creating a superior crust.
- **Substitution:** No buttermilk on hand? You can easily make a homemade substitute! For every cup of buttermilk required, simply add 1 tablespoon of white vinegar or lemon juice to a measuring cup, then fill the rest with regular milk (dairy or non-dairy). Stir and let it sit for 5-10 minutes until it slightly curdles.
- Seasoned Salt: A foundational flavor builder for the marinade. It penetrates the chicken during the marination process, ensuring flavor beyond just the coating. You can use a store-bought seasoned salt blend or create your own by combining salt, black pepper, garlic powder, onion powder, and a pinch of cayenne for a subtle kick.
Seasoned Flour
- All-Purpose Flour: The base for our crispy coating. It provides the structure for the golden-brown crust.
- **Tip for extra crispness:** For an even crispier coating, consider adding a tablespoon or two of cornstarch or potato starch to your flour mixture. This helps create a lighter, crunchier texture.
- Seasoned Salt: Again, crucial for flavor. This time, it’s for the exterior crunch. Using it in both the marinade and the flour builds layers of taste.
- Garlic Powder, Onion Powder, Paprika: These spices are essential for building that classic fried chicken flavor profile. Paprika also contributes to a beautiful golden-brown color. Feel free to adjust the quantities or add other spices like cayenne pepper for heat, dried thyme, or black pepper to suit your personal preference.
Oil for Brushing
A small amount of oil is key to getting that fried texture and color in the air fryer. Instead of deep-frying, we generously brush the chicken with oil. Vegetable oil is a great choice due to its neutral flavor and high smoke point. Other excellent alternatives include canola oil or avocado oil. Avoid olive oil as its smoke point is generally lower, and its flavor can be more pronounced.
Mastering Air Fryer Fried Chicken: Step-by-Step
These step-by-step photos and detailed instructions are designed to help you visualize each stage of the recipe. For a quick, printable version with all measurements, jump straight to the Jump to Recipe section at the bottom of this post.
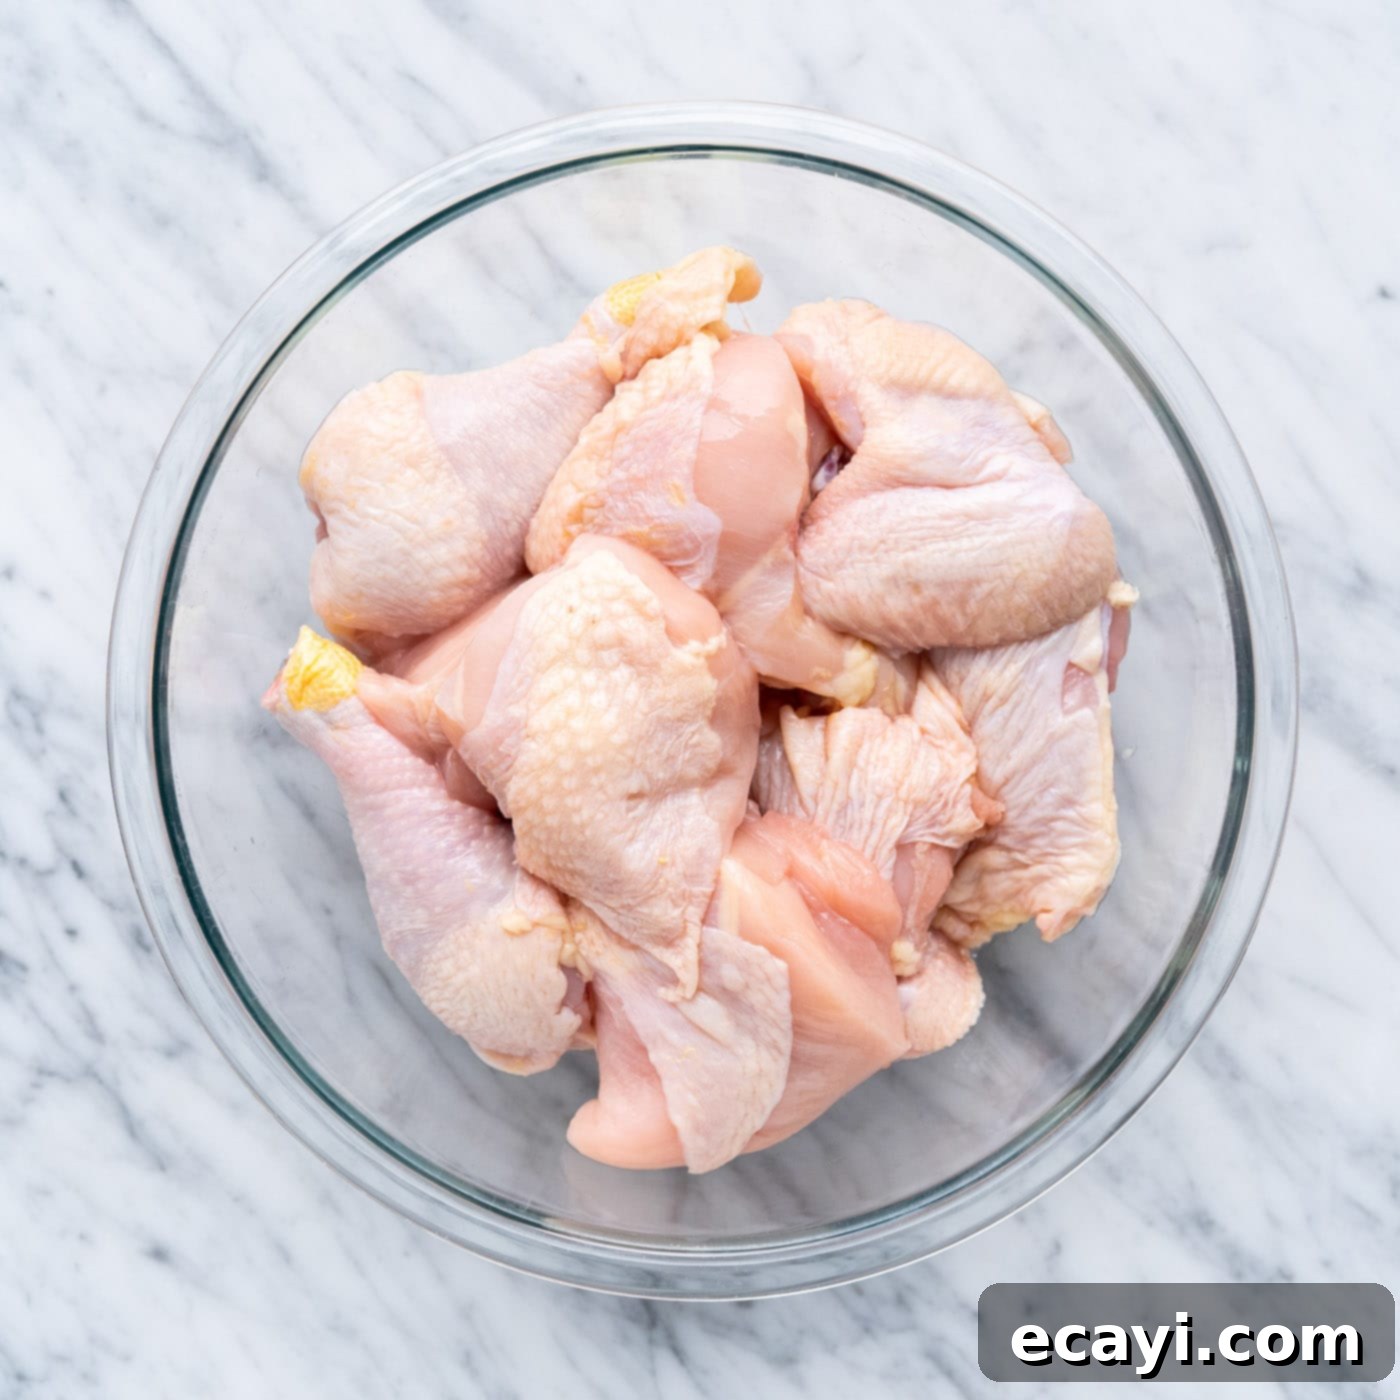
- Prepare the Chicken: If using a whole chicken, begin by cutting it into 10 distinct pieces. This typically includes 2 wings, 2 drumsticks (legs), 2 thighs, and then splitting each breast in half to yield a total of 4 breast pieces. For best results, use a sharp knife and locate the joints to easily separate the pieces. Ensure to remove any excess skin or fat if desired, though some skin will contribute to crispness.

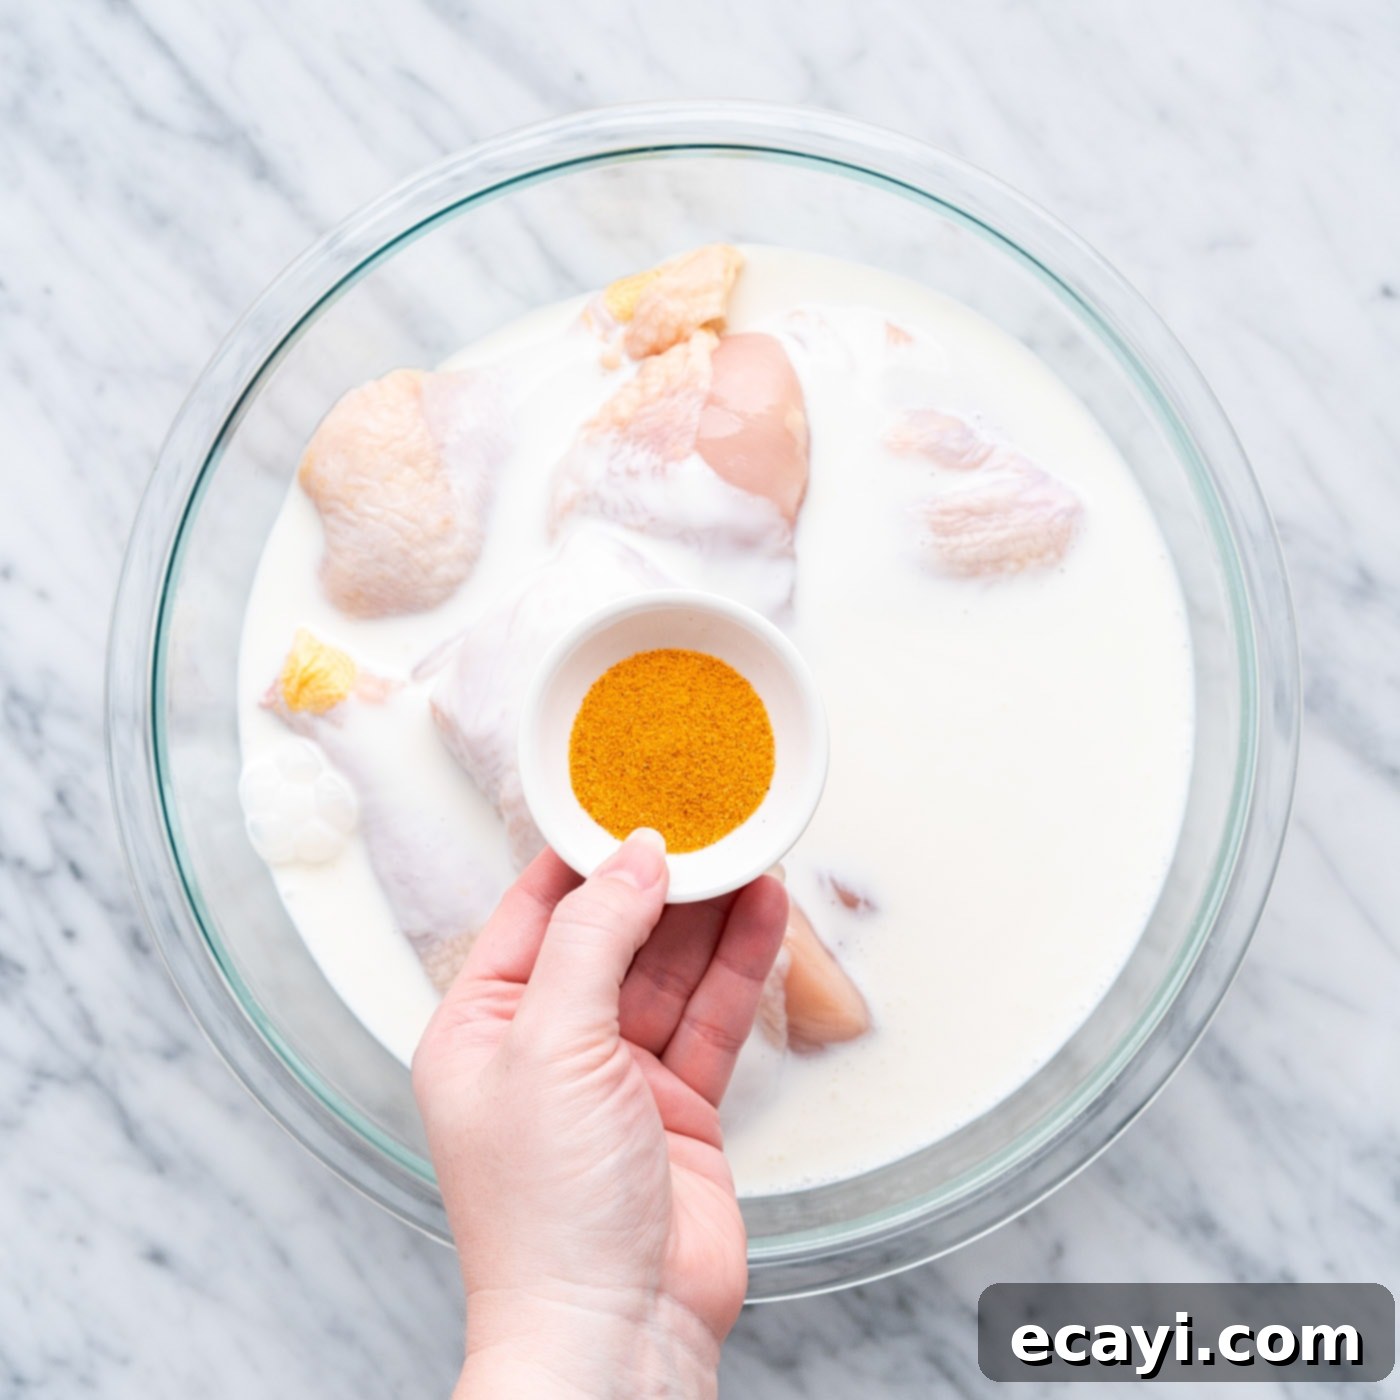
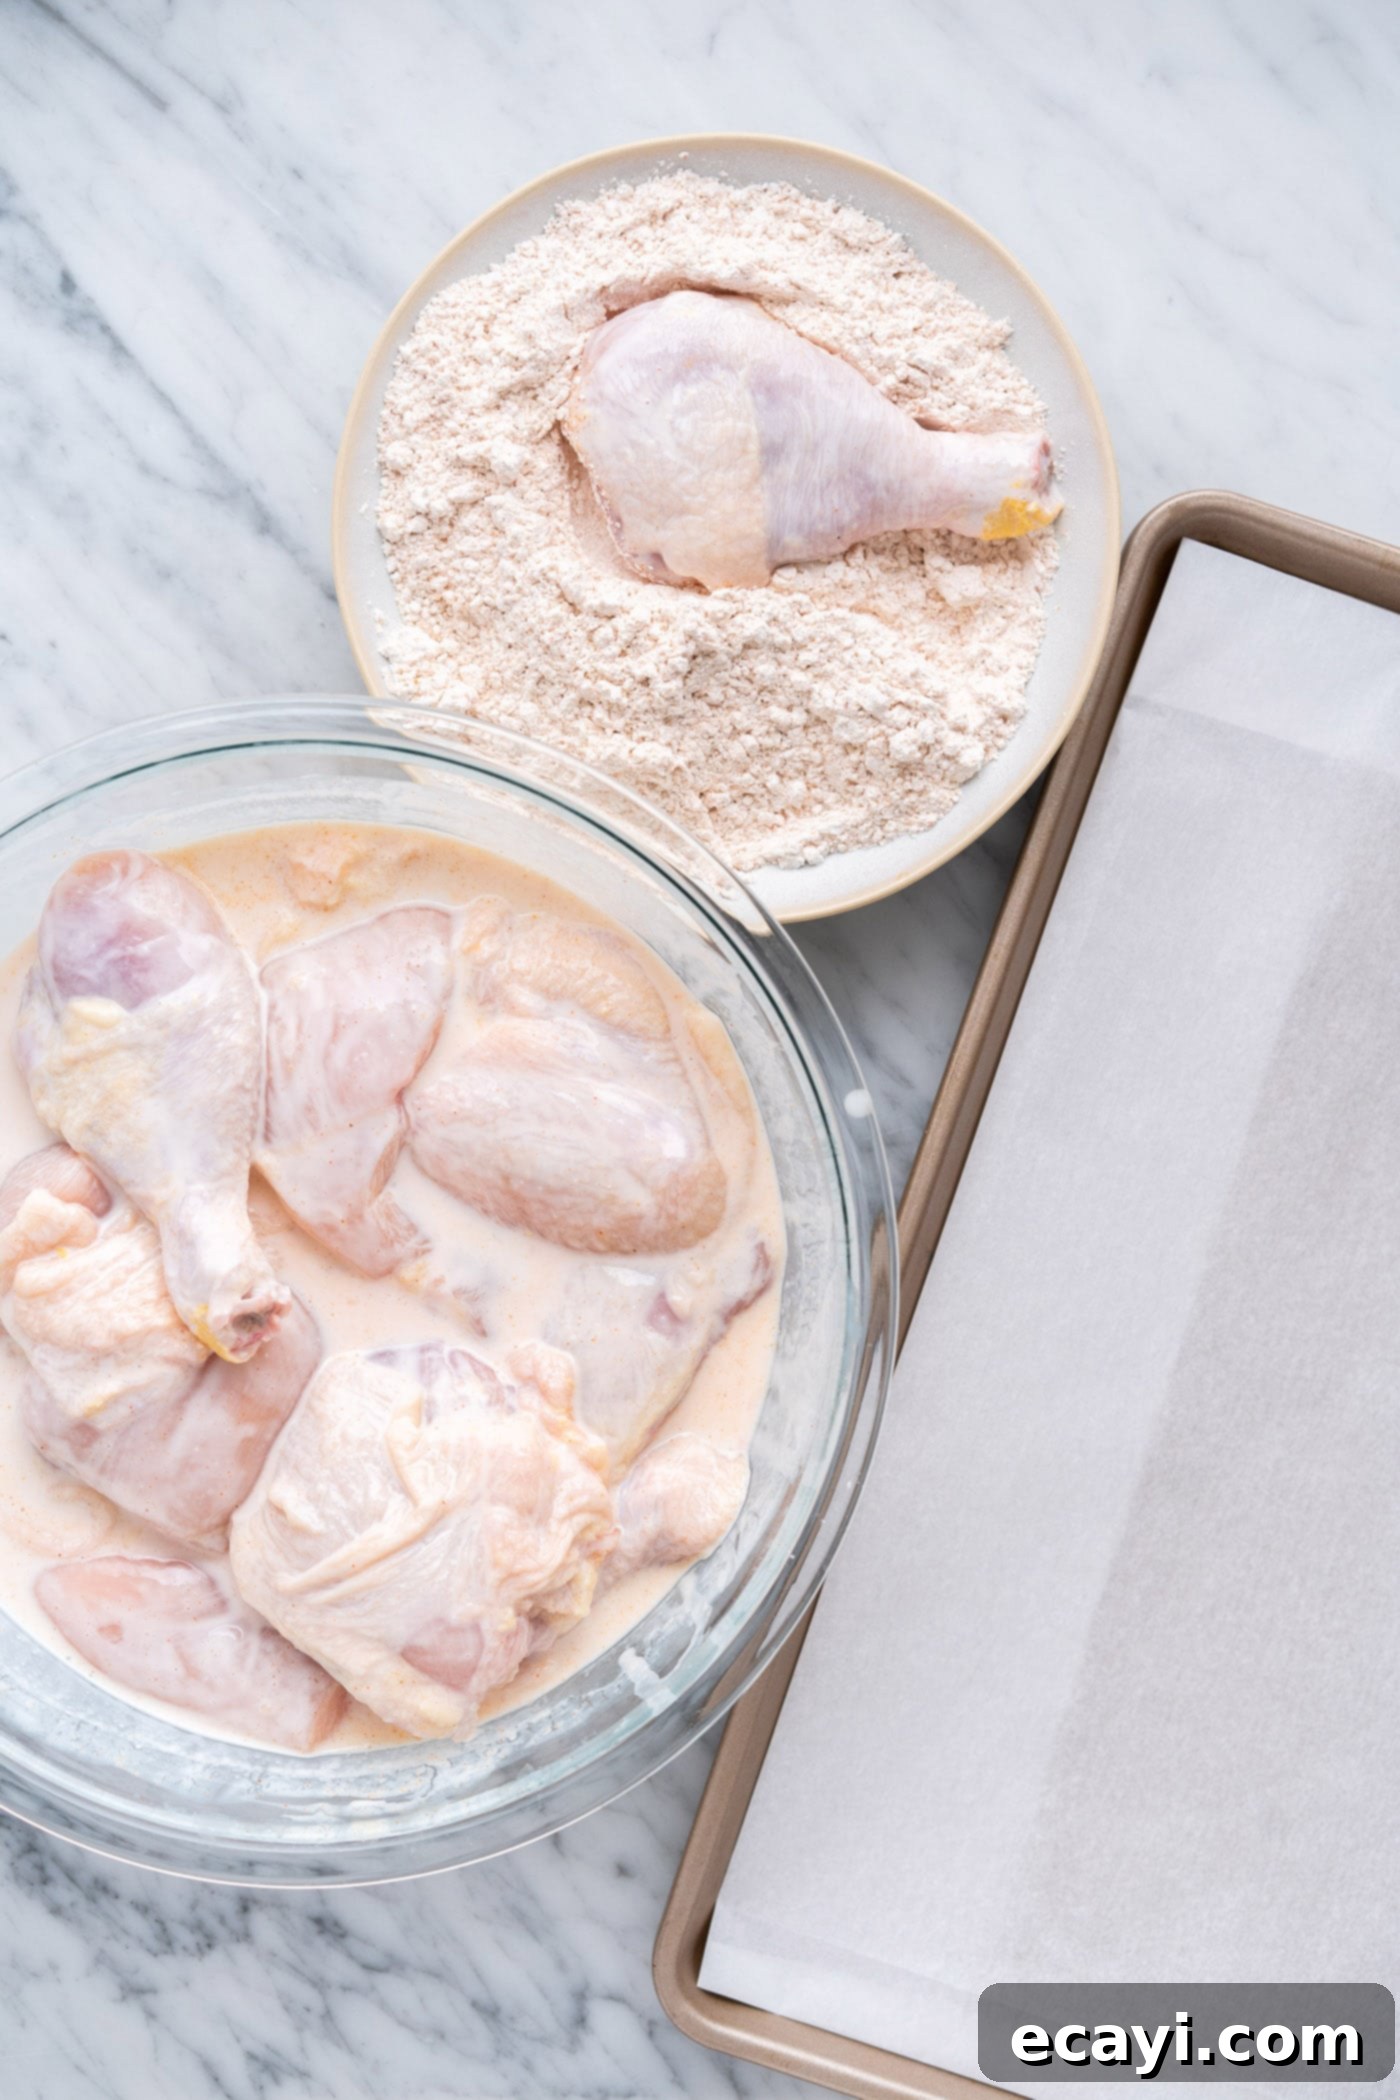
- Marinate the Chicken: In a large mixing bowl, combine the prepared chicken pieces with the buttermilk and seasoned salt. Toss thoroughly to ensure every piece of chicken is evenly coated in the marinade. The buttermilk will not only infuse flavor but also begin the tenderizing process.

- Refrigerate for Flavor: Cover the bowl tightly with plastic wrap and refrigerate the chicken for at least 1 hour. For maximum flavor and tenderness, allowing it to marinate for up to 24 hours is highly recommended. The longer the soak, the more flavorful and tender your chicken will be.
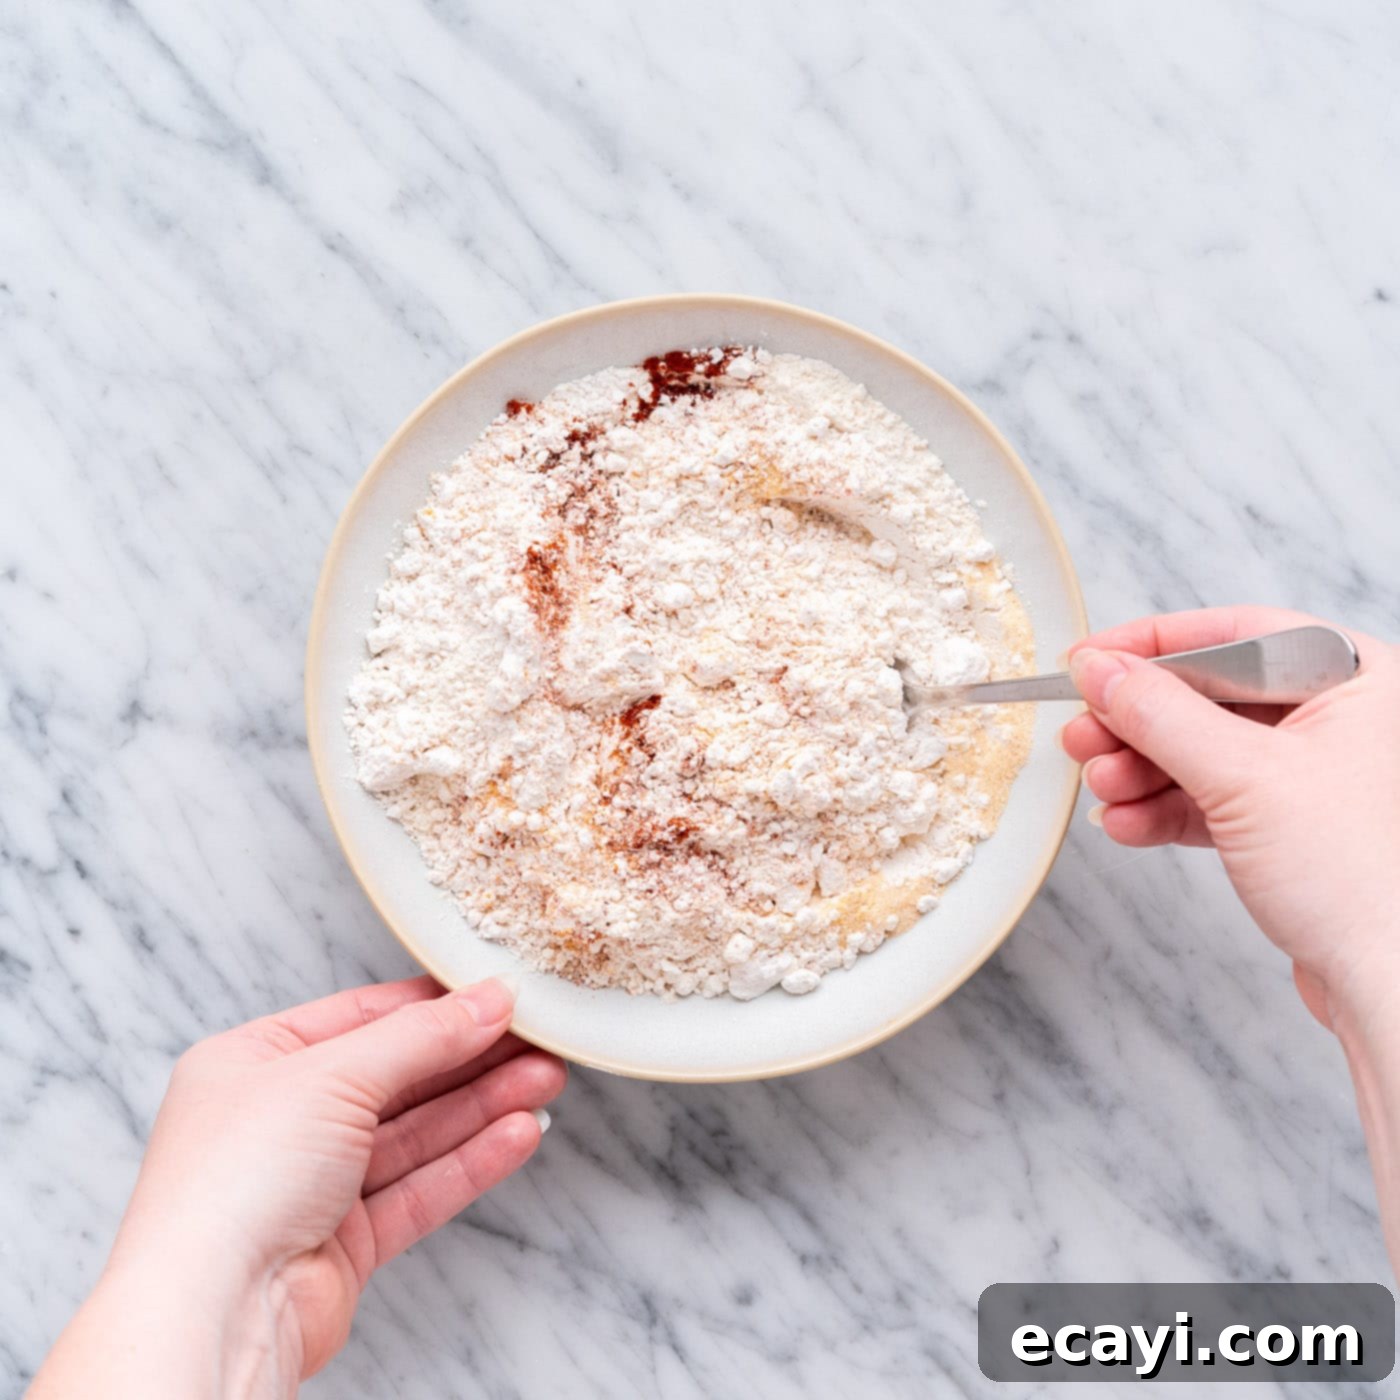
- Prepare the Seasoned Flour: Once the chicken has marinated, it’s time to prepare the flavorful coating. In a separate large, shallow bowl, whisk together all the ingredients for the seasoned flour until well combined. Ensure there are no lumps to guarantee an even coating.

- Dredge the Chicken: Remove one piece of chicken from the buttermilk marinade, allowing any excess liquid to drip off. Thoroughly dredge the chicken piece in the seasoned flour mixture, ensuring both sides are completely coated. Gently press the flour onto the chicken to help it adhere. Repeat this process for all chicken pieces, placing the coated chicken on a clean plate or baking sheet as you go. This step is critical for achieving a crispy crust.

- Preheat Air Fryer: Preheat your air fryer to 360°F (180°C). Preheating is essential for immediately crisping the exterior of the chicken when it enters the hot basket.
- Air Frying in Batches: Due to varying cook times and the importance of not overcrowding, you will cook the chicken in three separate batches: one for breasts, one for wings, and one for legs/thighs.
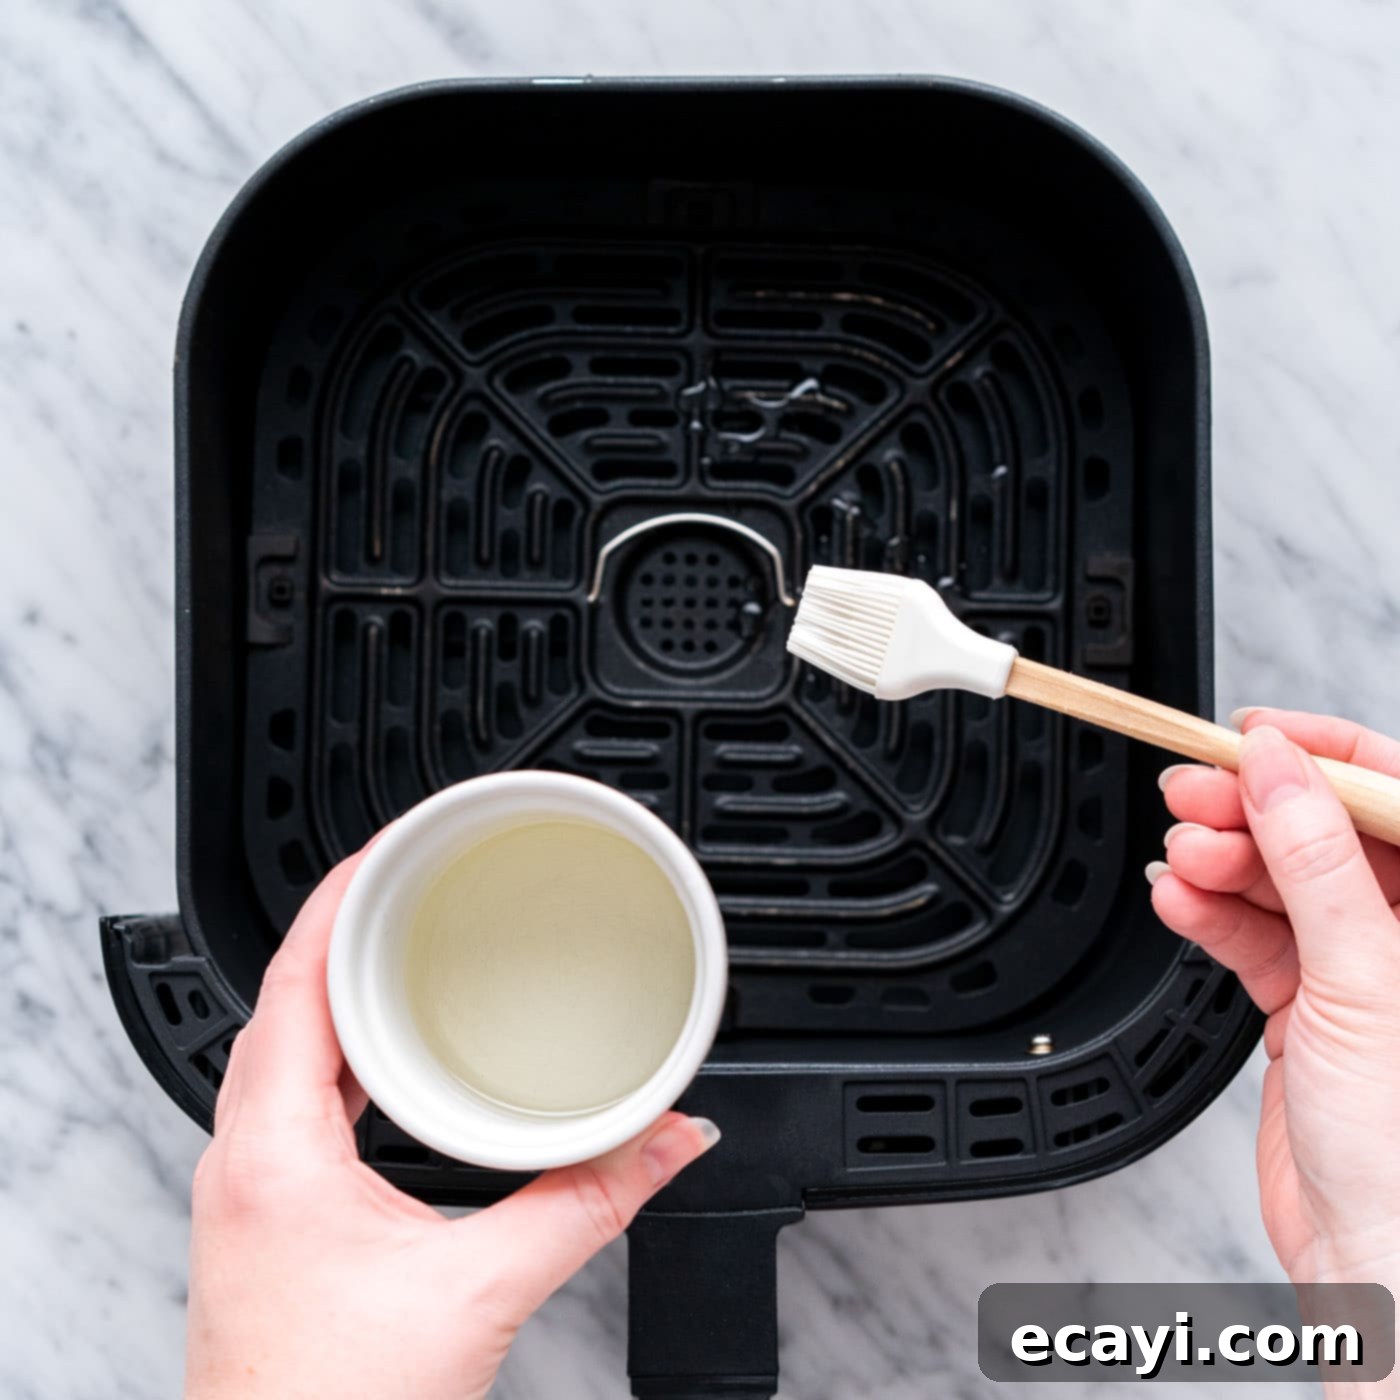
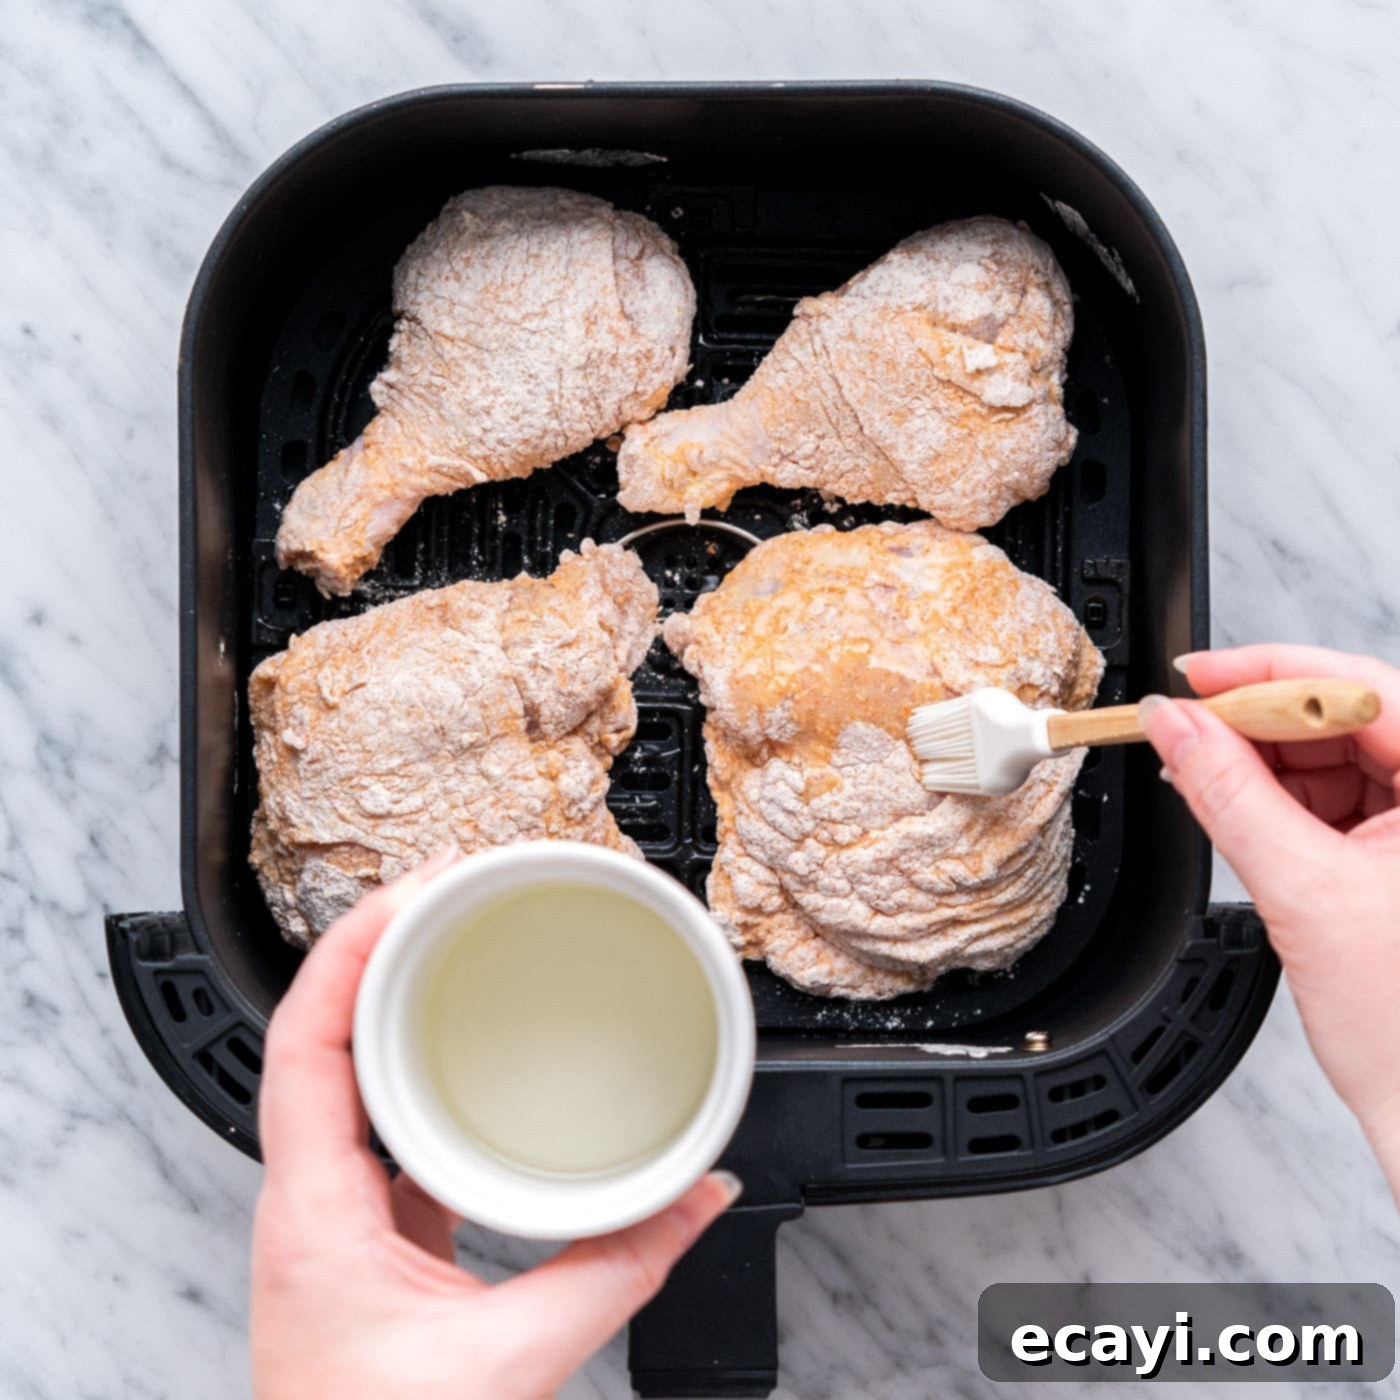
Before placing each batch into the air fryer, lightly brush the bottom of the air fryer basket with oil. More importantly, generously brush the top of each chicken piece with oil just before air frying. This oil is crucial for achieving that golden, crispy “fried” texture.

EXPERT TIP – While cooking, it’s perfectly fine to open the air fryer halfway through to check for any dry flour spots and brush them with a little more oil to ensure even browning. However, resist the urge to flip the chicken; keeping it undisturbed on one side helps develop a consistently crispy crust.


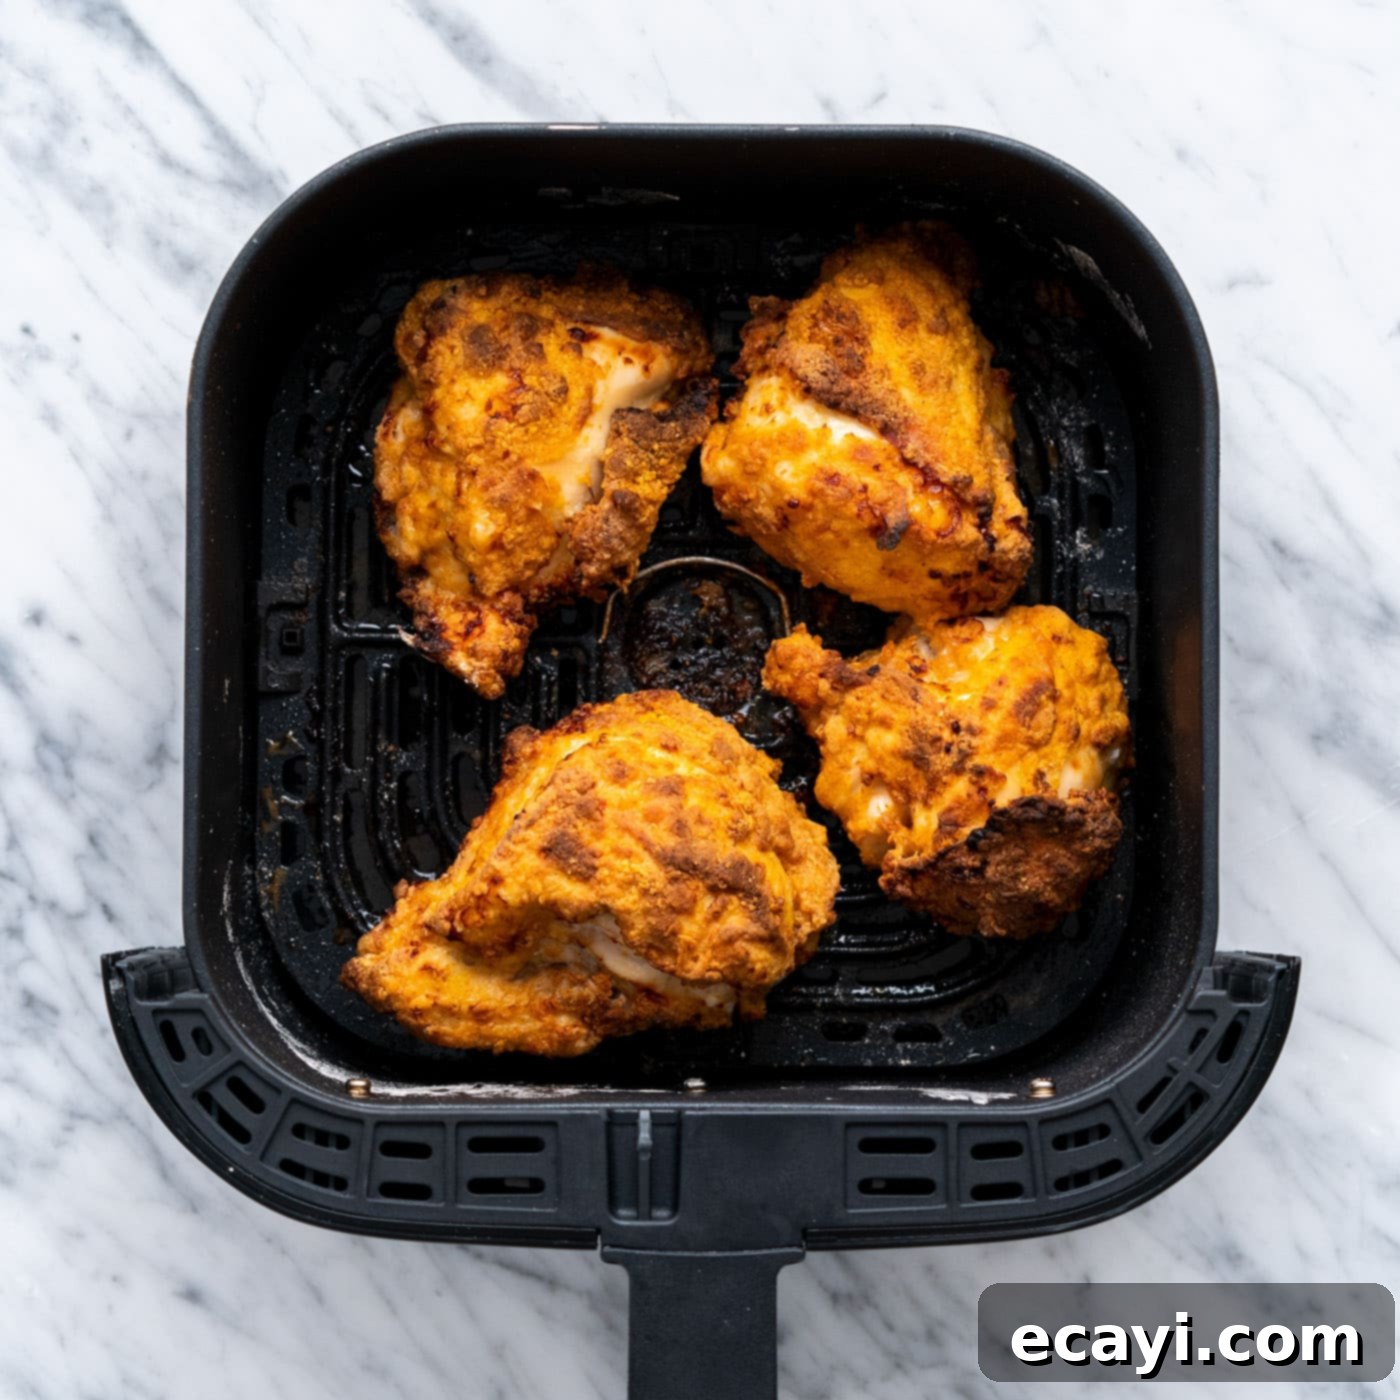
- Cooking Breasts: Air fry chicken breasts for 23 to 28 minutes, or until an internal temperature of 165°F (74°C) is reached.
- Cooking Wings: Air fry chicken wings for 15 to 18 minutes, until they reach an internal temperature of 165°F (74°C).
- Cooking Legs and Thighs: Air fry chicken legs and thighs for 25 to 30 minutes, until they reach an internal temperature of 175°F (80°C). Thighs and legs benefit from a slightly higher temperature for optimal texture and flavor.
Frequently Asked Questions & Expert Air Frying Tips
Absolutely not! While this recipe provides instructions for breaking down a whole chicken, it’s incredibly flexible. You can easily adapt it to your preferred cut of chicken – whether it’s just wings, thighs, or breasts. Simply prepare your chosen chicken pieces, dredge them in the buttermilk and seasoned flour mixture, and then air fry according to the specific cook times listed for each individual cut. This recipe acts as a versatile guide for perfectly air-fried chicken, no matter the cut.
Store any leftover air fryer fried chicken in an airtight container or wrapped tightly in aluminum foil. It will keep well in the refrigerator for 3-4 days. To reheat and restore its crispness, simply pop it back into the air fryer at 350°F (175°C) for 5-8 minutes, or until heated through and crispy again.
To ensure all your air fryer fried chicken is served warm, place the cooked pieces on a wire rack set over a baking tray. Then, transfer the tray to a preheated oven at a low temperature, around 200°F (95°C). This gentle heat will keep the chicken warm without further cooking it, maintaining its crispness until all batches are ready to serve.
The most reliable way to determine if your chicken is fully cooked is by using an instant-read meat thermometer. Insert the thermometer into the thickest part of the meat, making sure it doesn’t touch any bone. Chicken breast and wings are fully cooked when they reach an internal temperature of 165°F (74°C). For darker meats like thighs and legs, an internal temperature of 175°F (80°C) is recommended for optimal texture and tenderness.
Yes, for an extra crispy coating, you can double-dredge your chicken. After the initial dredge in seasoned flour, dip the chicken back into any remaining buttermilk (or a separate bowl of plain buttermilk/egg wash if preferred), then dredge a second time in the seasoned flour. This creates a thicker, more robust crust, perfect for those who love an extra-crispy bite.
Preheating your air fryer is crucial for achieving that desirable crispy crust. When the chicken goes into an already hot environment, the coating immediately starts to crisp up. If you place it in a cold air fryer, the chicken will cook more slowly and the coating might not get as crispy, potentially becoming soggy in places.
The key to avoiding a dry floury taste and ensuring a beautiful golden finish is to generously brush oil onto the dredged chicken pieces just before they go into the air fryer. This creates a barrier that fries the flour mixture, turning it into a crispy crust rather than a dry powder. Don’t be shy with the oil!
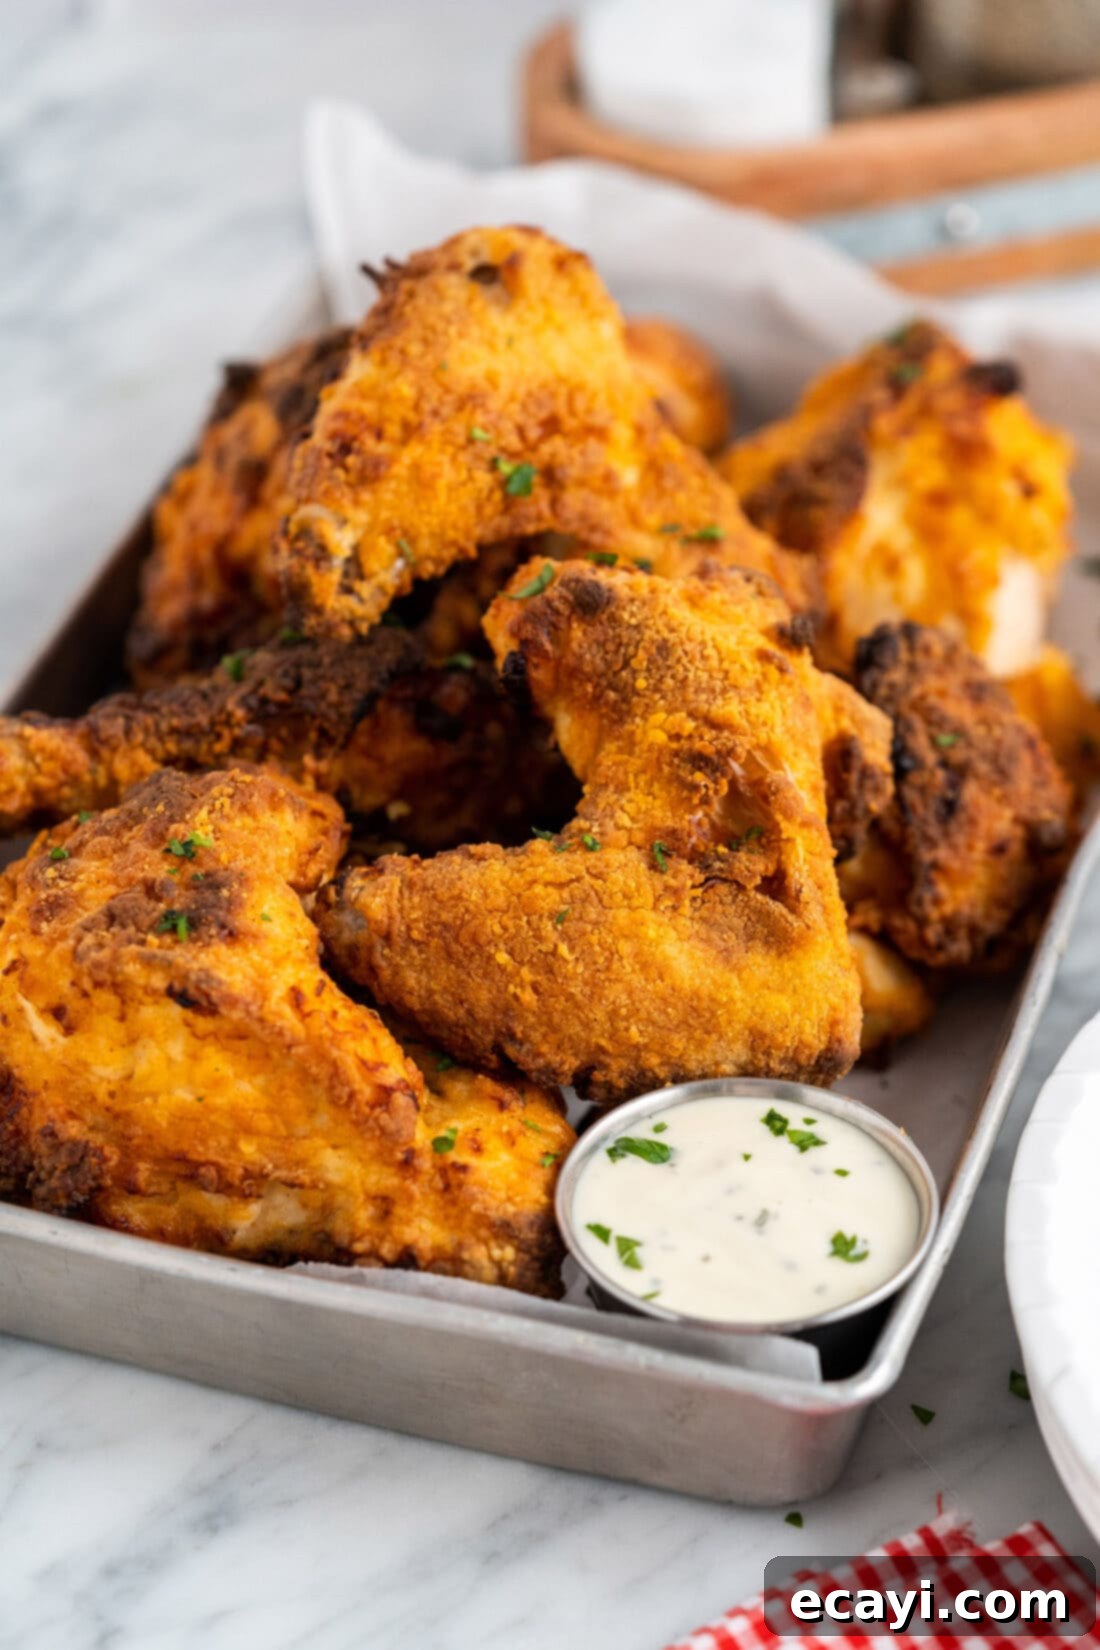
Delicious Serving Suggestions
Air fryer fried chicken is a versatile dish that pairs wonderfully with a wide array of sides. Whether you’re looking for classic comfort food pairings or something a bit lighter, this chicken is sure to be a hit. Don’t forget, the air fryer is fantastic for many other chicken variations, from chicken nuggets to kabobs, tenders, thighs, drumsticks, and more!
For a beautiful presentation, garnish your air fryer fried chicken with fresh minced parsley. Then, set out a selection of your favorite dipping sauces. Popular choices include classic ranch, tangy honey mustard, rich gravy, smoky barbecue sauce, or spicy buffalo sauce. For sides, nothing beats the timeless combination of french fries, creamy mac and cheese, fluffy biscuits, and a refreshing coleslaw. Other fantastic accompaniments include mashed potatoes, corn on the cob, green beans, potato salad, or even crispy sweet potato fries.
Explore More Air Fryer Delights
Once you discover the convenience and amazing results of air frying, you’ll want to use it for everything! Here are more delicious air fryer recipes to try:
- Air Fryer Pizza
- Air Fryer Shrimp
- Air Fryer Crab Cakes
- Air Fryer Fried Pickles
- Air Fryer Baked Potatoes
- Air Fryer Chicken Cordon Bleu
I love to bake and cook and share my kitchen experience with all of you! Remembering to come back each day can be tough, that’s why I offer a convenient newsletter every time a new recipe posts. Simply subscribe and start receiving your free daily recipes!

Air Fryer Fried Chicken
IMPORTANT – Don’t miss the Frequently Asked Questions and Expert Tips above for valuable insights and troubleshooting. Scroll up to read them!
Print It
Pin It
Rate It
Save ItSaved!
Ingredients
- 6 pound whole chicken or individual pieces as desired
- 6 Tablespoons vegetable oil for brushing onto the chicken
Buttermilk Marinade
- 2 cups buttermilk
- 1 ½ teaspoons seasoned salt
Seasoned Flour
- 2 cups all-purpose flour
- 1 ½ Tablespoons seasoned salt
- ½ Tablespoon garlic powder
- ½ Tablespoon onion powder
- ½ Tablespoon paprika
Things You’ll Need
-
Air fryer
-
Large mixing bowl
Before You Begin
- Because you’ll be cooking the chicken in multiple batches, it’s crucial to wait to brush oil on each batch of chicken until right before you place it into the air fryer. This ensures maximum crispness. Be sure to generously brush oil over the entire surface of the chicken pieces so that no dry flour spots are visible.
- You can easily substitute vegetable oil with other neutral-flavored oils with high smoke points, such as avocado oil or canola oil.
- To Keep the Chicken Warm: As you finish cooking each batch, transfer the air-fried chicken to a wire rack set over a baking tray. Place this tray in a preheated oven at a low temperature of 200°F (95°C) to keep the chicken warm and crispy until all pieces are cooked and ready to serve.
- The most important tip for cooking in the air fryer is to NEVER overcrowd the basket. Air fryers work by circulating hot air around the food. If the basket is too full, air cannot circulate properly, leading to uneven cooking and steaming instead of frying. Cook in batches if necessary, allowing enough space between each piece of chicken.
- For an even crispier coating, consider double-dredging the chicken pieces. After the first dip in flour, dip them back into the buttermilk marinade (or a separate egg wash), then back into the flour mixture before air frying.
Instructions
-
If using a whole chicken, cut it into 10 pieces: 2 wings, 2 legs, 2 thighs, and 4 breast pieces (each breast cut in half).
-
In a large bowl, combine the chicken pieces with buttermilk and 1½ tsp seasoned salt. Toss to coat thoroughly.
-
Cover the bowl with plastic wrap and refrigerate for at least 1 hour, or up to 24 hours, to marinate.
-
After marinating, prepare the seasoned flour: In a large, shallow bowl, combine 2 cups all-purpose flour, 1½ Tablespoons seasoned salt, ½ Tablespoon garlic powder, ½ Tablespoon onion powder, and ½ Tablespoon paprika. Whisk well.
-
Remove one chicken piece from the marinade, letting excess drip off. Dredge completely in the seasoned flour mixture, pressing to coat. Repeat for all chicken pieces.
-
Preheat your air fryer to 360°F (180°C).
-
Cook chicken in 3 batches (breasts, wings, legs/thighs) to avoid overcrowding. Lightly brush the air fryer basket with oil. Just before air frying each batch, generously brush the top of the chicken pieces with oil, ensuring no dry flour spots. Do not flip during cooking.
For Breasts
-
Air fry for 23 to 28 minutes, until an internal temperature of 165°F (74°C) is reached.
For Wings
-
Air fry for 15 to 18 minutes, until an internal temperature of 165°F (74°C) is reached.
For Thighs/Legs
-
Air fry for 25 to 30 minutes, until an internal temperature of 175°F (80°C) is reached.
Nutrition
Calories: 477cal |
Carbohydrates: 22g |
Protein: 29g |
Fat: 30g |
Saturated Fat: 8g |
Polyunsaturated Fat: 9g |
Monounsaturated Fat: 10g |
Trans Fat: 1g |
Cholesterol: 103mg |
Sodium: 1538mg |
Potassium: 355mg |
Fiber: 1g |
Sugar: 2g |
Vitamin A: 434IU |
Vitamin C: 2mg |
Calcium: 77mg |
Iron: 2mg
The recipes on this blog are tested with a conventional gas oven and gas stovetop. It’s important to note that some ovens, especially as they age, can cook and bake inconsistently. Using an inexpensive oven thermometer can assure you that your oven is truly heating to the proper temperature. If you use a toaster oven or countertop oven, please keep in mind that they may not distribute heat the same as a conventional full sized oven and you may need to adjust your cooking/baking times. In the case of recipes made with a pressure cooker, air fryer, slow cooker, or other appliance, a link to the appliances we use is listed within each respective recipe. For baking recipes where measurements are given by weight, please note that results may not be the same if cups are used instead, and we can’t guarantee success with that method.
