Crispy Air Fryer Coconut Shrimp: An Easy, Healthy & Delicious Seafood Delight
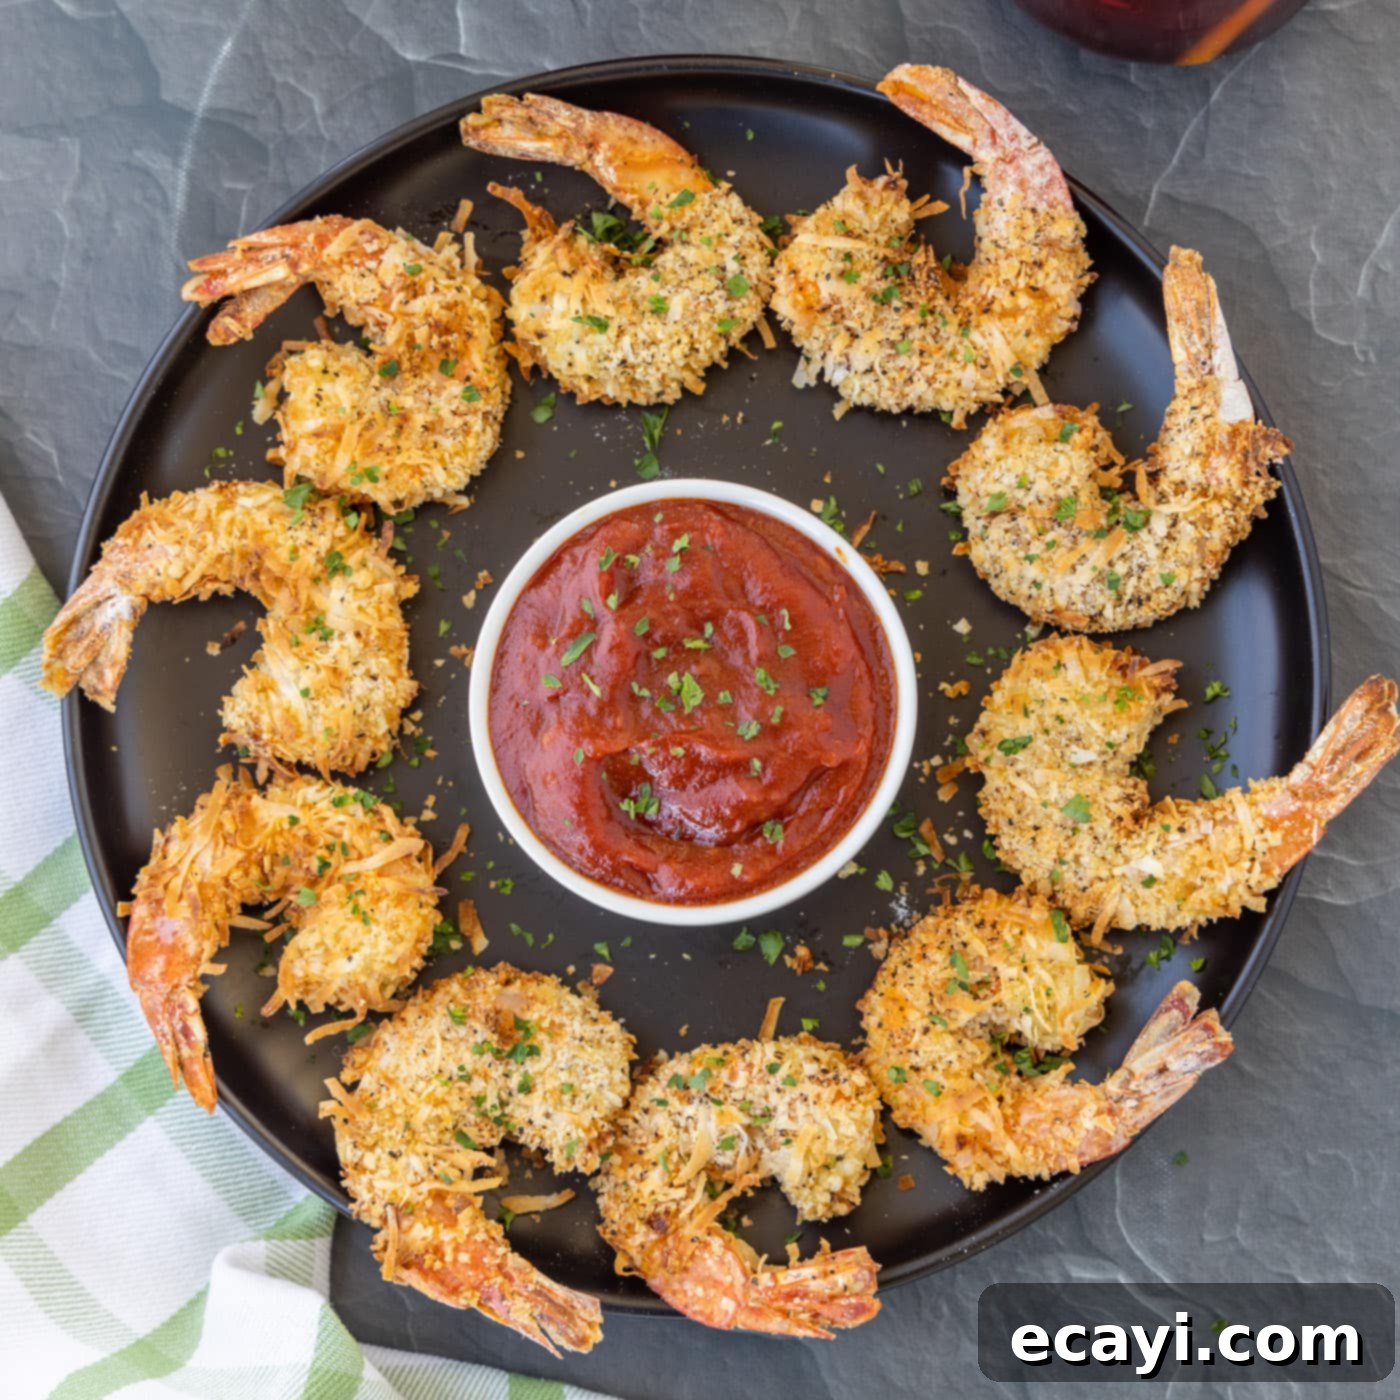
Prepare to revolutionize your seafood game with the ultimate crispy air fryer coconut shrimp! This recipe offers a quick, effortless, and remarkably healthier alternative to traditional deep-frying, eliminating the need for excessive oil and minimizing cleanup. In just about 11 minutes of air frying, you can transform simple breadcrumb and coconut-coated shrimp into golden-brown, irresistibly crunchy bites that are perfect for any occasion. Whether you’re seeking a stellar appetizer or a light main course, these air-fried gems deliver on flavor, texture, and convenience.
Why This Air Fryer Coconut Shrimp Recipe Is a Game-Changer
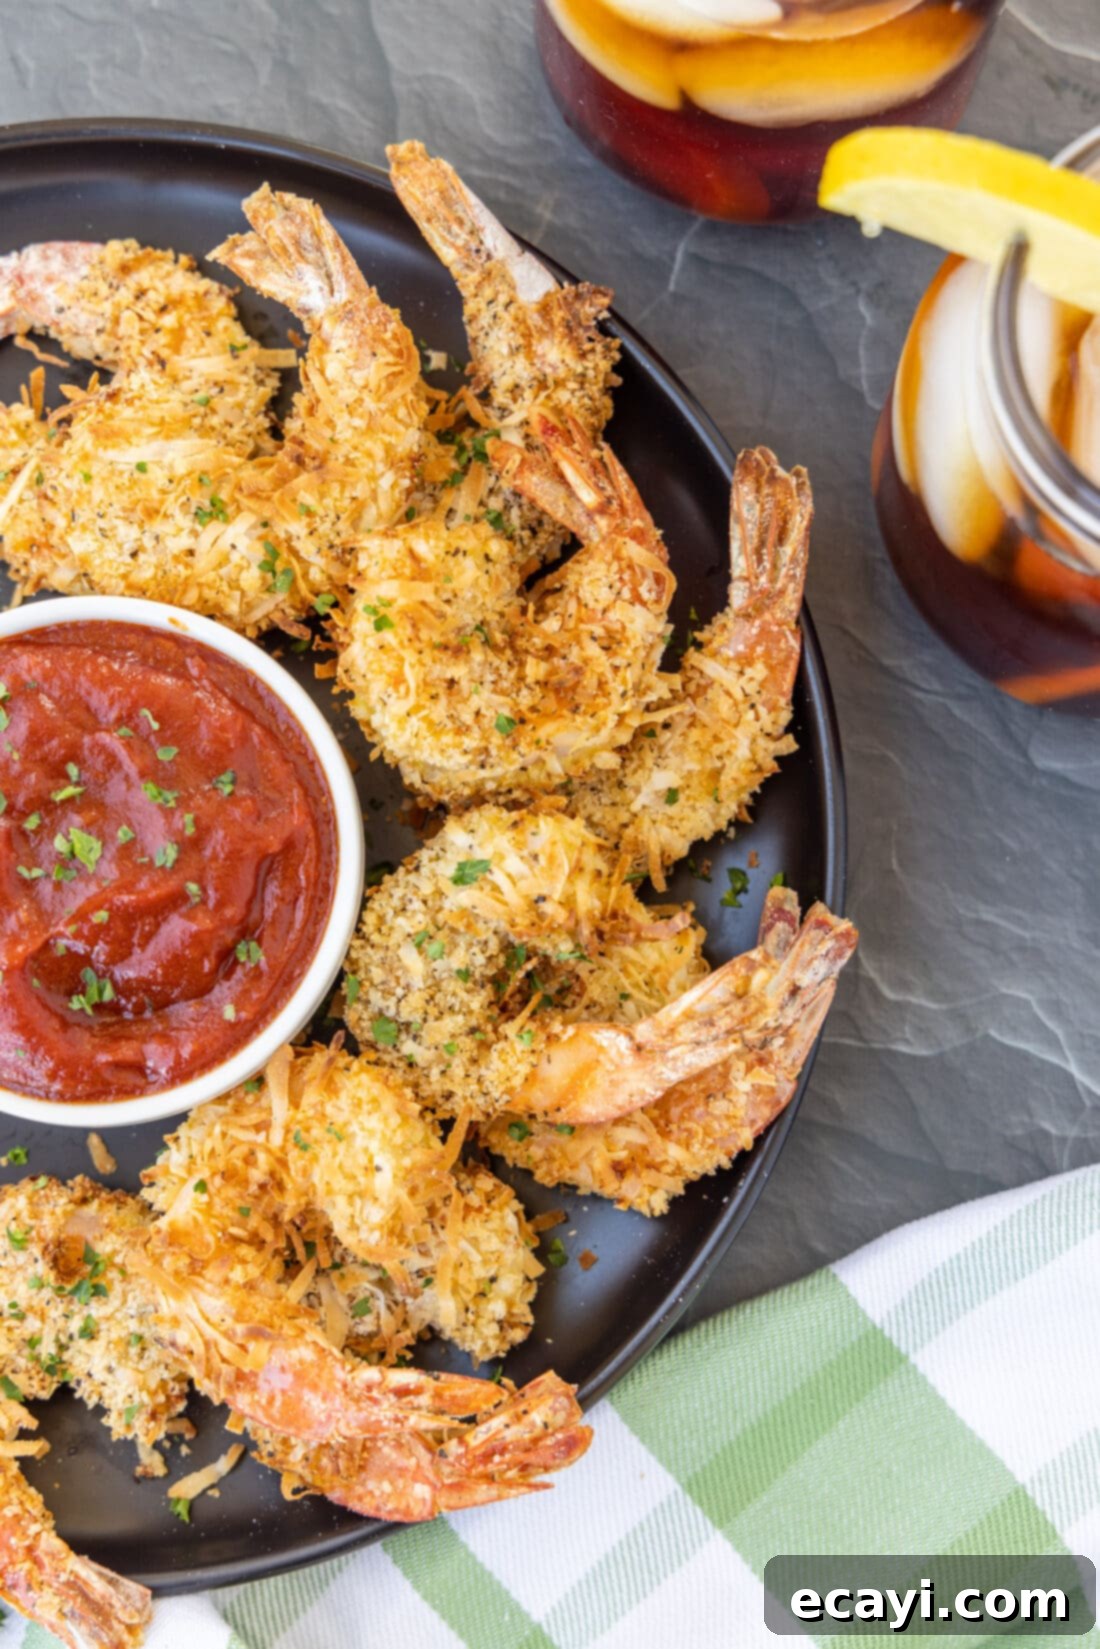
This crispy air fryer coconut shrimp recipe truly outshines deep-frying methods in every aspect. Beyond just being a healthier option, it drastically cuts down on cleanup time, making it a dream for busy home cooks. Say goodbye to messy grease splatters, lingering oil smells, and the heavy feeling that often accompanies deep-fried foods. With the air fryer, you achieve that coveted golden, crunchy perfection without the high amounts of saturated fats. It’s a win-win: guilt-free indulgence with all the flavor!
Many people are already impressed with how delicious air fryer shrimp can be, but adding the dynamic duo of panko breadcrumbs and sweetened shredded coconut elevates this dish to an entirely new level. The combination creates a textural contrast that is simply divine—a crisp exterior yielding to tender, juicy shrimp within. The subtle sweetness from the coconut perfectly complements the savory shrimp, adding layers of flavor you might not have realized were missing from your traditional shrimp preparations. This recipe doesn’t just work; it excels, proving that air frying is the superior method for achieving restaurant-quality results in your own kitchen.
Essential Ingredients for Irresistible Air Fryer Coconut Shrimp
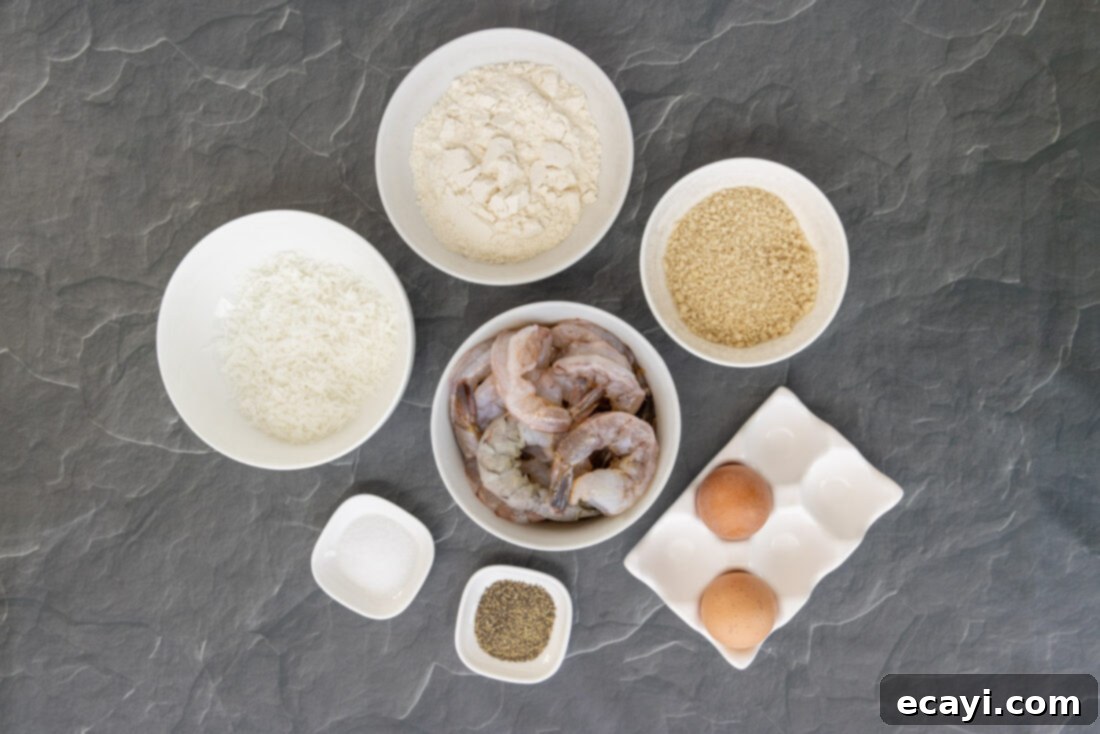
Crafting these perfectly crispy coconut shrimp requires a handful of simple, readily available ingredients. You’ll find a complete list of all measurements and detailed instructions in the printable recipe card located at the end of this post. For now, let’s dive into the core components that make this dish so special.
Ingredient Breakdown & Smart Substitution Suggestions
Understanding each ingredient’s role and knowing possible substitutions can help you tailor this recipe to your pantry and preferences, ensuring delicious results every time.
- SHRIMP: For the best presentation and ease of handling, we highly recommend using “grilling shrimp” due to its generous size. These are often found in the meat or seafood department’s butcher case. Alternatively, large or extra-large bagged shrimp (already peeled and deveined) work beautifully. If using frozen shrimp, remember to thaw them completely and pat them very dry before proceeding to ensure the coating adheres properly. Keeping the tails on the shrimp not only enhances their visual appeal but also provides a convenient “handle” for dipping and eating, although this is entirely optional for those who prefer tail-off.
- ALL-PURPOSE FLOUR: The initial dredge in flour creates a dry surface that helps the egg wash stick, forming a crucial base for the breading. For a gluten-free option, you can easily substitute with a gluten-free all-purpose flour blend or even cornstarch for a slightly crispier result.
- SWEETENED COCONUT FLAKES: These provide the signature tropical flavor and contribute to the crispy, golden texture. Ensure you use sweetened flakes, as they add a delightful contrast to the savory shrimp. Unsweetened coconut flakes can be used if you prefer less sweetness, but you might want to add a pinch of sugar to the breading mixture.
- PANKO BREADCRUMBS: Panko is the secret to ultimate crispiness! Its airy, flaky texture creates a much crunchier coating than regular breadcrumbs. While regular breadcrumbs can be used in a pinch, panko is highly recommended for that signature “crisp.” For a gluten-free version, look for gluten-free panko breadcrumbs.
- EGGS: Whisked eggs form the “glue” that binds the flour to the coconut-breadcrumb mixture. A tablespoon of water helps loosen the eggs, making for an easier, more even coating.
- SALT & BLACK PEPPER: These basic seasonings enhance the overall flavor profile of the shrimp and the coating. Feel free to adjust the quantities to your taste, or even add other spices like a pinch of cayenne for a subtle kick, garlic powder, or onion powder.
- COOKING SPRAY: A light spray of cooking oil is essential for helping the coconut-panko coating achieve that perfect golden-brown color and extra crispness in the air fryer. Olive oil, avocado oil, or even a neutral vegetable oil spray will work.
Step-by-Step Guide: How to Master Air Fryer Coconut Shrimp
These step-by-step photos and detailed instructions are designed to help you visualize each stage of making this incredibly delicious recipe. For the printable version, complete with precise measurements and comprehensive instructions, you can effortlessly Jump to Recipe at the bottom of this post.
- Prepare the Shrimp: Begin by thoroughly rinsing your shrimp under cold water. This helps remove any impurities. Crucially, pat the shrimp completely dry with paper towels. Excess moisture can prevent the coating from adhering properly, leading to a less crispy result.
- Create the Coconut-Panko Coating: In a large, shallow bowl or dish, combine the sweetened coconut flakes, panko breadcrumbs, black pepper, and salt. Use a fork or whisk to toss everything together until the ingredients are uniformly distributed. This mixture will be the flavorful, crunchy exterior of your shrimp.
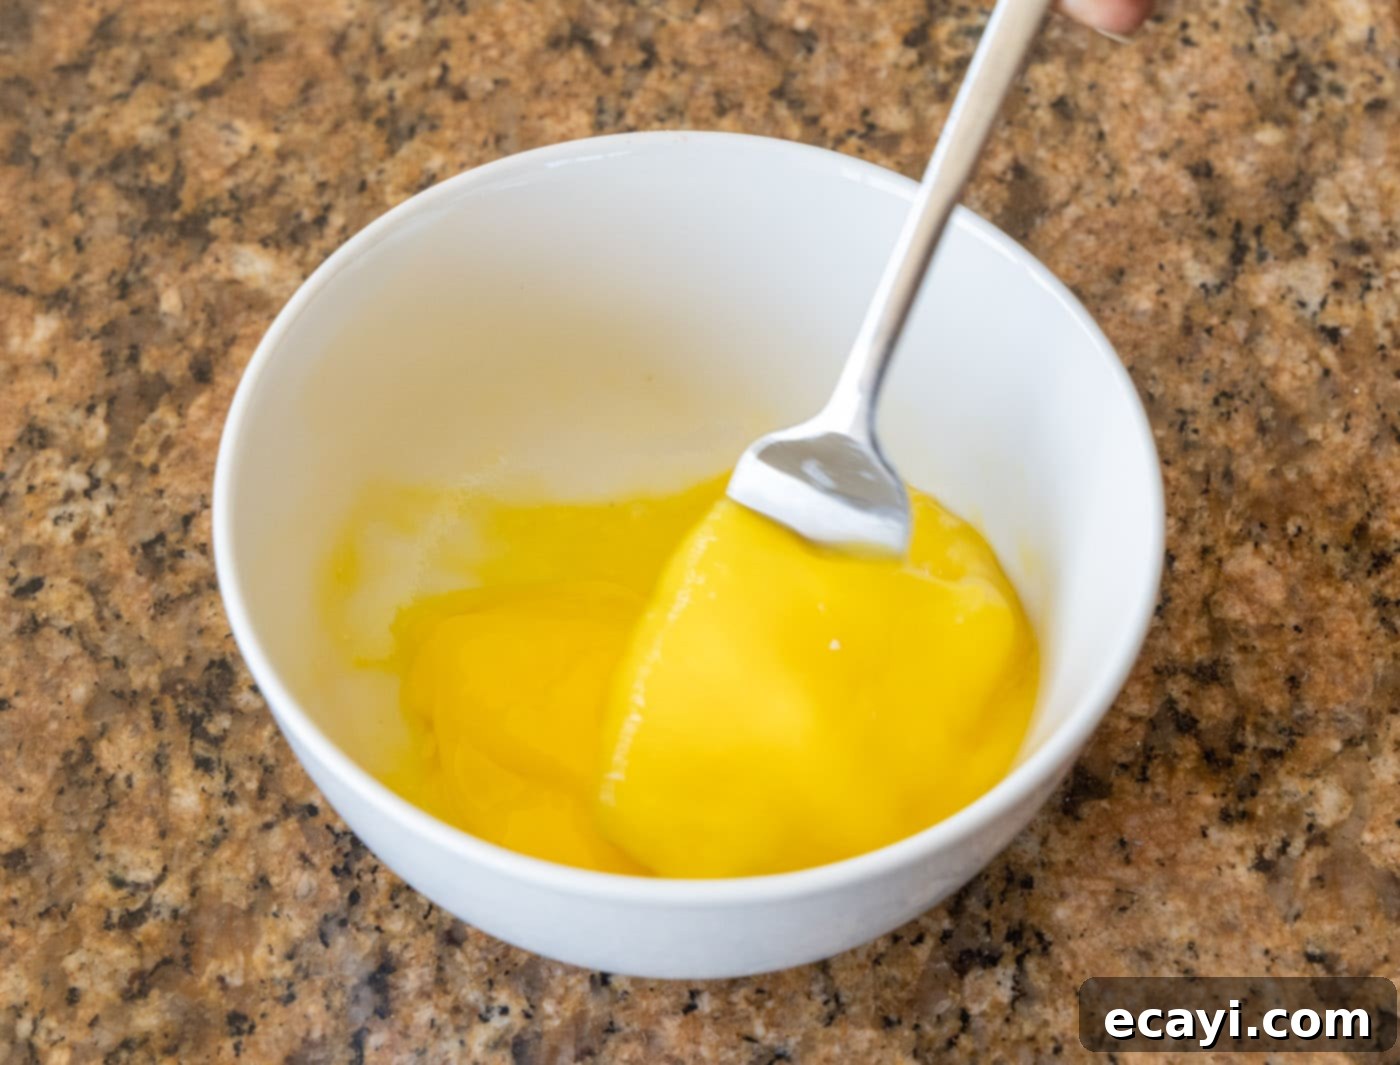
- Prepare the Egg Wash: In a separate medium bowl, whisk the eggs. Add about a tablespoon of water (or just enough to slightly thin the egg mixture) to make it easier to coat the shrimp evenly. This egg wash acts as the crucial binder for your breading.

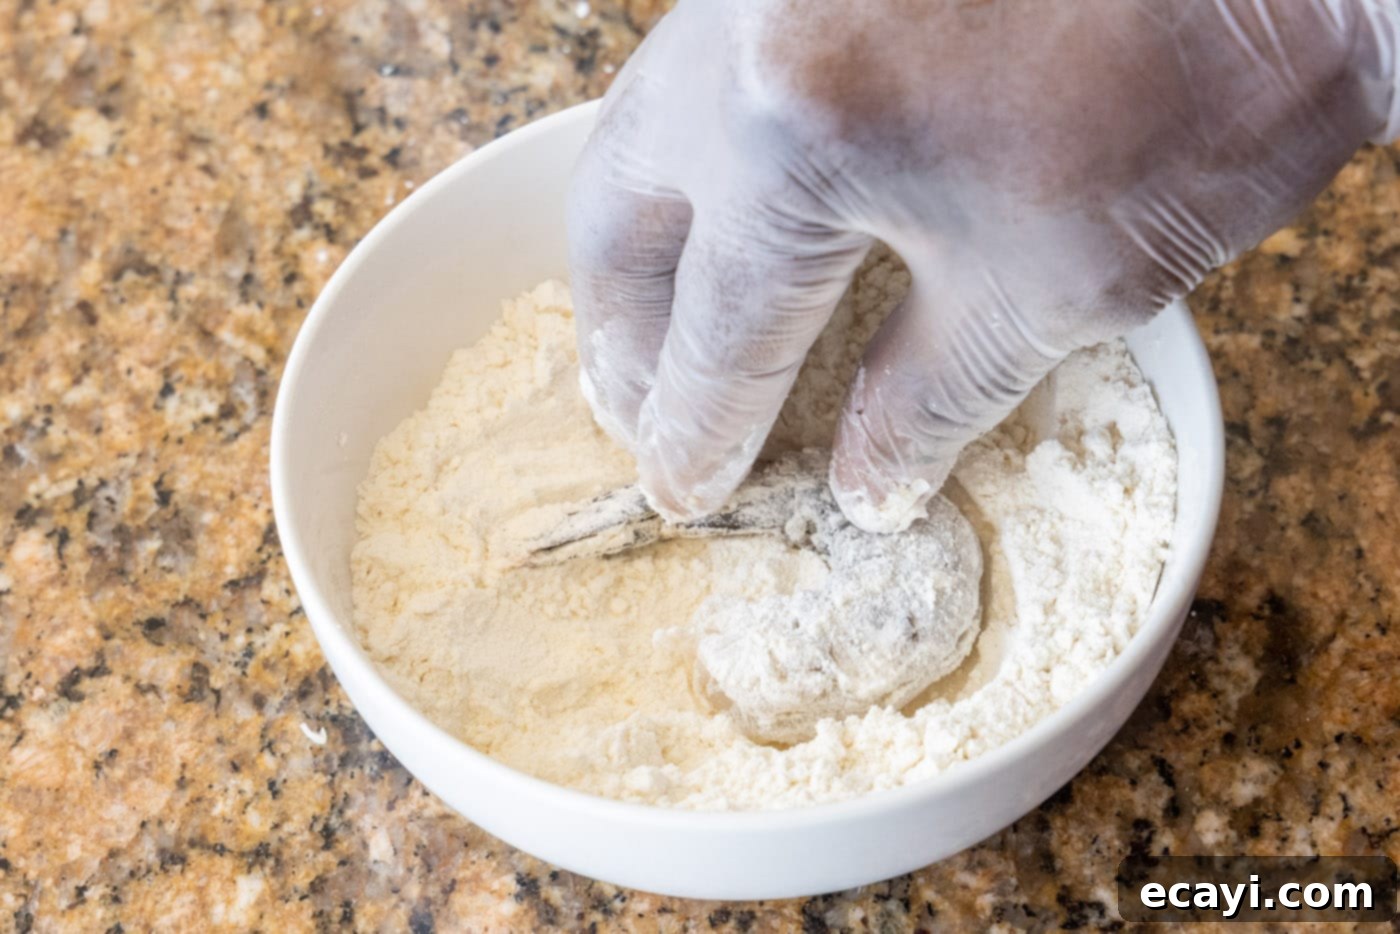
- Dredge in Flour: Set up a dredging station: flour in one shallow dish, egg wash in another, and the coconut-panko mixture in a third. Take each shrimp, one at a time, and dredge it in the all-purpose flour, ensuring it’s fully coated. Gently shake off any excess flour to avoid a gummy texture.

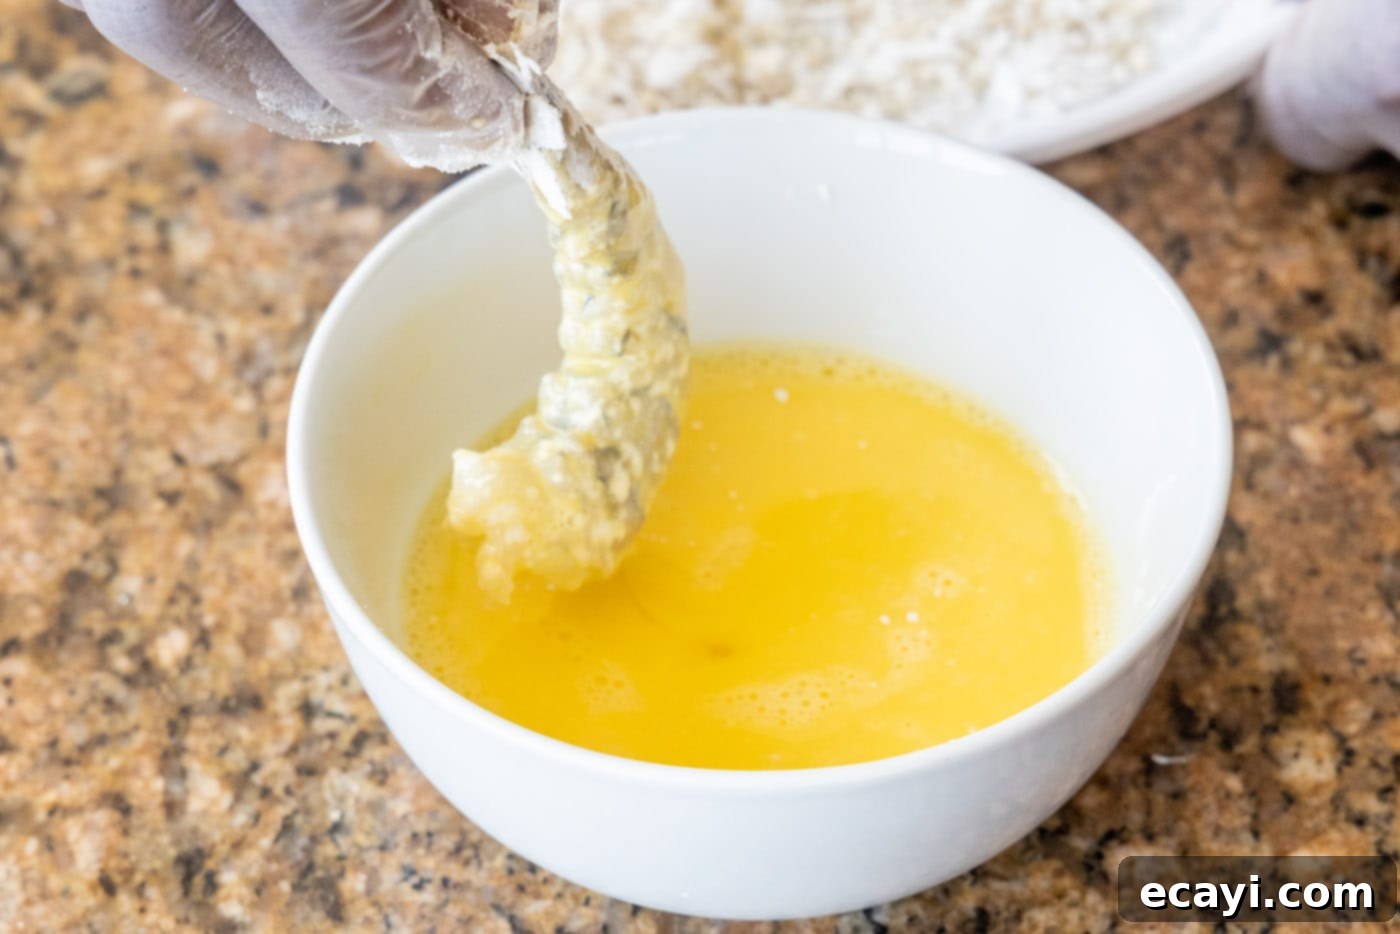
- Dip in Egg Wash: Next, dip the floured shrimp into the whisked egg mixture. Lift the shrimp, allowing any excess egg to drip back into the bowl. This ensures a thin, even layer for the final coating.

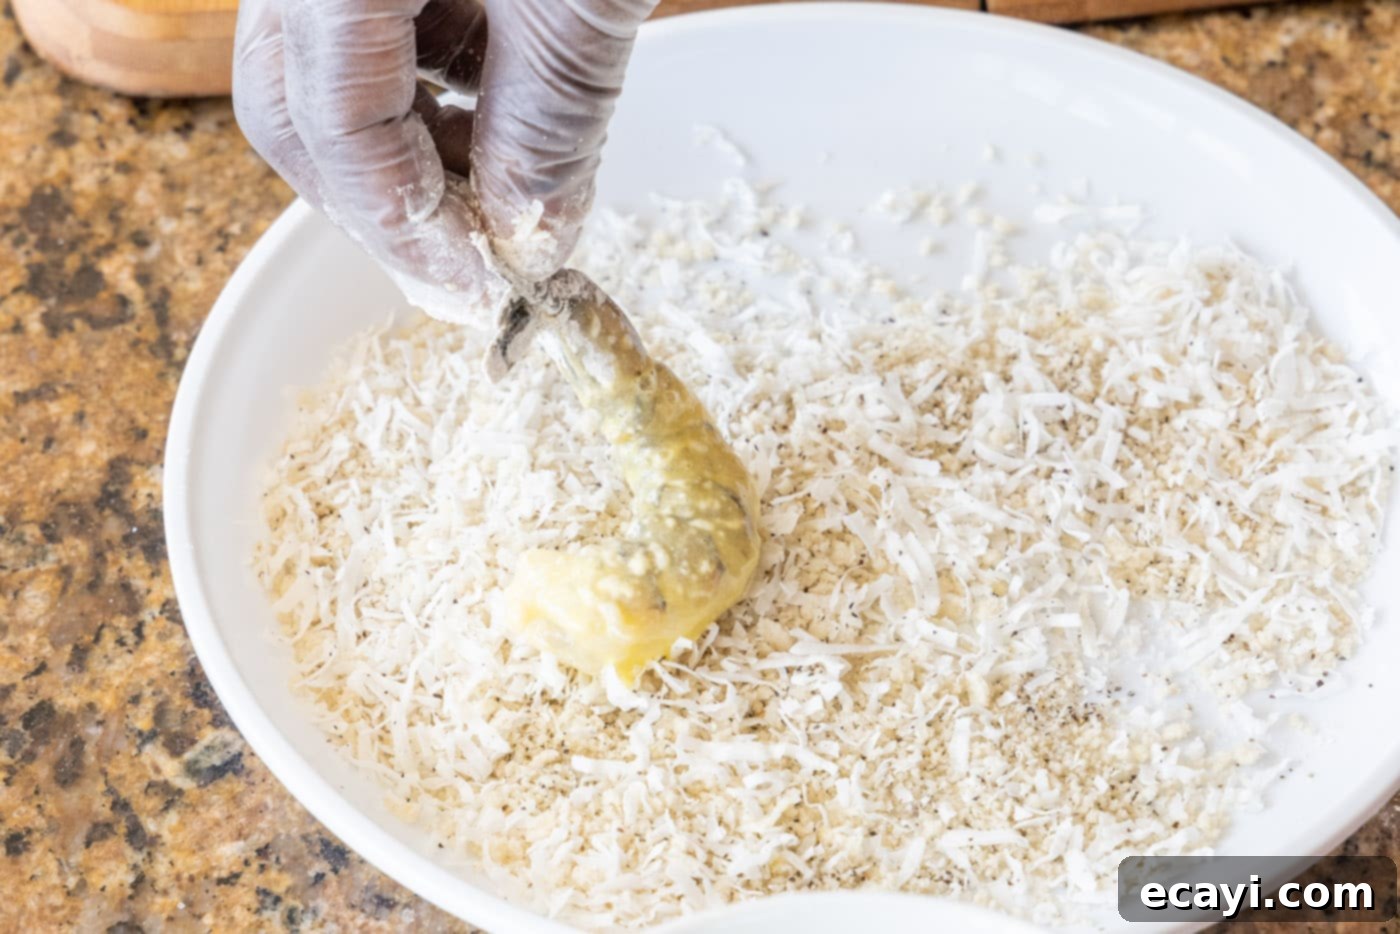
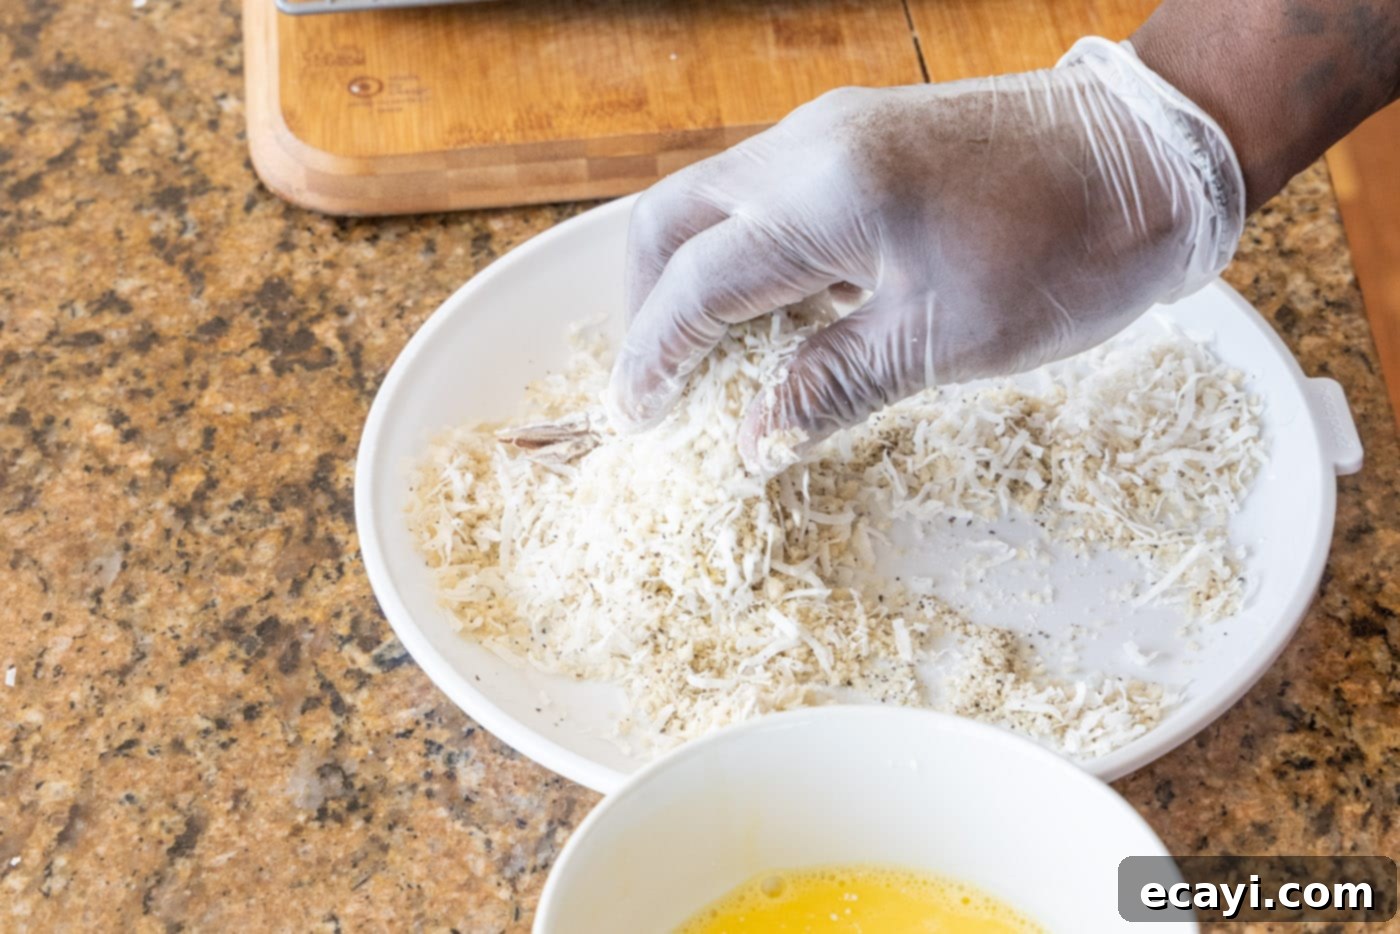
- Coat with Coconut-Panko: Immediately transfer the egg-dipped shrimp to the coconut-panko mixture. Gently press the mixture onto all sides of the shrimp to ensure a thick, even coating. The goal is for the shrimp to be entirely covered in the crispy, flavorful blend.


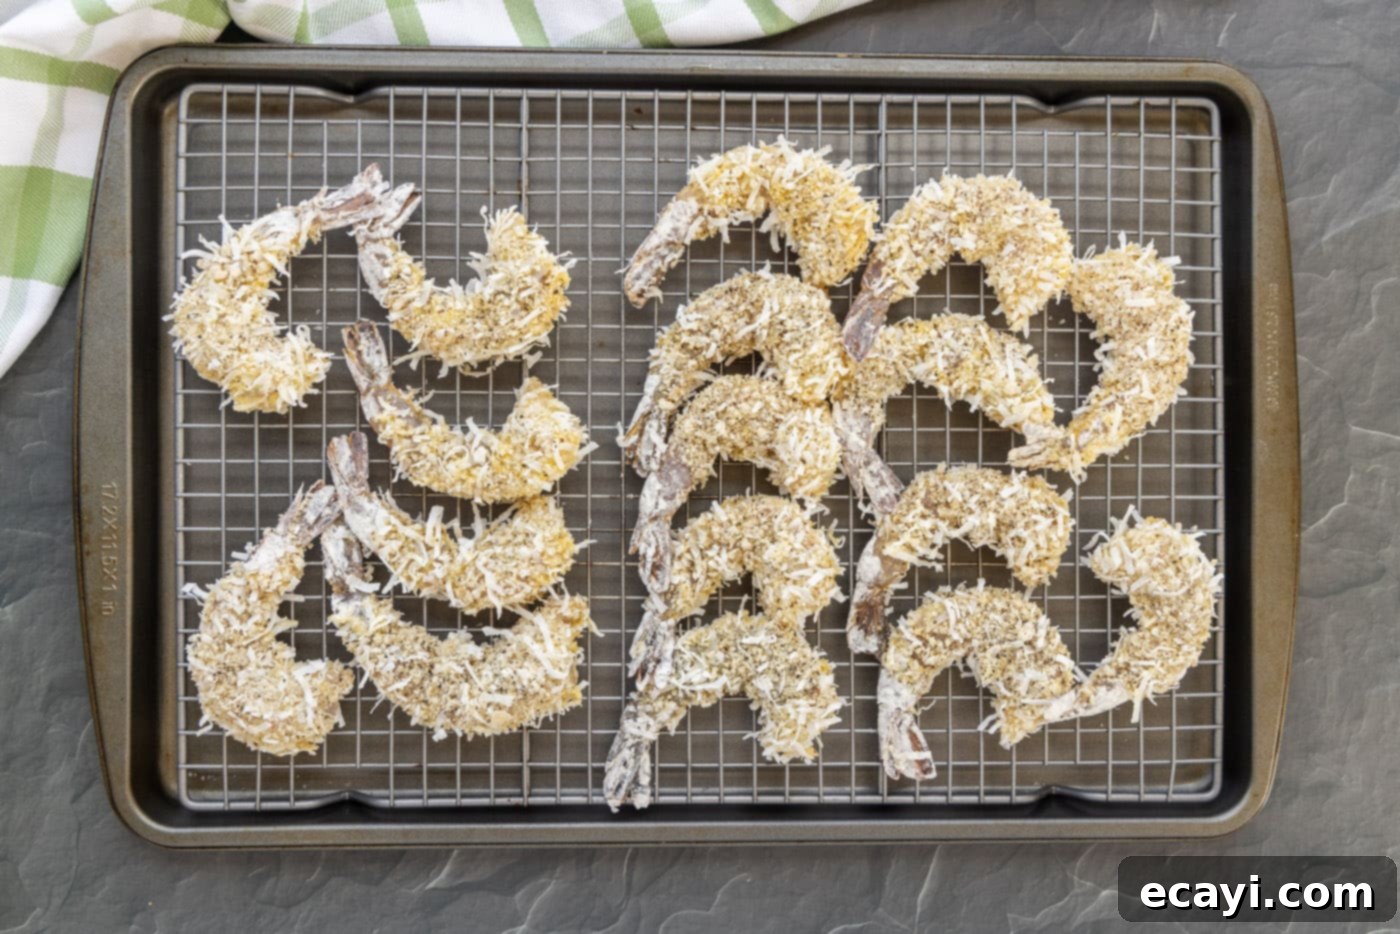
- Arrange on a Wire Rack: Place the fully breaded shrimp on a wire rack set over a baking sheet. This allows for air circulation and prevents the bottom of the coating from becoming soggy. Repeat the entire breading process for all remaining shrimp.

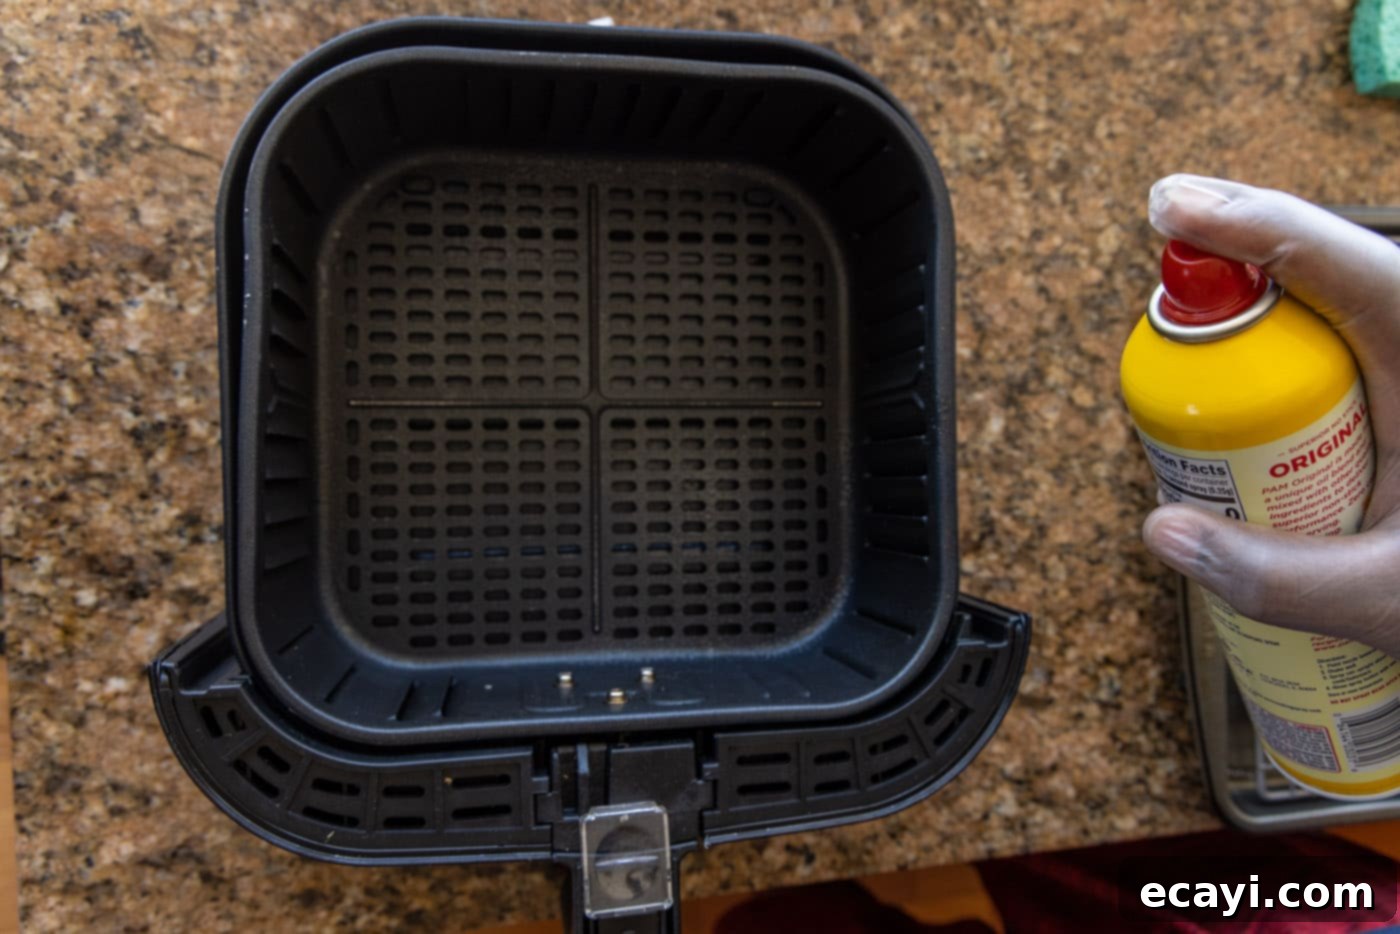
- Preheat Air Fryer: Preheat your air fryer to 360°F (180°C). While it’s preheating, lightly spray the inside of your air fryer basket with cooking spray. This prevents sticking and promotes even browning.

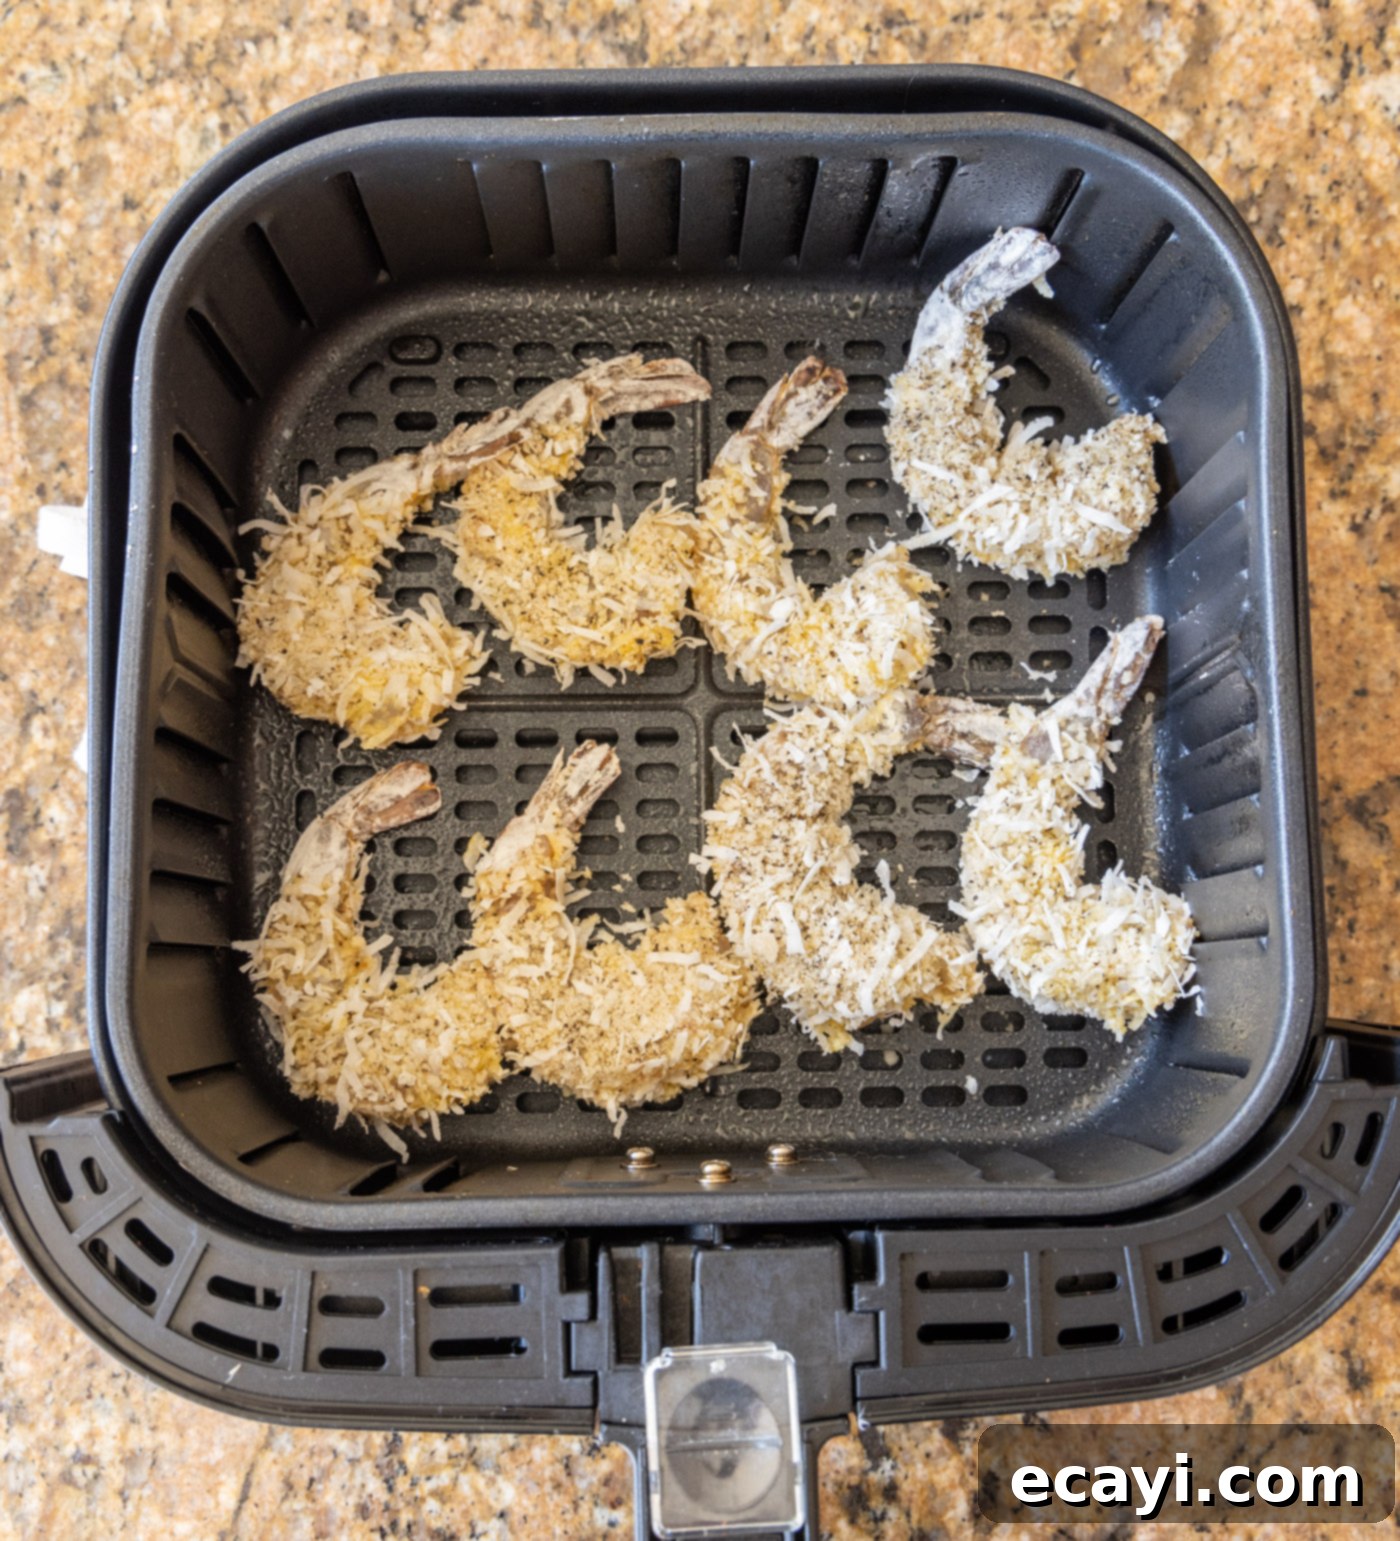
- Air Fry in Batches: Carefully arrange the breaded shrimp in a single layer within the air fryer basket. It is crucial not to overcrowd the basket, as this will prevent proper air circulation and result in soggy, rather than crispy, shrimp. You will likely need to work in 2-3 batches depending on the size of your air fryer. Lightly spray the tops of the shrimp with cooking spray.
EXPERT TIP: While not strictly necessary, spraying the shrimp with cooking spray is highly recommended. It significantly helps the breading achieve a beautiful golden-brown color and an extra layer of crispiness, mimicking the results of deep-frying without the oil!

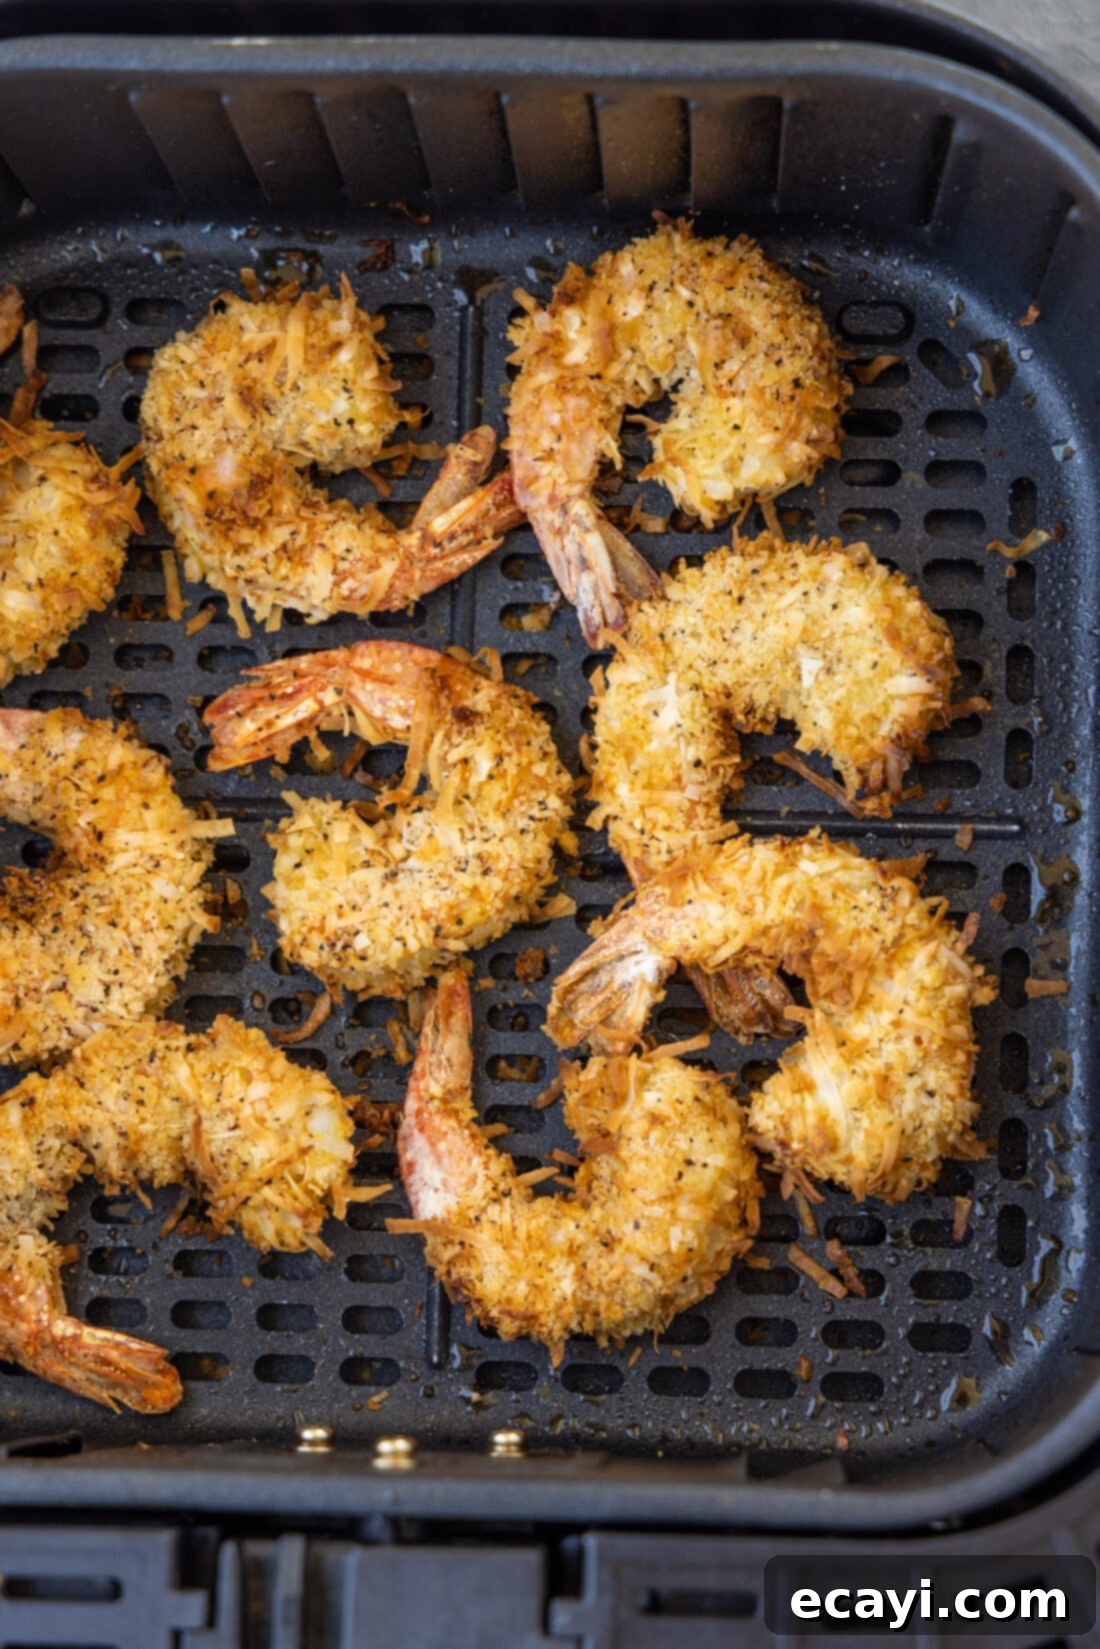
- Cook to Perfection: Cook the shrimp in the air fryer for 5 minutes. Then, open the basket, carefully turn each shrimp over, and spray the other side with cooking spray. Continue to cook for an additional 6 minutes, or until the shrimp are perfectly golden brown and cooked through. The total cooking time will be approximately 11 minutes.
Frequently Asked Questions & Expert Tips for Optimal Results
Here are some common questions and essential tips to ensure your air fryer coconut shrimp turn out perfectly every time.
To maintain freshness and flavor, store any leftover air fryer coconut shrimp in an airtight container in the refrigerator. They will keep well for up to 3 days. For reheating, the air fryer is your best friend! Simply place them back in the air fryer at 350°F (175°C) for 3-5 minutes, or until warmed through and re-crisped. This method prevents them from becoming soggy, unlike microwave reheating.
Absolutely, you can use frozen shrimp. However, it is critically important to allow the frozen shrimp to thaw completely before you begin the breading process. Once thawed, pat them extremely dry with paper towels. Any residual moisture will prevent the flour and breading from adhering properly, leading to a less satisfying, unevenly cooked result. Thawing overnight in the refrigerator is ideal, or you can use the cold water thawing method.
Yes, you can prepare the breaded shrimp ahead of time! After coating the shrimp with the coconut-panko mixture, arrange them in a single layer on a parchment-lined baking sheet and refrigerate for up to 2-3 hours. This can actually help the coating adhere even better. For longer storage, you can freeze them. Lay the breaded shrimp on a baking sheet and freeze for 1-2 hours until solid. Then transfer them to an airtight freezer bag or container. They can be frozen for up to 1 month. When ready to cook, air fry directly from frozen, adding a few extra minutes to the cooking time (about 15-18 minutes total), ensuring they reach an internal temperature of 145°F (63°C).
Several factors contribute to extra crispy coconut shrimp. Firstly, ensure your shrimp are very dry before coating. Secondly, use panko breadcrumbs—they are inherently crispier than regular breadcrumbs. Thirdly, don’t overcrowd the air fryer basket; cook in batches to allow hot air to circulate freely around each shrimp. Finally, a light spray of cooking oil on both sides of the breaded shrimp before and during cooking helps achieve that beautiful golden-brown color and maximum crispness.
Yes, cooking times can vary slightly between different air fryer models and brands. Factors like wattage, basket size, and overall design can influence how quickly and evenly food cooks. The recommended cooking time of 11 minutes is a good starting point. However, it’s always a good idea to check for doneness (golden brown and shrimp opaque) a minute or two before the suggested time, especially when trying a new recipe or air fryer. Adjust subsequent batches as needed.
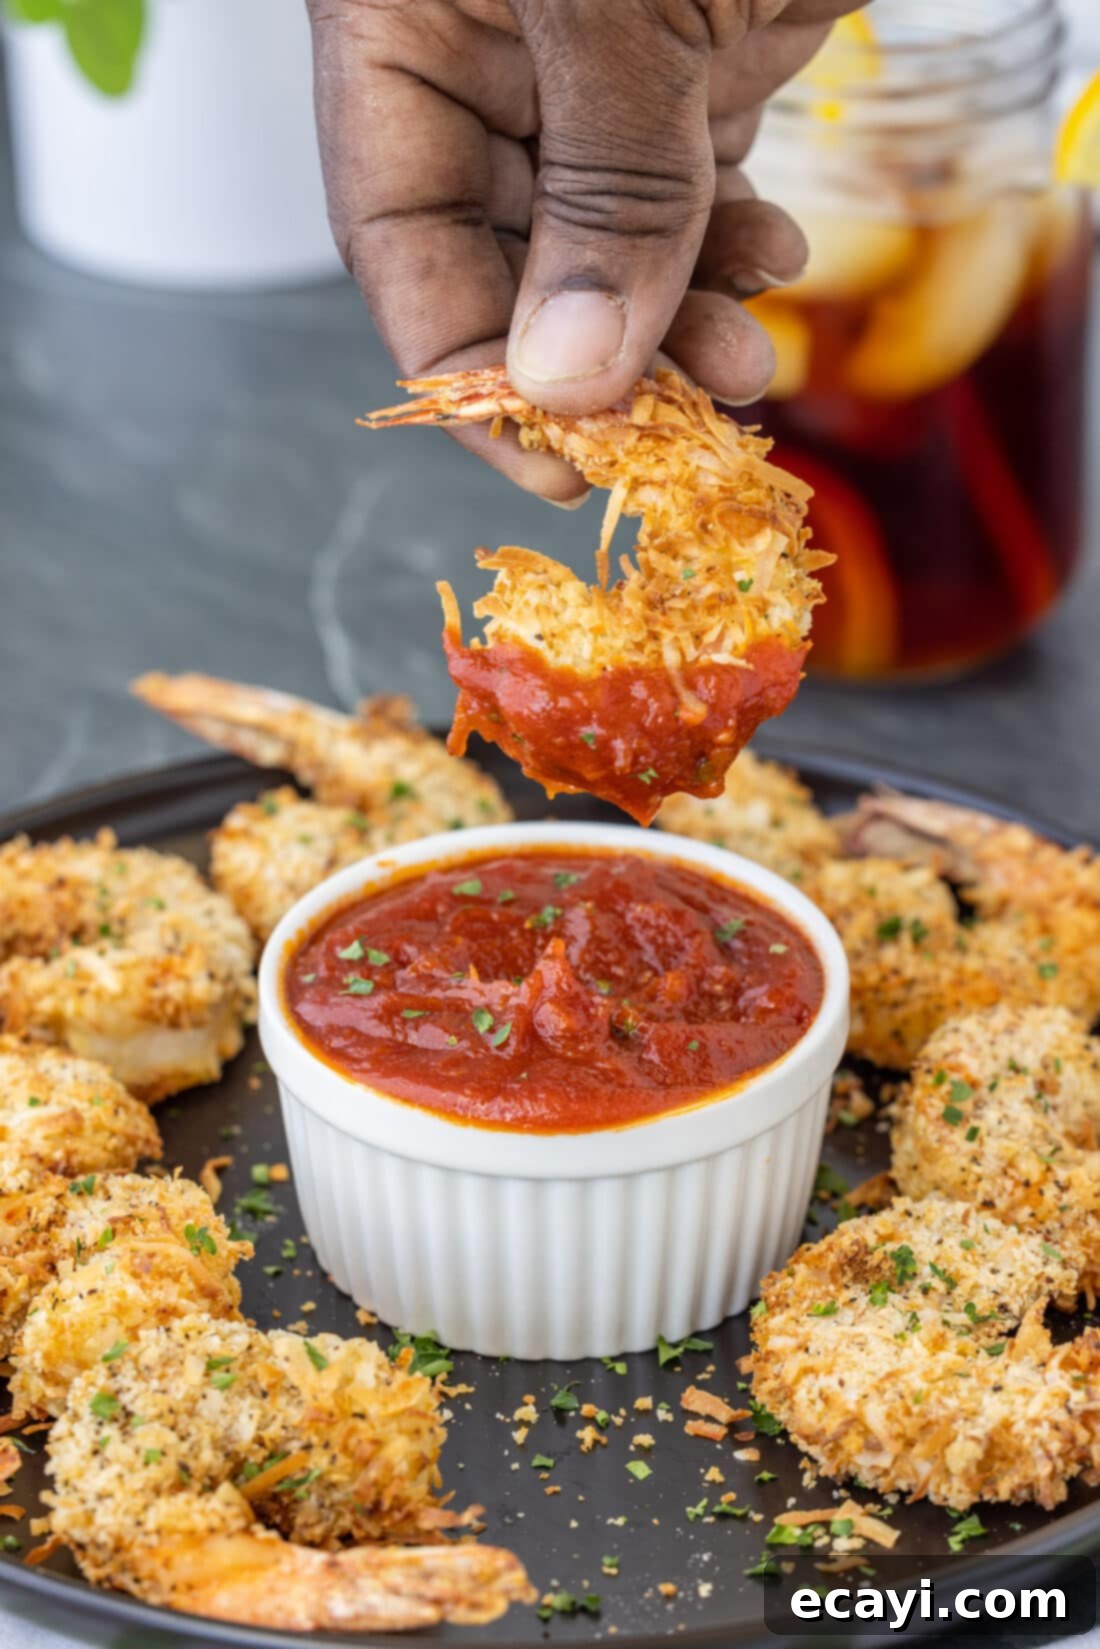
Creative Serving Suggestions & Delicious Dipping Sauces
Air fryer coconut shrimp are incredibly versatile and can be enjoyed in many ways. Serve them as an elegant appetizer at your next gathering, where their impressive crunch and sweet-savory flavor will be a guaranteed crowd-pleaser. They also make a fantastic light main course, especially when paired with a fresh side salad, fluffy jasmine rice, or even a vibrant coleslaw. The key to unlocking their full potential often lies in the dipping sauce!
Classic choices like sweet chili sauce or a tangy cocktail sauce are always hits for dunking. However, if you’re feeling adventurous and want to elevate the flavor experience, try our favorite homemade concoction: mix together orange marmalade with a good quality sweet Thai chili sauce. This blend creates an exceptional sweet and subtly spicy combination that perfectly complements the tropical sweetness of the coconut and the delicate flavor of the shrimp. For an extra touch, a squeeze of fresh lime juice over the warm shrimp before serving can brighten all the flavors. Enjoy these golden beauties warm, straight from the air fryer, for the ultimate crispy experience!
Explore More Convenient Air Fryer Delights
If you’ve fallen in love with the ease and delicious results of air frying, you’re in for a treat! The air fryer is a remarkably versatile appliance that can cook a wide array of dishes, from crispy snacks to satisfying main courses, with minimal oil and maximum flavor. Expand your culinary repertoire with these other fantastic air fryer recipes that are sure to become new family favorites:
- Air Fryer Scallops: Perfectly seared and tender, a restaurant-quality dish made easy.
- Air Fryer Apple Fries: A sweet and healthy snack or dessert option.
- Air Fryer Fried Pickles: All the crunch of fried pickles without the deep-frying mess.
- Air Fryer Jalapeno Fries: A spicy and addictive appetizer for those who love a kick.
- Air Fryer Mozzarella Sticks: Gooey, crispy, and ready in minutes, perfect for snacking.
I love to bake and cook and share my kitchen experience with all of you! Remembering to come back each day can be tough, that’s why I offer a convenient newsletter every time a new recipe posts. Simply subscribe and start receiving your free daily recipes!
Air Fryer Coconut Shrimp
IMPORTANT – There are often Frequently Asked Questions within the blog post that you may find helpful. Simply scroll back up to read them!
Print It
Pin It
Rate It
Save It
Saved!
Prevent your screen from going dark
Course:
Appetizer, Dinner
Cuisine:
American
4
servings
31 minutes
252
Amanda Davis
Ingredients
-
1
pound
grilling shrimp
peeled, deveined, tails on -
½
cup
all-purpose flour -
½
cup
sweetened coconut flakes -
½
cup
panko breadcrumbs -
1
teaspoon
salt -
1
teaspoon
black pepper -
2
large
eggs -
cooking spray
Things You’ll Need
-
Air fryer -
Wire cooling racks -
Vinyl gloves
Before You Begin
- It is not necessary to spray the shrimp with cooking spray, but it does help the breading to brown a bit more and achieve extra crispiness.
- We use grilling shrimp because of its nice size, offering a substantial bite. You can typically find it in the meat department or at your local butcher.
- For convenience, you can also use extra large bagged shrimp that are already peeled and deveined. Just make sure to thaw and pat them dry thoroughly.
- Keeping the tails on the shrimp is an excellent option for presentation and provides a natural handle for picking up the shrimp, especially when serving as an appetizer. This step is entirely optional; feel free to remove the tails if preferred.
Instructions
-
Rinse shrimp under cold water and pat them thoroughly dry with paper towels to ensure the coating adheres well.
-
In a large, shallow bowl or plate, combine the sweetened coconut flakes, panko breadcrumbs, pepper, and salt. Toss well with a fork until the mixture is fully combined and evenly distributed.
-
In a separate medium bowl, whisk the two large eggs with approximately one tablespoon of water. This helps to loosen the egg mixture for a smoother coating.
-
Working one by one, dredge each shrimp in the all-purpose flour, ensuring it is well-coated. Gently shake off any excess flour.
-
Dip the floured shrimp into the egg mixture, lifting it and allowing any excess egg to drip off back into the bowl.
-
Immediately press the egg-dipped shrimp into the coconut/breadcrumb mixture, gently pressing to ensure the coating adheres firmly to all sides.
-
Place the fully breaded shrimp on a wire rack set over a baking sheet and repeat the process until all shrimp are breaded.
-
Preheat your air fryer to 360°F (180°C). Lightly spray the air fryer basket with cooking spray to prevent sticking.
-
Add the breaded shrimp to the air fryer basket in a single layer, ensuring not to overcrowd it. You will likely need to cook in 2-3 batches. Lightly spray the tops of the shrimp with cooking spray for extra crispiness and browning.
-
Cook for 5 minutes. After this time, turn each shrimp over, spray the other side with cooking spray, and continue cooking for an additional 6 minutes, or until the shrimp are golden brown and fully cooked through. Serve immediately and enjoy!
Nutrition
Serving:
1
serving
|
Calories:
252
cal
|
Carbohydrates:
24
g
|
Protein:
22
g
|
Fat:
7
g
|
Saturated Fat:
4
g
|
Polyunsaturated Fat:
1
g
|
Monounsaturated Fat:
1
g
|
Trans Fat:
0.02
g
|
Cholesterol:
236
mg
|
Sodium:
1344
mg
|
Potassium:
239
mg
|
Fiber:
2
g
|
Sugar:
5
g
|
Vitamin A:
342
IU
|
Calcium:
95
mg
|
Iron:
2
mg
Tried this Recipe? Pin it for Later!
Follow on Pinterest @AmandasCookin or tag #AmandasCookin!
The recipes on this blog are tested with a conventional gas oven and gas stovetop. It’s important to note that some ovens, especially as they age, can cook and bake inconsistently. Using an inexpensive oven thermometer can assure you that your oven is truly heating to the proper temperature. If you use a toaster oven or countertop oven, please keep in mind that they may not distribute heat the same as a conventional full sized oven and you may need to adjust your cooking/baking times. In the case of recipes made with a pressure cooker, air fryer, slow cooker, or other appliance, a link to the appliances we use is listed within each respective recipe. For baking recipes where measurements are given by weight, please note that results may not be the same if cups are used instead, and we can’t guarantee success with that method.
